Navigation
Install the app
How to install the app on iOS
Follow along with the video below to see how to install our site as a web app on your home screen.
Note: This feature may not be available in some browsers.
More options
You are using an out of date browser. It may not display this or other websites correctly.
You should upgrade or use an alternative browser.
You should upgrade or use an alternative browser.
DIY Peristaltic Pump: Cultural Teachings of Glorious Nation of Kazakistan
- Thread starter Borat
- Start date
- Tagged users None
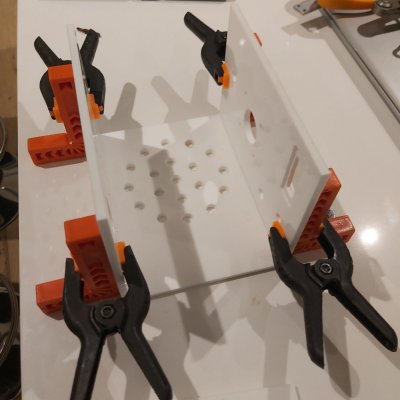
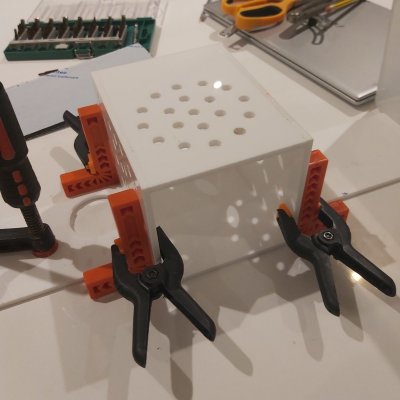
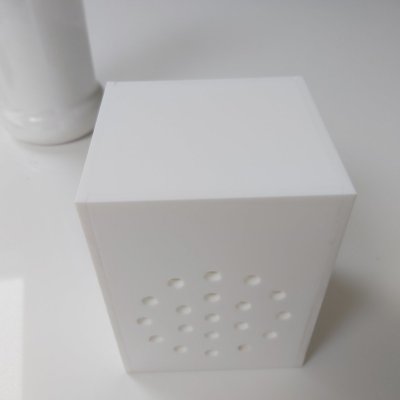
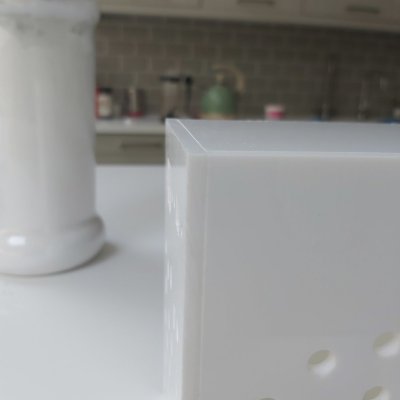
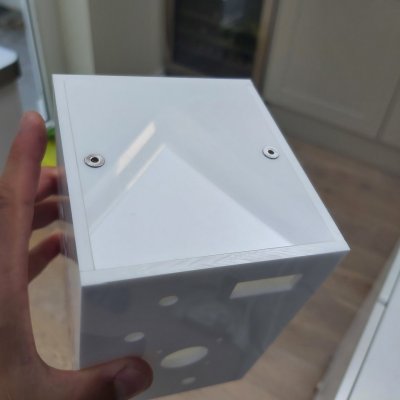
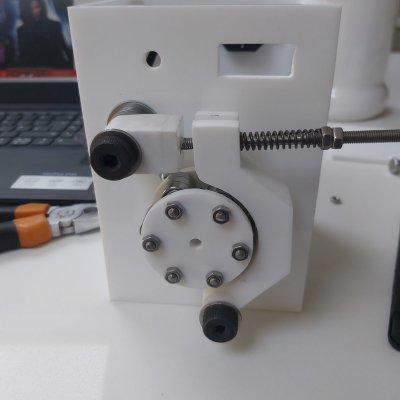
Now I just need to drill holes for holding scews, glue the M4 nut to the acrylic holders and then I can finalise the enclosure by gluing the bottom piece (this will be non-removable) that I already cut out.
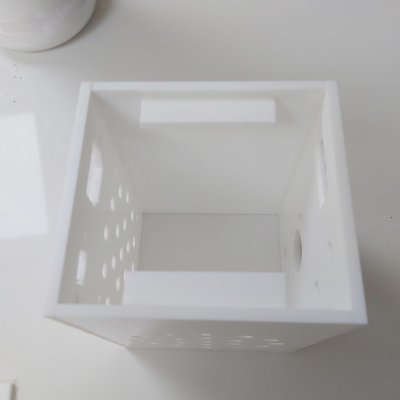
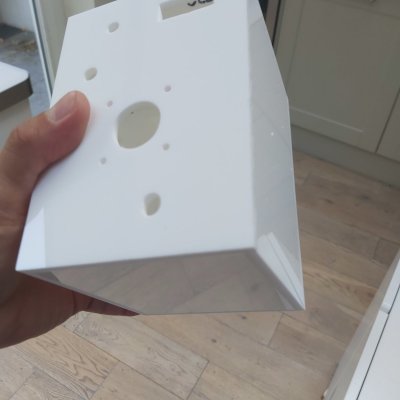
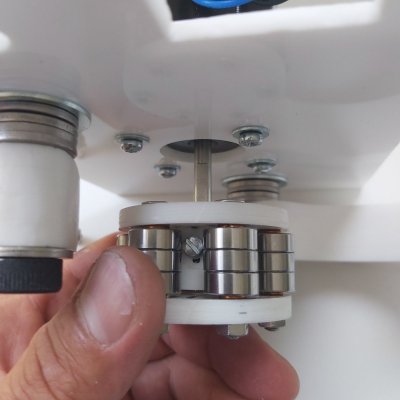
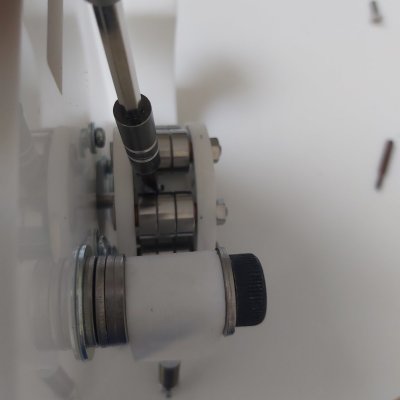
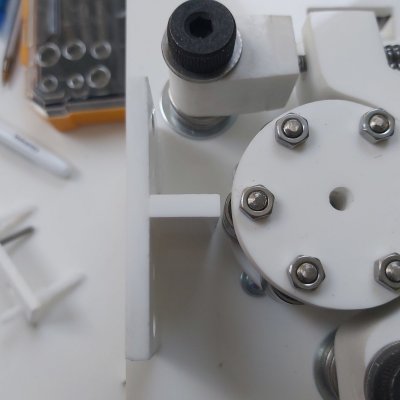
Note the shape of holes for shoulder bolts: they are elongated so that you can adjust the location by 2mm-3 mm, this is for both pivot assembly and spring assembly.
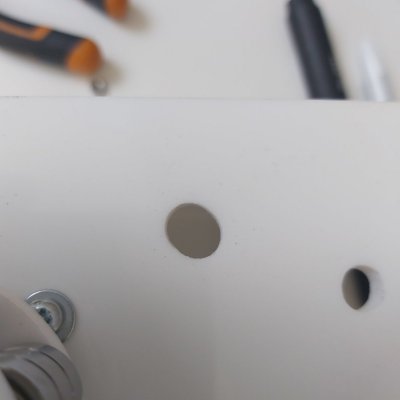
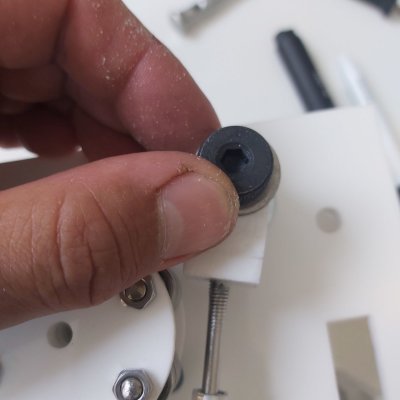
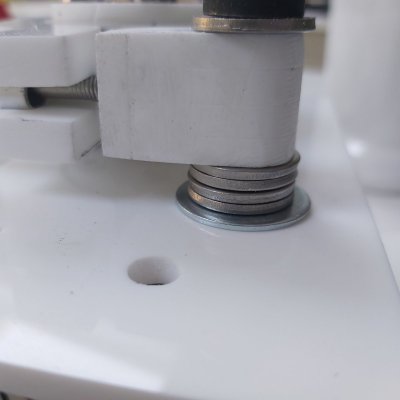
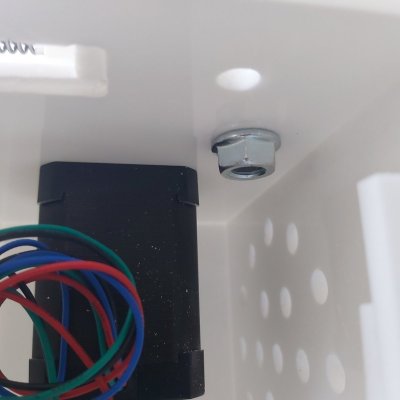
Shoulder bolts are not held by the hole's (vertical walls) - it's actually pushing against an M8 penny washer (25mm diameter) and on the other side it is held by a similarly sized flunge head nut, thereby always guaranteeing that your sholder bolt would remain vertical to the surface:
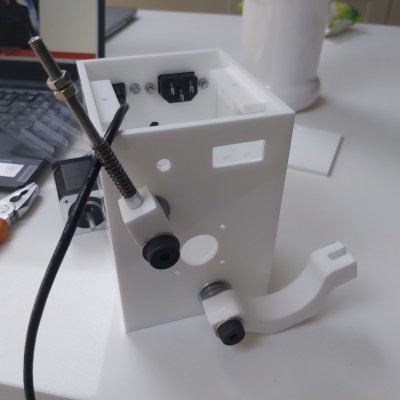
The last piece of acrylic work I need - is to make and glue tubing connector holders to the front panel (outside).


Shoulder bolts are not held by the hole's (vertical walls) - it's actually pushing against an M8 penny washer (25mm diameter) and on the other side it is held by a similarly sized flunge head nut, thereby always guaranteeing that your sholder bolt would remain vertical to the surface:


The last piece of acrylic work I need - is to make and glue tubing connector holders to the front panel (outside).
Last edited:
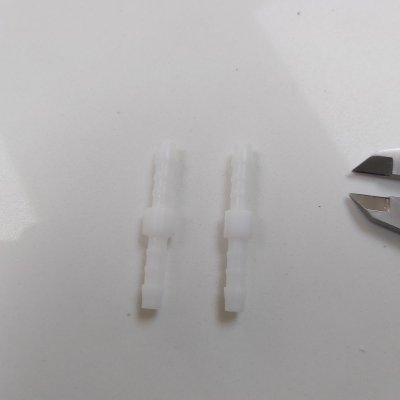
You will need 2 of these barbed connectors. not the cheap airline connectors. Barbed connectors are not easy to find and they are not cheap considering it's just a small piece of plastic, I use these conectors (as this is the 5th pump I am building - I am using the last 2 remaining from that pack of 10):
 uk.rs-online.com
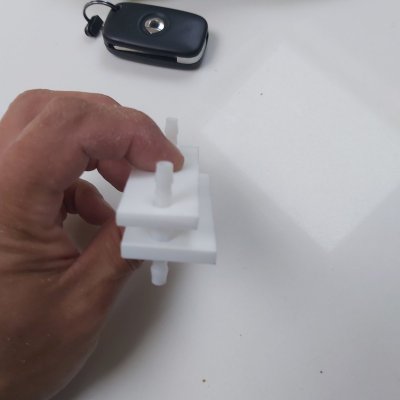
Cut out a pice of acrylic 65mm wide, 32mm tall, then mark the position of holes for push-on connectos so that they are where you middle bearing is..
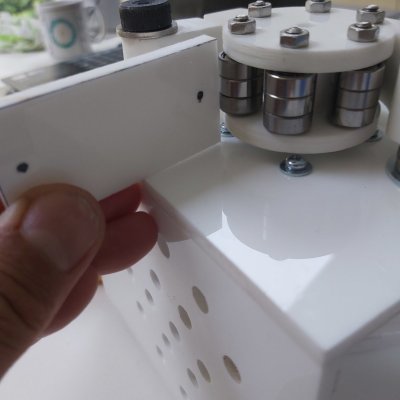
Drill 6mm holes...
RS PRO Hose Connector, Straight Hose Joiner 5mm ID | RS

Cut out a pice of acrylic 65mm wide, 32mm tall, then mark the position of holes for push-on connectos so that they are where you middle bearing is..

Drill 6mm holes...
Last edited:
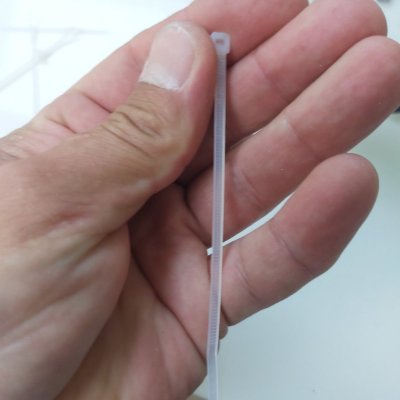
You will need to add a small structural T-piece to this whole assembly - santoprene tubing will always be under tension exerting significant pull on the connectors and thus the flat piece. If there is nothing to support the flat piece it may eventually give in and snap..
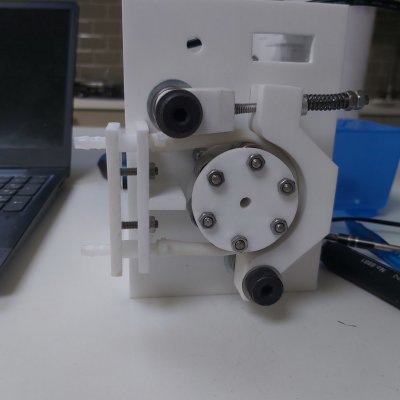
This is almost ready to be glued to the enclosure - just needs a bit of final polishing..
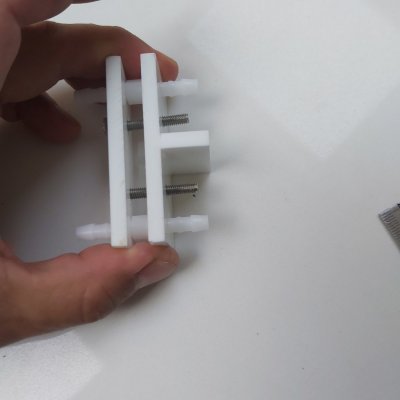
This is almost ready to be glued to the enclosure - just needs a bit of final polishing..

It is important that the entire rotary assembly is already in place and that every shoulder bolt is adjusted to where it needs to be: you need to make sure that once you glue the tubing connector holder it will not obstruct any components, obvious one to check is that the structural piece we just glued provides a few mm distance for ball bearings to move!

But it's a bit too early to ask for a demonstation video, my fellow reefers from US&A... the pump is still brainless and powerless, so we need to do some electronics work here..
I can reassure you though - that in terms of complexity of this pump DIY build, we have done 95% of work.. i.e. electronic part is relatively easy.
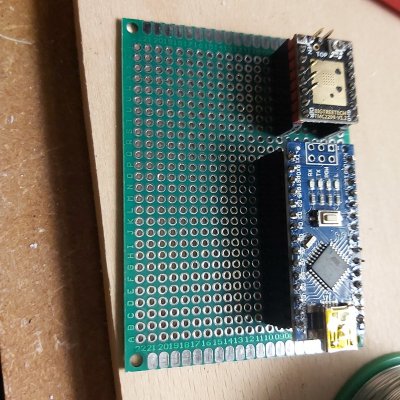
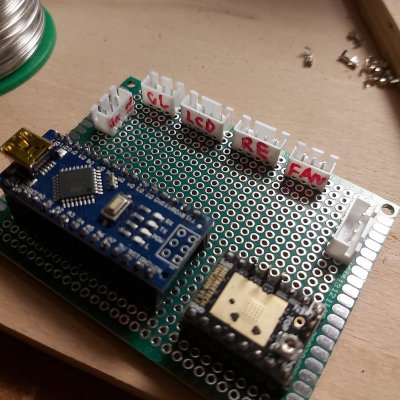
We just need to soldier a PCB (no - it will not be printed in a Chinese sweatshop) and the bit of work that's going to take a bit of time is crimping all cables using JST connectors.
Last edited:
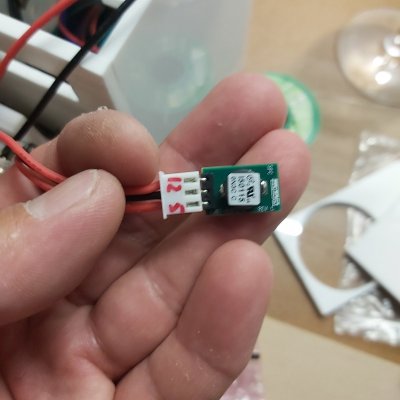
Murata voltage regulator - provides incredibly accurate 5v supply (but needs DC voltage input and cannot be used standalone without other DC voltage supply).
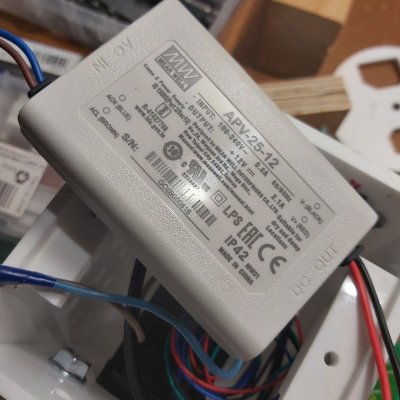
2A 12v meanwell constant voltage driver, nowadays I use their IRM versions (PCB mount), but this one I had from old days - and need to put it in use..
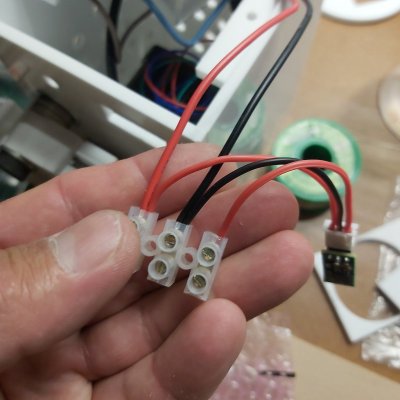
These 3 terminal connectors will provide 12v and 5v with common grond.

2A 12v meanwell constant voltage driver, nowadays I use their IRM versions (PCB mount), but this one I had from old days - and need to put it in use..

These 3 terminal connectors will provide 12v and 5v with common grond.

It's nice to meet you too! (provided you are not Uzbek!It's a nice to meet you Borat...
This is really cool! But is there anything more cringe than a Borat impression? Or have we circled all the way back around and cringe is dead again?
Similar threads
- Replies
- 44
- Views
- 1,019
- Price: $180 to $250
- Shipping Available
- Replies
- 11
- Views
- 533
- Replies
- 9
- Views
- 488
- Replies
- 45
- Views
- 751


