Navigation
Install the app
How to install the app on iOS
Follow along with the video below to see how to install our site as a web app on your home screen.
Note: This feature may not be available in some browsers.
More options
You are using an out of date browser. It may not display this or other websites correctly.
You should upgrade or use an alternative browser.
You should upgrade or use an alternative browser.
DIY Peristaltic Pump: Cultural Teachings of Glorious Nation of Kazakistan
- Thread starter Borat
- Start date
- Tagged users None
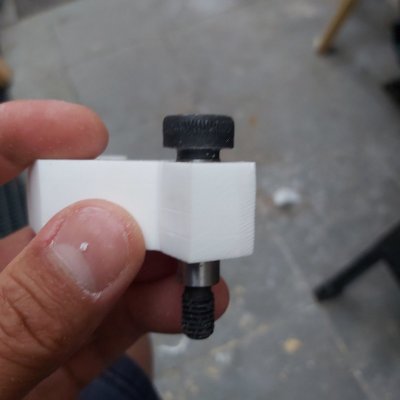
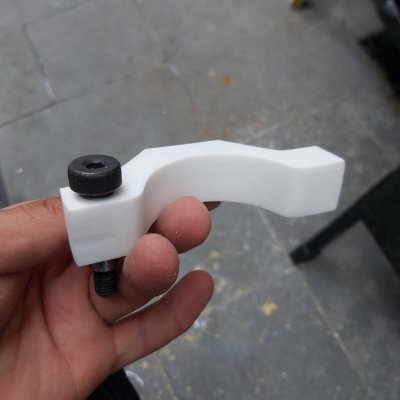
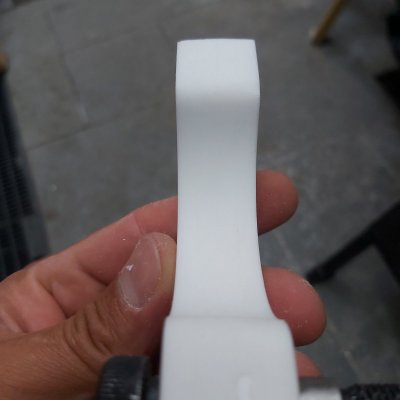
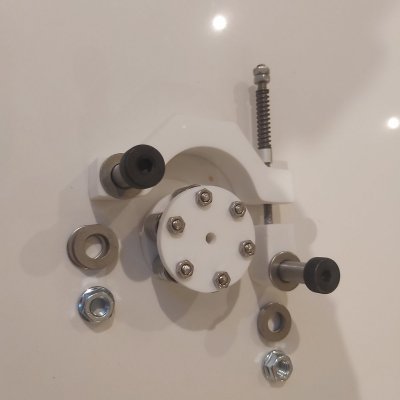
OK one last piece for the rotary/pivot assembly is this:
it's a again cut out of piece of acrylic made of 4 layers glued together:
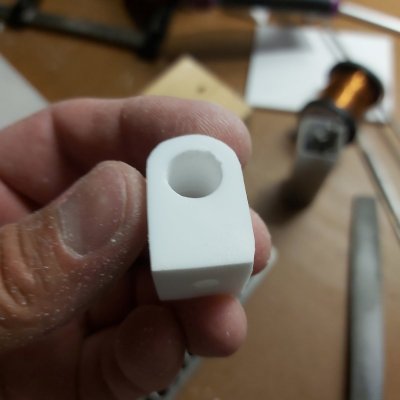
A 5mm hole is drilled and a M5 nut placeholder is burnt-in:
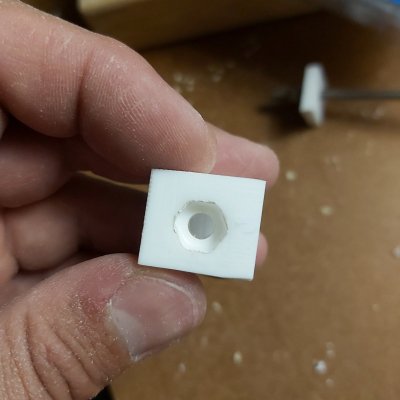
A 5mm threaded rod is used here, an additional piece of acrylic glued on top (shown) will keep the nut firmly. To prevent the threaded piece from rotating inside the M5 nut, I apply some thermal paste to it as it enters the acrylic piece. Thermal paste will form a layer covering the thread and will prevent it from moving altogether.
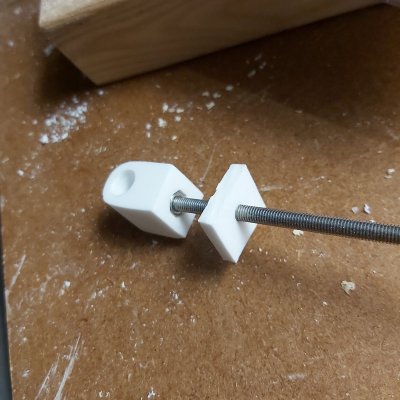
Once everything is glued, the end piece looks like this:
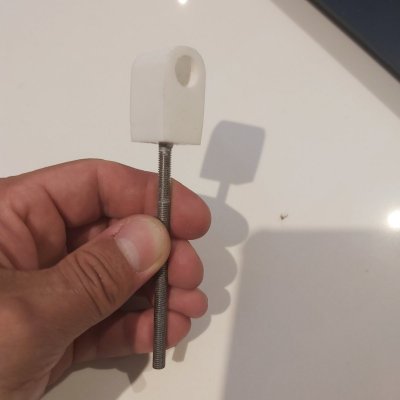
it's a again cut out of piece of acrylic made of 4 layers glued together:

A 5mm hole is drilled and a M5 nut placeholder is burnt-in:

A 5mm threaded rod is used here, an additional piece of acrylic glued on top (shown) will keep the nut firmly. To prevent the threaded piece from rotating inside the M5 nut, I apply some thermal paste to it as it enters the acrylic piece. Thermal paste will form a layer covering the thread and will prevent it from moving altogether.

Once everything is glued, the end piece looks like this:

This part is messy and I kind of hate doing it! But it needs to be done:
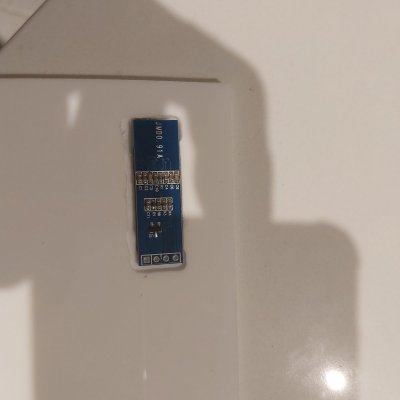
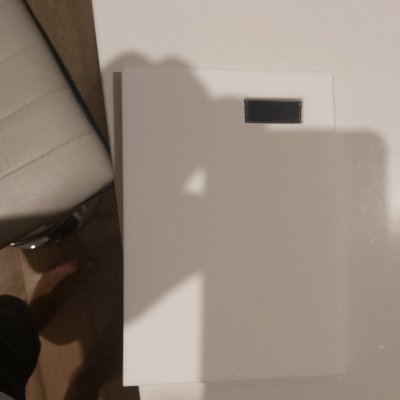
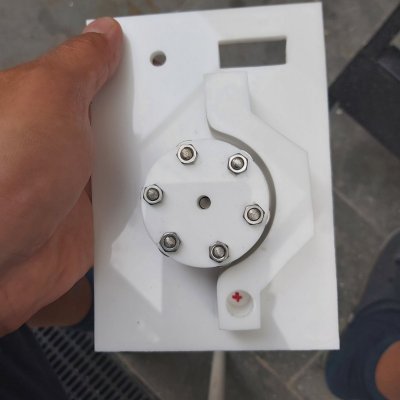
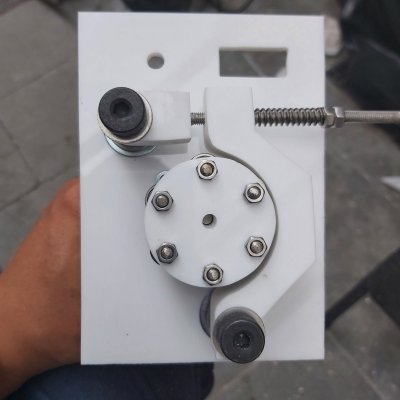
a cut-out for OLED screen, the screen itself is of rather irregular shape and is thin, so I have to cut a square window and engrave a shape inside it for the screen sit there.. Some manual filing/drilling and using Dremel tool would be needed.
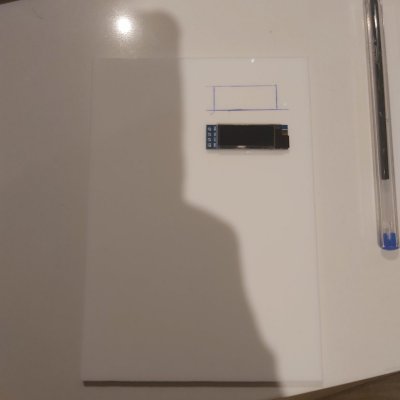
a cut-out for OLED screen, the screen itself is of rather irregular shape and is thin, so I have to cut a square window and engrave a shape inside it for the screen sit there.. Some manual filing/drilling and using Dremel tool would be needed.

Do you have drawing for these parts?
Im keen to give this a go!
Im keen to give this a go!
Thanks!Well done mate! I am impressed with your diy skills.
The only. Thing I personally would do differently is get all those perspex shapes cut by laser. This would almost make it a bolt on job
You may be able to cut (some parts) by laser - but I consider this a bit of "DIY cheating"
I made a DIY acrylic frag tank a while ago and made of mistake of ordering pre-cut acrylic (not laser cut though..). I ended up doing more work to trim those to correct size as they differed by as much as 3mm.. My parts are usually have about 0.5mm tolerance.
You also need to make drawings etc - I don't like wasting time in front of the computer (although computers is my main day job) , typically when I decide to build one of these devices, I invent/decide on sizes/shapes/plan as I go along..
And to asnwer the previous question - I provide all sizes in this thread, but there are no drawings:
- E.g. the rotary bit is cut with a 50mm holesaw, so the finished disk diameter is 47mm (holesaw takes quite a bit out in the process of cutting).
- the pivot was made using a 52mm sanding belt, therefore its (arch) diameter is approximatelt that
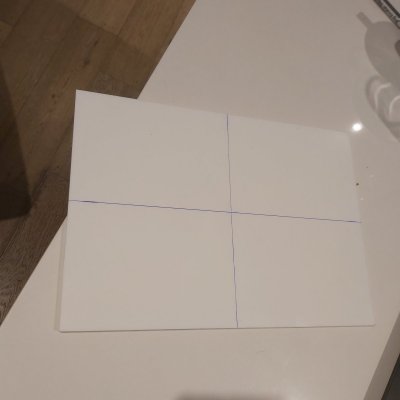
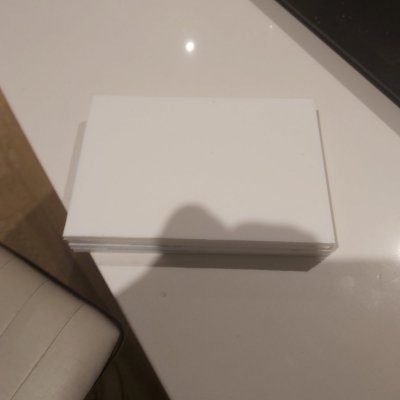
- and finally I cut A4 sheet into 4 equally sized pieces. A4 is 210mm/297mm, taking out 2mm for sawing - you can calculate the size of enclosure sides (104mm x 147mm)
- some parts for which size is not specified are size-free, i.e. you can make them larger or smaller.. for example the last piece in pivot assembly (made with M5 threaded rod) can be of any shape or size, it's purely aesthetic
Last edited:
Just noticed a missing step that I forgot to publish:
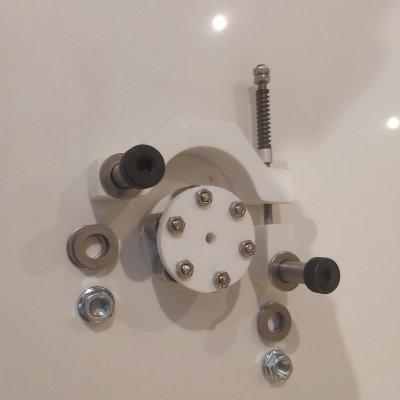
I drilled a hole in the pivot arm (on the side opposite to where shoulder bolt goes). The hole is 8mm diameter going down half-way from top and then 5mm diameter further down. It's a bit tricky to make: I first drill a 5mm hole all the way down and then use the diamond drill bit (shown below) to enlarge it (as if using a dremel tool).
If you don't have a diamond drill bit similar to below, do not do the above in that order: if you drill a 5mm hole first and then try to enlarge it with a regular 8mm drill bit - you acrylic will most likely shutter into pieces.
If you have to use regular drill bits only - first drill the larger 8mm hole half way down and then continue with a small drill bit to finish off.
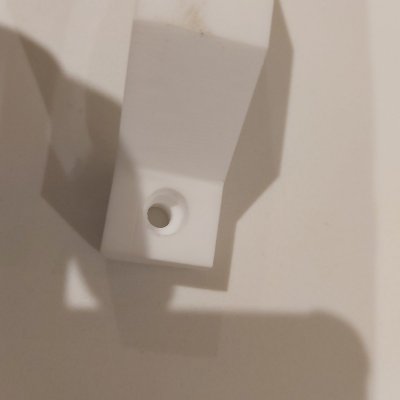
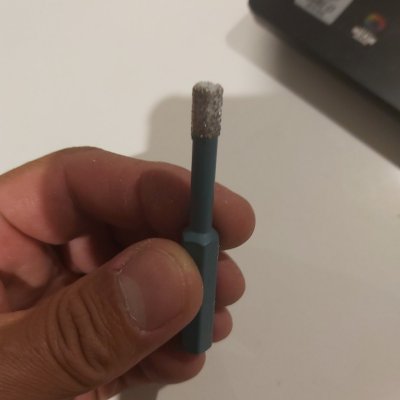
Then using a saw and a file I cut a channel 5mm wide - this is where the threaded rod will slide into.
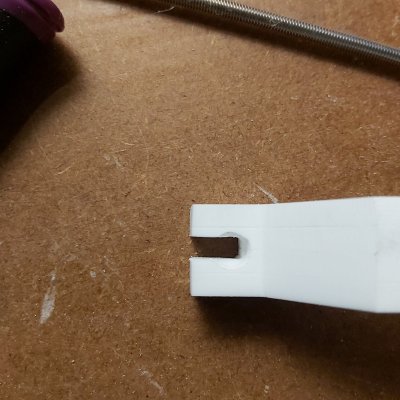
You can then see the small piece of aluminium tubing (8mm OD) that slides half way down into pivot and keeps the threaded rod firmly in place. This allows for easy insertion and extration of threaded rod in case you want to lift the pivot (e.g. to replace the tubing): you just unscrew holding bolts (on top), loosen the spring and lift the piece of aluminium tubing up (along the rod) - then the theaded rod can come out via 5mm channel in pivot arm.
Last edited:
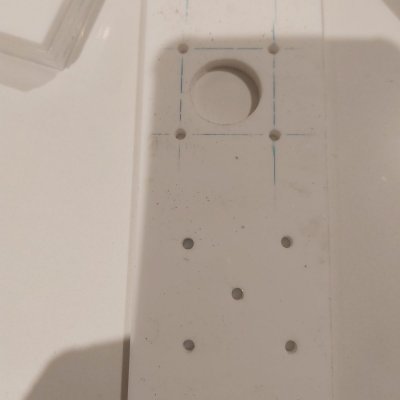
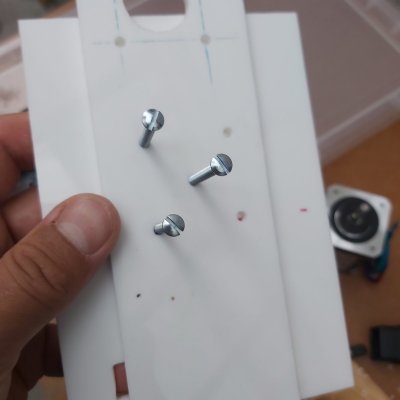
I drilled holes for motor M3 screws using the pre-made profile... The hole diameter is 3.5mm.
Then I drill a 22mm hole in the centre (there is a 3.5mm centre hole pre-drilled) - this is done with 22mm flat drill bit:
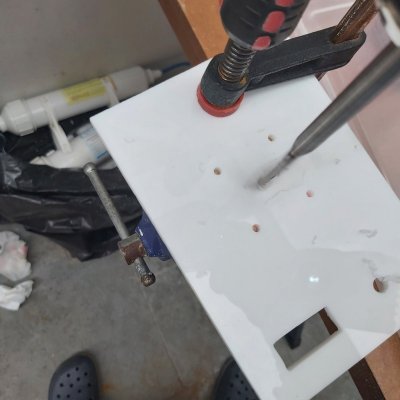
The motor front has a central elevation piece with 22mm diameter - I just need a hole that's wide enough, this can be made wide than 22mm (say 24mm)...
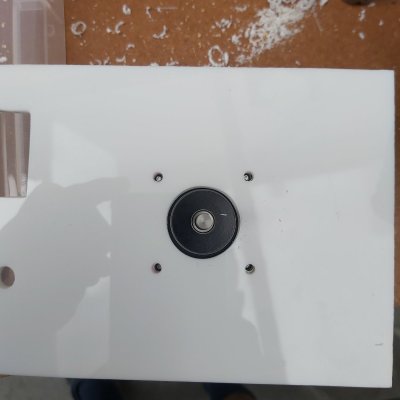

Then I drill a 22mm hole in the centre (there is a 3.5mm centre hole pre-drilled) - this is done with 22mm flat drill bit:

The motor front has a central elevation piece with 22mm diameter - I just need a hole that's wide enough, this can be made wide than 22mm (say 24mm)...

Last edited:
Similar threads
- Replies
- 52
- Views
- 1,302
- Price: $180 to $250
- Shipping Available
- Replies
- 11
- Views
- 552
- Replies
- 9
- Views
- 496
- Replies
- 45
- Views
- 793


