any updates?
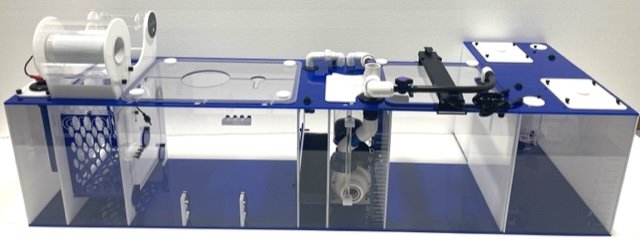
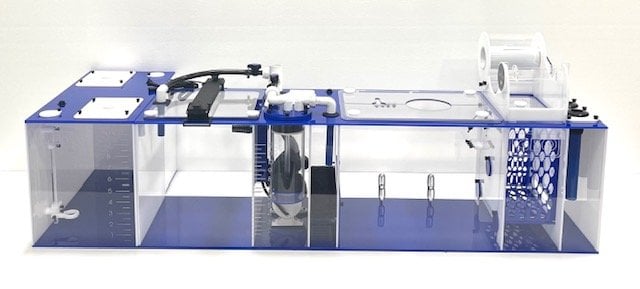
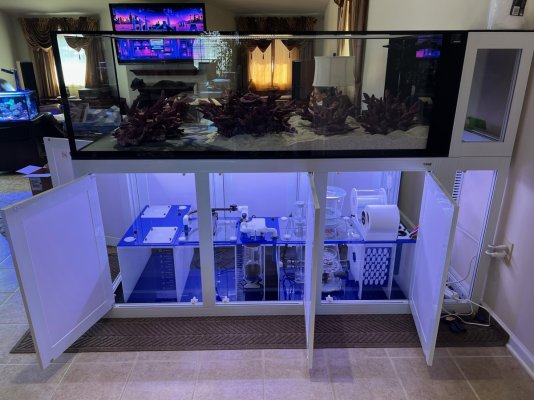
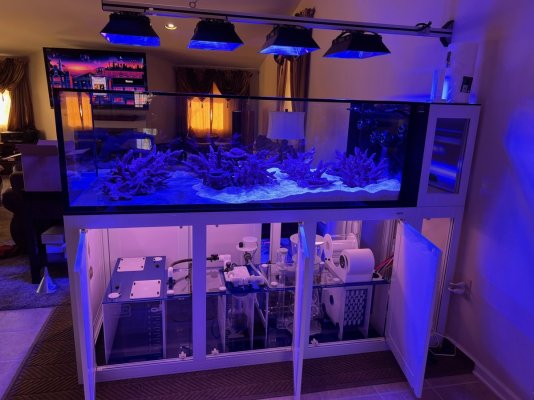
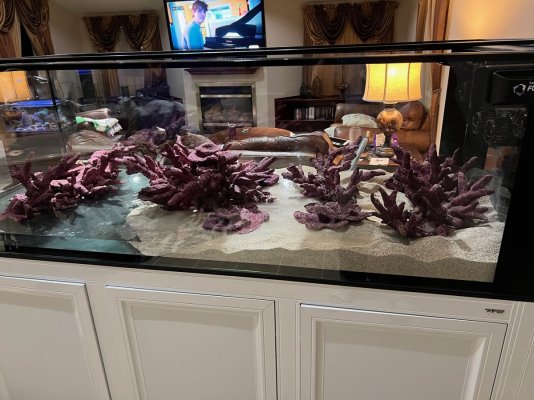
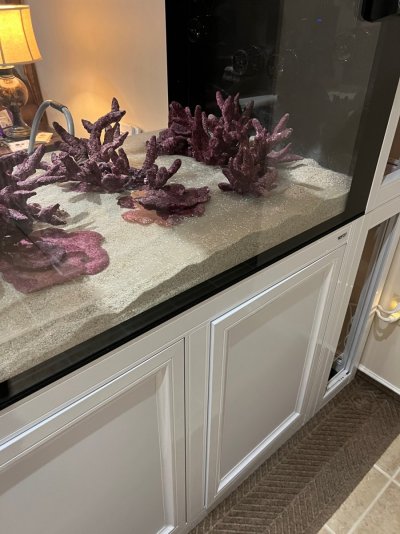
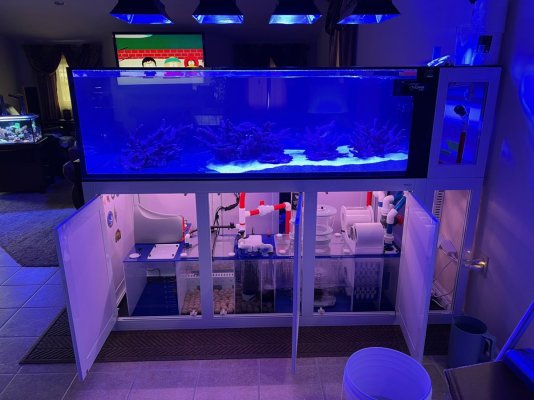
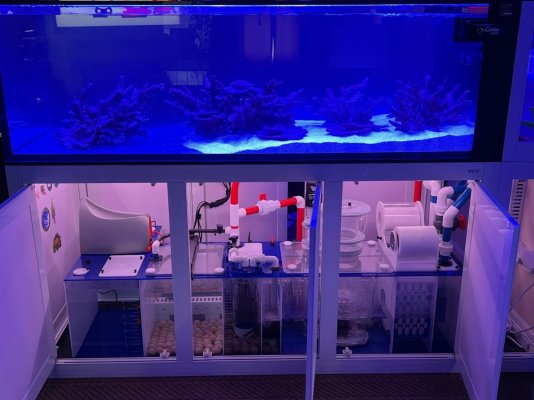
I was reading in another IM build about the vynil on the sides of the tank. i did not know they where on the peninsula EXT as well. bummer how do you like them ? do they bother you at all? do you do like them. I dont really see the point of it.
I was reading in another IM build about the vynil on the sides of the tank. i did not know they where on the peninsula EXT as well. bummer how do you like them ? do they bother you at all? do you do like them. I dont really see the point of it.