Lets See some DIY Tank Stands

Chetrod

Active Member
View Badges
Joined
Feb 5, 2014
Messages
231
Reaction score
14
Location
Tampa/Wesley Chapel
Rating - 0%
0   0   0
Not really a DIY STAND more like a renovated stand.

29743_1378666040783_1655862556_883066_6385978_n.jpg
29743_1378666160786_1655862556_883067_7791926_n.jpg
29743_1378666200787_1655862556_883068_4724888_n.jpg
29743_1378666240788_1655862556_883069_7100875_n.jpg
29743_1378666280789_1655862556_883070_5003147_n.jpg
 

Matthias7

Active Member
View Badges
Joined
Apr 26, 2014
Messages
446
Reaction score
146
Location
Las cruces, nm
Rating - 0%
0   0   0
Future stand for a 180 gallon 72.5 x 24.5 stand (27in total width will allow 3 inches for plumbing)
 

Attachments

  • image.jpg
    image.jpg
    92 KB · Views: 488
  • image.jpg
    image.jpg
    92.8 KB · Views: 606

SloppyJ

Well-Known Member
View Badges
Joined
Sep 21, 2012
Messages
784
Reaction score
10
Location
NW Arkansas
Rating - 0%
0   0   0
I used spar varnish and it turned out great. I thinned the first and last coats down with some mineral spirits.
 

feh

Valuable Member
View Badges
Joined
Feb 26, 2012
Messages
1,526
Reaction score
97
Location
South Carolina
Rating - 0%
0   0   0
Beautiful. What did you use for finish and could you give a brief description on the finishing technique.

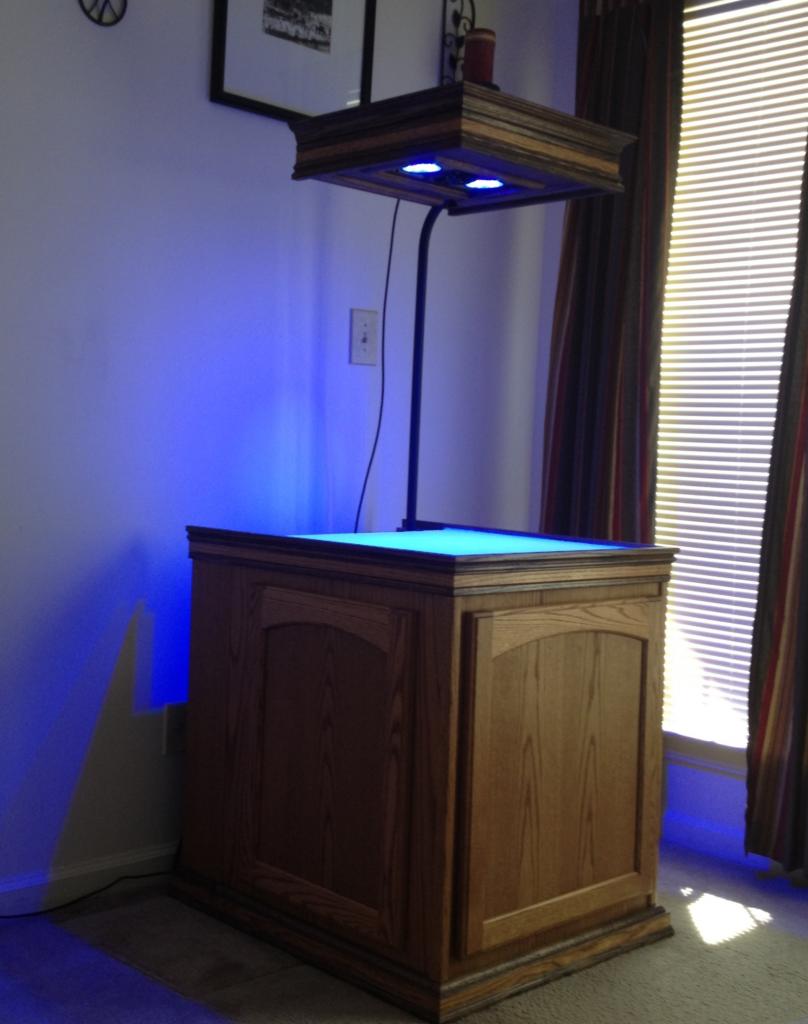
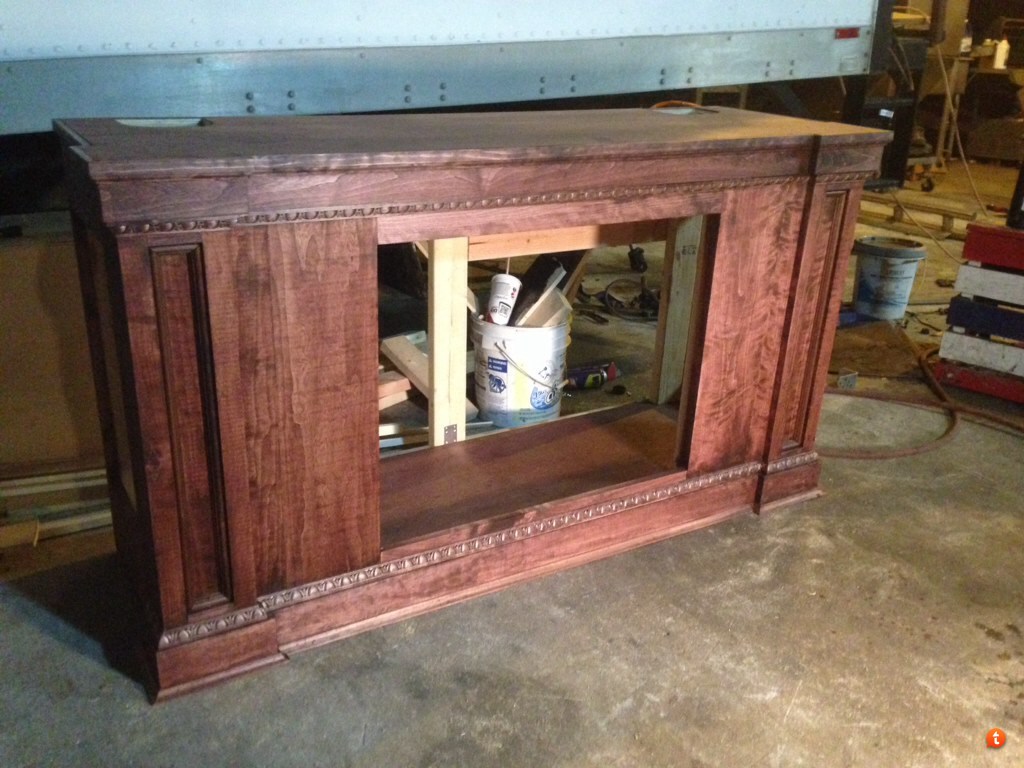
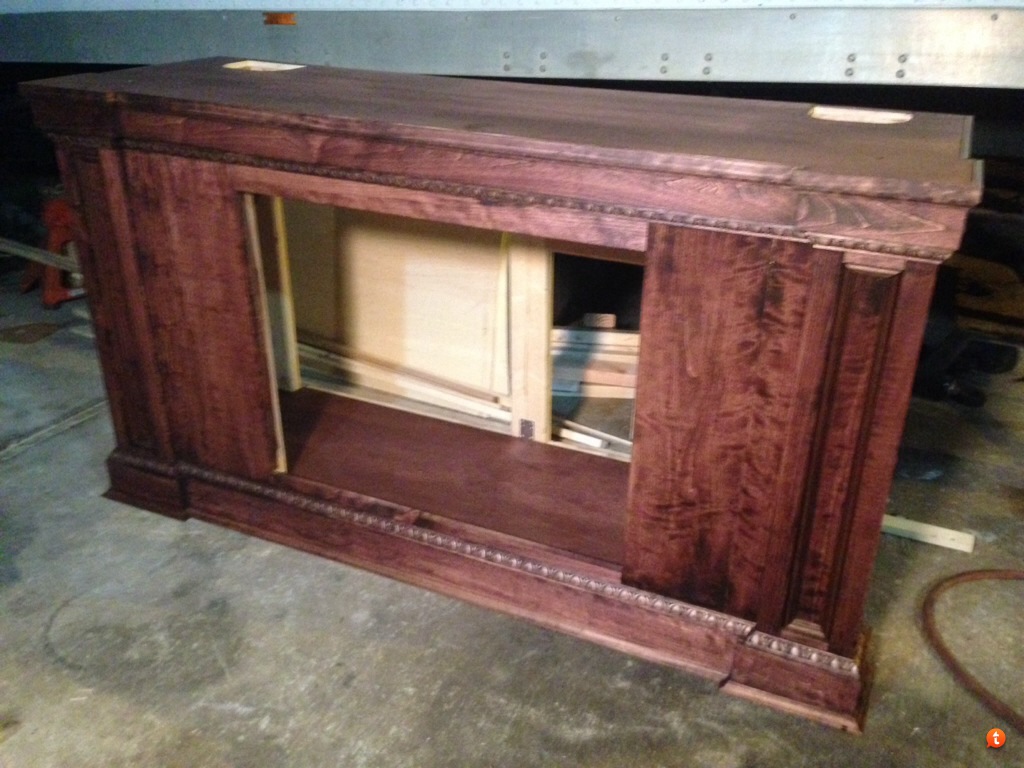
Sorry, I didn't see the question about the technique. I used painters tape and stained the dark stuff first. The trick is to use something to scrape across the tape for a good seal. If you think you've scraped it enough. Scrape it some more. Better safe than sorry because sanding won't always get you back to the beginning. It was very time consuming for the first few coats of stain, but I didn't want any bleeding which would wreck the clean lines. Also the top trim wasn't as hard since the the grooves that were routed into helped a lot with keeping a clean look. Also I always pulled the tape off after each coat to help prevent anything from having time to soak through. Most professionals won't do 2 colors of stain on the same piece of wood because of bleed thru. They recommend using inlays. You also have to try and keep as much control of the stain as possible. Stain is much thinner than paint. I also didn't use brushes and applied the stain with rags and wiped it off with rags. I allowed 24hrs dry time between colors on the pieces that are stained 2 colors.
 

MounteeFrag

Well-Known Member
View Badges
Joined
Oct 14, 2013
Messages
588
Reaction score
99
Location
Morgantown WV
Rating - 0%
0   0   0
Stand completed. Looking for an accent piece for middle.
 

Attachments

  • 1410744629970.jpg
    1410744629970.jpg
    53.1 KB · Views: 466
  • 1410744647188.jpg
    1410744647188.jpg
    65.6 KB · Views: 462
  • 1410744689561.jpg
    1410744689561.jpg
    55.7 KB · Views: 488

tyler1503

2500 Club Member
View Badges
Joined
Apr 1, 2013
Messages
2,579
Reaction score
544
Location
Bega, NSW, Australia
Rating - 0%
0   0   0
I wish mine were as nice as some if the ones on here!
I didn't build mine, I bought it second hand with the tank and painted it black.
ImageUploadedByREEF2REEF1411169262.924063.jpg
 

Algae invading algae: Have you had unwanted algae in your good macroalgae?

  • I regularly have unwanted algae in my macroalgae.

    Votes: 43 35.0%
  • I occasionally have unwanted algae in my macroalgae.

    Votes: 27 22.0%
  • I rarely have unwanted algae in my macroalgae.

    Votes: 9 7.3%
  • I never have unwanted algae in my macroalgae.

    Votes: 9 7.3%
  • I don’t have macroalgae.

    Votes: 31 25.2%
  • Other.

    Votes: 4 3.3%
Back
Top