Hello R2R,
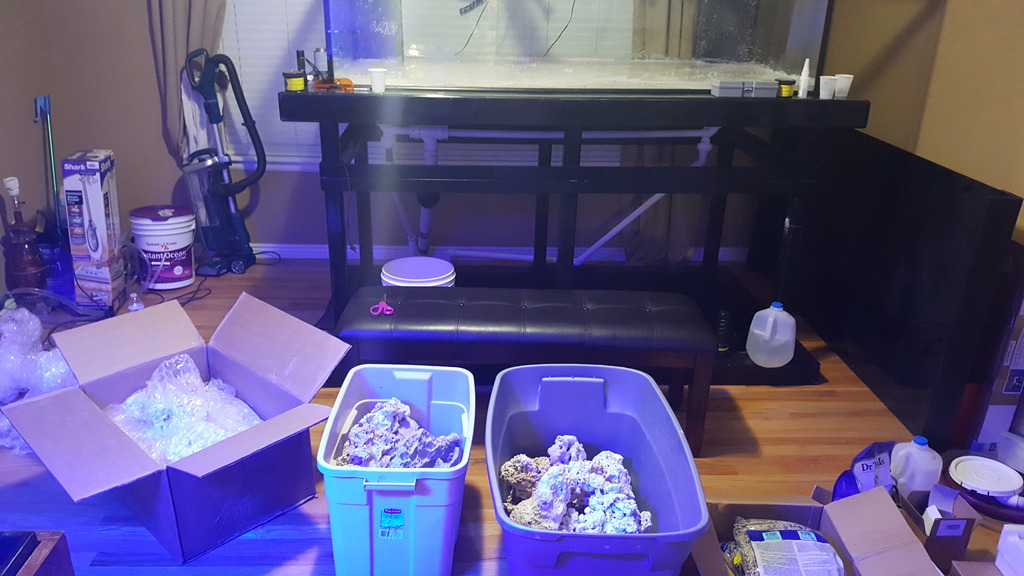
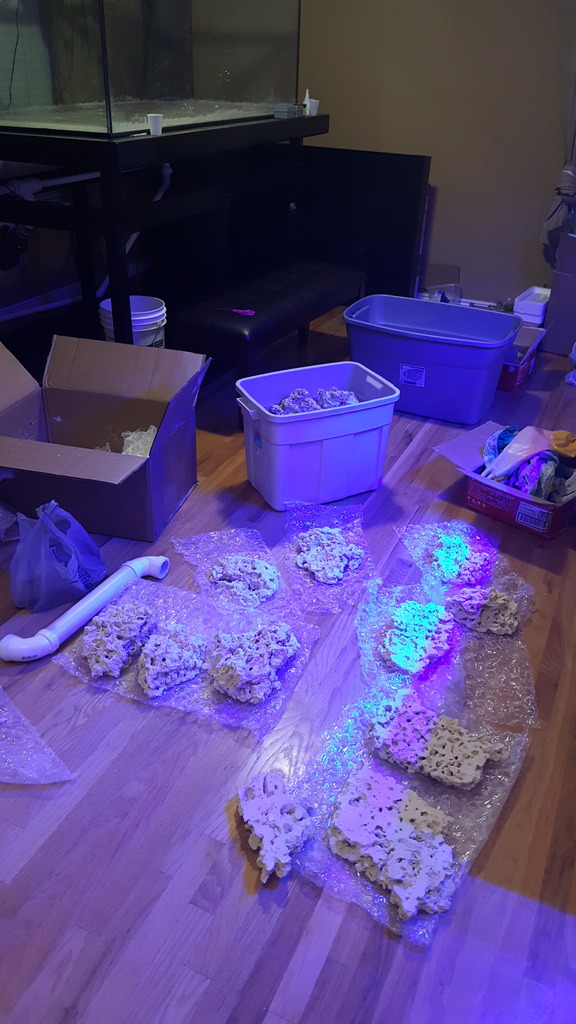
I've been a long time lurker on here and figured it's time to document my tank and share it with the R2R community. The tank has been up and running for about a year and half, so i will be updating this thread with pictures I've taken throughout the build process.
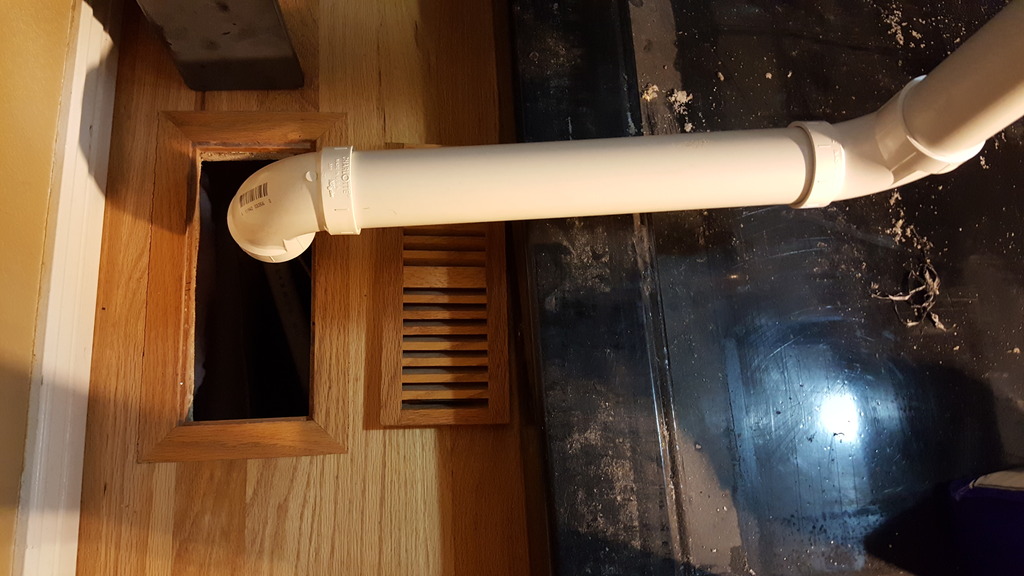
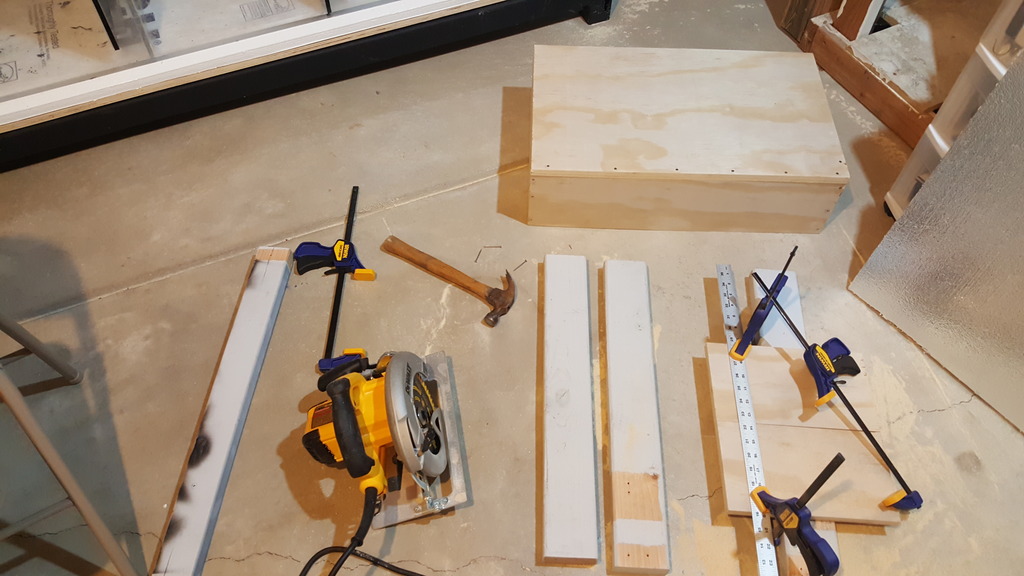
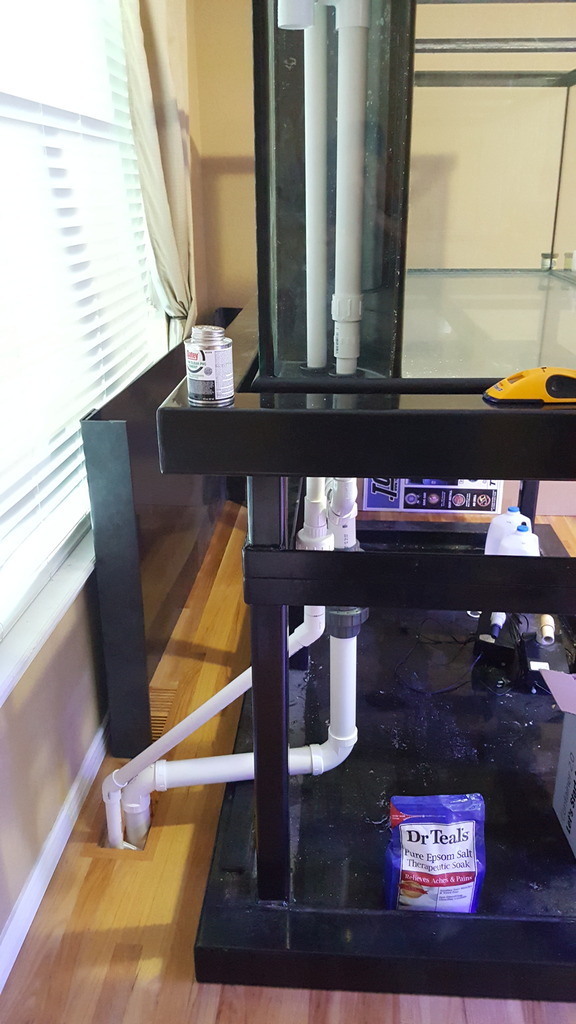
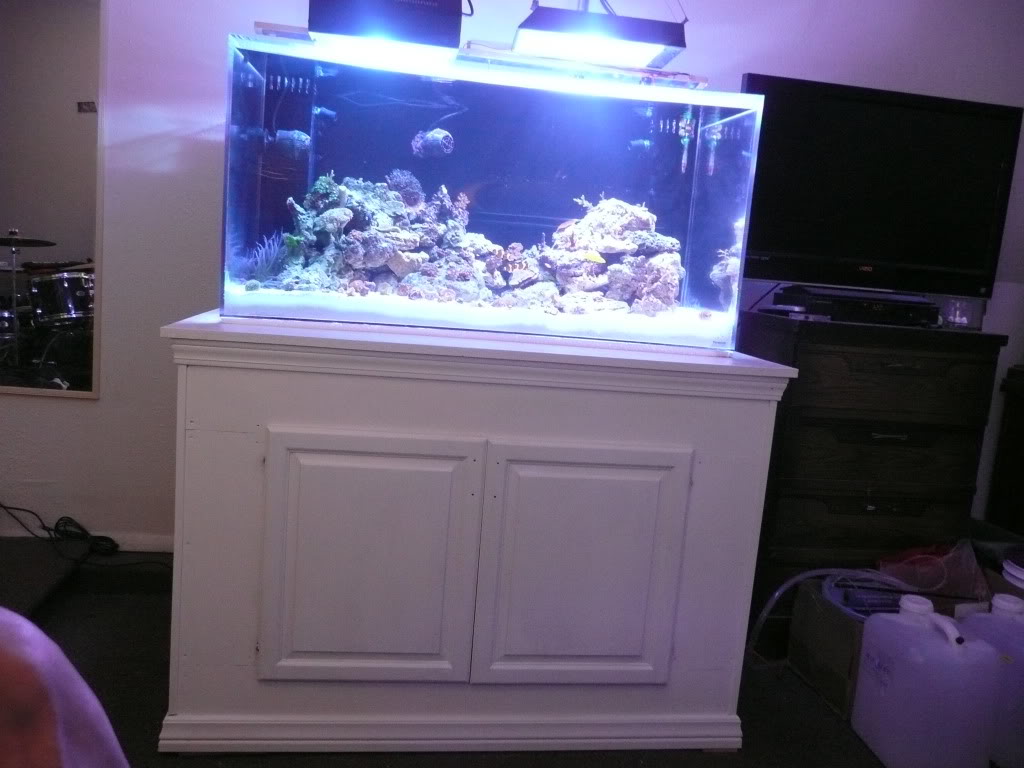
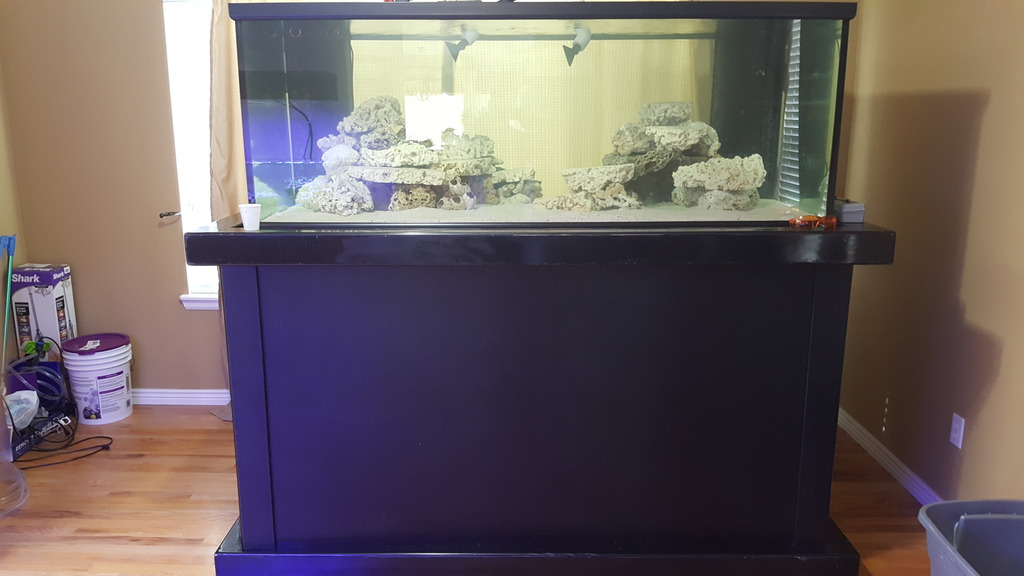
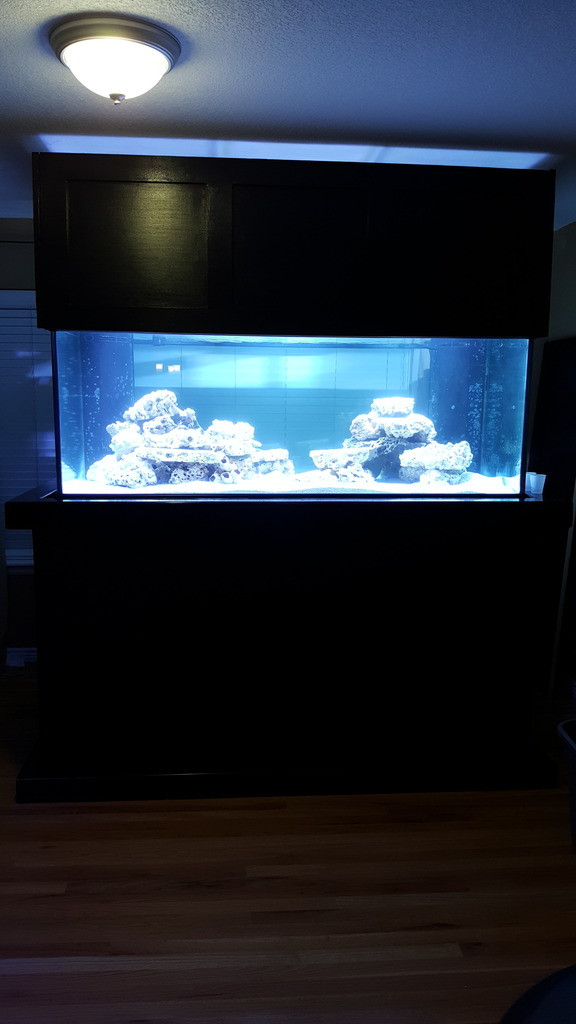
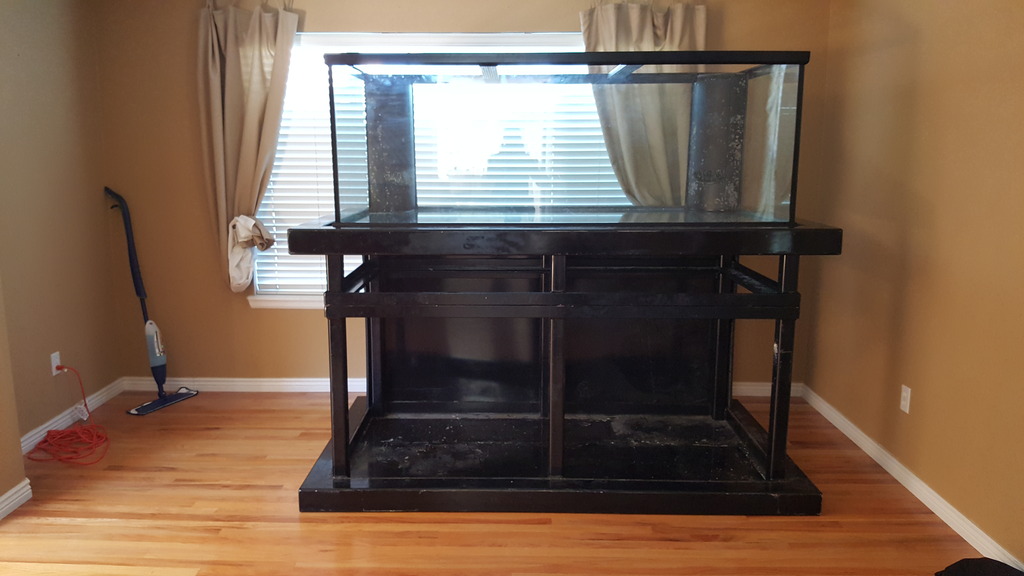
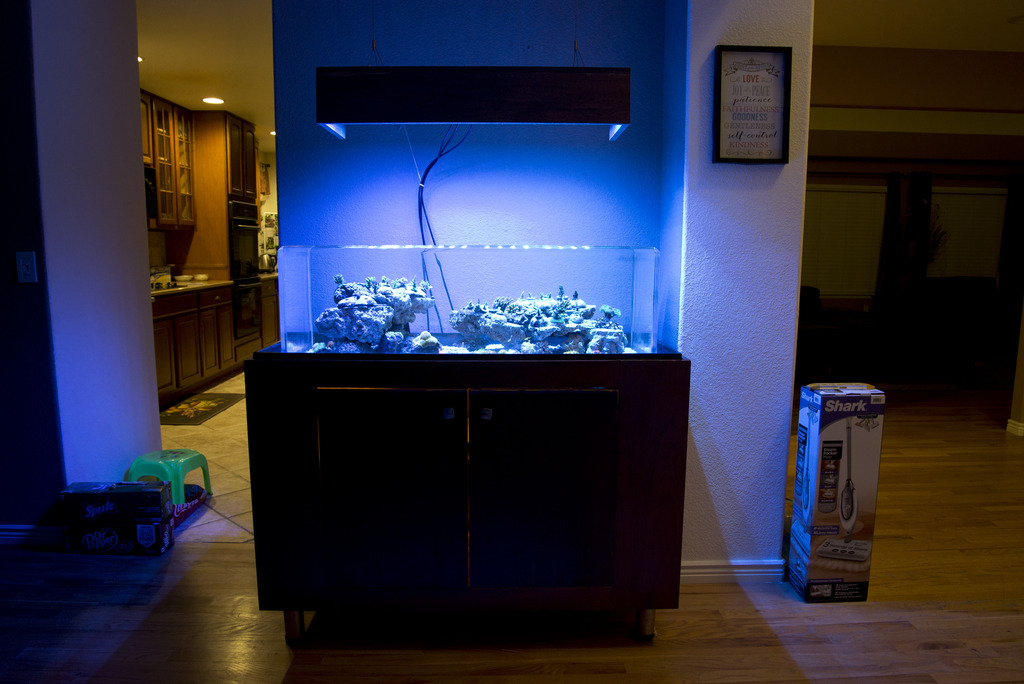
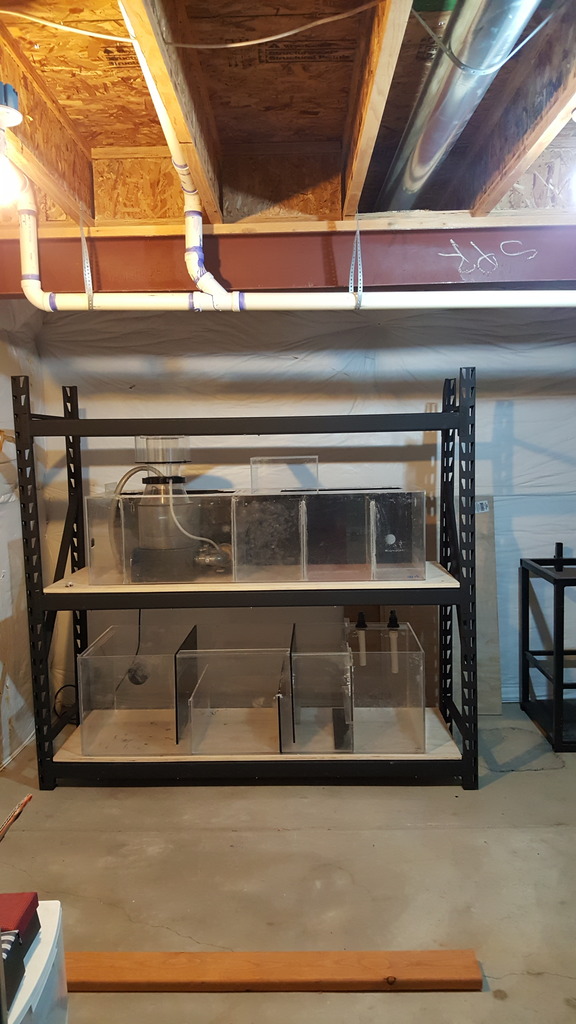
I converted the formal dining room to house the 300DD and a 46 gallon ZeroEdge. Below the dining room is an oversize furnace/heating/storage area, so I converted the area to be my fish room.
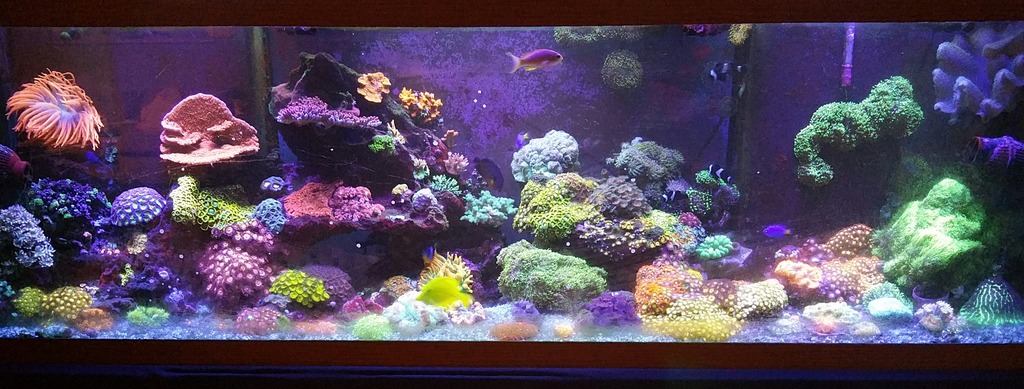
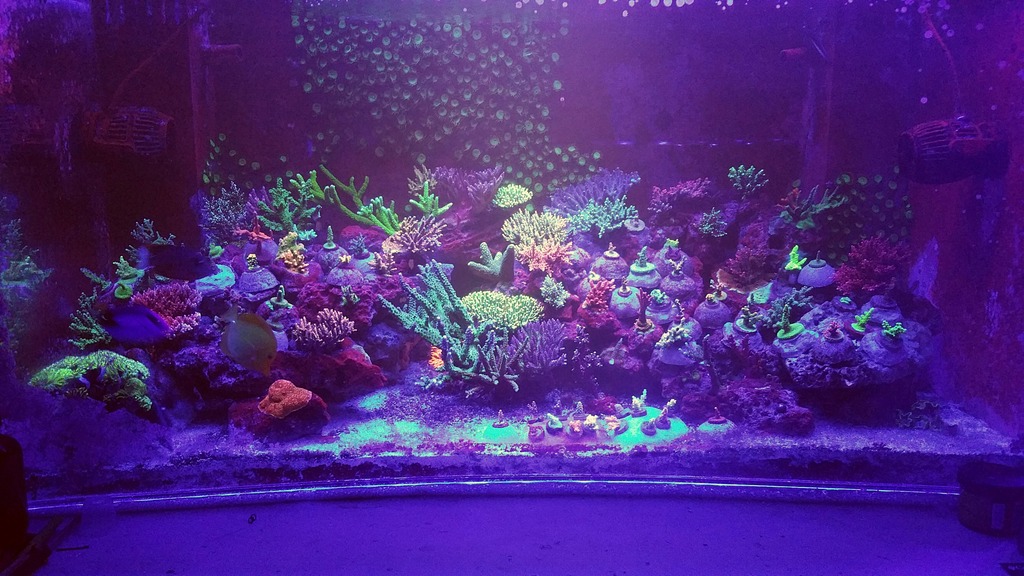
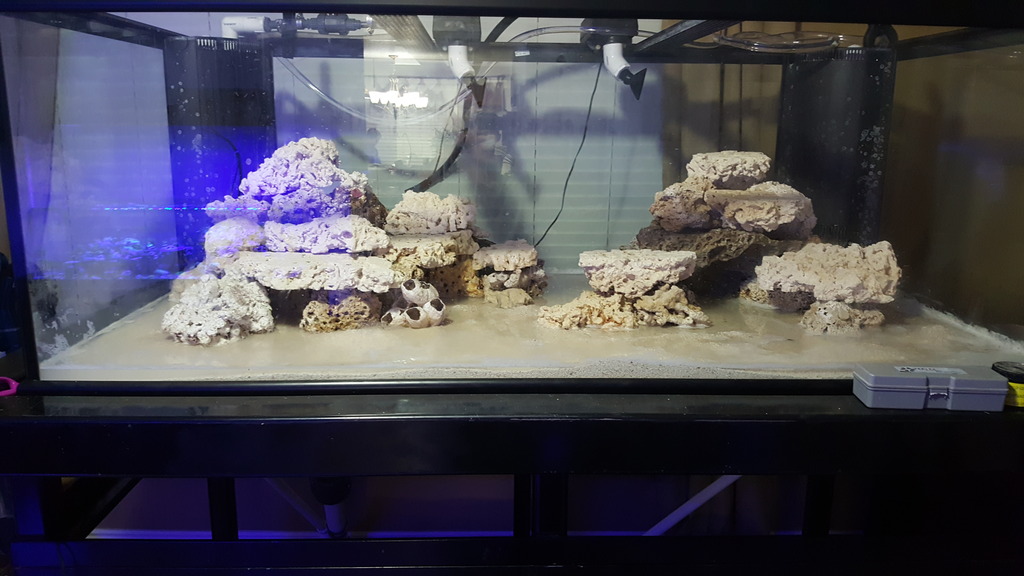
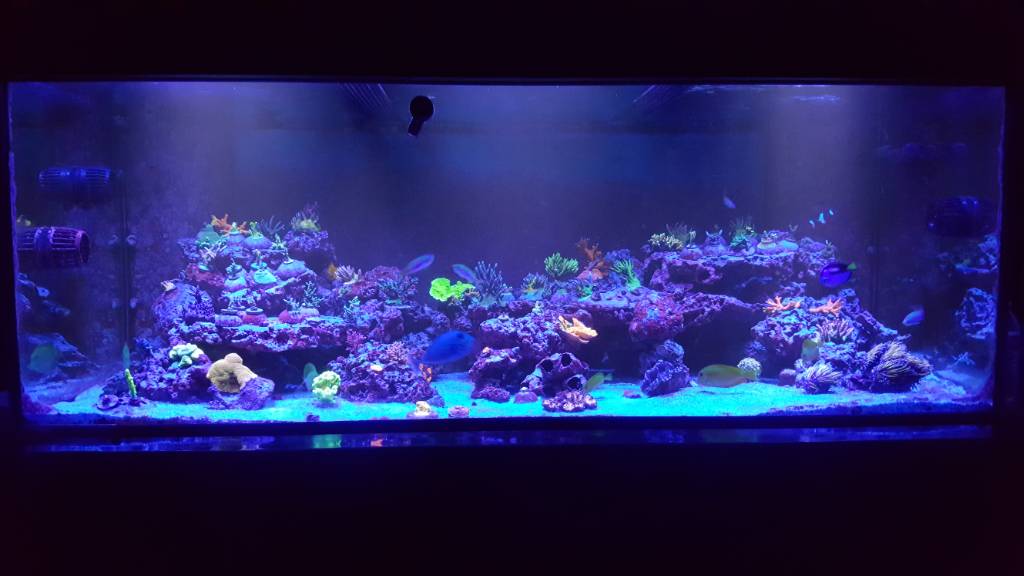
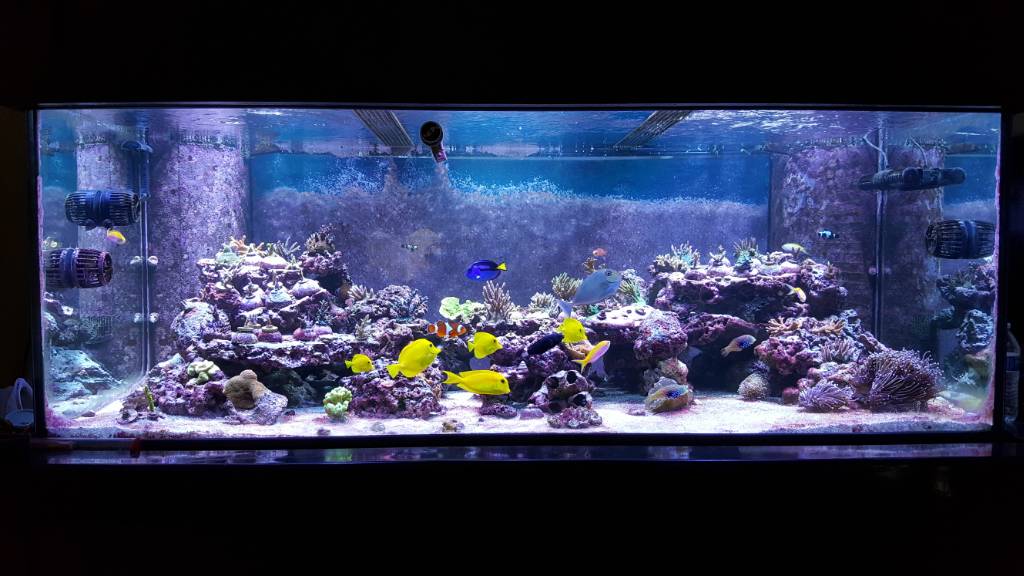
Fish tanks display room:
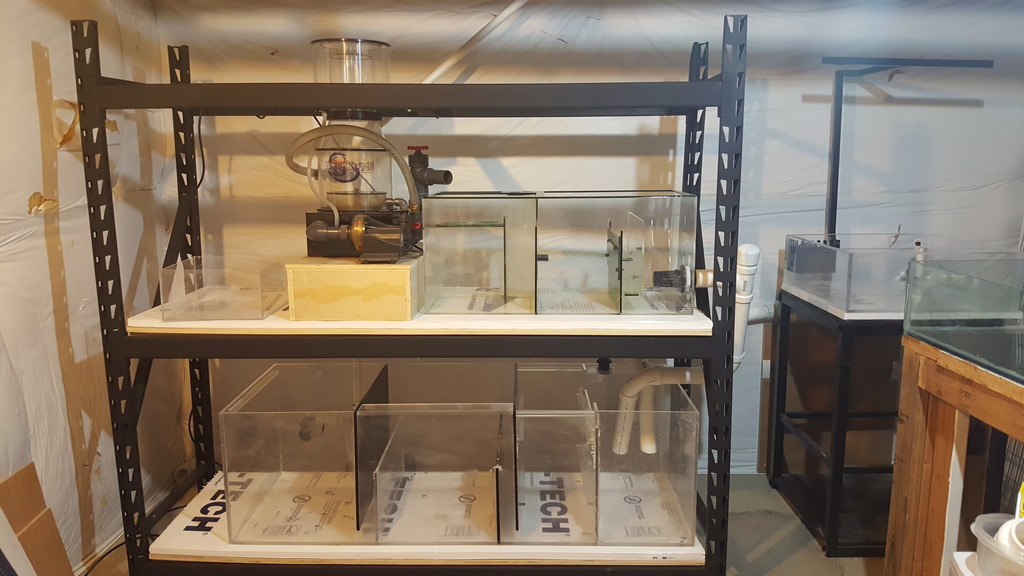
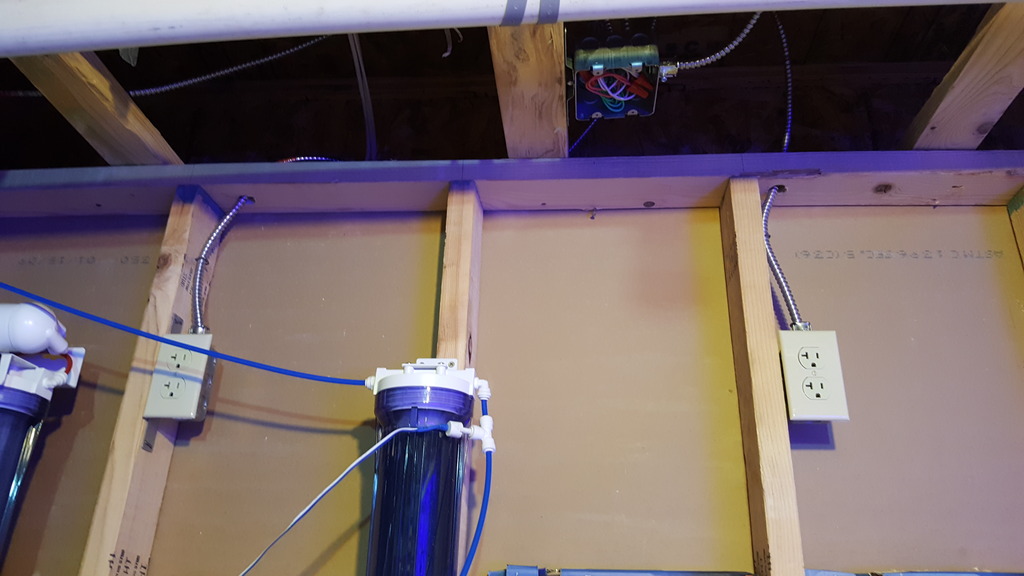
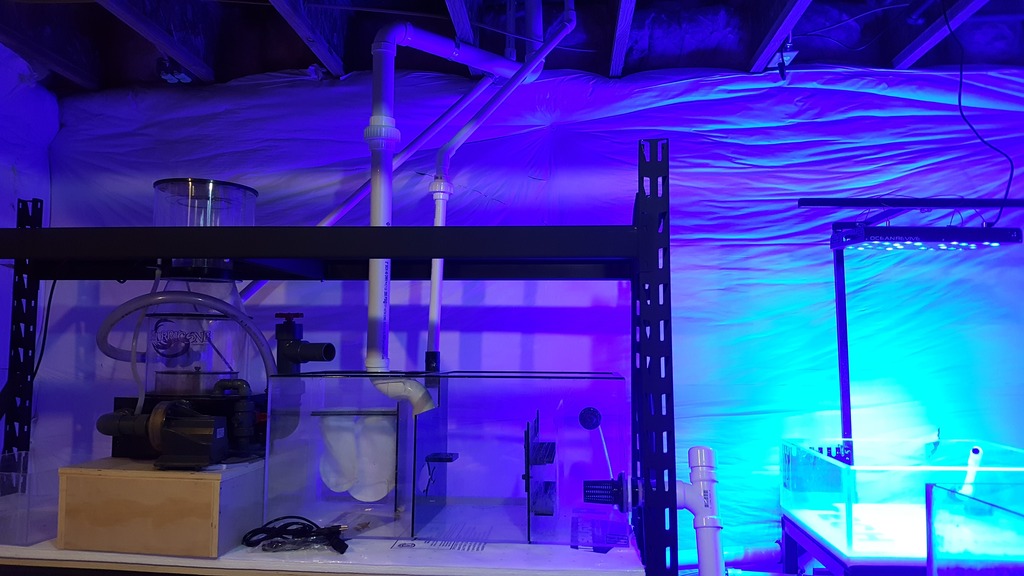
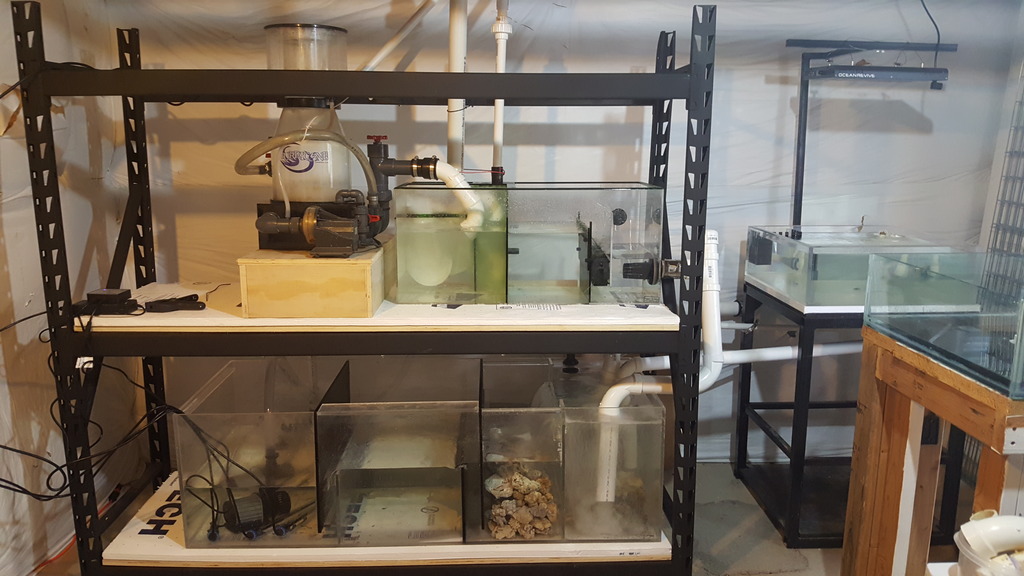
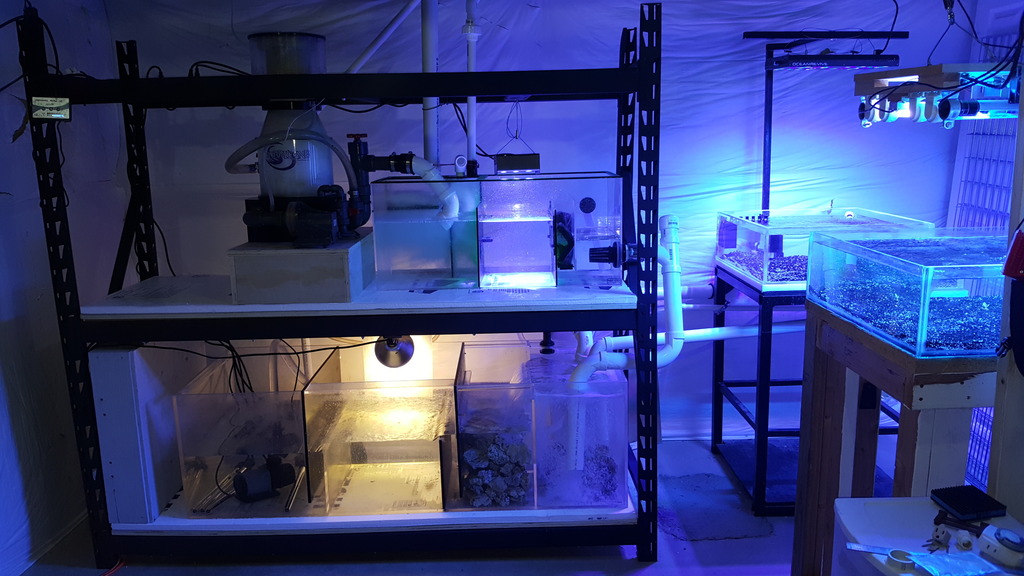
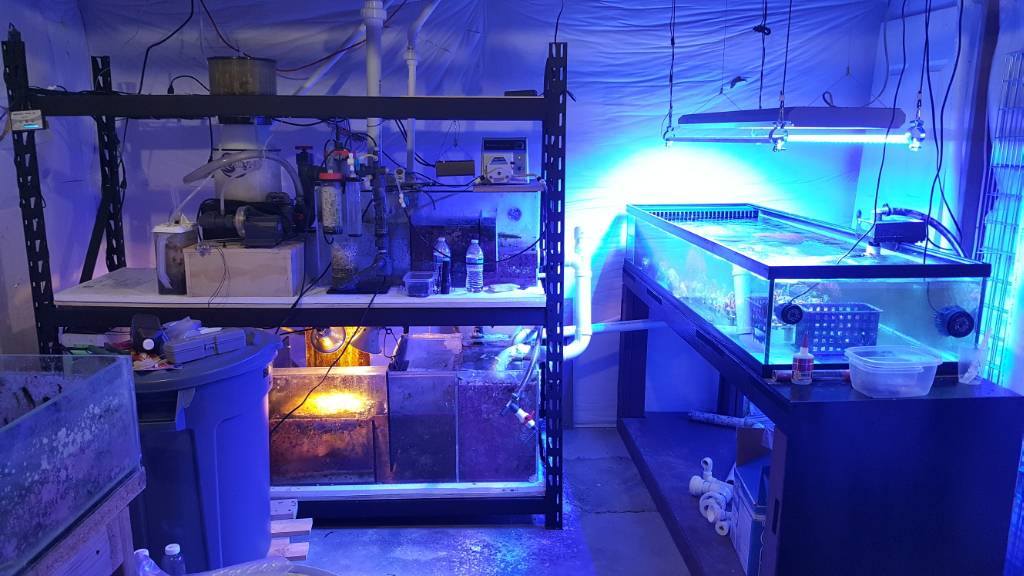
Basement fish room:
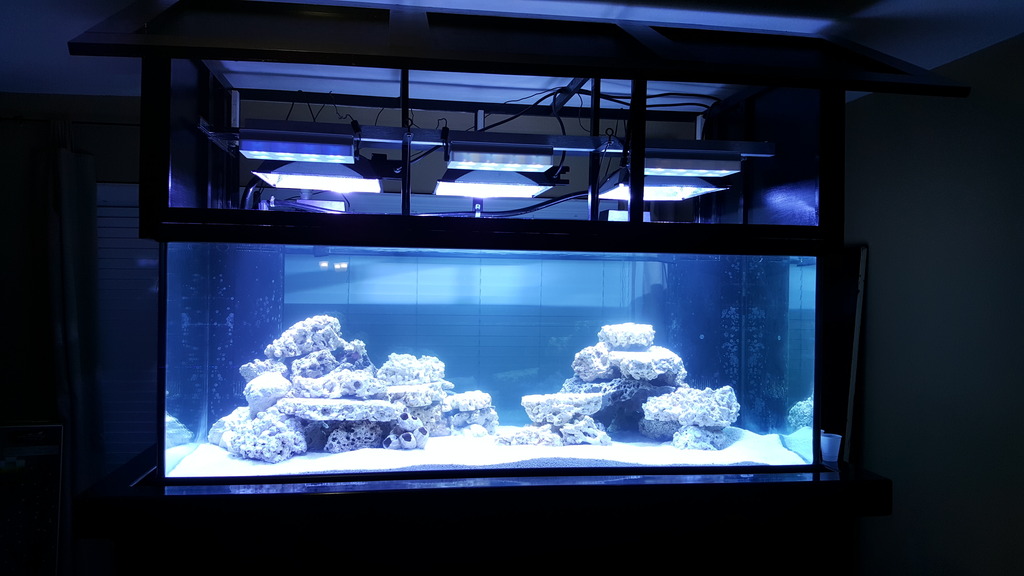
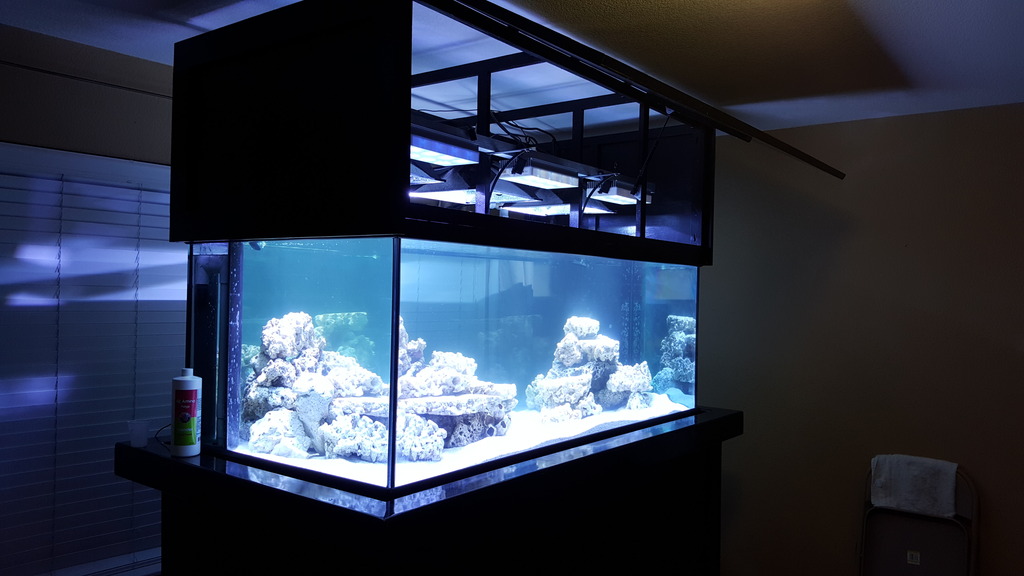
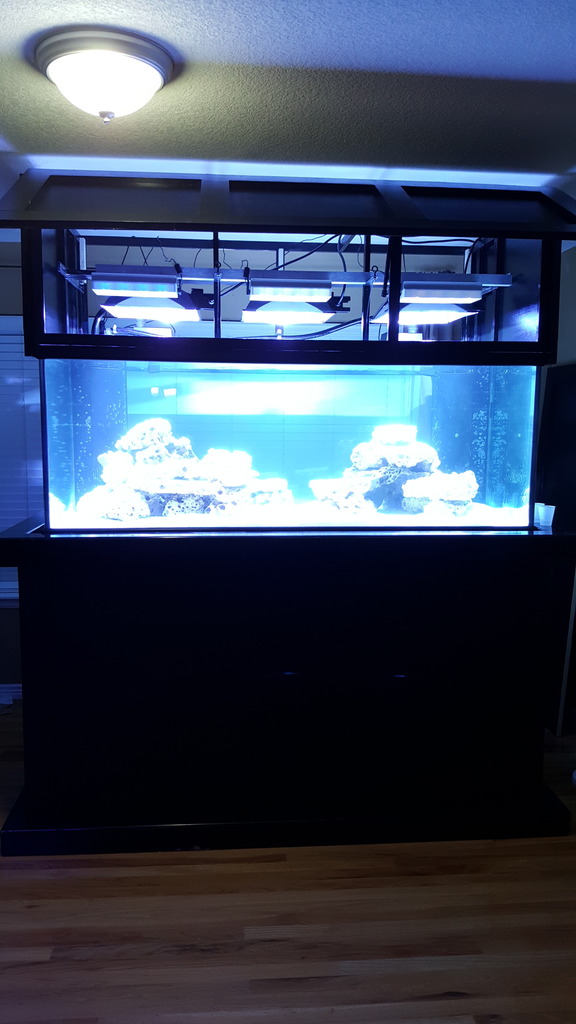
Lighting:
3 AI sols with controllers
3 250w HQI Hamilton magnetic ballast
3 Lumen Max Elite Mogul Reflectors
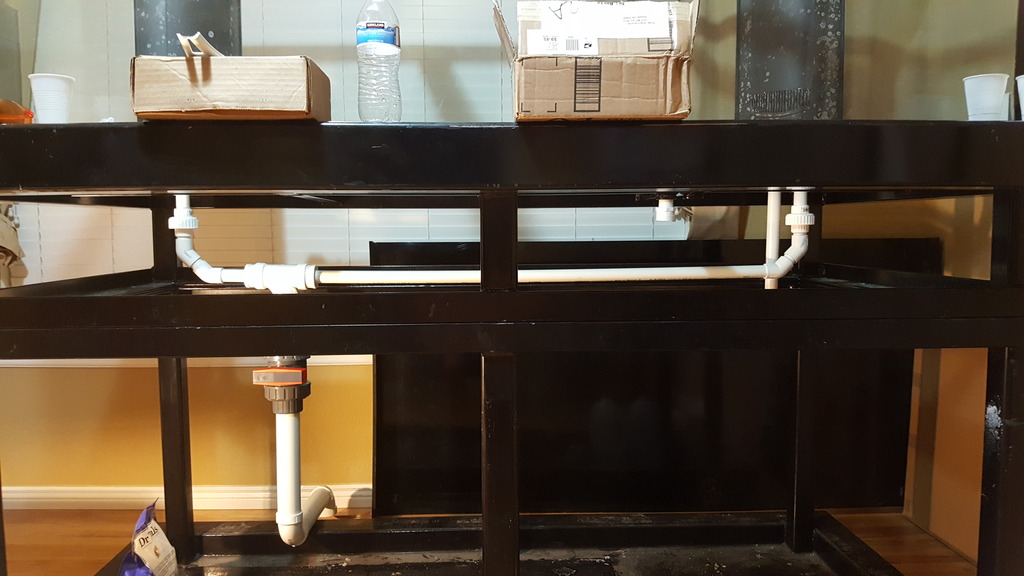
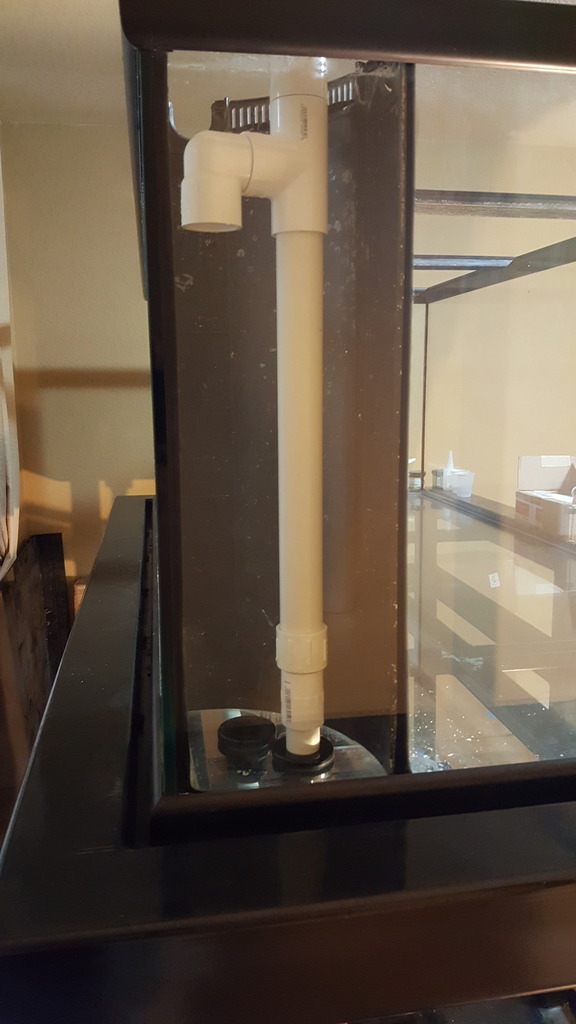
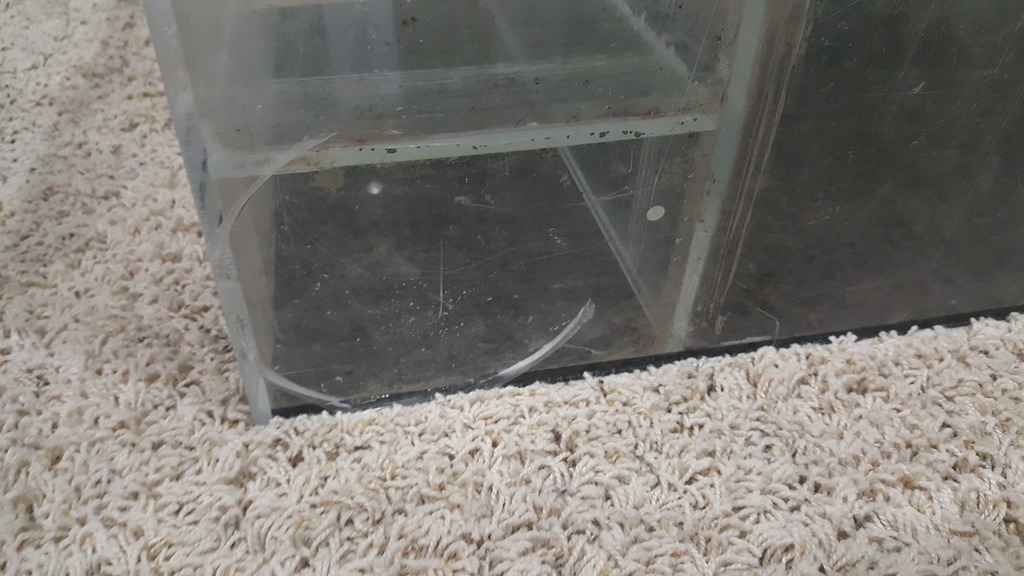
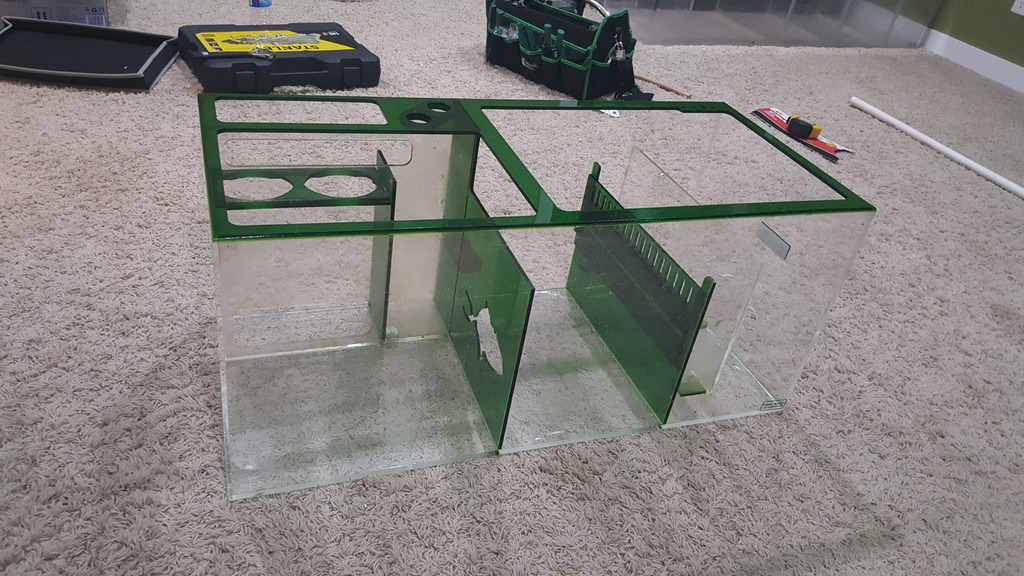
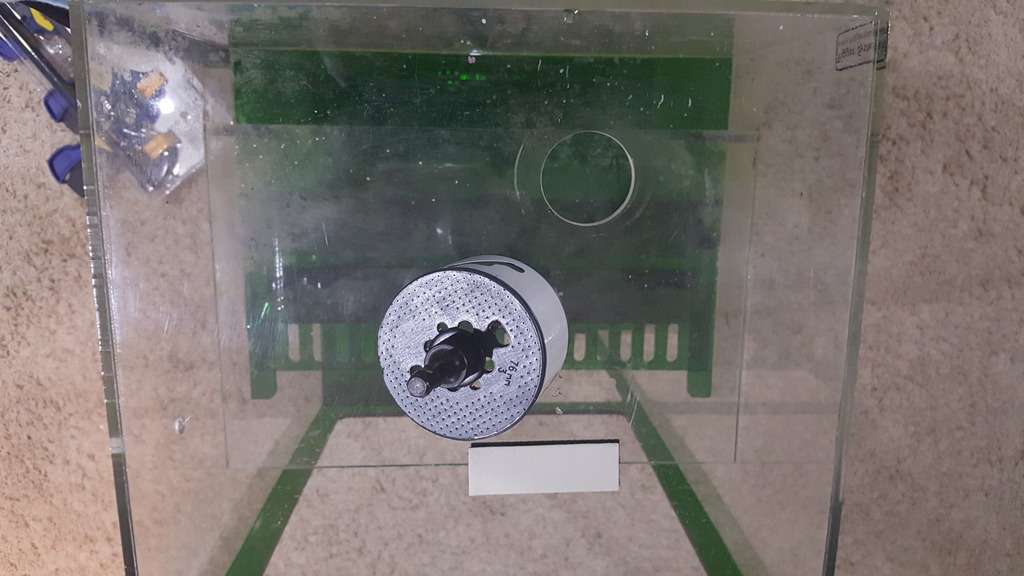
Sumps:
Top: Multi chambers refugium
Bottom: Custom sump 60Lx22Wx18H
Return Pumps:
2 Iwaki MD-100RLT (only use one for return. the other will be for back up)
Skimmer:
Octopus Hurricone Cat 2e skimmer
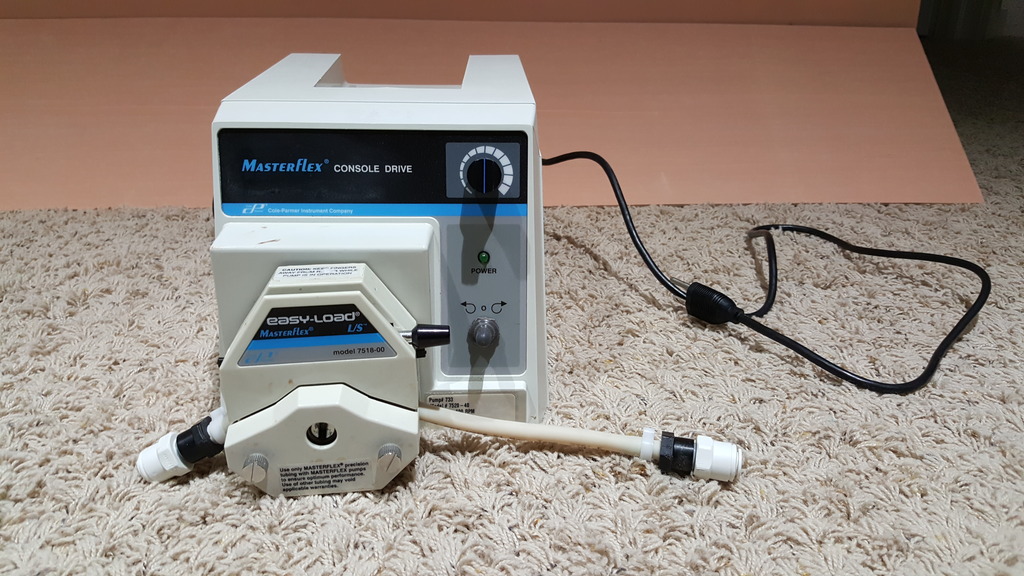
Dosing:
Vertex RX4 calcium reactor
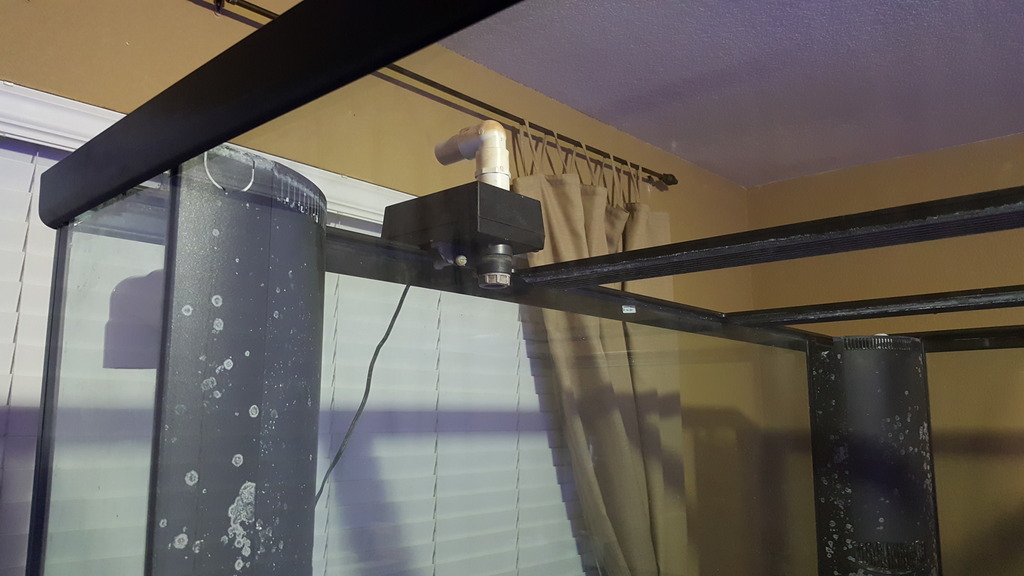
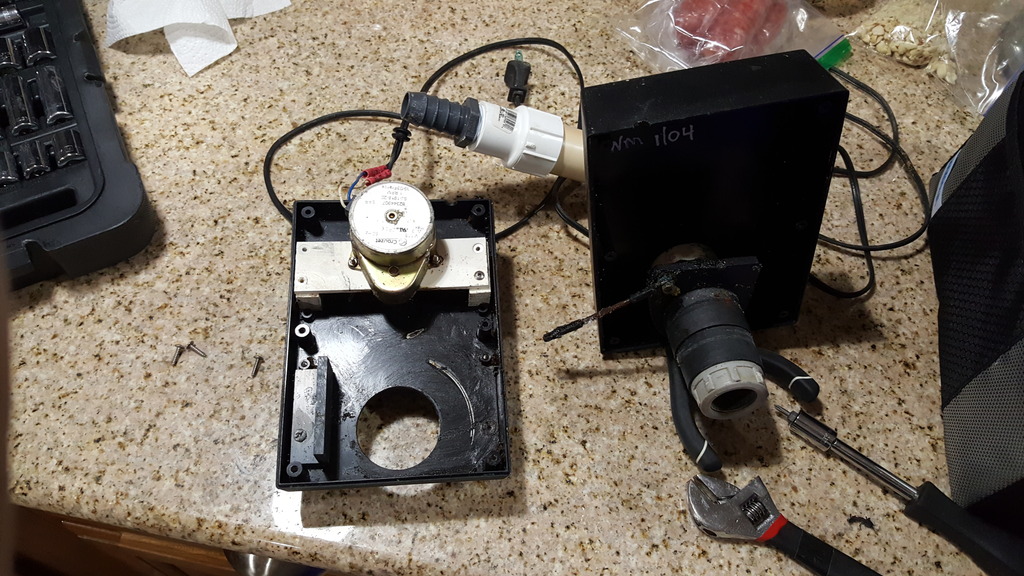
Flow:
3x Vortech MP40s
1 Jebao CP-40 Cross Flow
2x 1" sea swirls with return
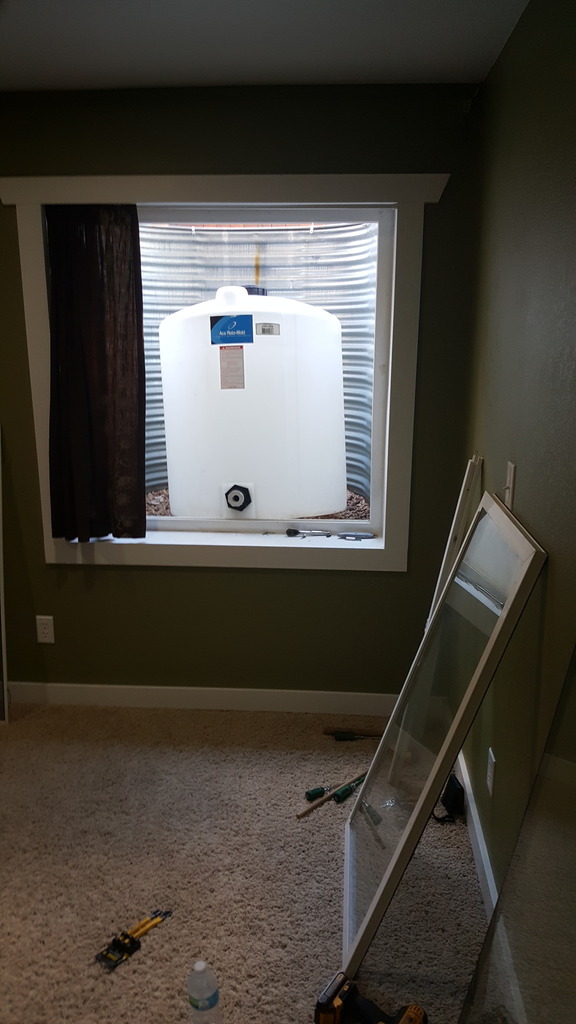
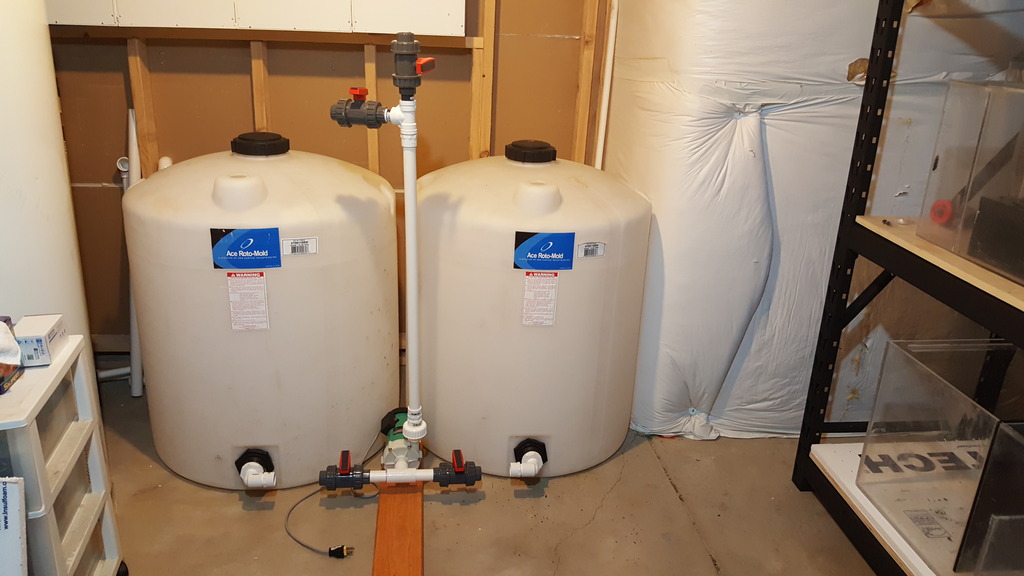
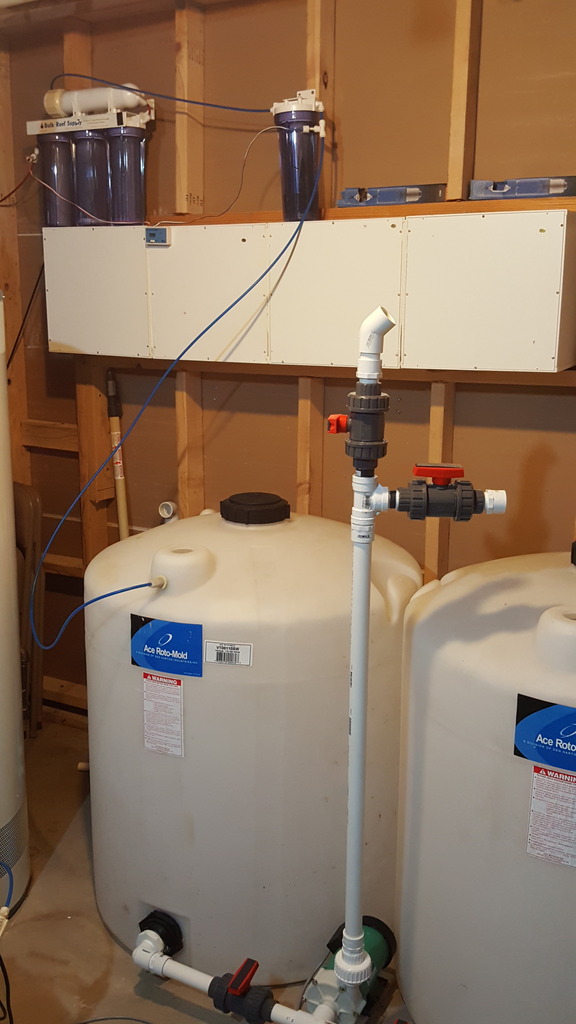
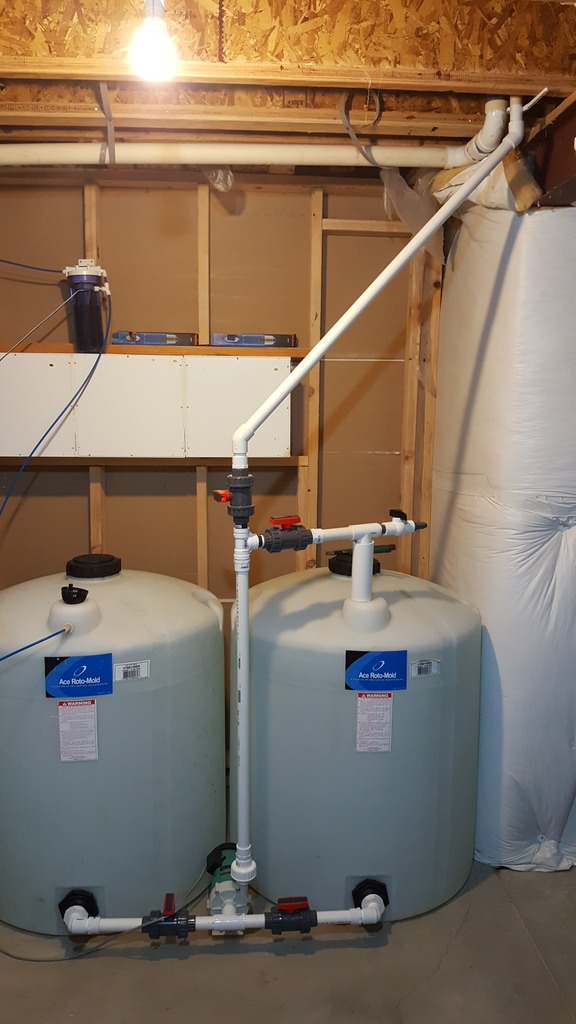
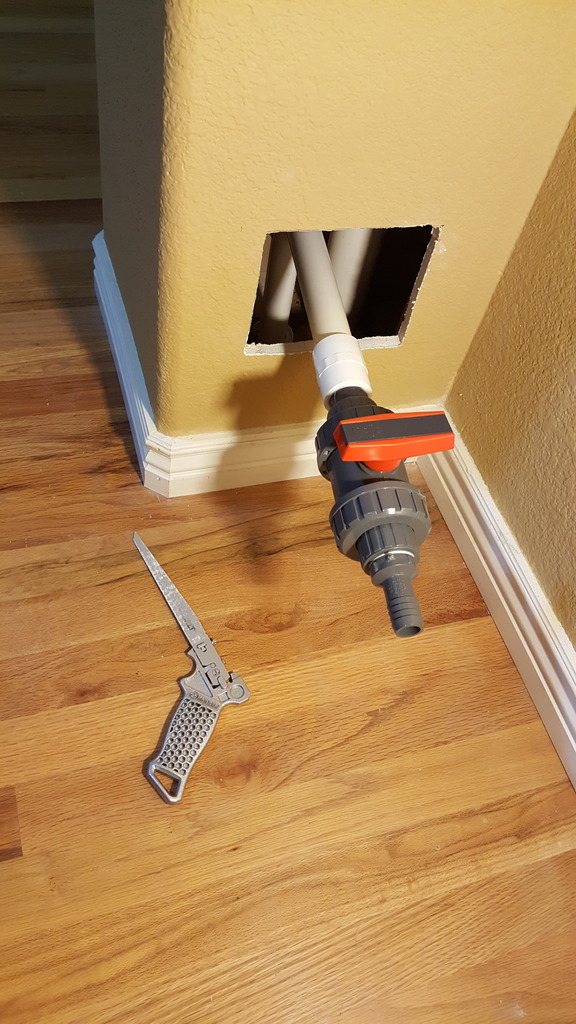
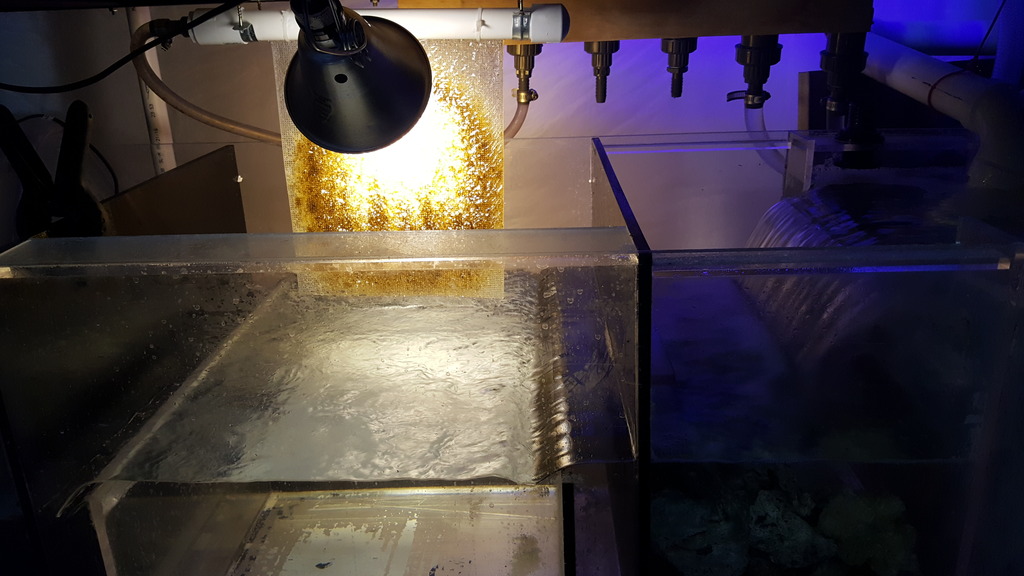
Waterchange station:
2 100 water storage tanks
Iwaki MD-55RLT
I'm like a budget reefer, so most of my tanks, stands, equipment have been bought used. Some of the equipment I have on hand while others are deals I've made with members of local reef clubs.
I've been a long time lurker on here and figured it's time to document my tank and share it with the R2R community. The tank has been up and running for about a year and half, so i will be updating this thread with pictures I've taken throughout the build process.
I converted the formal dining room to house the 300DD and a 46 gallon ZeroEdge. Below the dining room is an oversize furnace/heating/storage area, so I converted the area to be my fish room.
Fish tanks display room:
Basement fish room:
Lighting:
3 AI sols with controllers
3 250w HQI Hamilton magnetic ballast
3 Lumen Max Elite Mogul Reflectors
Sumps:
Top: Multi chambers refugium
Bottom: Custom sump 60Lx22Wx18H
Return Pumps:
2 Iwaki MD-100RLT (only use one for return. the other will be for back up)
Skimmer:
Octopus Hurricone Cat 2e skimmer
Dosing:
Vertex RX4 calcium reactor
Flow:
3x Vortech MP40s
1 Jebao CP-40 Cross Flow
2x 1" sea swirls with return
Waterchange station:
2 100 water storage tanks
Iwaki MD-55RLT
I'm like a budget reefer, so most of my tanks, stands, equipment have been bought used. Some of the equipment I have on hand while others are deals I've made with members of local reef clubs.