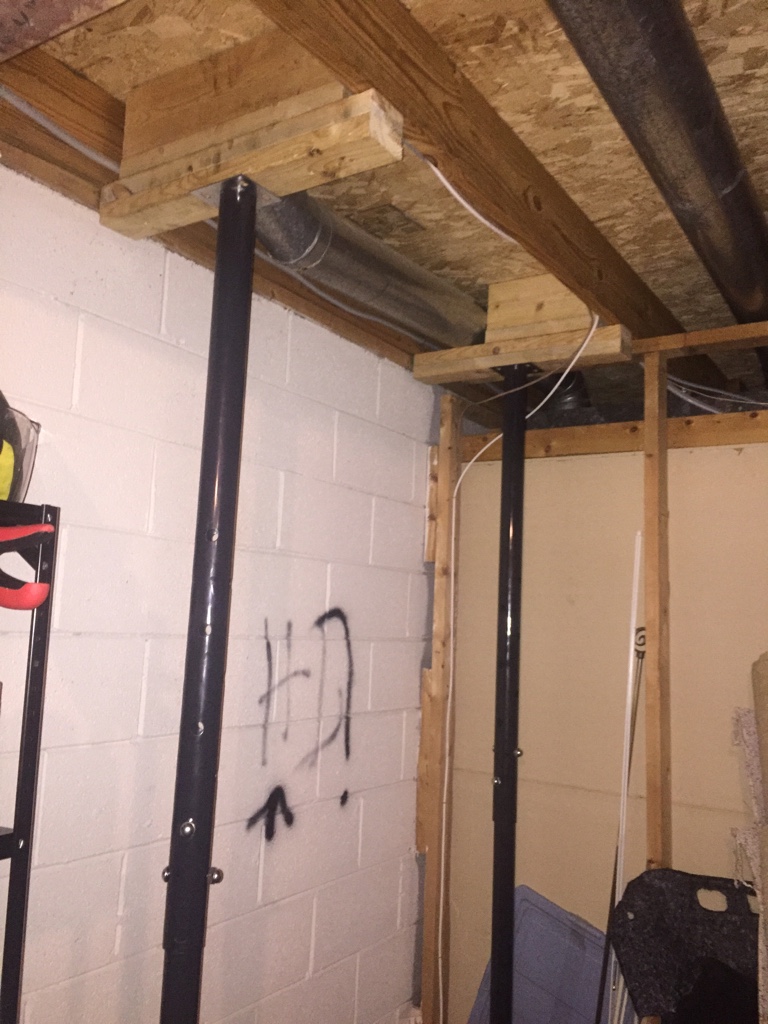
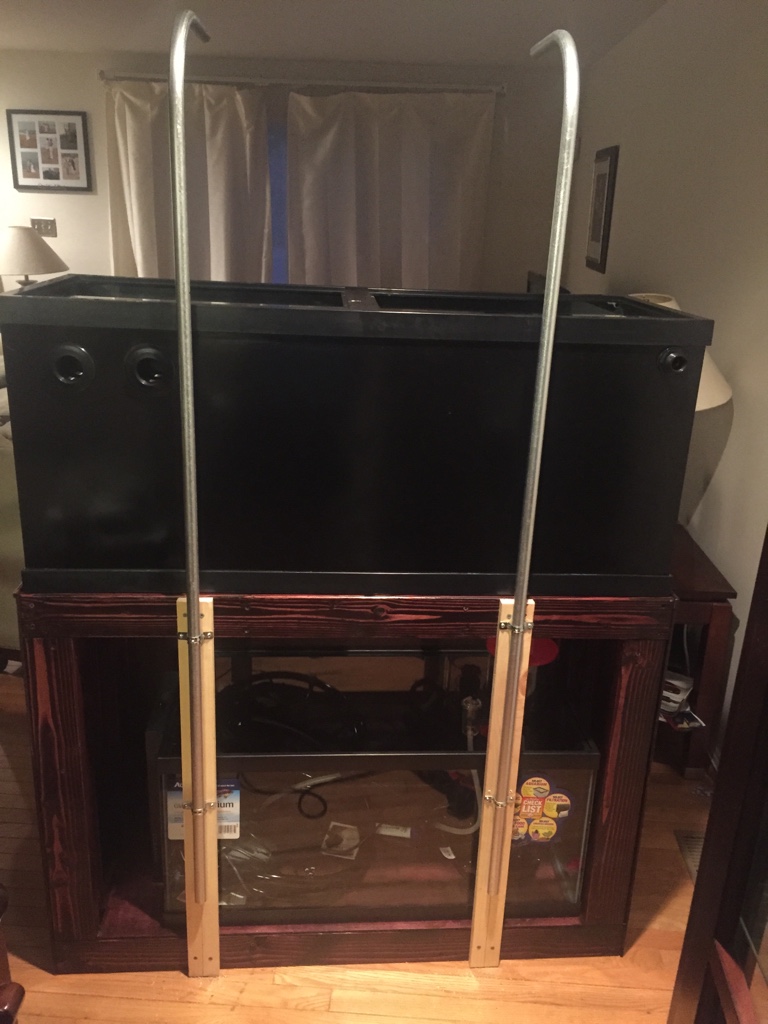
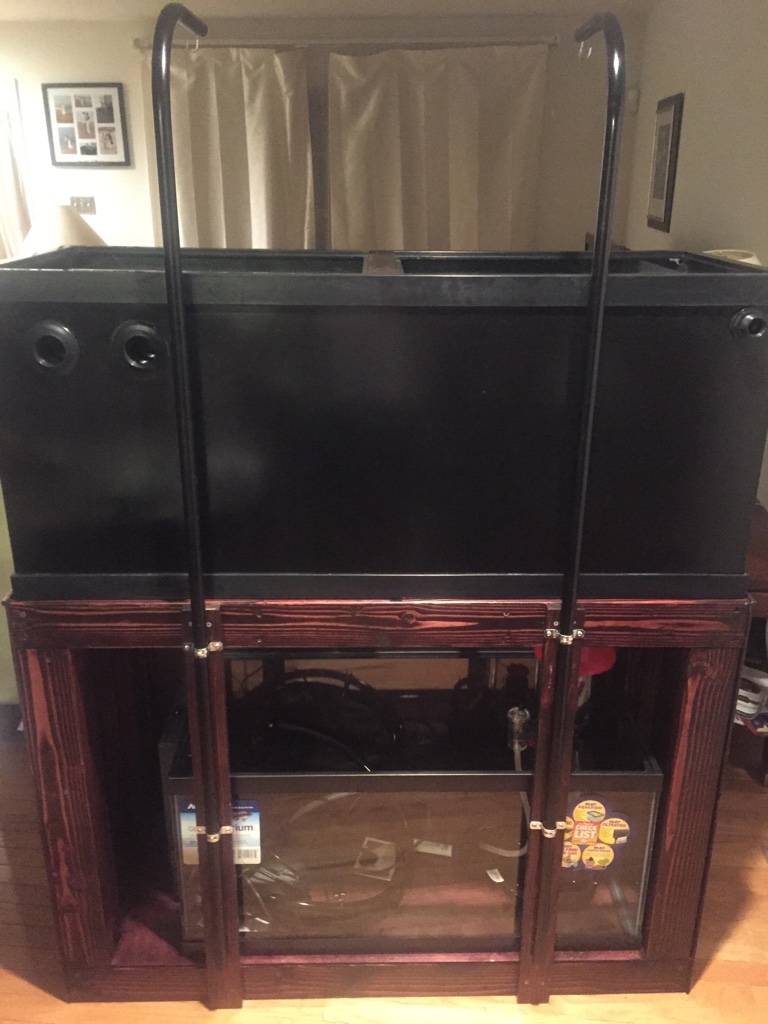
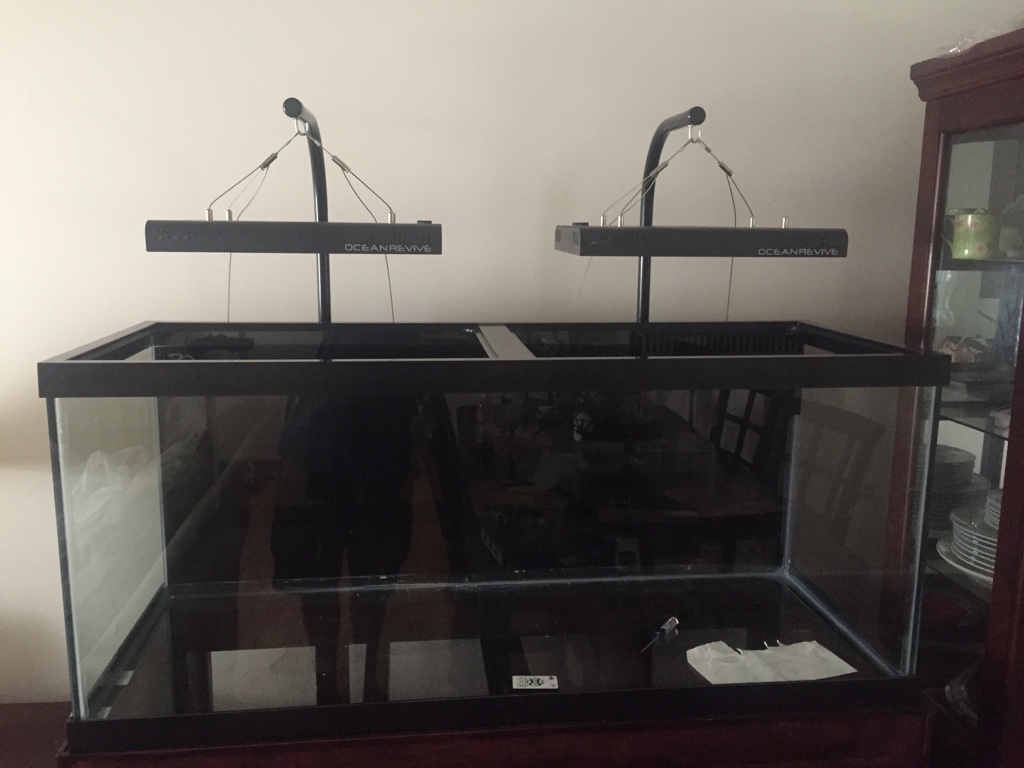
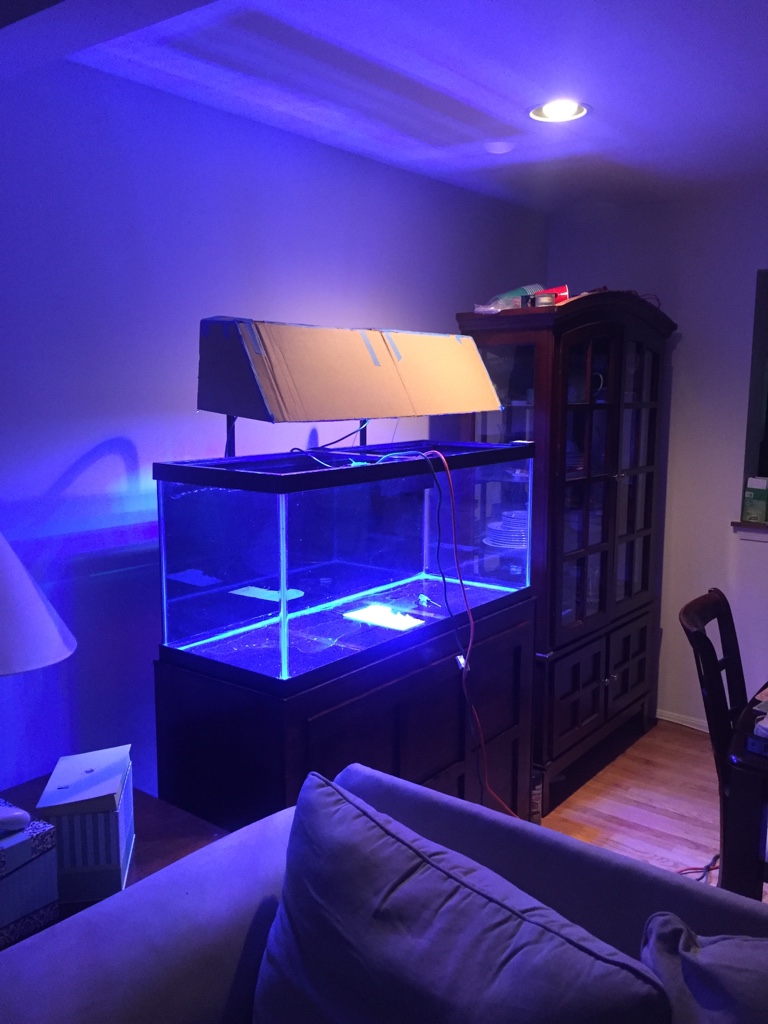
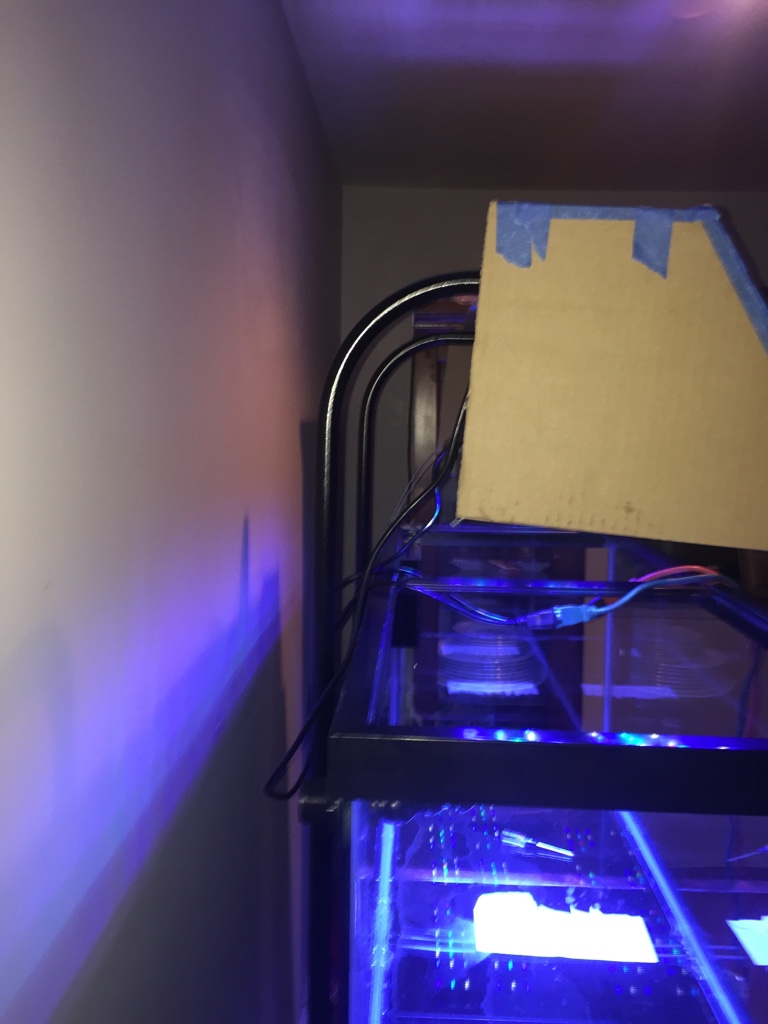
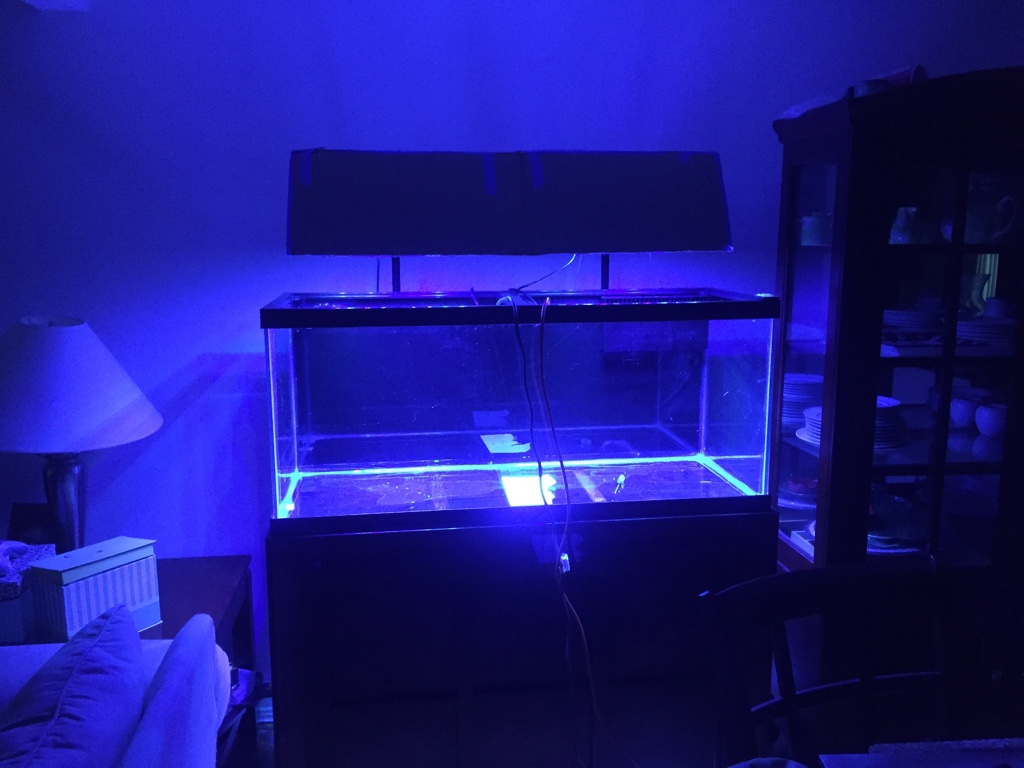
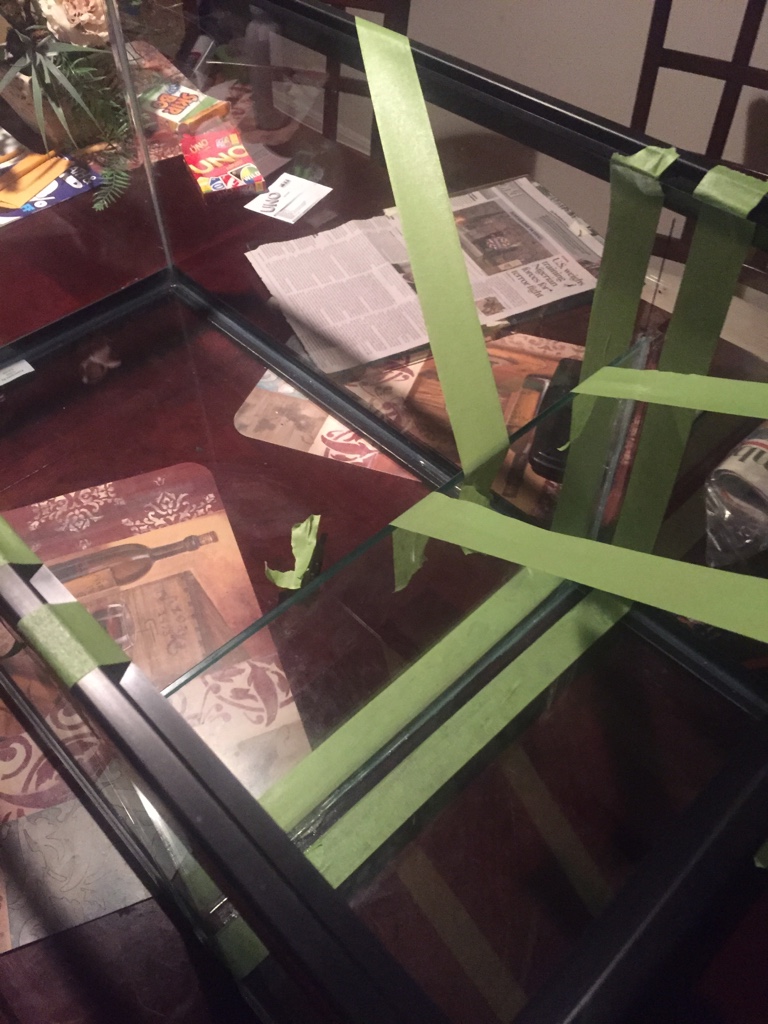
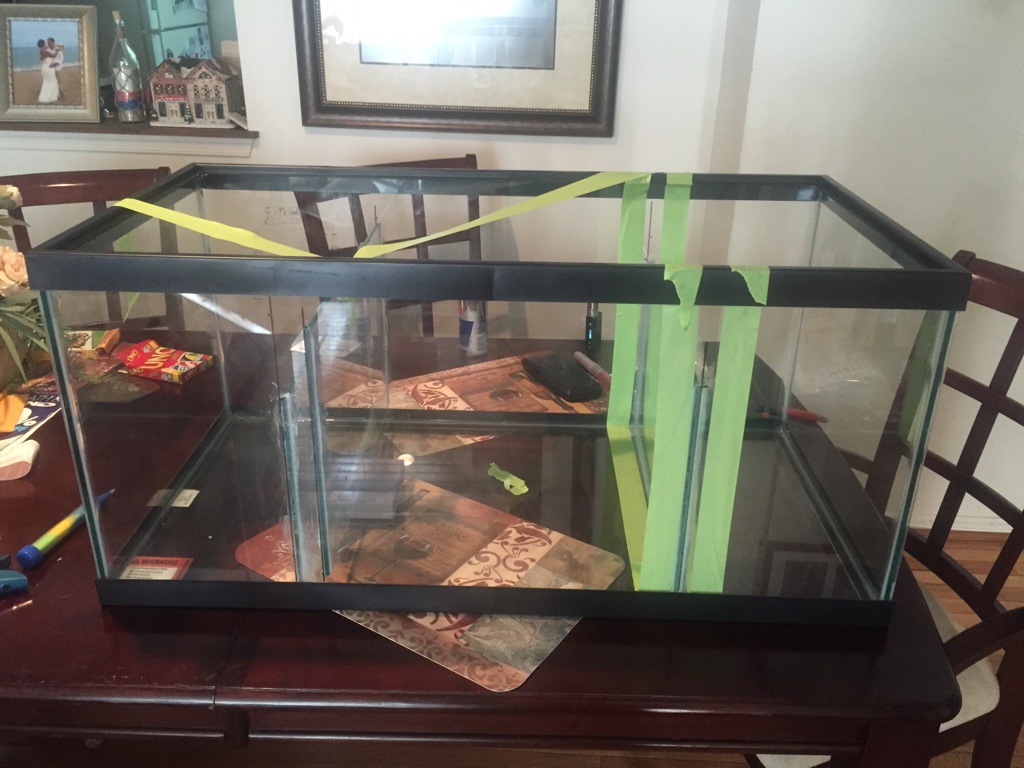
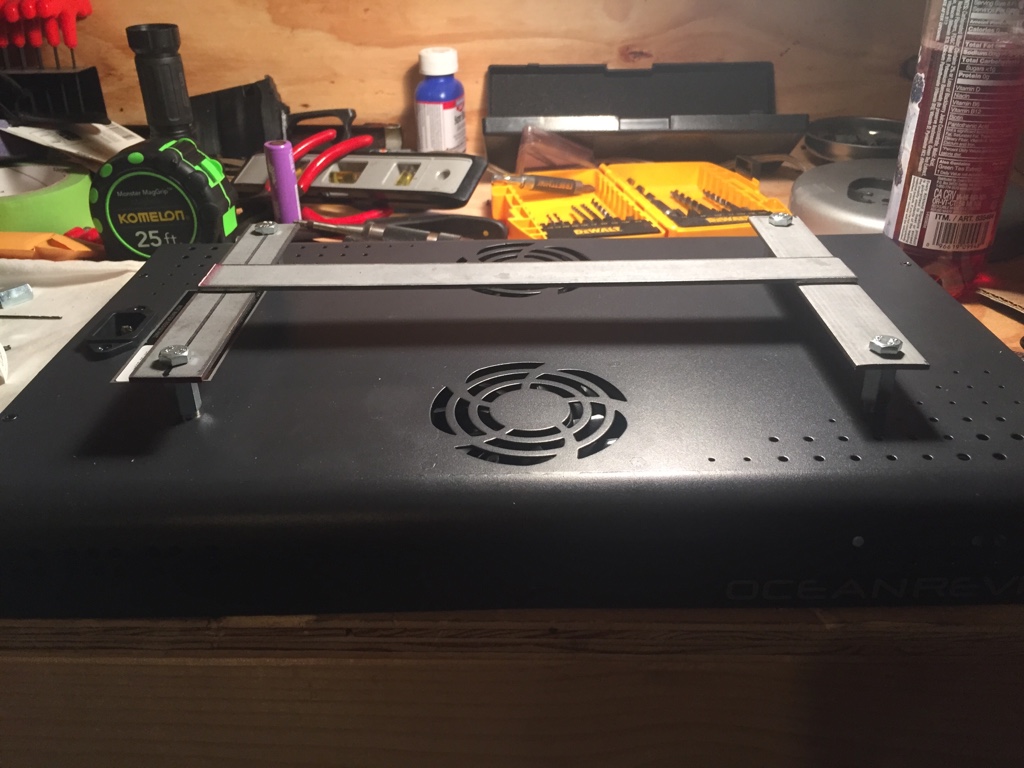
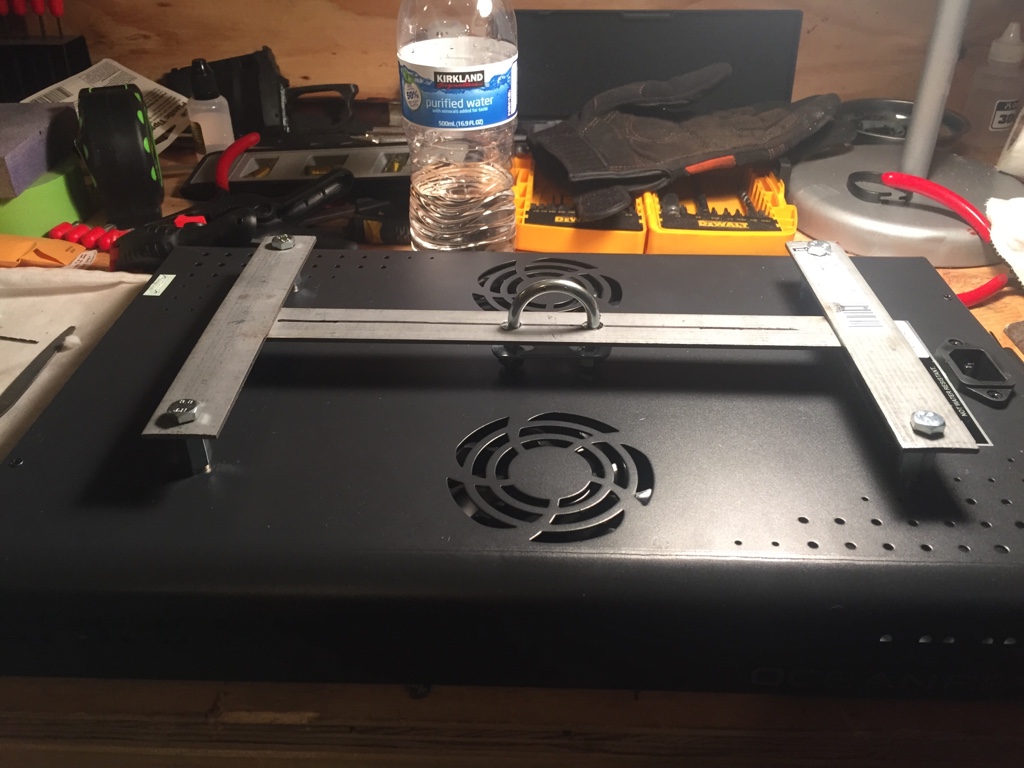
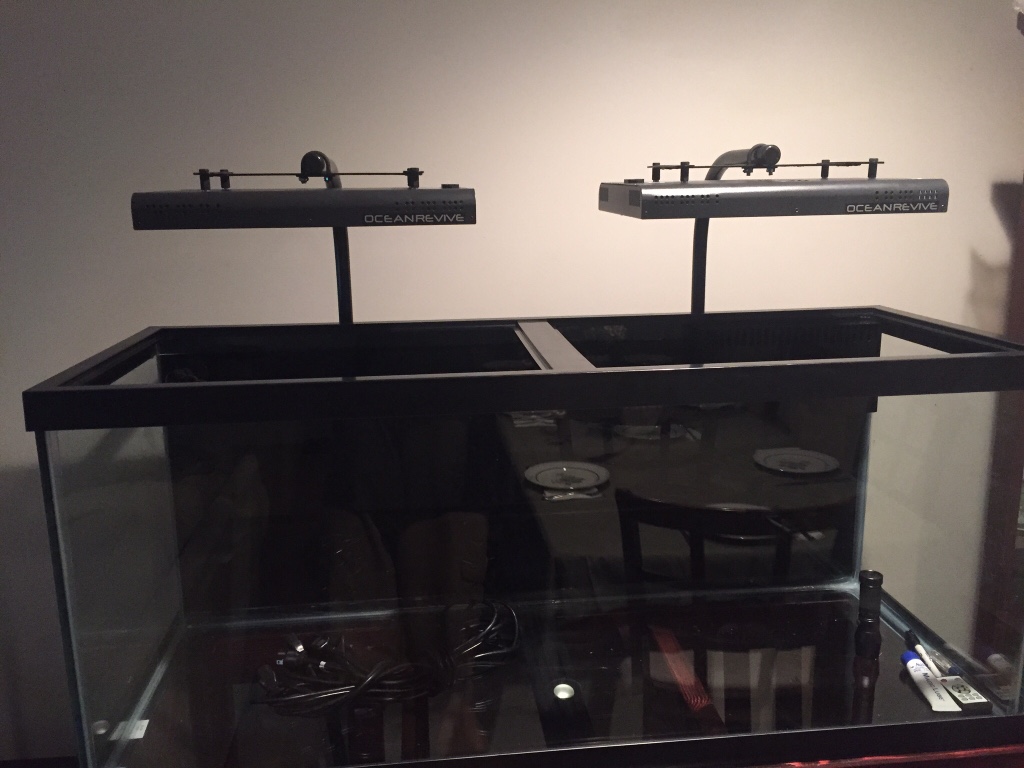
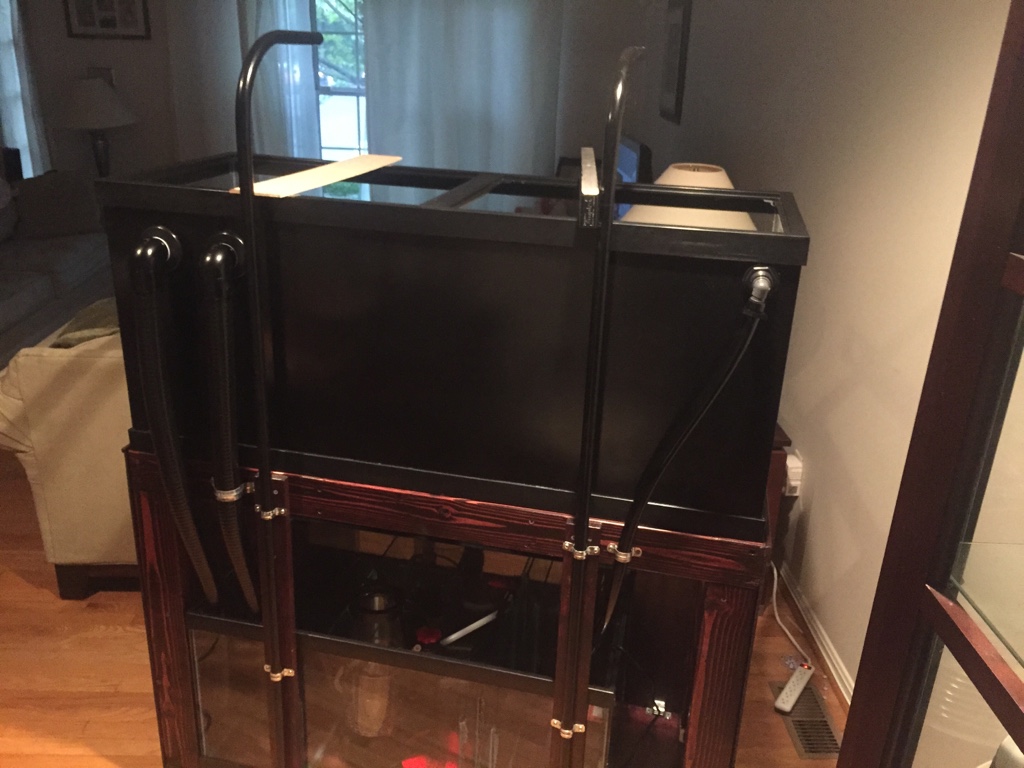
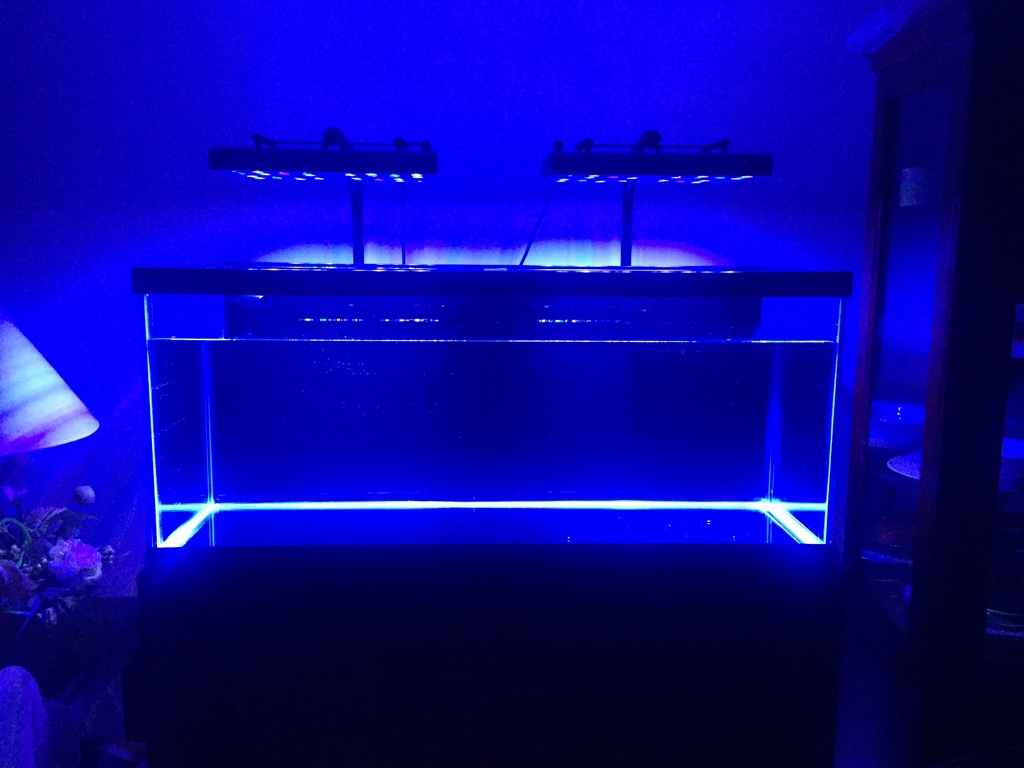
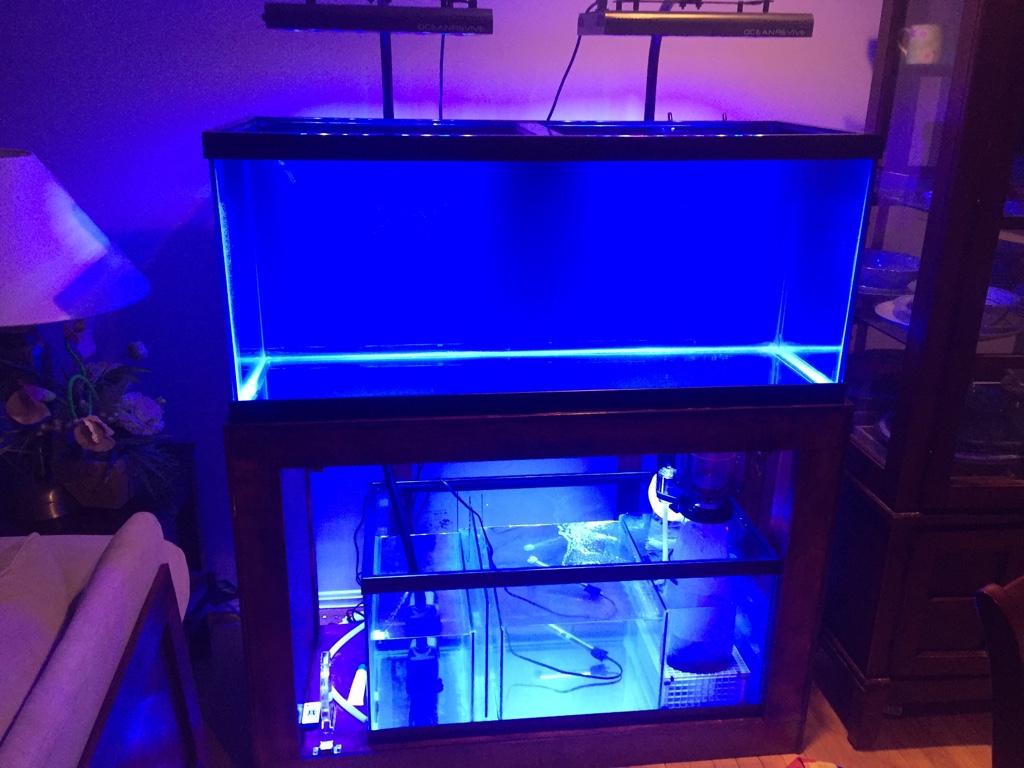
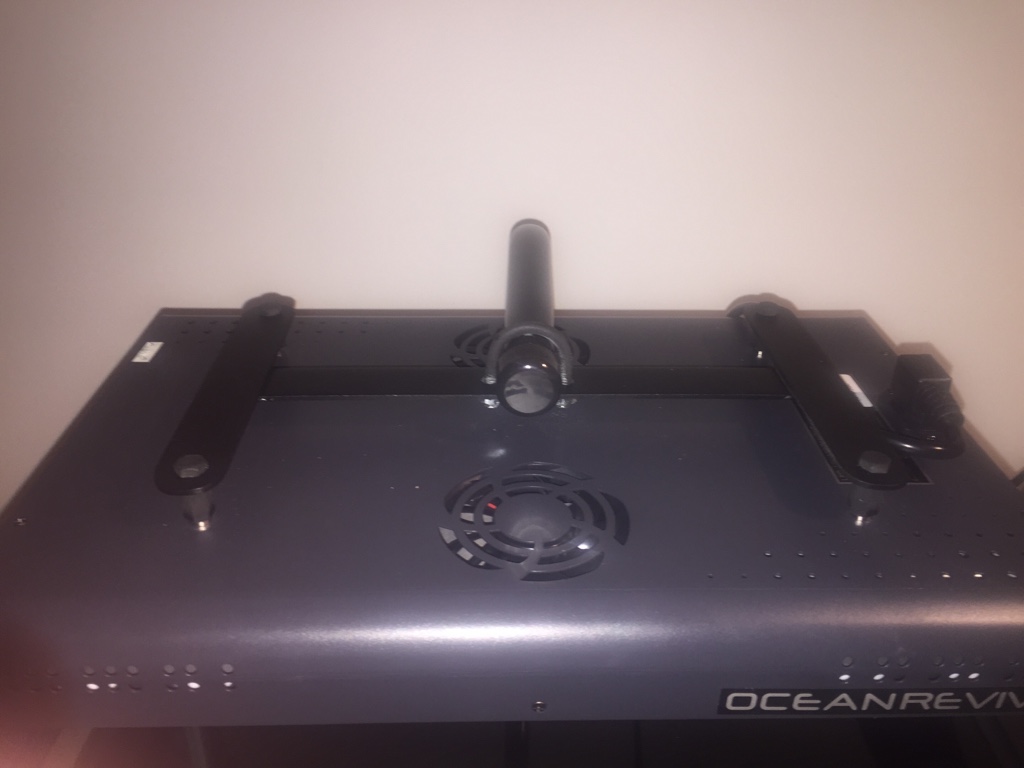
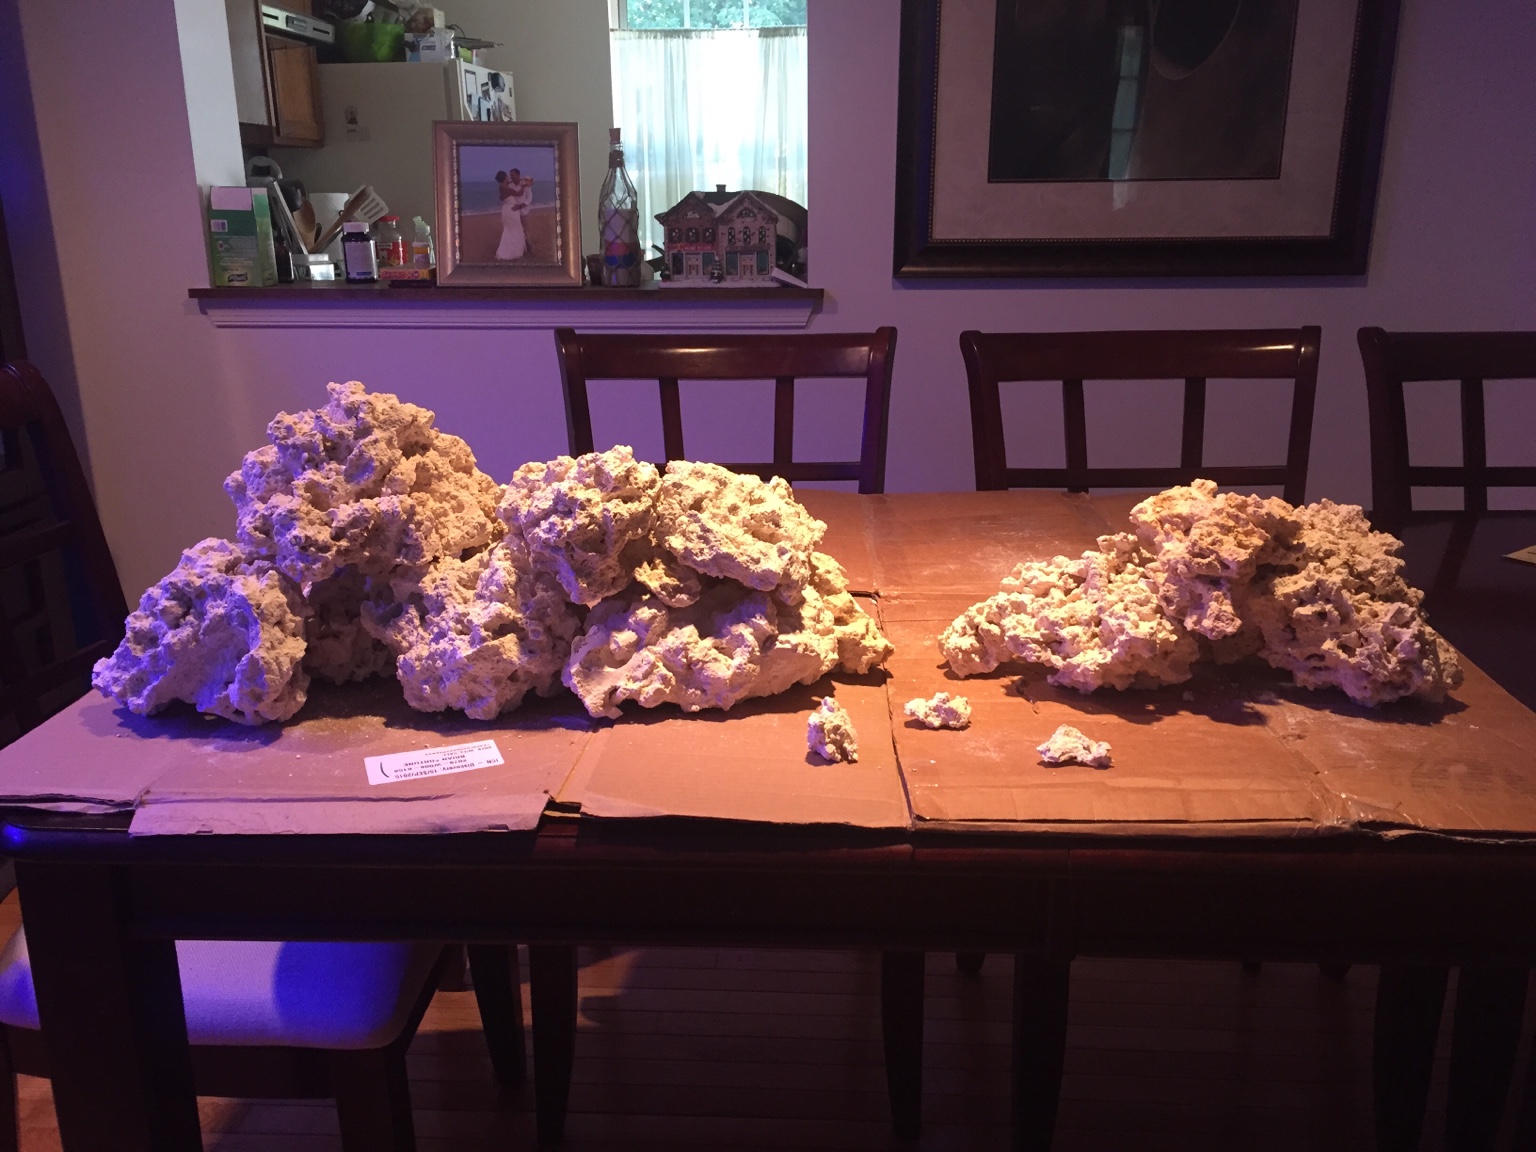
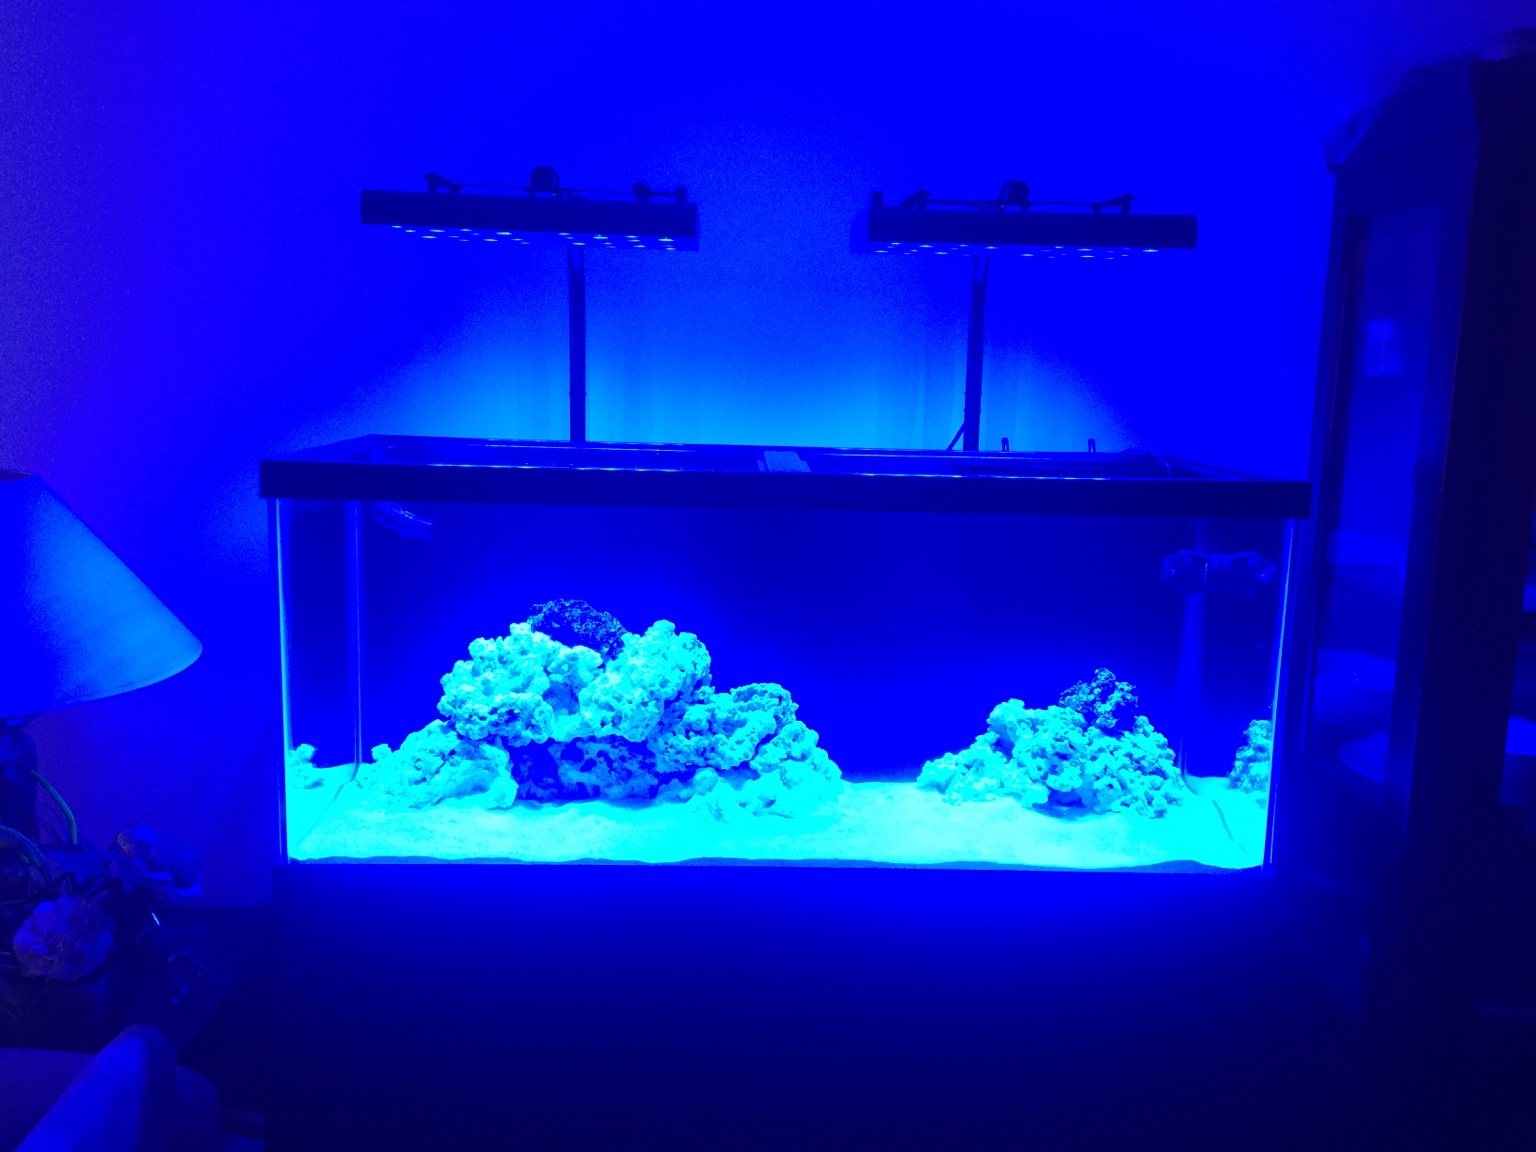
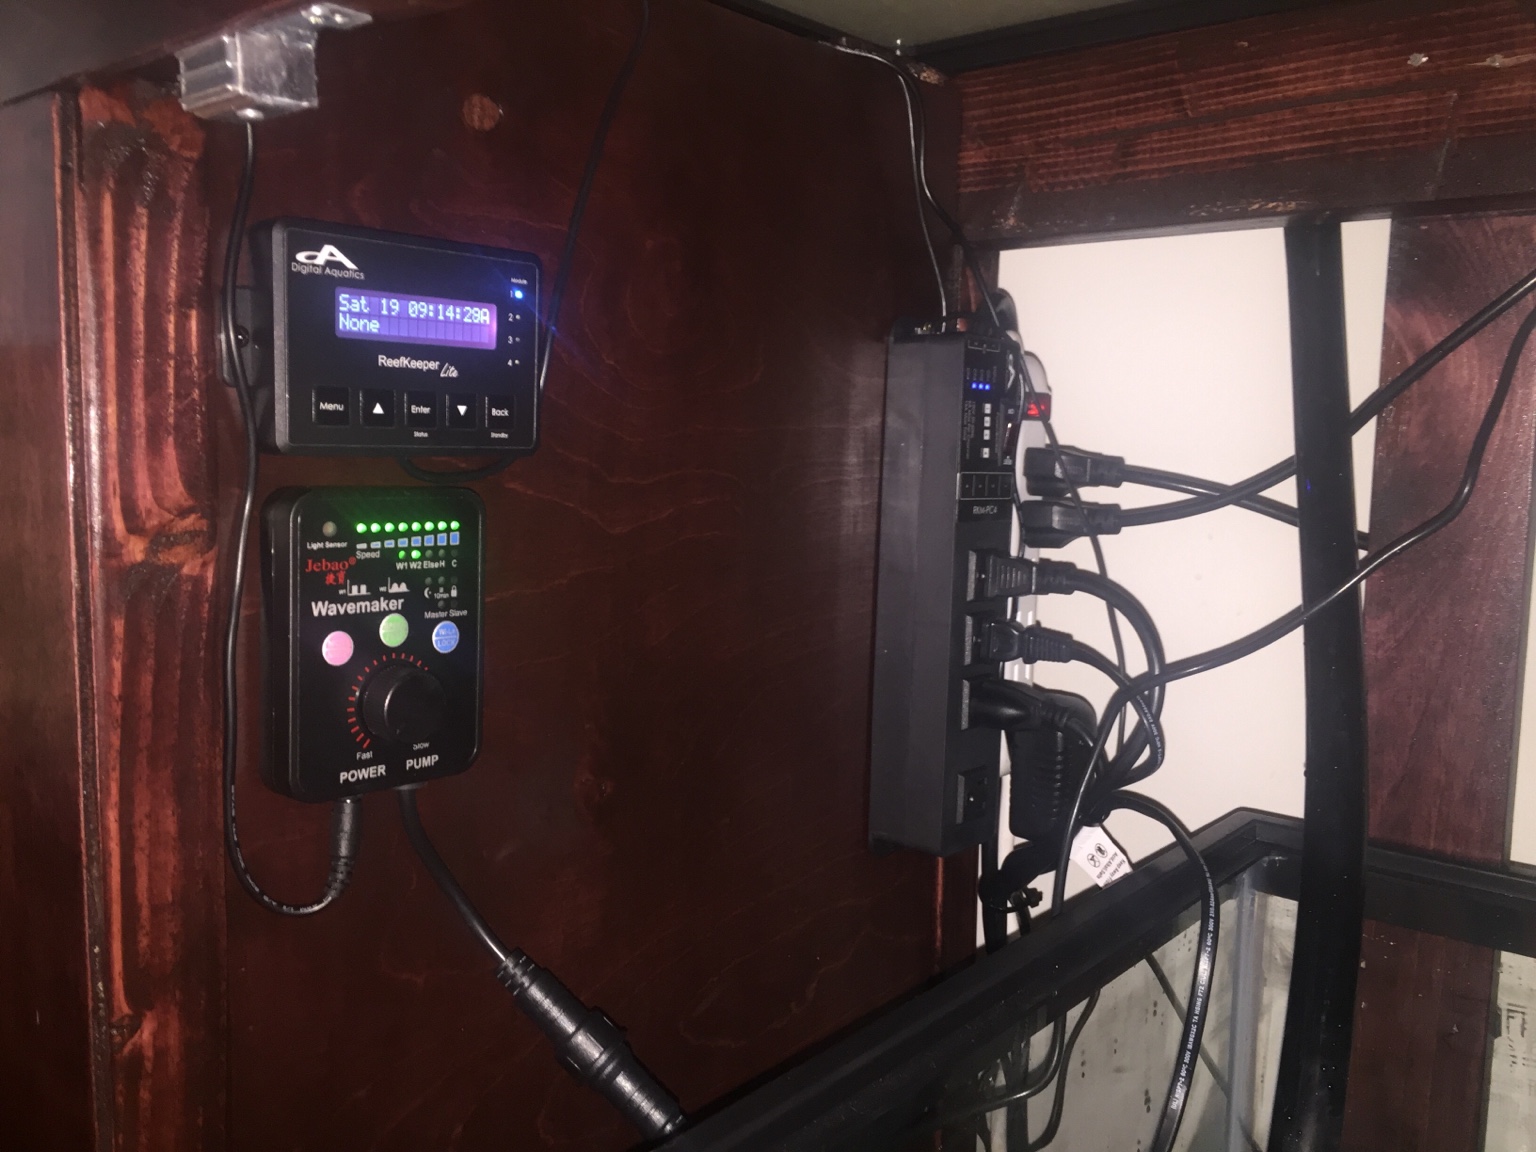
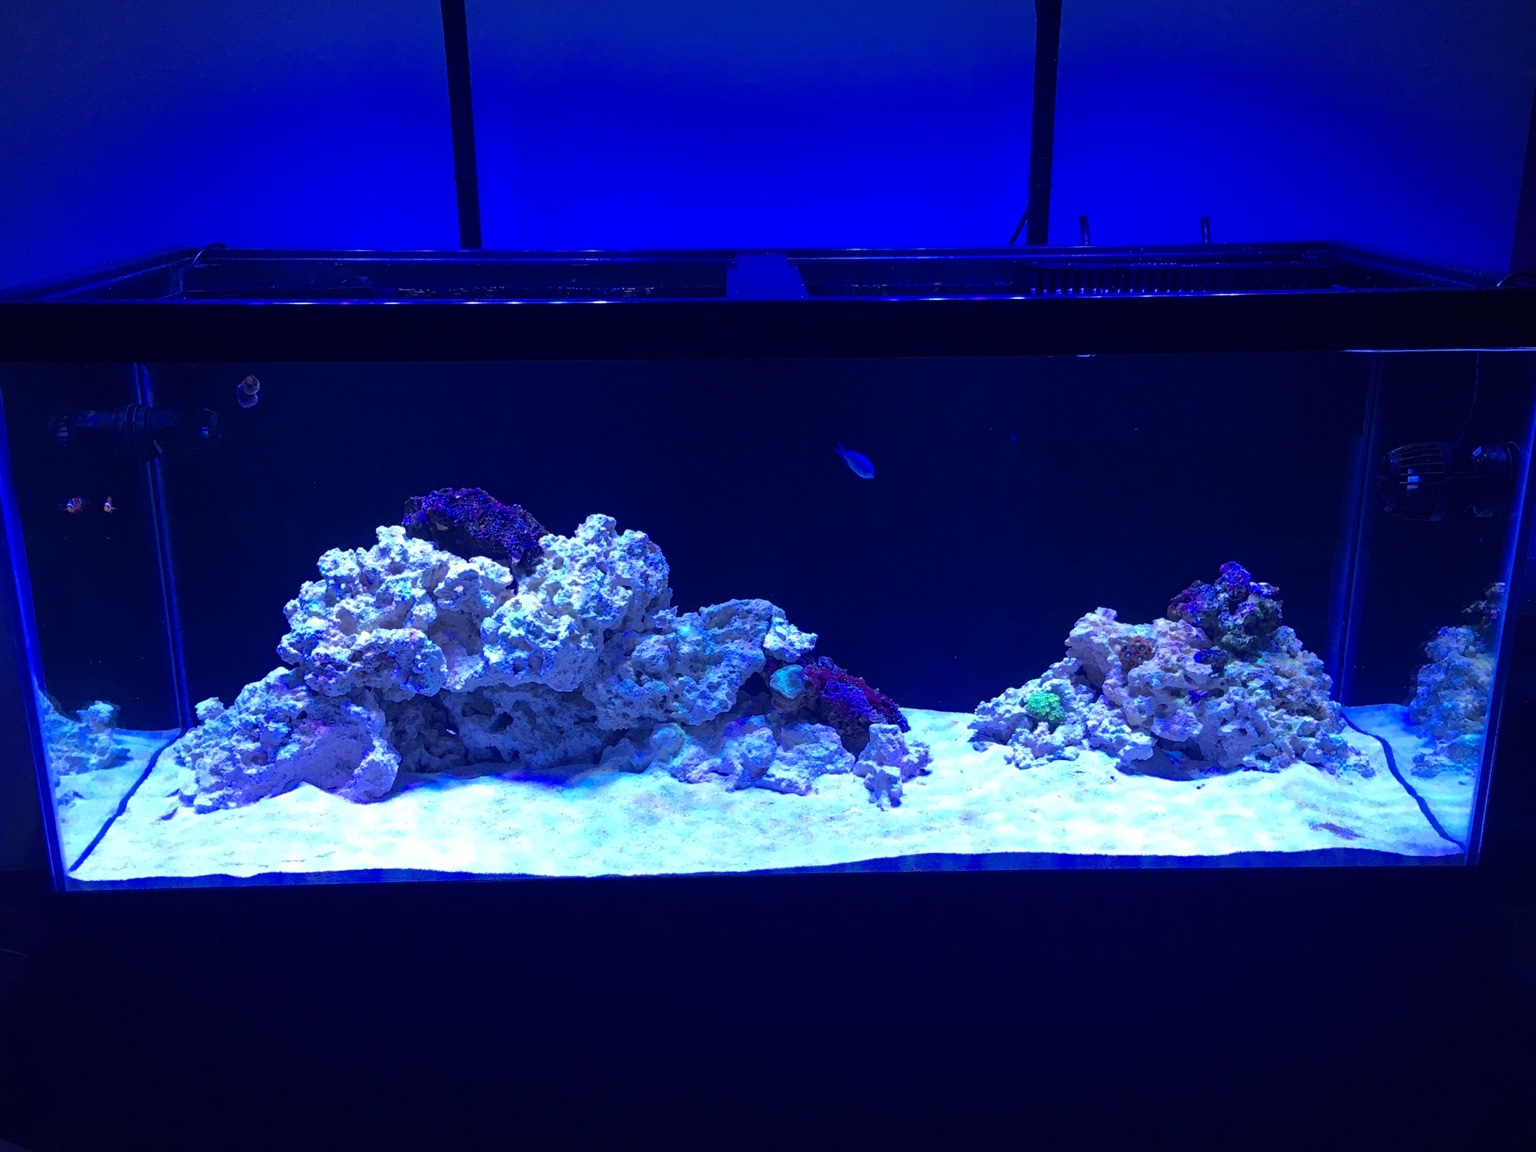
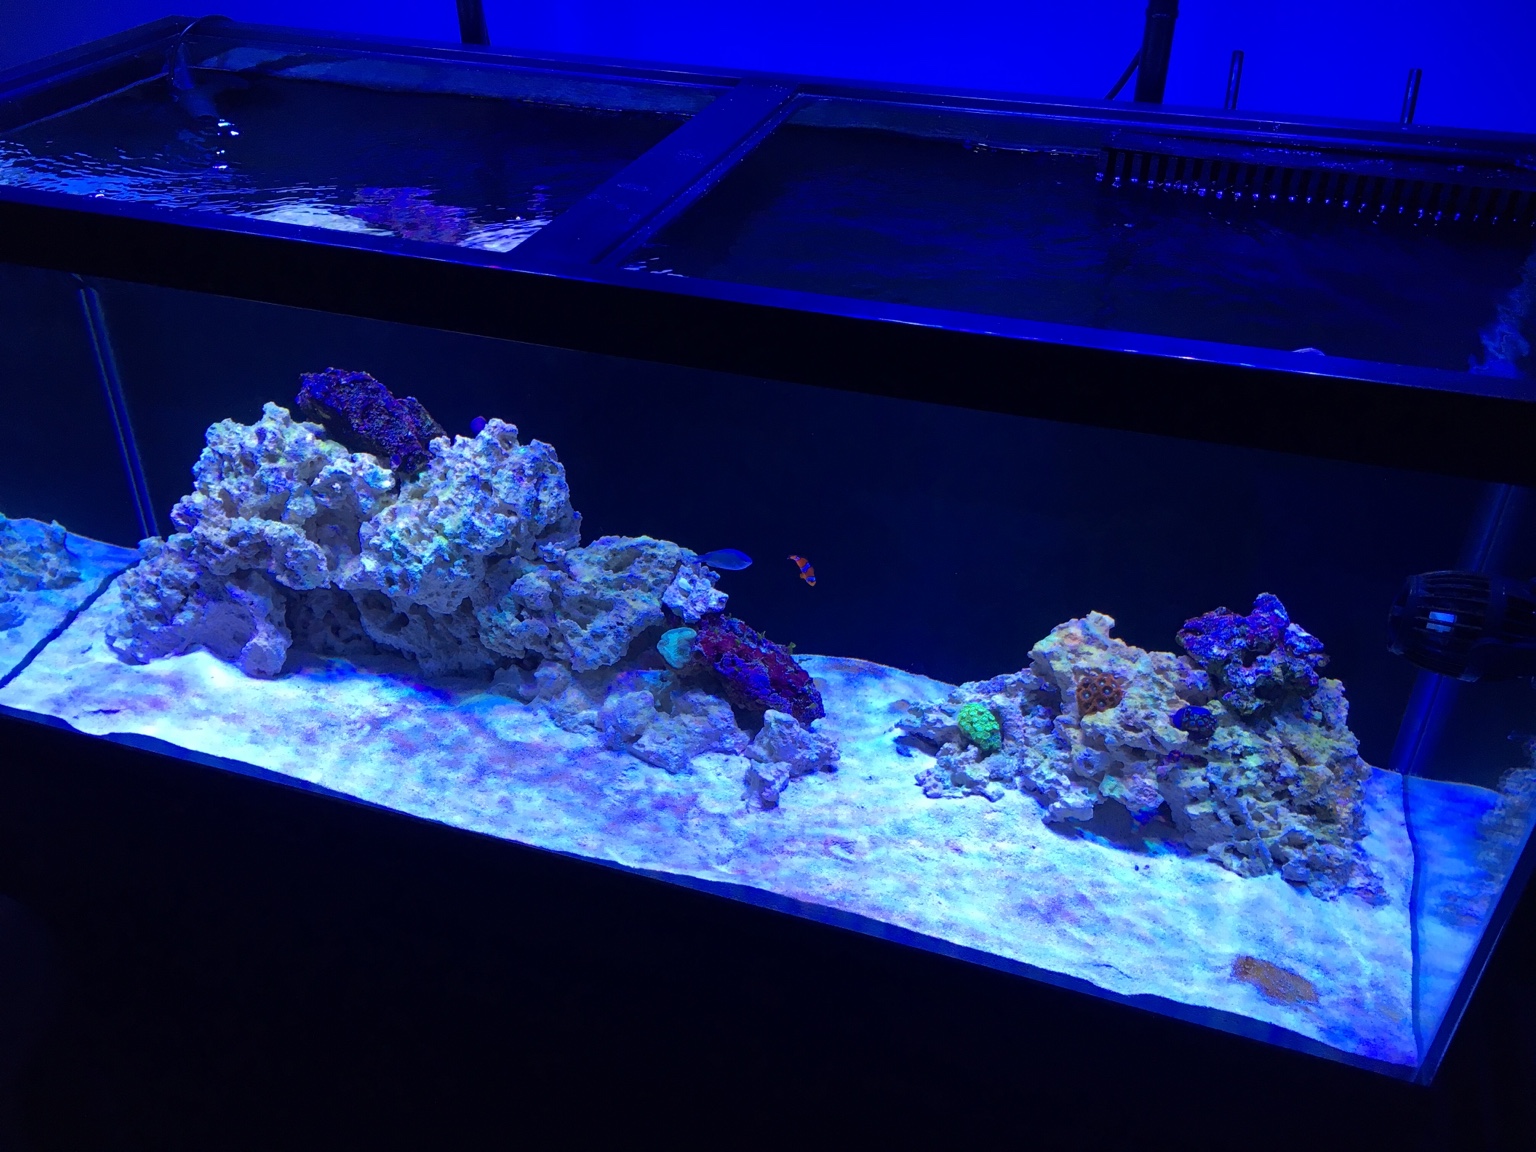
My 75 Gallon Reef build

OP
OP
b4tn

b4tn

Valuable Member
View Badges
Joined
Jun 17, 2015
Messages
1,673
Reaction score
2,241
Location
Columbia MD
Rating - 0%
0   0   0
I got the glass-holes overflow kit and drilled it myself. I was nervous at first but it went super smooth and I wouldn't hesitate to drill again.
 

Fin

Professional Procrastinator
View Badges
Joined
Sep 28, 2013
Messages
7,860
Reaction score
43,913
Location
Lake Charles LA
Rating - 0%
0   0   0
You really sold yourself short on your woodworking skills. I think that stand came out really nice. Good job so far. Will be following along.
 
OP
OP
b4tn

b4tn

Valuable Member
View Badges
Joined
Jun 17, 2015
Messages
1,673
Reaction score
2,241
Location
Columbia MD
Rating - 0%
0   0   0
You really sold yourself short on your woodworking skills. I think that stand came out really nice. Good job so far. Will be following along.

Thanks! My wife told me I needed to stop being a perfectionist and that it looks fine. As long as she is happy that's all that matters lol. That was my first attempt at interior, sitting in the living room type of furniture. I can see all the flaws but as long as no one else notices I suppose it's good ha ha
 
OP
OP
b4tn

b4tn

Valuable Member
View Badges
Joined
Jun 17, 2015
Messages
1,673
Reaction score
2,241
Location
Columbia MD
Rating - 0%
0   0   0
Couple of updates. I got some goodies today :). I was really really hoping that I could get away with not making a canopy. I very much dislike the look of a giant box on top of aquariums and much prefer open top. But I have a feeling the wife is not going to approve of how much these light up the living room. So far I am very happy with these.
2cd3ceeb60f1a834644bb16df4b5c1c1.jpg


And here is my makeshift Mac n Cheese 12" light stand.
c3da95093844b10e0b12ad2fb4910c86.jpg


On another note I think I have finally decided on a sump design. I plan on having a frag rack built into the sump. I emailed my local glass company for a quote the pieces I need cut but no answer as of yet.
7e9111e99d84aa8e502cf3e9d78432d4.jpg


Lastly I had an inspiration today. My boys are currently wandering around Europe with their mom and it suddenly dawned on me that he never asked me to feed his fish. So I ventured into his room and find his highly neglected 15 gallon FW tank and see that his one black skirt was still happily alive probably surviving off algae alone. He doesn't know this yet but I just found a 15 gallon quarantine tank :). I am sure he won't mind me converting it to SW and maybe letting him get some snails and some damsels or something and just leaving the Q tank in his room.

a43eceb38bfc5d91c5988bcfaa030be6.jpg
 
OP
OP
b4tn

b4tn

Valuable Member
View Badges
Joined
Jun 17, 2015
Messages
1,673
Reaction score
2,241
Location
Columbia MD
Rating - 0%
0   0   0
It's been awhile since I posted. Spent a week in Mexico snorkeling so things have been on hold. But I finally got around to the part of this build I have been dreading the most. Mostly because it required me to clean my basement lol. The general opinion from most that I have asked was that "modern" construction should have no problem supporting a 75g with sump setup. But I read too many articles and to many possible disastrous scenarios played out in my head so I decided to support the floor a bit to help me sleep. The problem is I rent. So all the correct ways to do it like adding more trusses, sistering joists, etc I didn't want to do. I ran across something via a Google search where a guy used Jack posts in his basement to support the floor for a 200+ gallon build so I went that route. All in all it was an extra $80 to my build but I think I will sleep better knowing that there are two posts that support 18,000 pounds directly under my tank. That and if I move the supports come with me. They look crooked in the picture but they are perfectly level and snugged up with scrap wood I had laying around.
d8228d083b4cc8a57bde5317a2283508.jpg
 
OP
OP
b4tn

b4tn

Valuable Member
View Badges
Joined
Jun 17, 2015
Messages
1,673
Reaction score
2,241
Location
Columbia MD
Rating - 0%
0   0   0
Started working on the lights this weekend. I really don't like the look of a giant wood canopy sitting on top but I hate the look of cables also. The problem is I want the adjustability of the cables on the lights. You can tilt them forward and back and right to left to fine tune your light placement. I figured I would hang them and see if I liked it and then go from there. As it sits I am not happy with the looks of the bare cables and lights. I do have an idea for a semi floating canopy though.
5ff4763a3776d842e597ff5b7844be3b.jpg
a92d3640a6adb3d7e96bd33ace795e95.jpg
de6386fd49de215e87f14ff4118fc9cd.jpg


And my dogs hate the drill.
c43724661bea6116f80e53e4e6f8ca38.jpg
 
OP
OP
b4tn

b4tn

Valuable Member
View Badges
Joined
Jun 17, 2015
Messages
1,673
Reaction score
2,241
Location
Columbia MD
Rating - 0%
0   0   0
I am glad the sump will not be on display. It's pretty ***** lol. As careful as I was the silicone did not go on smoothly.
6be2b7507cea3ee1395d8c45b6c3e71d.jpg
f3b42904d613f605b029d139f95b97a3.jpg
 
OP
OP
b4tn

b4tn

Valuable Member
View Badges
Joined
Jun 17, 2015
Messages
1,673
Reaction score
2,241
Location
Columbia MD
Rating - 0%
0   0   0
I ditched the canopy idea and welded some brackets for the lights instead. I am pretty happy with how they turned out. I see room for improvement but I am trying not let the inner perfectionist get the better of me.
2deba7201ac4cfc5a66c73b78a7e562c.jpg
062ba16fbc89e7d08b561d34c78345cf.jpg
cf48d08116d4830cf93151949c9edda1.jpg


With the lights finished it was time to tackle some plumbing. Pretty simple for now.

6391c49d9ab5b0aee287a118c0b9765f.jpg


And finally!! 3 days of making RO water I have approximately 100 gallons in and cycling through the sump leak free. I didn't get any pictures but I made a box from eggcrate and zip ties for the skimmer to sit on and just need to get the skimmer dialed in. I found a deal on 70 lbs of aragonite that I will pick up tomorrow for free ;)

Slowly but surely it's starting to come together.
96ae35f9605bdc9e3170d90b95682628.jpg
c2b201b62f7574eebd25f2347afe4fe4.jpg
 
OP
OP
b4tn

b4tn

Valuable Member
View Badges
Joined
Jun 17, 2015
Messages
1,673
Reaction score
2,241
Location
Columbia MD
Rating - 0%
0   0   0
So the tank is officially finished. Or should I say ready to run and tweak as I go :). It took about a week to get my salinity just right and get the dust storm to settle from adding the sand. I have 60 lbs of aragonite 20 of those pounds was live. 60 lbs of dry rock, and I just seeded it with about 5 pounds of live rock with coralline. Now the hardest part.... Wait!
69597ca1c4fab2838de0f9ace3f3f85f.jpg


97868603d6912d6ad9c82f9204a09eaf.jpg


Final resting place for the lights is 12" above the water surface. I have blues 30% on at 12 off at 9. Whites 25% on at 1 off at 8.
72d498b67ca57efd446d6070b028d0a6.jpg


My wiring management is a work in progress.
8d12c67d5d4832343bc57fccaade138f.jpg
 

pelphrey

2500 Club Member
View Badges
Joined
Apr 22, 2015
Messages
4,109
Reaction score
6,100
Location
Kentucky
Rating - 0%
0   0   0
Build came together nicely! No matter how much practice I get with silicone I seem to always make a big mess. The black background looks great and hides the overflow and return perfectly and the mounts for the lights are a very nice addition. Look forward to see some additions!
 
OP
OP
b4tn

b4tn

Valuable Member
View Badges
Joined
Jun 17, 2015
Messages
1,673
Reaction score
2,241
Location
Columbia MD
Rating - 0%
0   0   0
Thanks. I swear it felt a lot longer than two months. Now waiting for the cycle is going to make me crazy lol. I did get some goodies today though. I picked up a 12 watt PAR38 LED grow light from Amazon. Of 690 or so reviews it was nothing but positives and relatively inexpensive so I grabbed one for the refugium.
0a17122e1f801bc6acfe61a09e1c7ac6.jpg
b5f8ae776607174e3af152f0aa9ba373.jpg
66dfe38e17d636c553689d5d63dae807.jpg


If nothing else it looks cool lol. I have it set for a reverse cycle so it will come on when the DT lights go off and come on when they go off.

I also picked up a water changer at Home Depot :) I heard about these working pretty well and at $21 I couldn't resist at least trying it out.
986c7b27723a9bcfb098e317017d2eda.jpg
 
OP
OP
b4tn

b4tn

Valuable Member
View Badges
Joined
Jun 17, 2015
Messages
1,673
Reaction score
2,241
Location
Columbia MD
Rating - 0%
0   0   0
Not my ideal solution. But this is my ATO for now until I can build something a little nicer out of acrylic. It's an ozark trail 6 gallon water jug I got at Walmart for $12. I am using a toms aqua lifter pump and the reefkeeper lite with a float switch to control it. I still need to get a second float switch for a max level in case the low level switch fails. So far salinity has been rock solid now.
202137ec385296d68de236252b03ccb8.jpg
cf267a5eda5d52d9a188fc1380066365.jpg
 

KJ

Lone Wolf
View Badges
Joined
Dec 14, 2011
Messages
22,318
Reaction score
113,205
Location
Tennessee
Rating - 0%
0   0   0
Great job on the build.;)
 
OP
OP
b4tn

b4tn

Valuable Member
View Badges
Joined
Jun 17, 2015
Messages
1,673
Reaction score
2,241
Location
Columbia MD
Rating - 0%
0   0   0
Figured I would do a quick update. The first phase of my cycle is done so I added a clown, a blue/green chromis and some zoas. The open brain came on a piece of live rock and has been thriving. I have started a diatom bloom but the clean up crew should be here tomorrow. I already have 4 nessarius snails, an emerald crab, and 5 margarita snails. I have 60 dwarf ceriths and 15 nerites in the mails.
c0ad35bea4f90fb3635500c2bde4de72.jpg
5b6e5da7ea73e0f82d986e7ff2fb9a66.jpg
 

Creating a strong bulwark: Did you consider floor support for your reef tank?

  • I put a major focus on floor support.

    Votes: 54 40.0%
  • I put minimal focus on floor support.

    Votes: 28 20.7%
  • I put no focus on floor support.

    Votes: 48 35.6%
  • Other.

    Votes: 5 3.7%
Back
Top