

The beginning of my build...
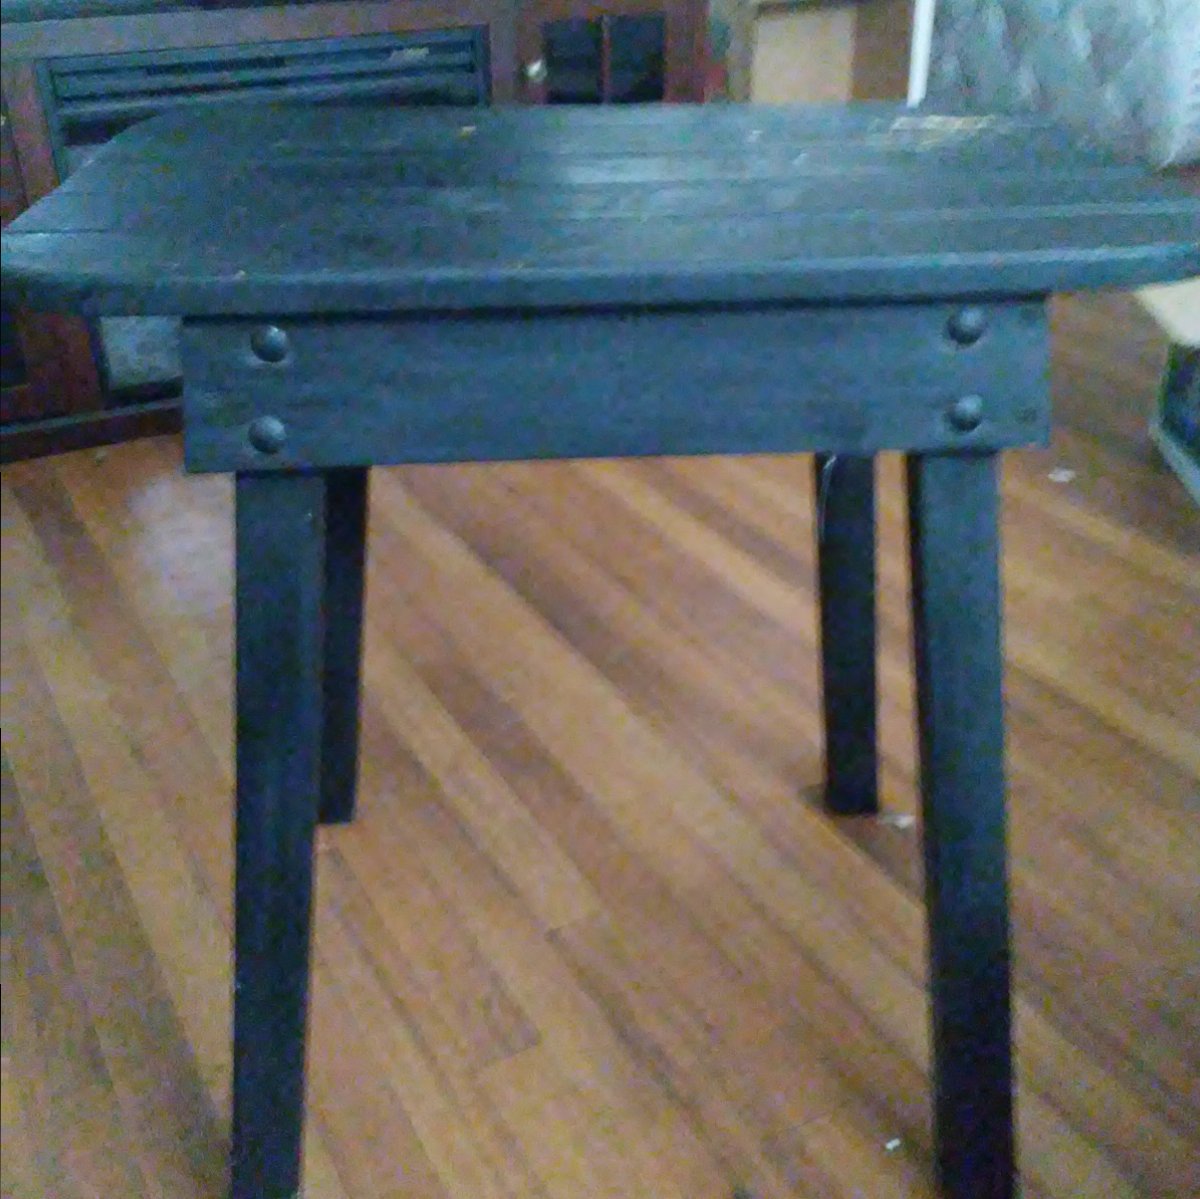
So in going nano I seriously am saving space. Here is the primed, a bit scuffed but finished product of the stand I built for the ten im going to use. With my other tanks I used scrap steel I welded together. Ugly. This is made out of oak and I straddled the legs so that I wouldn't encounter any wobbly legs. It also allowed me to use less material and hold more weight. I'm not happy with the edges so I might route them but really not sure yet. Instead of wood screws I put finished head lag bolts through each leg with lock nuts, two on each leg. Took a bit of measuring to get the angle right with the legs out about 8 degrees but I have it level and its solid. I should have two inches on the front and back and three on each side as is when I center the tank.considering boxing in the bottom and making the doors inset. For now though its getting a few good coats of paint and a tank on top.
I was pretty pleased with the outcome of the stand. (I did cheat and use a machinist handbook to figure the angles) but hey, off to a good start I think.
At least I can focus on other parts of the build and not worry so much about the fish anymore.

")


