Need basic carpentry help for building my own stand

glb

7500 Club Member
View Badges
Joined
May 12, 2013
Messages
8,128
Reaction score
3,359
Location
Miami
Rating - 0%
0   0   0
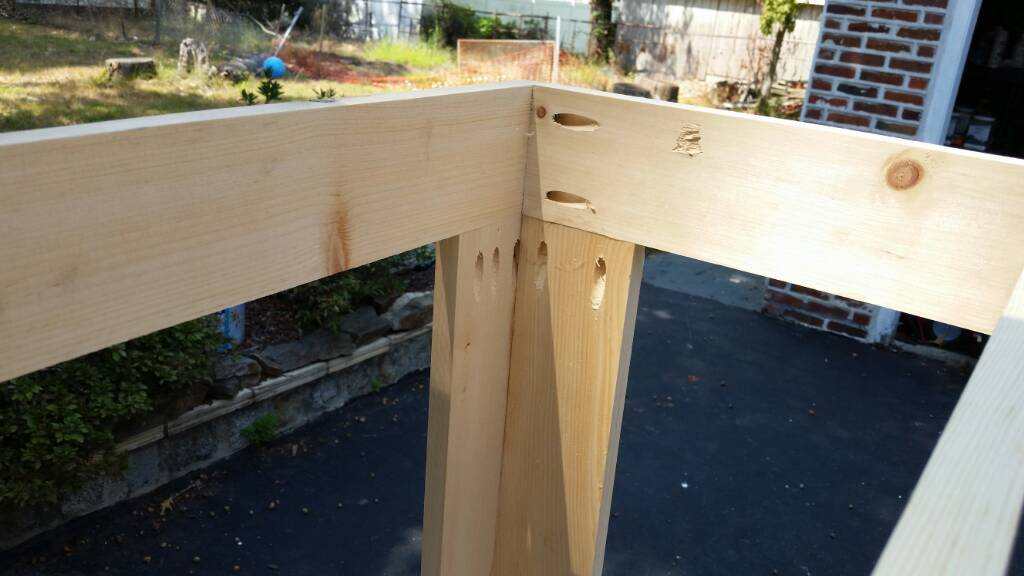
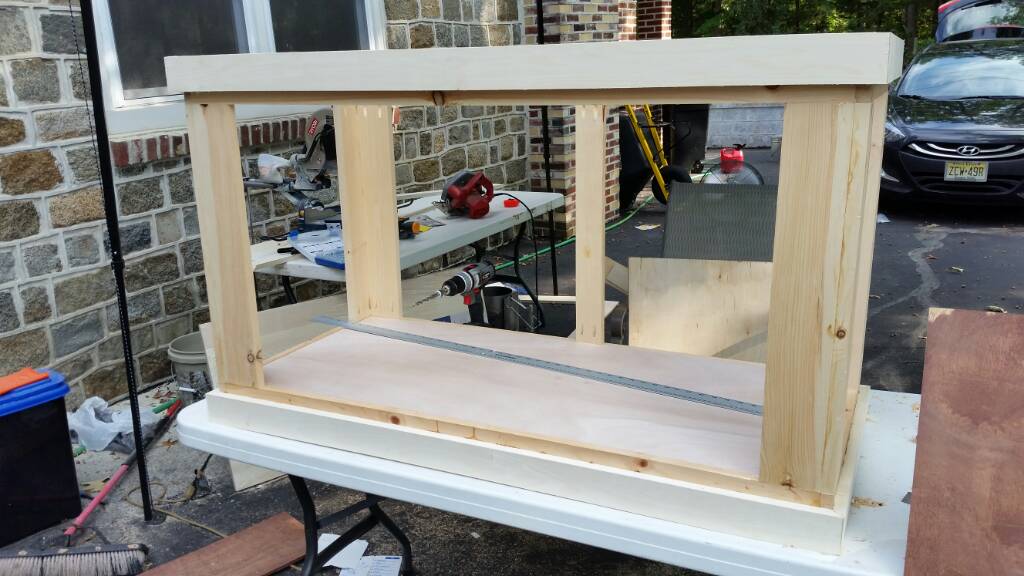
Hi everyone. I'm planning to build this stand for my 40g breeder
image.jpg

I already have the measurements according to the directions and plan to get the 2x4's cut at the lumber store. I'm very handy but I've never built furniture before. I know the cuts need to be accurate and the stand needs to be level. I also know that screws should not be placed where they'll be load-bearing. I have a good drill/bits and know how stain wood. What are some other tips that could make my life easier? In what order should I assemble it? Any help would be appreciated!!!
 

Lynn52

Active Member
View Badges
Joined
Apr 10, 2015
Messages
474
Reaction score
227
Location
Minnesota
Rating - 0%
0   0   0
Glue everything before you screw it together. The pink uprights carry the weight the green uprights are more to hold it all in place. I have made several of these stands and they go together pretty fast. What size tank are you going to put on it?
 
OP
OP
glb

glb

7500 Club Member
View Badges
Joined
May 12, 2013
Messages
8,128
Reaction score
3,359
Location
Miami
Rating - 0%
0   0   0
So when I assemble the top and bottom, those screws go in horizontally? Also, what wood glue do you recommend?
 
OP
OP
glb

glb

7500 Club Member
View Badges
Joined
May 12, 2013
Messages
8,128
Reaction score
3,359
Location
Miami
Rating - 0%
0   0   0
What size screws do you recommend, and should I drill pilot holes?
 

Jwalker814

Active Member
View Badges
Joined
Nov 25, 2015
Messages
205
Reaction score
34
Rating - 0%
0   0   0
Pilot holes always help just make sure u do the right size. Maybe even countersink them.
 

Jwalker814

Active Member
View Badges
Joined
Nov 25, 2015
Messages
205
Reaction score
34
Rating - 0%
0   0   0
Any wood glue or liquid nails would work.
And yes I would either go sideways (red to yellow) or toenail the screws.

As for length atleast 2.5" and I would get deck screws
 

rayn

Bluefin Believer
View Badges
Joined
Mar 25, 2014
Messages
3,351
Reaction score
2,806
Location
Illinois
Rating - 0%
0   0   0
Think of it this way. A 40 will weigh 320 just with water. Add in the rock work and say 400.

Build it to hold more then that. Build it to hold you and your whole family standing on it.

Glue and screw, never nail. Use screws resistant to weather. I use 2 1/2 usually and pred tilling can help keep them from splitting. 1/8" bit is good there.
 

Jwalker814

Active Member
View Badges
Joined
Nov 25, 2015
Messages
205
Reaction score
34
Rating - 0%
0   0   0
Also too, I know it's just a 40g but for a little better piece of mind I would add vertical center braces in the middle. Will also give u another place to attach exterior finish to
 
OP
OP
glb

glb

7500 Club Member
View Badges
Joined
May 12, 2013
Messages
8,128
Reaction score
3,359
Location
Miami
Rating - 0%
0   0   0
Any wood glue or liquid nails would work.
And yes I would either go sideways (red to yellow) or toenail the screws.

As for length atleast 2.5" and I would get deck screws
What does toenail the screws mean? I'm a real novice here!
 
OP
OP
glb

glb

7500 Club Member
View Badges
Joined
May 12, 2013
Messages
8,128
Reaction score
3,359
Location
Miami
Rating - 0%
0   0   0
Also too, I know it's just a 40g but for a little better piece of mind I would add vertical center braces in the middle. Will also give u another place to attach exterior finish to
Thanks. If I do that, I won't be able to take the sump out once it's built because it's a 20g long. Is that a problem?
 

Jwalker814

Active Member
View Badges
Joined
Nov 25, 2015
Messages
205
Reaction score
34
Rating - 0%
0   0   0
Where the head of the screw is below the surface of the wood.
 

BetURWrasse

Dysfunctional Veteran
View Badges
Joined
Aug 20, 2014
Messages
1,099
Reaction score
376
Rating - 0%
0   0   0
not to pump my own build but I have photos of my stand build at the link below. Also measure everything at least twice and check and recheck level before you permanently attach.

move the stand to the area it will finally rest at and check level again before it gets to heavy so you can make adjustments.
 

Jwalker814

Active Member
View Badges
Joined
Nov 25, 2015
Messages
205
Reaction score
34
Rating - 0%
0   0   0
Every little thing can tweak the level of the stand. They weight of the tank. Water. Rocks. Substrate. Check and check and check again.
If u build the stand square you shouldn't have a problem. $1 at Walmart - deck of cards as shims will make it work if not.
Just make final level check after u add rock n substrate.
 

jerseypete

Active Member
View Badges
Joined
Dec 6, 2013
Messages
323
Reaction score
127
Location
new jersey
Rating - 0%
0   0   0
I would buy the kreg pocket hole jig. The set cost me like 80 bucks and helped me alot.
52e25fdd647bb0116be1fa50310f0d10.jpg
237fe1c18d63e723f43d6b03f20d9aac.jpg
this was my first attempt at making a stand and it came out much better than I thought it would. It helps tremendously.
 

Doc Holiday

Community Member
View Badges
Joined
Dec 24, 2010
Messages
54
Reaction score
30
Location
Farmington Hills, MI
Rating - 0%
0   0   0
You built that stand to hold a car! Not that there is anything wrong with that. It amazes me what the tank manufactures build as their stands... structurally their design is sound, but I'm much to rough on my tanks to make me feel comfortable with buying a tank stand in store. Esp. with kids climbing on it. The most important stand designed is to make sure its level! It could be overbuilt but if its out of level enough the tank will fail. I've had to tanks fail in my early years in this hobby not knowing any better.
 
Back
Top