OP
OP

While white will look good in the beginning it will be covered in algae before u know it so purple and green in no time
Ya that’s what I’m thinking but if i keep it clean it may look good for pictures.

Follow along with the video below to see how to install our site as a web app on your home screen.
Note: This feature may not be available in some browsers.

While white will look good in the beginning it will be covered in algae before u know it so purple and green in no time

Any Updates?

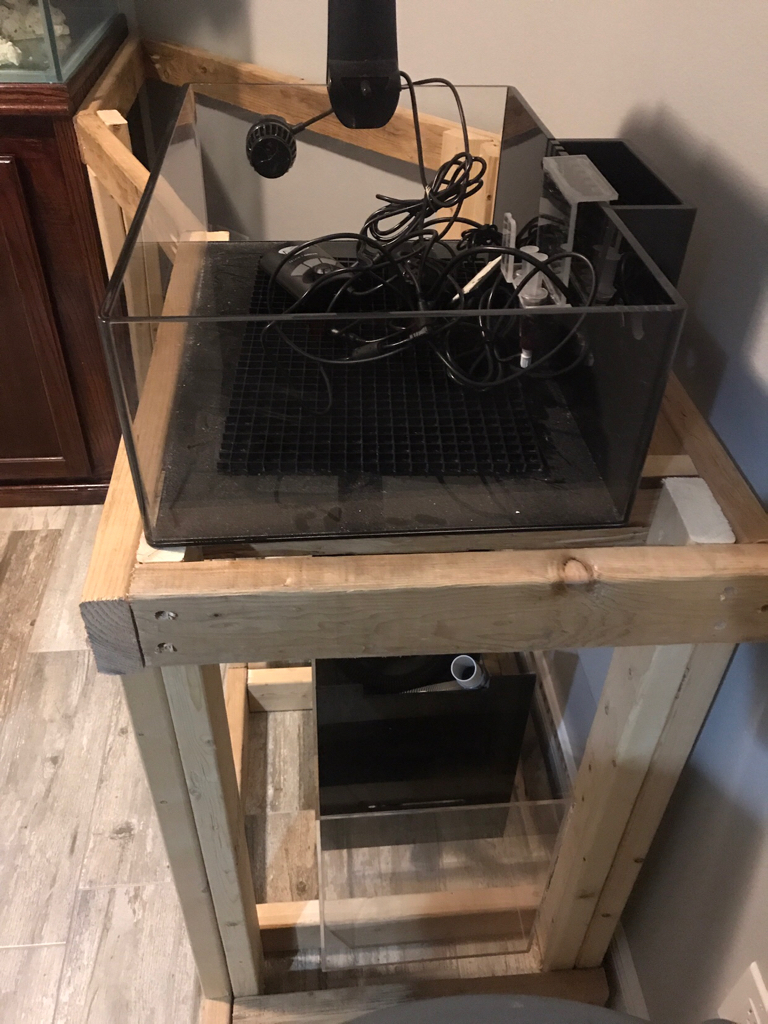
Sorry i have been so busy and have not been able to do much, but I’m here dropping off the acrylic to have cut for sump/ ato today. Hope next week to be able to assemble them.
Also I’m going to build the stand extension for the frag system and apex equipment wall.
Let's face it... you're just a slacker! Lol!
I wish it were that simple, I can’t believe all the projects and honey do lists that come with a new house lol.
")

I would tell you the projects and honey do lists get better with time but, well, I wouldn't want to mislead you!
(I have a feeling you already know this...)
Well, they did let you build a house around a tank basically.
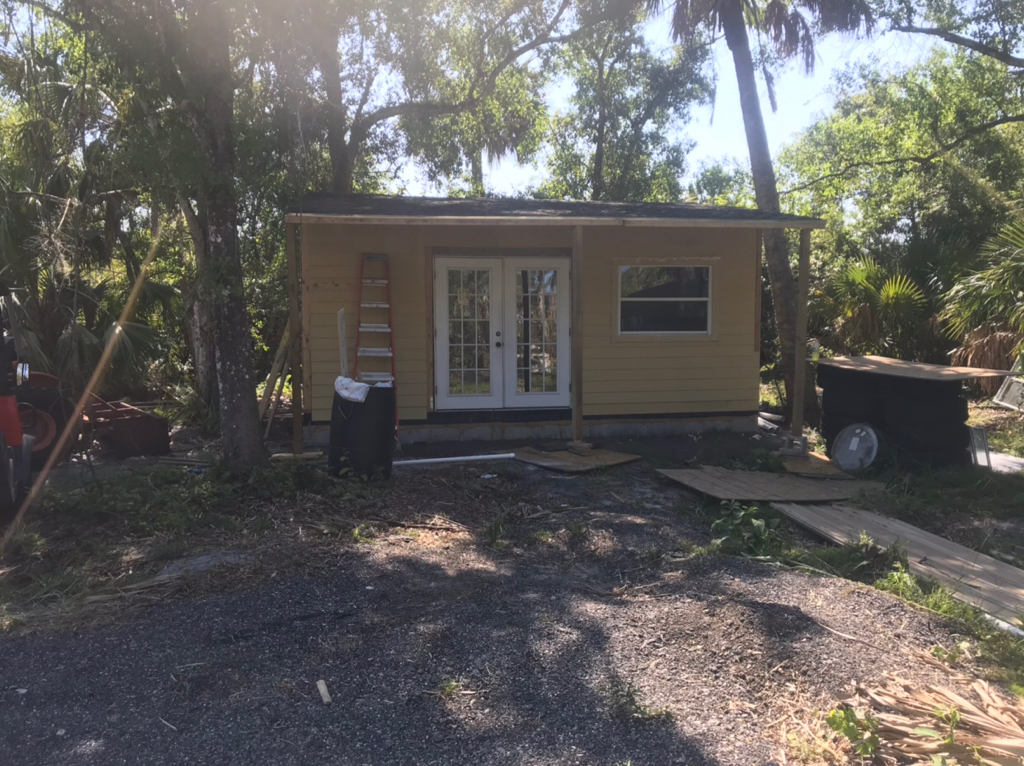
Hahahaha ya it doesn’t stop, this has been the big thing....she shed. I should be done by next week with it.

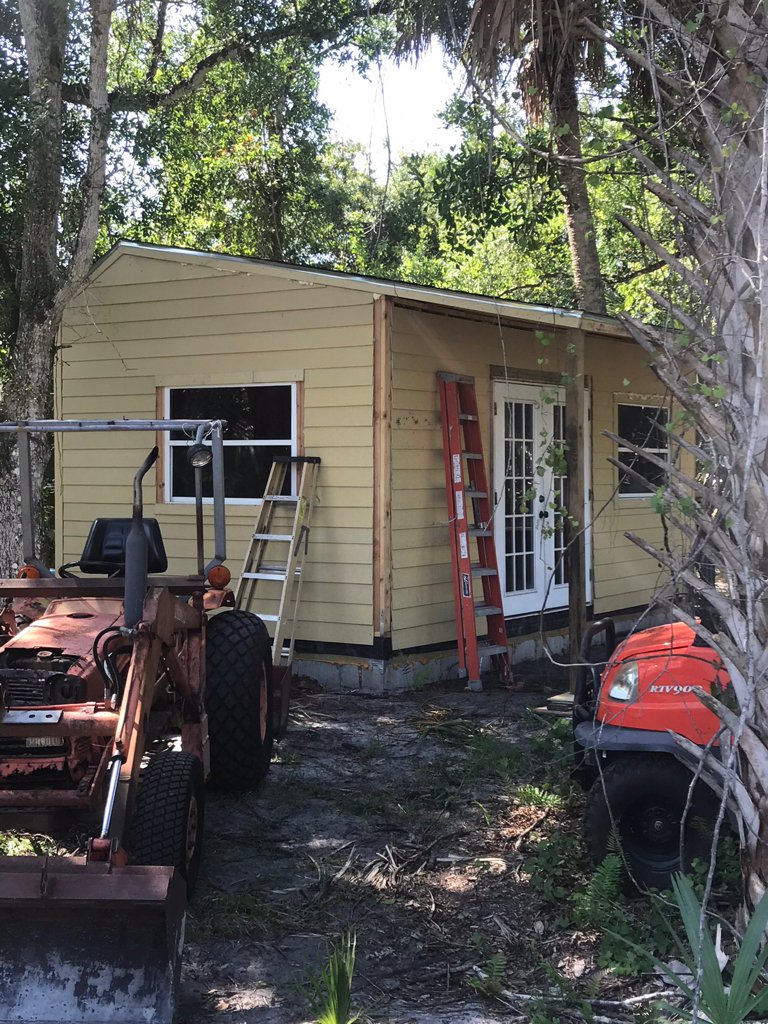
I'm digging it!
I'm also loving that tractor with the homemade roll-bar! Long story = short story = a number of years ago in a lifetime far, far away, I traded a 20" jointer I had for an old, rusty 1956 Allis Chalmers WD45 tractor with what was called "The Powercrater" engine. I restored it with a number of modifications like swapping out the narrow front end for a wide one, rebuilding the motor, making and adding all the hydraulics for a front end loader, coverting it to a 12 volt system, taking it down to the bare metal and then painting it, etc. It was a real labor of love. My original plan was to use it to slowly dig a decent sized pond but I never found the time and ended up including it with the sale of the little farm. Owning a little 40 acre hobby farm with about every farm animal, and then some, was a great experience for me. A guy from the south side of Chicago. Some great memories to be sure!
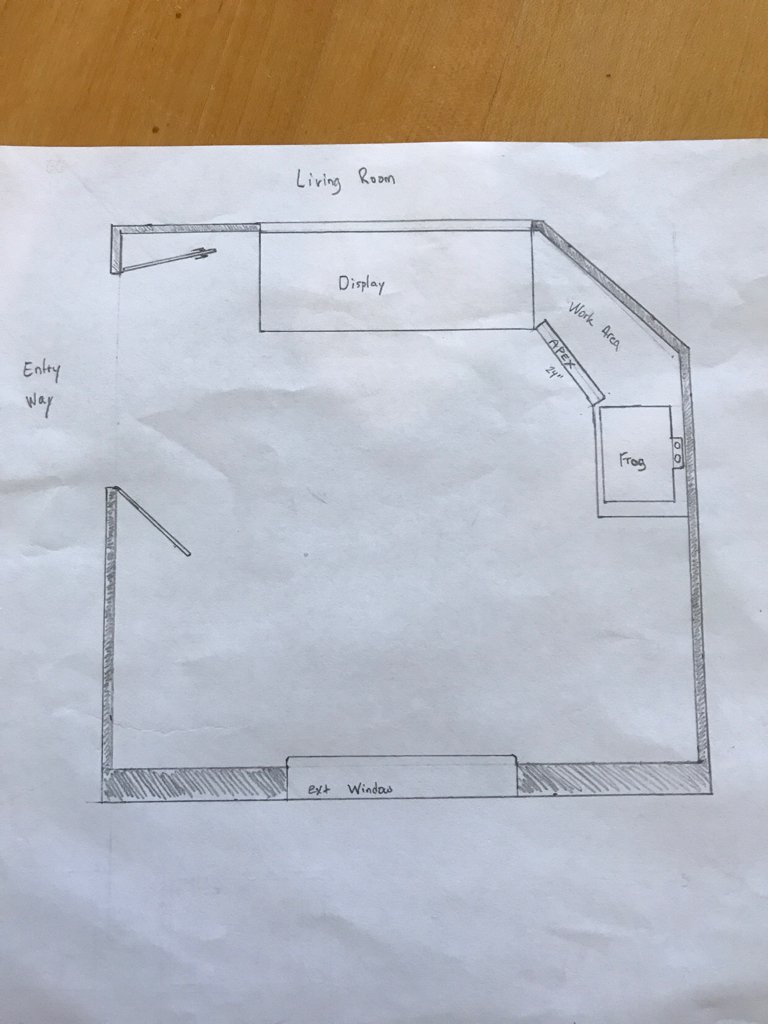
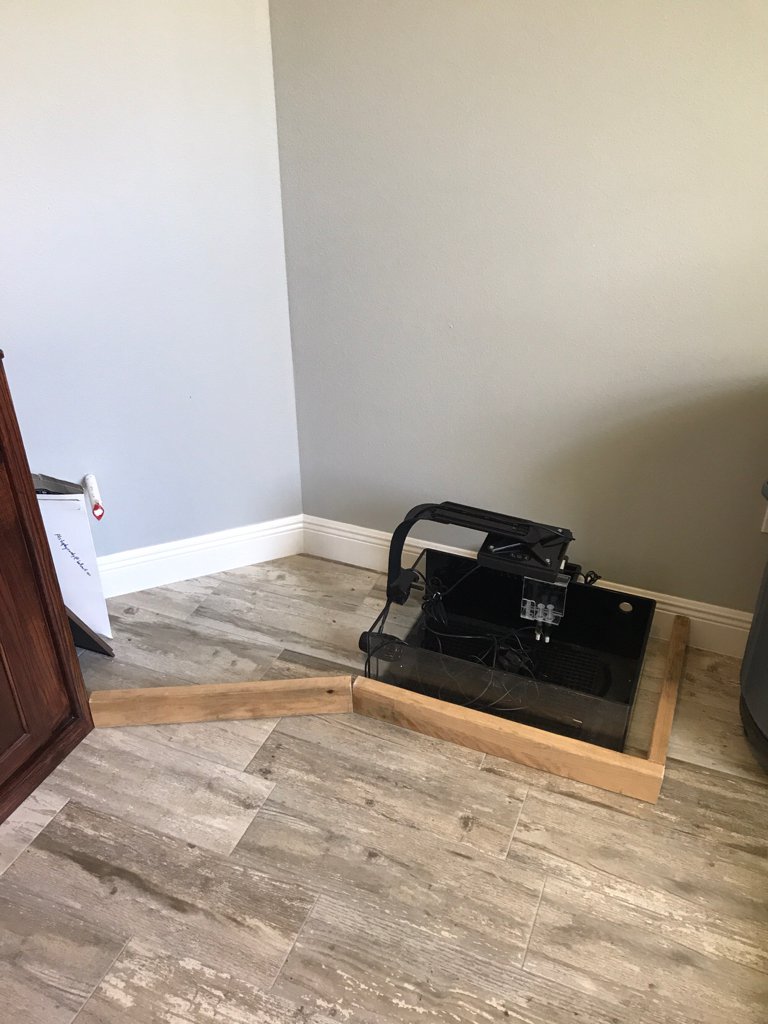

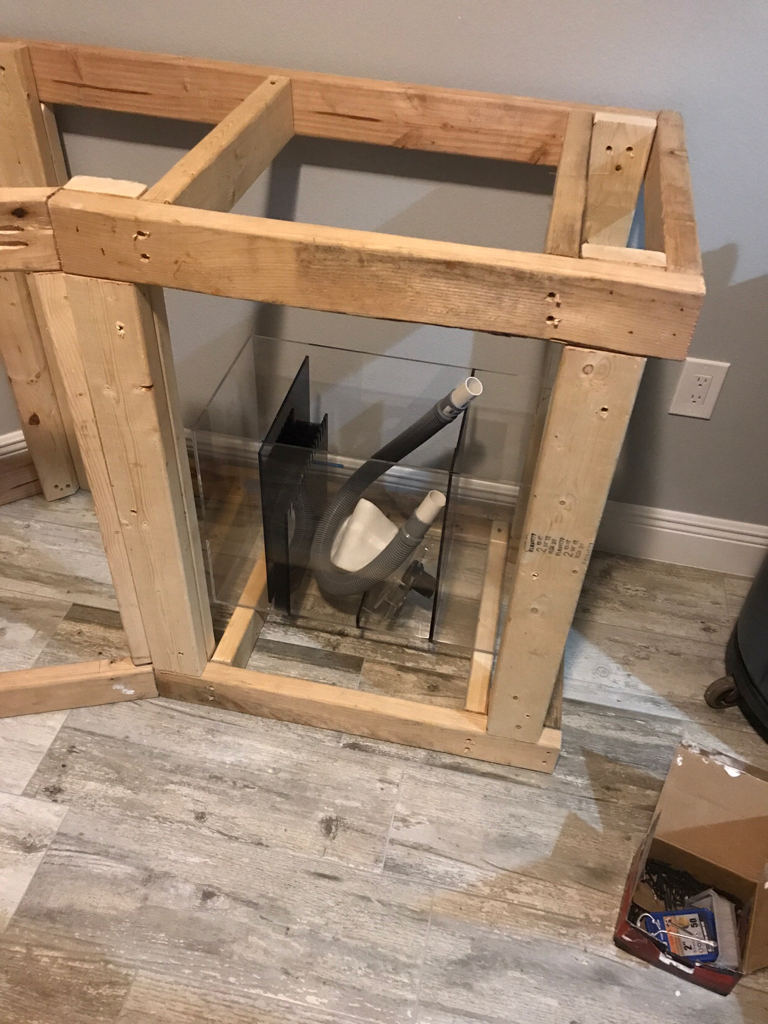
Ok so i have not got back the acrylic and with the she shed project winding down I started on the stand extension today. I sat down a drew out a plan to scale and finalized it. Was able to get the bottom layer of stand cut. It was a very weird shape and has crazy angles lol. Either way it’s done and I now have to replicate it for the top layer. Should have the frame done by the end of weekend. I will get the red oak plywood next week to skin it. It’s going to match the original stand in height and also trim and color. It is going to be perfect for the frag tank/ and sump as well as the apex wall.
The underside of the stand will match up in height and look like it’s one with the display stand. It will have the same sealed lip around it so if there is ever a leak it will be contained to under the stand. The extension will have access to drain so that water may run out through the floor drain.
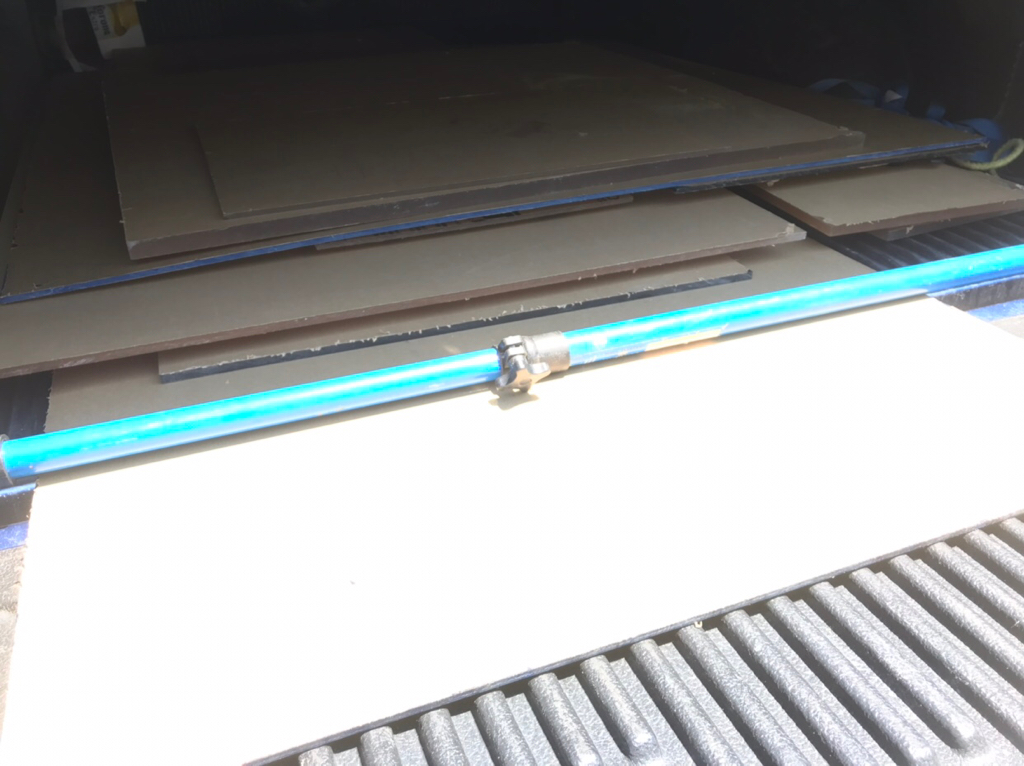
In the apex wall I’m going to stick with the color scheme and use this blue acrylic sheet behind the modules. I think it will tie it all together and look really nice.
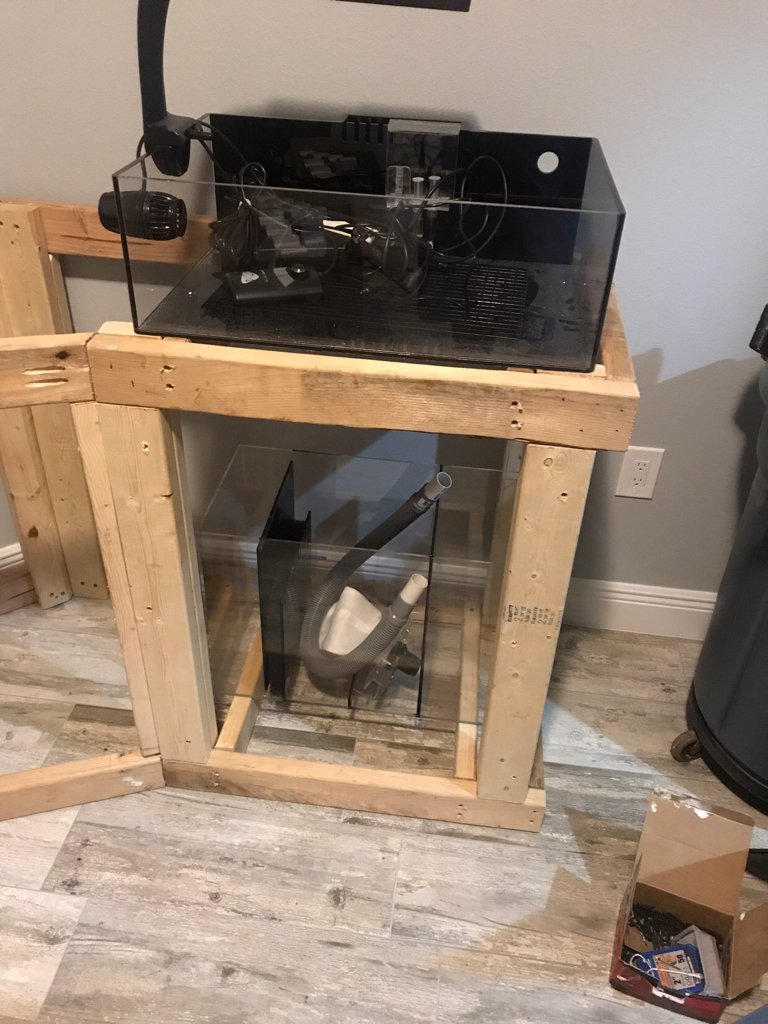
As for the top of the stand between the display and frag system, that is going to be my work area. The top will be removable for easy access to cables and plumbing but will be sealed up enough to do anything even fragging.
As always any questions, comments or concerns please hit me up. I’m really excited to be getting back to the build and can’t wait to get it wet!!!
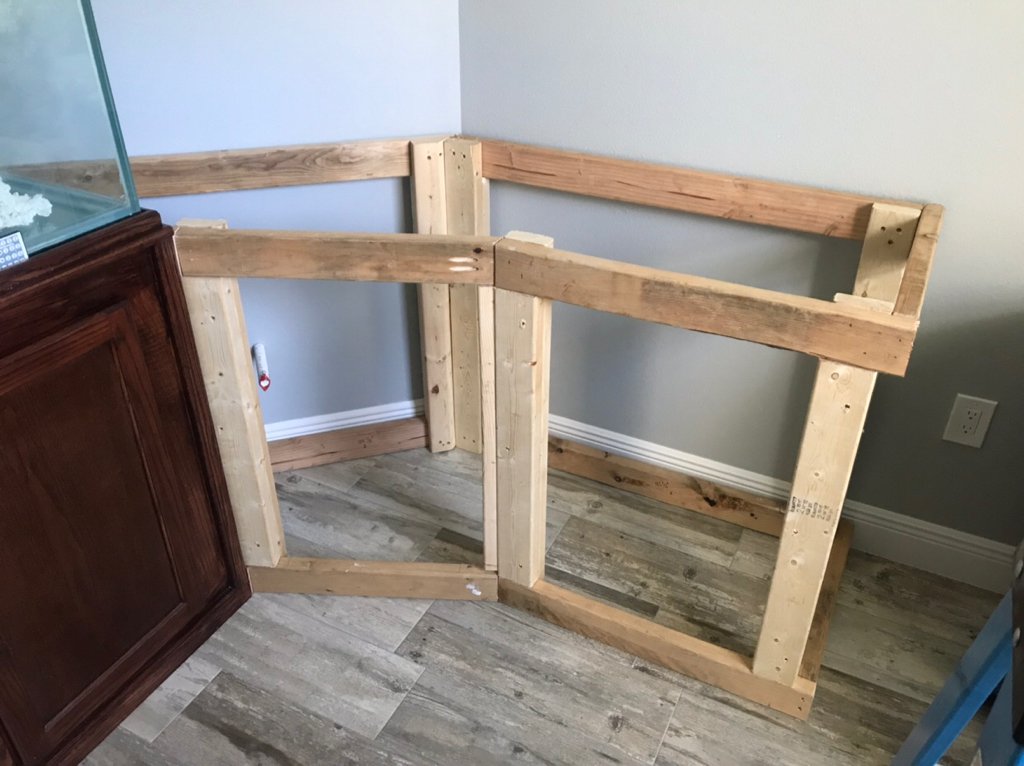
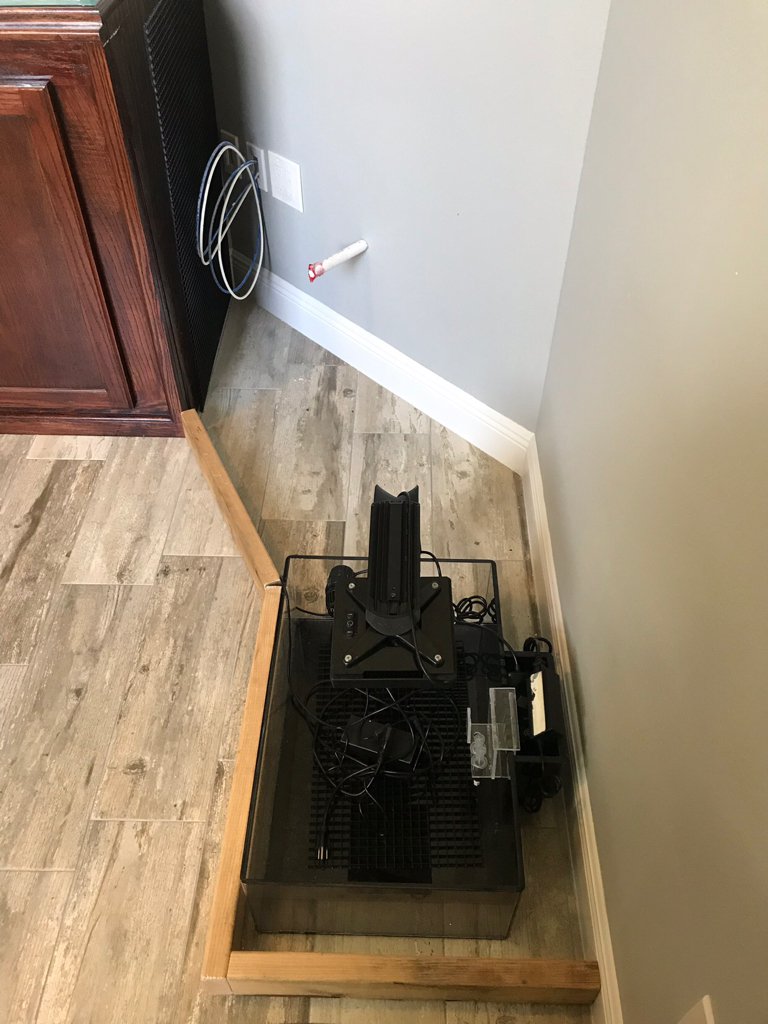
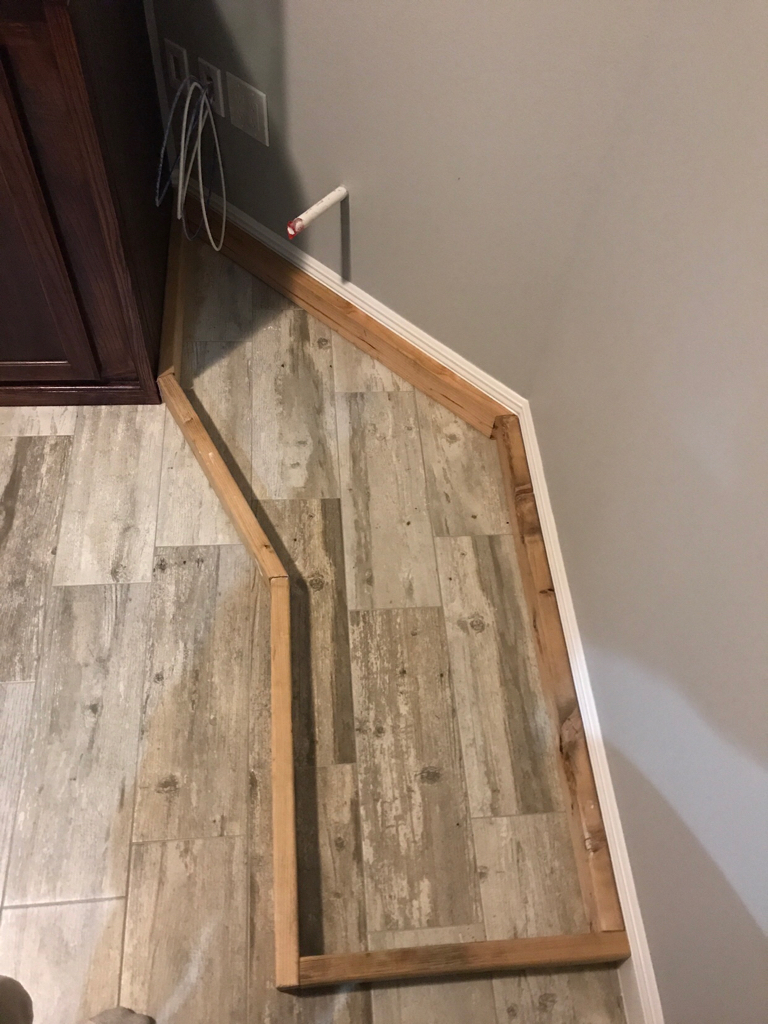
Ok so I’m moving along slowly. Im still waiting for the acrylic to come back so I’m plugging away on other things. Here is the stand extension, next is the plywood top and bottom, skin, stain, and poly. It’s looking gold and should be plenty of room for the apex equipment.

Getting there and looking good. Are the base pieces of wood 2 x 4's ripped to about 2.5" or am I hallucinating again?
It’s the photos playing tricks on you. All are standard 3.5” 2x4’s.
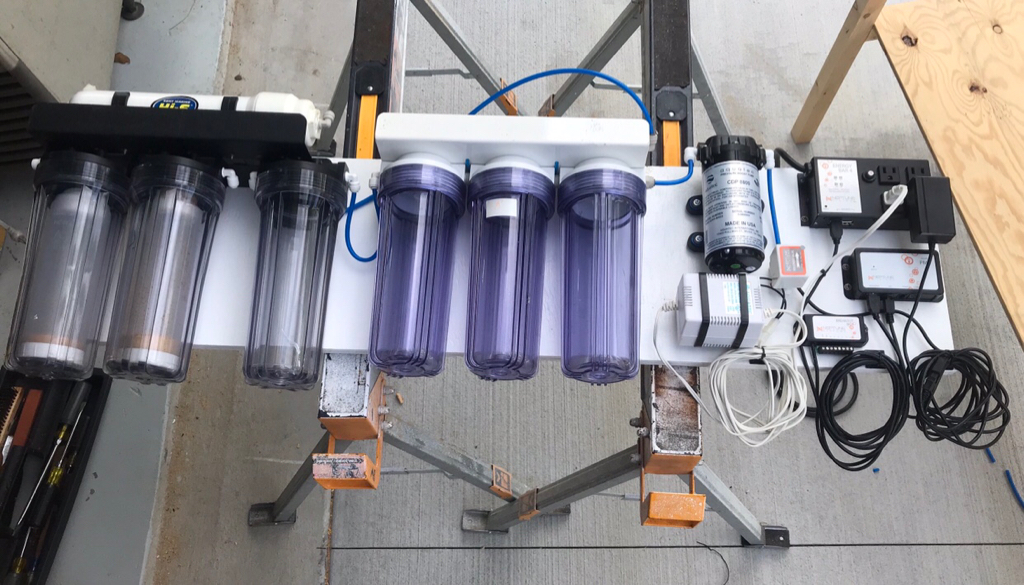

Ok so thank you @Fishfinder for getting this thing done!! The ro/di APEX powered system is done and mounted ready for new filters. Just need to get lag bolts and mount it on the wall. APEX will operate everything from filing the holding tanks to filling the ATO tanks under the stands and doing auto water changes. One step closer to getting this thing running!!
Nice job done!
Dumb question coming; why didn't you put it together yourself?


