New to Saltwater

OP
OP
O

OCJoeR

Active Member
View Badges
Joined
Jul 15, 2019
Messages
129
Reaction score
40
Rating - 0%
0   0   0
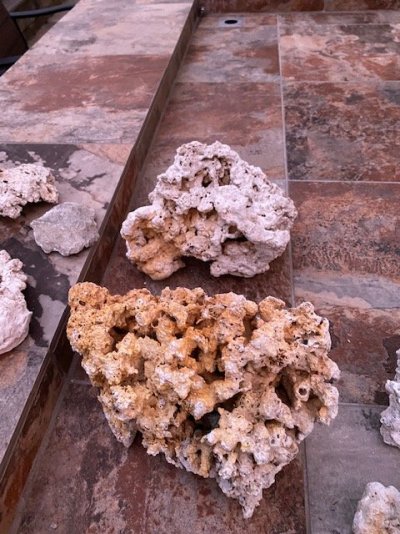
I'm still not sure if I should put the dry rock into the tank. I've been soaking it in a water/bleach solution for a week or so but a few of the pieces that had sort of an orange color still have it. I've posted in another section regarding this but haven't heard back. I'm going to pick up some muriatic acid and mix a mild solution and throw those rocks in it for a few minutes to see if that color comes out, unless someone has a better idea. I posted a picture of one of these rocks. If it's no big deal and it can go into the tank let me know.

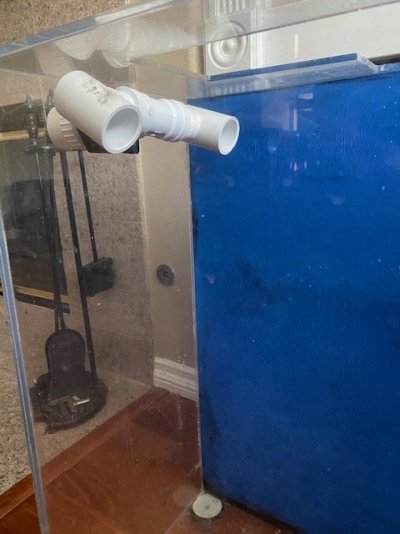
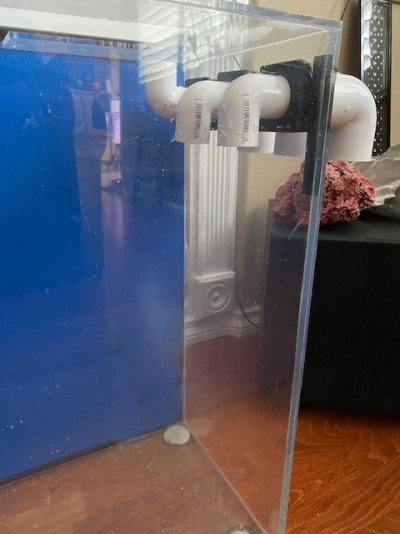
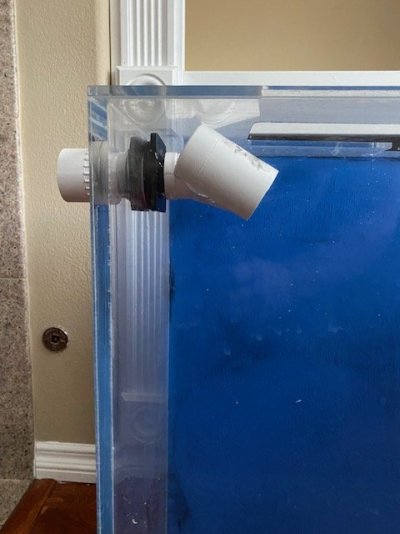
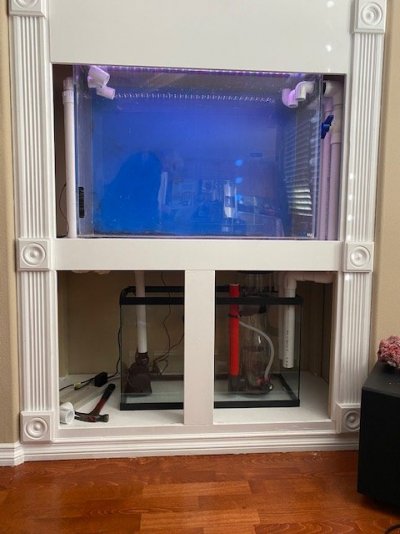
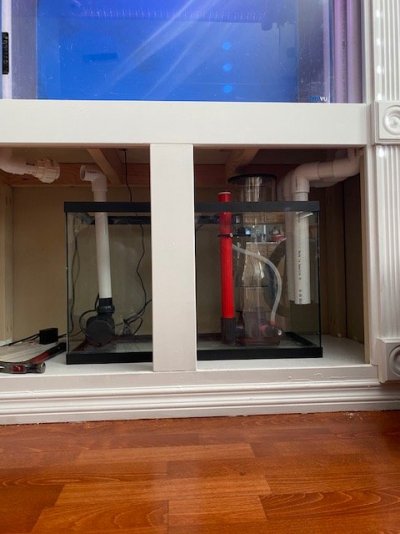
I resolved the skimmer water height issue by using the idea another member posted. I just cut 3 pieces of 1" PVC and glued them to the sump floor and set the skimmer on top. This allows the water height in the sump to be at least 9", the lowest recommended water height for the skimmer, 6", plus the 3" PVC. I'm building a baffle with a movable upper portion so I can adjust the sump water height once I get things set up and see what height the skimmer works best at.

Joe
 

Attachments

  • Rock 6.jpg
    Rock 6.jpg
    102.1 KB · Views: 11
OP
OP
O

OCJoeR

Active Member
View Badges
Joined
Jul 15, 2019
Messages
129
Reaction score
40
Rating - 0%
0   0   0
After yet another trip to HD I got the first part of the Bean Animal plumbing in the tank. It was actually fairly easy drilling through the acrylic. I should be able to get the rest of the piping in tomorrow. That will bring the plumbing into the sump and back up the other side to the return. I was going to do a long pipe with holes in it for the return but decided to go with a Tee and a couple Street elbows so I can move them around to adjust the flow direction.
 

Attachments

  • Plumbing 1.jpg
    Plumbing 1.jpg
    47.6 KB · Views: 17
  • Plumbing 3.jpg
    Plumbing 3.jpg
    52.4 KB · Views: 12
  • Plumbing 2.jpg
    Plumbing 2.jpg
    52.3 KB · Views: 18
  • Plumbing 4.jpg
    Plumbing 4.jpg
    48.9 KB · Views: 15
  • Plumbing 6.jpg
    Plumbing 6.jpg
    39 KB · Views: 17
  • Plumbing 5.jpg
    Plumbing 5.jpg
    42.8 KB · Views: 18
  • Plumbing 7.jpg
    Plumbing 7.jpg
    43.1 KB · Views: 15
  • Plumbing 8.jpg
    Plumbing 8.jpg
    44.5 KB · Views: 15
OP
OP
O

OCJoeR

Active Member
View Badges
Joined
Jul 15, 2019
Messages
129
Reaction score
40
Rating - 0%
0   0   0
I think I have the plumbing set up, at least dry fitted. I had to make some adjustments to where the sump went due to the support 2x4s under the main tank. I'm still looking for a 1 1/4" check valve with slip fittings so it will fit withing the space I have (the local HD didn't have one) but once that's done I'll take is all outside, fill it up and run the return pump for a leak test. Keeping my fingers crossed. Don't mind the hammer in the photos. I'm still working on the supports, lol.

I also figured out the Hygger light timer thing. It's actually pretty cool. If you set it to the 24/7 mode you can tell it what time you want full spectrum light to start and it gradually turns the lights up. I have it set for 8:00 and the orange light starts up around 6:00. At 8:00 all the other lights begin to light up until the full brightness is on around 8:15. Then in the evening the lights begin to dim until the blue light is on and then it dims to off around 11:00.
 

Attachments

  • Tank 4.jpg
    Tank 4.jpg
    57.6 KB · Views: 13
  • Tank 5.jpg
    Tank 5.jpg
    55.6 KB · Views: 14

Going off the ledge: Would you be interested in a drop off aquarium?

  • I currently have a drop off style aquarium

    Votes: 2 1.1%
  • I don’t currently have a drop off style aquarium, but I have in the past.

    Votes: 3 1.6%
  • I haven’t had a drop off style aquarium, but I plan to in the future.

    Votes: 27 14.8%
  • I am interested in a drop off style aquarium, but have no plans to add one in the future.

    Votes: 89 48.9%
  • I am not interested in a drop off style aquarium.

    Votes: 56 30.8%
  • Other.

    Votes: 5 2.7%
Back
Top