
Navigation
Install the app
How to install the app on iOS
Follow along with the video below to see how to install our site as a web app on your home screen.
Note: This feature may not be available in some browsers.
More options
You are using an out of date browser. It may not display this or other websites correctly.
You should upgrade or use an alternative browser.
You should upgrade or use an alternative browser.
Paul _PSU 220 upgrade/build
- Large Build
- Thread starter Paul_N
- Start date
- Tagged users None


OP
OP

Dang Paul....this tank is going to be sick
Thanks, I'm fighting the urge to just rush and "throw" it up. Patience was the thing I had the most trouble with in this hobby.

Thanks, I'm fighting the urge to just rush and "throw" it up. Patience was the thing I had the most trouble with in this hobby.
I'd always rushed a bit and skimped on a few things with every other setup that I've done. I was always more happy with the new than the old, but after about 2 months, there was always something that I wished I had done differently. Currently, there isn't anything that I wish I'd done differently with the tank I have now because I took almost a month from the time I got the tank to the time the stand was completed and the rockwork was done how I wanted it, etc. Of course, I had the luxury of setting it up in a completely different spot, so my inhabitants weren't relocated to a rubbermaid in the interim, and I'm sure that makes it more difficult, not to mention all the other projects you have going on. There is an off-chance that I'll want to add a 2nd halide bulb to the mix to get more light in the tank, but even with that desire floating around my head, I am very happy with the canopy I have artistically speaking, so adding another light would come at a significant price in that regard, hence why I still consider it to have been done without cutting any corners.
OP
OP
you know its a build when theirs plywood in the background. lol
very nice light rack makes mine seem kinda cave man
That was left over from replacing the back roof on my garage...:bigsmile: I will probably use thicker stuff for the top of the stand.
Roland, I have a question for you. How far does the sides of your light canopy extend down past the bottom of your reflectors? You have the lumen brites so you get more of a punch straight down so I'm not sure what kind of spread I will get from these. The top of my tank is going to be 64" high off of the floor and then add 10-12" to the reflectors. I will most likely hook up one of the reflectors and hold the fixture up to that height and use a piece of cardboard to test different lengths for the sides and then I can just cut the aluminum to that. My desk and computer are directly across from the tank so I didn't want the glare on the screen.

OP
OP
Paul your taste in hockey teams in questionable, but your handy work is top notch! Now how about an update!
So far very well thought out, can't wait to see more!
Comon Rob cut a little slack, Detroit is my second favorite team....:bigsmile:
Thanks! I am drilling the holes in the cross members of the frame to put the sockets in for the LED supplemental lighting. I'll take pics when I have them in.
OP
OP
awesome! Love the lightrack
Thanks. I am seriously considering making some of the glass like you did and work it into the stand. Maybe a couple 6 X 6 pieces with some LED lights behind them. I really like how yours turned out. Great work!
OP
OP
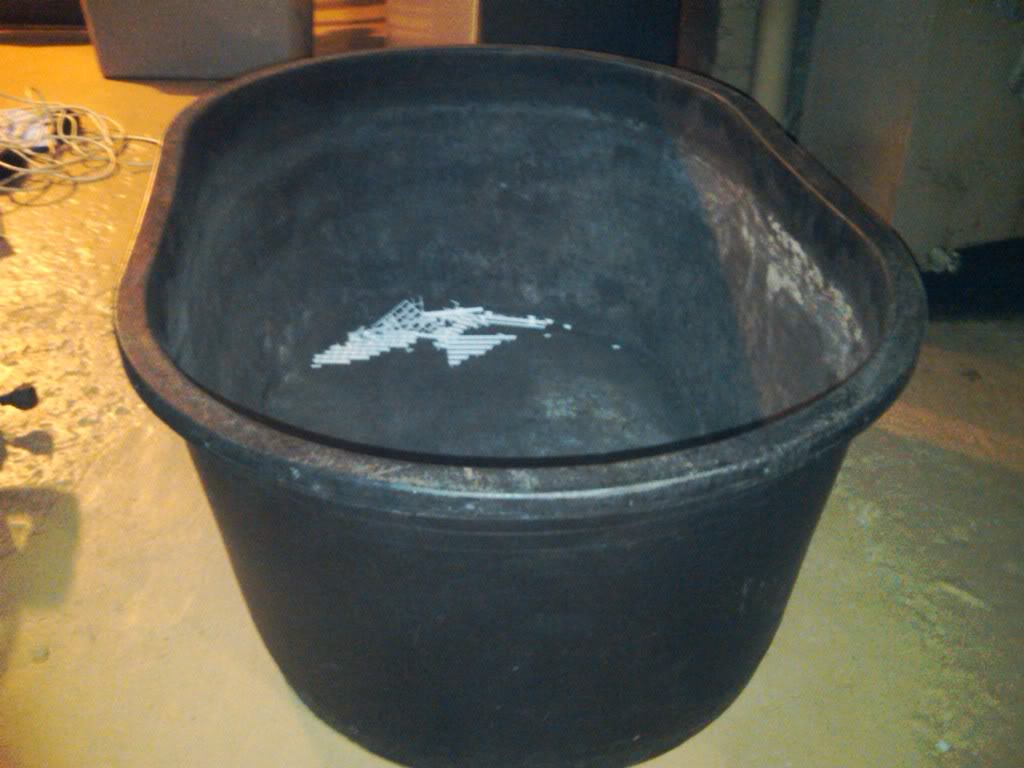
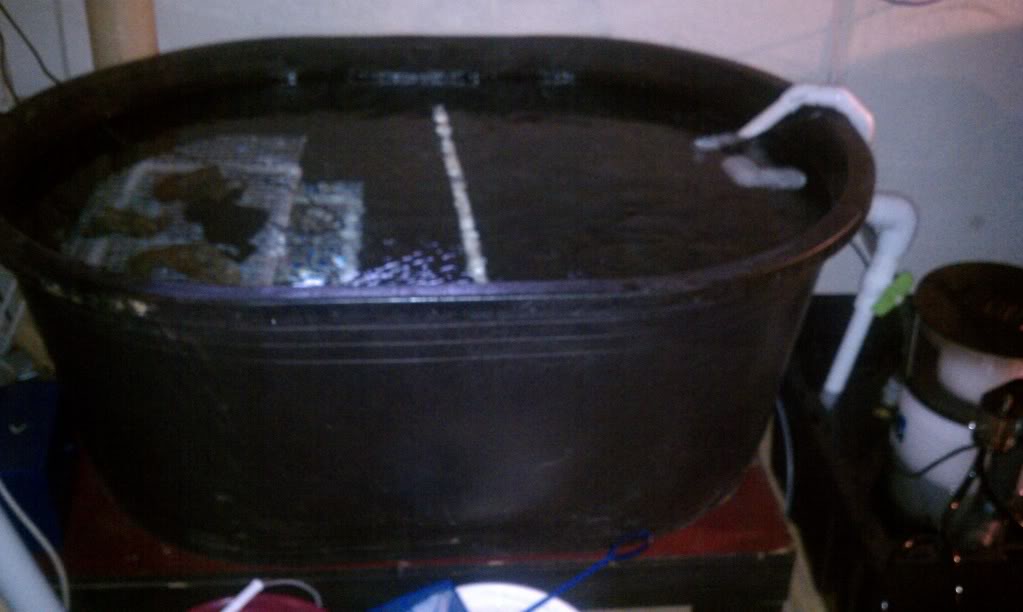
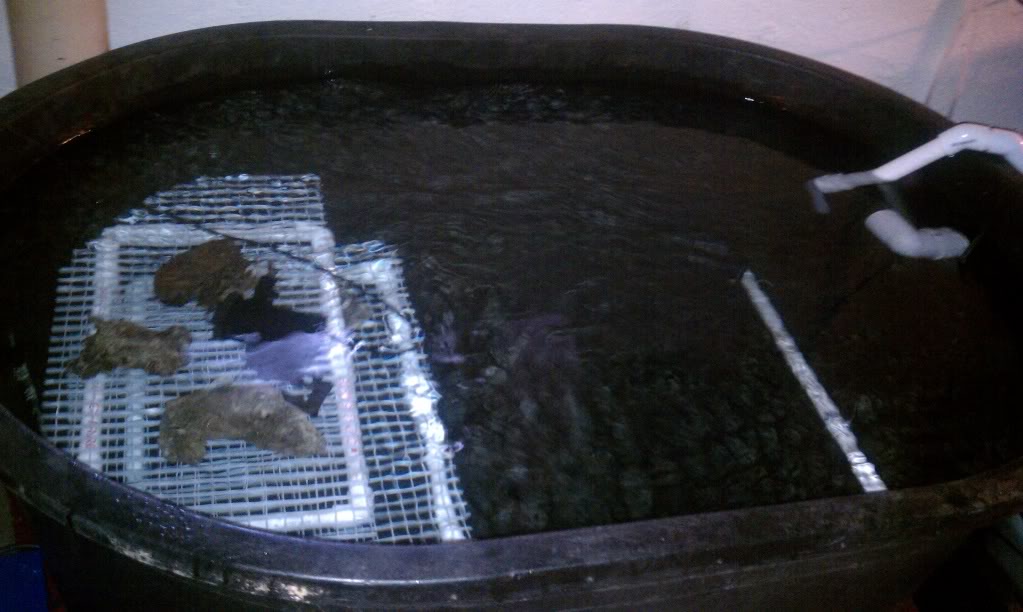
Here is a pic of the 110 gallon rubbermade I will be using as a temp setup in the basement while I build the stand. These pictures are from earlier. I am already filling it with water. The second pic is with a piece of acrylic over it. I am going to cover it while it's in the basement cause I don't have my ceilings down there covered yet and I don't want anything falling in there:


OP
OP
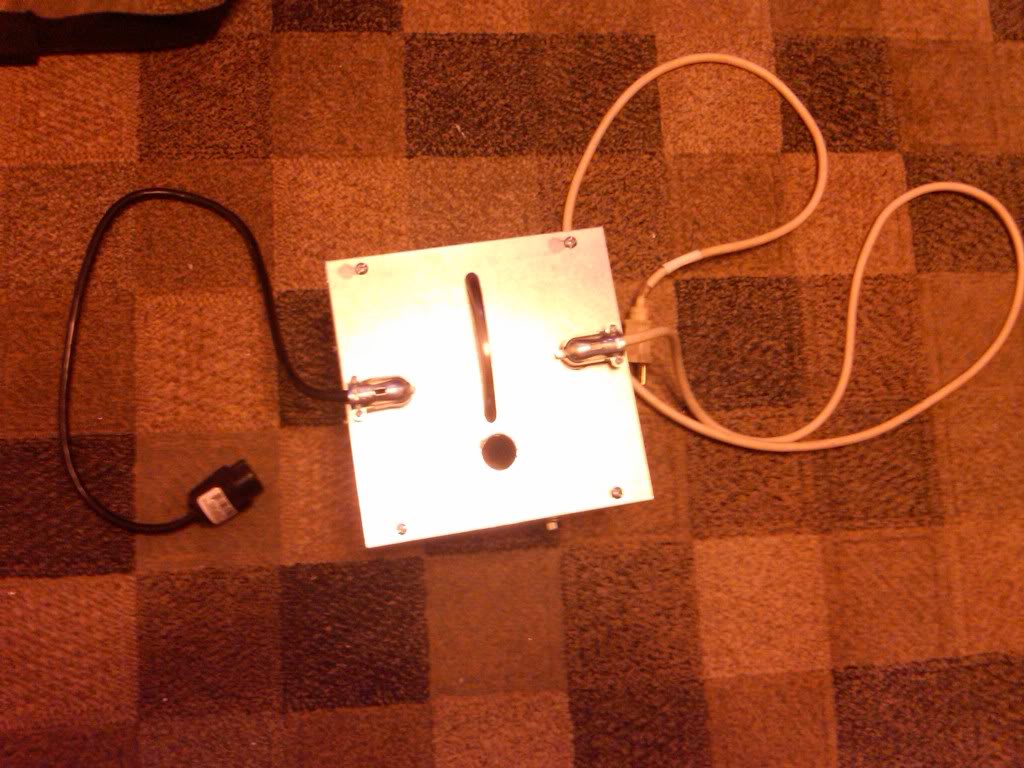
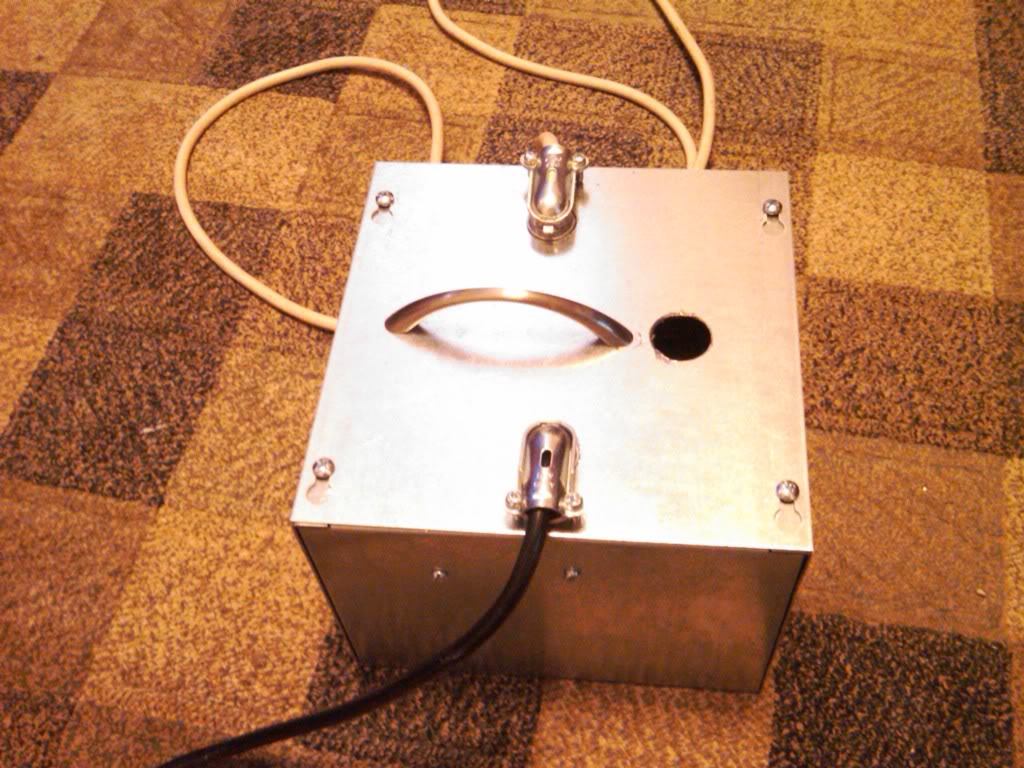
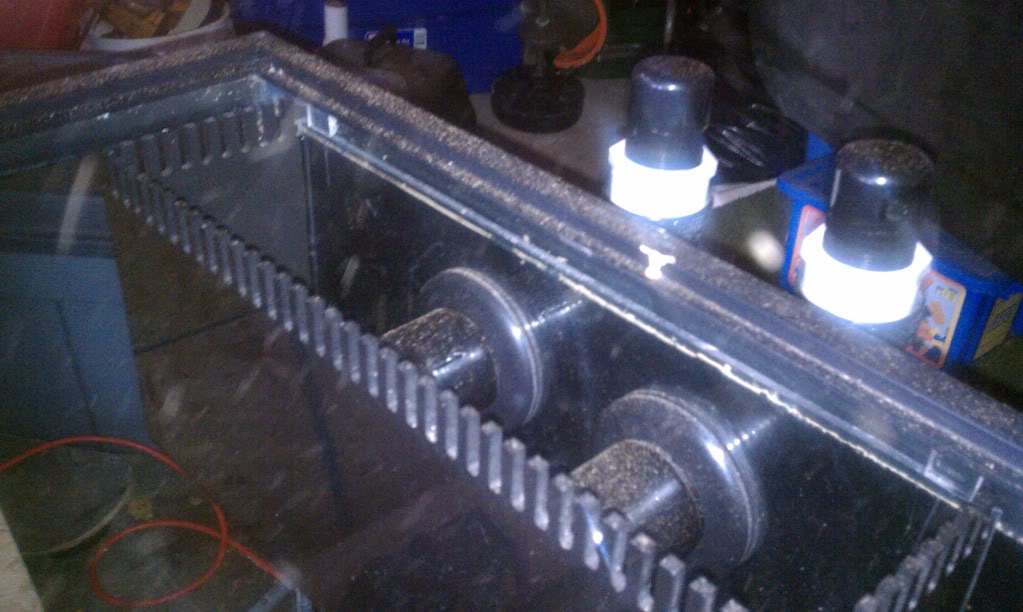
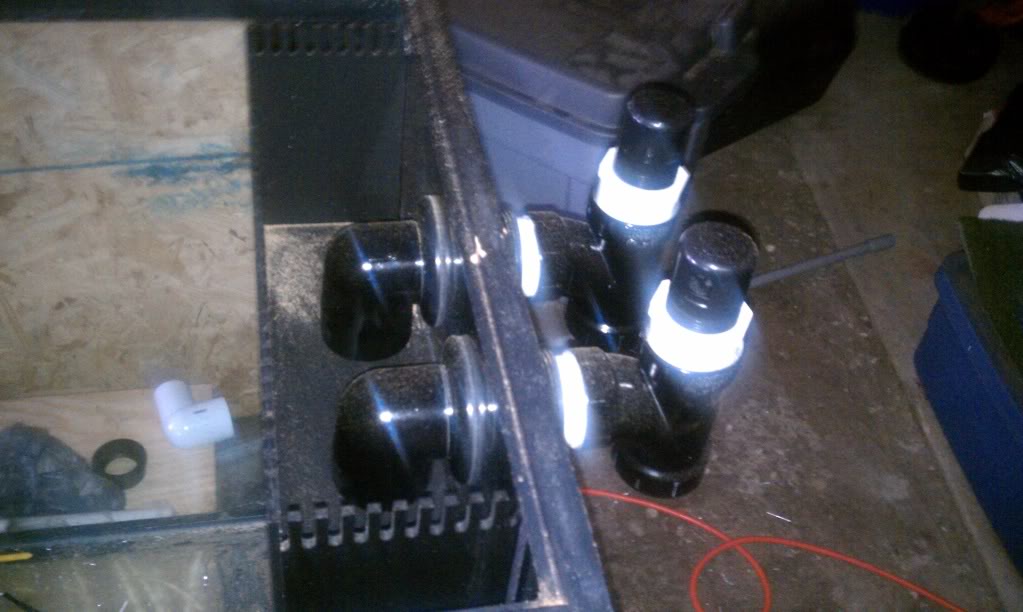
I needed a second ballast and had a DIY cap and coil kit for emergency so I got an 8X8X6 junction box for $12 and made a ballast to use until I get another electronic.
OP
OP
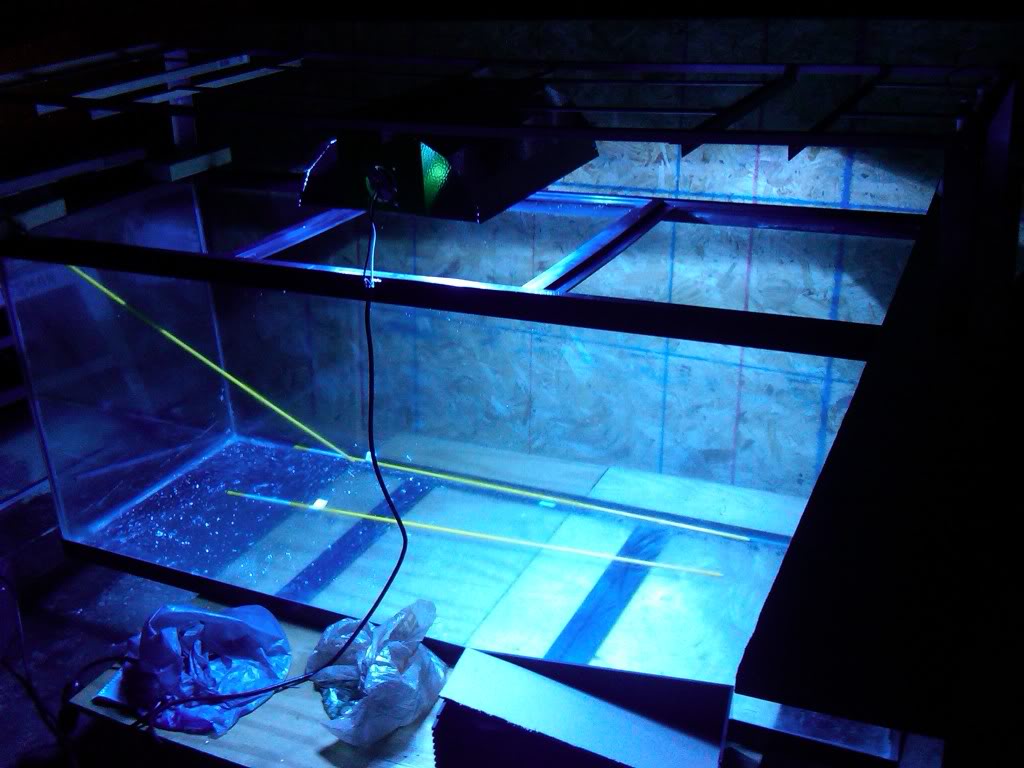
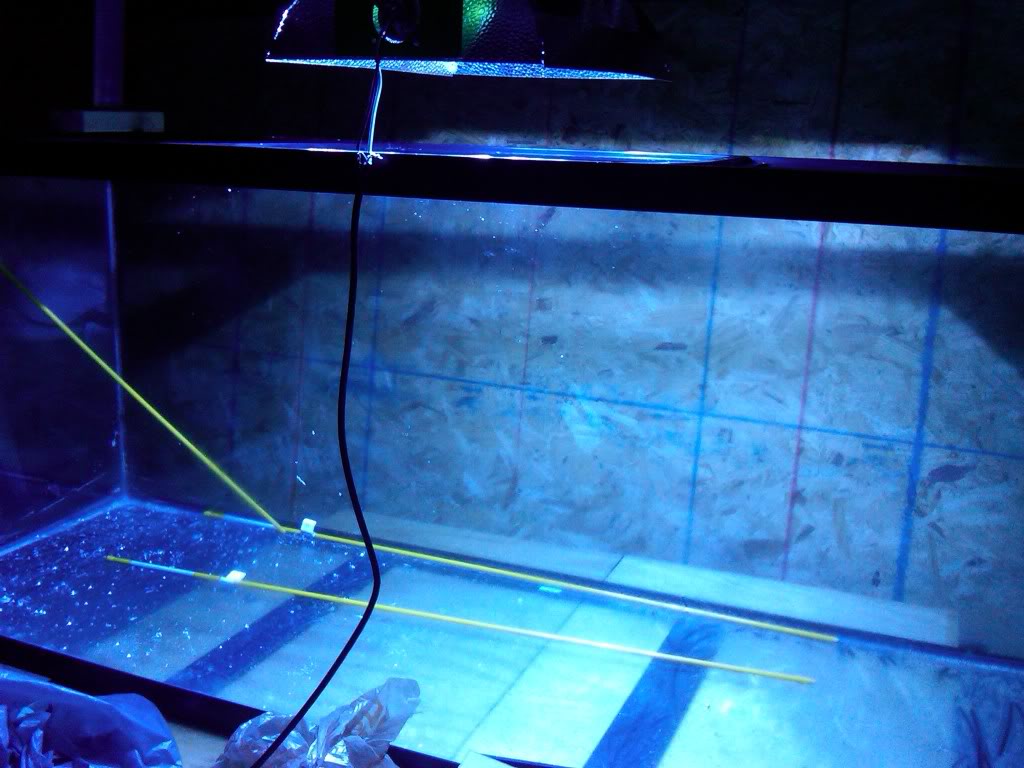
So I gave the bulb and reflector a try. The bulb is a Reefmax 14k that I got from the hydroponics store where I bought the reflector. The bulbs are only $23 and not a bad color. It's hard to tell with no water in the tank.
OP
OP
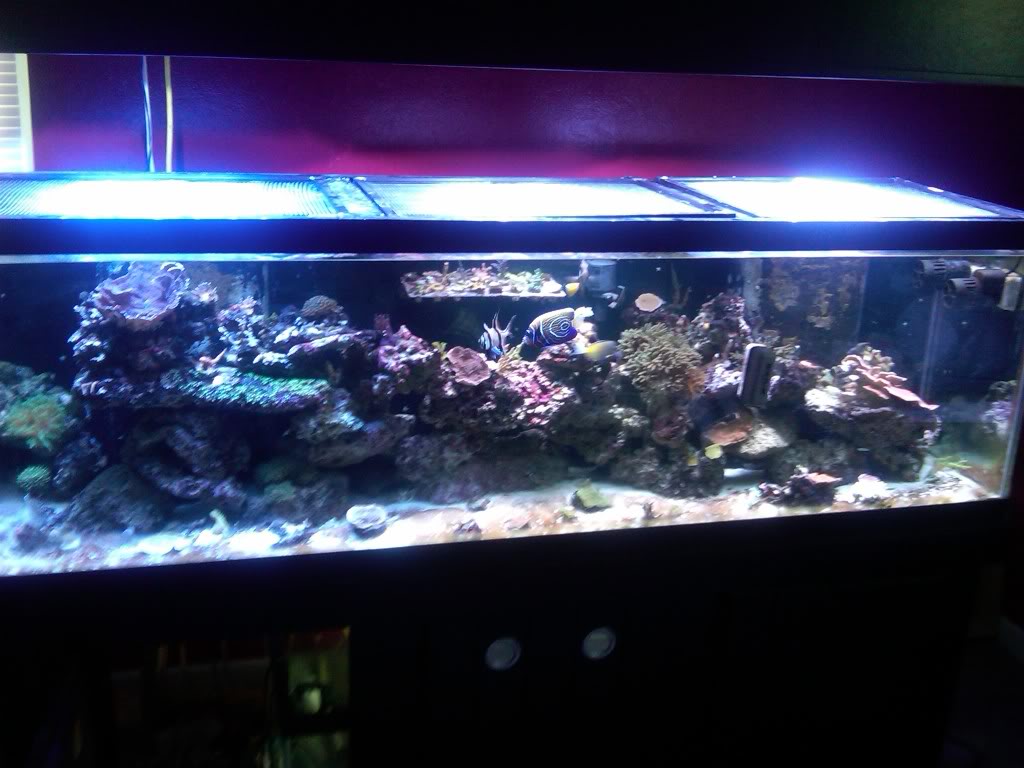
OK I was at Roland's(vr967getta) today picking up a couple frags from a trade(Thanks Roland!) Soooo I figured I would see if he would fire up this ReefMax 14k 250W SE bulb over his tank so I could see how it looks. I must say I am impressed. It has a Phoenix 14k look to it. He has 14k Aquaconnects in his canopy. The Reefmax is on the left and his (2) Aquaconnects are in the middle and on the right. Not bad for $23. Just have to see how they hold up over the long run.

OP
OP
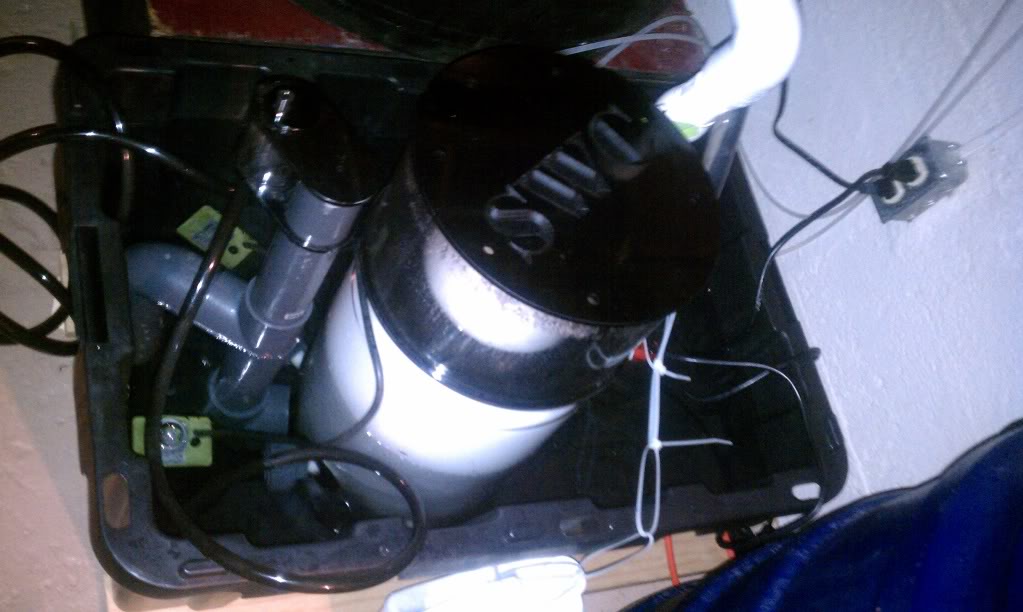
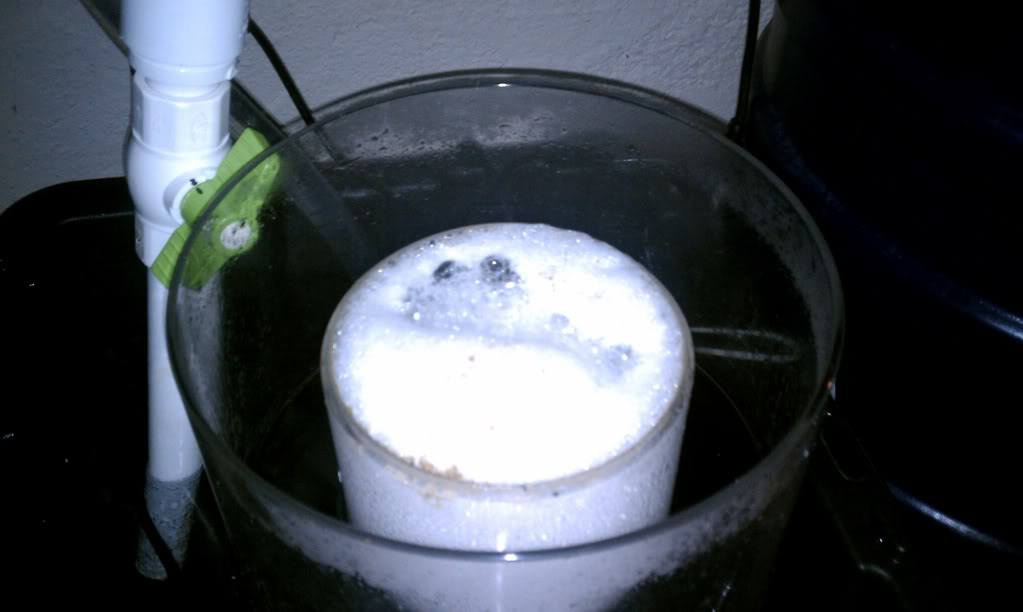
OK getting back on track with the upgrade. I have my temp system up and running in the basement ready to transfer my livestock. I also have the new(used) SWC 250 Extreme skimmer set up on it. Here are a couple of pics:
Similar threads
- Price: 1800
- Shipping NOT Available
- Replies
- 1
- Views
- 217

- Replies
- 27
- Views
- 873


