Pole's 180+ Gallon - Just Wing It - Build

Pole04

Active Member
View Badges
Joined
Aug 9, 2016
Messages
226
Reaction score
192
Location
DFW, Texas
Rating - 0%
0   0   0
I have been putting this off for far too long, and if I wait any longer it will be a tank show-off thread and not a build thread. Hopefully updating this will keep me on track and keep me moving. I am easily distracted these days. So here I go…

(Warning I tend to get wordy... I will try and break it up with plenty of pictures)

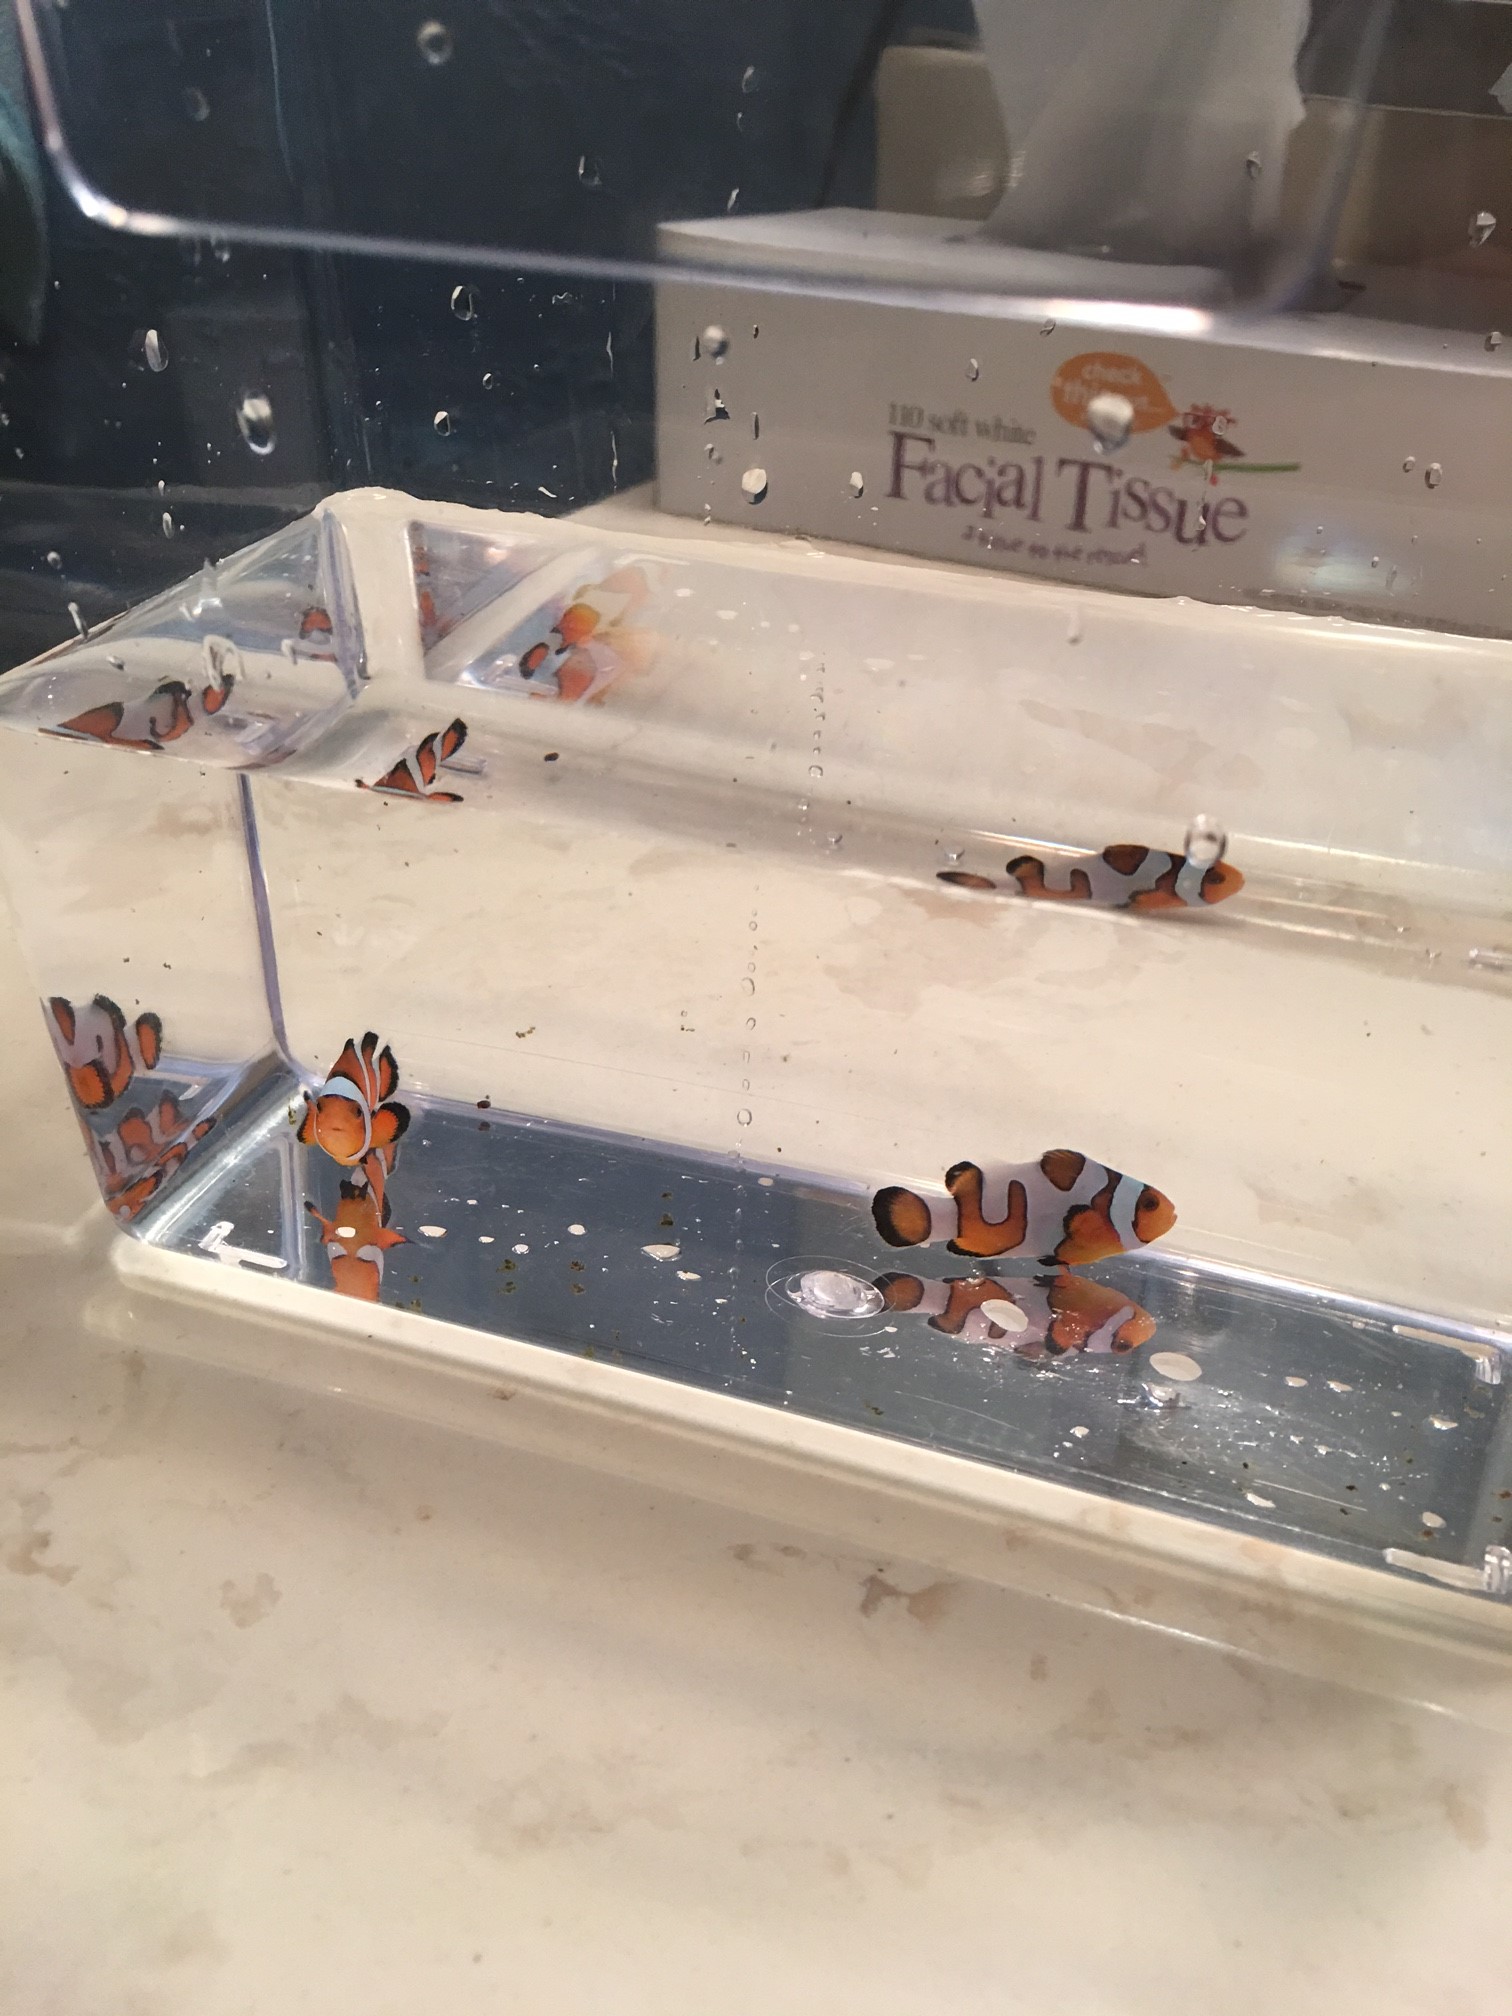
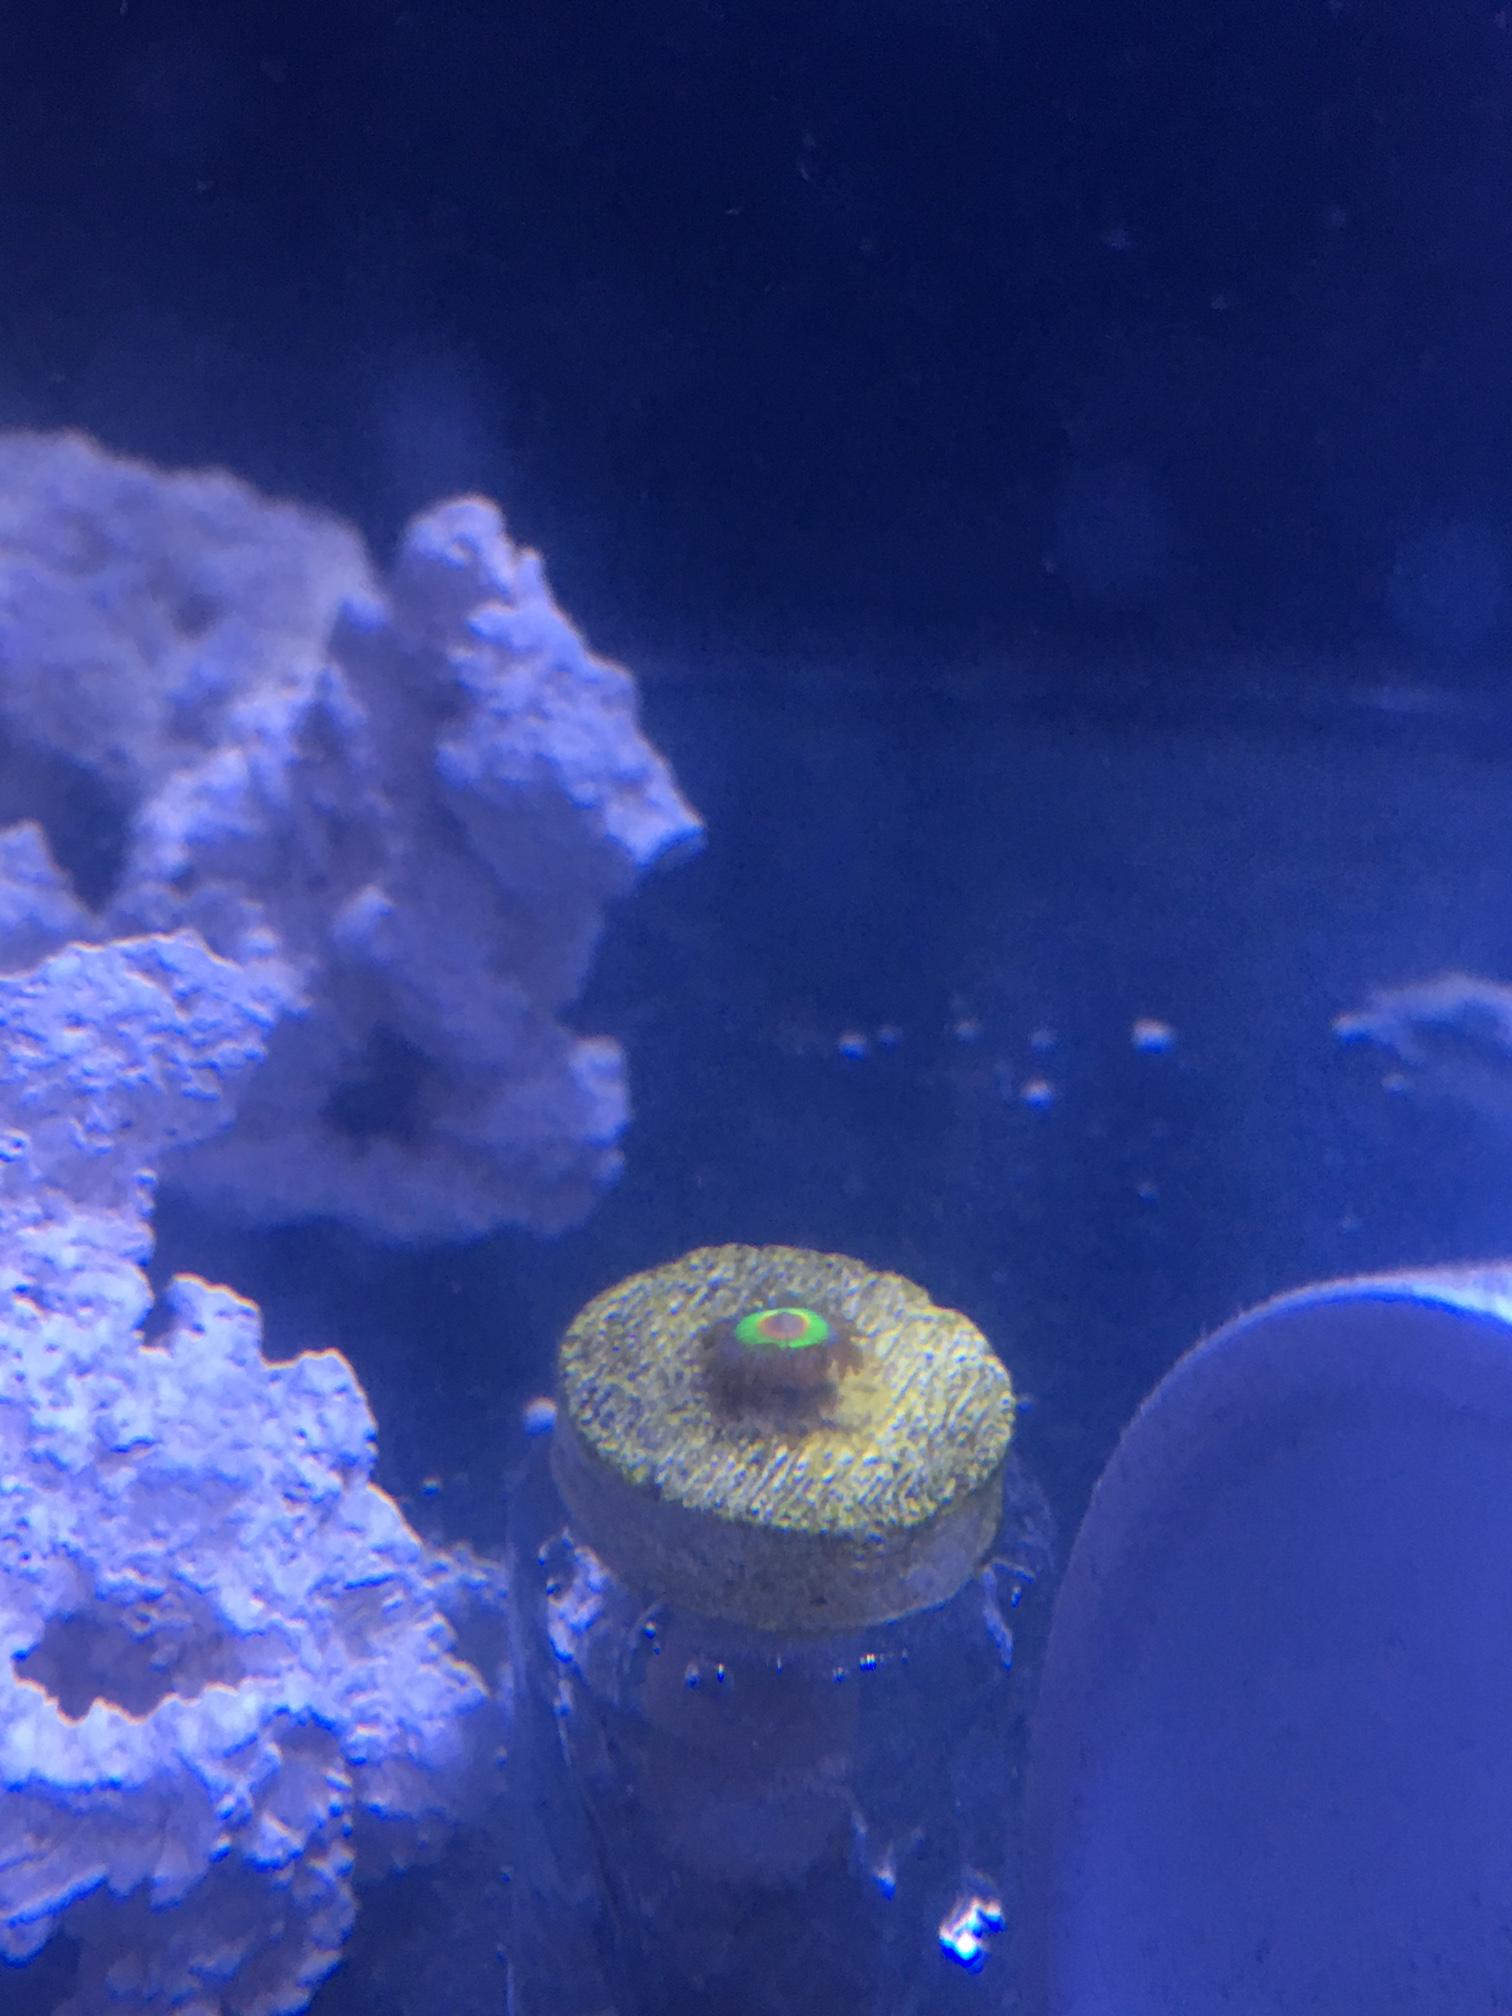
I am new to both coral and the salt water hobby in general. I have always been on the outside looking at these beautiful tanks teeming with life, the colorful fish, and the countless varieties of corals thinking to myself that it would be too hard or too expensive to try.

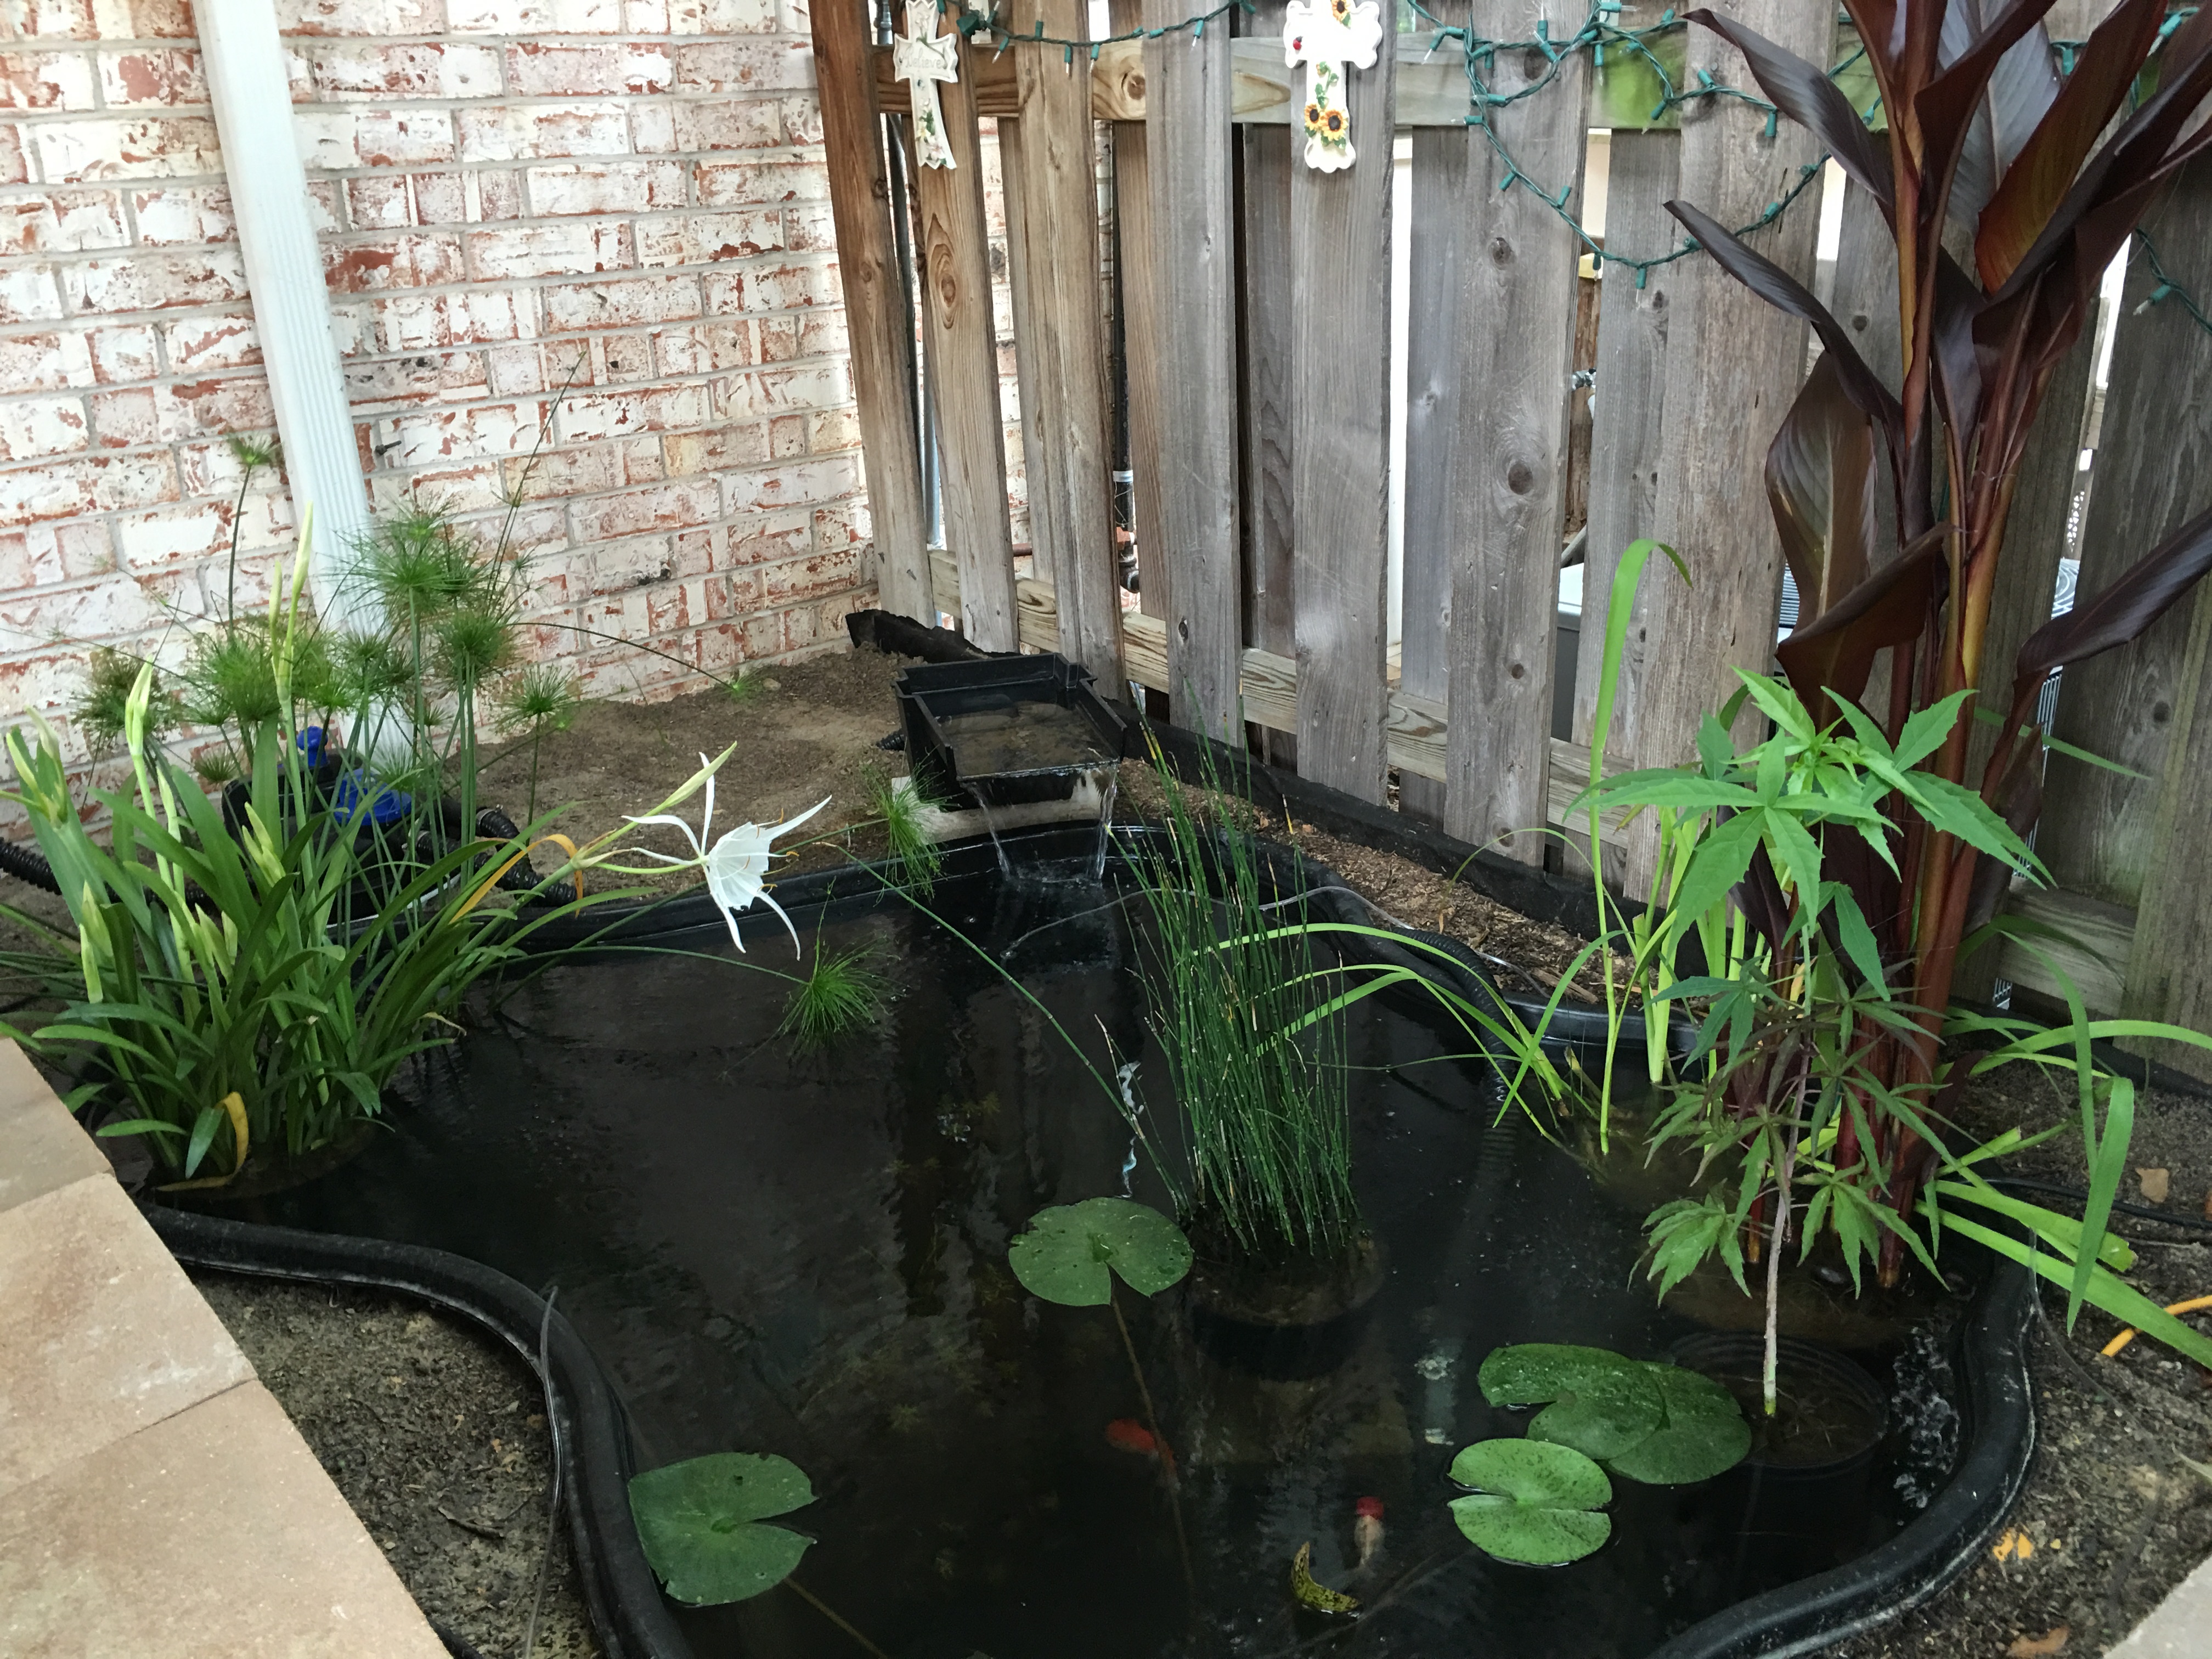
I have kept freshwater fish on and off for the past 15 years, and I recently got bit by the bug again. About a year ago I began construction on a patio pond to keep fancy goldfish in. The pond has been hugely successful and I am preparing it for its first winter now. My collection of fancy goldfish expanded quickly from what I could find at the LFS to expensive Ranchus from top online sources. Somewhere along the way I crossed the line between it being a cheap pastime to it being a fully invested hobby.

z5330iJ.jpg


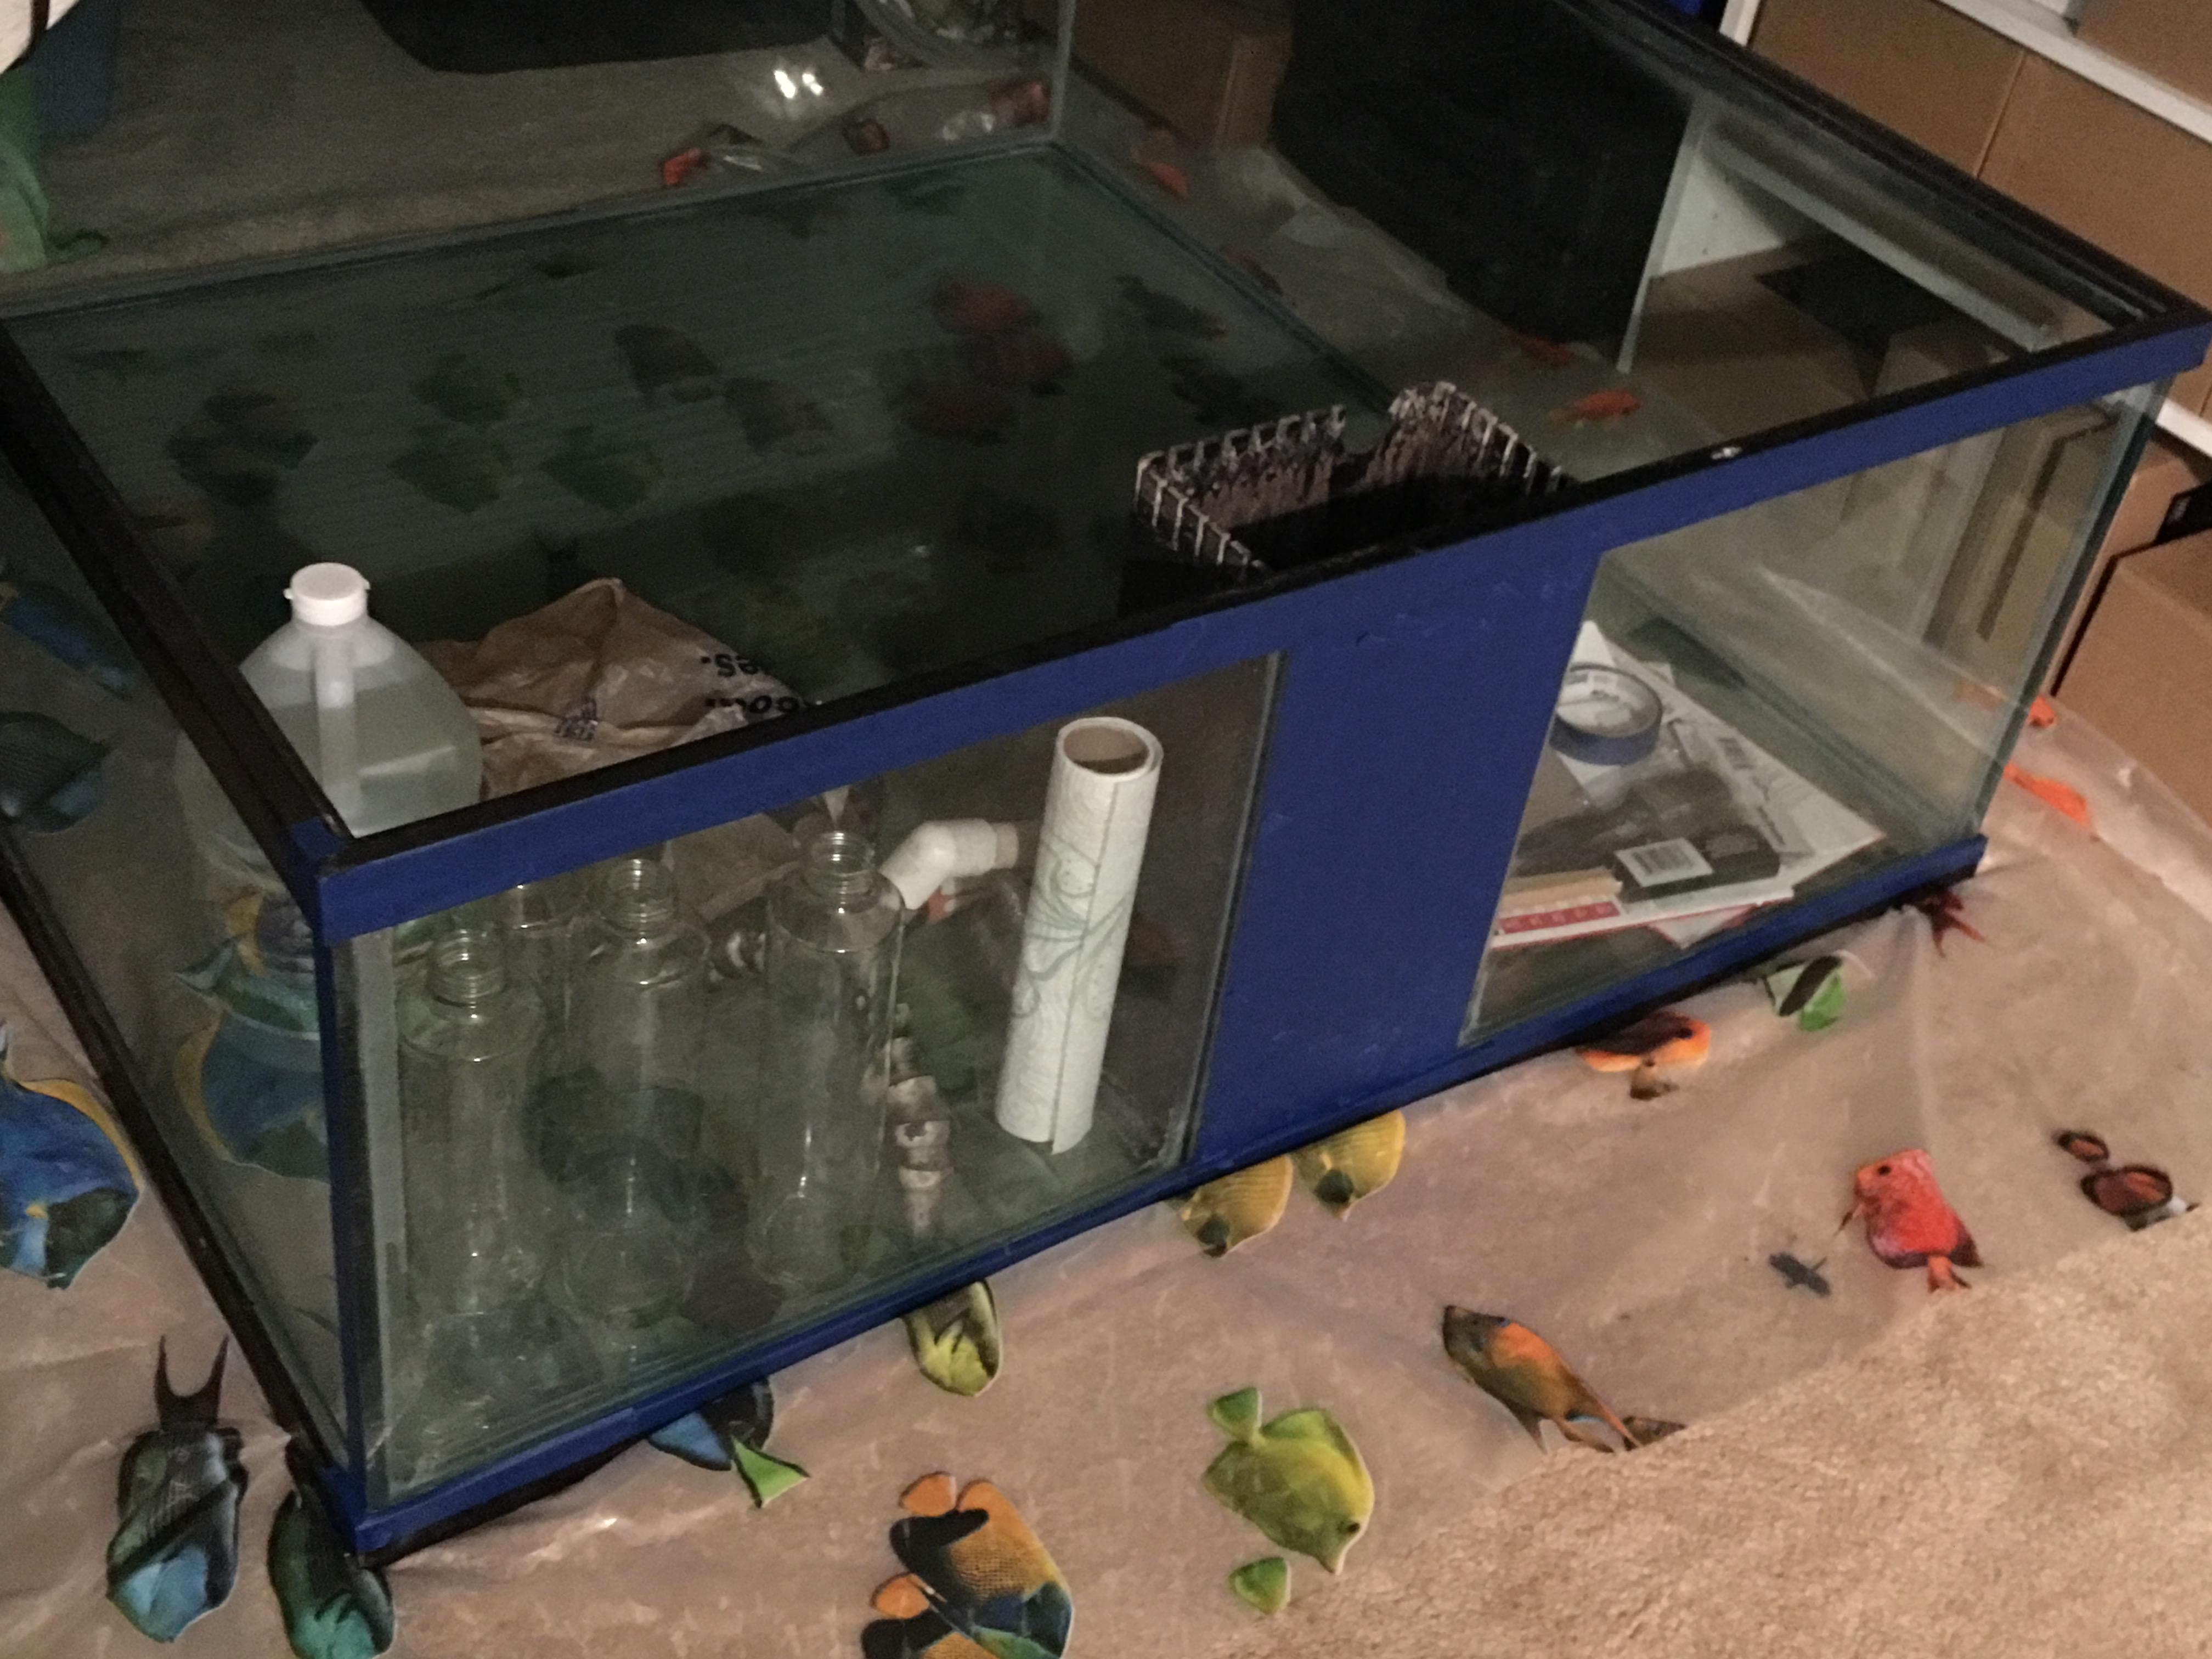
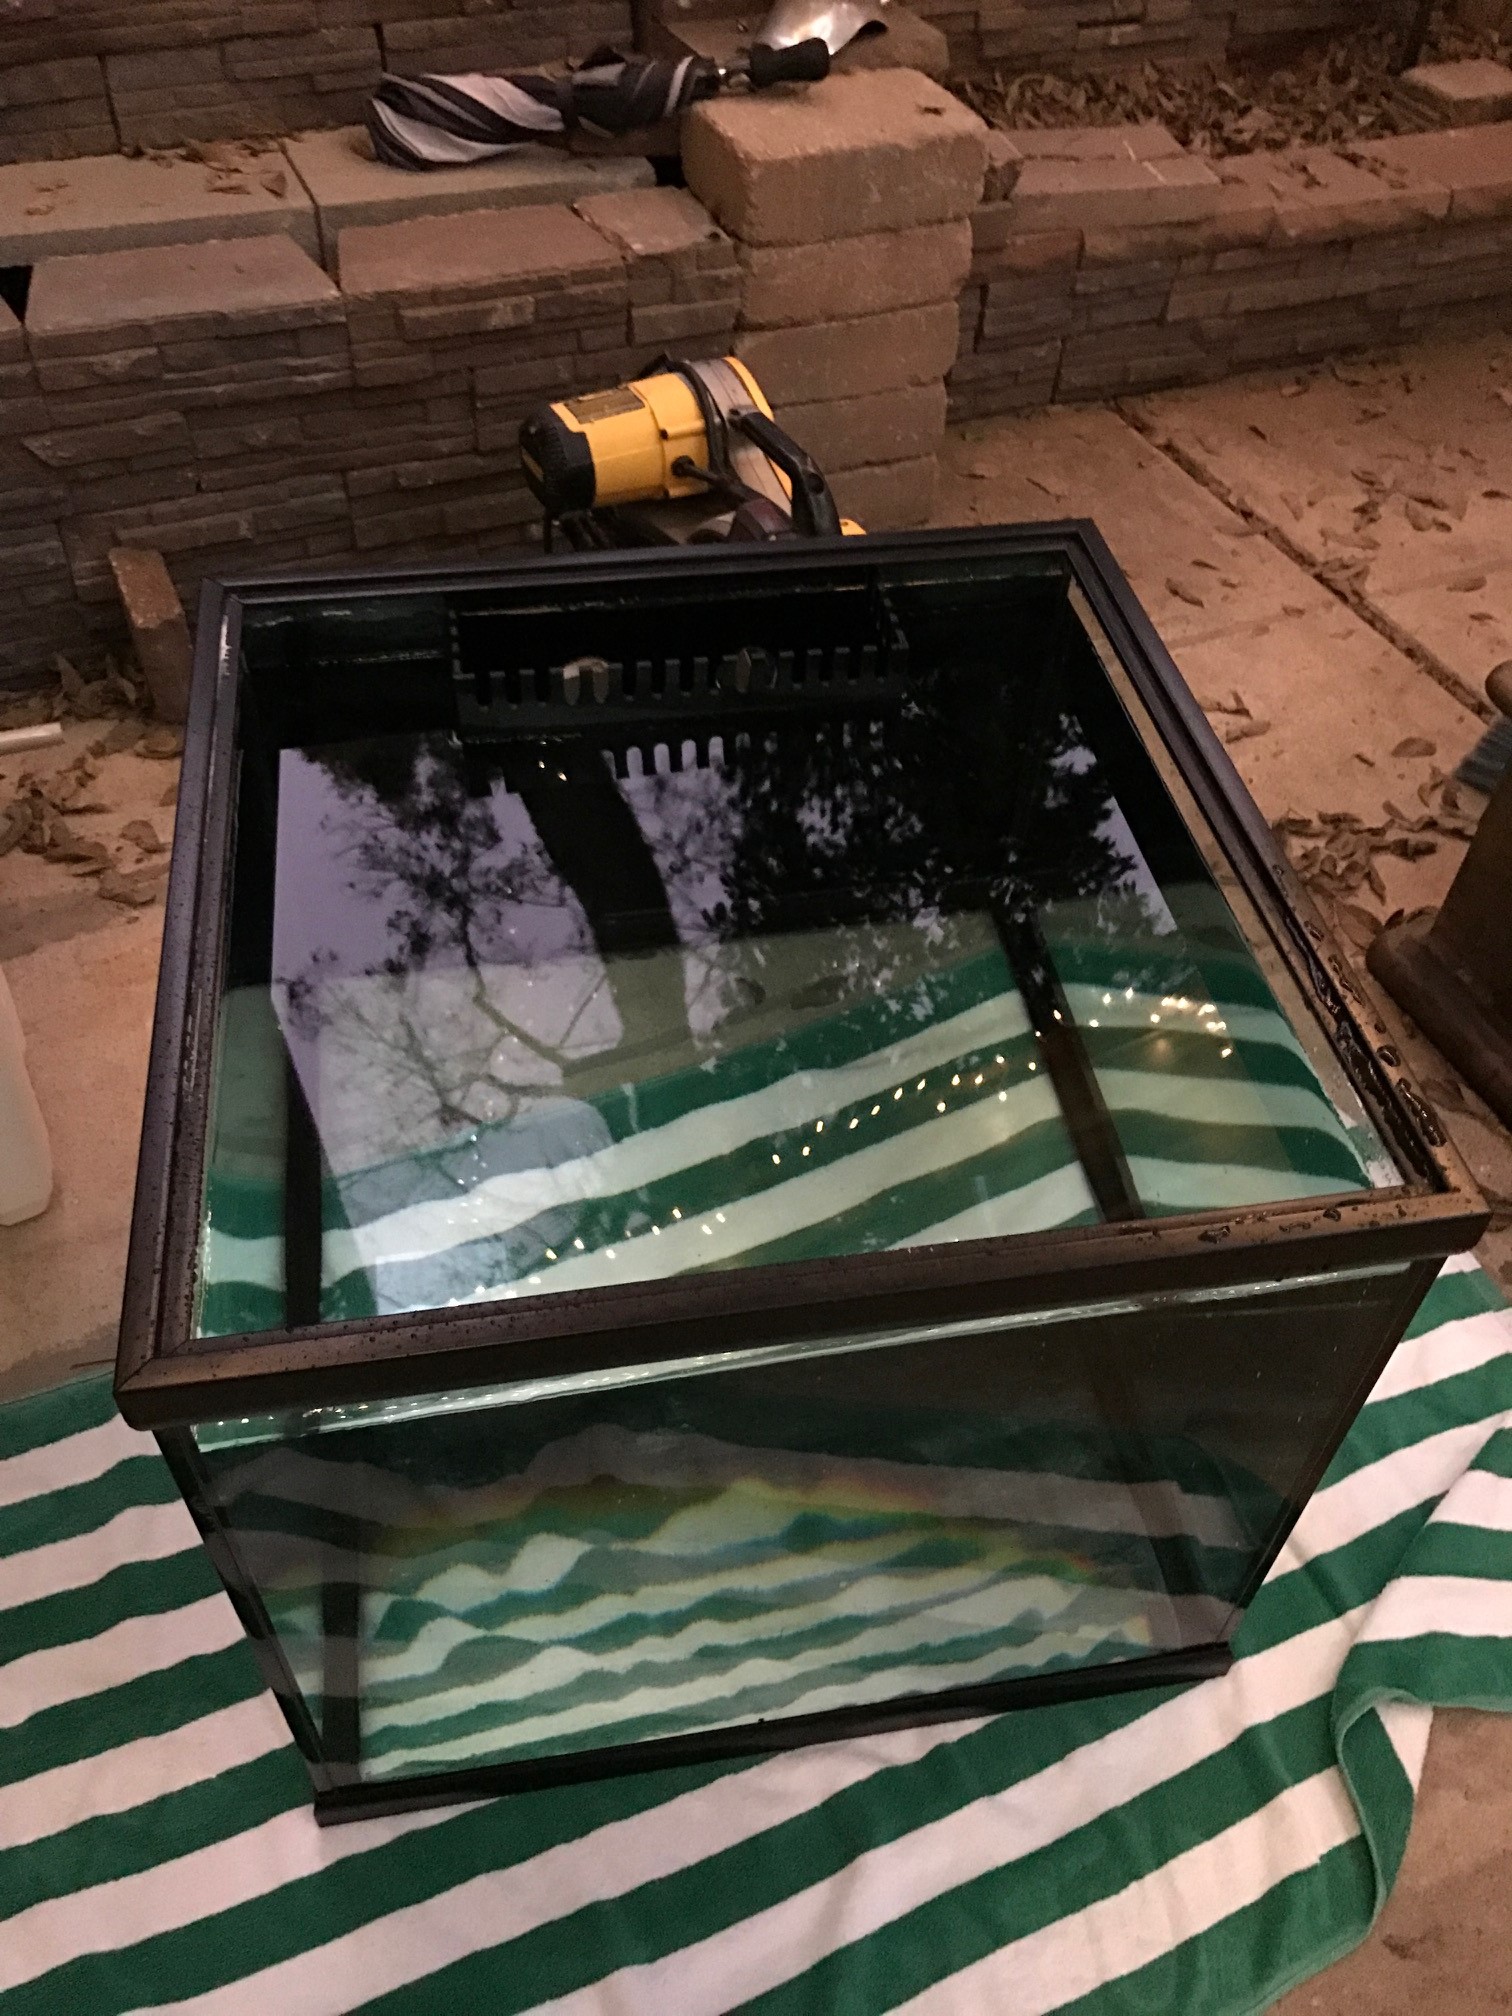
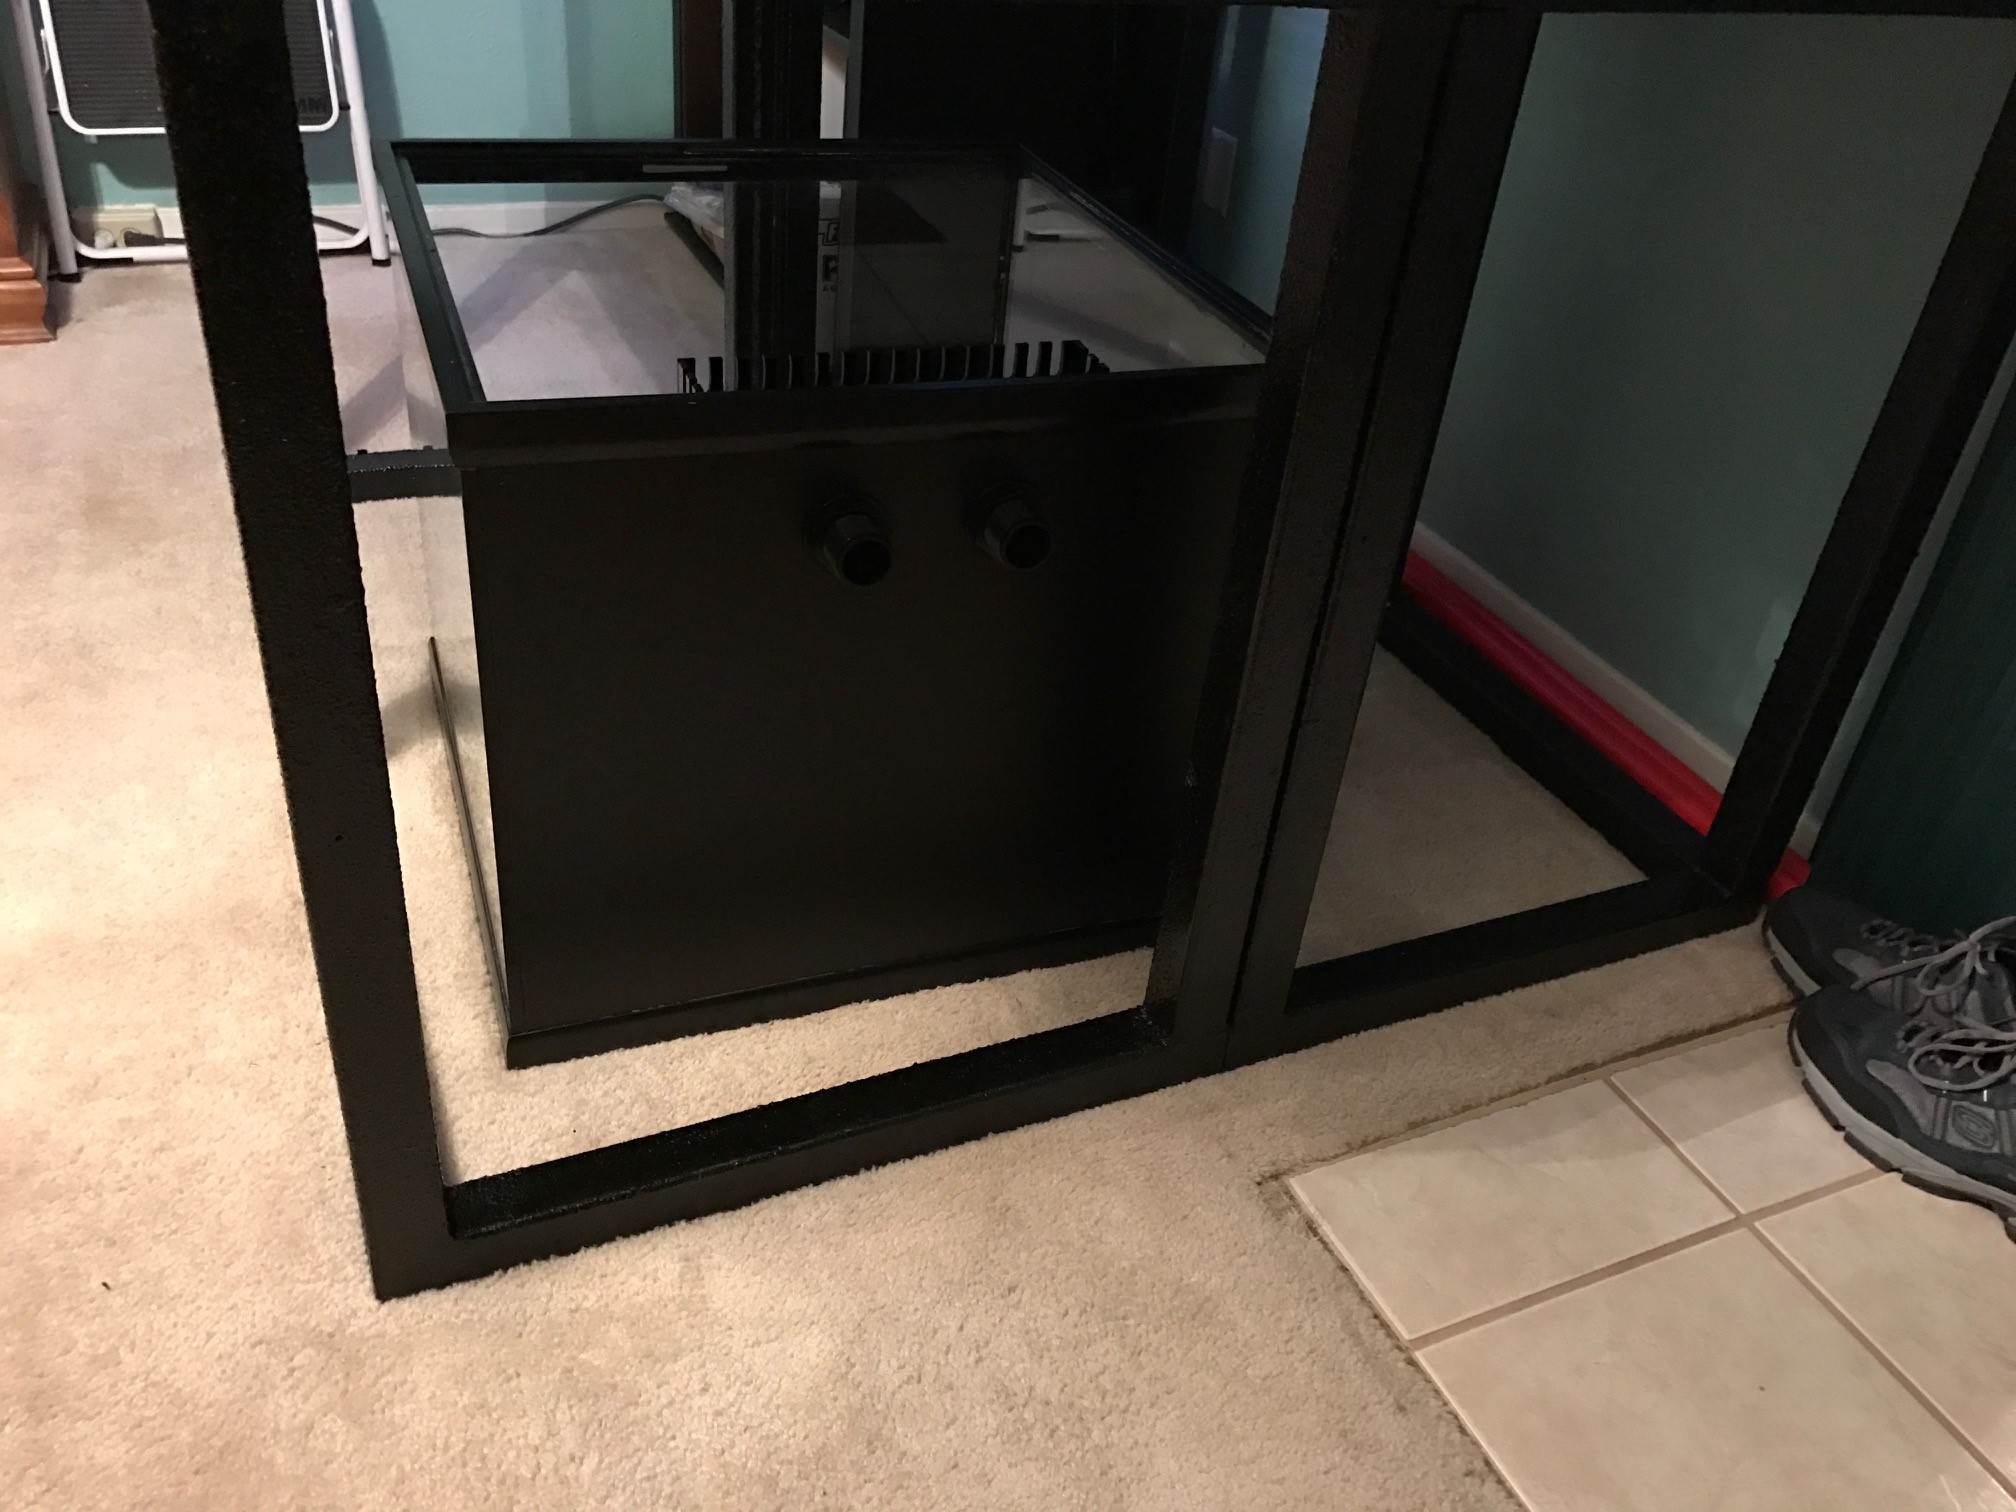
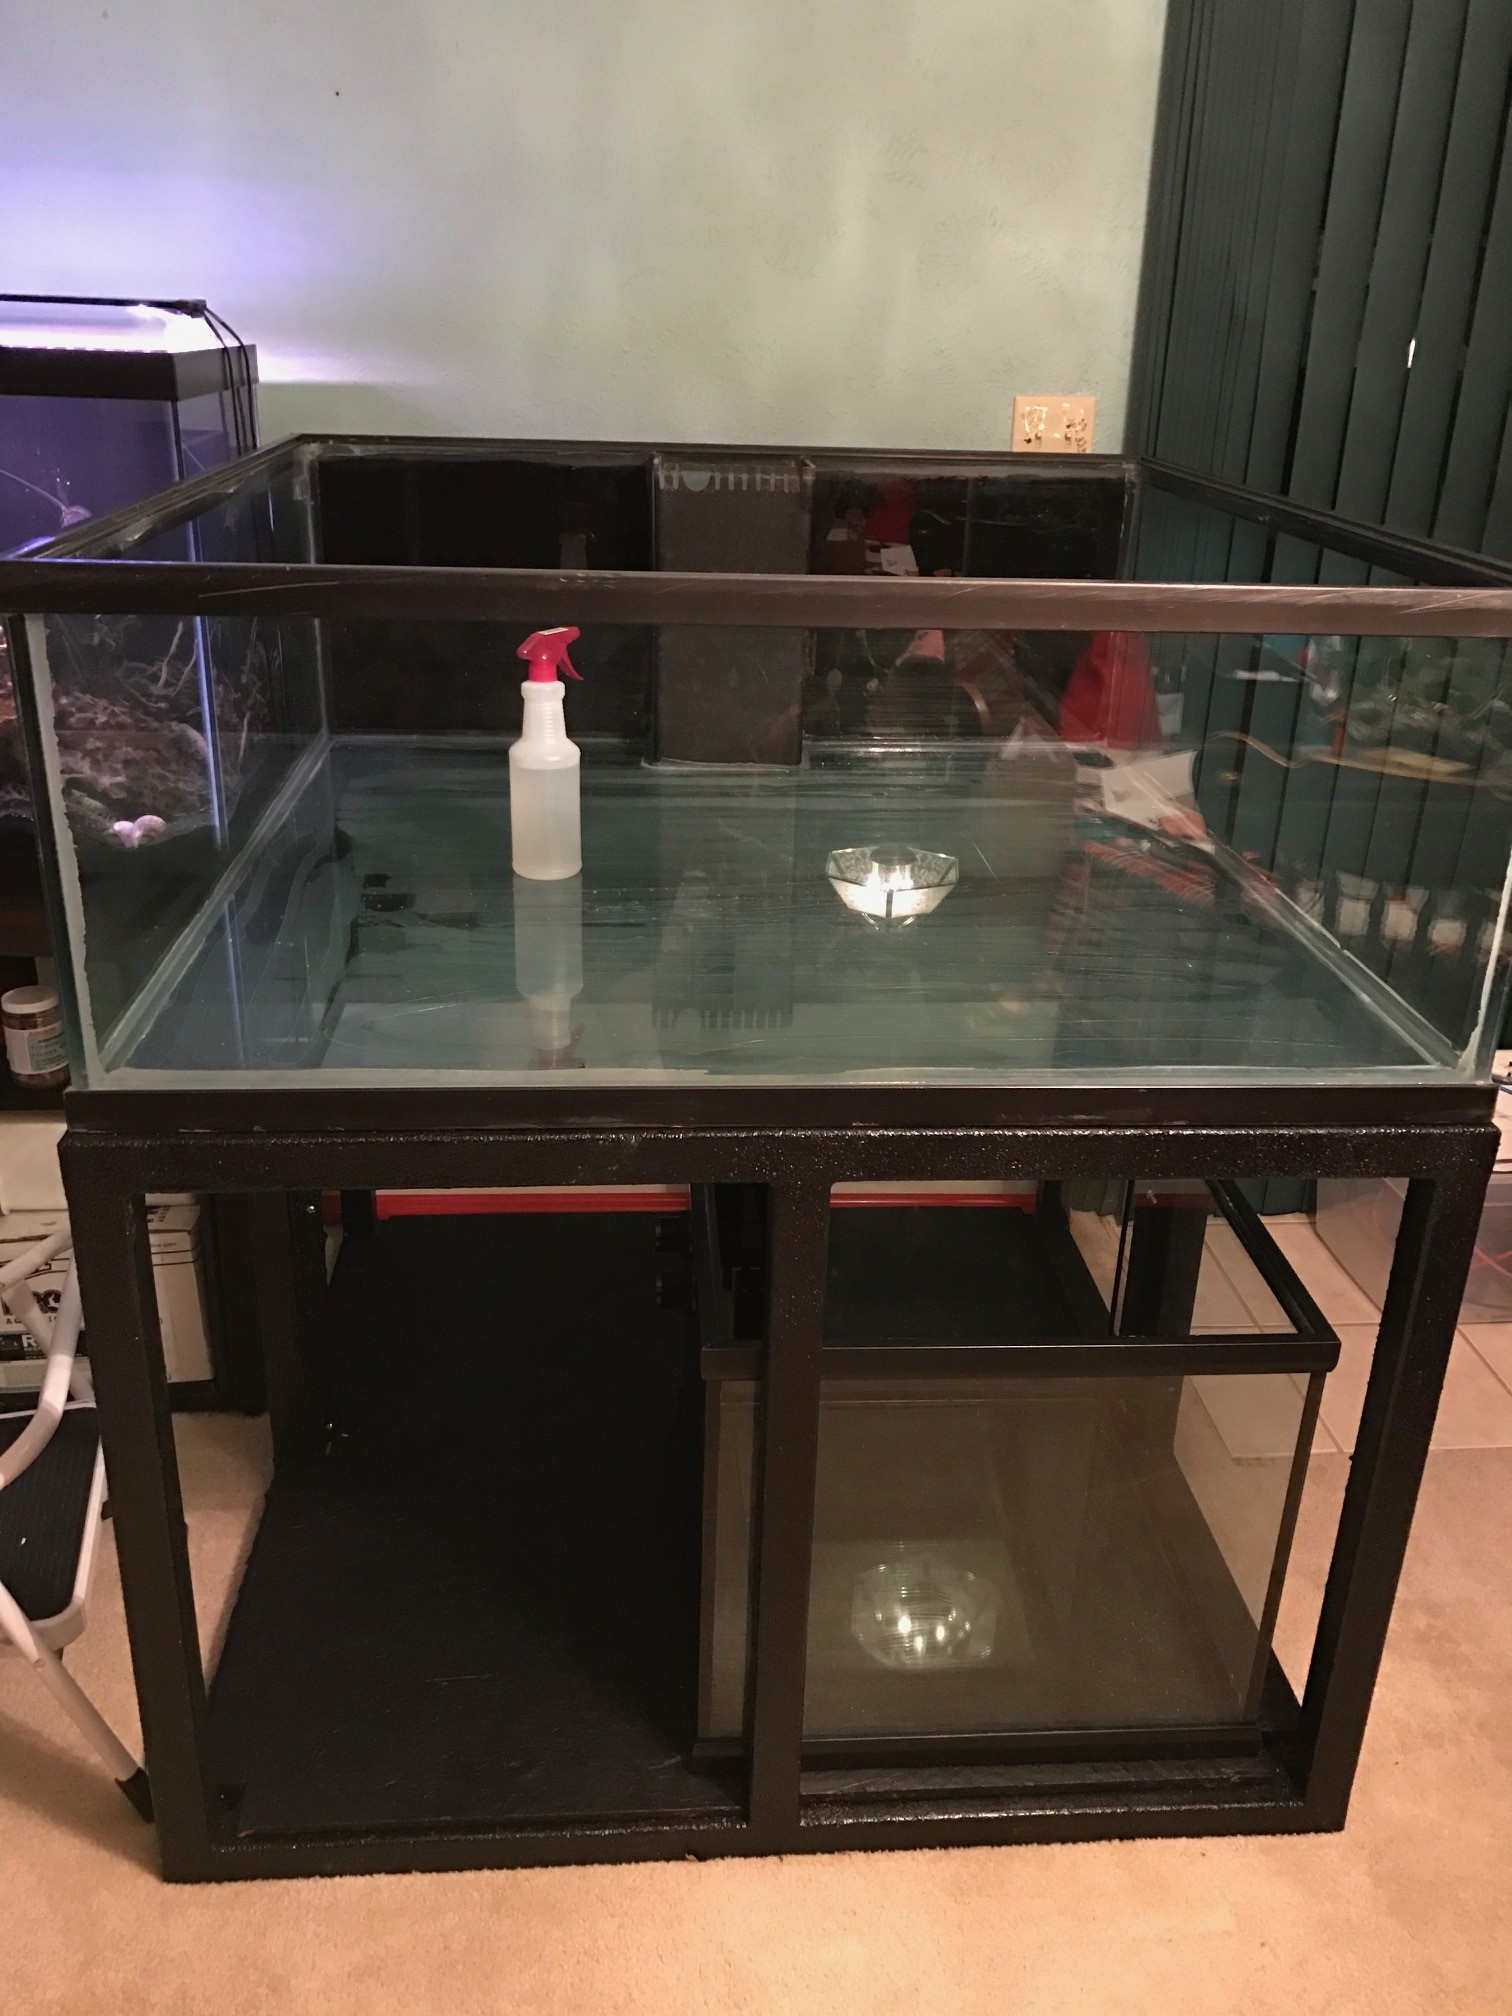
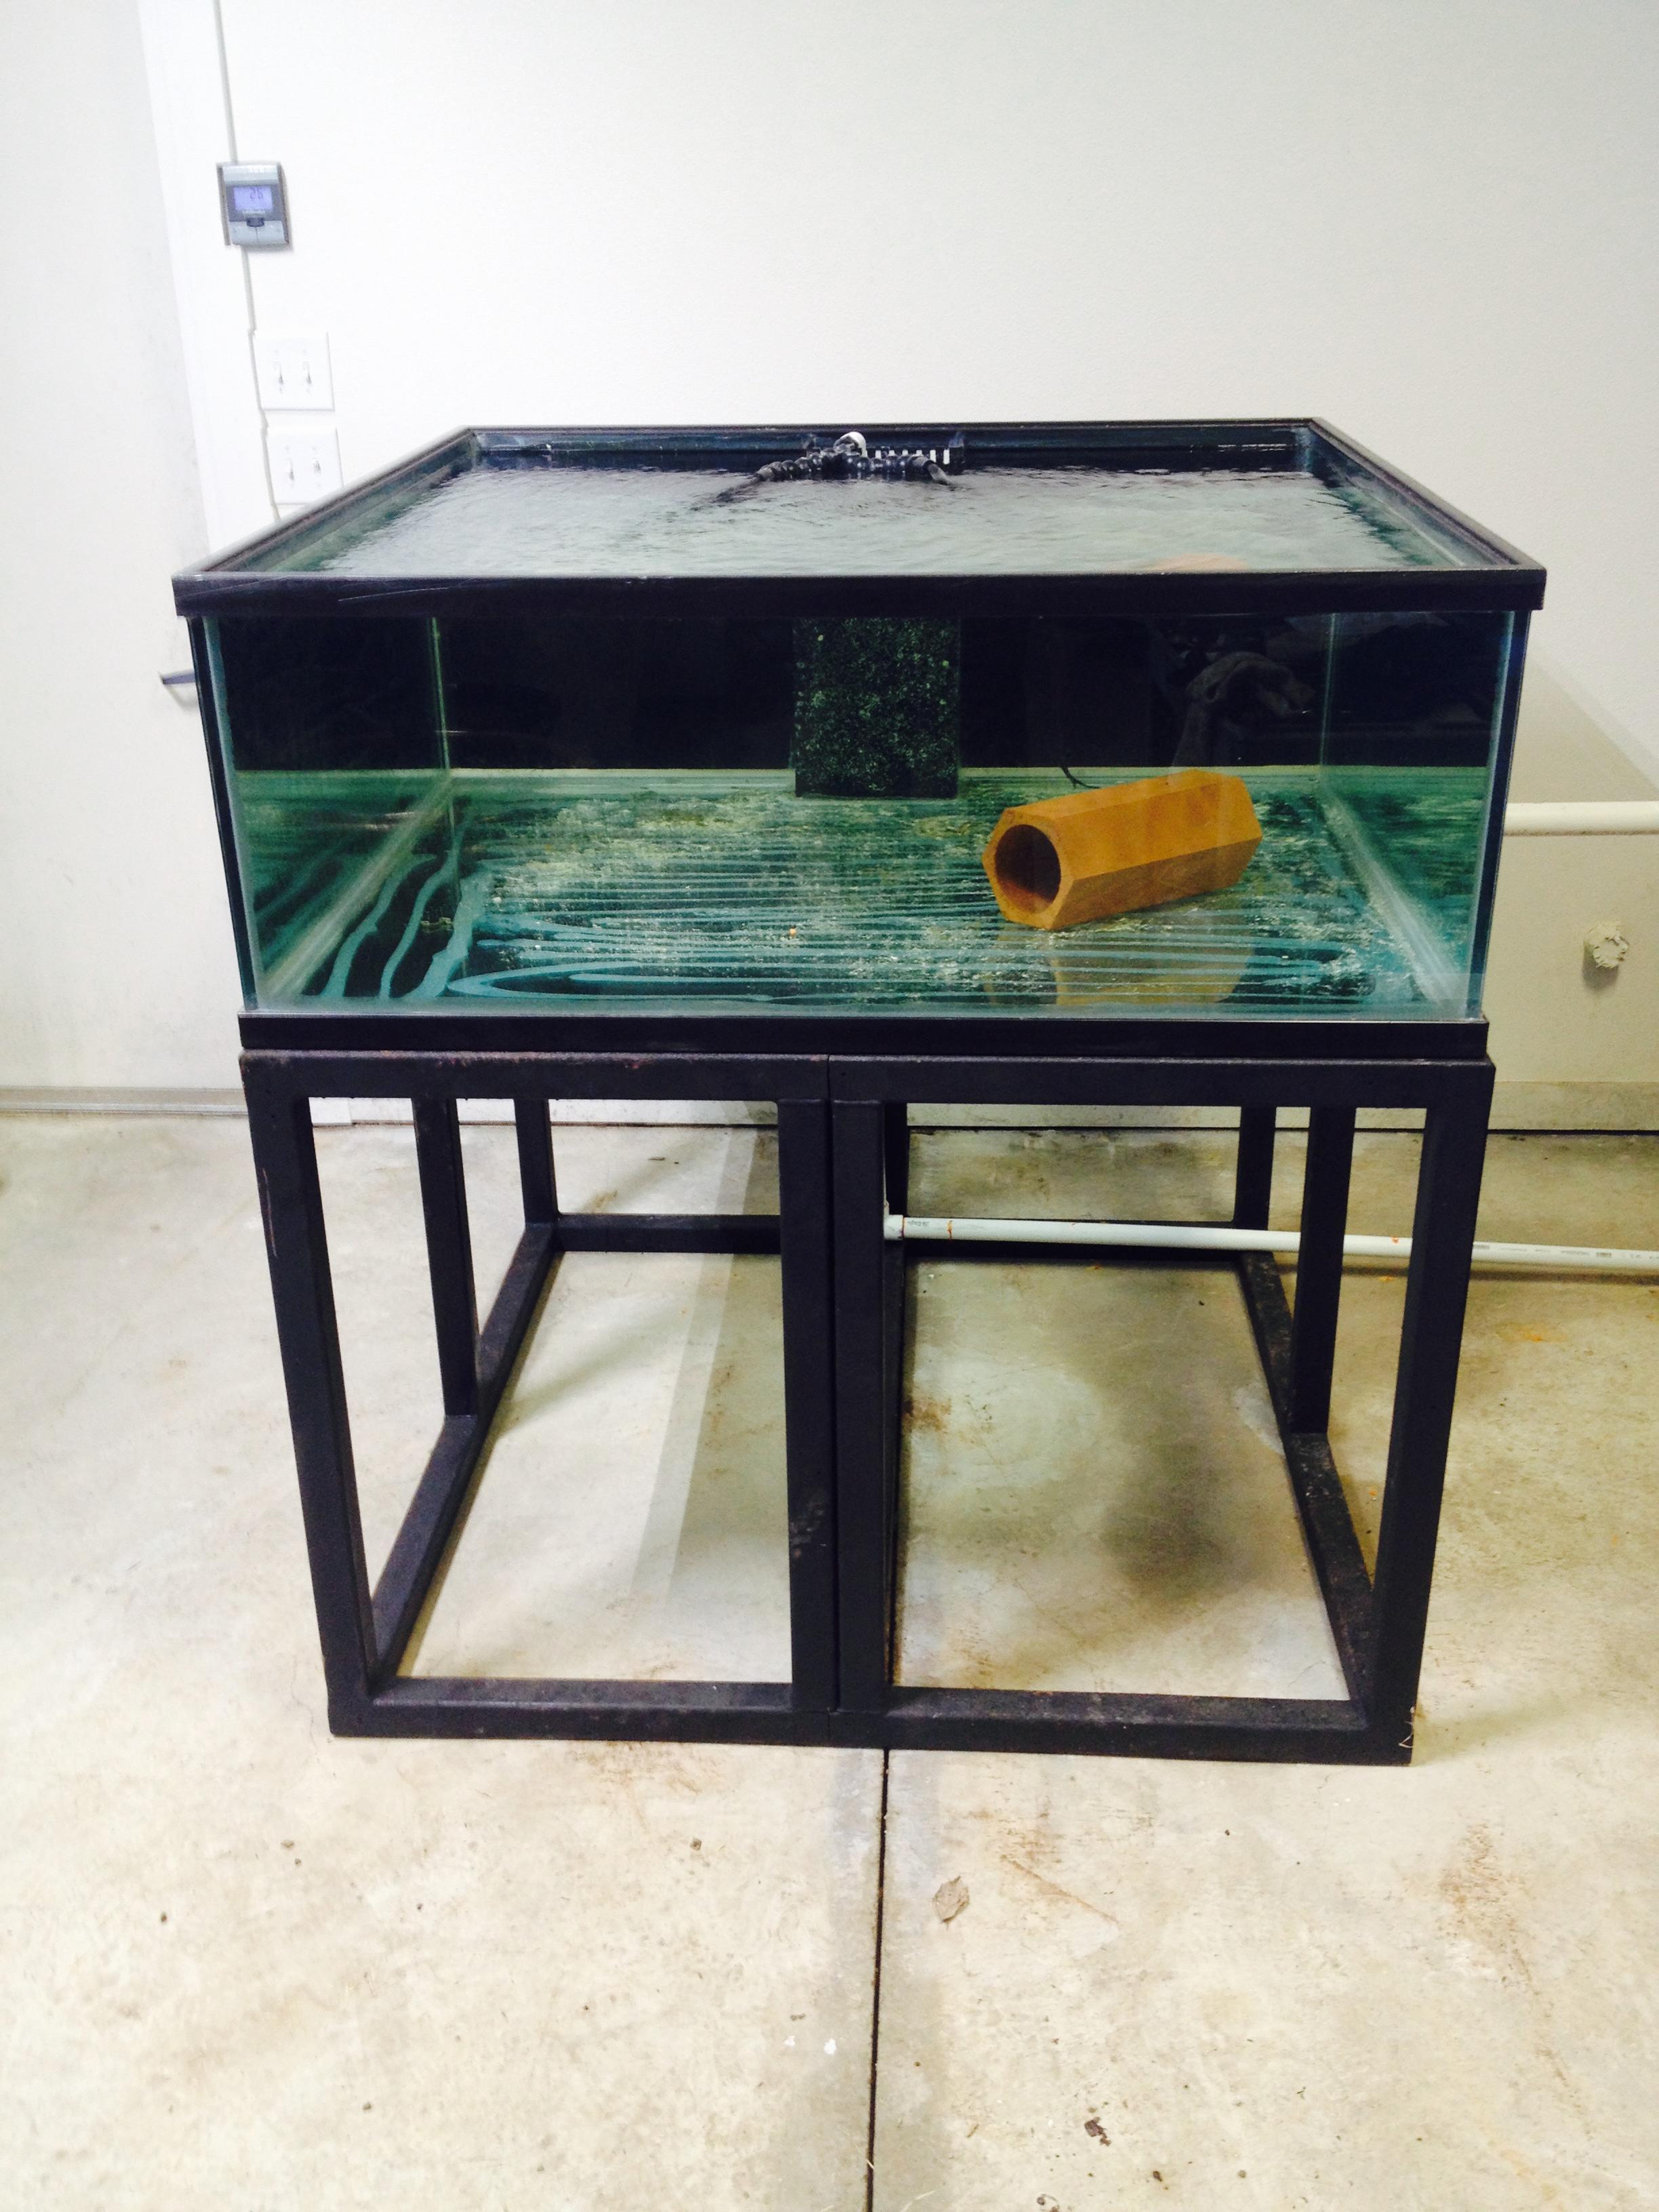
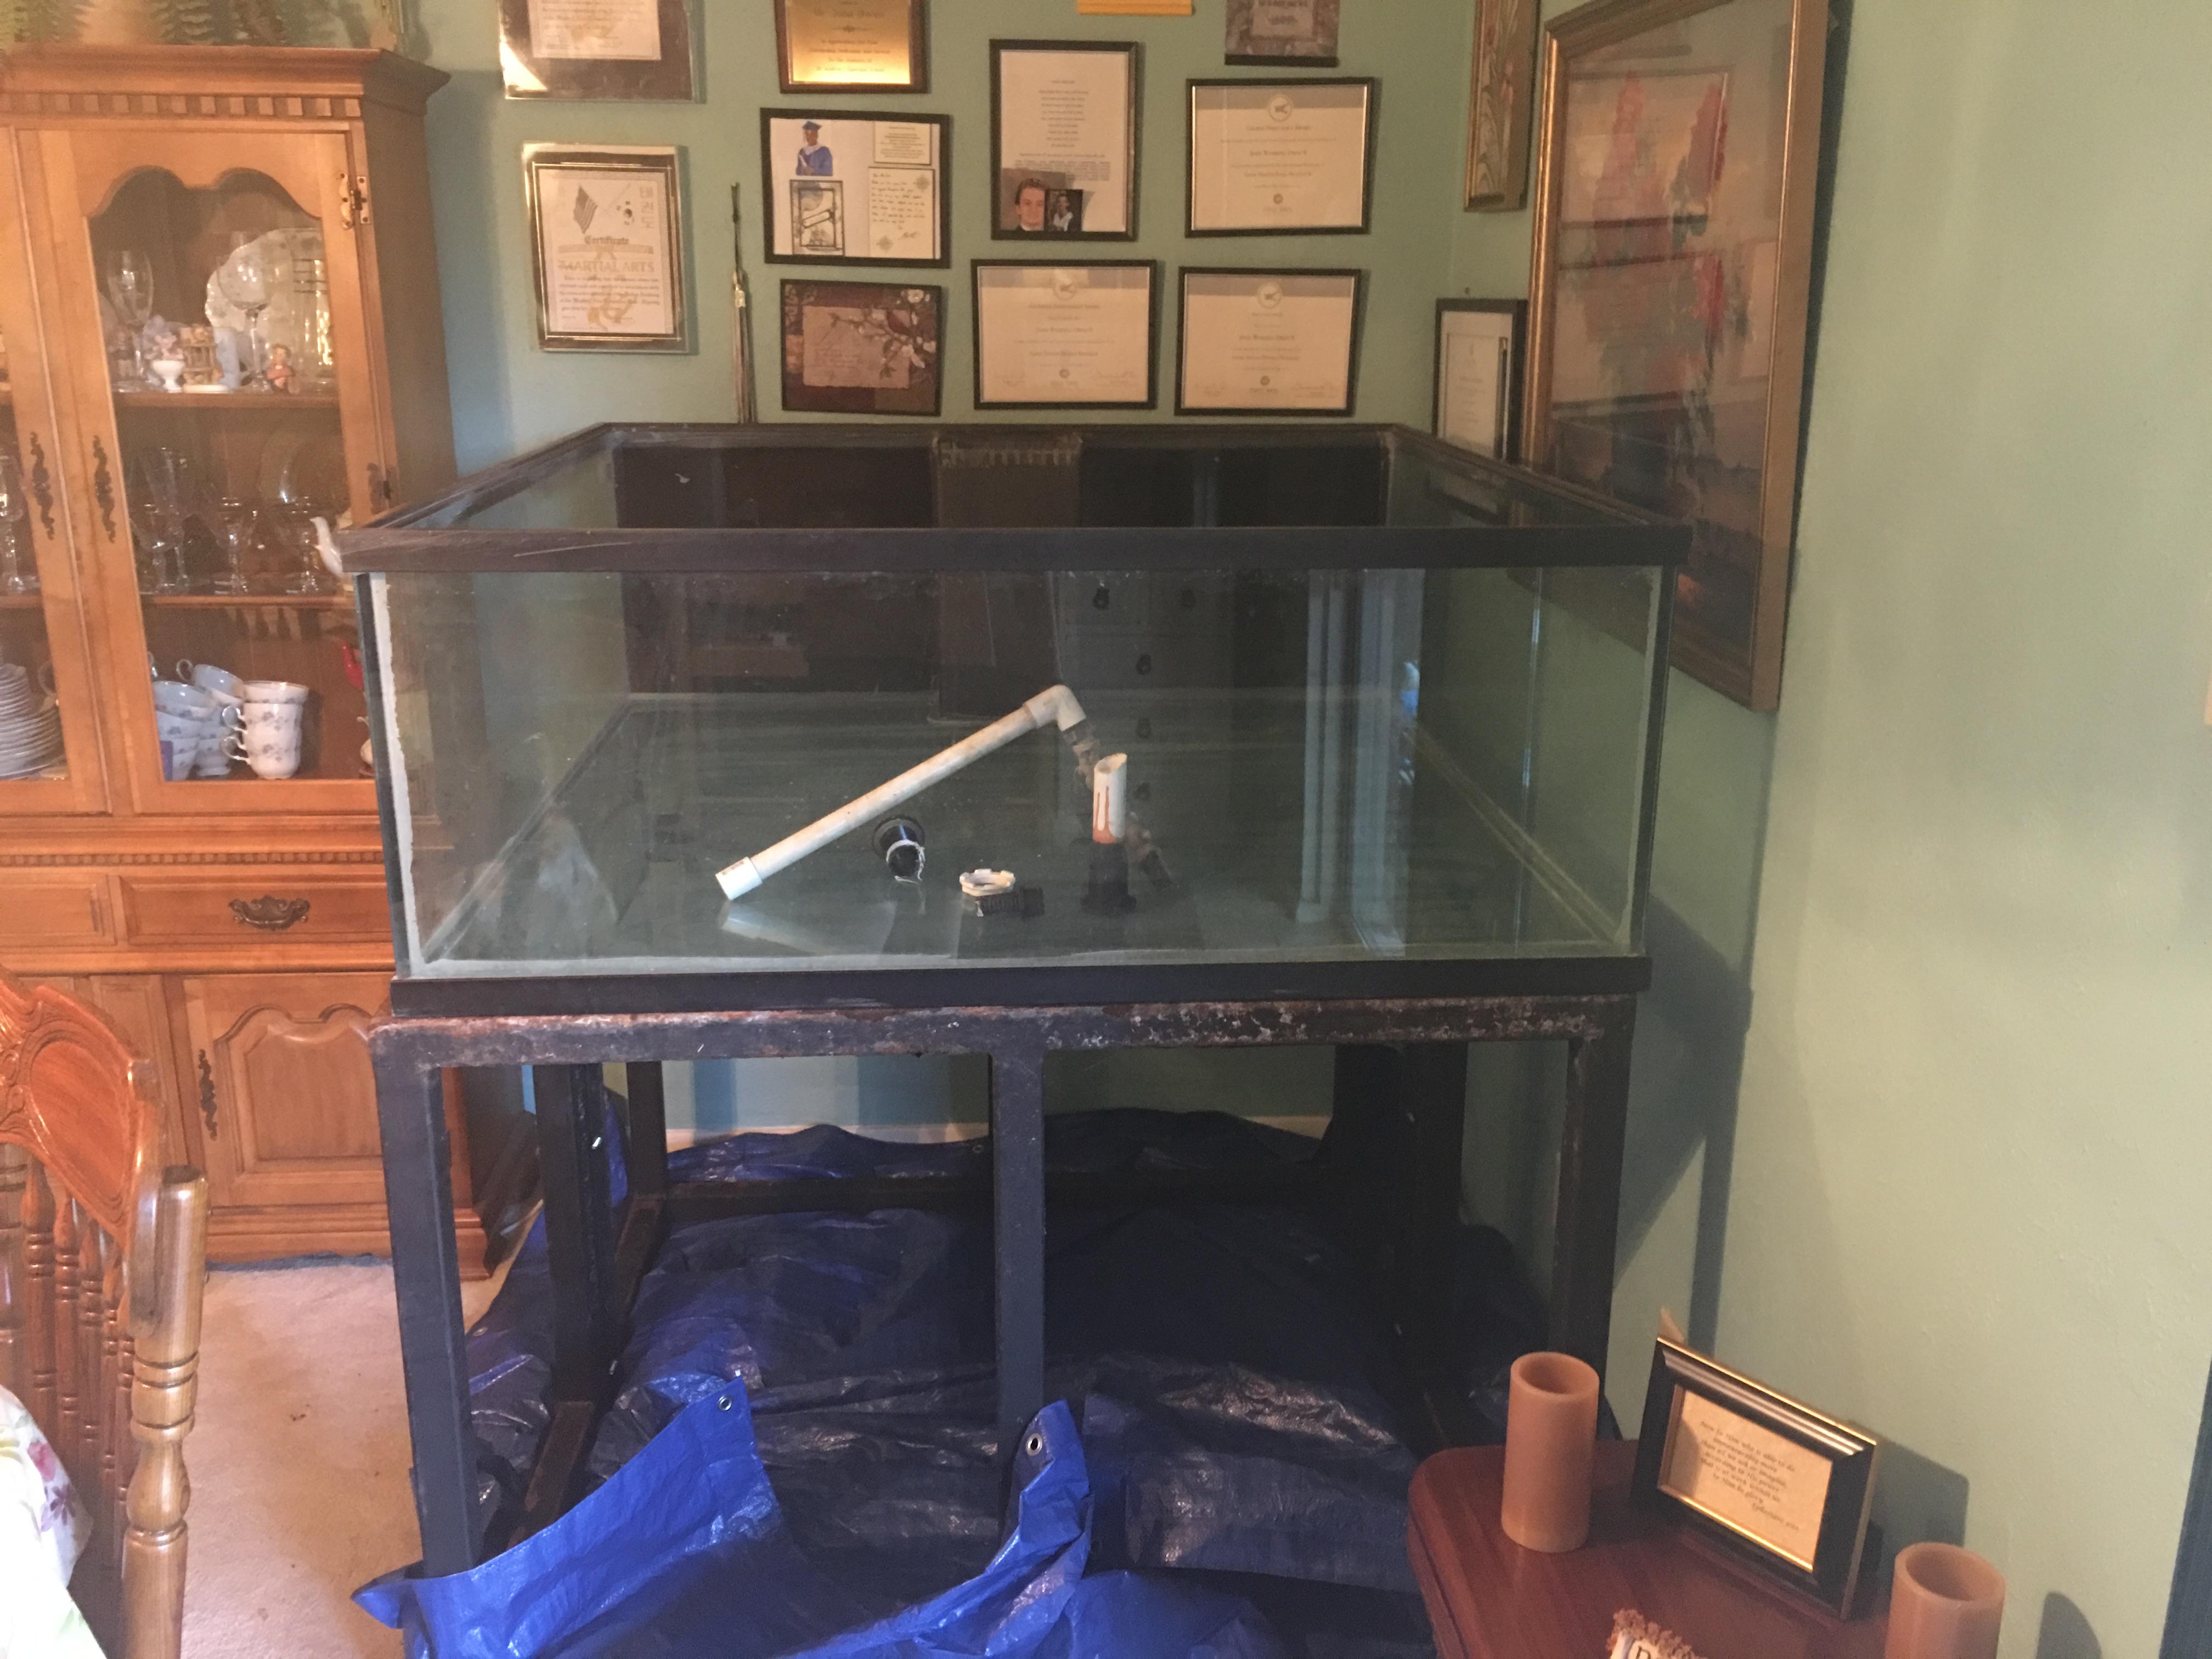
At the beginning of this summer I was the victim of an exploding e-cig battery. I am ok-ish now. A battery in my pocket exploded while I sat at work, lighting my leg and my clothes on fire. It just so happens that this all happened the same day I was supposed to go pick up a large 179.5 gallon tank I had bought to create an indoor pond for my goldfish. I was able to organize a group of my friends to take me to go pick-up the tank a few days later… against doctor’s orders (shhhh).

sGnvgfa.jpg


After several surgeries and endless doctors’ visits, I can say that thankfully it wasn’t as bad as it could have been, but this little adventure put me in bed for two months straight. After a week or so you start going stir crazy. I think I watched every goldfish and planted aquarium video on Youtube while drifting in and out of pain-med induced sleep. At one point I woke up to find myself half way through the BRS52 videos that had cycled through the auto-play. So I figured why not? I started the series over and watched and started to learn.

ZPNpRhS.jpg


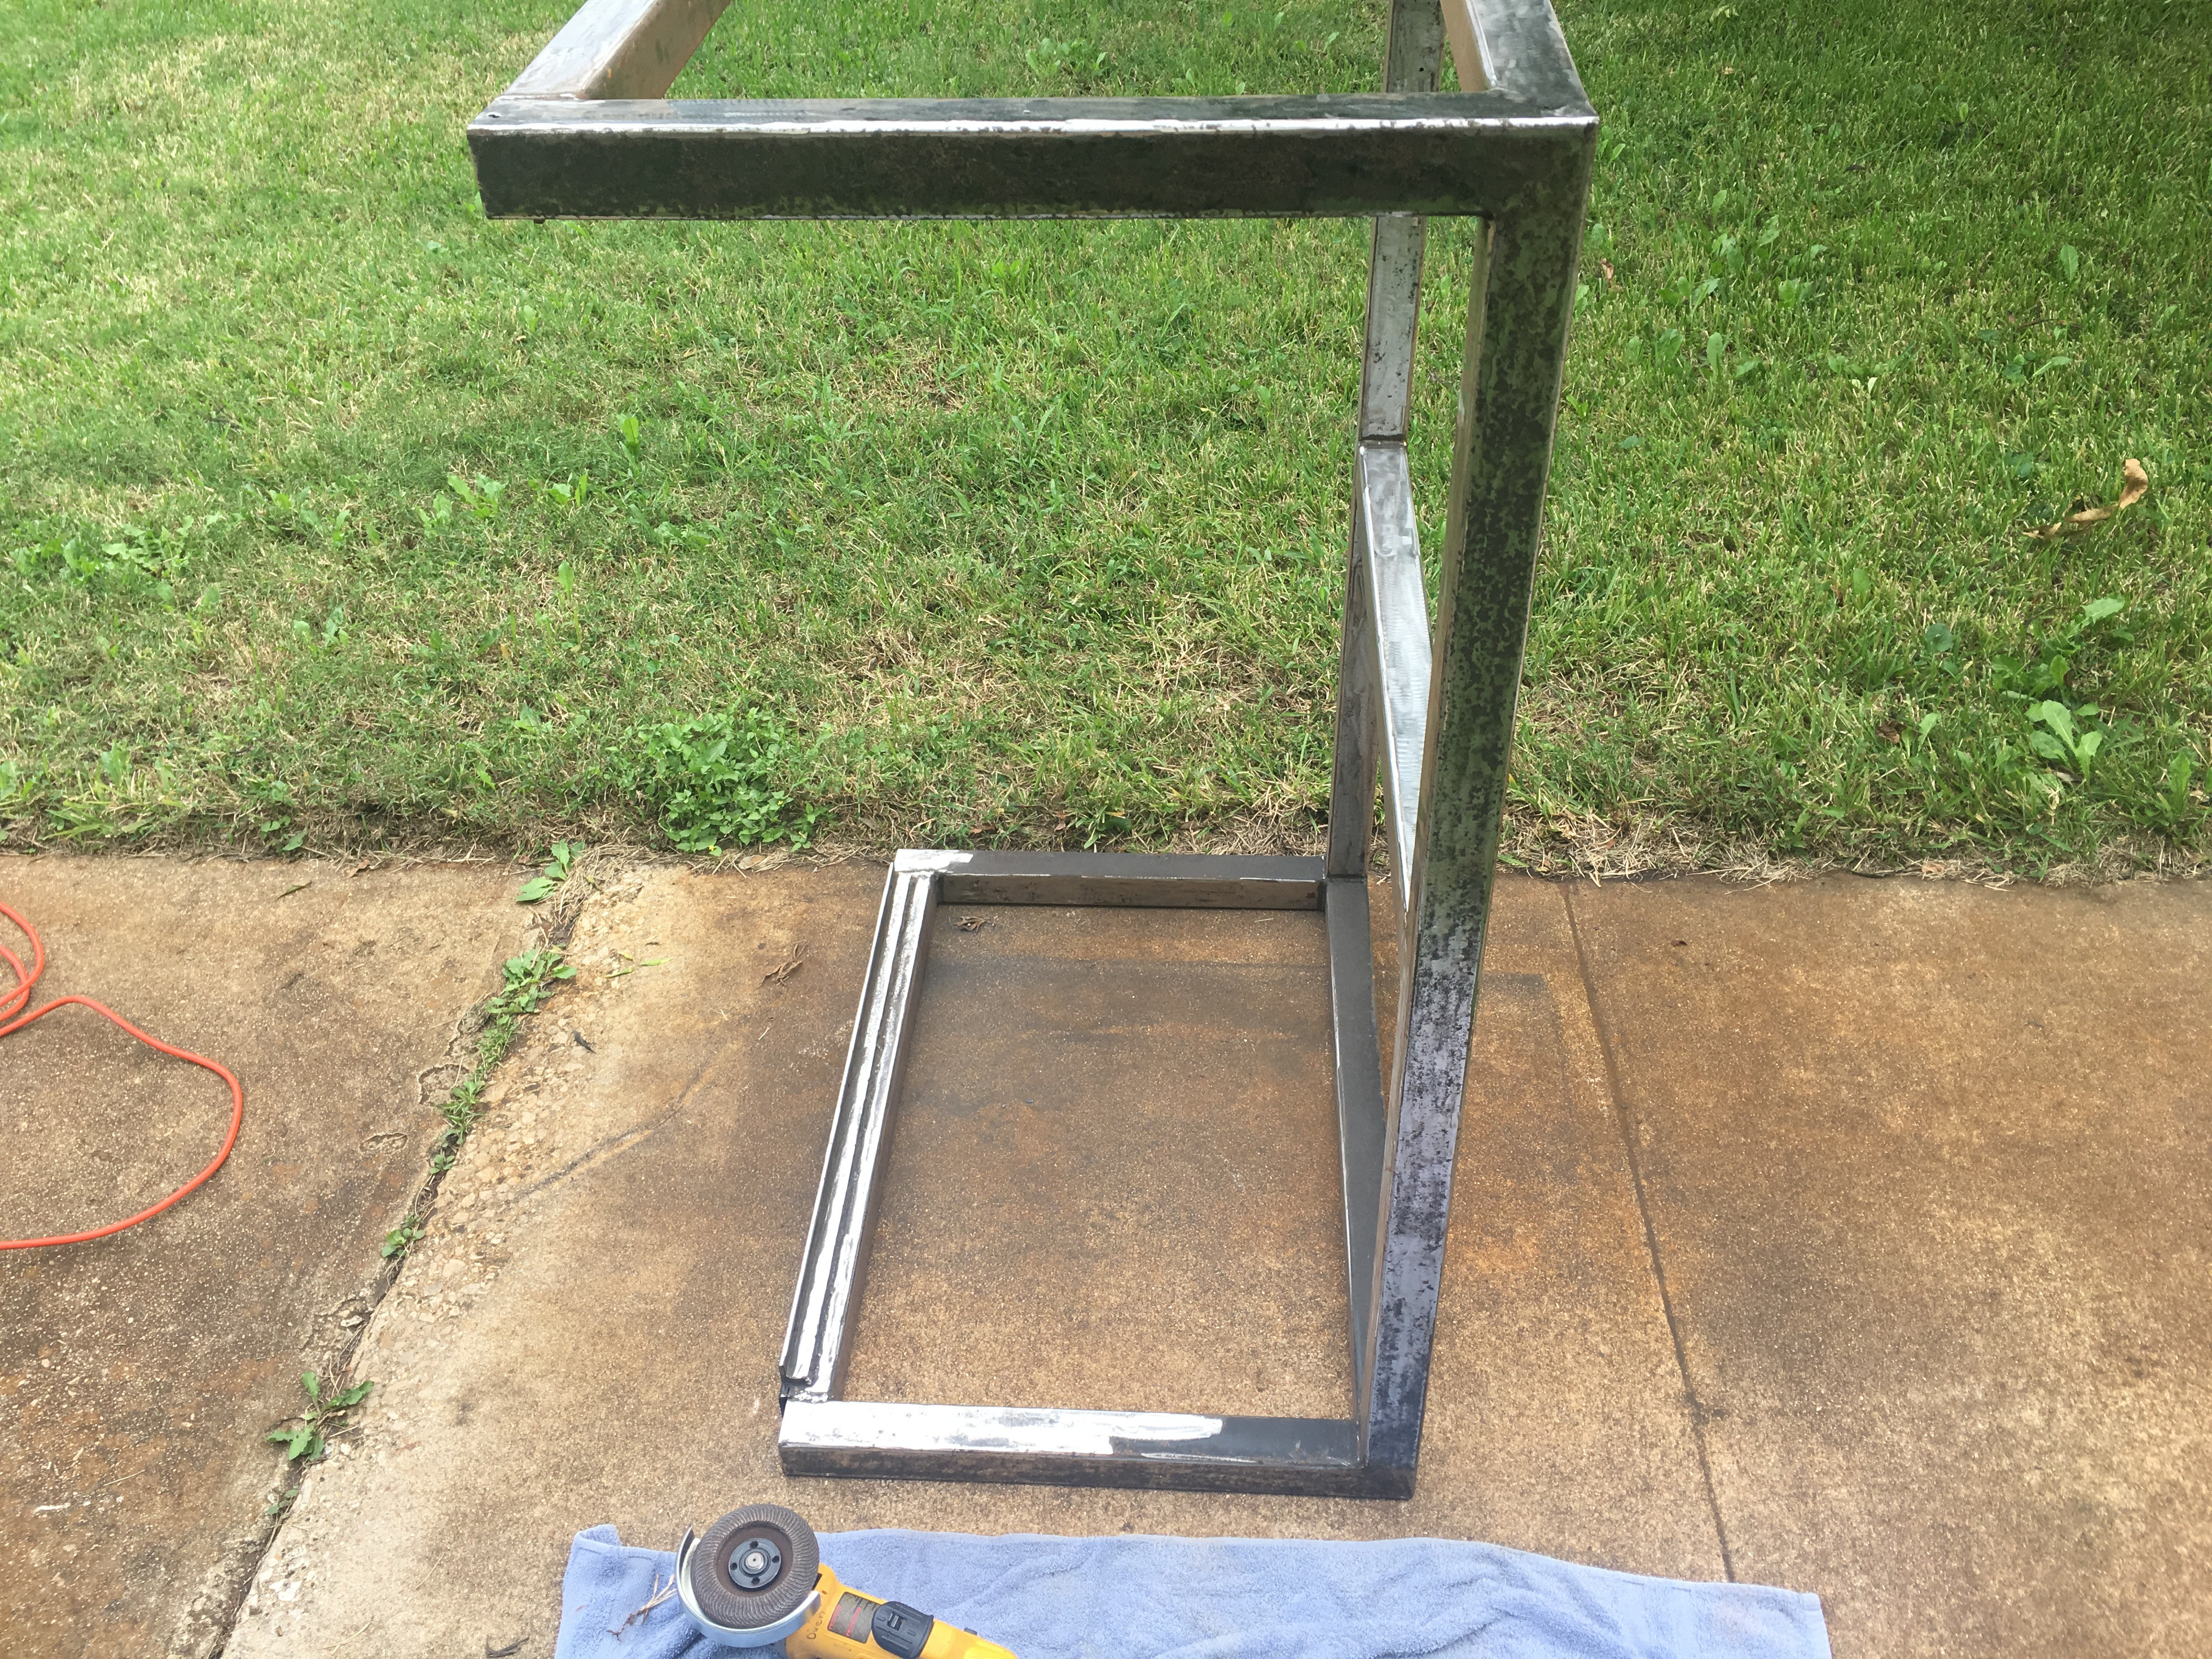
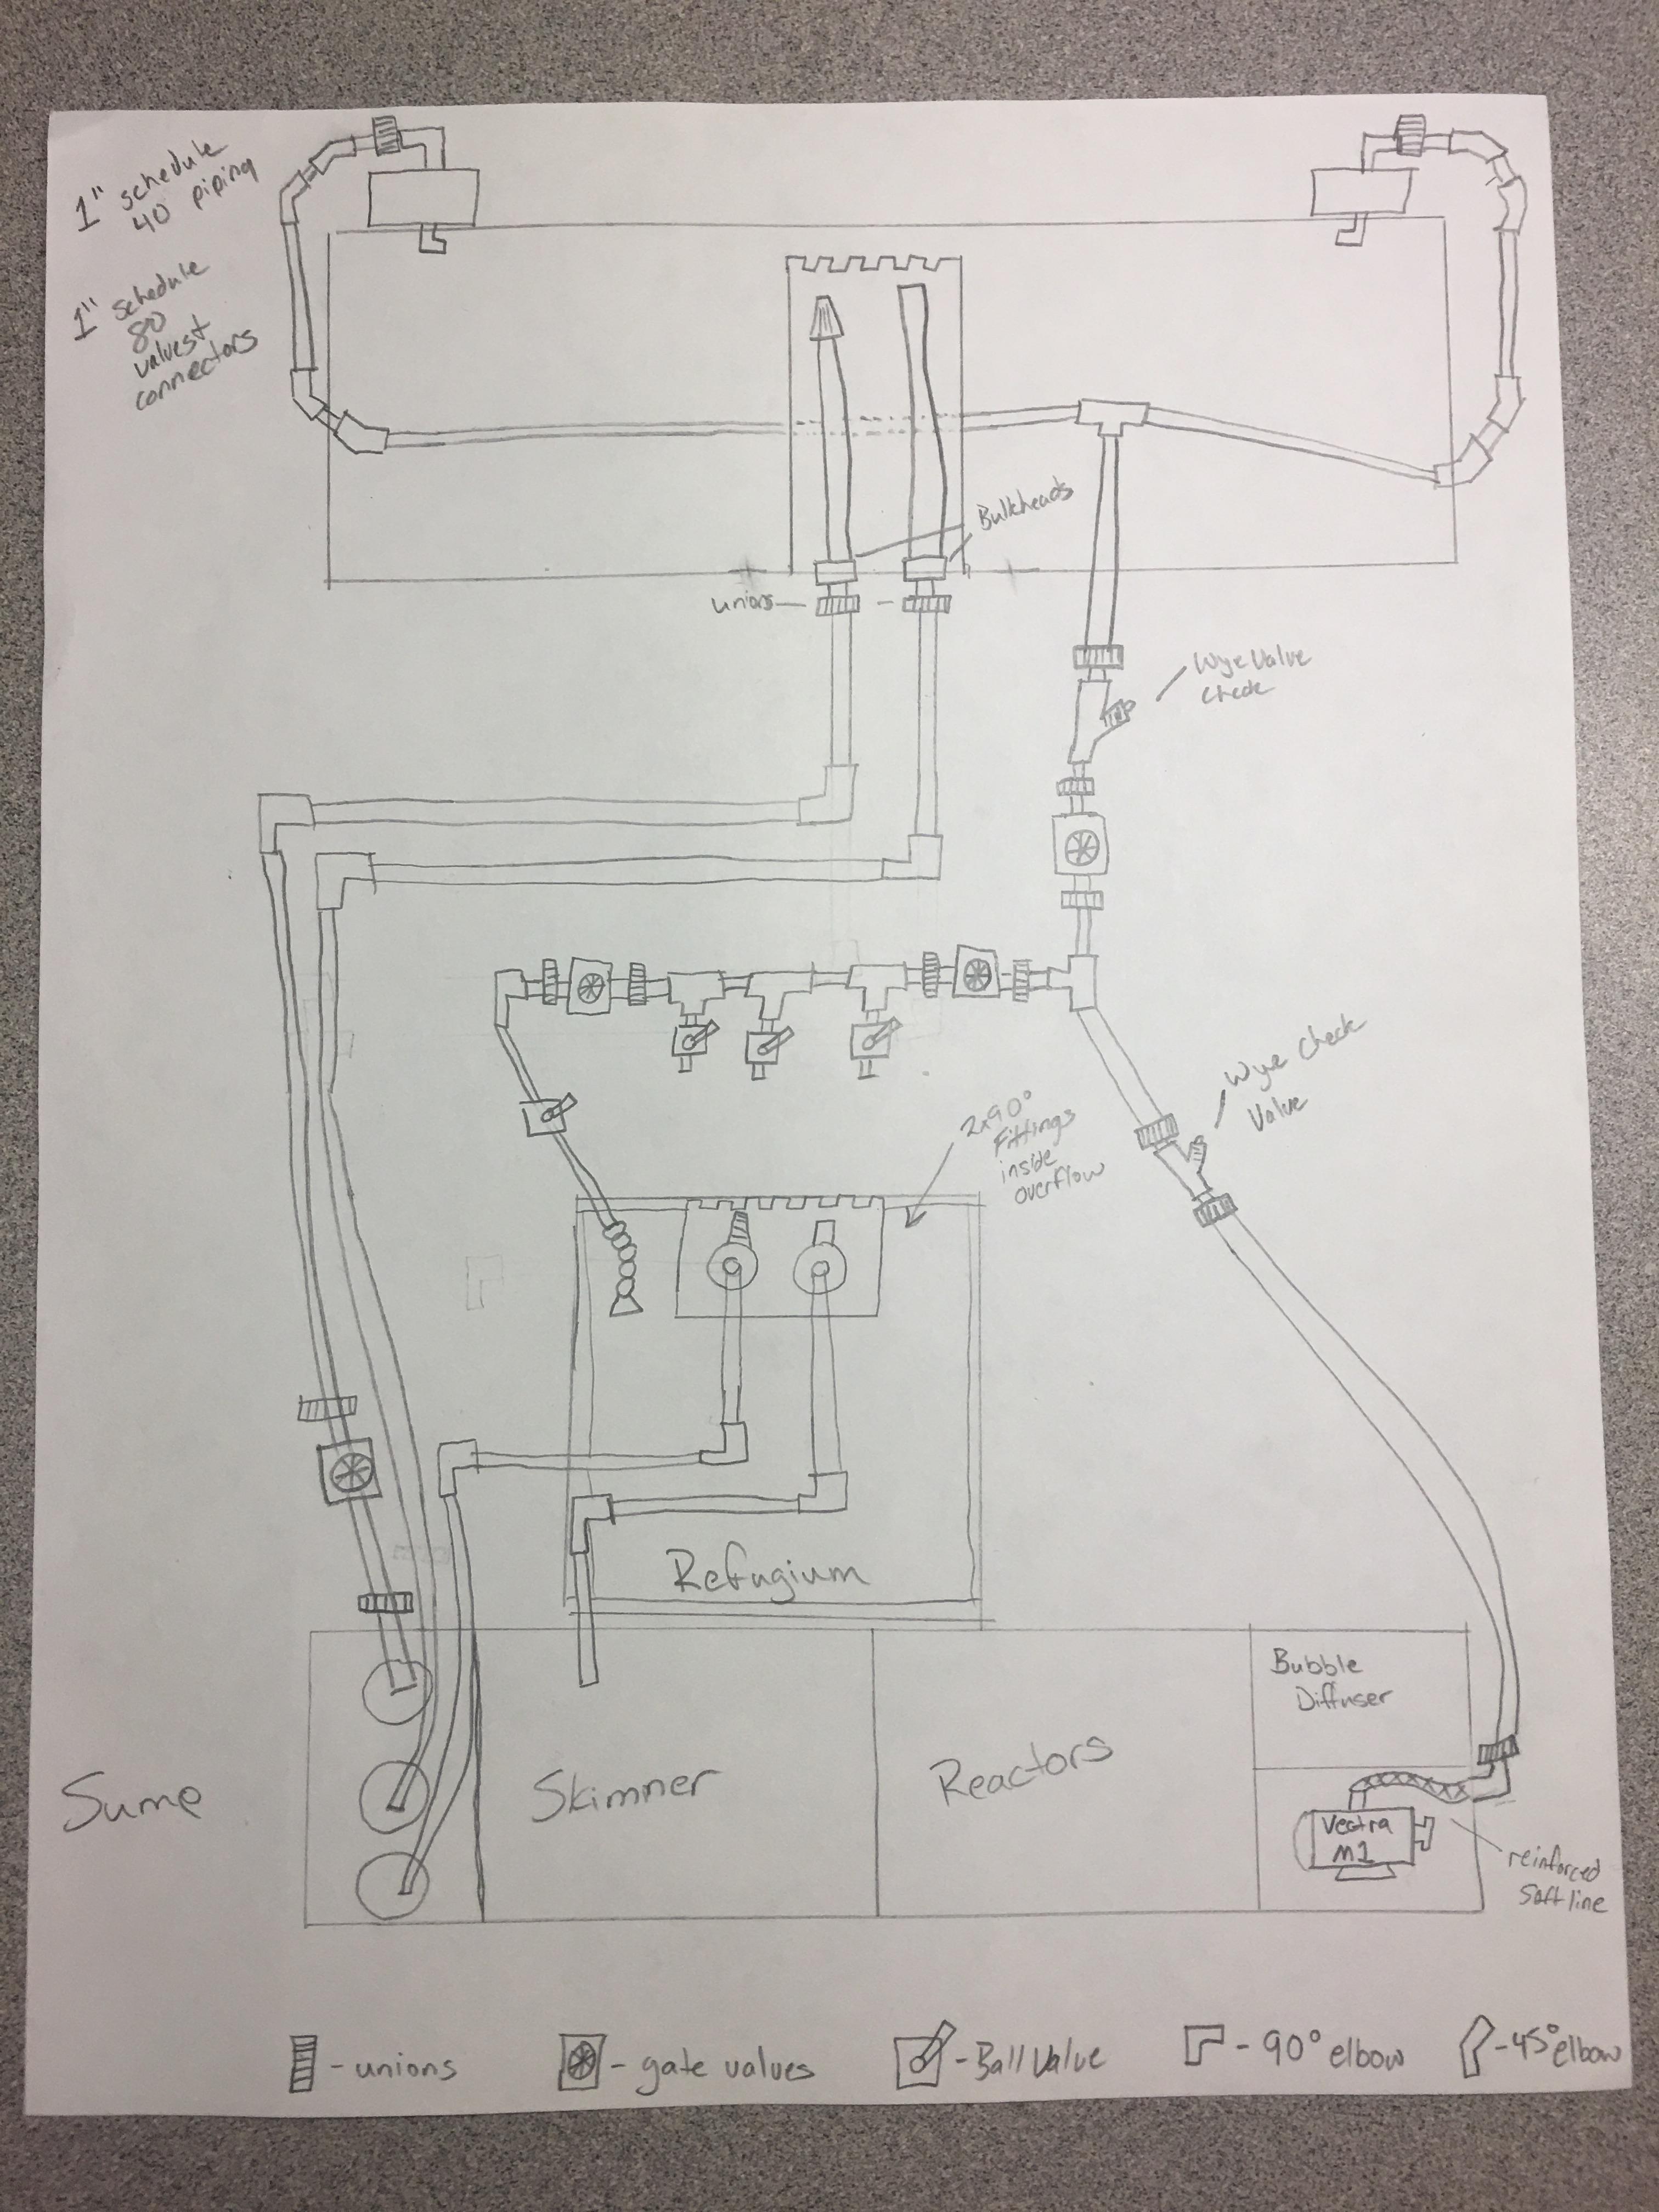
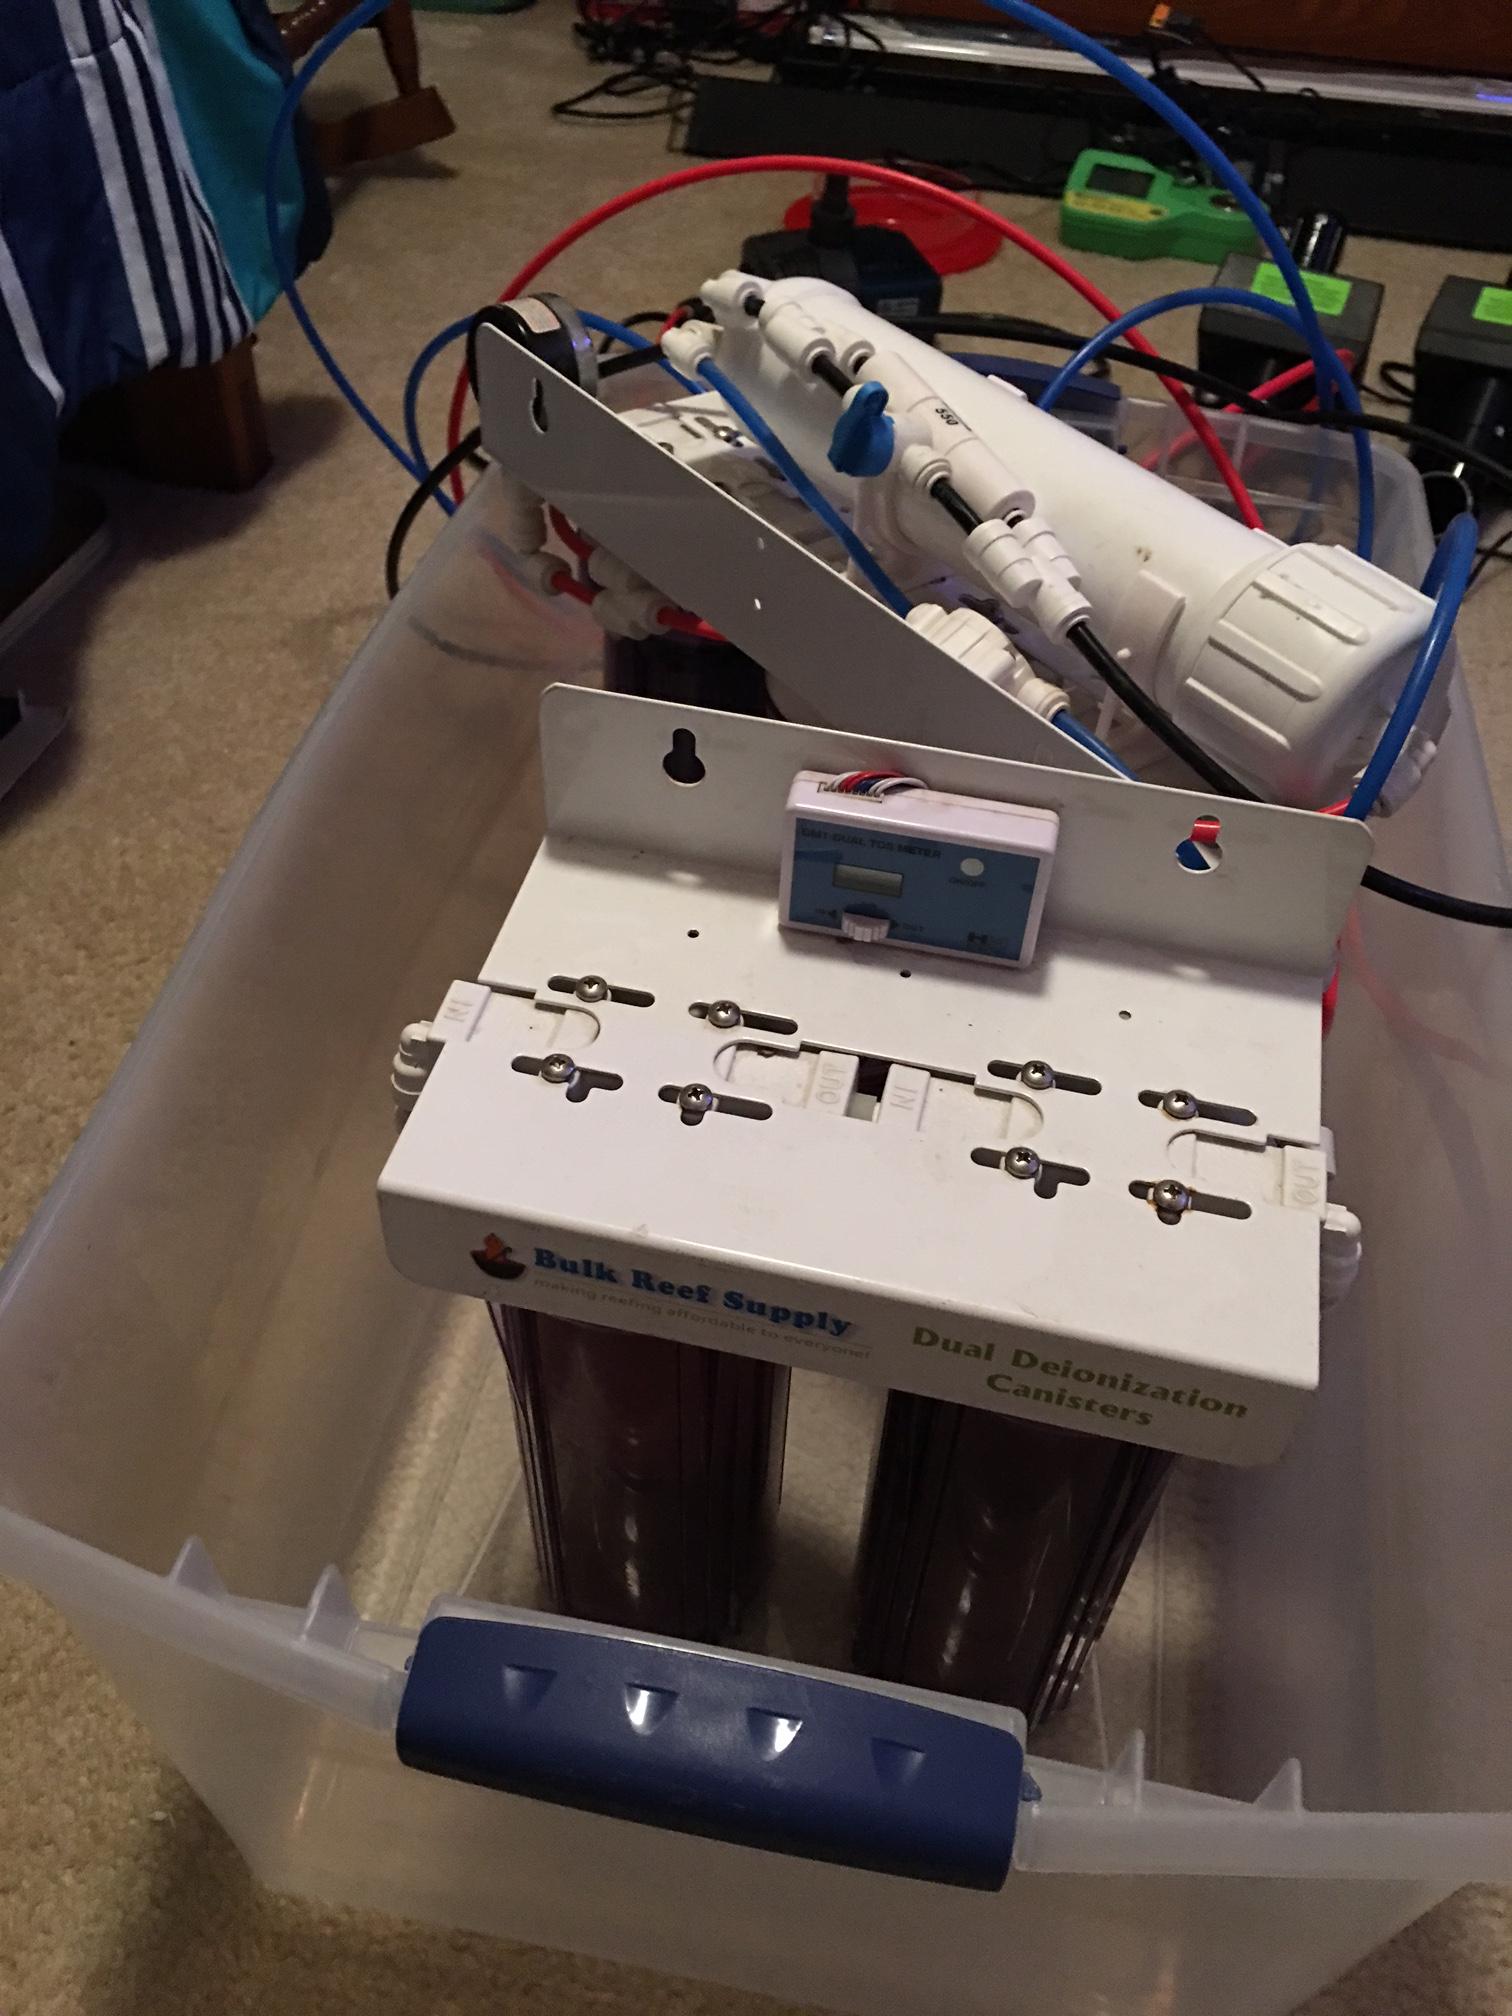
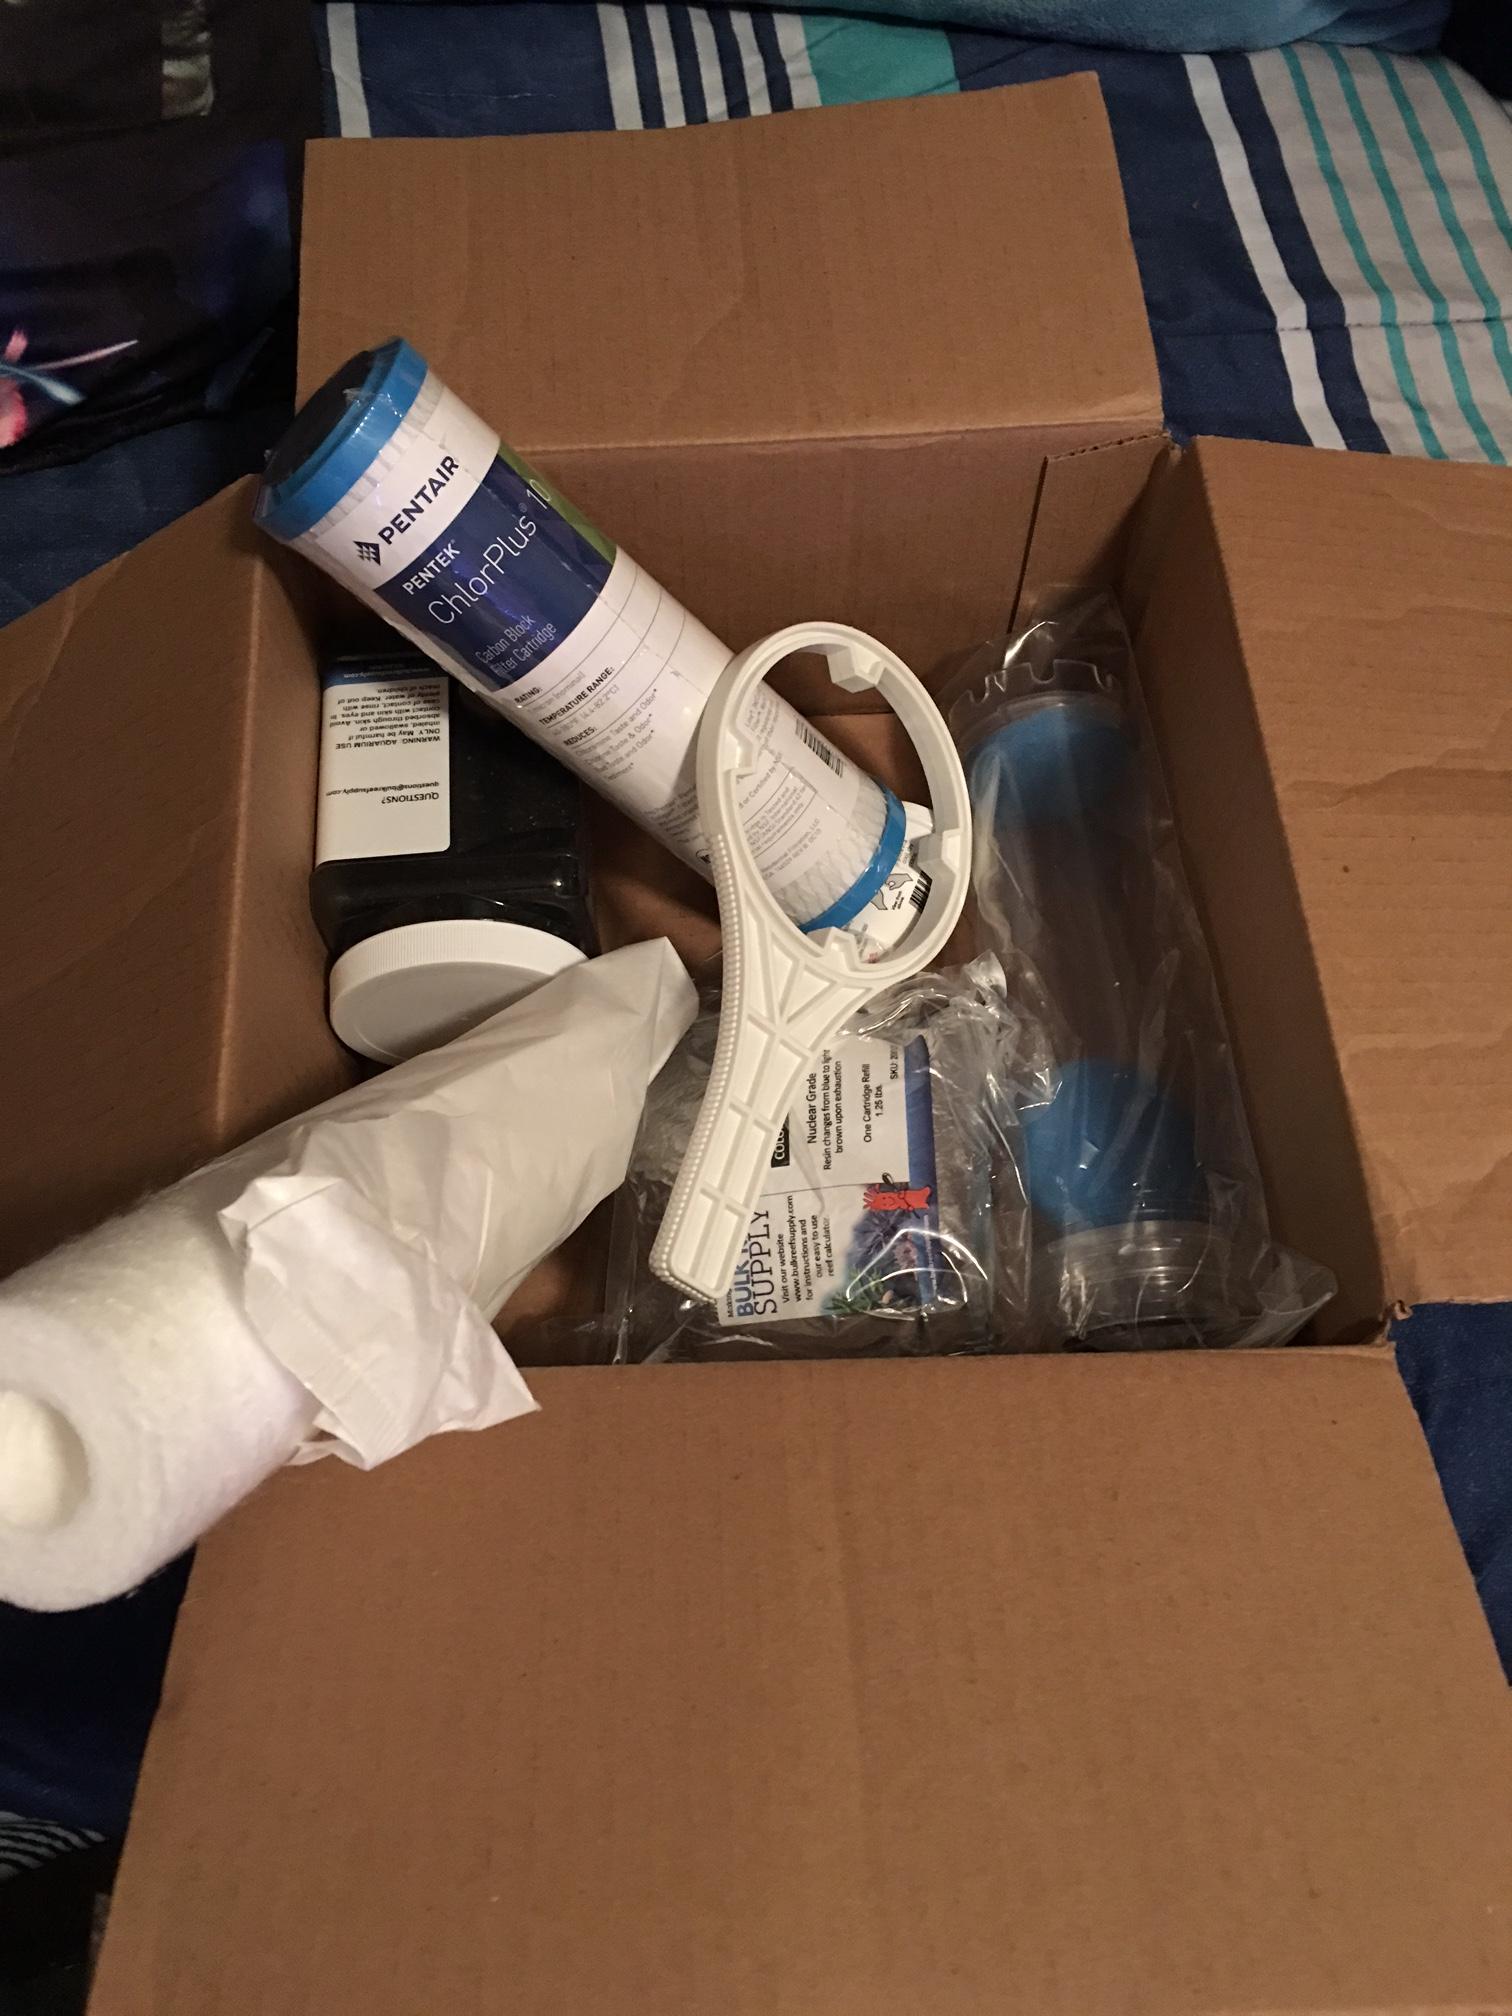
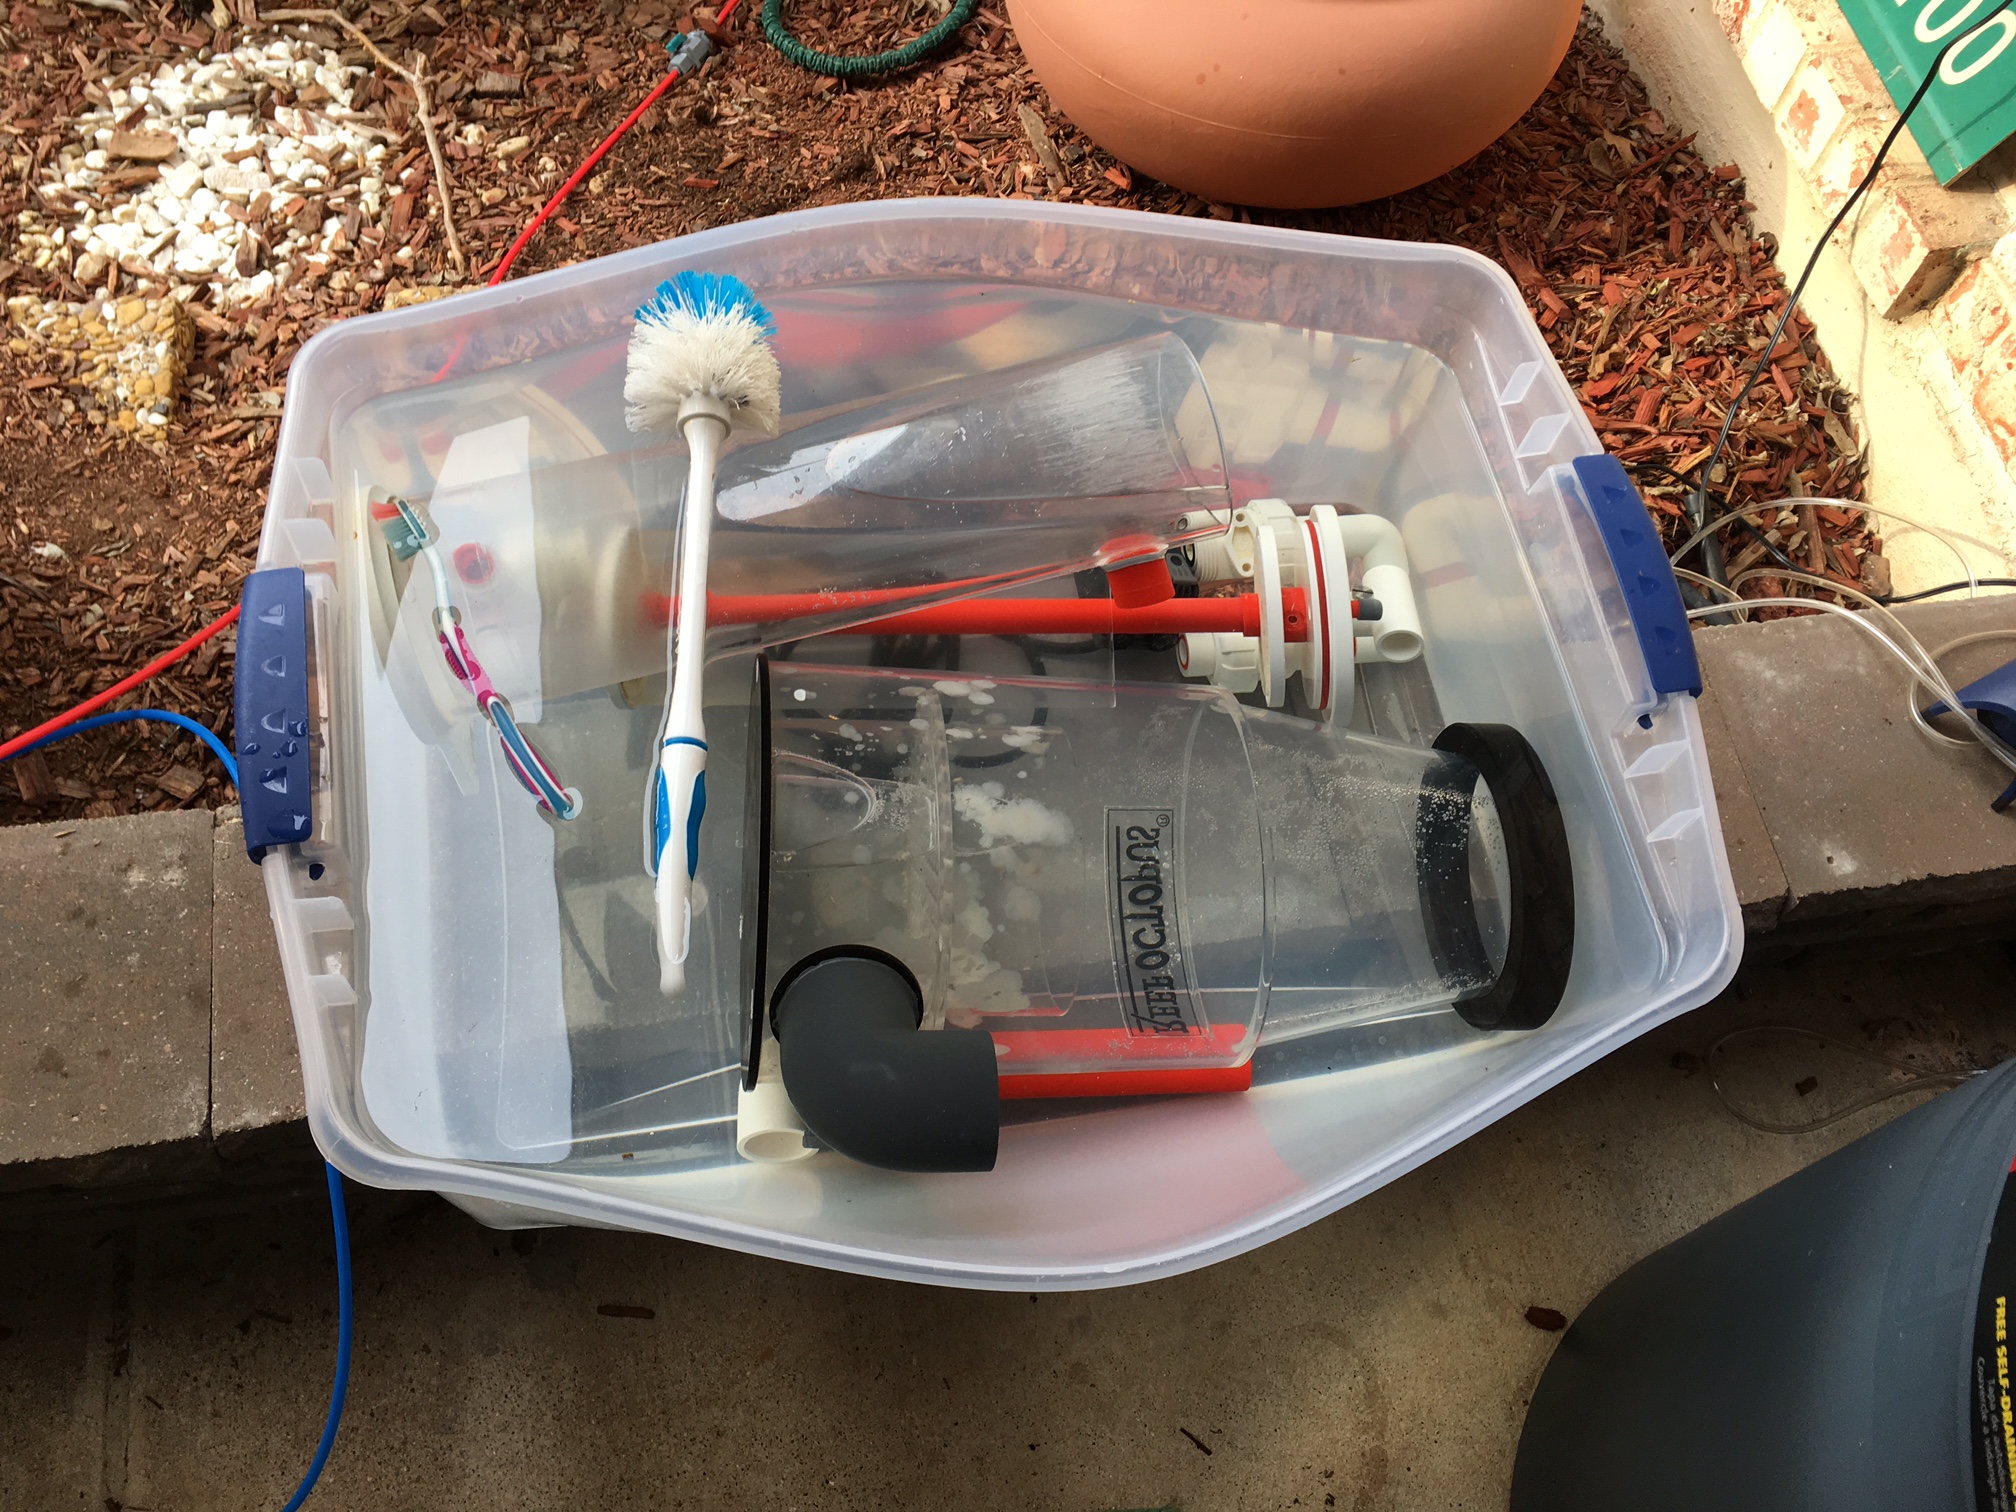
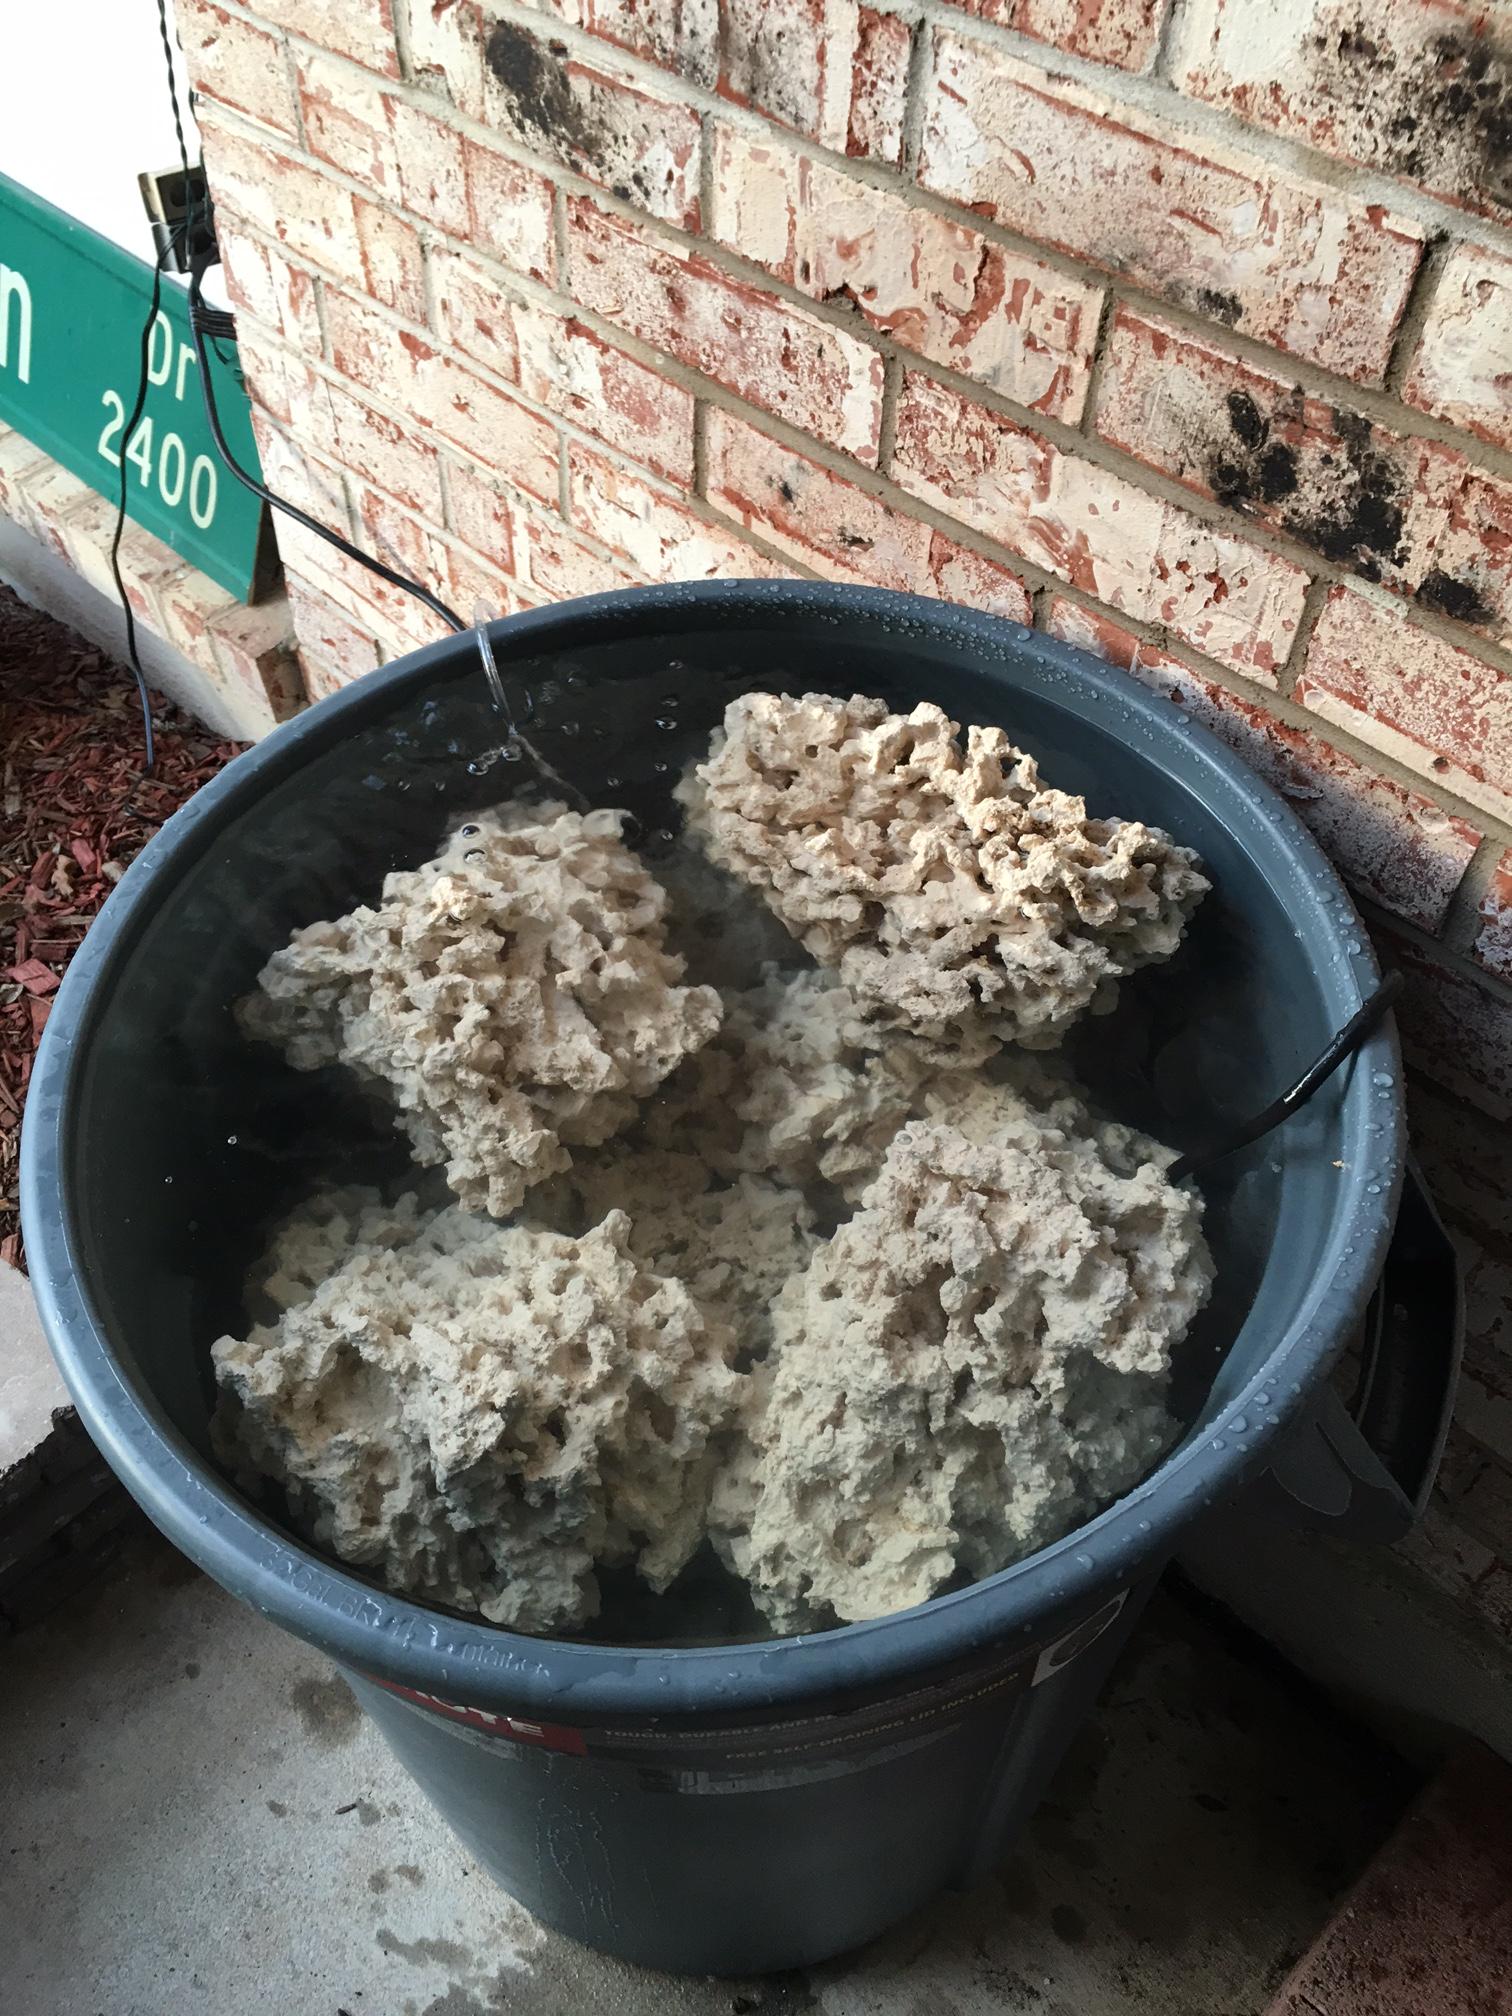
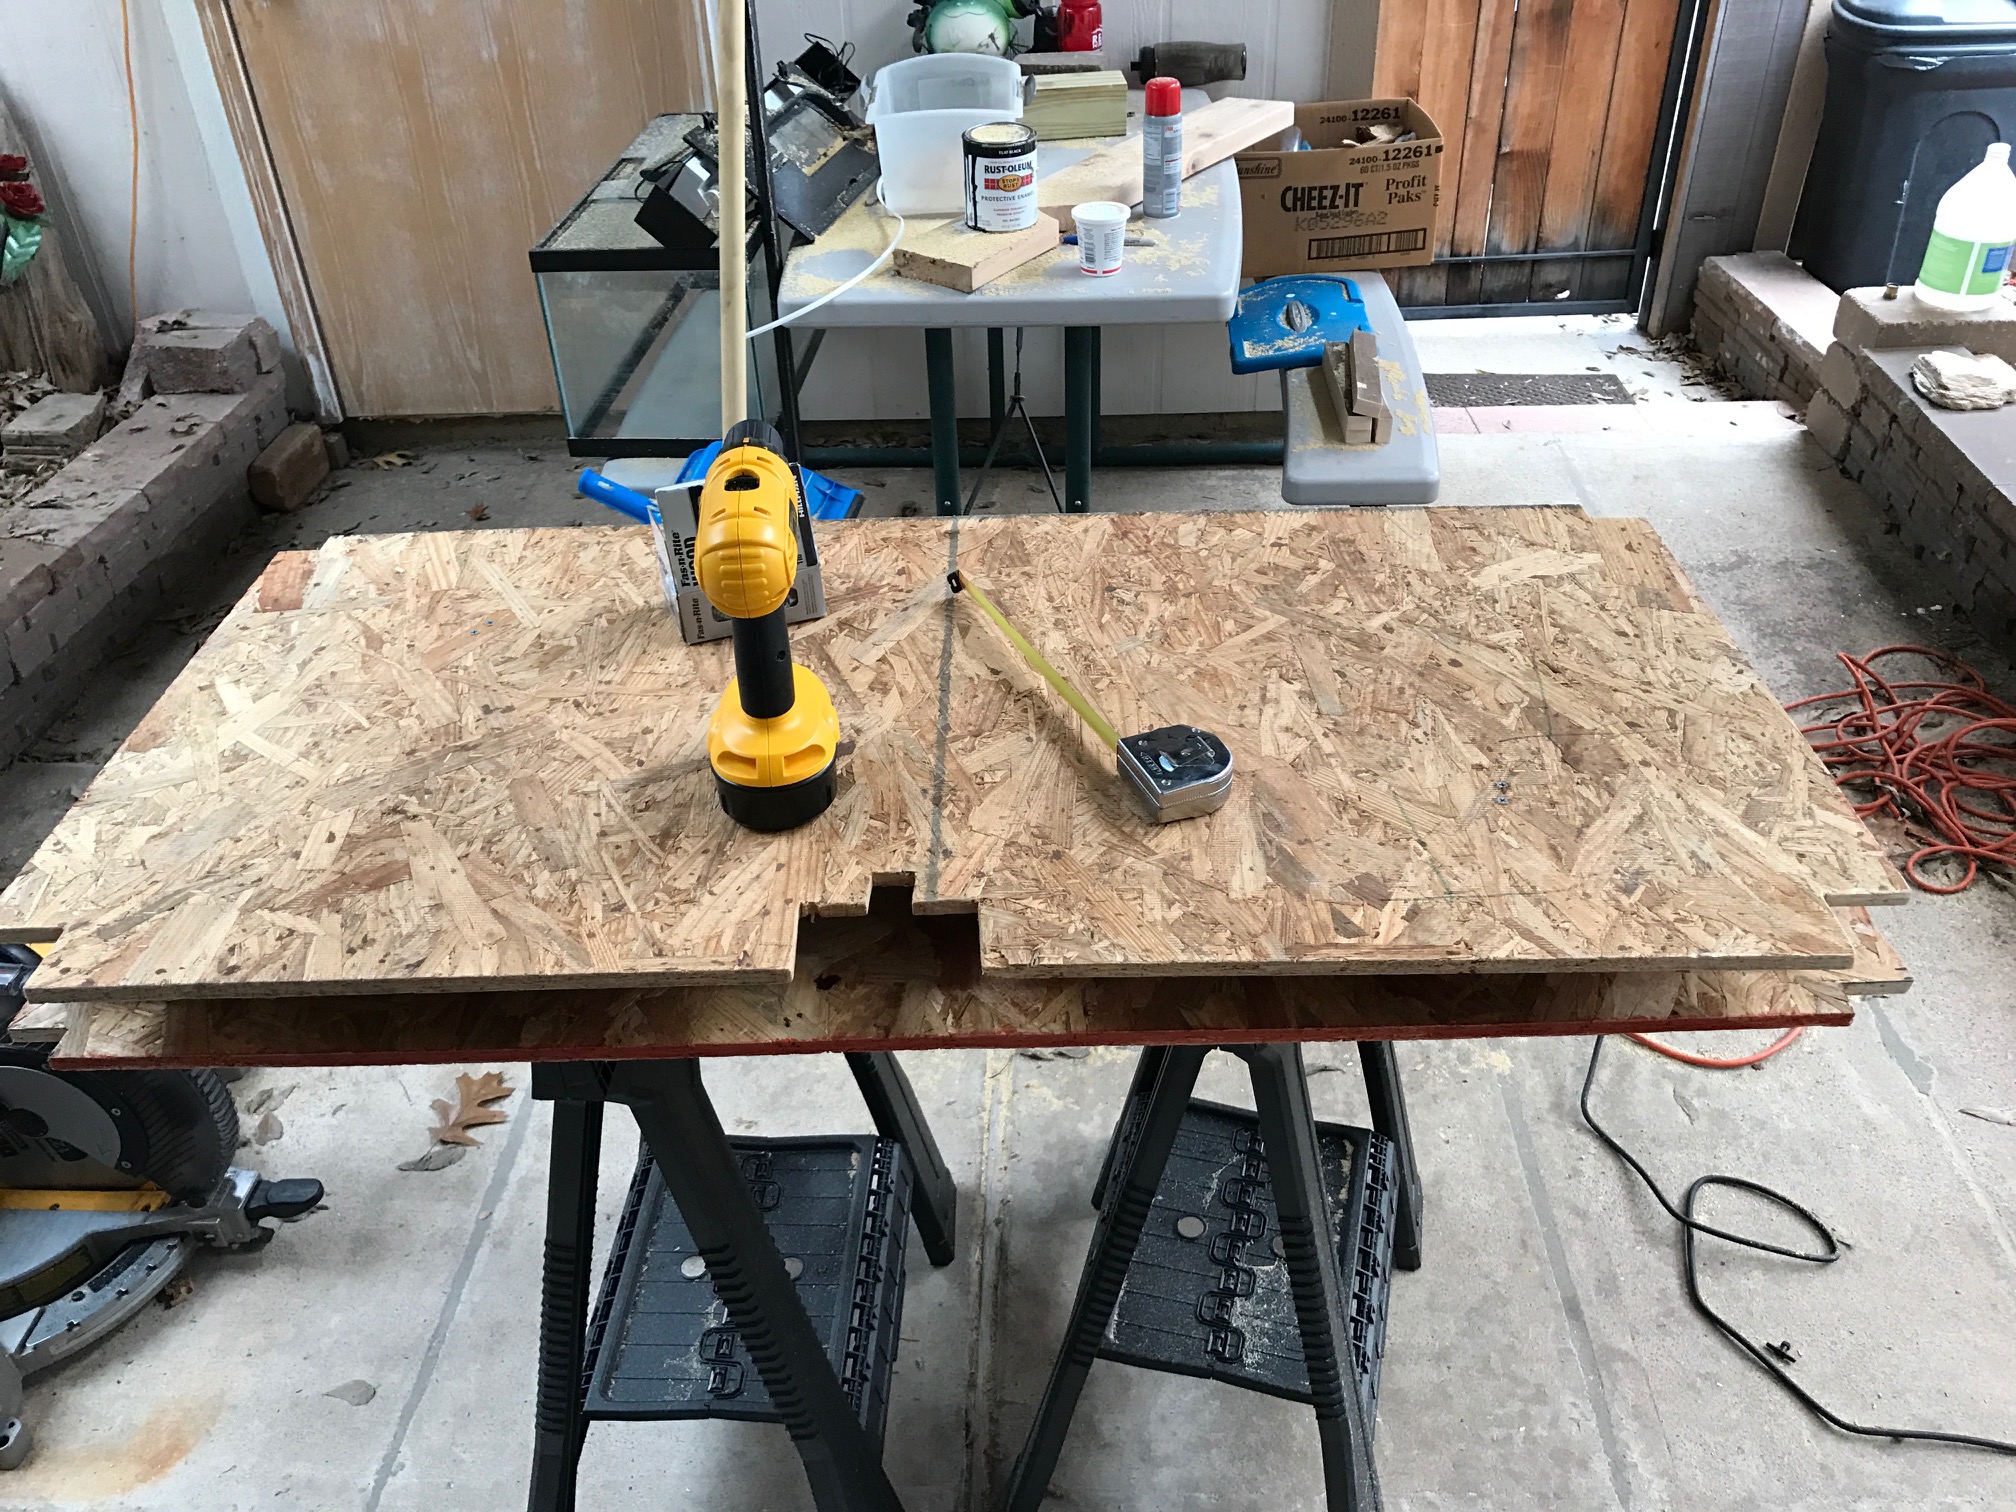
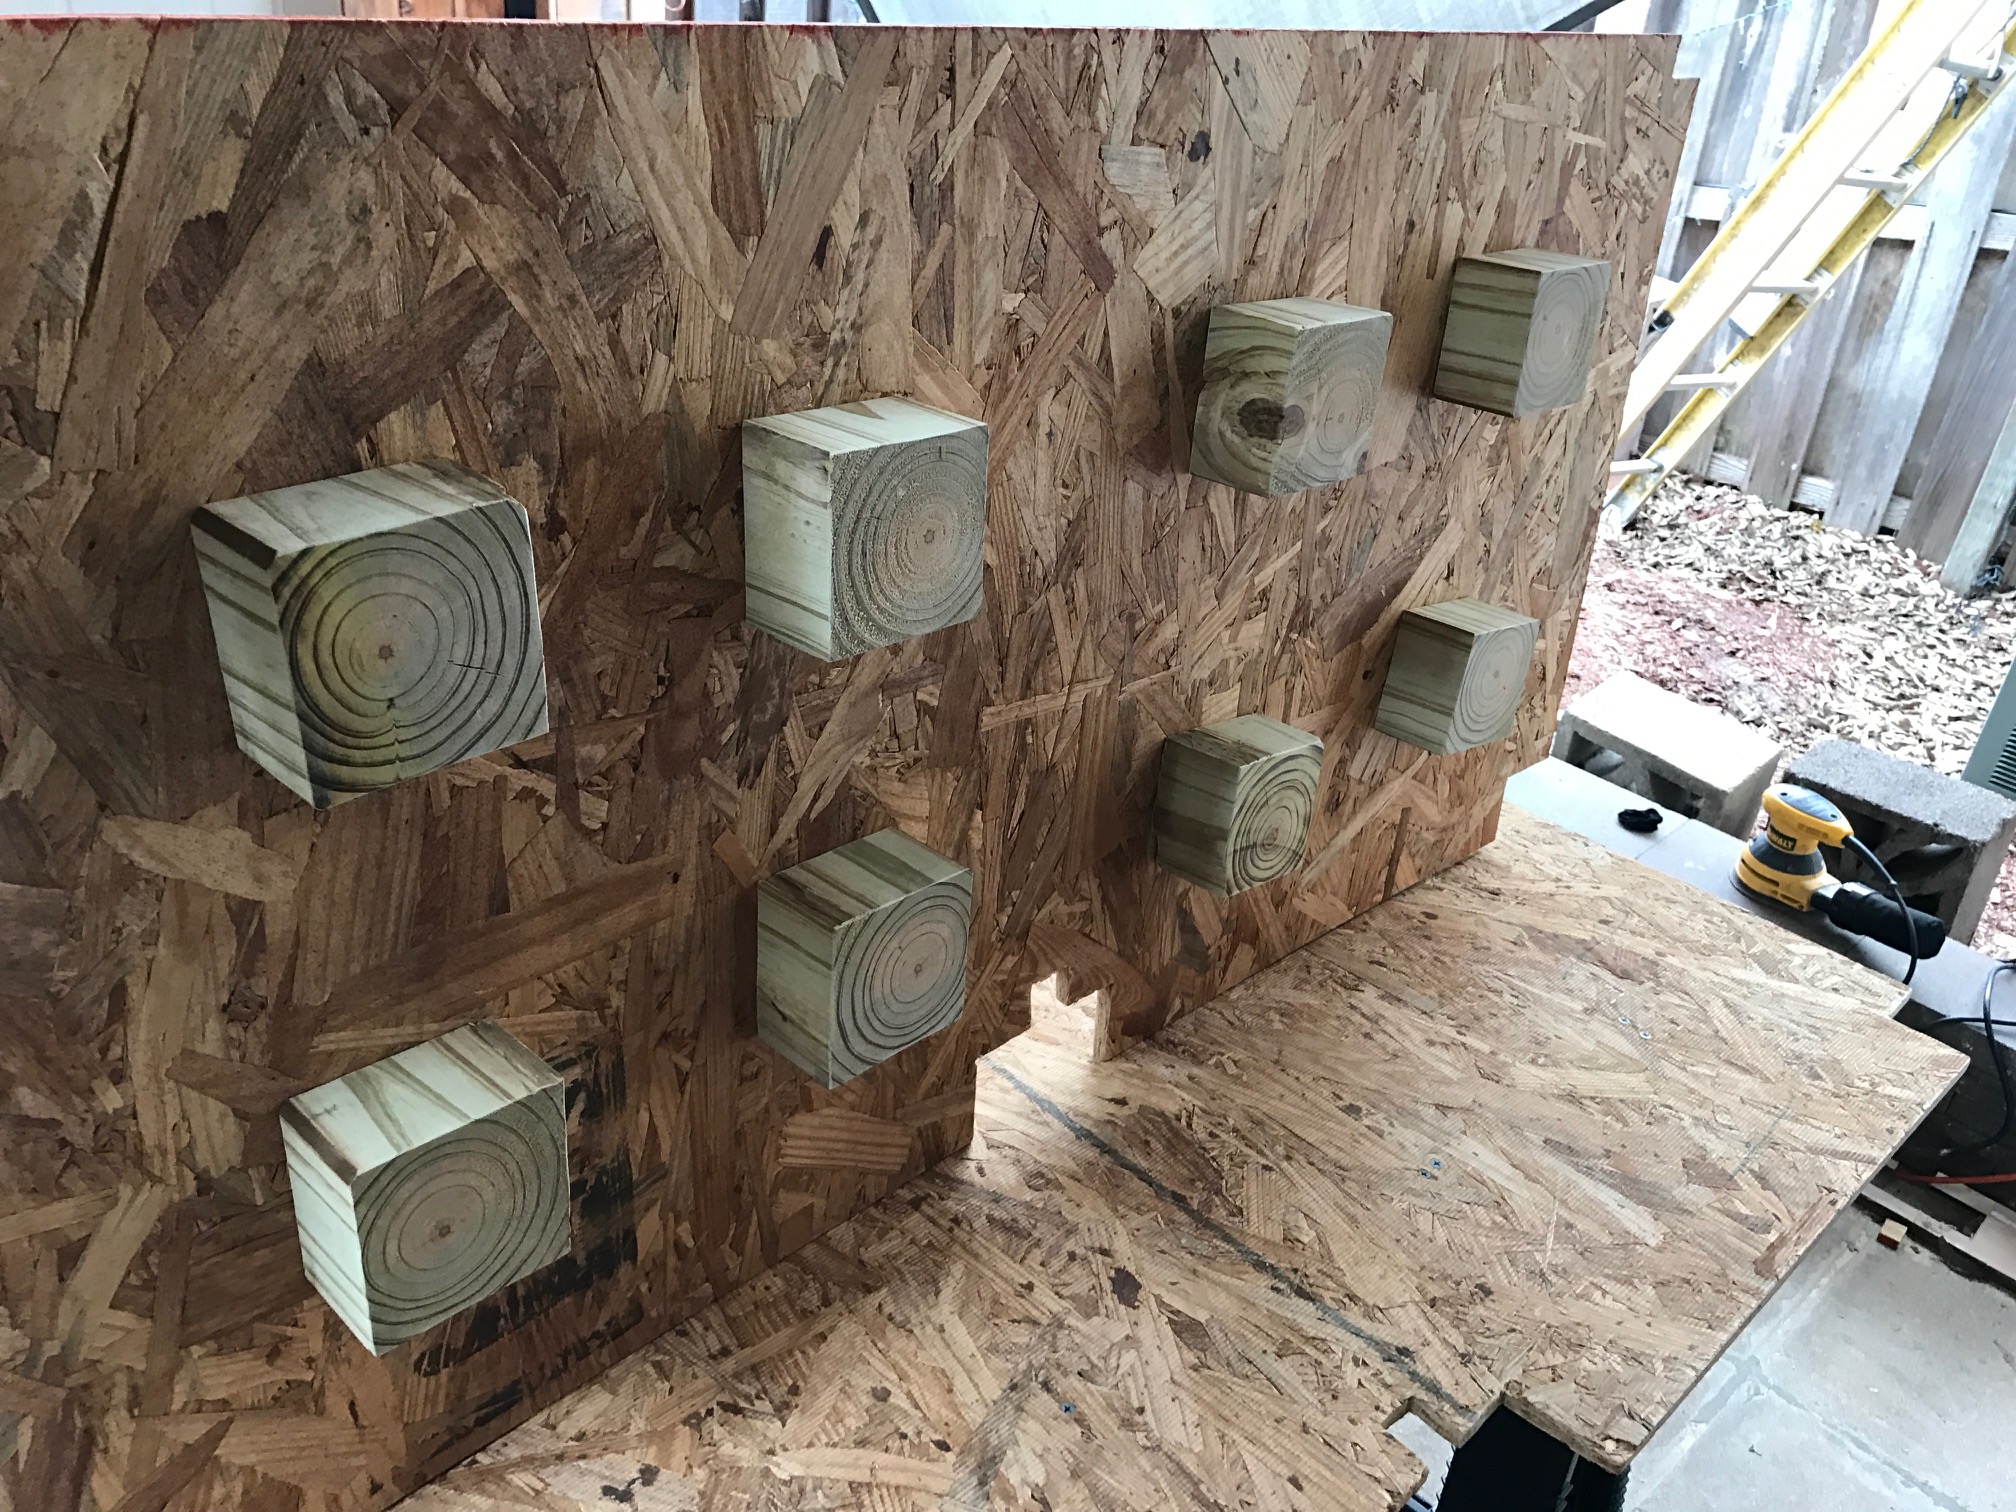
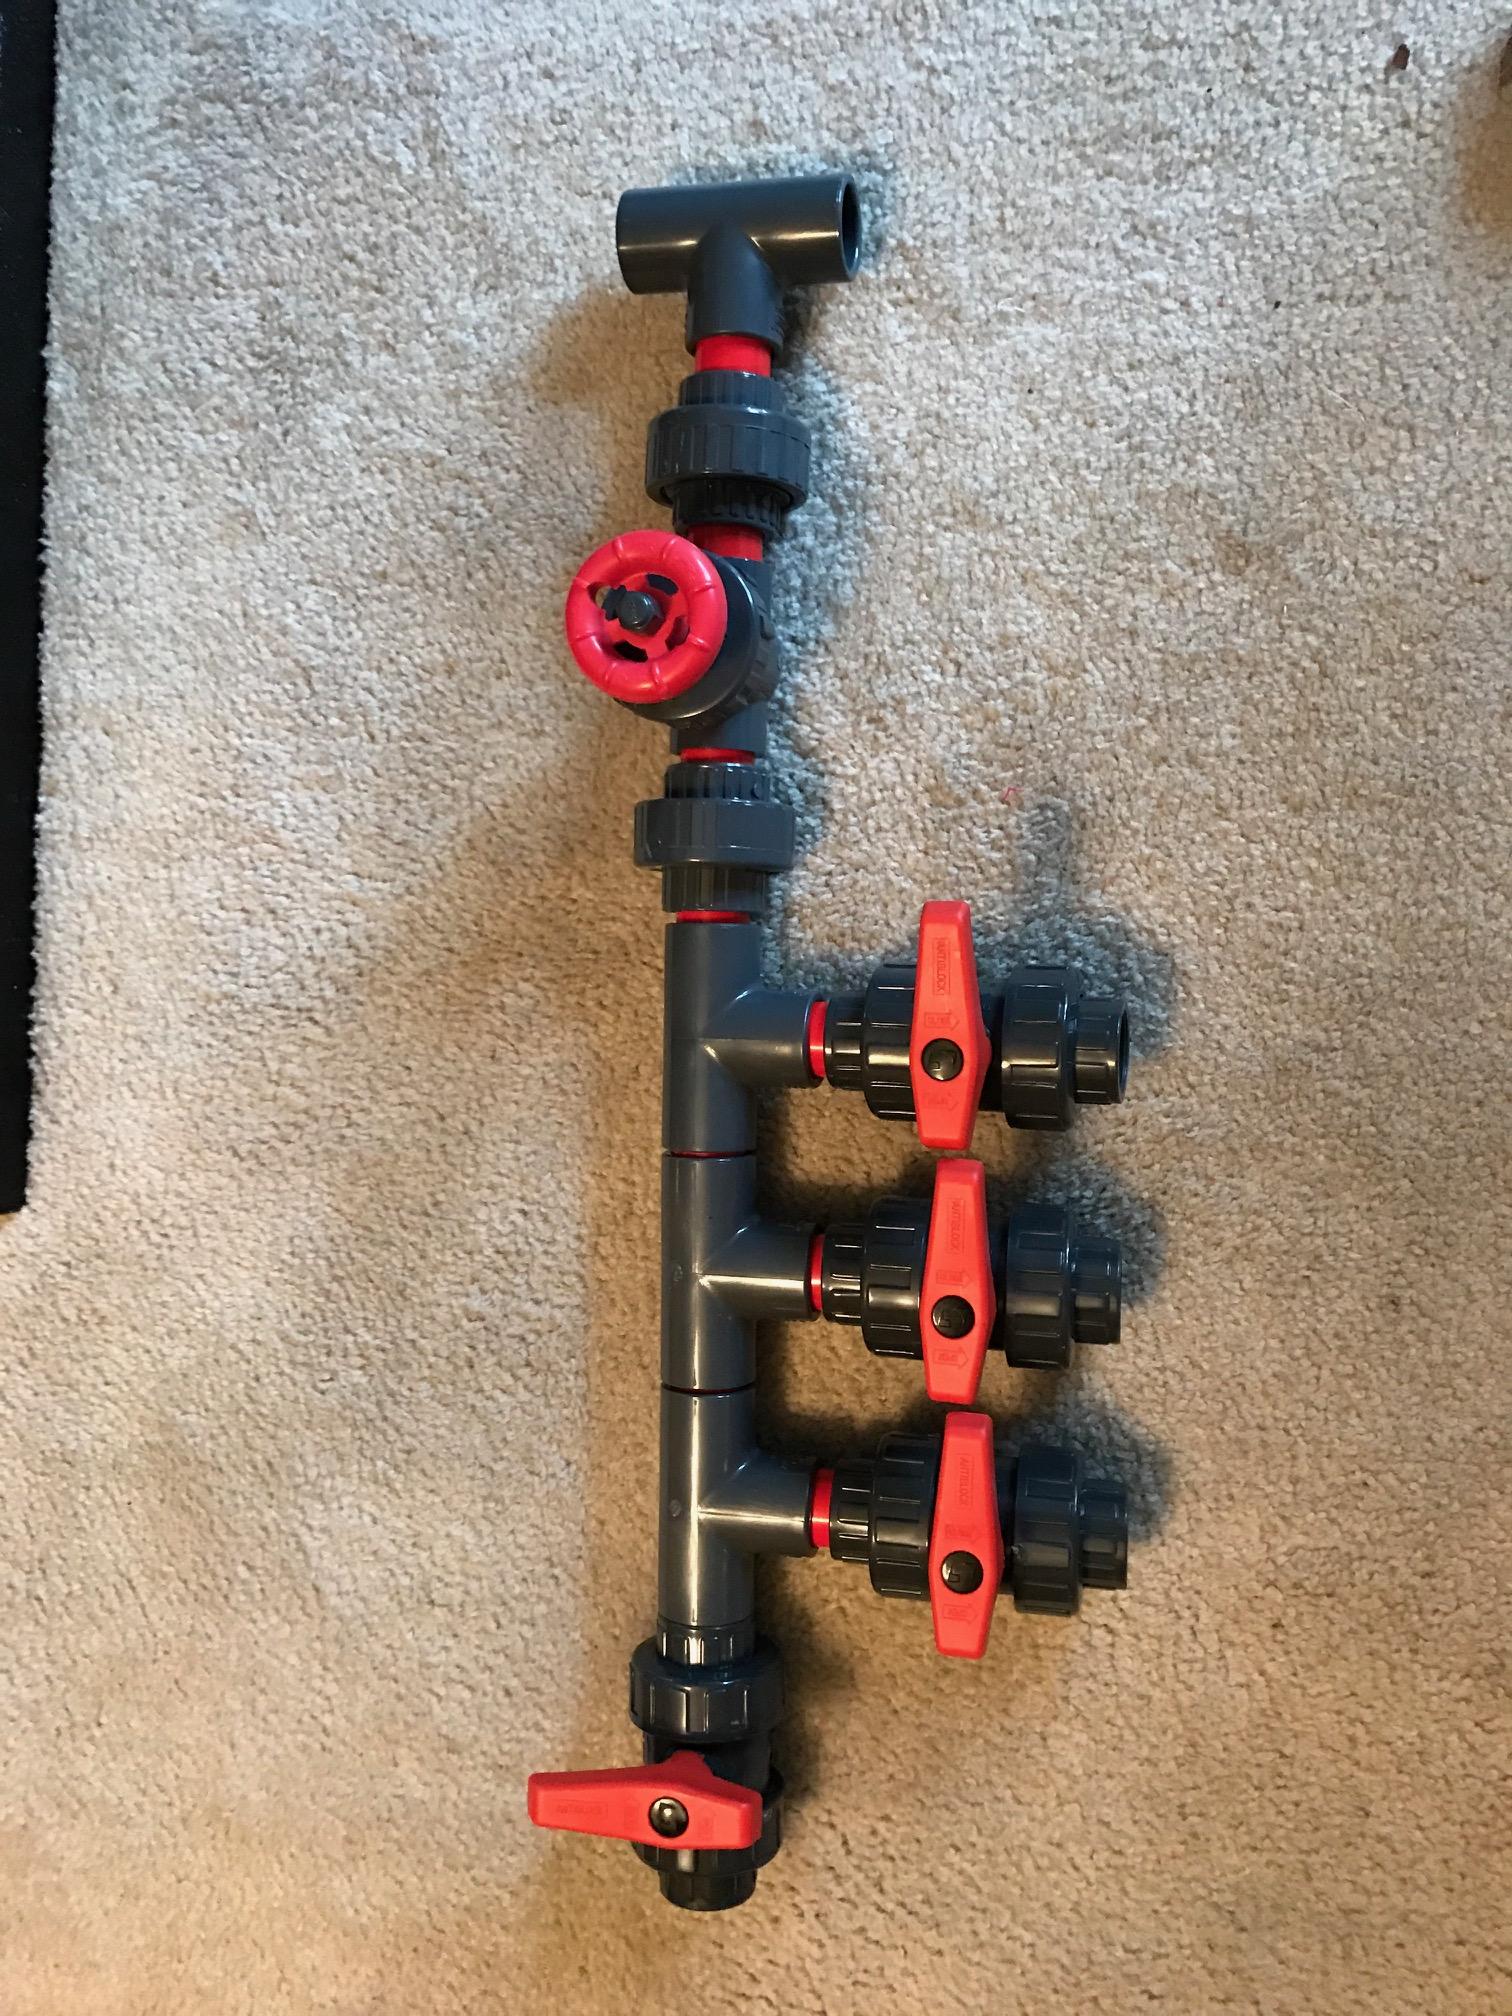
The more I watched, the more I realized that it was possible to do this on a sane budget. And the more I got to thinking about it, I didn’t really need an indoor pond or more goldfish for that matter, and so it began. Out came the pen and paper and I began making lists of everything I thought I would need.

efkrT4S.jpg


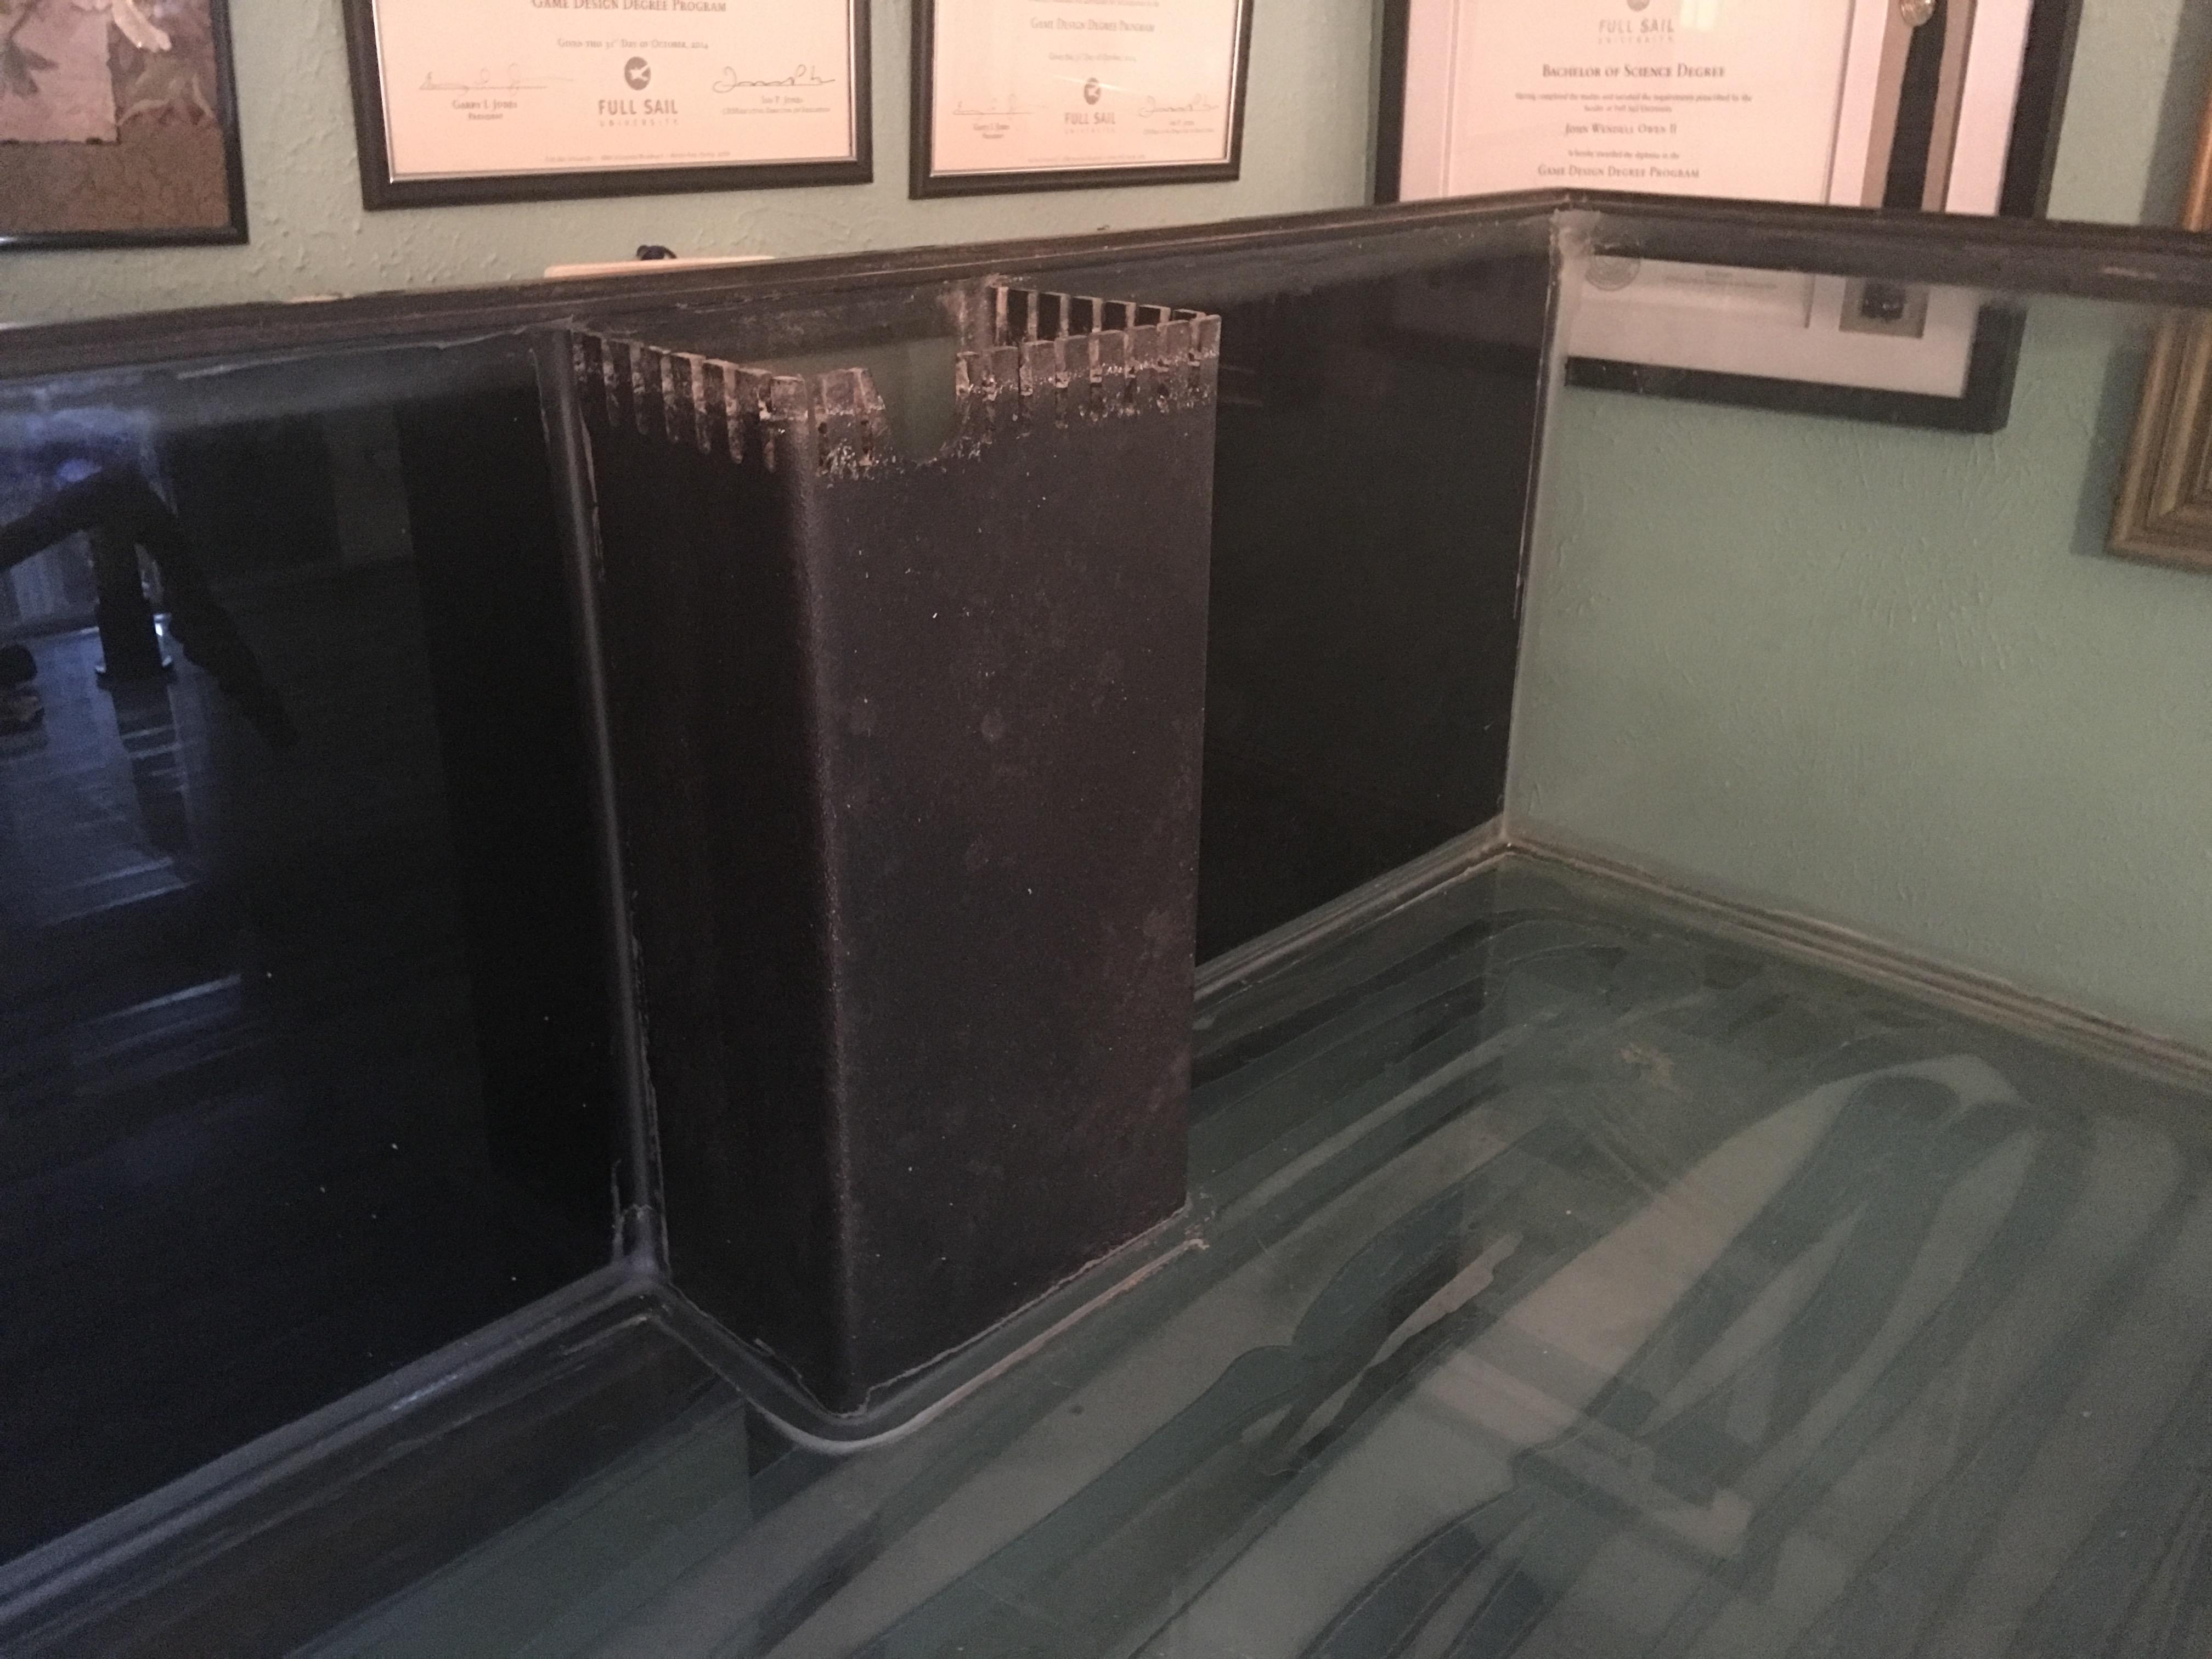
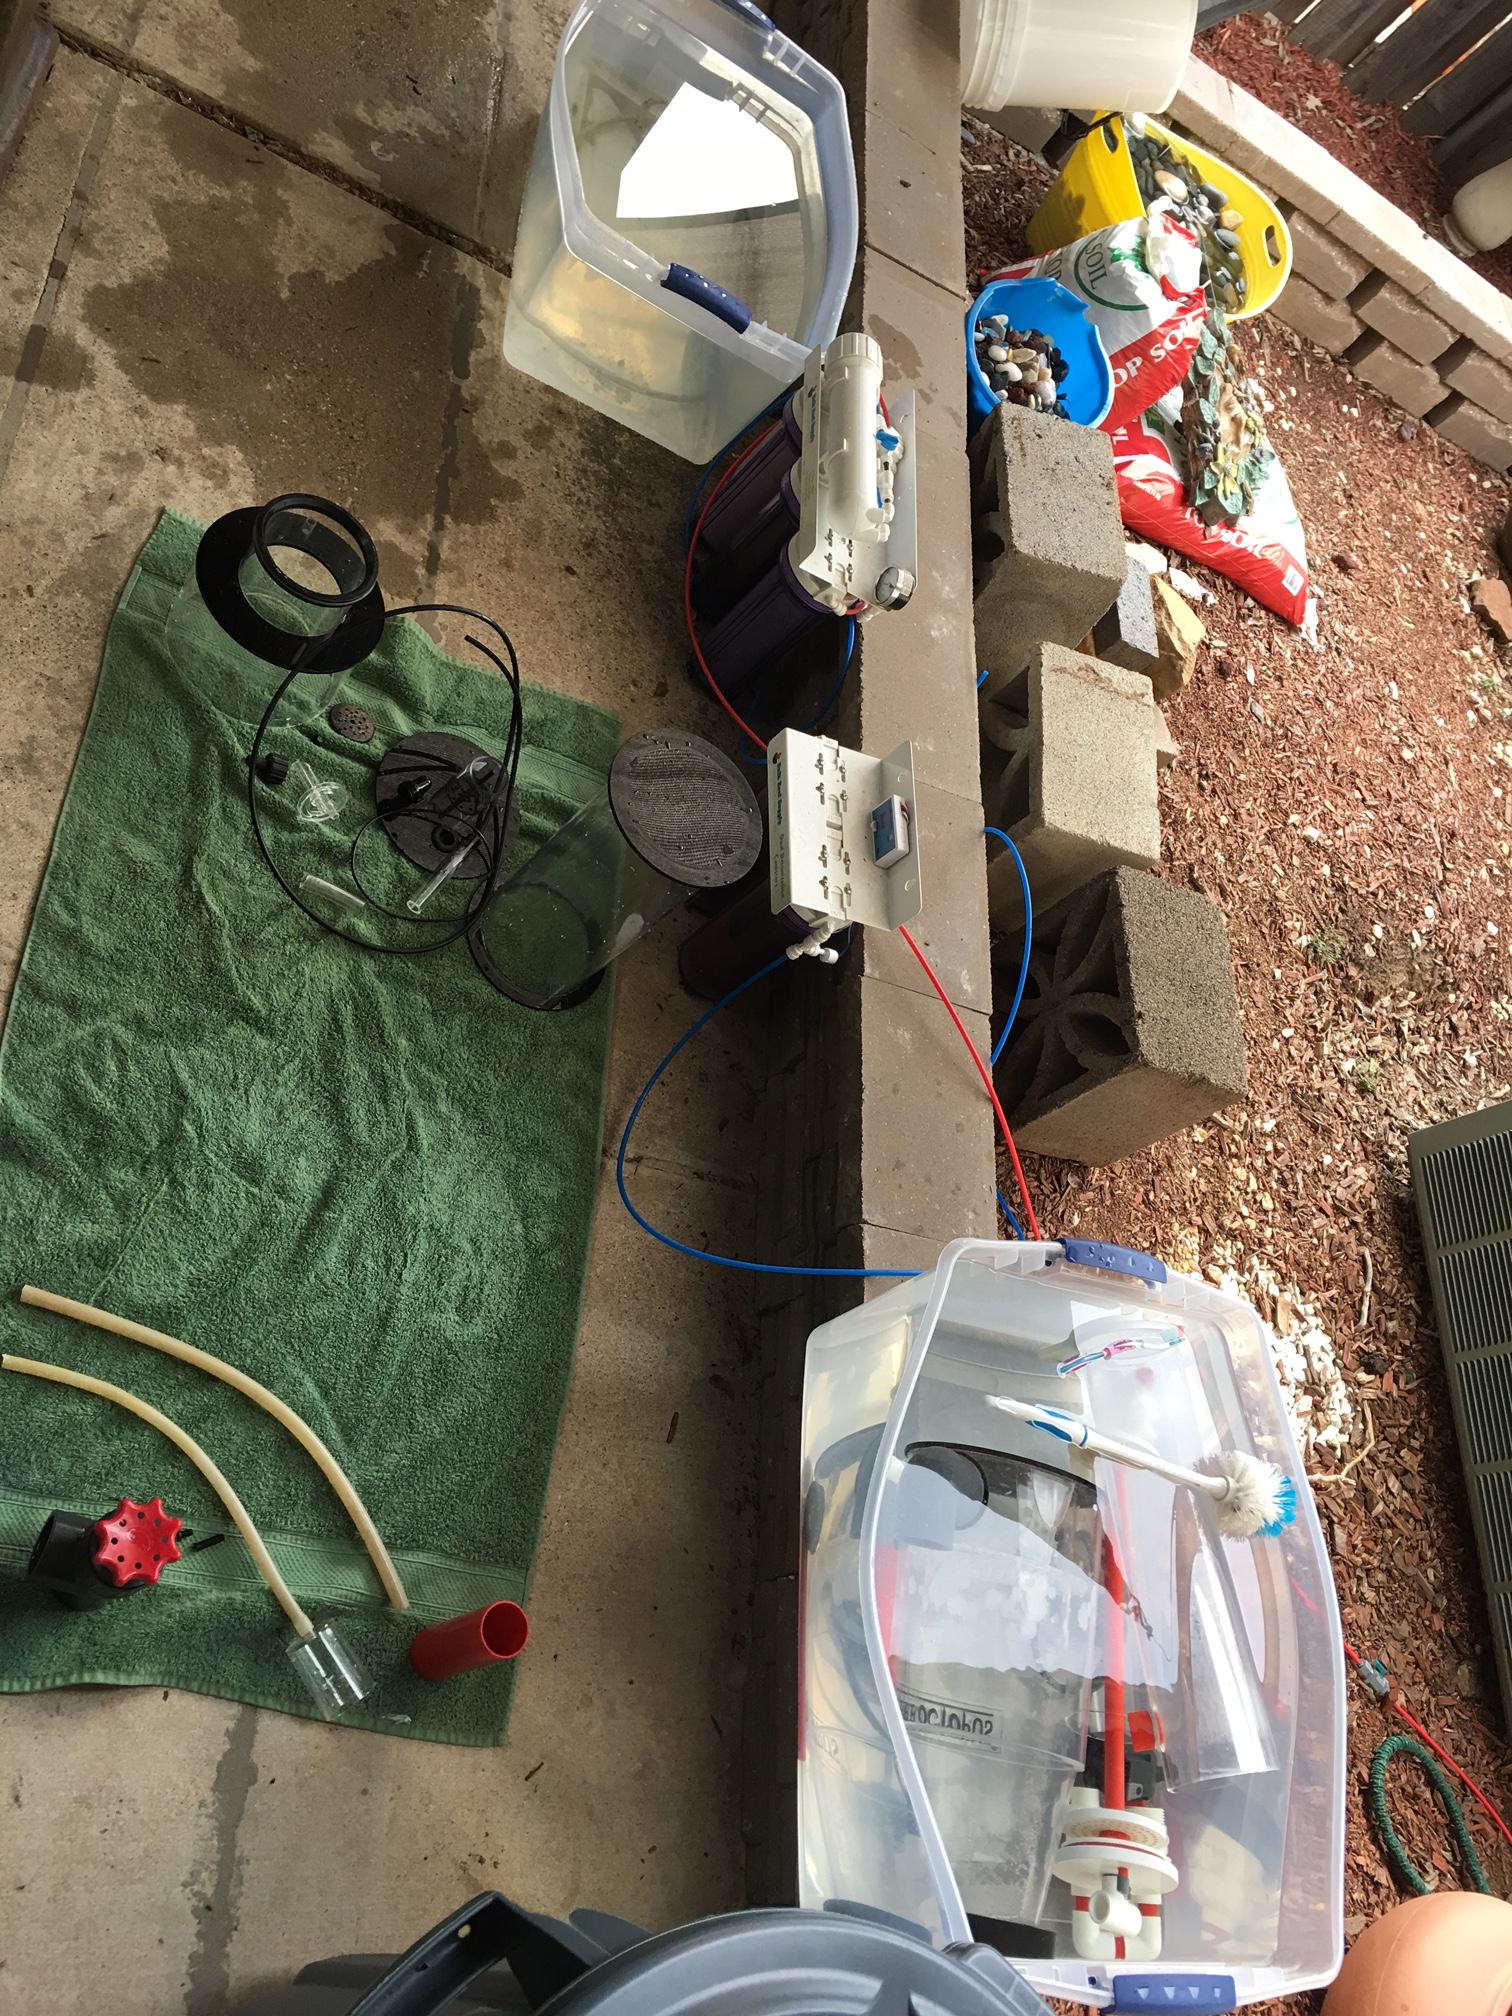
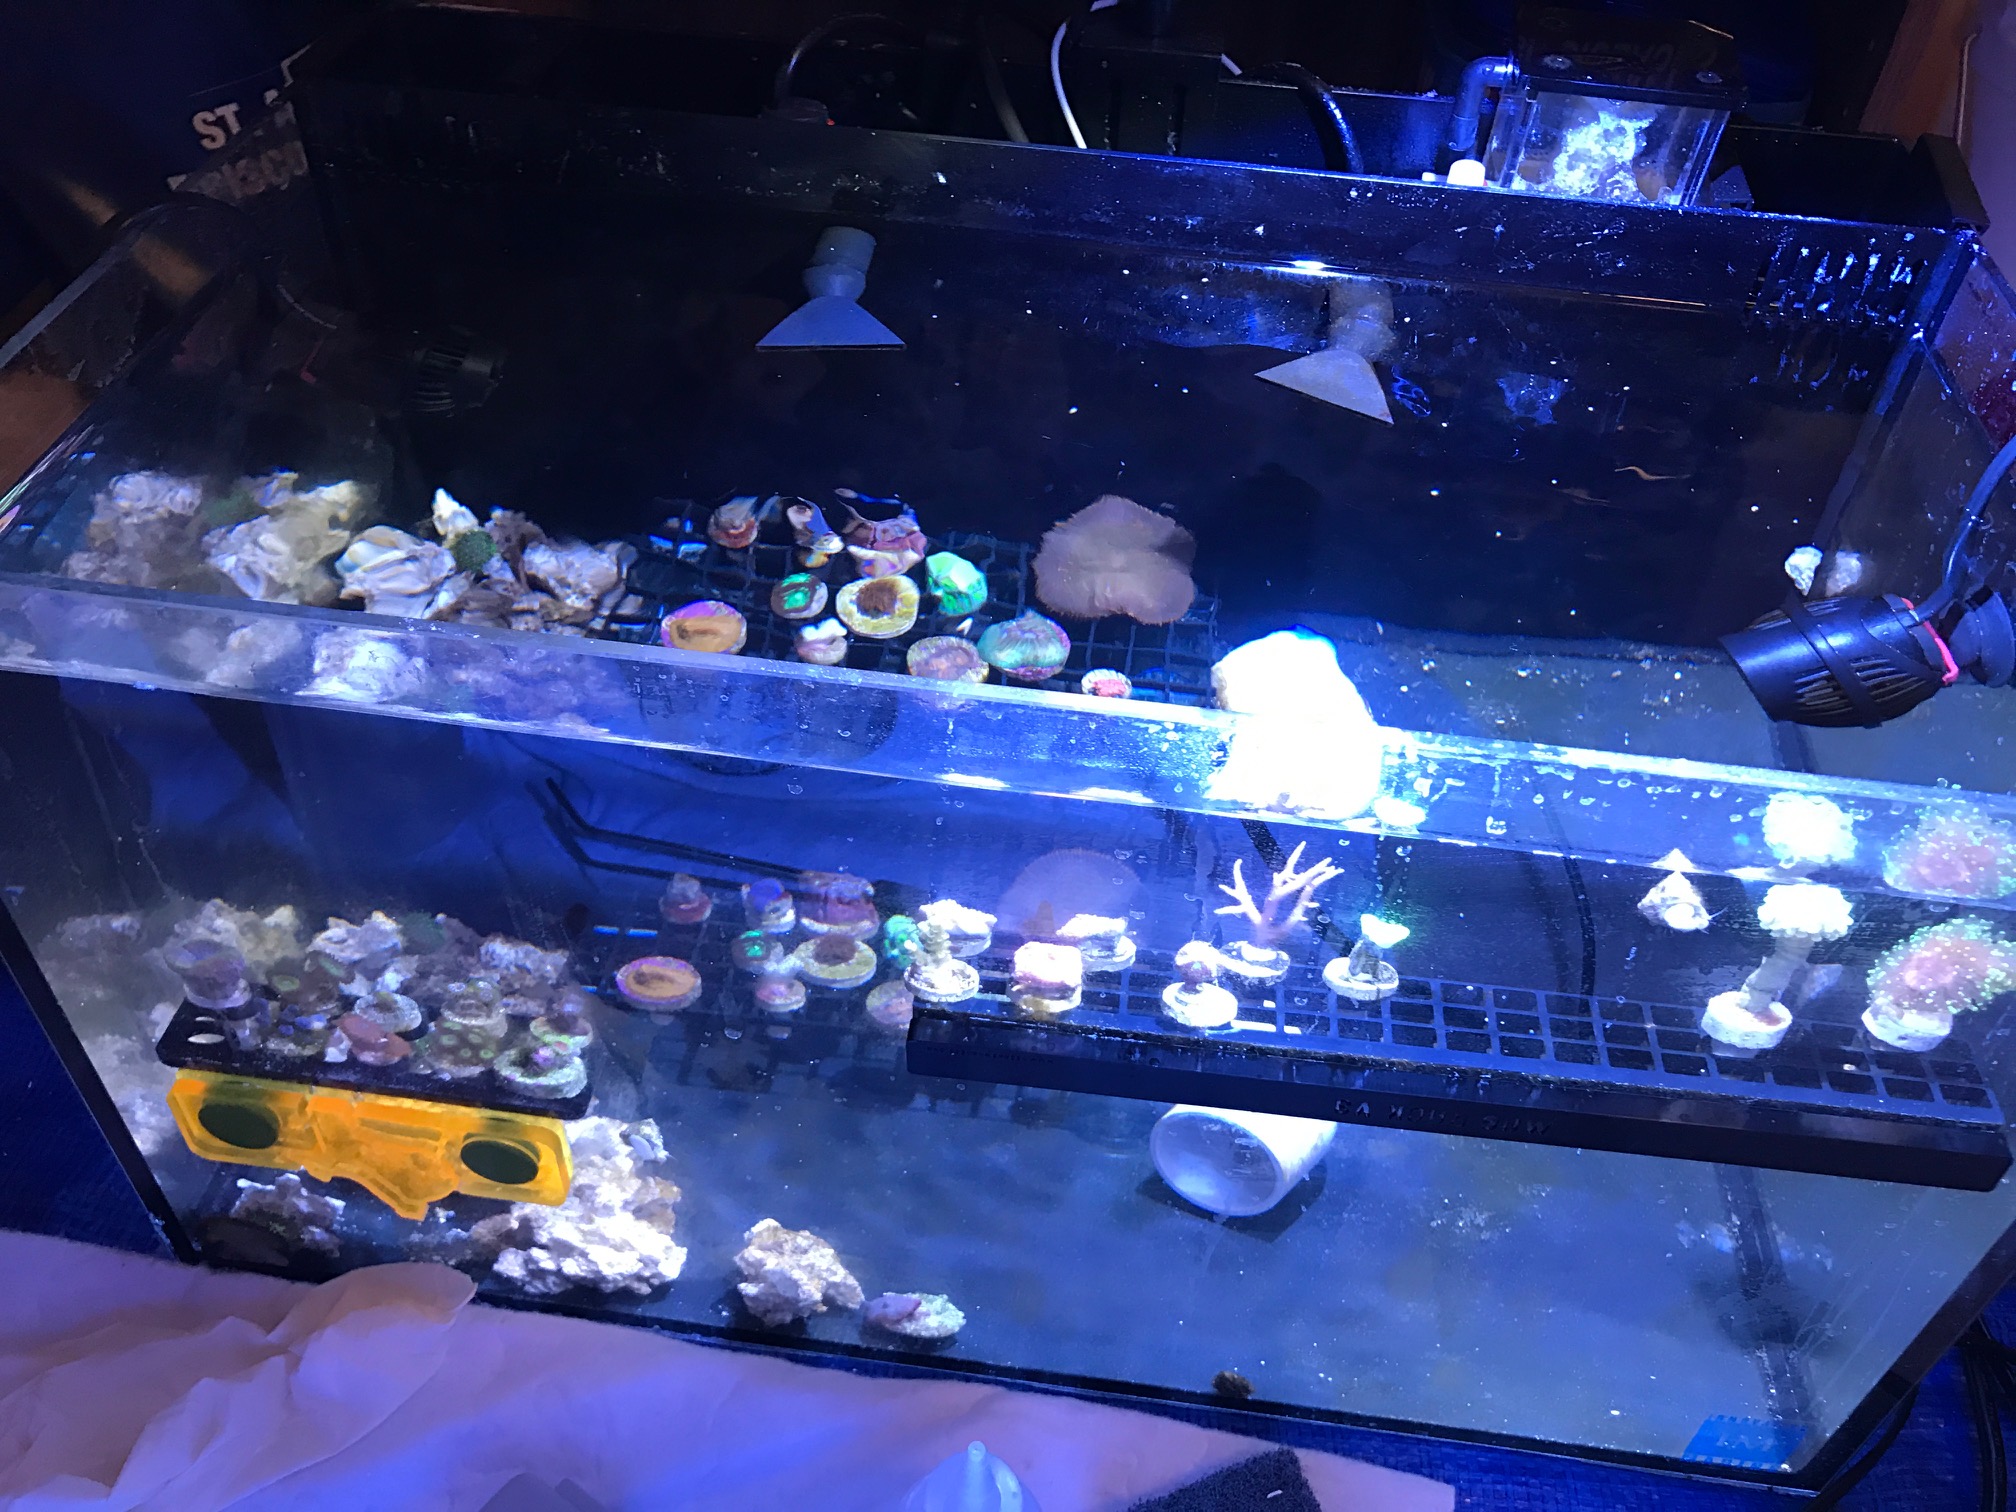
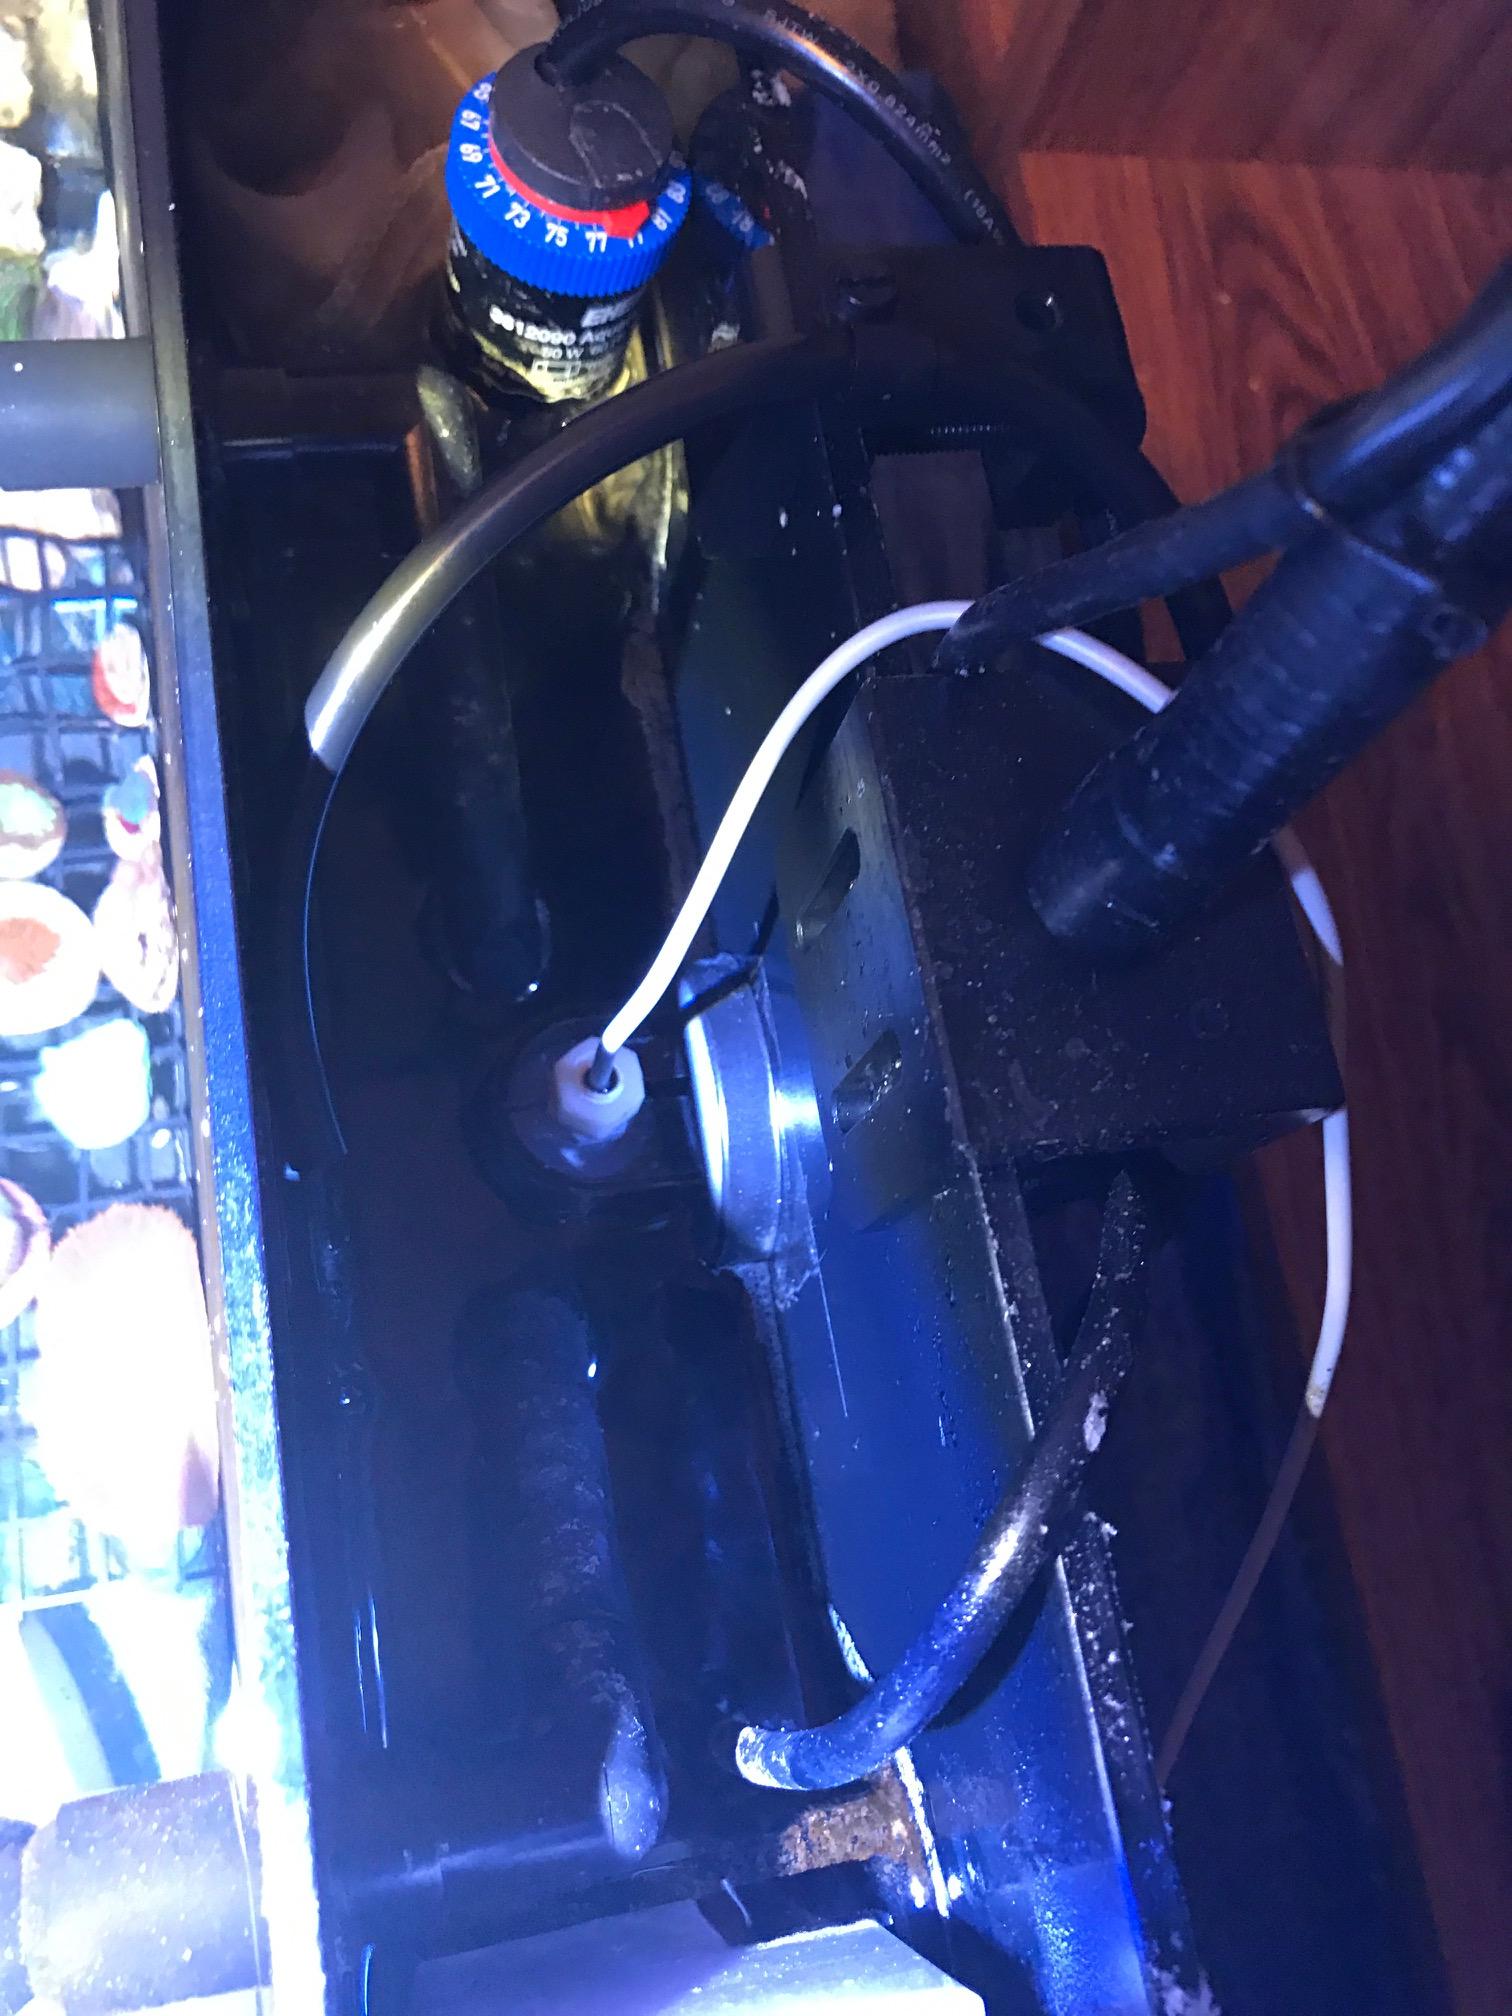
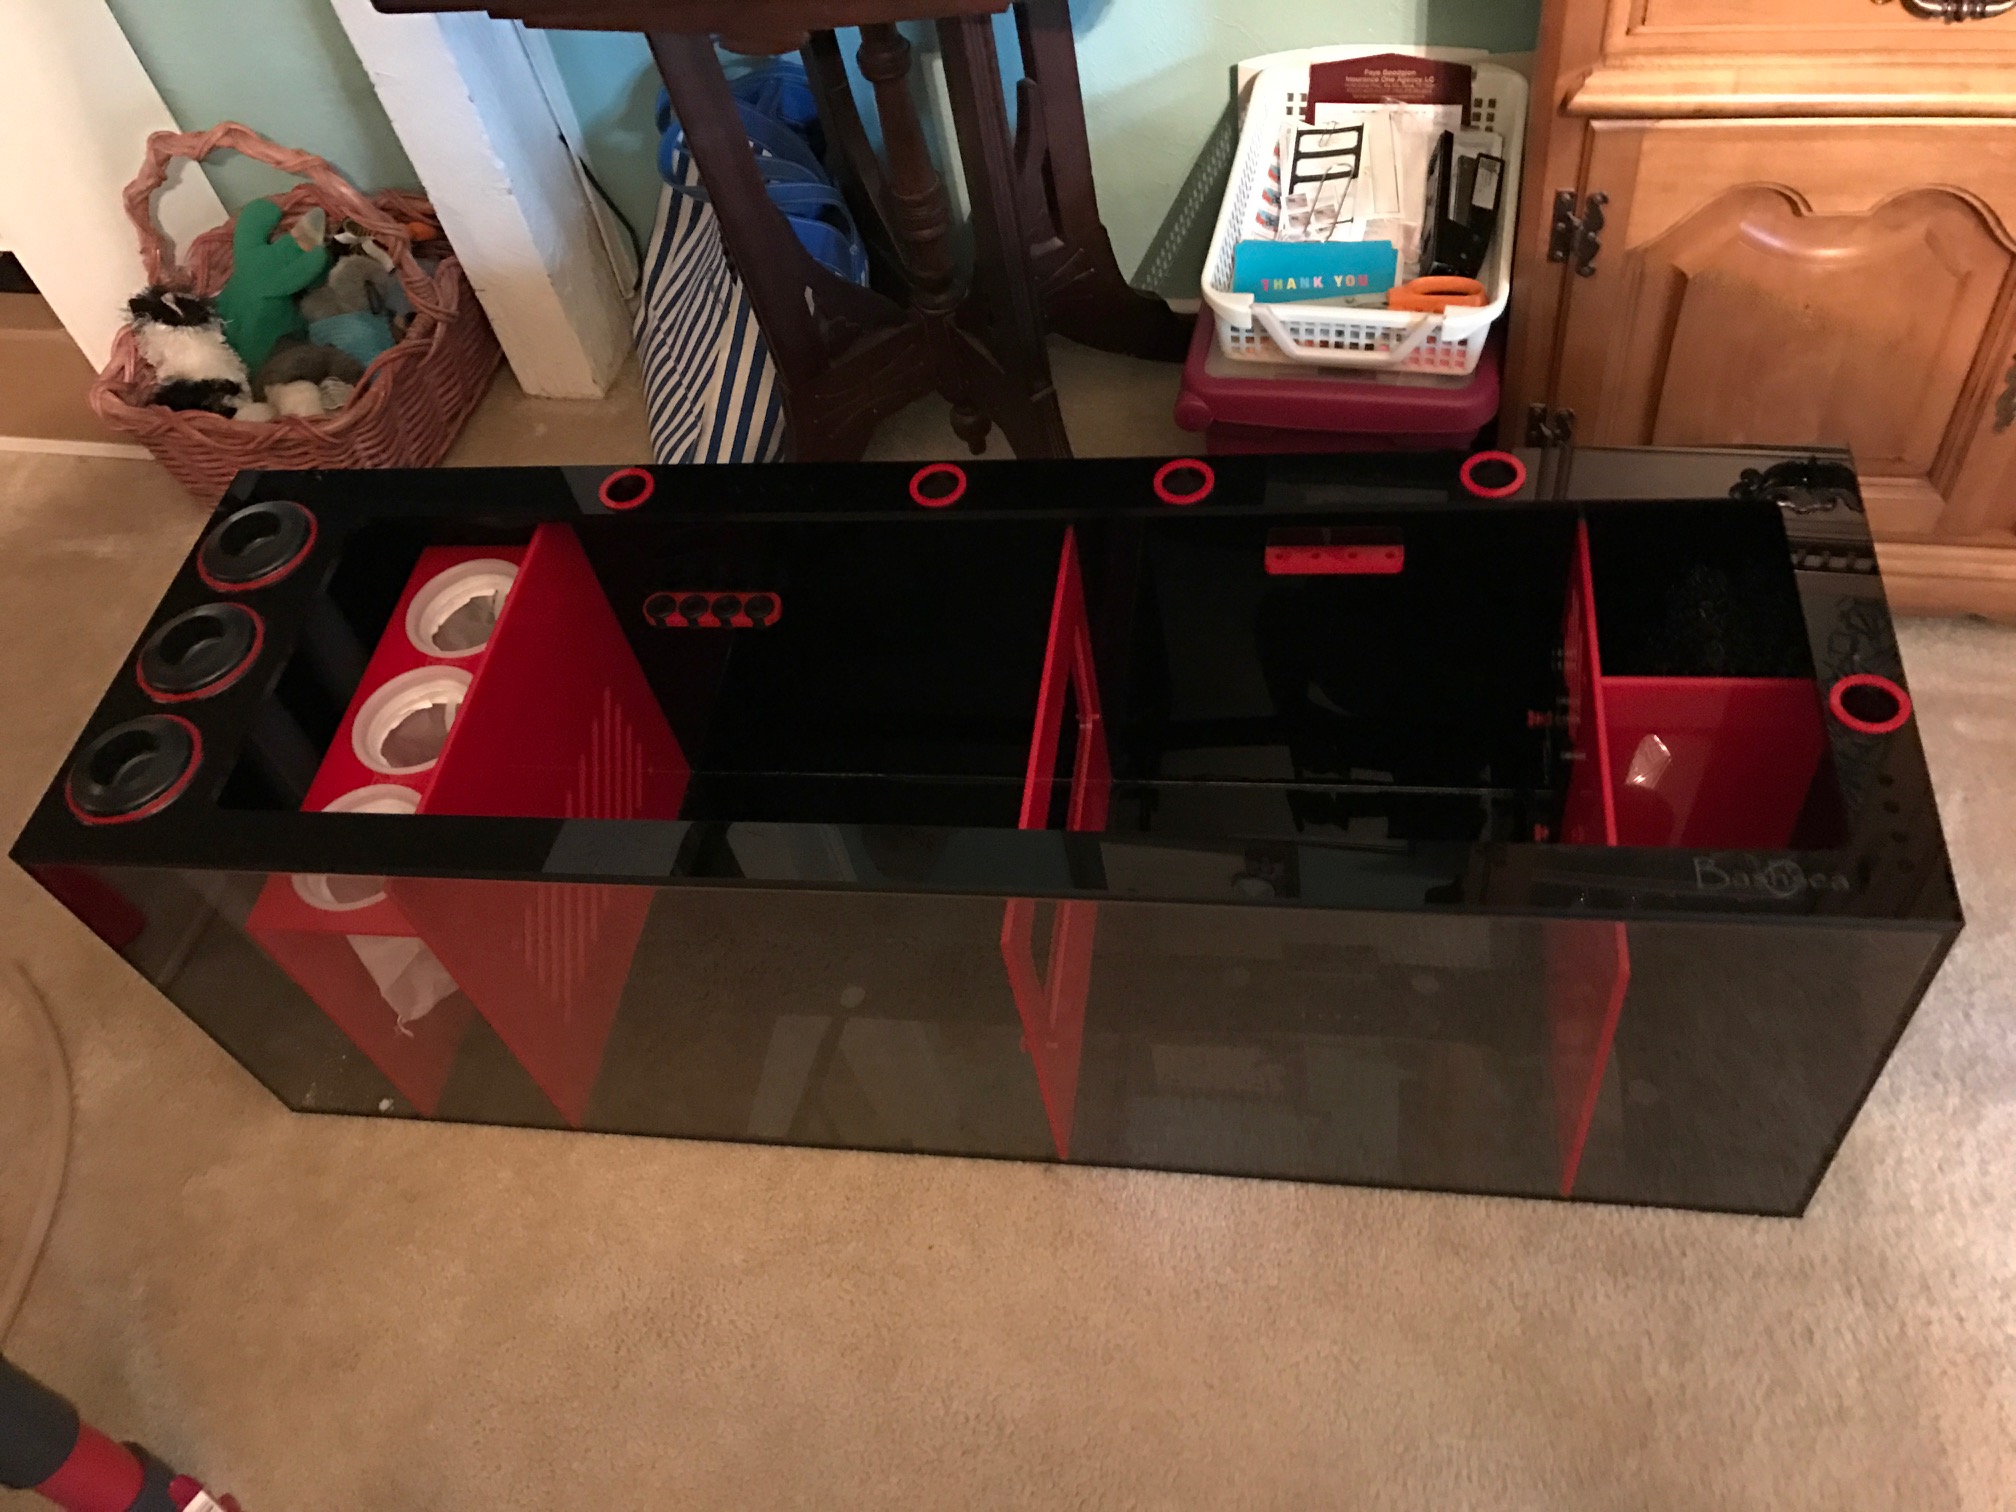
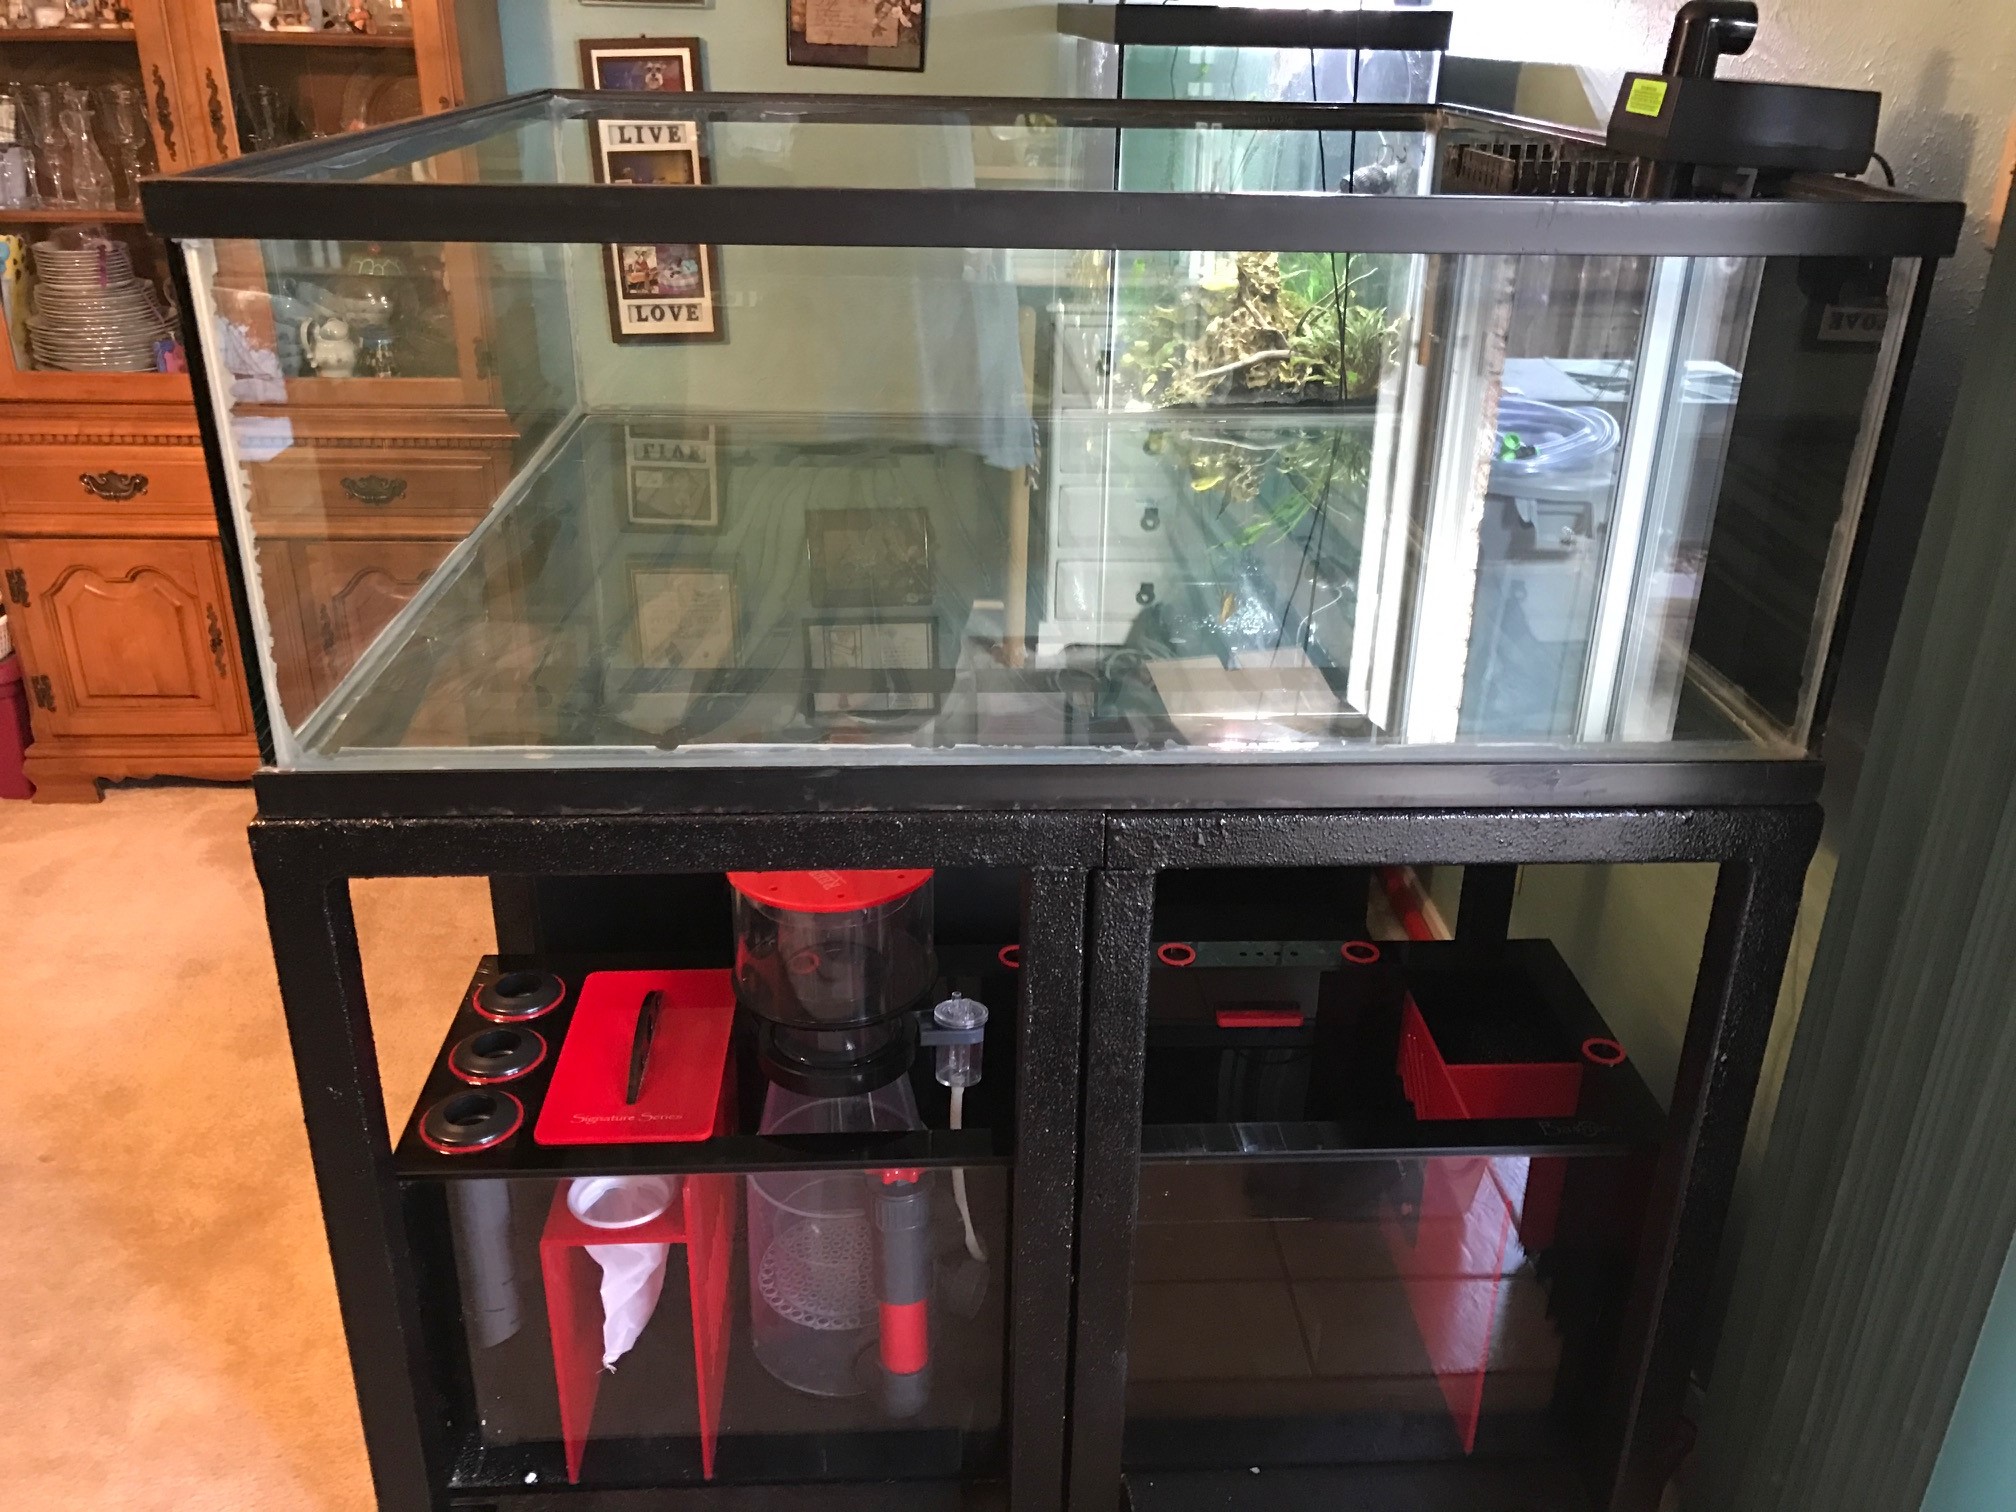
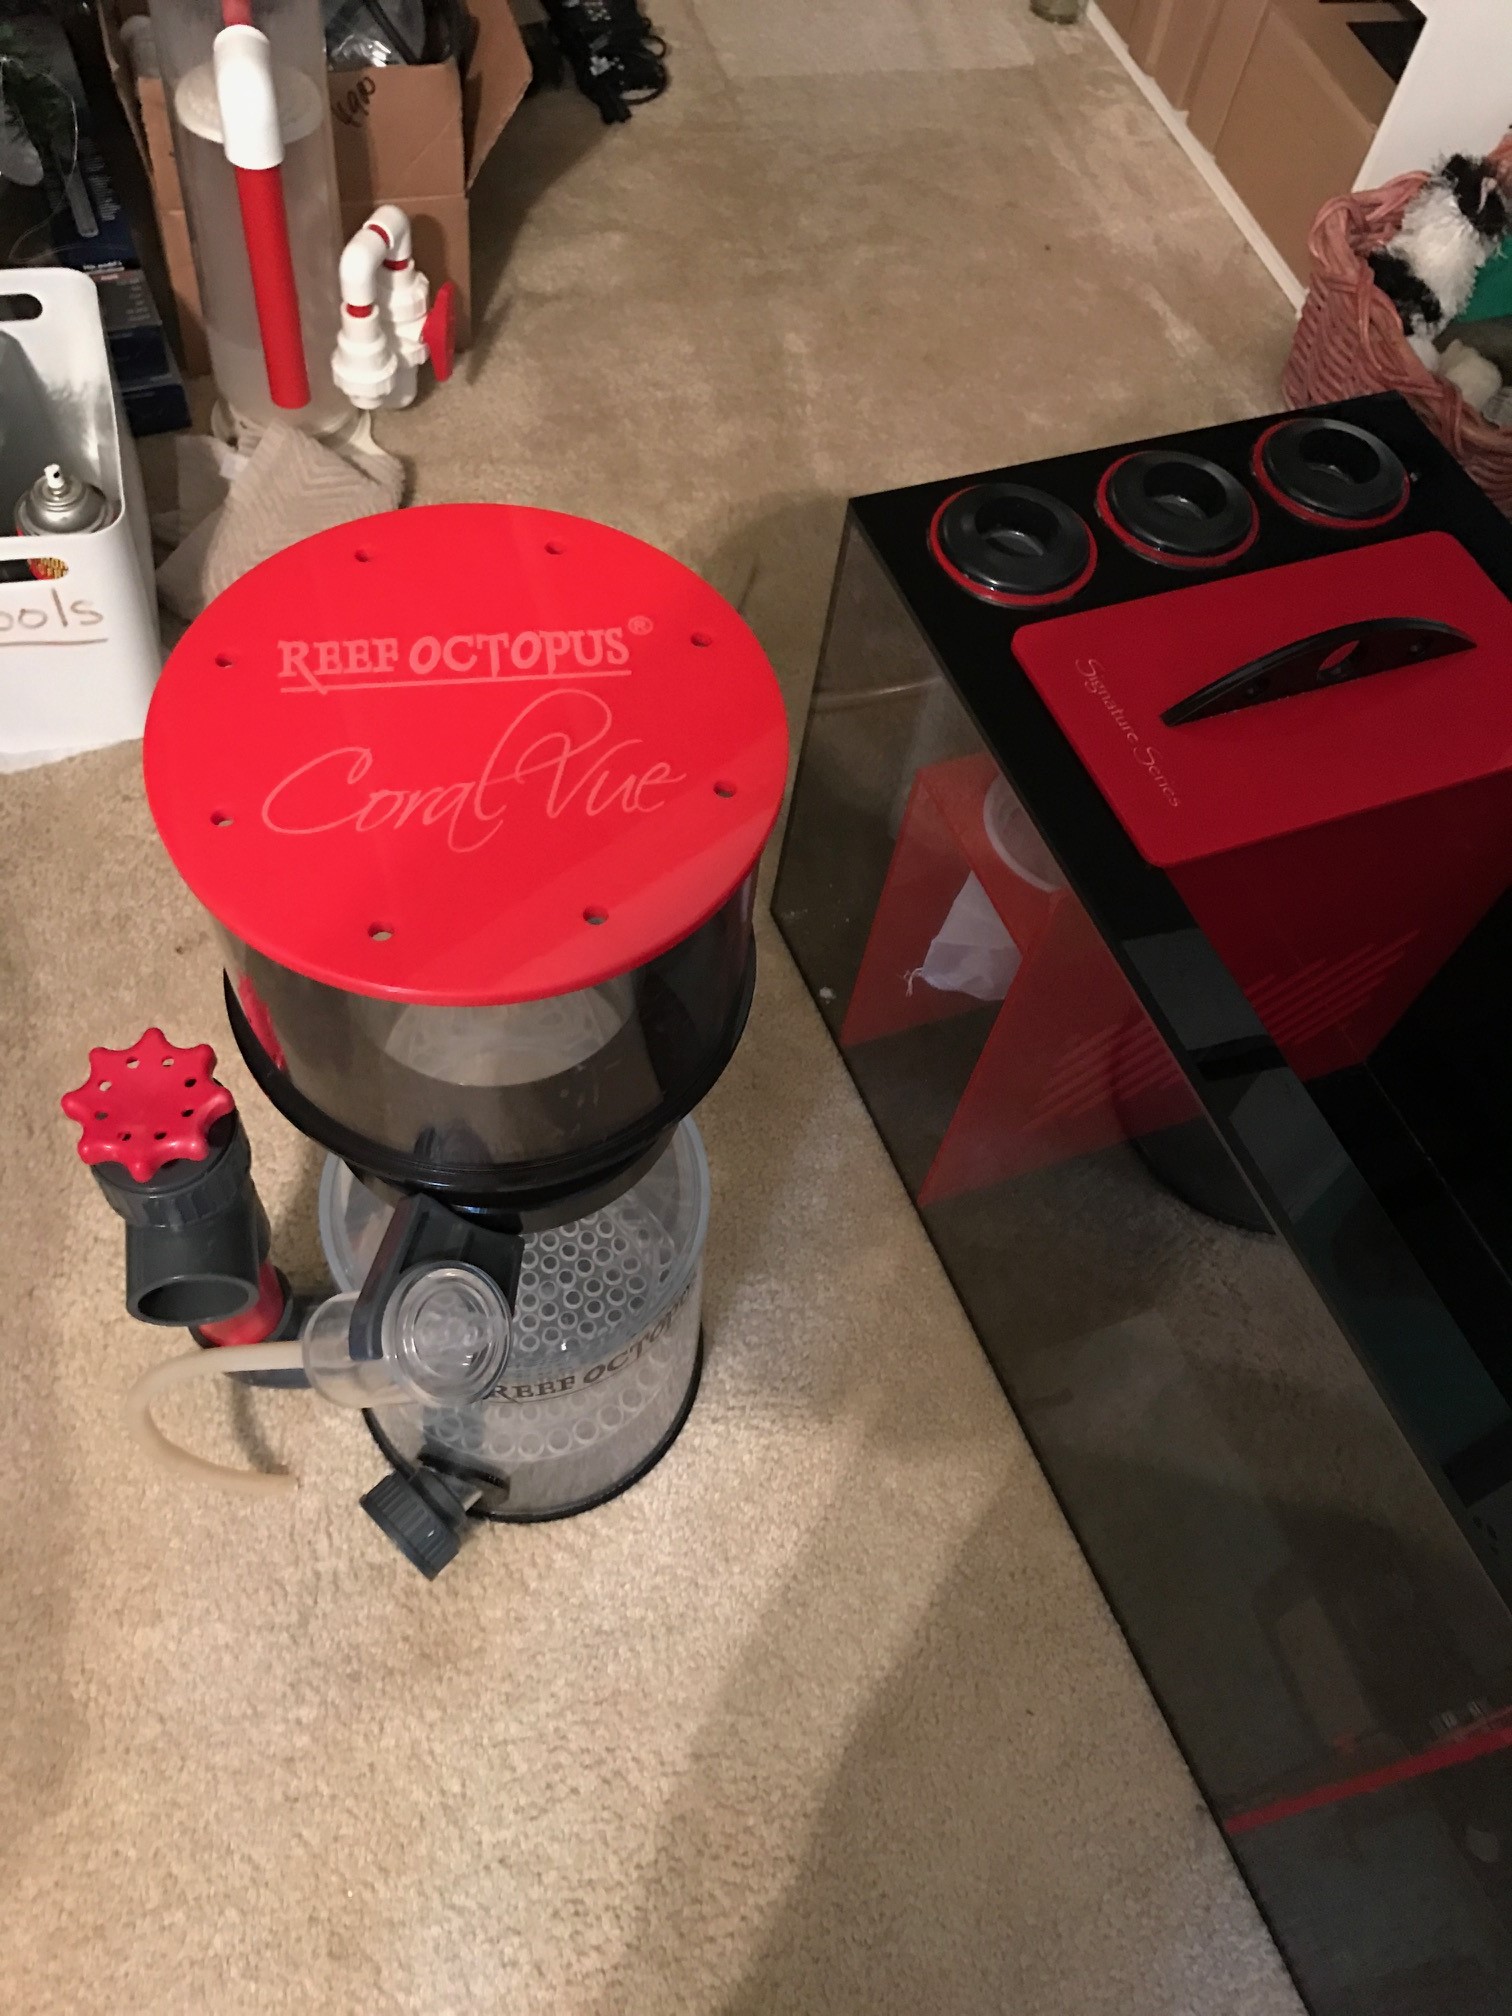
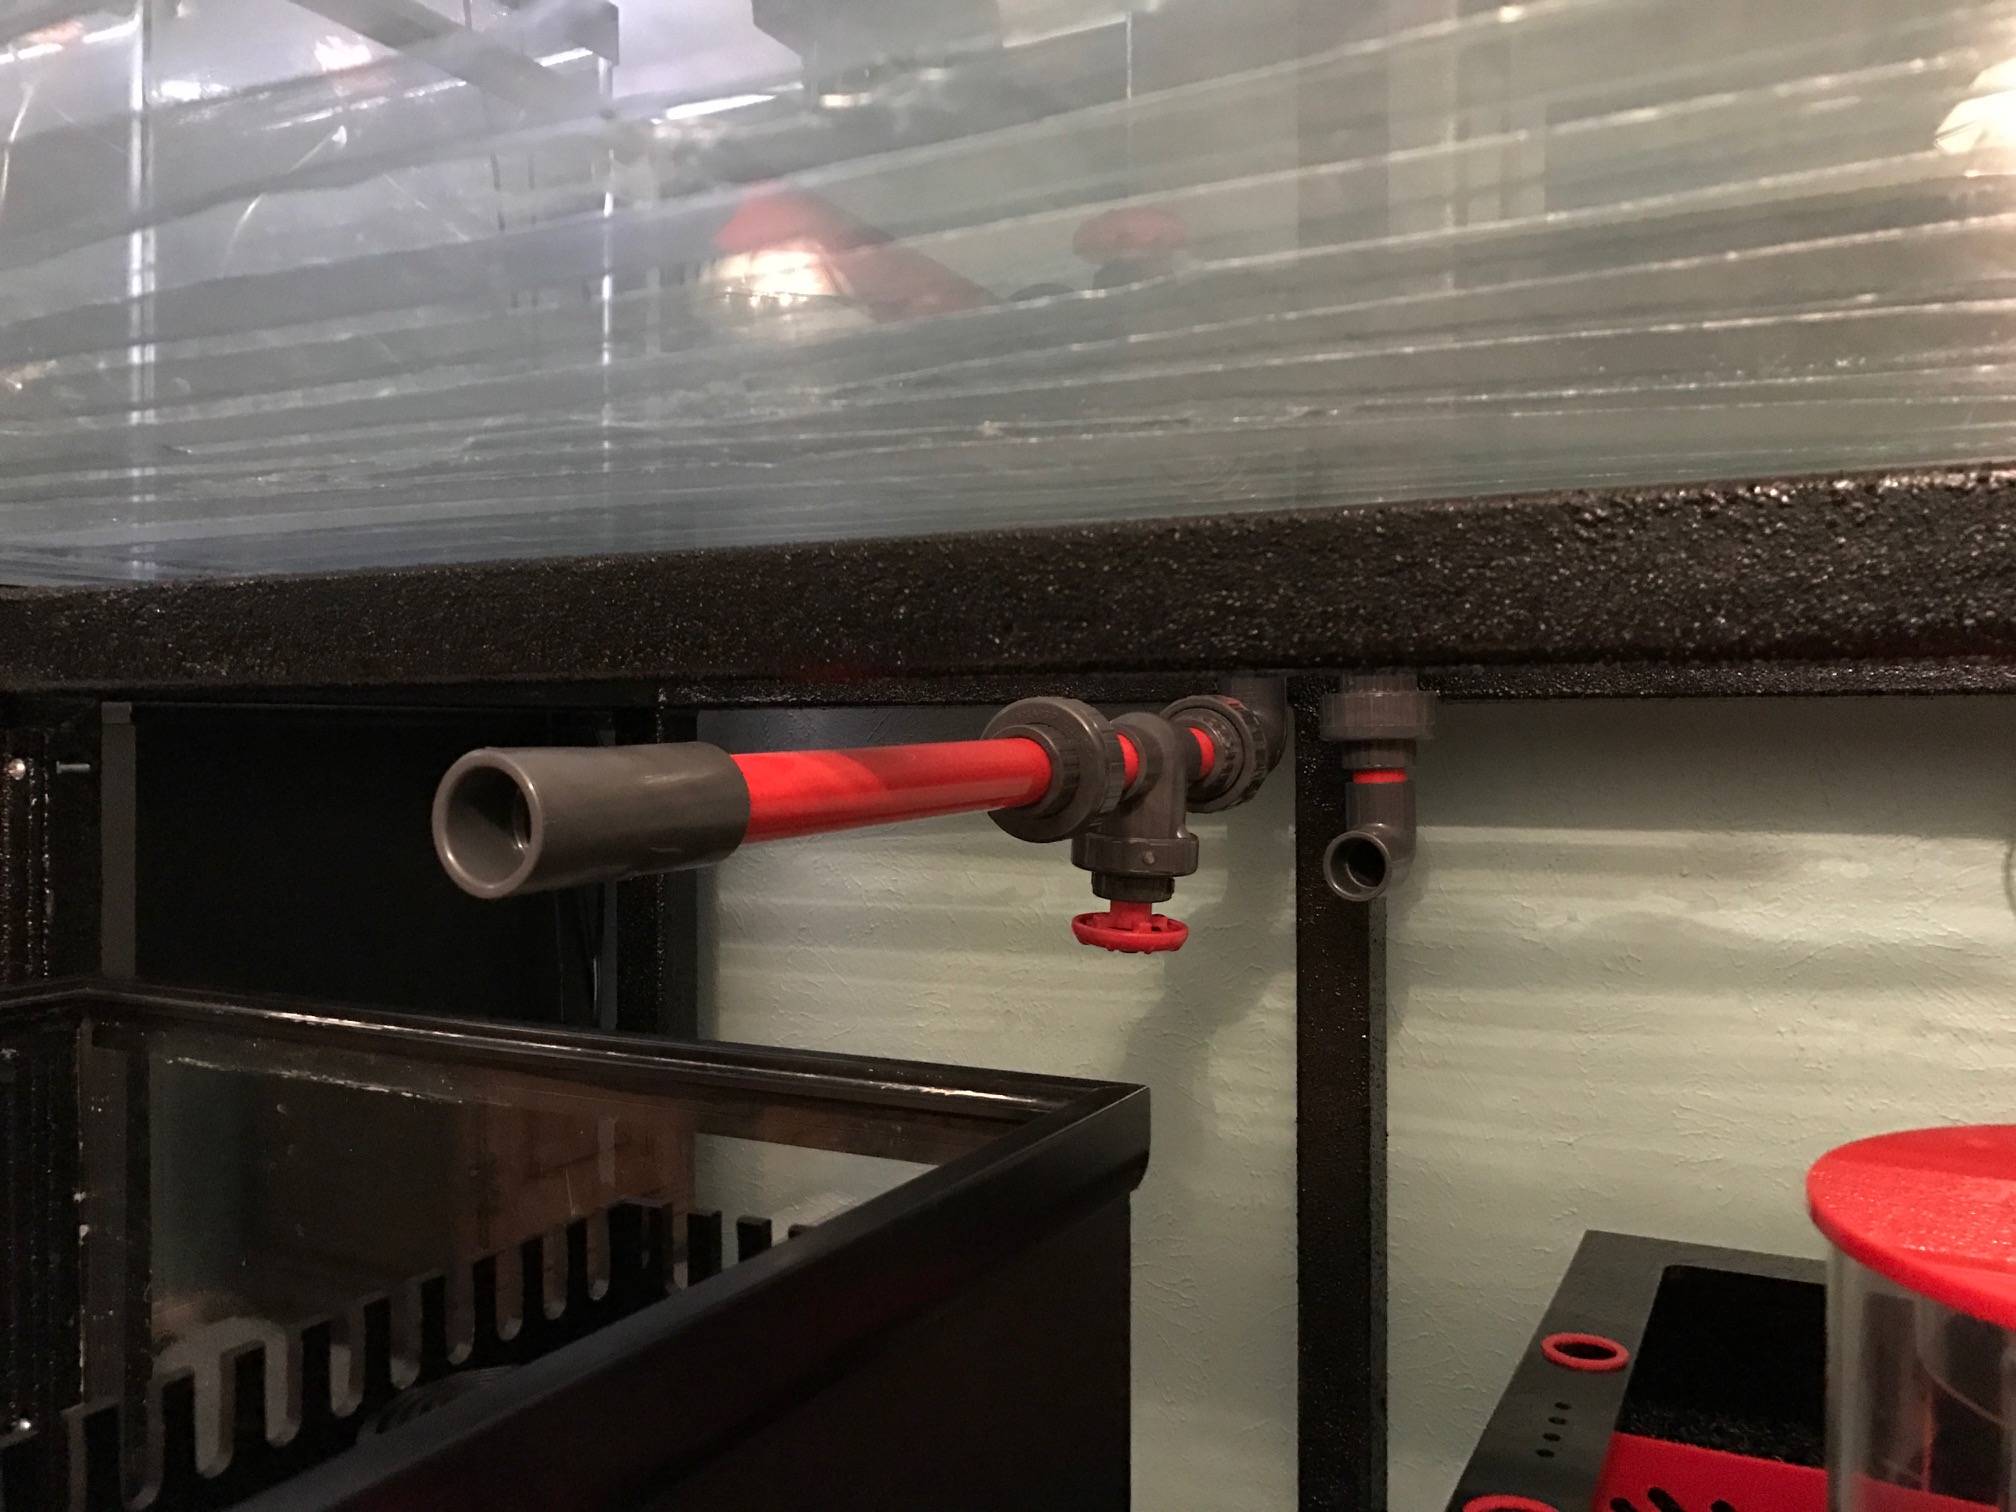
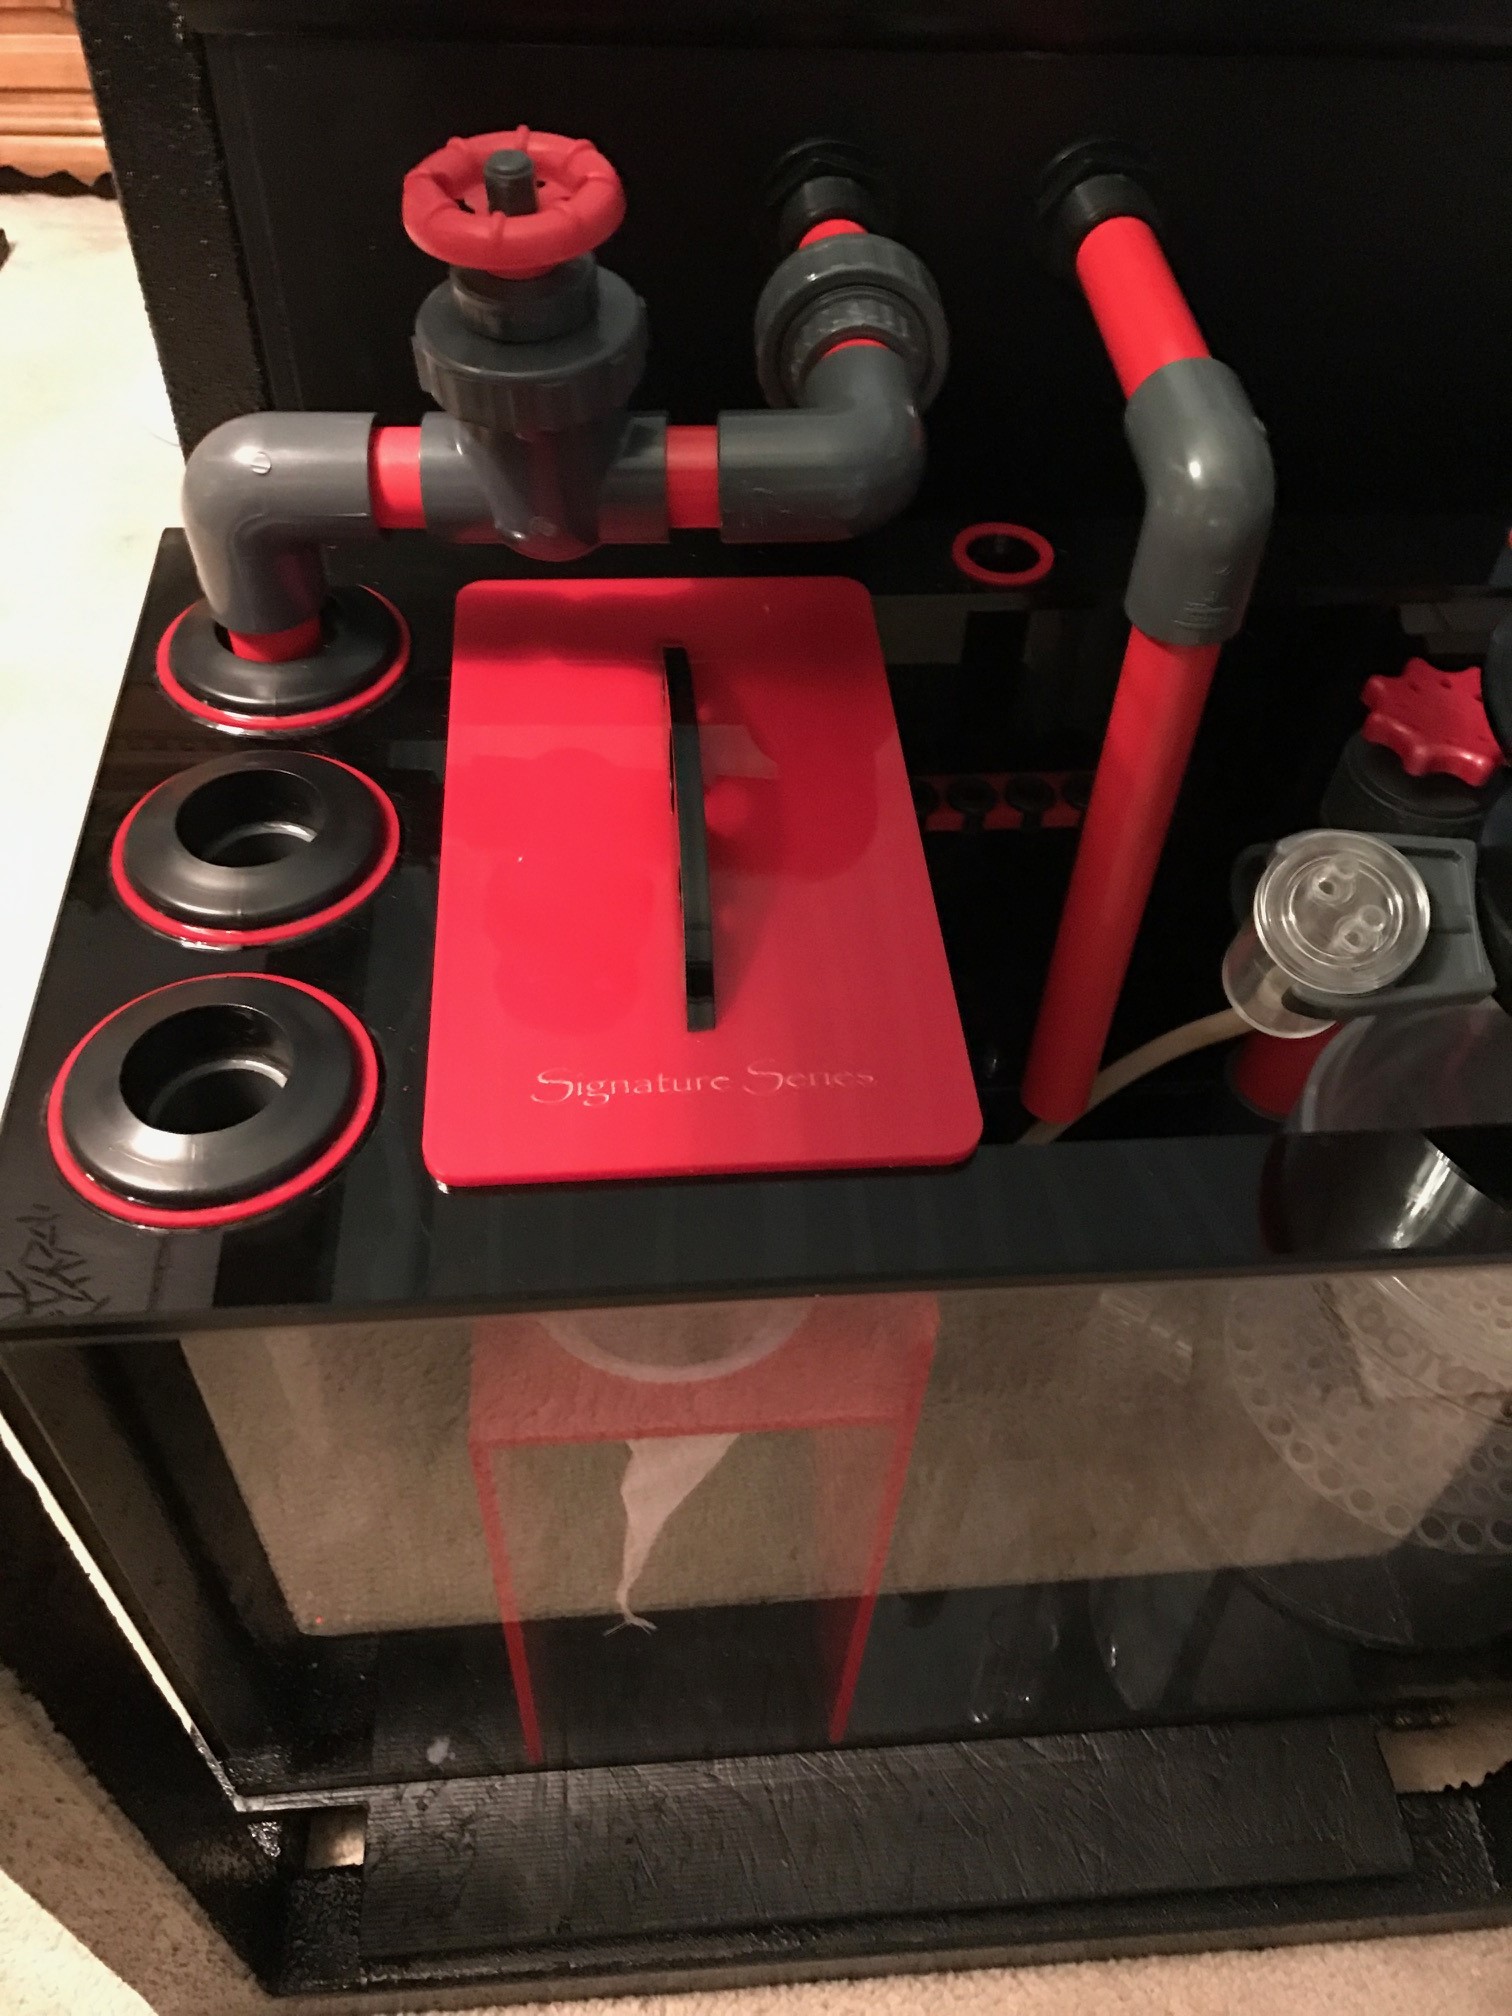
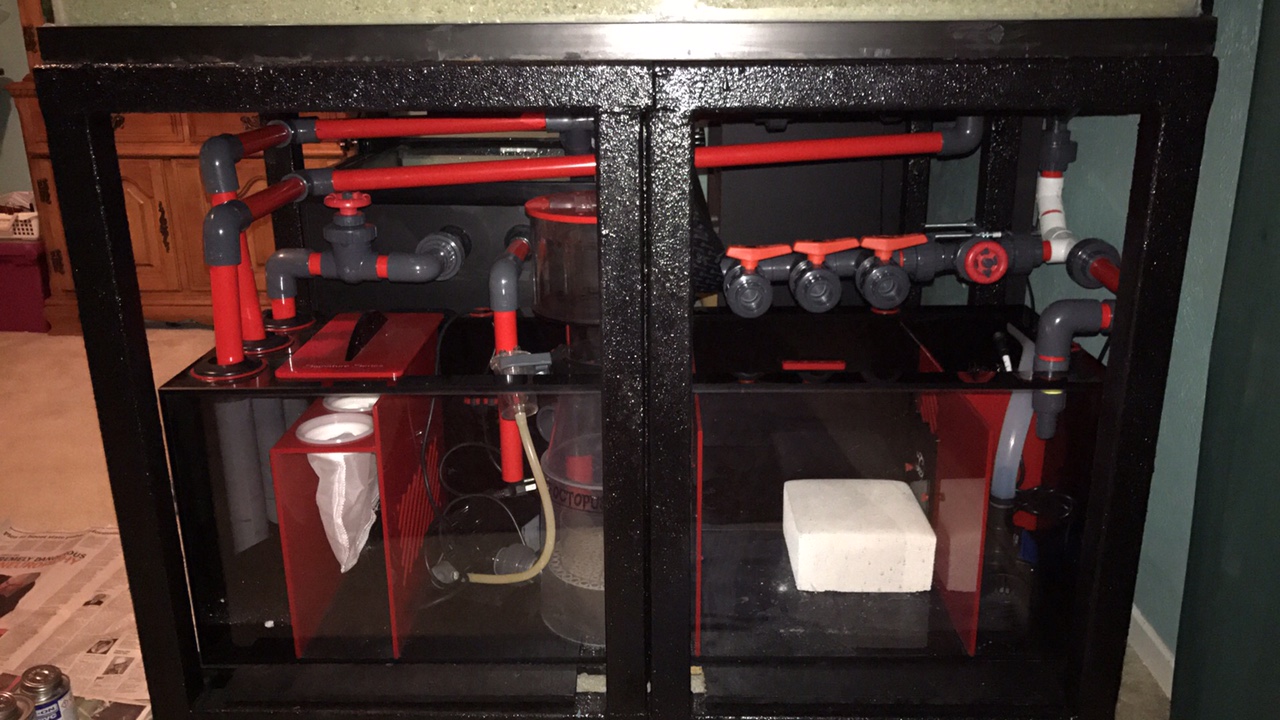
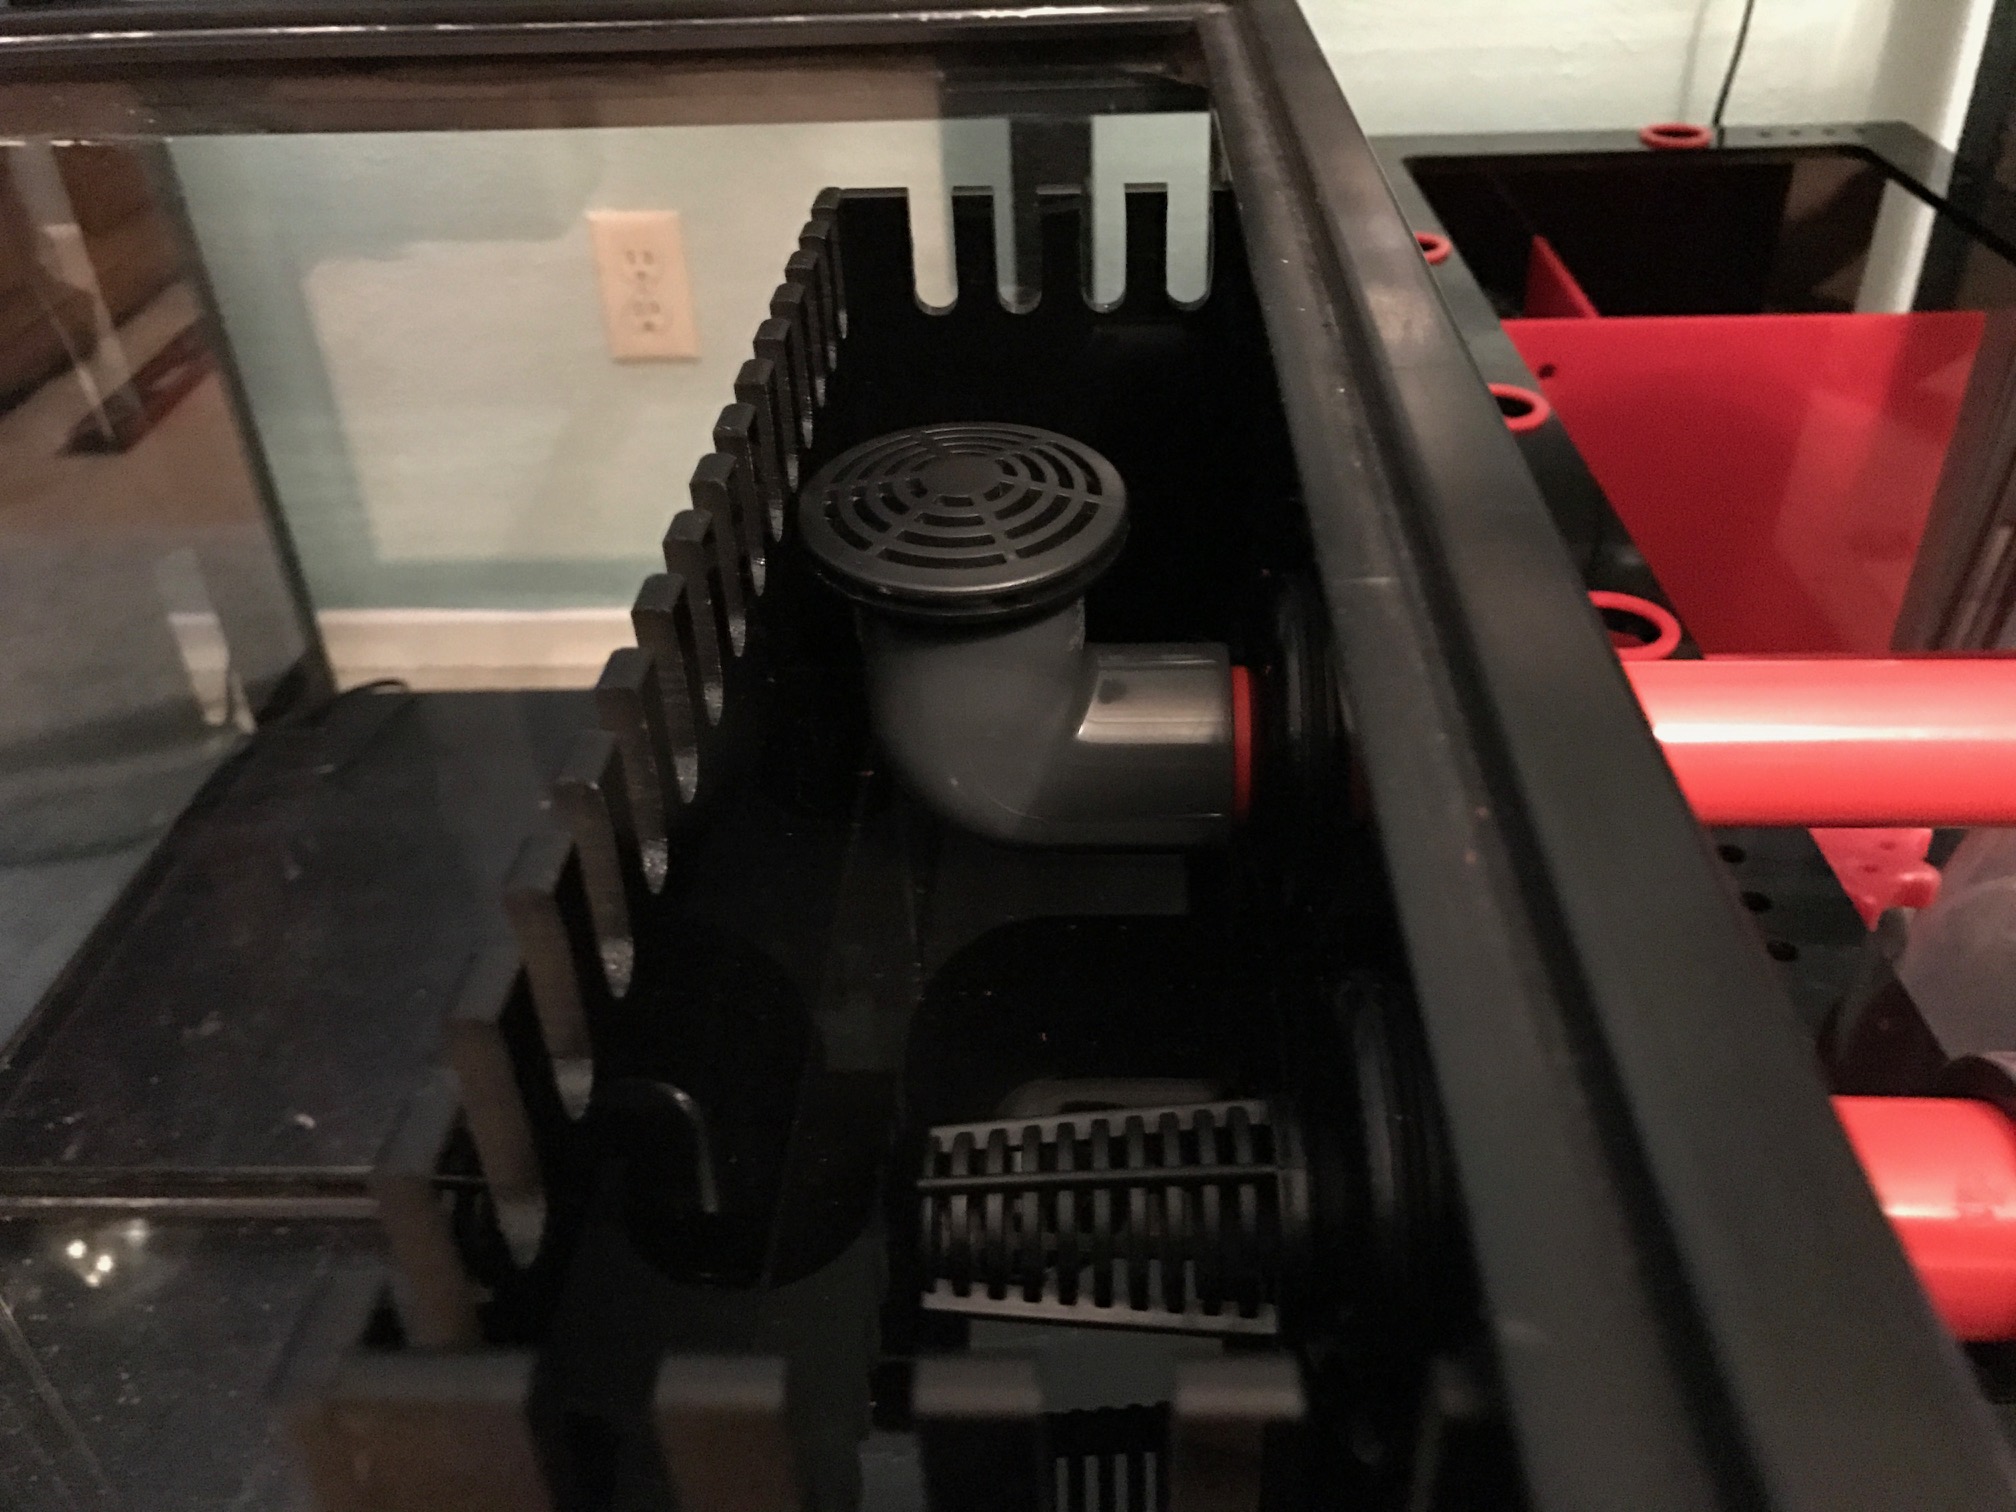
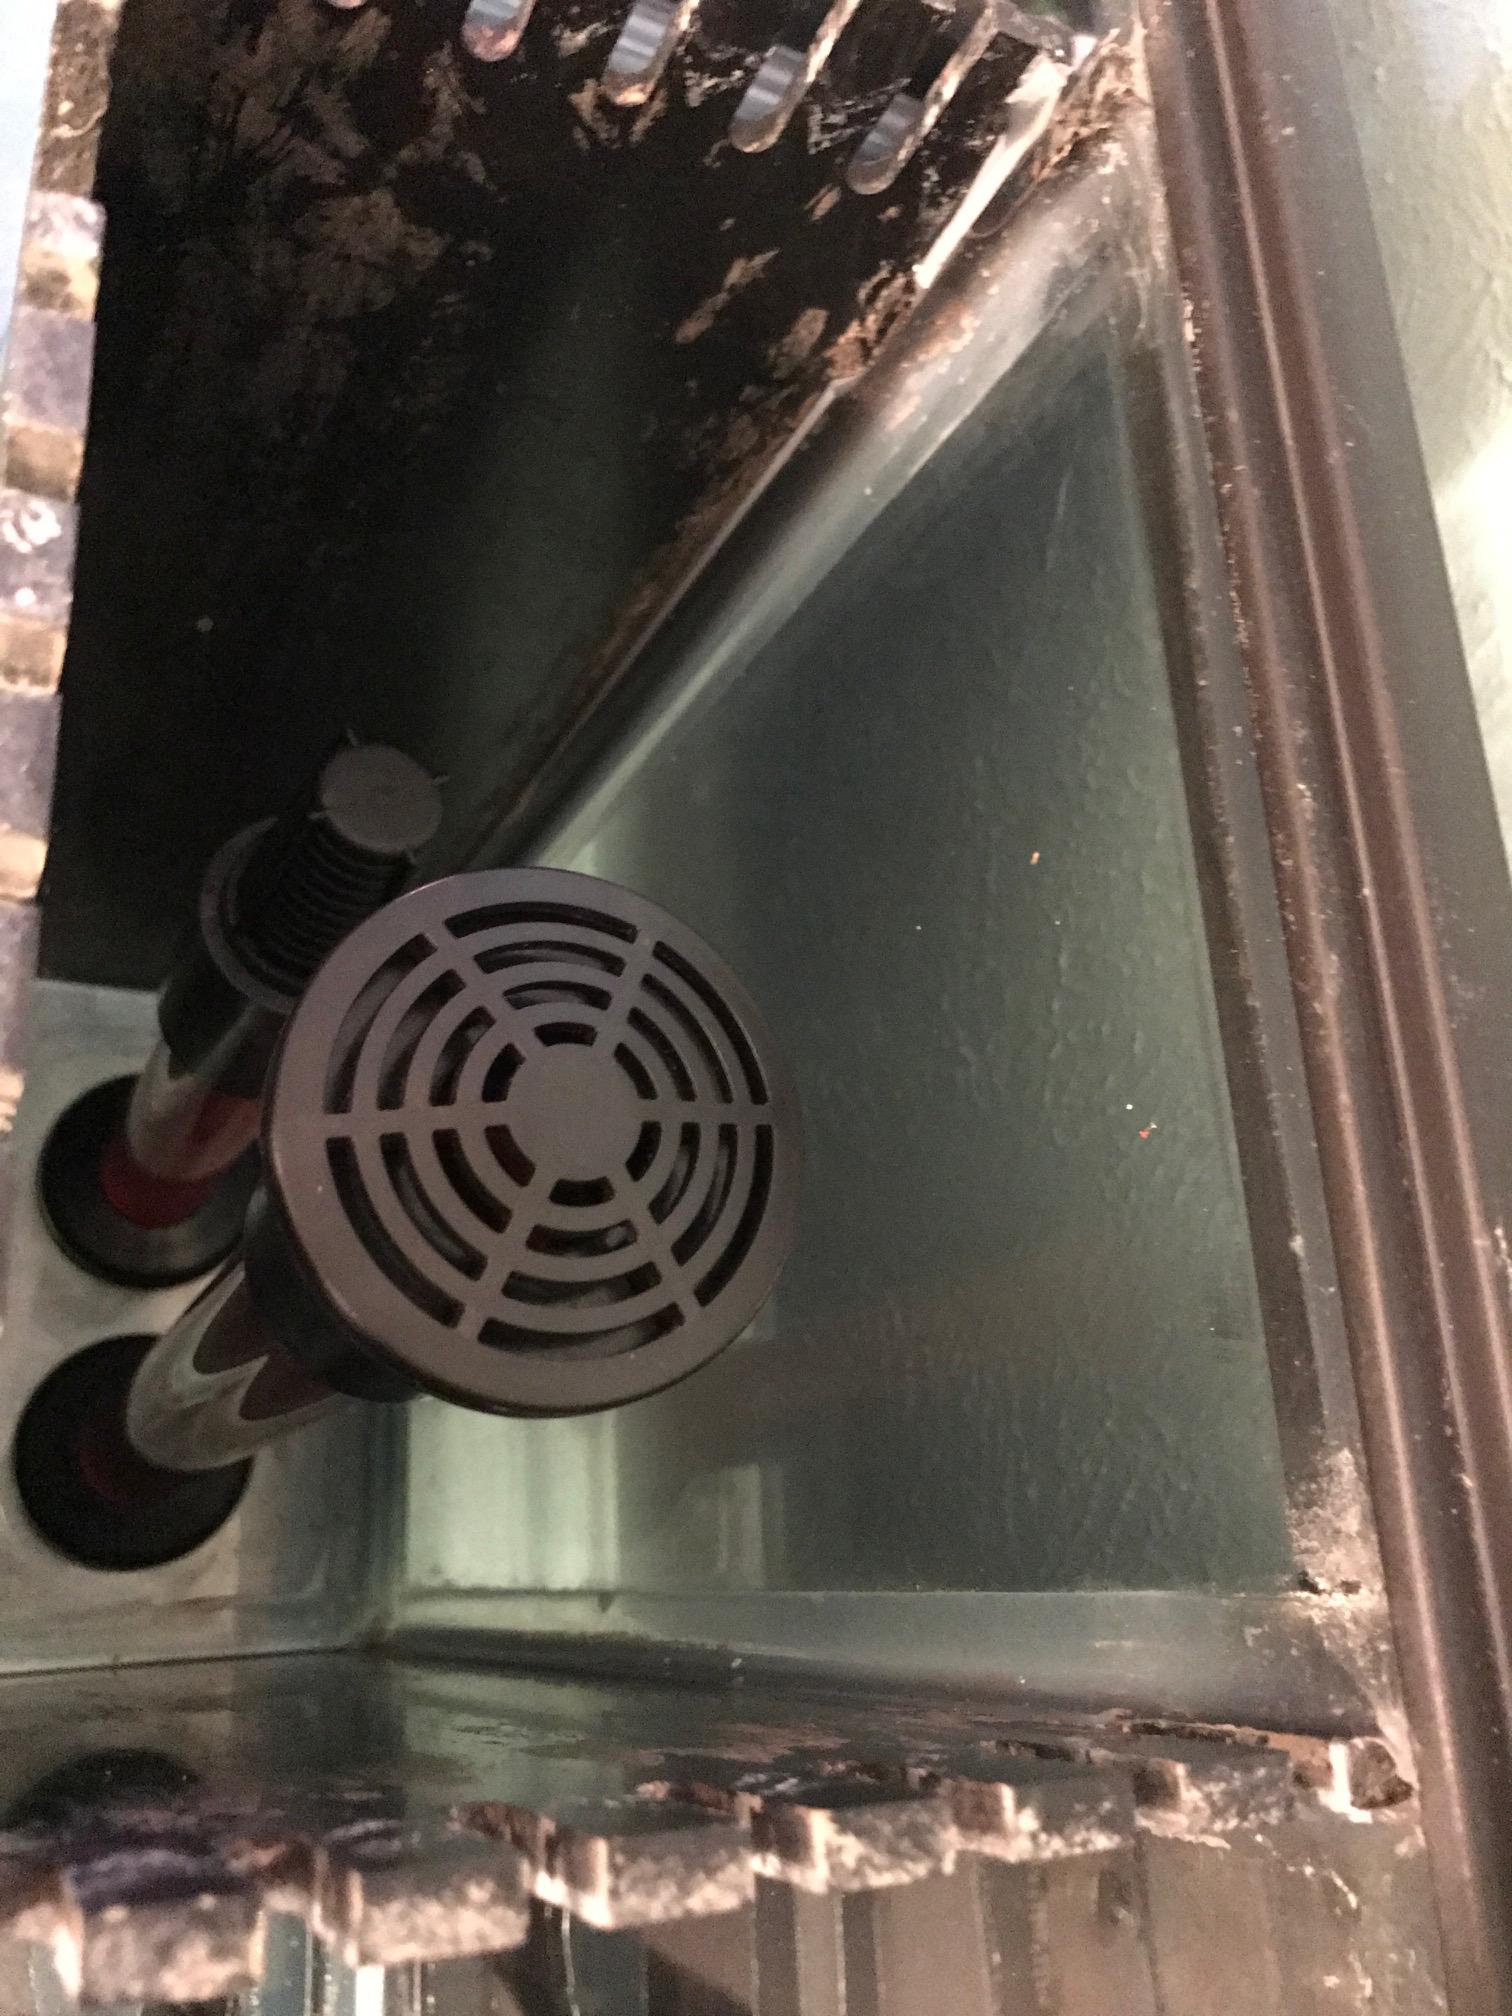
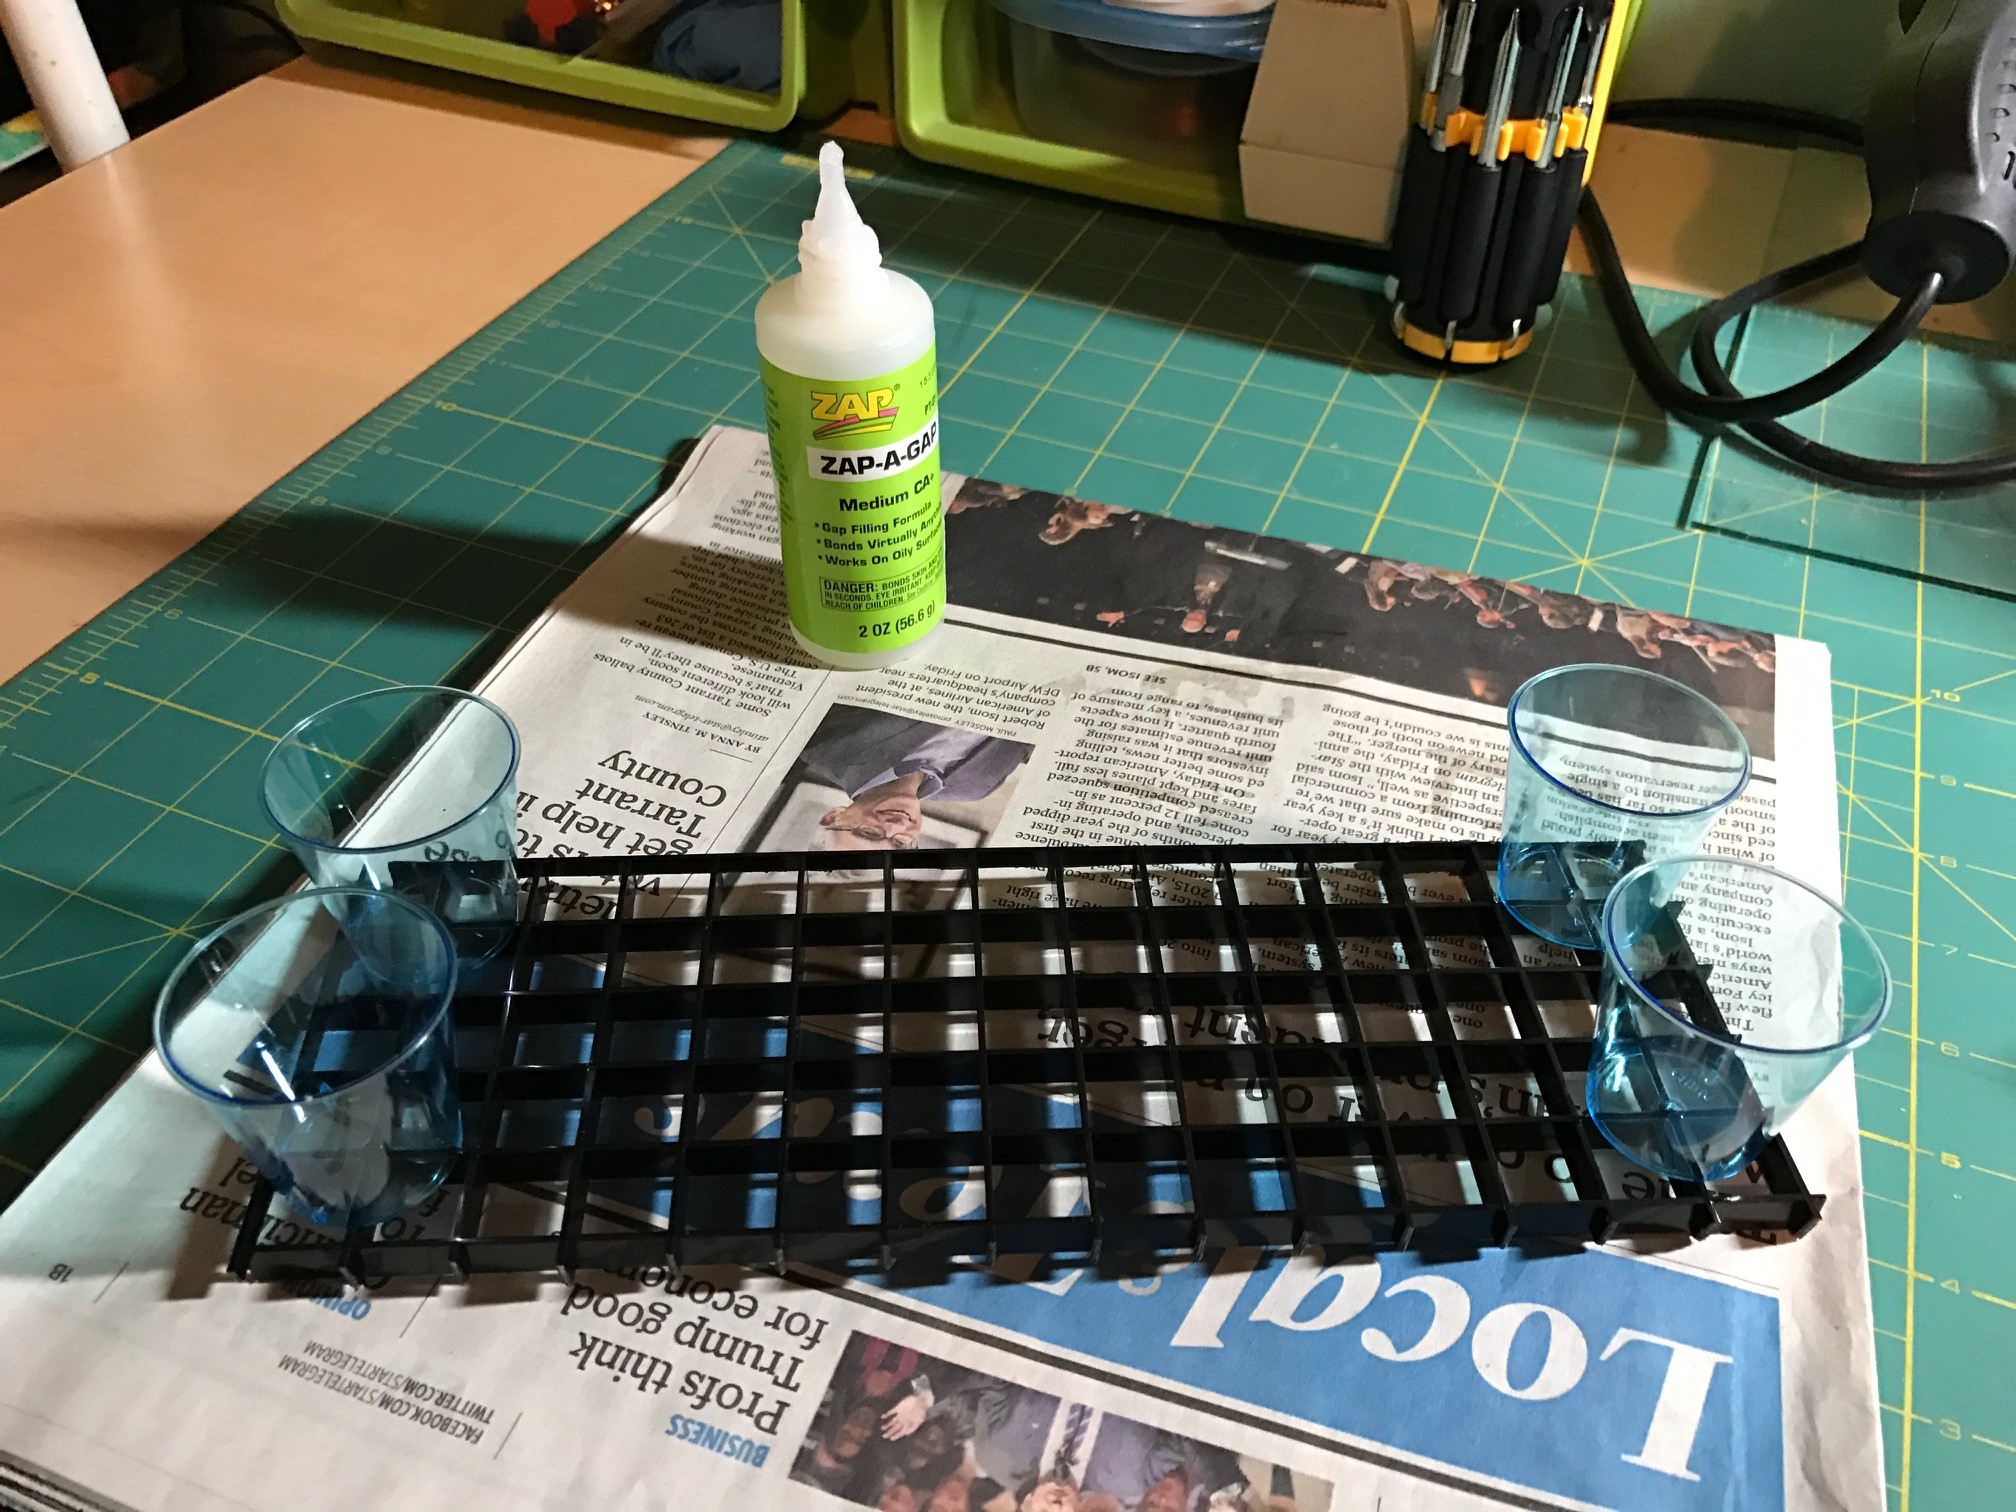
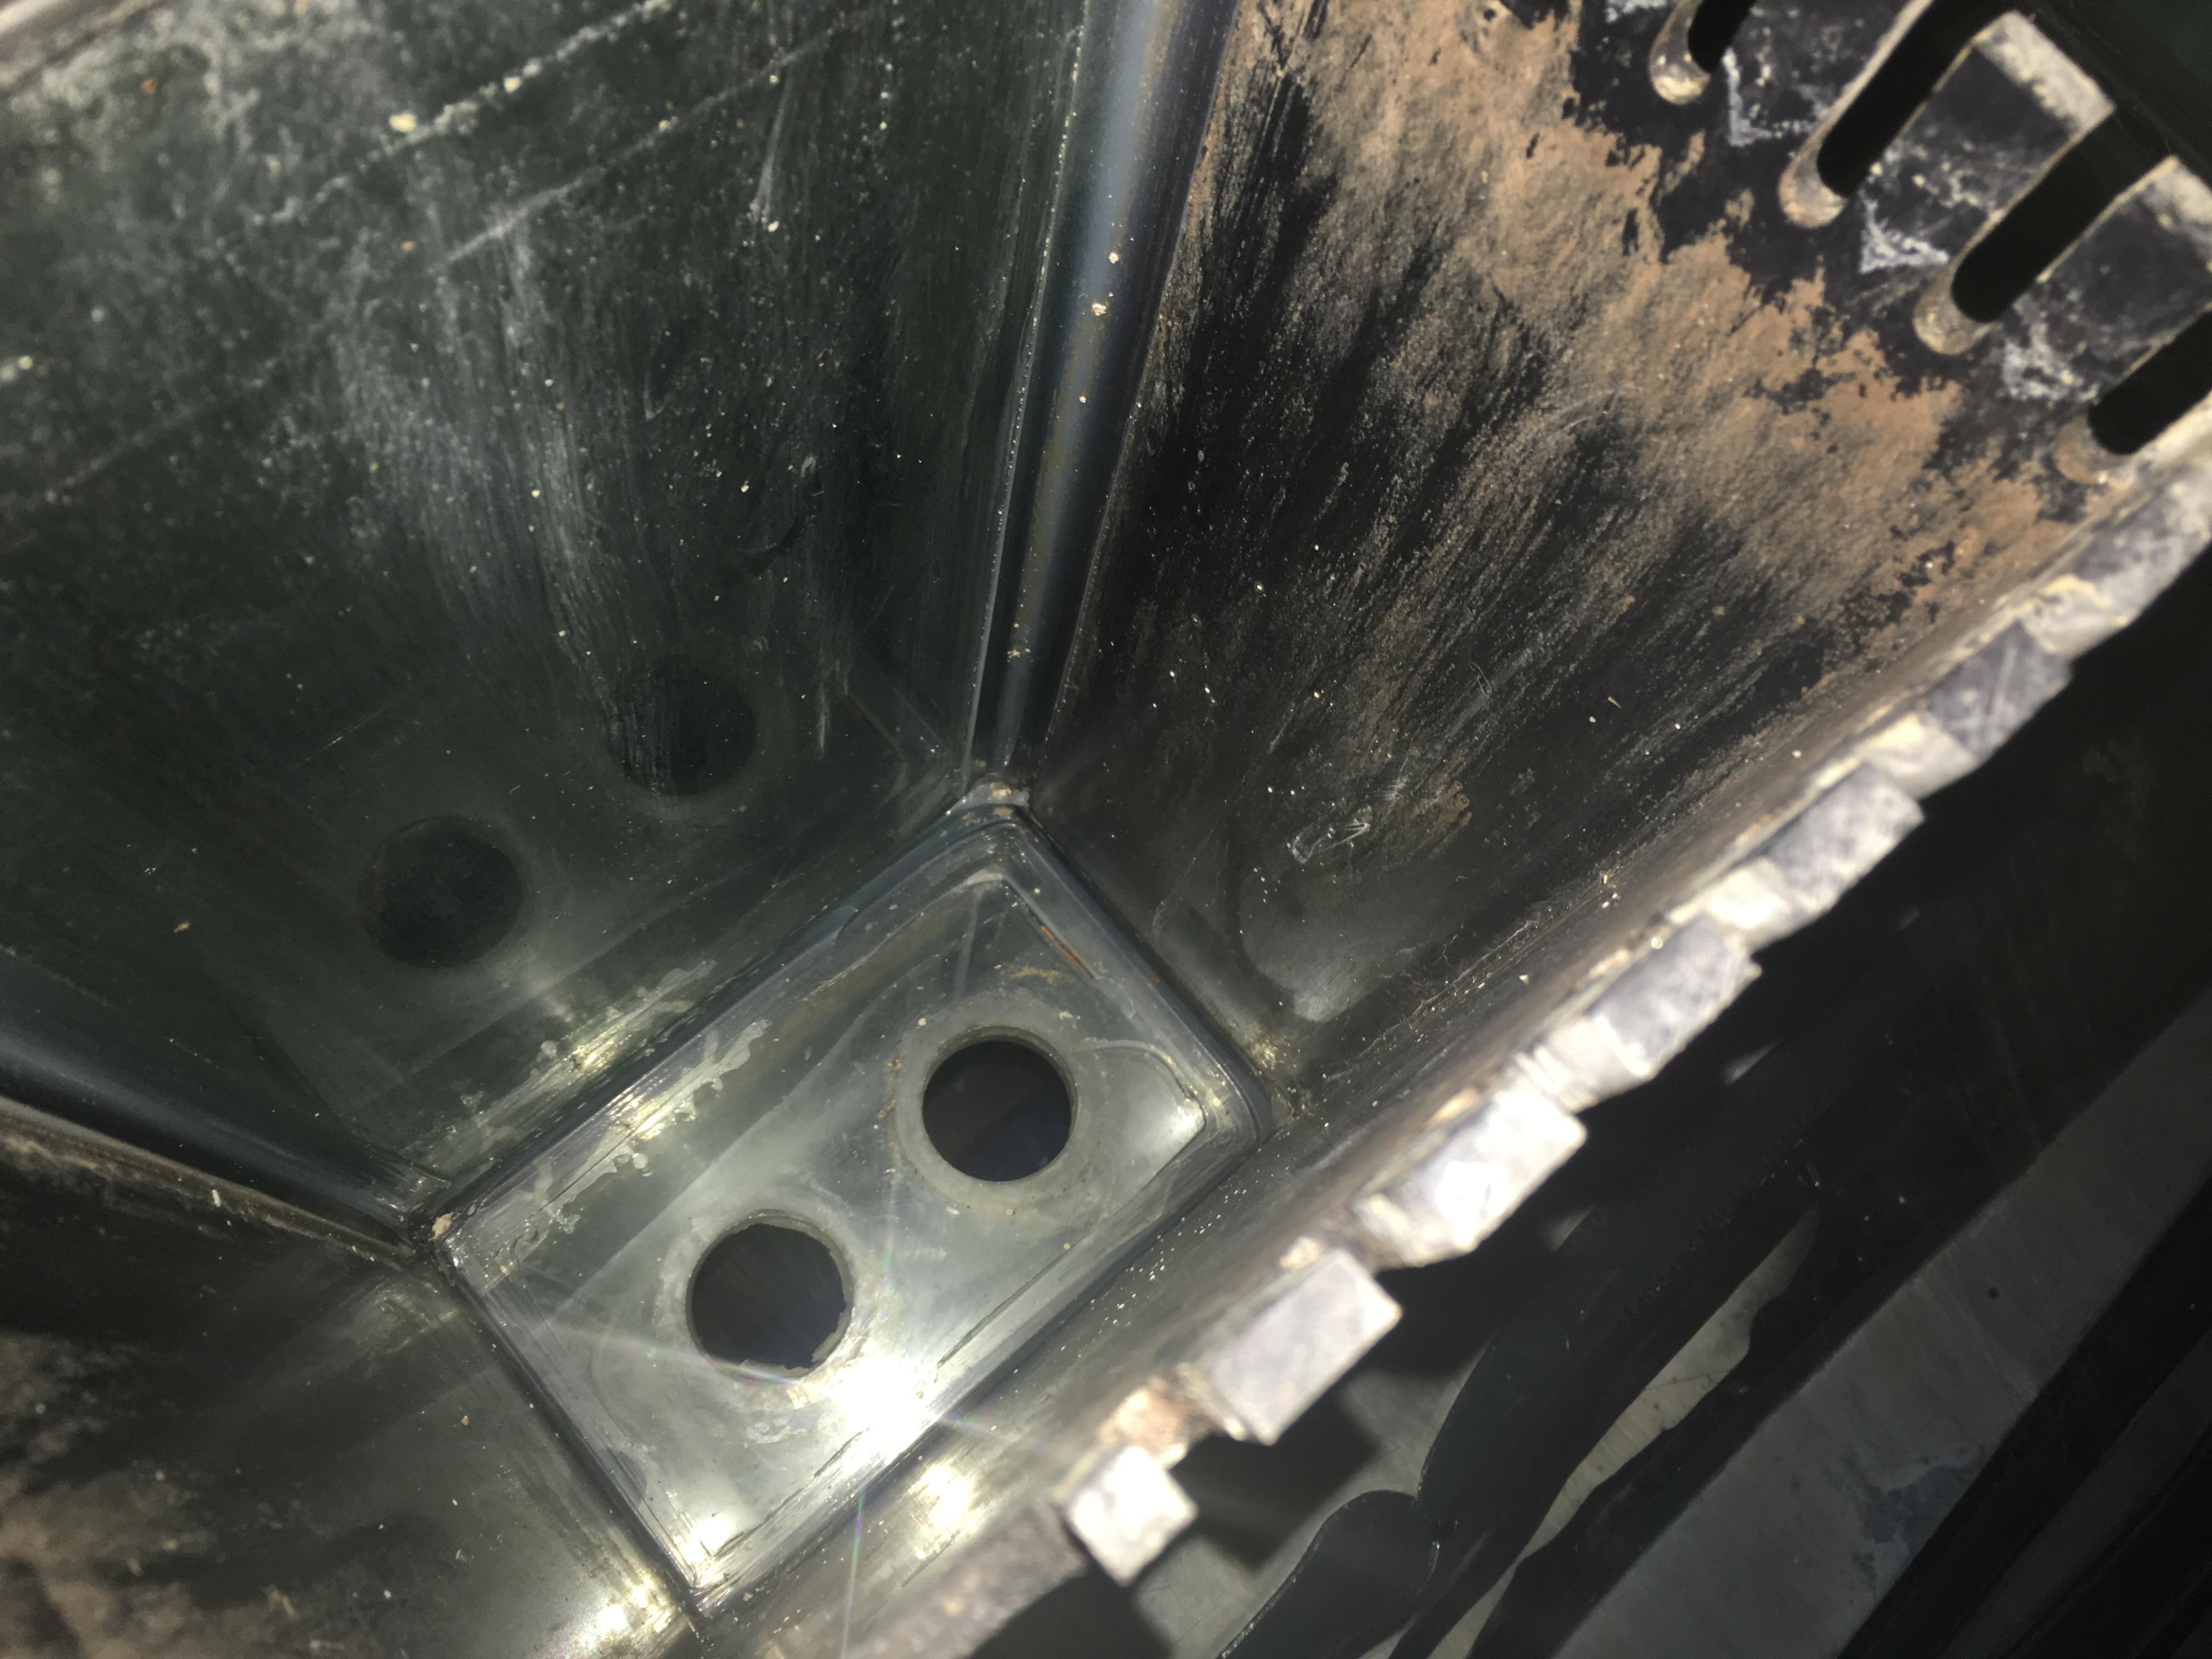
As you can see I have a long way to go and a lot of work to do. I will post a few more times tonight to try and get the thread caught up to current day. I am new to all this, and I am completely open to thoughts, ideas, suggestions, and opinions on the tank or my thread. Thanks for reading and I look forward to sharing more soon!

ae5pij0.jpg
 

Ljaus

Valuable Member
View Badges
Joined
Jun 1, 2016
Messages
1,228
Reaction score
1,725
Location
Queensland, Australia
Rating - 0%
0   0   0
Definitely following along. What an awesome tank to start with, has massive amounts of potential and this R2R will give you lots of inspiration. Also sorry to hear about your accident, I hope the recovery is going well
 

tj w

Valuable Member
View Badges
Joined
Oct 10, 2015
Messages
2,170
Reaction score
1,283
Rating - 0%
0   0   0
I'll be following, I think you'll do great!
 
OP
OP
Pole04

Pole04

Active Member
View Badges
Joined
Aug 9, 2016
Messages
226
Reaction score
192
Location
DFW, Texas
Rating - 0%
0   0   0
Thank you all for taking the time to read my ramblings! I am doing much better. I get sudden sharp burning sensations a few times a week, but that is the worst of it. I consider myself very lucky that it wasn’t worse.

Now without further ado back to the tank. The first order of business was getting the tank off the stand and getting the back painted up. I taped off the parts I didn’t want paint on and then cover half the house in plastic drop cloths and got to work (if there is a way to make a mess, I will find it). Even being careful I ended up stepping in a few drop of paint and had to wear the socks of shame for the rest of the evening… I used Rust-oleum Black Enamel to paint all of the back except the back of the overflow. I left this unpainted so that I can always hold my phone behind the tank and take a short video to see if anything needs to be rescued.

A18M3ZY.jpg


Another pressing concern was getting the stand looking better. I don’t know if the stand was powder coated (as I was led to believe it was) or painted, but it was in very rough condition (rusted and badly pitted) when it got to the house. At first I wasn’t allowed to venture out into the sun, so I began trying to strip the “paint” off with mild chemical strippers. This worked to a point, but it was taking 3 coats (taking a day apiece to dry) to even get close to bare metal. Following that with an hour or so of hard hand sanding got a small portion to bare metal. After a week or so of failing, I decided to up my game a bit.

I got the stand outside and attacked it with the radial sander. Pretty much all this accomplished was wearing myself out and making my leg ache… On to bigger and better tools. Next up was the angle grinder and a twisted wire cup brush. Now we were talking, but after a few days with this it was still not proving effective at wearing down the badly pitted and rusted sections. One last upgrade proved to do the trick. I broke out some 60 grit flap disks and went to town. Having never really used an angle grinder before, I learned a lot very fast. I had fun, and with the flap disks I was done in no time! The stand was down to shiny bare metal and ready for a few coats of Hurculiner.

8d7WDeJ.jpg

(This is an "inprogress shot")


One last piece of business before I could get the stand back in the house and the tank moved into place…

A little not-so-light cleaning…

74GbVjo.jpg
 
OP
OP
Pole04

Pole04

Active Member
View Badges
Joined
Aug 9, 2016
Messages
226
Reaction score
192
Location
DFW, Texas
Rating - 0%
0   0   0
So before I go too much farther I need to get this posted. I am ready to order my plumbing parts any day now, but I would really appreciate some help/suggestions from the pros. I honestly have no practical experience doing this and have pieced together what I think might work from research and staring at other's systems.

I plan to plumb the tank with 1" schedule 40 red pvc. I will be using the grey schedule 80 fittings and valves. I am using a Herbie style overflow because the tank was already drilled with two holes in the bottom of the overflow. I don't have enough room to safely fit a third hole. In total I will need to plumb the overflow to the sump, the return to the manifold and display refugium, and the return back to the tank. I am using a pair of sea swirls on the return (I forgot to label these in the drawing).

GngIQIV.jpg


The one question that comes to mind is this... I know Wye Check Valves are prone to failure and must be properly maintained. I have decided that they are necessary on the system and will be doing to the best I can to maintain them going forward. I have one right before the return line splits to feed the two sea swirls, and I have another before the manifold because the end of the manifold will feed the refugium.

Is it overkill/necessary to have both? Should I go with a single one before the manifolds?

Any thoughts or advice you can offer would be greatly appreciated!
 
OP
OP
Pole04

Pole04

Active Member
View Badges
Joined
Aug 9, 2016
Messages
226
Reaction score
192
Location
DFW, Texas
Rating - 0%
0   0   0
So I am getting out of order a bit, but these two are just too cute and couldn't wait. Election night I picked up this pair from my LFS.

qstjF44.jpg


They are a bonded pair of ProAquatics Gladiator Clownfish. They had been in a tank with several other clowns when I saw them several weeks ago, but the male got beaten up pretty badly. The female stepped in and defended him until they could get the pair moved over to a new tank. They spent a few weeks healing up and once they were ready, I went and snatched them up. Both look to be extremely healthy and happy in their new home (QT). They will be the first fish added to the tank once it is ready.

They are the perfect little pair. A little crazy, but from what I hear that is just clowns. Each morning I find them sleeping vertically, face down, just under one of the corner overflows. I don't believe they are hosting it, but that is their place at night. The female won't let the male out of her sight for more than a few seconds, and they seem to get along quite well. They are both very friendly and only hide when the dog comes to check on the tank. They roam the right half of the tank, but generally stick close to the glass, and they are both eating like little pigs.

Previously I have had Cichlids and Goldfish that will eat until they pop if you let them. These little clowns will eat for a few moments and then go about their own business. I am having to get used to scooping out any uneaten food as a result. Anyone have any tricks for getting extra pellets and frozen food out of the tank easily?
 

Maritimer

7500 Club Member
View Badges
Joined
Nov 21, 2015
Messages
7,552
Reaction score
13,625
Location
SouthWestern Connecticut
Rating - 0%
0   0   0
Depending on the size of the pellets, air-line siphon, perhaps?

Or just don't put that many in . . . (I know cichlids & goldfish. Those guys are gluttons!)

~Bruce
 
OP
OP
Pole04

Pole04

Active Member
View Badges
Joined
Aug 9, 2016
Messages
226
Reaction score
192
Location
DFW, Texas
Rating - 0%
0   0   0
Depending on the size of the pellets, air-line siphon, perhaps?

Or just don't put that many in . . . (I know cichlids & goldfish. Those guys are gluttons!)

~Bruce

I am going to have to learn more restraint while feeding, that is for sure. They are tiny pellets, so airline should work. Thank you!


Anyone have any suggestions or comments about my plumbing plans above?
 
OP
OP
Pole04

Pole04

Active Member
View Badges
Joined
Aug 9, 2016
Messages
226
Reaction score
192
Location
DFW, Texas
Rating - 0%
0   0   0
So I have been lazy but I really need to get this thread caught up so here I go...


One of the first things I bought for this build was an RODI machine. Like everything else in my build, I bought it used. It was old, smelled a little, and hadn't been used in almost a year, so the first thing I did was purchased a Chloramine upgrade kit from BRS and went to work changing out the filters, membrane, and resin. Every reefer should have one of these things. I can't imagine having to pay for an haul 200+ gallons of water to fill my system. I'd go broke and be broken moving that much water.


The upgrade kit installs easily and was VERY worth the price. After some tinkering and one small flood of the kitchen, I decided that water should be made outside. Thankfully every type of connector under the sun was included with the machine so moving it onto the garden hose was simple enough.


I am a bit of a neat freak, so anything I buy new or used gets soaked in vinegar/water and cleaned as thoroughly as possible. So after a bit of light cleaning everything was ready to go in the closet until it is needed again.


I have amassed quite a collection of fun toys to use with this tank, but sadly one or two items I bought on impulse and will be selling. I got a Zeovit reactor, some zeolite, and half used collection of the army of blue bottles that makes up the Zeovit system. I diligently read and reread the starter guide for the Zeovit system, and in the end Mark's videos on Prodibio sold me... So the reactor and the Zeolite rocks will be up for sale/trade soon. You live and you learn.


Next up I bought my rocks about 4 months early. But hey I got them on sale. 180lbs of dry rock from Marco's Rocks and another 120lbs of dead sand. It came as a package deal and with a sweet price. I wasn't really sure what to do with the rocks so I decided on letting them soak in some vinegar/water for a few weeks. Then I drained all that, mixed up some salt water and soaked them for 3 months. I pretty much just put the top on the Brute and forgot about them.

Next up.... Adventures in QT.
 
OP
OP
Pole04

Pole04

Active Member
View Badges
Joined
Aug 9, 2016
Messages
226
Reaction score
192
Location
DFW, Texas
Rating - 0%
0   0   0
So like a good little reefer I decided that quarantine would be a strict no exceptions policy for my tank from the very beginning. I have read both sides of the story, and I see it as necessary, so that is what I will be doing. All fish and all coral will go through a 30 day (without new additions) QT process. If nothing is found, they will head to an acclimation box in the DT and a few days later be released. The only thing I have been going back and forth on quarantining is the cleanup crew.

I have read that some people QT the cleanup crew to make sure they don't bring in any nasty surprises, and I can understand the theory, but I just don't know if I should go that far. I would love to hear some opinions on this!


So I was able to find a really nice IM 20 rimless AIO setup to use for QT. My goal has always been to have a permanent QT system setup, cycled, and ready. I picked this tank up from a member of my local club and, took it home and got it all cleaned out.

I had a leftover 10 gallon tank that had previously been used for freshwater fish that I will be using as a Hospital Tank. It is easier and cheaper to treat a smaller tank, and if I need to treat with anything that would kill my cycle, I might be able to avoid it by moving the fish to the hospital tank. There are always some exceptions though, like ich that would have me deep cleaning the QT and starting over.


I was able to pick up a used Ghost IM 20 gallon skimmer from the forums here, and so far it has worked ok... Not my favorite piece of equipment but it will do for the time being.

I took a page out of Melev's book and went to HD to get a cheap clip-on shop light and LED bulb to use for temporary lighting. I put this on a timer and it worked perfectly.


About 45 days after the tank cycle started I decided to jump and grab my first fish. On Election Day I headed down to True Percula (a lfs) and bought a pair of Gladiator Clownfish. Unfortunately the smaller (I am guessing male) of the pair didn’t make it. He died after about two weeks of what I can only assume was Brook. One morning he refused to eat, showing no interest in Mysis or pellets. He was floating on his side when I get home from work later that day with a bit of slime sloughing off his fins. I did a freshwater dip and immediately ordered some Metro and a few other medications that I should have already had on hand. He perked up a bit after the dip, but it was only temporary. Sadly after the freshwater dip he went downhill quickly and by the next morning he was gone. The remaining fish was dipped the next day and observed closely for the next few weeks. She(?) never showed any signs of illness and is healthy and eating like a pig.


A few weeks later I traded in the shop light / LED bulb for a much nicer Kessil A150 with a gooseneck mount, again used from a member of my local club. They were also nice enough to throw in a Rasta Zoa frag. As tiny as it was, it was my very first frag and I was excited as hell. I took it home, acclimated it, dipped it, and got it in the tank. After a few hours it opened and has been perfectly happy in the tank since, though for some reason it is my only zoa that has not reproduced yet. It has gotten bigger but I still don't have a second polyp. Other Zoas I have picked up have grown 3-6 new heads already! I hear Rastas are slow growing though, so I will keep my fingers crossed.


My QT practice has been a little lax, and little sloppy, and quite drawn out. I have also learned quite a few lessons... Don't overstock a small tank with coral (the addiction is real)... Mistakes happen, learn from them... With many growing frags comes larger swings in Alk/Cal, test daily until you zero in on what should be dosed... Manual dosing sucks, setup your dang apex (still to do)... The list goes on and on...

After the first two months of daily manual top-offs I saw the light. I bought a Tunze Nano top-off and I will never go without one again! It is funny how something so simple can improve your reefing experience!


Everything has been in QT for 3 months now. I have had some losses, but I can say that EVERYTHING is healthy and ready for the DT to finish cycling. I am excited to get these in their permanent home.


To date the QT is a little overstocked, but I am babying it daily. I currently have:

1 Peppermint Shrimp
1 Gladiator Clown Fish
20ish frags
8 Snails
1 Rock Nem

Next step for the QT, after all the livestock is moved over to the DT, is to be cleaned, moved to a more permanent site in the house, and refilled/reset for the next new fish/frags.
 

Maritimer

7500 Club Member
View Badges
Joined
Nov 21, 2015
Messages
7,552
Reaction score
13,625
Location
SouthWestern Connecticut
Rating - 0%
0   0   0
On quarantining a cleanup crew ...

When an ich trophont is done feeding and leaves the fish, it becomes a protomont. It settles to any hard surface (like, for instance, a snail shell...) and becomes a tomont. Inside, it divides into dozens and dozens of little predatory theronts, which will burst out to seek fish as prey like something from a science-fiction movie.

What if that snail shell was on a Trochus or hermit crab at your LFS . . .

Every LFS I've ever been into has at least a few fish in their invertebrate system - which means that ich and velvet are possibilities. (I should talk ... having tossed snails and hermits into my tank on more than a few occasions . . . )

~Bruce
 

lilchris_357

Well-Known Member
View Badges
Joined
Oct 15, 2016
Messages
683
Reaction score
346
Rating - 0%
0   0   0
Sweet build so far , food luck with it. I interested in the topic of QTing inverts. Let me know what Zeovit products you have, i'm interested. Shoot me a PM.
 
OP
OP
Pole04

Pole04

Active Member
View Badges
Joined
Aug 9, 2016
Messages
226
Reaction score
192
Location
DFW, Texas
Rating - 0%
0   0   0
On quarantining a cleanup crew ...

When an ich trophont is done feeding and leaves the fish, it becomes a protomont. It settles to any hard surface (like, for instance, a snail shell...) and becomes a tomont. Inside, it divides into dozens and dozens of little predatory theronts, which will burst out to seek fish as prey like something from a science-fiction movie.

What if that snail shell was on a Trochus or hermit crab at your LFS . . .

Every LFS I've ever been into has at least a few fish in their invertebrate system - which means that ich and velvet are possibilities. (I should talk ... having tossed snails and hermits into my tank on more than a few occasions . . . )

~Bruce

Awesome info, thank you! This is along the line of what I thought. It is a tough situation, but I am thinking that I might go ahead and setup my hospital tank to use as a QT for my first batch of cleanup crew.


Sweet build so far , food luck with it. I interested in the topic of QTing inverts. Let me know what Zeovit products you have, i'm interested. Shoot me a PM.

I will message you when I get home and send you the list. I have a Vertex 1.5L reactor and at least 2L of Zeolite media.
 
OP
OP
Pole04

Pole04

Active Member
View Badges
Joined
Aug 9, 2016
Messages
226
Reaction score
192
Location
DFW, Texas
Rating - 0%
0   0   0
Yet again life is kicking my butt and taking the little time I have had to get this updated. I am stealing a few hours back today and hoping to get a few updates out.

I have a planted tank that sits next to reef and I absolutely love finding new plants to put in and watch them grow. After a ton of research and web surfing I stumbled across some awesome "display refugiums" that just blew me away. So many different types of algae, so many textures, and best of all a whole rainbow of colors that you would never see in a freshwater tank.


I was sold and had to have one! I quickly found a 50(ish) gallon cube that I thought would work well for my system. I made a huge mistake here and while I measured to make sure that the tank and the fuge would fit under the stand, I didn't bother to measure the space in between the legs of the stand to make sure the tank would have room to slide through. I lucked out and turning the tank on it's side it had less than a 1/2" clearance and could be tumbled into position under the stand. Remember to measure!


So this tank was undrilled and had no overflow installed, so I was going to get learn a few new tricks. I ordered an overflow from Melevsreef and got a few diamond hole saws and went to work. Taking it slow, maybe 5-10 mins a hole, I was able to drill both holes for a herbie overflow with little problem. I then siliconed the overflow in place and gave it a few days to cure.

After the silicone cured I did a few leak tests on the tank. I first filled the overflow, up to the holes, with water and let is sit for an hour and then checked for leaks. Then I filled the tank, emptied to overflow, and let it sit overnight. Thankfully my first silicone job was a success and no water leaked anywhere.


Next up I wanted to build a "floor" for the stand that would keep my equipment, sump, and fuge off the carpet. I built the floor in two pieces, used slices of a 4x4 to support the plywood floor and prevent bowing, and painted it black. A little help from a friend and some creative manuvering and we were able to get the floor in place under the fuge.


So after the tank, the first big purchase I made was buying a sump. This was a bit of an impulse buy, and a bit ignorance. When you first start out in this hobby you see all this amazing looking equipment, and you don't exactly know where you need to spend money, and where you can save a bit. All I knew was I wanted a big sump, and I thought I needed something that looked "cool". After a bit of searching I was able to find someone selling a never used Bashsea sump for excellent price. I jumped on it, and this beast sat under my stairs for 3 months until I could finally get to this point in the build.


Preme

Valuable Member
View Badges
Joined
Jun 27, 2016
Messages
1,317
Reaction score
1,240
Rating - 0%
0   0   0
Yet again life is kicking my butt and taking the little time I have had to get this updated. I am stealing a few hours back today and hoping to get a few updates out.

I have a planted tank that sits next to reef and I absolutely love finding new plants to put in and watch them grow. After a ton of research and web surfing I stumbled across some awesome "display refugiums" that just blew me away. So many different types of algae, so many textures, and best of all a whole rainbow of colors that you would never see in a freshwater tank.


I was sold and had to have one! I quickly found a 50(ish) gallon cube that I thought would work well for my system. I made a huge mistake here and while I measured to make sure that the tank and the fuge would fit under the stand, I didn't bother to measure the space in between the legs of the stand to make sure the tank would have room to slide through. I lucked out and turning the tank on it's side it had less than a 1/2" clearance and could be tumbled into position under the stand. Remember to measure!


So this tank was undrilled and had no overflow installed, so I was going to get learn a few new tricks. I ordered an overflow from Melevsreef and got a few diamond hole saws and went to work. Taking it slow, maybe 5-10 mins a hole, I was able to drill both holes for a herbie overflow with little problem. I then siliconed the overflow in place and gave it a few days to cure.

After the silicone cured I did a few leak tests on the tank. I first filled the overflow, up to the holes, with water and let is sit for an hour and then checked for leaks. Then I filled the tank, emptied to overflow, and let it sit overnight. Thankfully my first silicone job was a success and no water leaked anywhere.


Next up I wanted to build a "floor" for the stand that would keep my equipment, sump, and fuge off the carpet. I built the floor in two pieces, used slices of a 4x4 to support the plywood floor and prevent bowing, and painted it black. A little help from a friend and some creative manuvering and we were able to get the floor in place under the fuge.


So after the tank, the first big purchase I made was buying a sump. This was a bit of an impulse buy, and a bit ignorance. When you first start out in this hobby you see all this amazing looking equipment, and you don't exactly know where you need to spend money, and where you can save a bit. All I knew was I wanted a big sump, and I thought I needed something that looked "cool". After a bit of searching I was able to find someone selling a never used Bashsea sump for excellent price. I jumped on it, and this beast sat under my stairs for 3 months until I could finally get to this point in the build.


That looks sweeeeet
 
OP
OP
Pole04

Pole04

Active Member
View Badges
Joined
Aug 9, 2016
Messages
226
Reaction score
192
Location
DFW, Texas
Rating - 0%
0   0   0
So you might have seen from the last post… I decided to go with a Reef Octopus 200INT skimmer. I got this used from a user here for a good price, and after a good scrubbing the skimmer almost looked new. In total, I think the skimmer is a little undersized for my setup and I will likely need to upgrade this in the future, but for now it should suffice. The hardest part in picking a skimmer was finding something with less than a 15”x15” foot print that the sump would allow. I have looked at some of the Nyos skimmers as possible upgrades in the future. If nothing else I could go with an external skimmer.


The next, and biggest challenge, was plumbing. I know next to nothing about plumbing or PVC so this was a huge learning experience for me. I am so glad I took the time to draw everything out, but no amount of planning can replace basic experience in this case. You can see the plumbing plan I drew up above. I used this to place my initial order with BRS. It seemed that no matter how I tried, I always needed another fitting, or more pipe, or something. All in all I probably had to place 6 or so orders with them to get everything I needed and in the end I had a few rather expensive left-overs.


One lesson learned is to get the ratcheting cutters for PVC!!! I did 95% of the plumbing using a miter box and hacksaw, then sanding each piece of pipe individually. I happened upon the cutters at ACE and oh my god they are life changing. The cuts are quick and effortless, accurate, and require no sanding.


The tank and fuge are plumbed with Herbie style overflows. I got some little snail guards to put on the standpipes, and while this will require me to regularly clean them, the peace of mind is worth it.


In my original design I was feeding the fuge off the manifold. After some discussion here I decided to tee off the overflow from the DT to feed the fuge. This made tuning the Herbie a bit harder, but slow and steady adjustment allowed me to get everything next to silent. The overflow from the fuge then was feeding into filter socks. The more I thought over this, the more I wasn’t comfortable with all my pods ending up in filter socks and needing to be “saved” each time I changed socks. I have three socks and that would just be a pain. Thankfully I did myself a favor without knowing it. I didn’t glue the stand pipes in place in the DT or the fuge. Everything past the bulkhead is glued, but I had left the standpipes loose so they could be cleaned if necessary. I was able to swap the standpipes in the fuge and now the main overflow line feeds into the skimmer chamber and not the filter socks.


I think the thing I am most proud of was my manifold. This was surprisingly easy to build and should serve me well in the future. I don’t have anything running off of it now, but I am strongly considering adding a nice bio-pellet reactor in the near future that will be run off the manifold.


Overall there were many other challenges that I didn’t document with the plumbing, and with my busy schedule combined with having to reorder parts so often, plumbing took me around 3 weeks, and I am so glad it is done!


Post bonus…
All my corals are currently in my QT waiting to make the move to the DT. I bought a small frag rack from Lone Star Reef at the club frag swap that is now filled with zoa’s. I have another small magnetic rack for corals requiring a bit more light, but the addiction is real! I ran out of space and needed something on the floor of the QT to put corals in, so I whipped this up from stuff laying around the house.
 

FLSharkvictim

Shark Advocate
View Badges
Joined
Oct 11, 2016
Messages
1,441
Reaction score
1,329
Location
TAMPA , FL
Rating - 0%
0   0   0
I also went with all Red pvc pipe and Shc 80 fittings as well as all Cepex and Spears valves. Then I custom build my Apex Control panel that sits right next to my display! I installed it in a 10 gallon nano stand with the EB8's behind the custom cut pcs of plywood.. It really came nice in my option.

Sumppix.jpg


Amazon Tablet mount.jpg
 

Being sticky and staying connected: Have you used any reef-safe glue?

  • I have used reef safe glue.

    Votes: 102 86.4%
  • I haven’t used reef safe glue, but plan to in the future.

    Votes: 8 6.8%
  • I have no interest in using reef safe glue.

    Votes: 5 4.2%
  • Other.

    Votes: 3 2.5%
Back
Top