Placing gear in the equipment tray
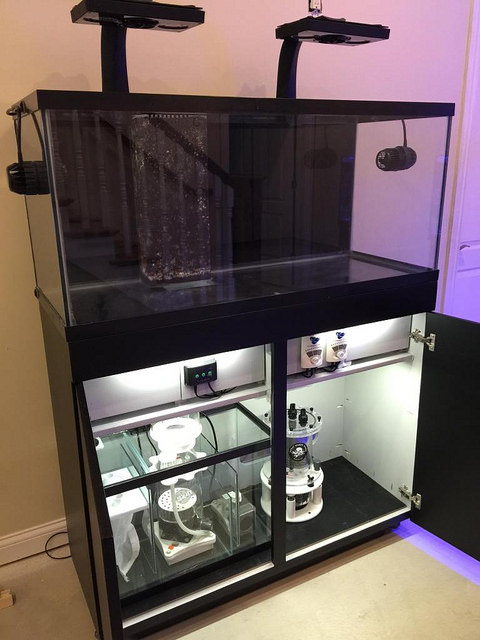
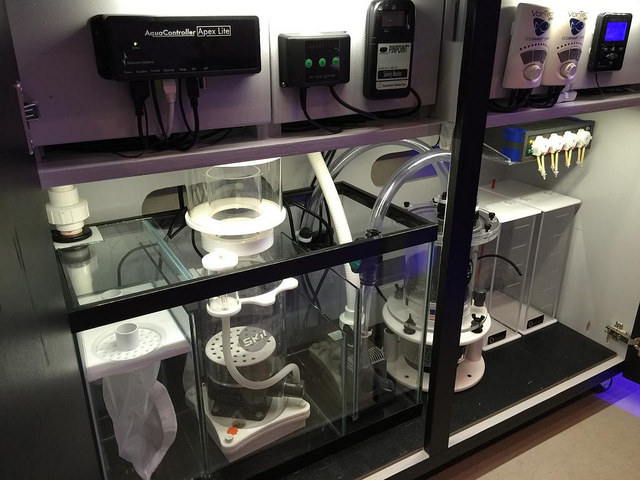
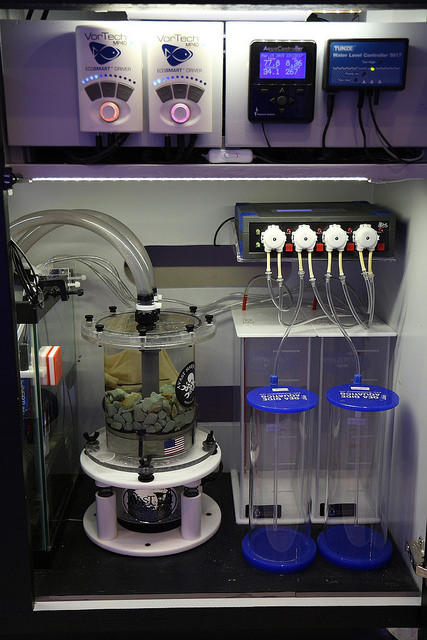
The equipment tray is designed to hold the controls on the front, but the wires, plugs and transformers behind the doors. I can keep the wires to loose, making easy to unplug and remove equipment relatively easy without any disassembly. Best part is not having to see them.

Controls mounted on the face of doors. There is a gap under the doors for cords.
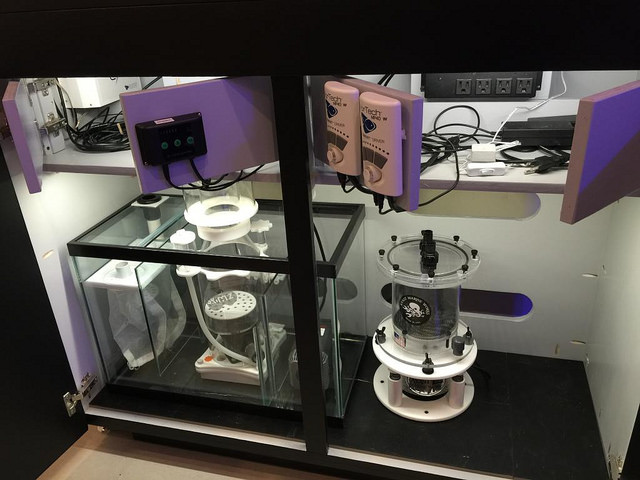
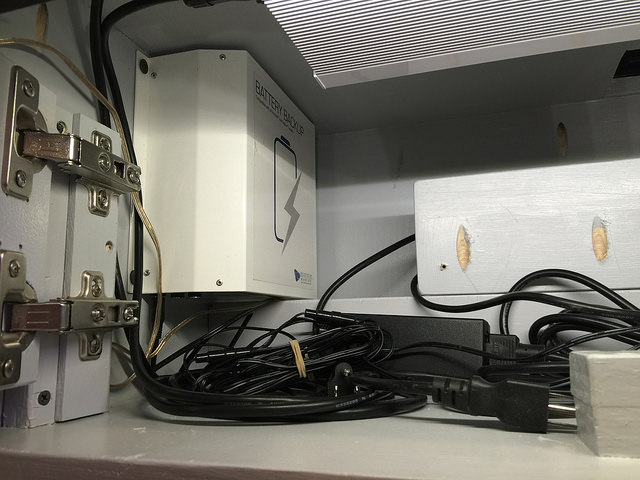
The there is an Apex Energy Bar and Backup Battery on each side. Strip LED lights above and below the equipment tray.
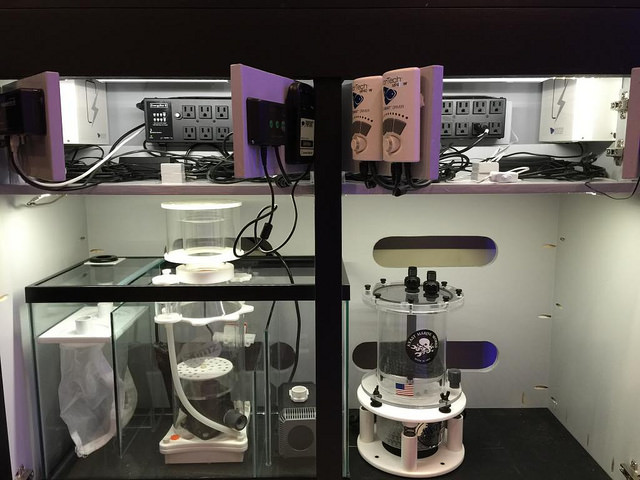
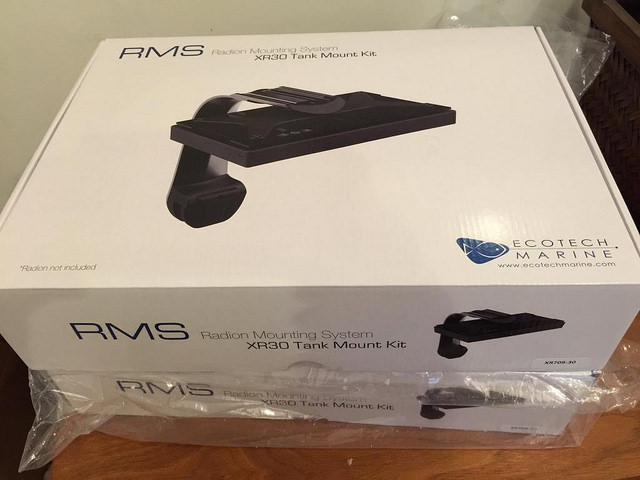
The Ecotech lights transformers are mounted on the ceiling of the stand.

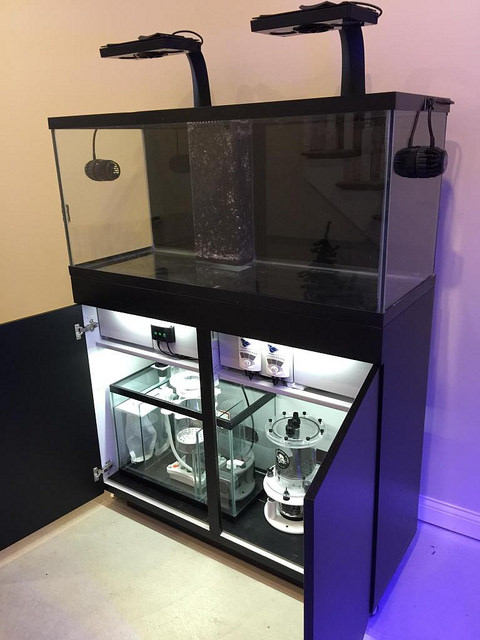
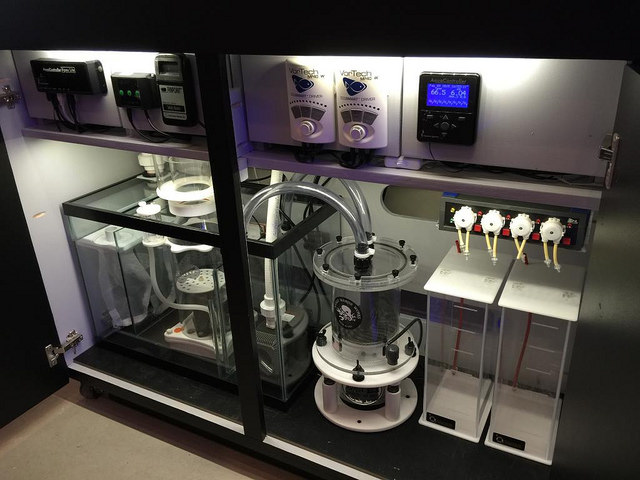
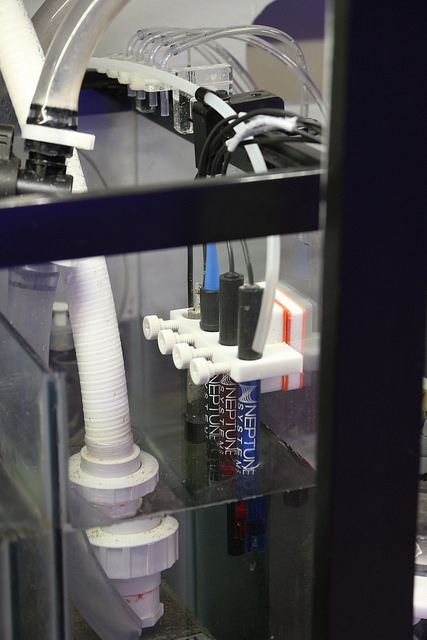
It's hard to tell, but the Apex Energy bars are mounted on the back of the equipment tray. There is still space between the back of the stand and the energy bars for plumbing. You can see in this picture the wood on the back of the tray for the entry bars.