RC75 DIY Stand & Sump

anomeda

Active Member
View Badges
Joined
Apr 26, 2017
Messages
115
Reaction score
87
Rating - 0%
0   0   0
Simple design in a way and a very clean setup. Really nice work!

Edit. Simple was the wrong word although that is not what i meant at all.. Alot of skill behind this and specially the stand, something which i would never be able to build my self.
 
Last edited:
OP
OP
R

rmchoi

Active Member
View Badges
Joined
Dec 15, 2014
Messages
109
Reaction score
253
Location
Michigan
Rating - 0%
0   0   0
Incredible work! Wish I had that kind of skill. Can't wait to see how your plumbing turns out. I'm guess its going to be top notch as well.

Thanks - stay tuned, the plumbing changes from this initial start.

Love it! Great idea

Thank you, though not my idea, but I love it too!

Great build, love the detail and equipment tray!

Thanks, I was hoping there is enough detail to keep it interesting.

Your setup is very nice and inspiring! I was worried after seeing so many good progress/update posts and pics, I wasn't going to see the posts of it filled just yet!

Glad to see it up and running!

Thanks for following this far. I plan to continue build. There are few more DIY and set ups to share.
 
OP
OP
R

rmchoi

Active Member
View Badges
Joined
Dec 15, 2014
Messages
109
Reaction score
253
Location
Michigan
Rating - 0%
0   0   0
Zeovit 14 Day Cycle

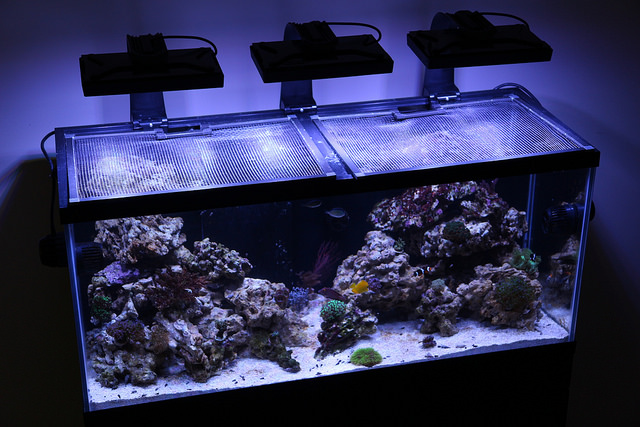
If interested in Zeovit, this is the 14 day zeovit cycle. Using zeovit guide as a template, I used .75L of zeovit stones for 75 gallons of water tank volume. Reactor flow rate 100 gph per each 1liter of zeovit.

Day 1: Initial high bacteria dosage, based on net water volume of 75G (tank and sump)

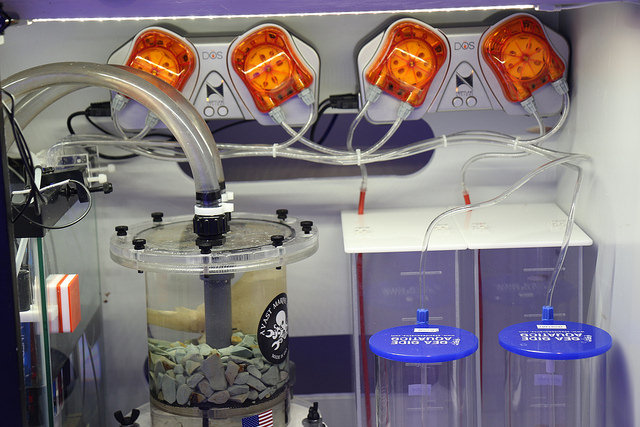
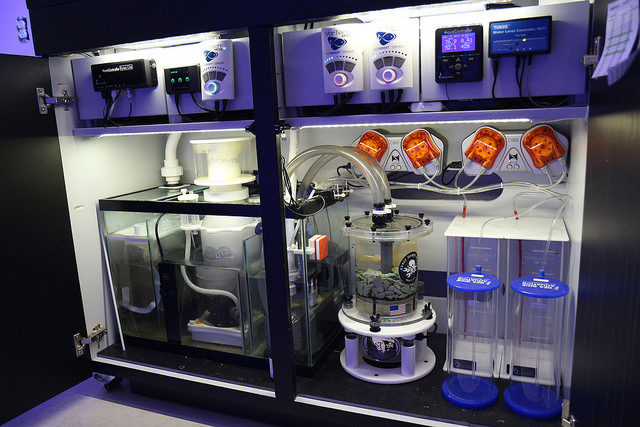
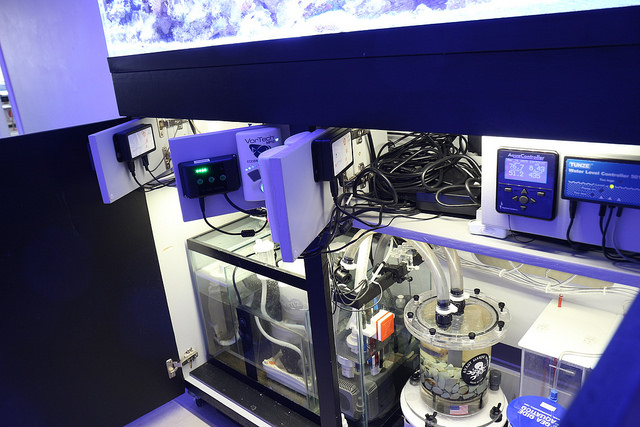
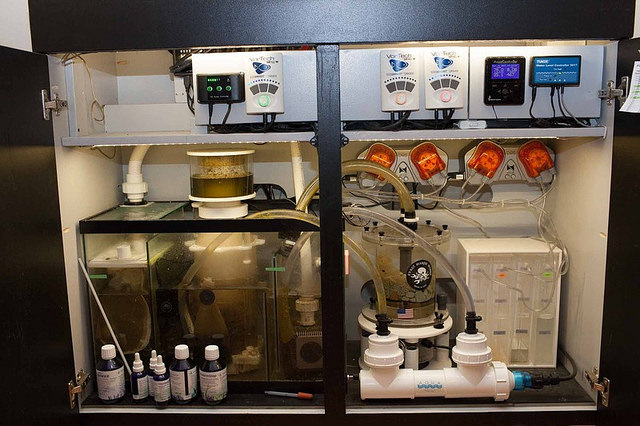
Zeovit Stones: 750mL of stones into the reactor, with a water flow of 75 gph using a small Eheim compact pump. The Avast Vibe reactor automatically shakes the zeovit stones 2 x day to release the bacteria (mulm) from the stones.
Zeobak: 15mL / Zeostart: 30mL / Sponge Power: 9mL


DAY 2-3 Dosing Break. No dosing was done on these days. Continued to shake the stones in the reactor.

Day 4-14 Dose ZEObak, ZEOstart and Sponge Power (as recommended on the products label), daily for the next 10 days. Zeobak: 3 drops / Zeostart: 3 drops / Sponge Power 0.3mL / Shake the stones daily.
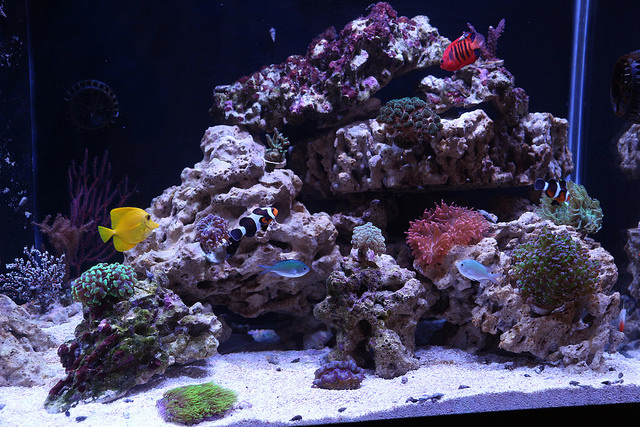
Brown diatoms began to appear lightly by day 4.

Day 5 Diatoms turning darker brown, except in areas having coralline algae.

Day 6 Fine filament beginning to grow, especially in areas with diatom. Diatoms still brown, but not turning darker.


Day 7 The brown diatom color is becoming lighter and starting to recede. Fine filaments growing everywhere. Looks like short fine hair. The color is white to very light green tint.
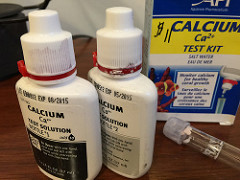
Ammonia < 0.01 (maybe closer to 0.005) / Nitrite untraceable / Nitrate untraceable / Phosphate 0.05.
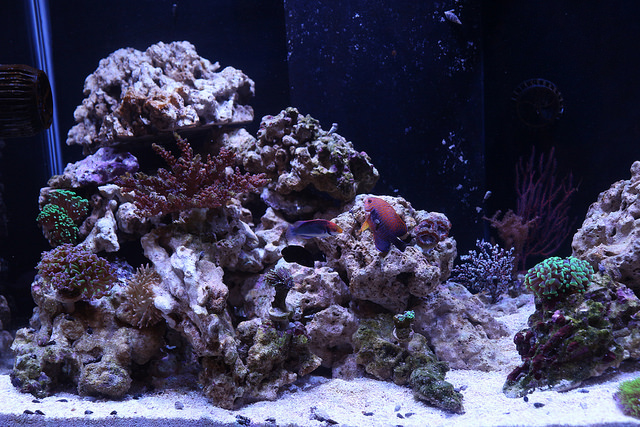
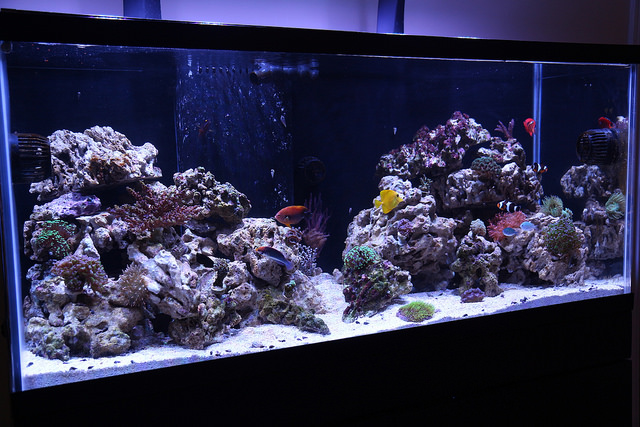
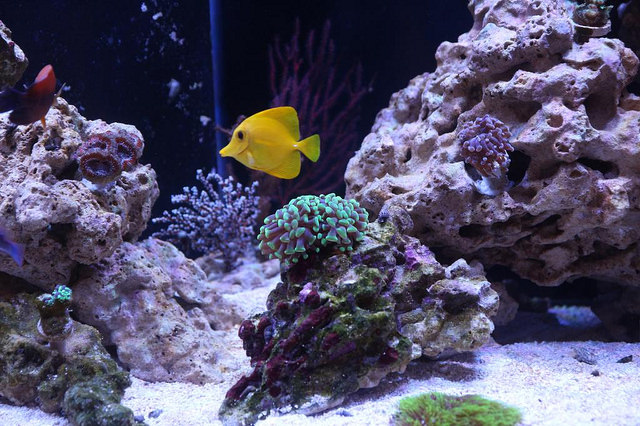
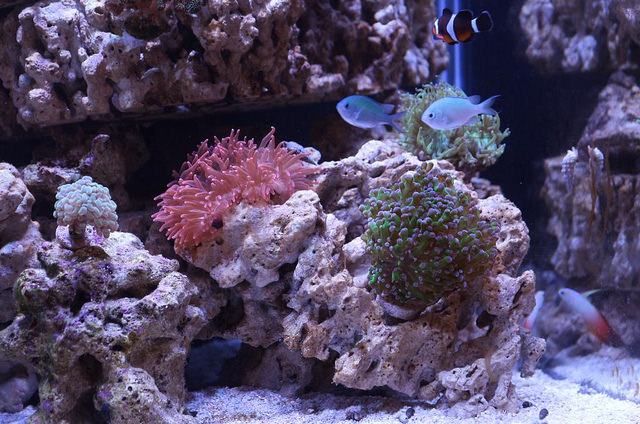
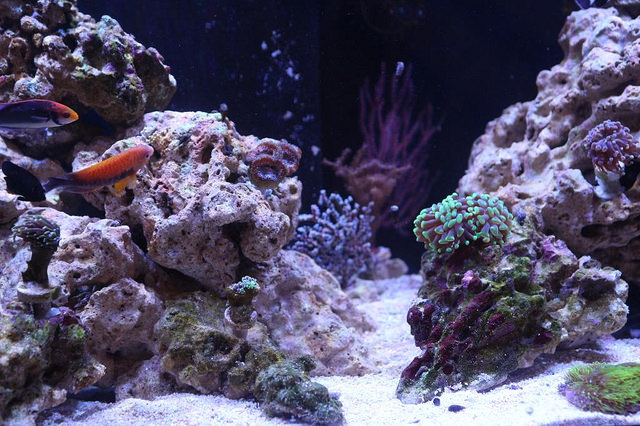
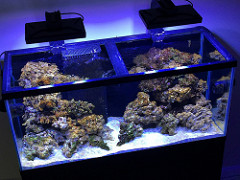
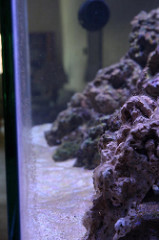
The live rock that is dark and/or green is from the old tank. The cured rock has a light brown tint from diatoms. This rock was out off-white when the cycle started.


Day 10 Continue ZEObak, ZEOstart and Sponge Power daily / shake stones 2 x daily. The diatoms continue to diminish. Short fine hair algae in a very faint light green color on the live rock and sand bed.
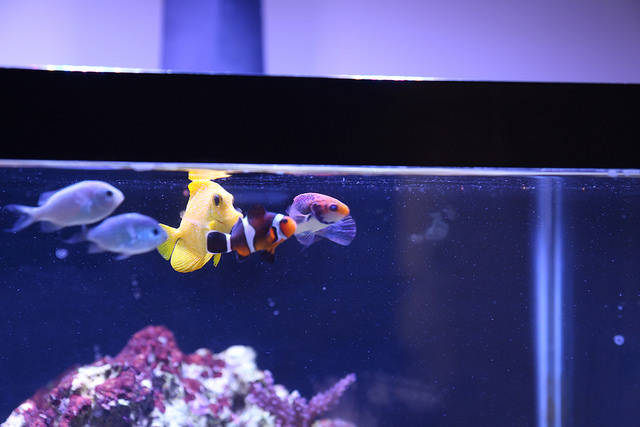
Added dwarf angelfish (flame, coral beauty, potters, bicolor) and many small snails.
Ammonia < 0.10 / Nitrite untraceable / Nitrate untraceable / Phosphate 0.07 (slight rise from 0.05 a few days ago)

Day 14 Fine hair algae still on live rock with slight signs of receding in spots. Hair algae receded about 50% on the sand surface.


Day 15 The recommended dosage for 75G net water volume going forward:c Zeobak: 3 drops 3 x week; Zeostart: 3 drops daily; Sponge Power: 0.3ml 2 x daily
Ammonia < 0.10 / Nitrite untraceable / Nitrate untraceable / Phosphate 0.03 (down from 0.07 a few days ago)
 
OP
OP
R

rmchoi

Active Member
View Badges
Joined
Dec 15, 2014
Messages
109
Reaction score
253
Location
Michigan
Rating - 0%
0   0   0
Pulled the light from another tank, after transferring the corrals and shutting it down. Added this as a center light.


Replaced the Pofilux with DOS for more better dosing control.


Started using the backside of the equipment tray doors to mount extra Apex modules.

[
 

Skydvr

Well-Known Member
View Badges
Joined
Apr 28, 2014
Messages
575
Reaction score
279
Rating - 0%
0   0   0
That is a nice, clean setup.

I really like the stand design. Well thought out and I like the full standup viewing height as well.
Interested to see how the casters work out long term. I can see how useful they could be for accessing plumbing or upgrading flooring as you mentioned.
Did you happen to measure deflection between the floor and the base of the stand or the top from empty to full? With full plywood construction, I don't really see that being an issue, but with the large unsuppoerted span between the casters, I am curious if there was any measurable deflection.

The rockwork is nice as well. Not overcrowded, but not too sparse.
 
OP
OP
R

rmchoi

Active Member
View Badges
Joined
Dec 15, 2014
Messages
109
Reaction score
253
Location
Michigan
Rating - 0%
0   0   0
Simple design in a way and a very clean setup. Really nice work!

Edit. Simple was the wrong word although that is not what i meant at all.. Alot of skill behind this and specially the stand, something which i would never be able to build my self.

For this hobby, I will take simple as a compliment any day - thanks !

That is a nice, clean setup.

I really like the stand design. Well thought out and I like the full standup viewing height as well.
Interested to see how the casters work out long term. I can see how useful they could be for accessing plumbing or upgrading flooring as you mentioned.
Did you happen to measure deflection between the floor and the base of the stand or the top from empty to full? With full plywood construction, I don't really see that being an issue, but with the large unsuppoerted span between the casters, I am curious if there was any measurable deflection.

The rockwork is nice as well. Not overcrowded, but not too sparse.

Appreciate that! I doubled up the bottom plywood to be sturdy support for the wheels, mounting them closer to the sides. No deflection at all.


OP
OP
R

rmchoi

Active Member
View Badges
Joined
Dec 15, 2014
Messages
109
Reaction score
253
Location
Michigan
Rating - 0%
0   0   0
Ecotech Battery Backup - DIY battery replacement


During a recent power outage, I found both Ecotech battery backups dead. It was very expensive to discard and replace with new. So instead, I replaced the battery inside. A new battery cost anywhere from $30-70. Here is what I used for this.

-Drill with 1/8" bit
-Wrench to remove the battery connector bolt
-White 1/8" pop rivets and pop rivet gun
-12V 18Ah new battery


-drill out 8 pop rivets with 1/8" drill to open the battery backup box
-remove the bolts from battery lugs
-replace battery and reconnect the lug bolts
-mount cover
-realign the holes, insert pop rivet and fasten with 1/8" pop rivets


Recharged the backup units for about a day, then mount them back in the stand. After reconnecting the battery to the VorTech controller, I unplugged the power to the VorTech controller, which showed the battery at 100% charge. The new battery is good for another 3+ years.

Don't throw this away if you have one with a dead battery. This is super cost effective way to get another life cycle.

 
OP
OP
R

rmchoi

Active Member
View Badges
Joined
Dec 15, 2014
Messages
109
Reaction score
253
Location
Michigan
Rating - 0%
0   0   0
This is an update of my reef.

After many months, here is an update. This started with a stock 75 gallon tank, a homemade stand and sump. Over time, I added a cheato refugium and a mangrove refugium, that share the same sump. This is going on its third sump and several return pumps change outs. Also added a calcium reactor for calcium and magnesium.

49265564352_ab7c0b5397_o.jpg


untitled-1-2.jpg


IMG_1533.jpeg


IMG_1546.jpeg


VorTech.jpeg


--
The DT and refugiums are all filtered through a Lifereef LF1-300 sump and SVS2-2 in-sump skimmer. The sump has a dedicated spots for their skimmer, mechanical filters and media reactors. The skimmer runs on a Mag 9.5 pump with a large skimmer cup. I stopped using the foam filters as the tank matured. The media reactors have carbon + purigen, which I change out every quarter and bio-media, which is rinsed out once a year.

Water Level Controller 501.jpeg


filter-systems.jpeg


--
In an adjacent room are the refugiums, calcium reactor and dosing station. The display refugium hosts a 4’ tall mangrove plant in a 40 gal breeder.

IMG_1196.jpeg


oN9 sino.jpeg


IMG_1368.jpeg


--
In the cabinet below is a stock Lifereef 20 gal refugium and Lifereef Calcium Reactor. The CR is sized up to 600 gal, which seems right for the corals I have. The CR media is 75/25 Reborn/Remag. I refill this about three times yearly.


filter.sy.jpeg


--
This is chaeto refugium is lit by two Kessil H80 flora. It is surprising these small lights work with a deep refugium. I let it grow dense and harvest about 6 gal of cheato every 2 months and clean the refugium twice a year. The refugiums handle the phosphate, but I have to dose nitrate. About six months ago, I stopped using additives like amino acid, iron and iodine. Now I just do 15% weekly water change. This renews all the water every 6 1/2 weeks, making the water especially stable. The skimmer produces less skim mate over time. It needs emptying monthly and runs mostly for aeration.

IMG_0306.jpeg


--
I’ve used the Zeovit method, another major dosing regiment method and now, landed on a natural filtration method. I’m seeing good coral growth and stable water.

28 9 2126.jpeg
 

Reefing threads: Do you wear gear from reef brands?

  • I wear reef gear everywhere.

    Votes: 16 17.4%
  • I wear reef gear primarily at fish events and my LFS.

    Votes: 4 4.3%
  • I wear reef gear primarily for water changes and tank maintenance.

    Votes: 0 0.0%
  • I wear reef gear primarily to relax where I live.

    Votes: 16 17.4%
  • I don’t wear gear from reef brands.

    Votes: 48 52.2%
  • Other.

    Votes: 8 8.7%
Back
Top