RC75 DIY Stand and Sump
This is me through the eyes and art of my daughter.

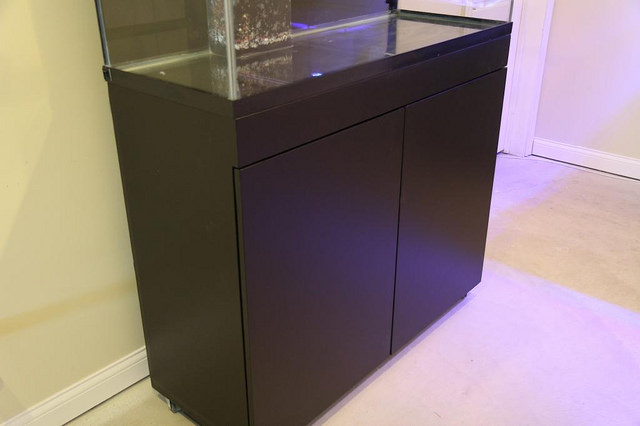
I started this build a while back, but had to let it go dormant due to circumstances. I'm starting to get back to speed. This is a 75 gallon build, highlighting a DIY stand and sump.
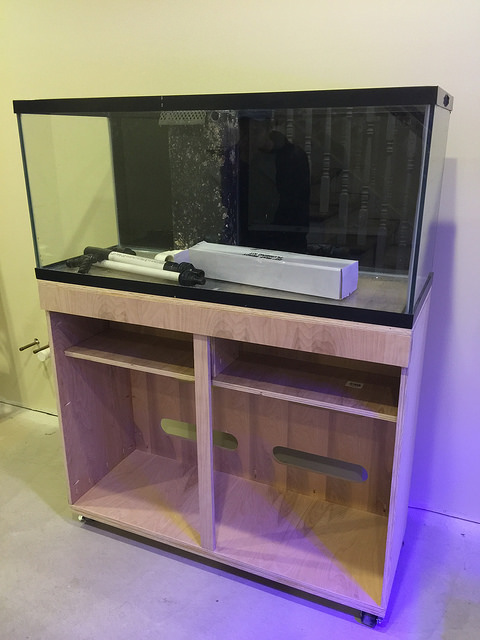
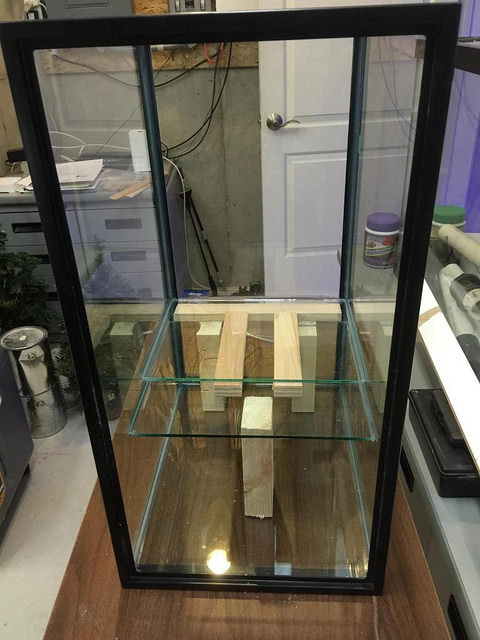
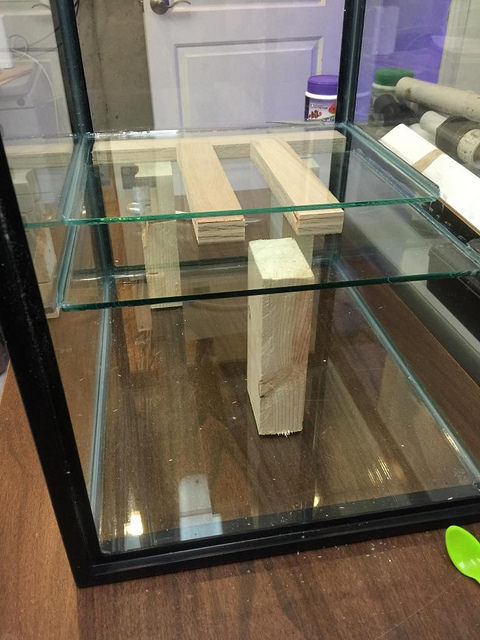
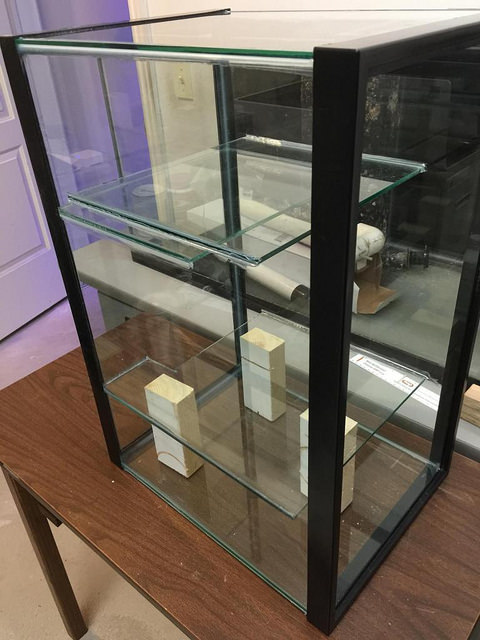
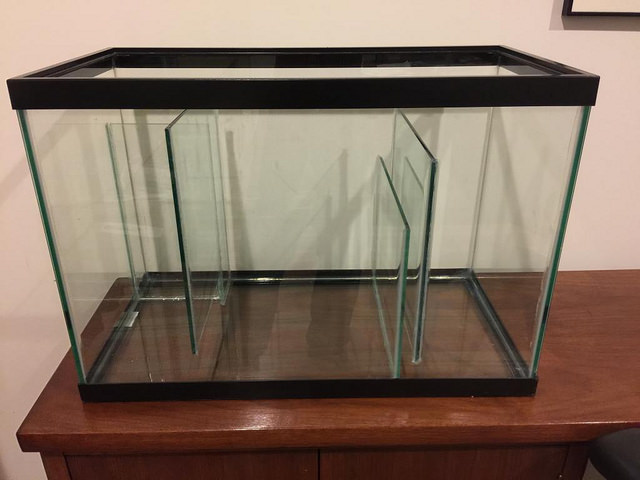
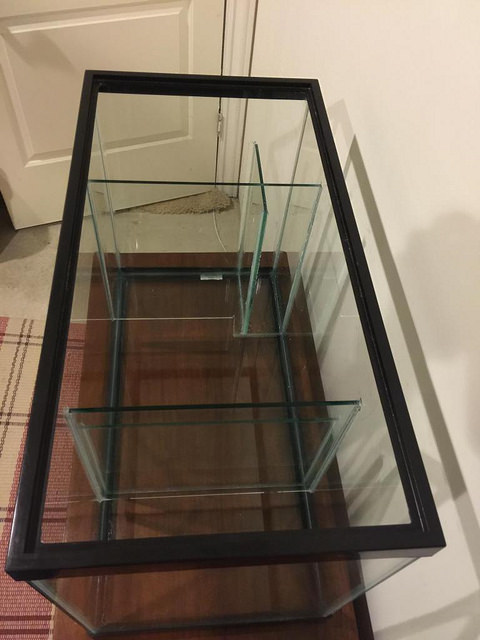
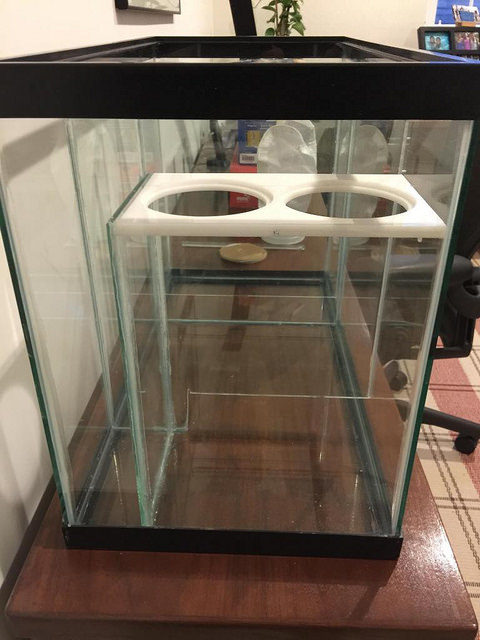
Started with a Great Lakes Aquariums 75G 48x18x22 with starfire glass.

Aquarium 75G 48x18x22
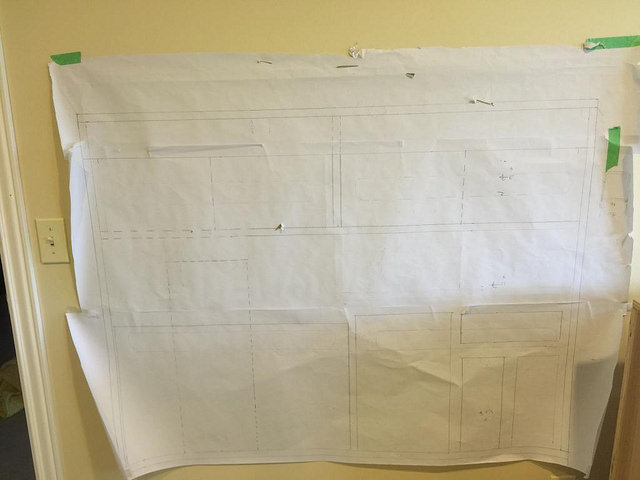
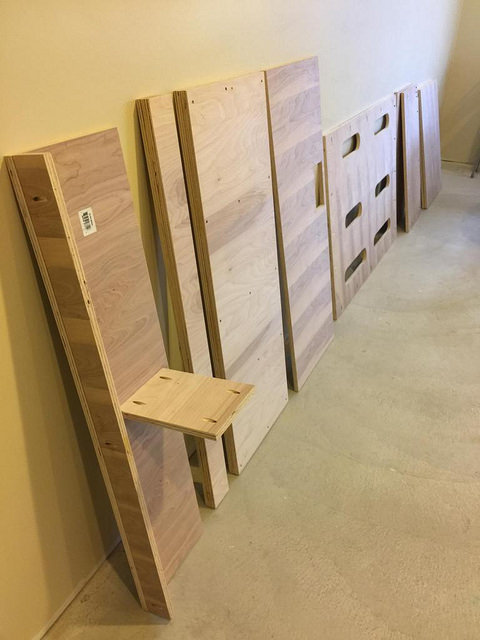
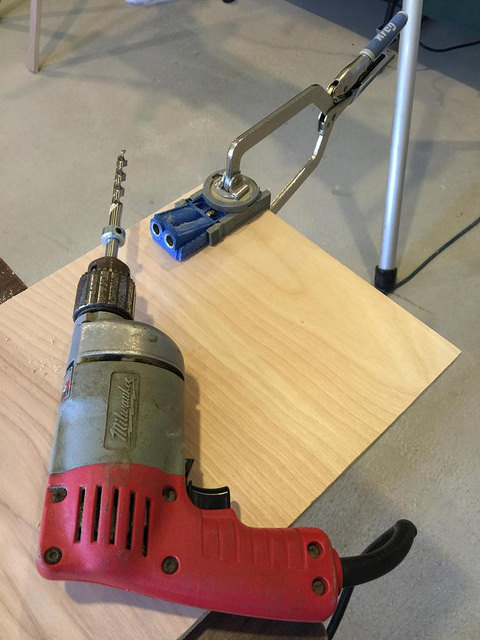
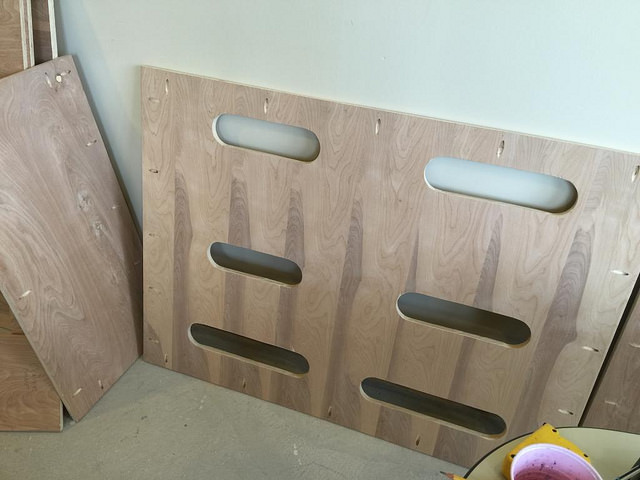
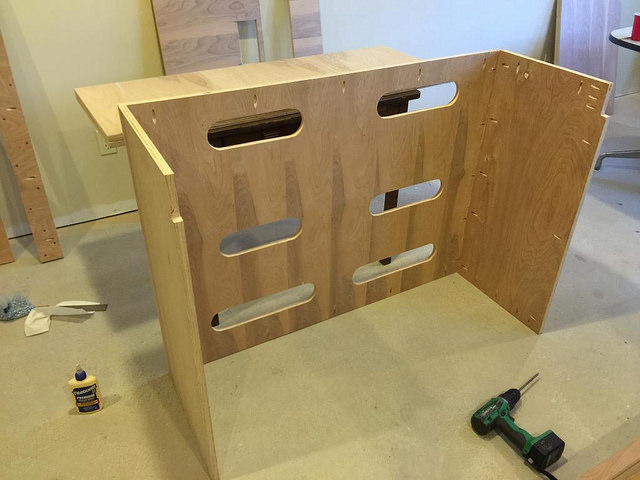
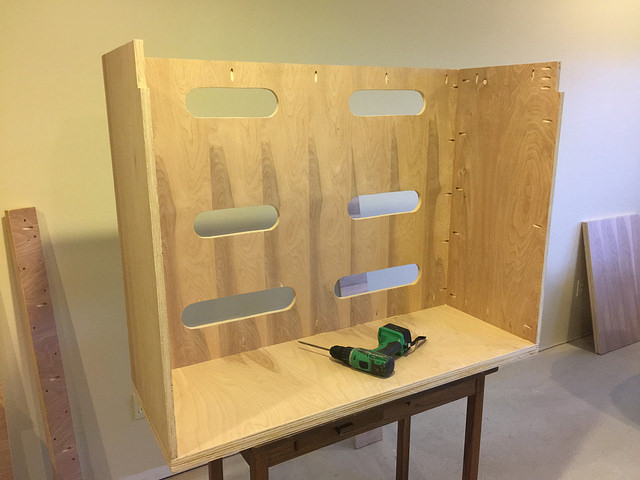
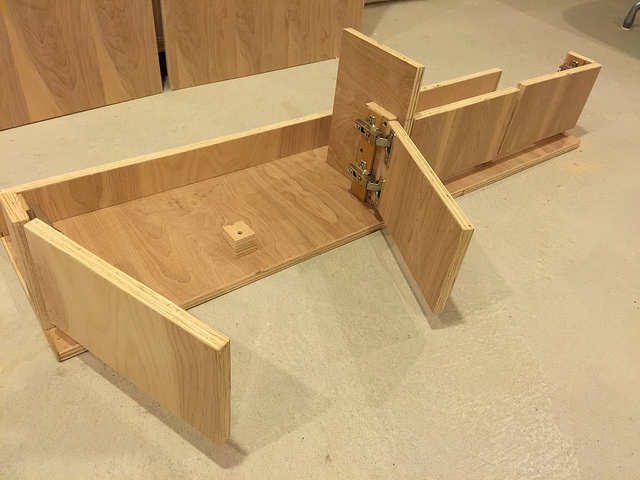
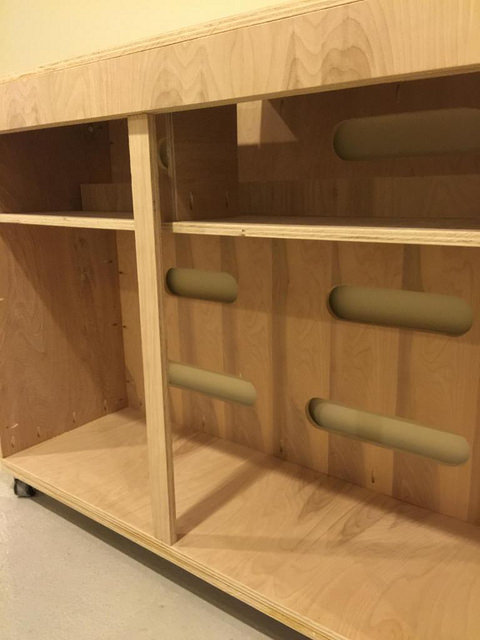
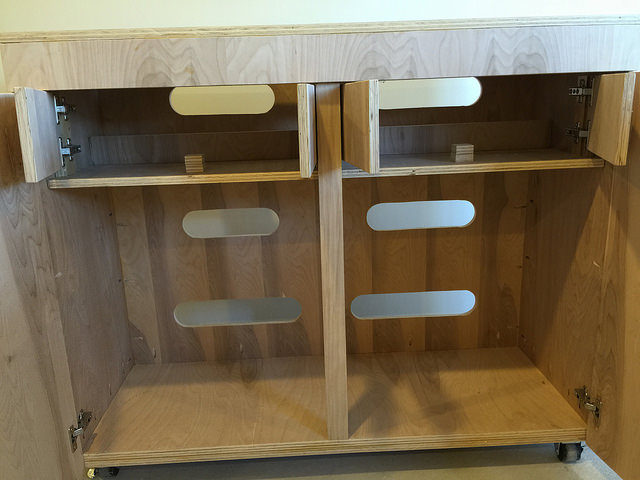
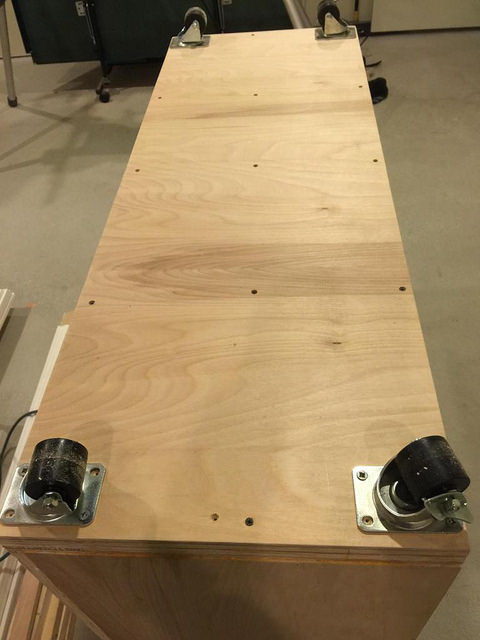
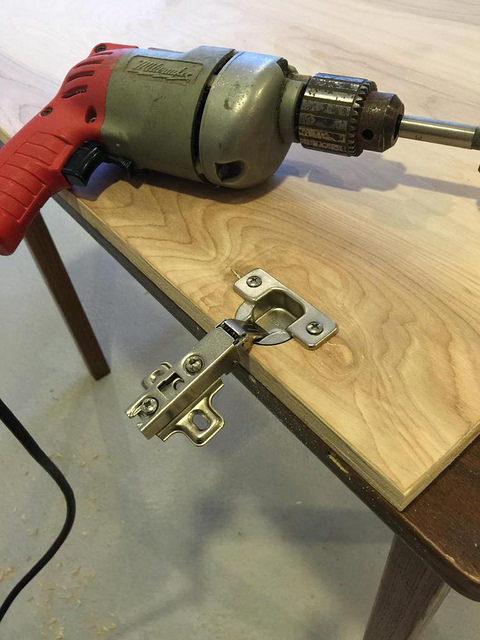
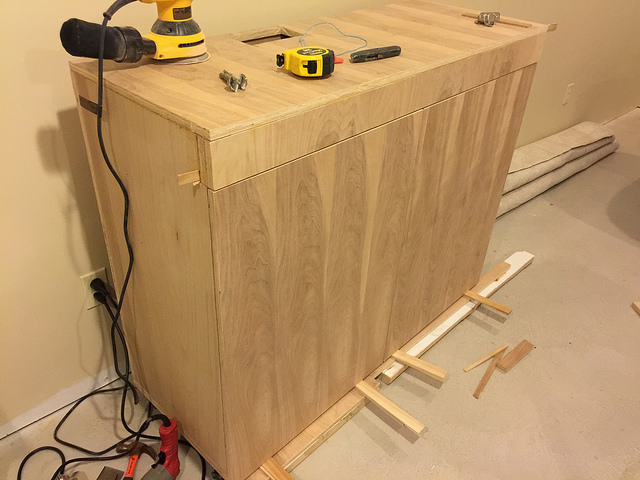
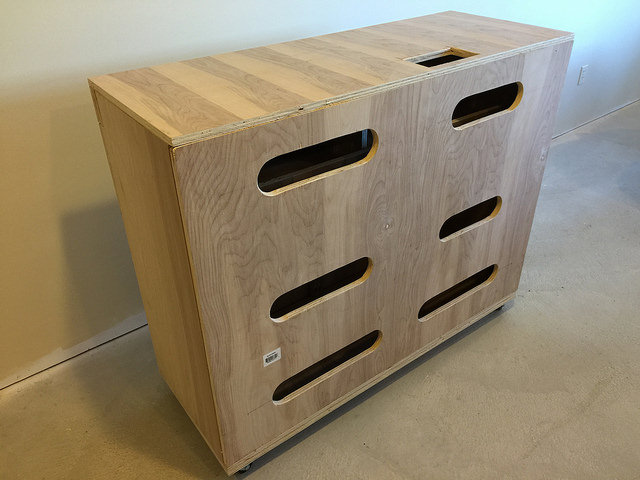
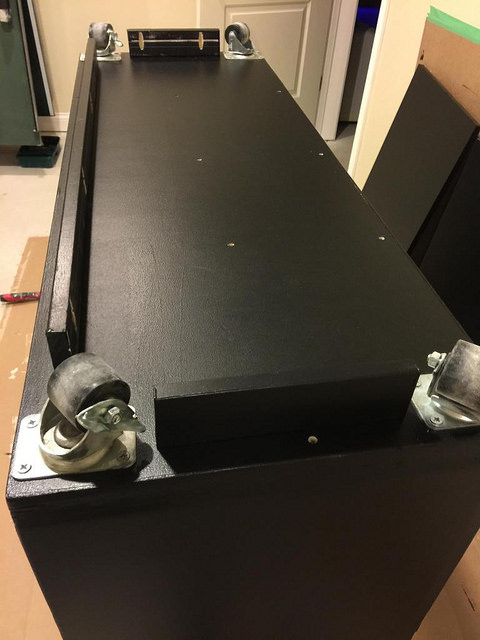
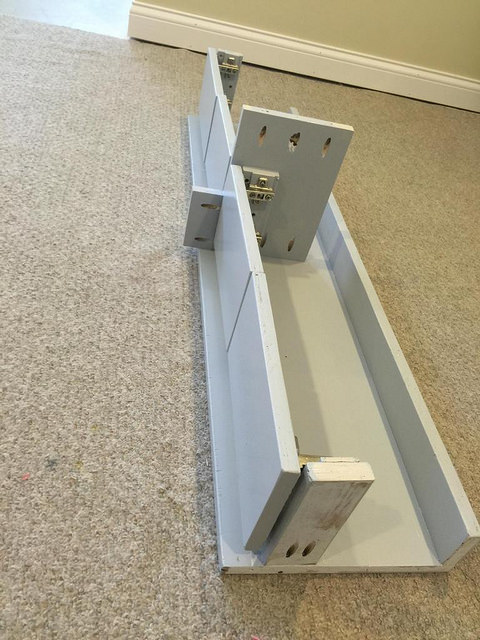
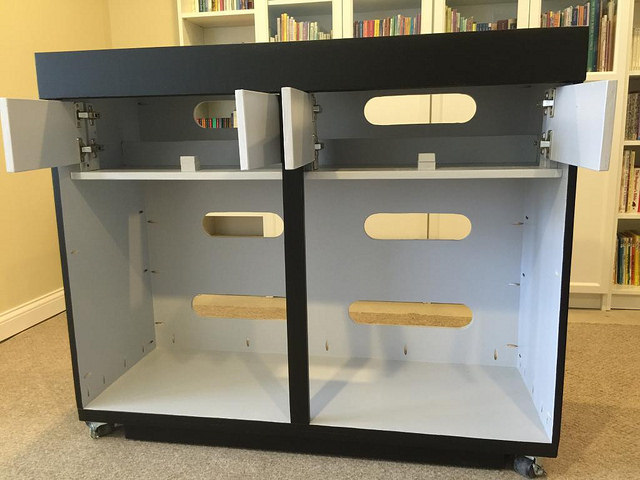
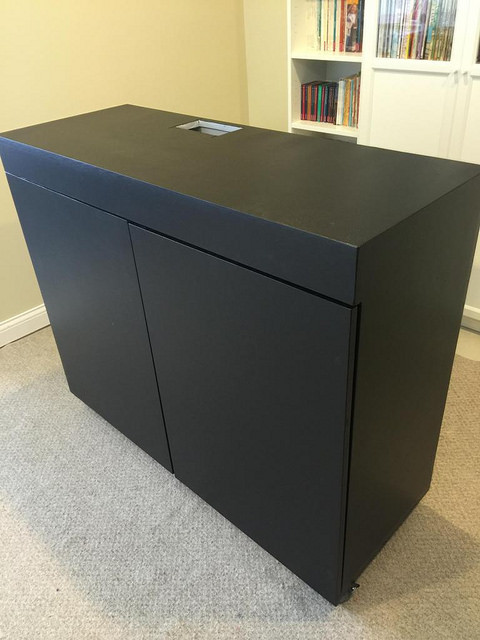
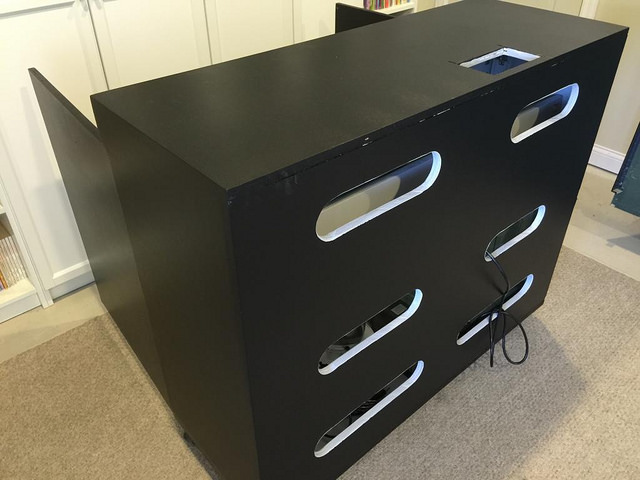
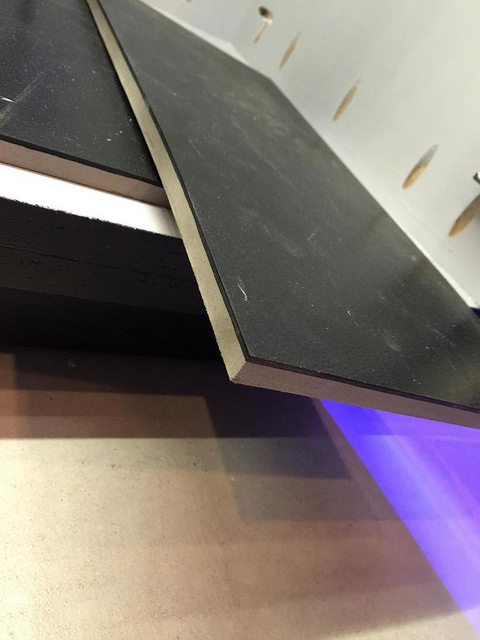
DIY Birch Plywood Stand 48x18x40H
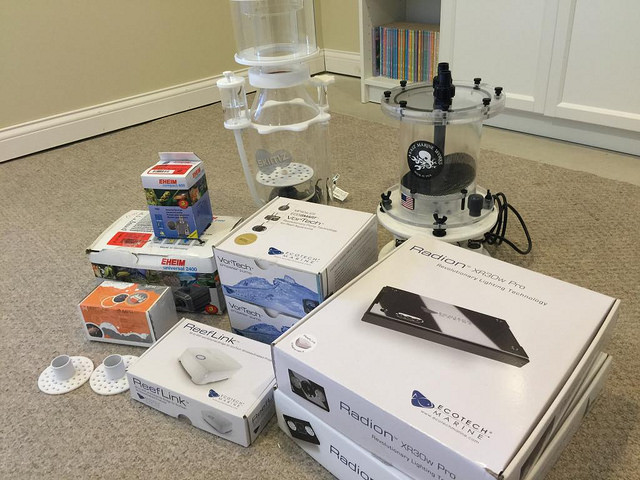
Lighting Ecotech Radion Pro 3
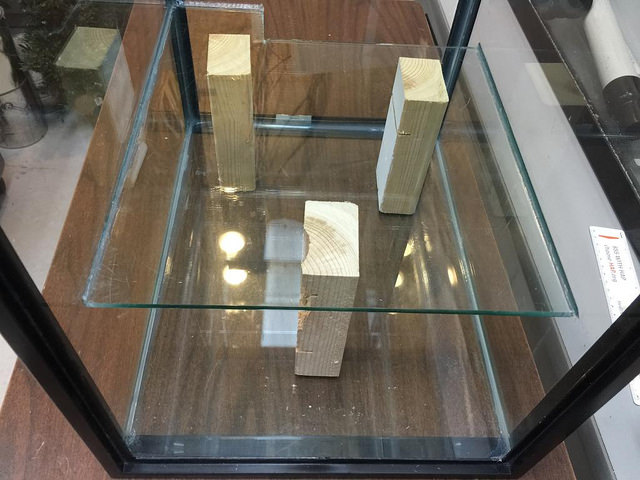
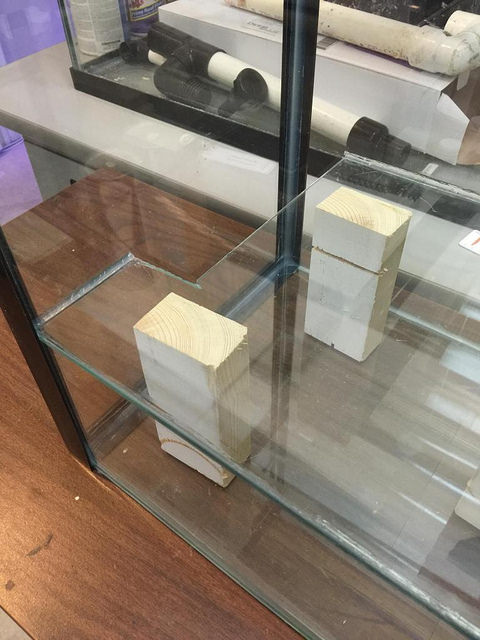
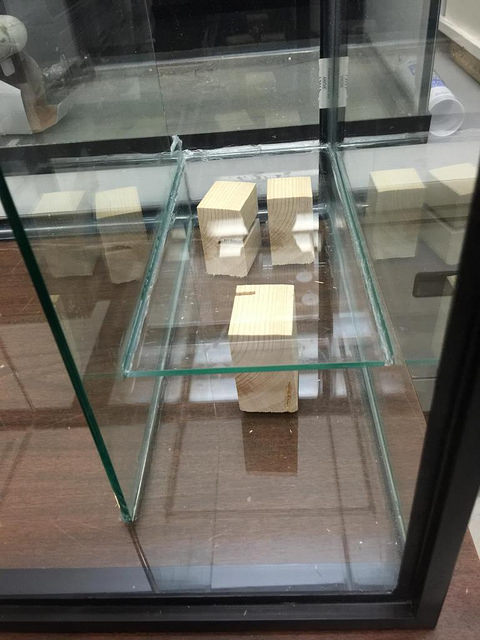
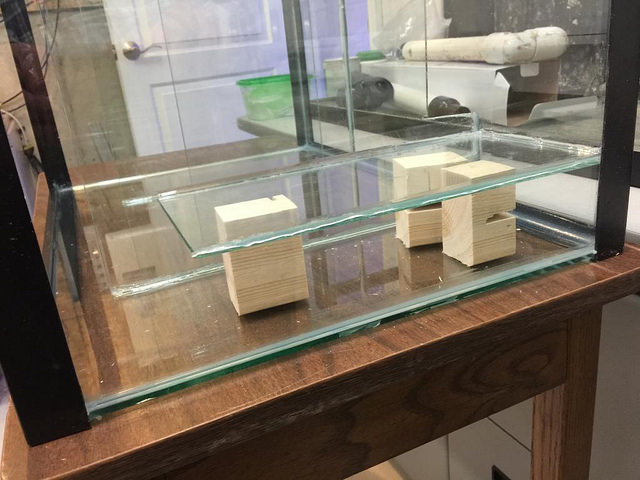
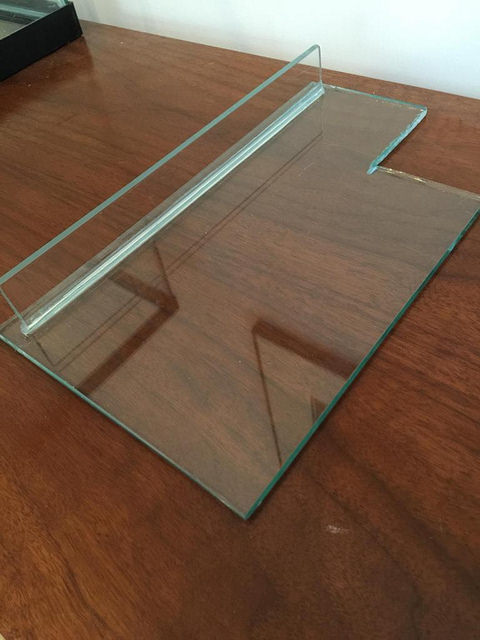
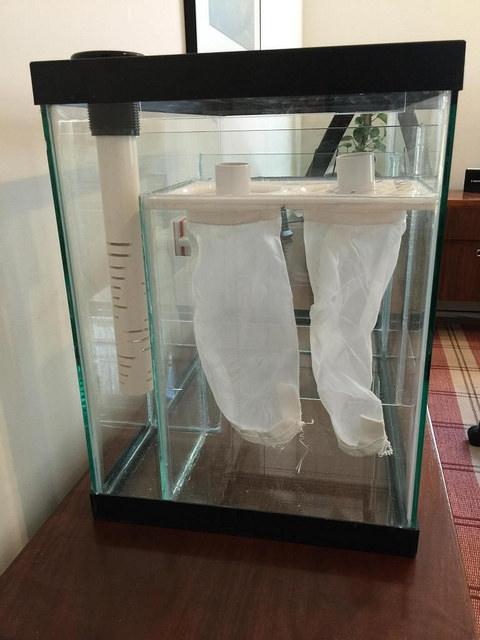
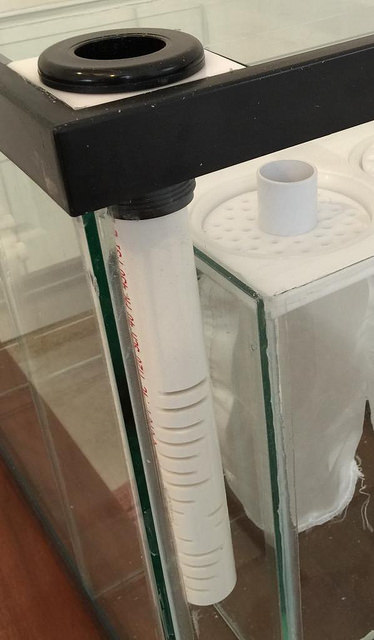
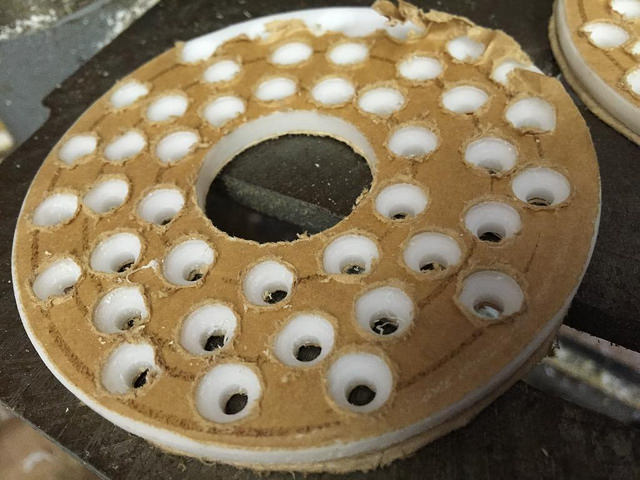
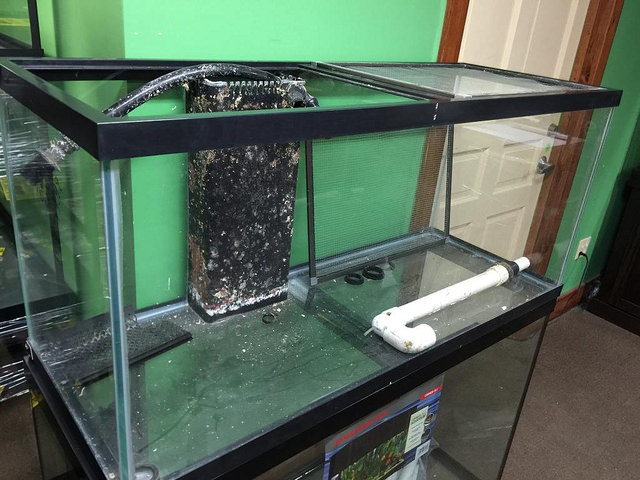
DIY Sump 20G
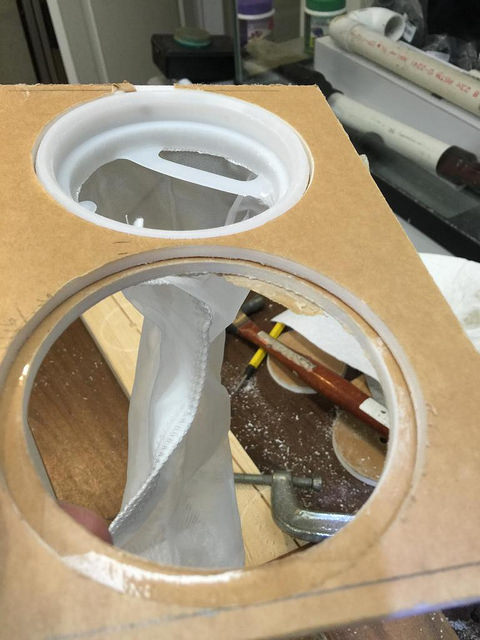
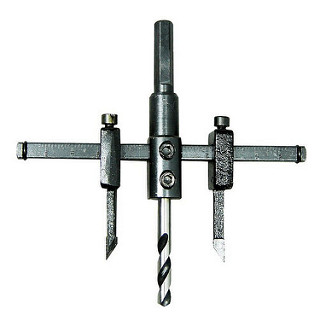
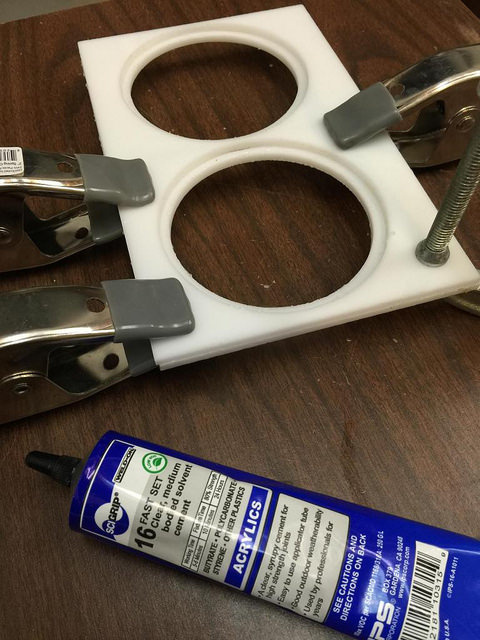
DIY Sock Silencers
Skimmer Skimz Monzter SM163
Avast Marine Vibe for Zeovit
Return Pump Eheim 2400
Ecotech MP-40 & MP-10
Backup Ecotech Battery
Apex Controller & Ecotech ReefLink
Cobalt Heater
Dosing Pump GHL Profilux
This is me through the eyes and art of my daughter.
I started this build a while back, but had to let it go dormant due to circumstances. I'm starting to get back to speed. This is a 75 gallon build, highlighting a DIY stand and sump.
Started with a Great Lakes Aquariums 75G 48x18x22 with starfire glass.
Aquarium 75G 48x18x22
DIY Birch Plywood Stand 48x18x40H
Lighting Ecotech Radion Pro 3
DIY Sump 20G
DIY Sock Silencers
Skimmer Skimz Monzter SM163
Avast Marine Vibe for Zeovit
Return Pump Eheim 2400
Ecotech MP-40 & MP-10
Backup Ecotech Battery
Apex Controller & Ecotech ReefLink
Cobalt Heater
Dosing Pump GHL Profilux