I am trying to build a stand for my new 50 gallon cube. The plan is a 2x4 frame, wrapped in 3/4 in ply. I have built the base twice now, both time when I finish the base is uneven one corner is about a 1/4 in higher than the opposite diagonal corner. I tore the base down and layed each board on edge on a flat surface. They all are cupped. Other than buying more lumber (which I will be doing) what can I do to prevent this?
Navigation
Install the app
How to install the app on iOS
Follow along with the video below to see how to install our site as a web app on your home screen.
Note: This feature may not be available in some browsers.
More options
You are using an out of date browser. It may not display this or other websites correctly.
You should upgrade or use an alternative browser.
You should upgrade or use an alternative browser.
Stand build frustration
- Thread starter red13
- Start date
- Tagged users None
We’re the boards straight when you bought them?
@diywizzards that doesnt seem to work @jsker @kschweer I believe have a woodworks thread and these guys are good.
https://www.reef2reef.com/threads/anyone-enjoy-woodworking.217168/
https://www.reef2reef.com/threads/anyone-enjoy-woodworking.217168/
- Joined
- Oct 1, 2014
- Messages
- 119
- Reaction score
- 92
I picked through the boards, and thought I got the straight ones. Looked down the edge and they looked ok. The problem seems to be when they are on edge. I took the base apart to see if it was my craftmanship, and on a 30in length the rockWe’re the boards straight when you bought them?
Is the floor you are building the stand on level? Also whatever saw you are using to cut the boards is the miter square?
Skip the 2x4 frame. 3/4" plywood is plenty strong enough on it's own to support a 50g tank. If you're using a decent rig, getting a straight cut on plywood is simple, and it's not going to flex much, if any, from how you cut it. A clamped down straight edge and a good, sharp skill saw is really all you need.
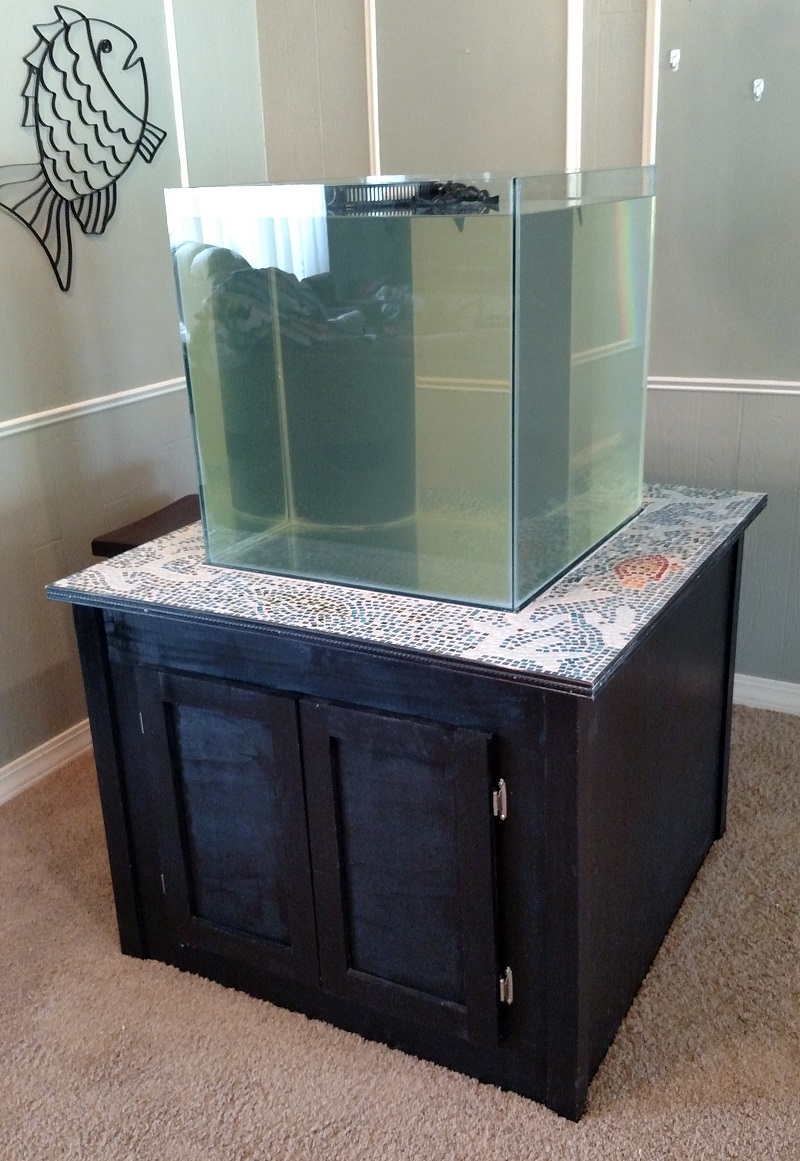
Here's a shot of a ply stand I did for my old 60g cube, extended to allow for the shelf. There are no 2x4's, though I did cut some 3x3" solid poplar for the corners. Mainly for effect, rather than strength. Door surround is also solid poplar. No screws, or nails, used in the construction of this stand. Dado joints, rabbit joints, biscuit joints, and good wood glue. Could have doubled as a stool for an elephant.

Here's a shot of a ply stand I did for my old 60g cube, extended to allow for the shelf. There are no 2x4's, though I did cut some 3x3" solid poplar for the corners. Mainly for effect, rather than strength. Door surround is also solid poplar. No screws, or nails, used in the construction of this stand. Dado joints, rabbit joints, biscuit joints, and good wood glue. Could have doubled as a stool for an elephant.

If you buy 3/4" ply buy the good stuff, cheap 5-layer has lots of voids and is intended for sheeting framed structures not as a structural material, birch or oak ply i believe will have more layers or a tighter layup. the home store has a panel saw for cutting sheet goods and will cut square....it's worth the $5 if you don't have a fence
jsker
Reefing is all about the adventure
View Badges
Staff member
Super Moderator
Partner Member 2024
Excellence Award
Reef Tank 365
Article Contributor
Hospitality Award
Ocala Reef Club Member
R2R Secret Santa 2023
My Tank Thread
Some have asked, but what tool do you have available to cut with.
- Joined
- Oct 1, 2014
- Messages
- 119
- Reaction score
- 92
First, I want to say thanks to every one for the help and advice.
I have been using a my Dad's Dewalt miter saw for the cuts.
I can barrow a portable table saw. Or take material to work and use the full size table saw. And my Grandpa's old skill saw with a new blade.
I have been using a my Dad's Dewalt miter saw for the cuts.
I can barrow a portable table saw. Or take material to work and use the full size table saw. And my Grandpa's old skill saw with a new blade.
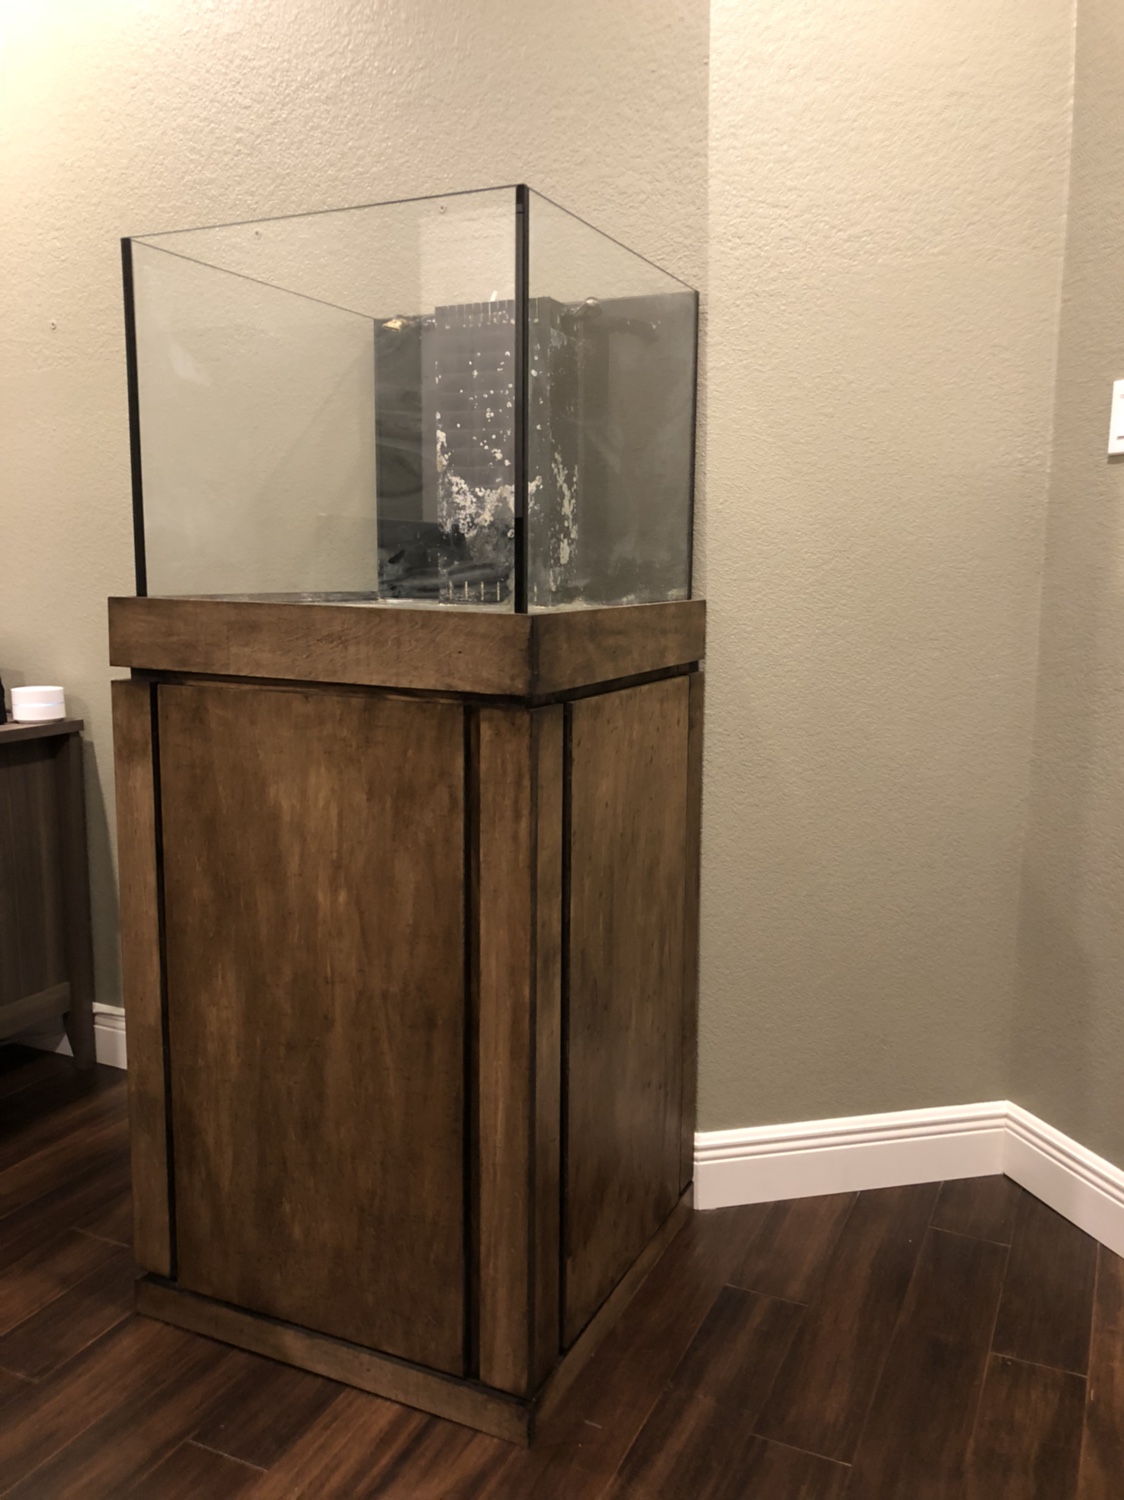
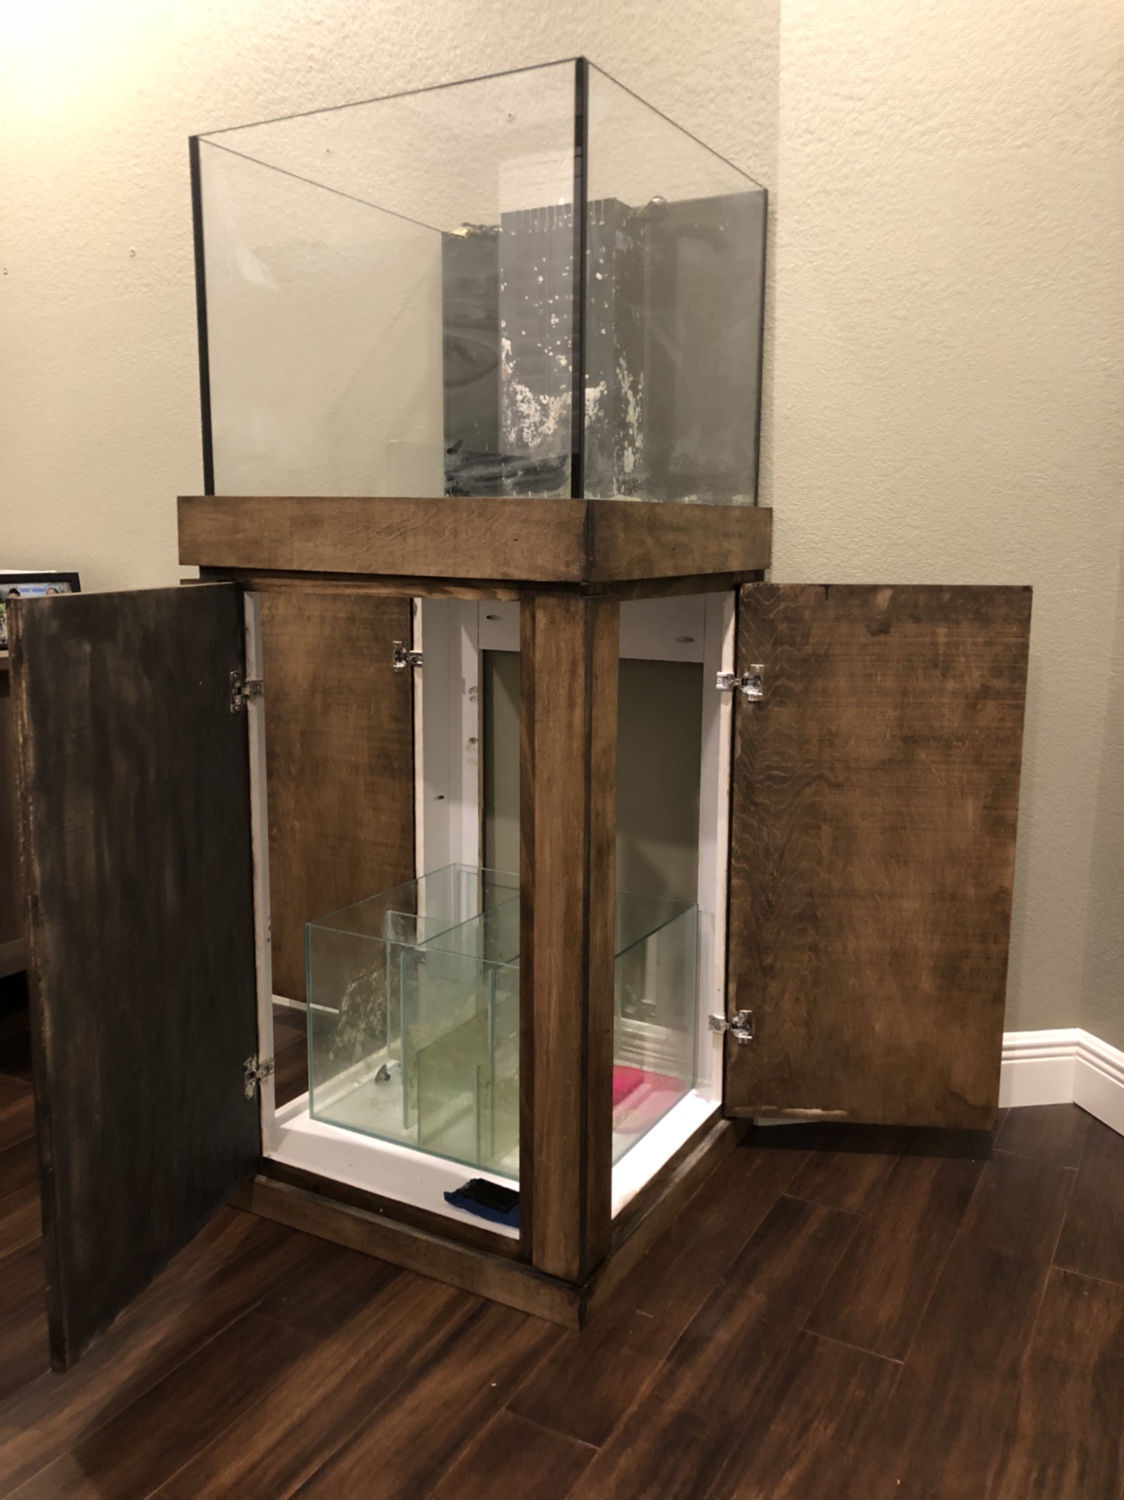
I went to Home Depot and bought 3/4” sheets and cut them down.
Used Kreg jigs for 90 degree seams and a cheap brad nailer for the trim pieces.
Borrow a friends Kreg door hinge kit and bought soft close hinges on amazon.
I never thought that old be able to build this stand. Luckily had help from a friend and it wasn’t too hard.
Good luck with your build.
Used Kreg jigs for 90 degree seams and a cheap brad nailer for the trim pieces.
Borrow a friends Kreg door hinge kit and bought soft close hinges on amazon.
I never thought that old be able to build this stand. Luckily had help from a friend and it wasn’t too hard.
Good luck with your build.
you should be able to square and plumb everything when you skin the frame with ply wood. Also, as mentioned above, 3/4 inch plywood doesn't need a frame under it for a 75 gallon tank.
I would not rebuild. I would mke sure the top is flat and square and put a shim under the bottom — perhaps screw a washer or two on the short corner so it doesn’t wobble or use one of the chair glides that come with a short nail attached. Or if all else fails, get out your sander and work on the long corner until that puppy sits flat!
I used a kitchen base cabinet that I rescued from Habitat for Humanity’s store in Raleigh, NC. I added a 2” x 4” brace across the middle of the top (probably overkill), constructed a top of 2 layers of 1/2 inch plywood glued together and glued to the top of the cabinet and the 2x4. Then I sanded, primed, and painted the whole thing with brown Rustoleum paint. It looks great and has plenty of strength.
My 75 gal sits on a store-bought fish tank cabinet that has 1x4 corner pieces and 1/4 inch pressed wood panels. I thought that the construction seemed flimsy, but it has held the weight of a 75 gallon tank for a long, long time. Of course it was designed by an engineer. For engineers, 2x4s are overkill. But if you’re uncomfortable going lighter and you’re not an engineer, then go for it with 2x4s and be happy. I’d love to see a photo when you’re finished. Good luck!
- Joined
- Mar 14, 2017
- Messages
- 90
- Reaction score
- 45
3/4” plywood, no need for 2x4’s.
While using a miter saw, make sure the saw is cutting square; a while back I made a stand for a friend and did not check on the saw for accuracy, when test fitting the frame, it was crooked. Saw was off by less than 1/2 degree.
While using a miter saw, make sure the saw is cutting square; a while back I made a stand for a friend and did not check on the saw for accuracy, when test fitting the frame, it was crooked. Saw was off by less than 1/2 degree.
- Joined
- Oct 1, 2014
- Messages
- 119
- Reaction score
- 92
I scrapped the 2x4 frame, and got some 3/4 plywood. Fortunately for me work has a full sized table saw, so I got to cutting. I still need to add the top, floor and a some bracing. Here is where I am so far.

My cat approves. I want to say thank you again to everybody for all your help, and inspiration.
My cat approves. I want to say thank you again to everybody for all your help, and inspiration.
Similar threads
- Replies
- 24
- Views
- 731


