Not sure where to start so I'm just going to dive in. Back in June, my wife and I decided to take a job in Kuala Lumpur, Malaysia for a 2 to 3 year assignment. Knowing I wouldn't be able to bring really all of my serious hobbies here (mostly woodworking and a few other things), I decided the one thing I wanted to do was to get a larger tank and build a reef. It occurred to me that fish and corals may be less expensive here, but I also realized that the technology would either be very expensive, or just hard/impossible to get.
Seems I was right on both counts.
I currently had an IM Nuvo 20 gal with a rear sump and had tricked it out with an apex, radion XR15 Pro Gen3, AWC, some custom ATO and NSW tanks from @melev, among a bunch of other fun stuff. Had some issues here and there with it, but it was mostly a successful tank for a few years. I even learned the importance of quarantining during this time. All in all, it was a fun first reef tank. I even was able to grow out some SPS in it. Tried to find a FTS of it from before I took it down but can't seem to find it. Doesn't matter. Imagine a blue cast picture with rocks, fish, and coral and you got the idea.
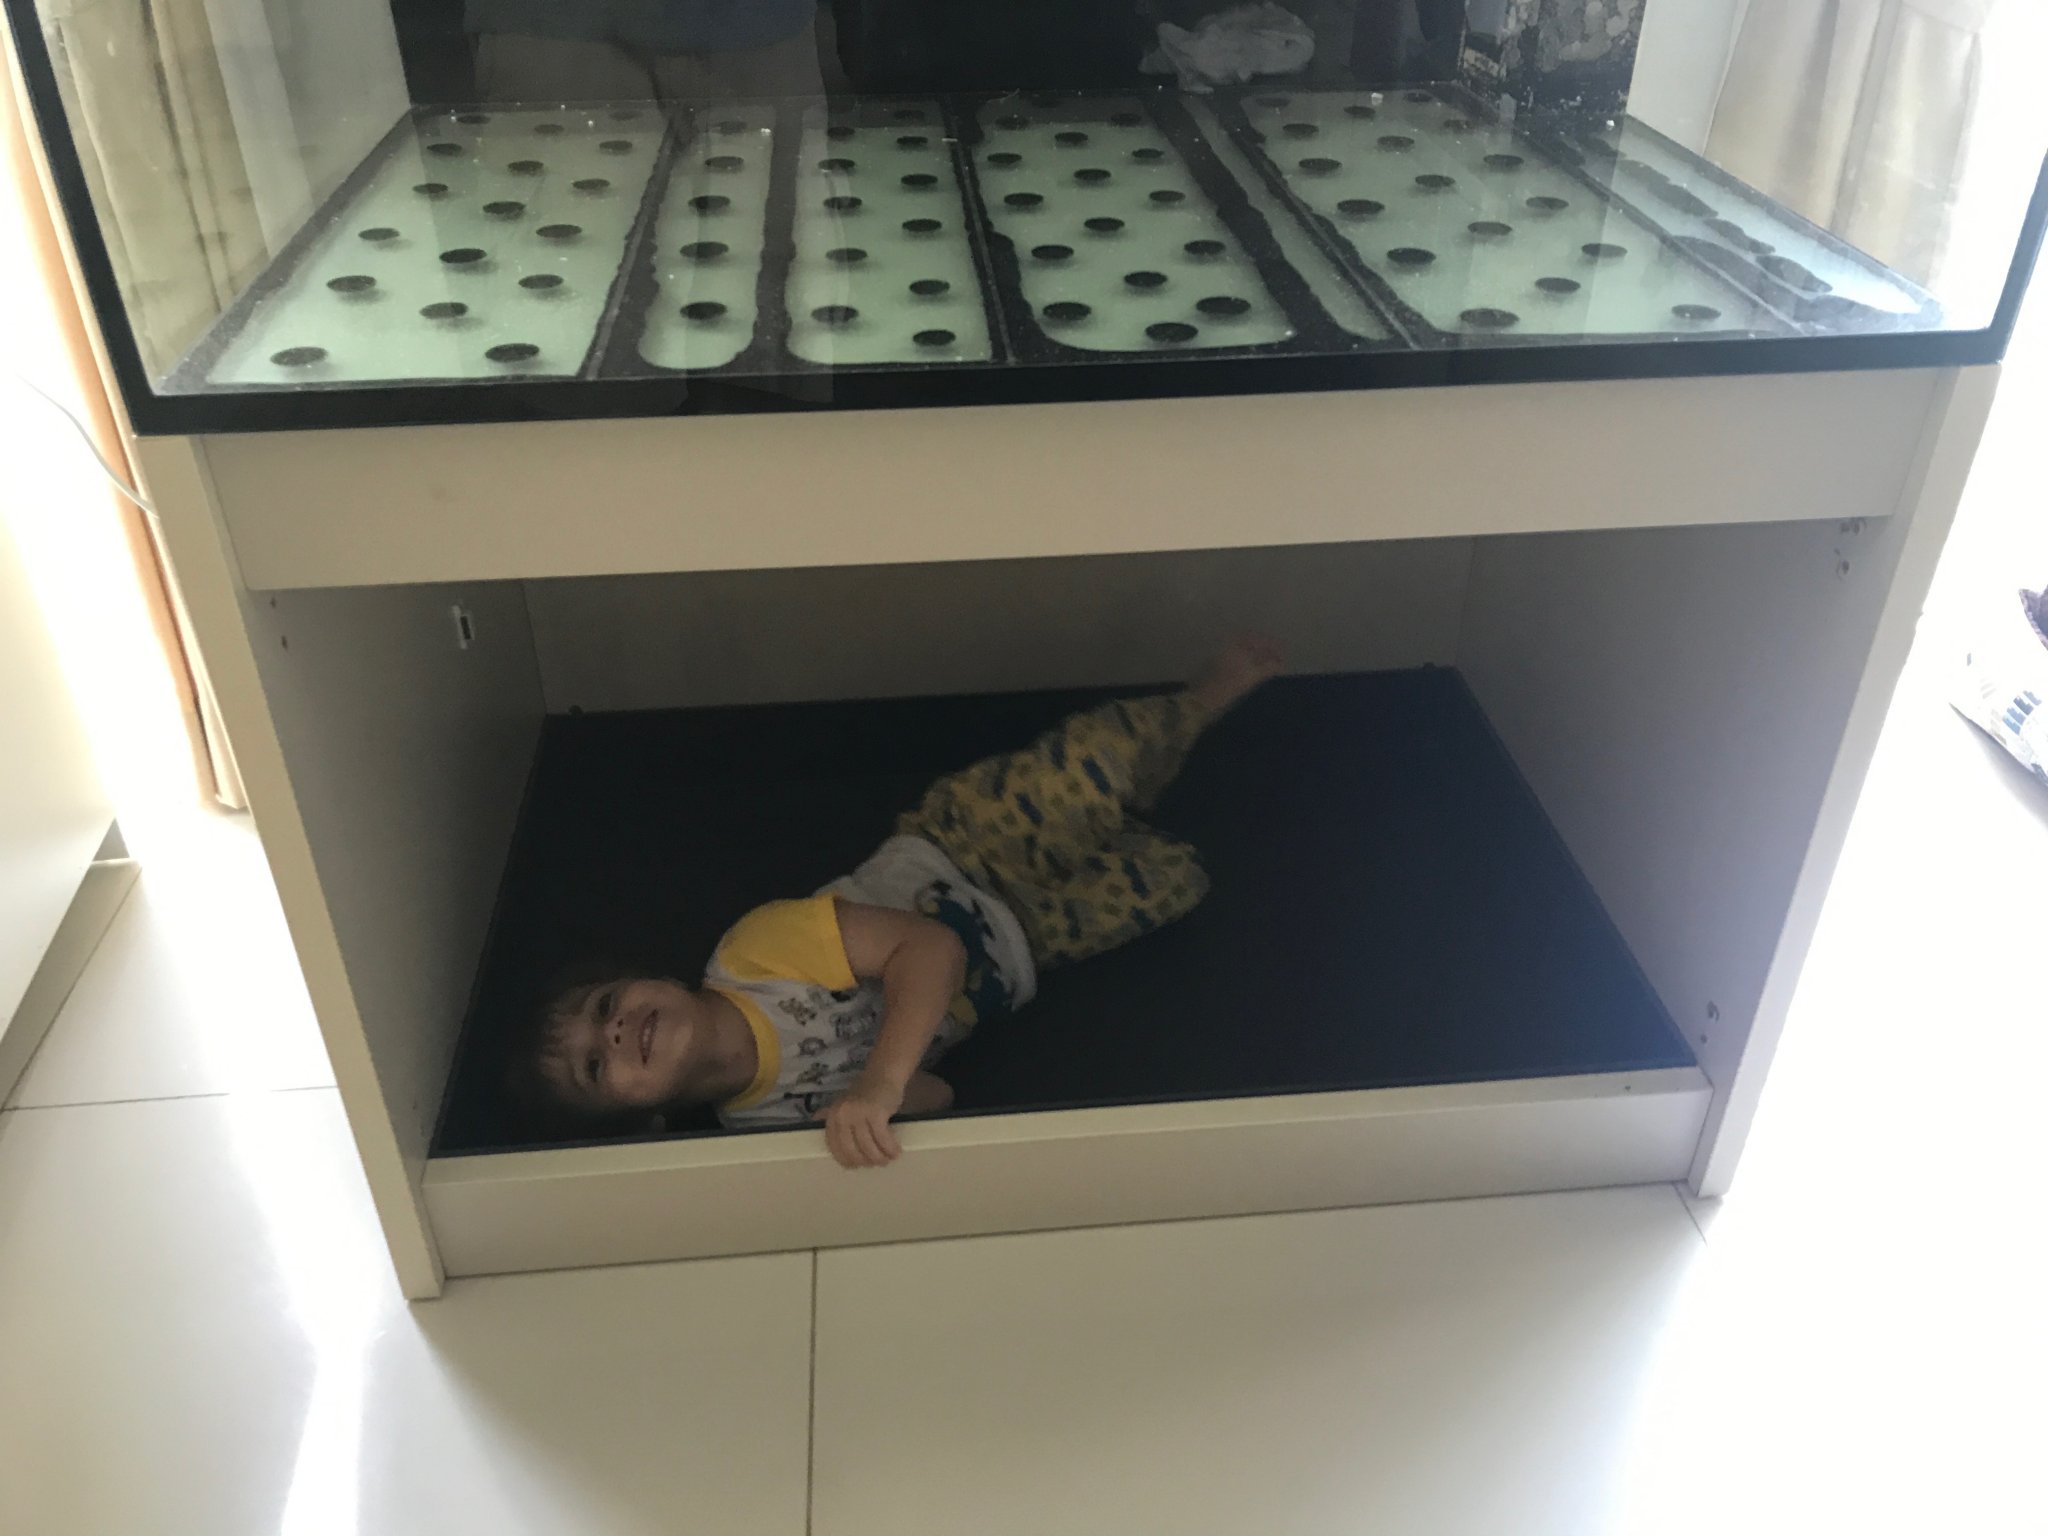
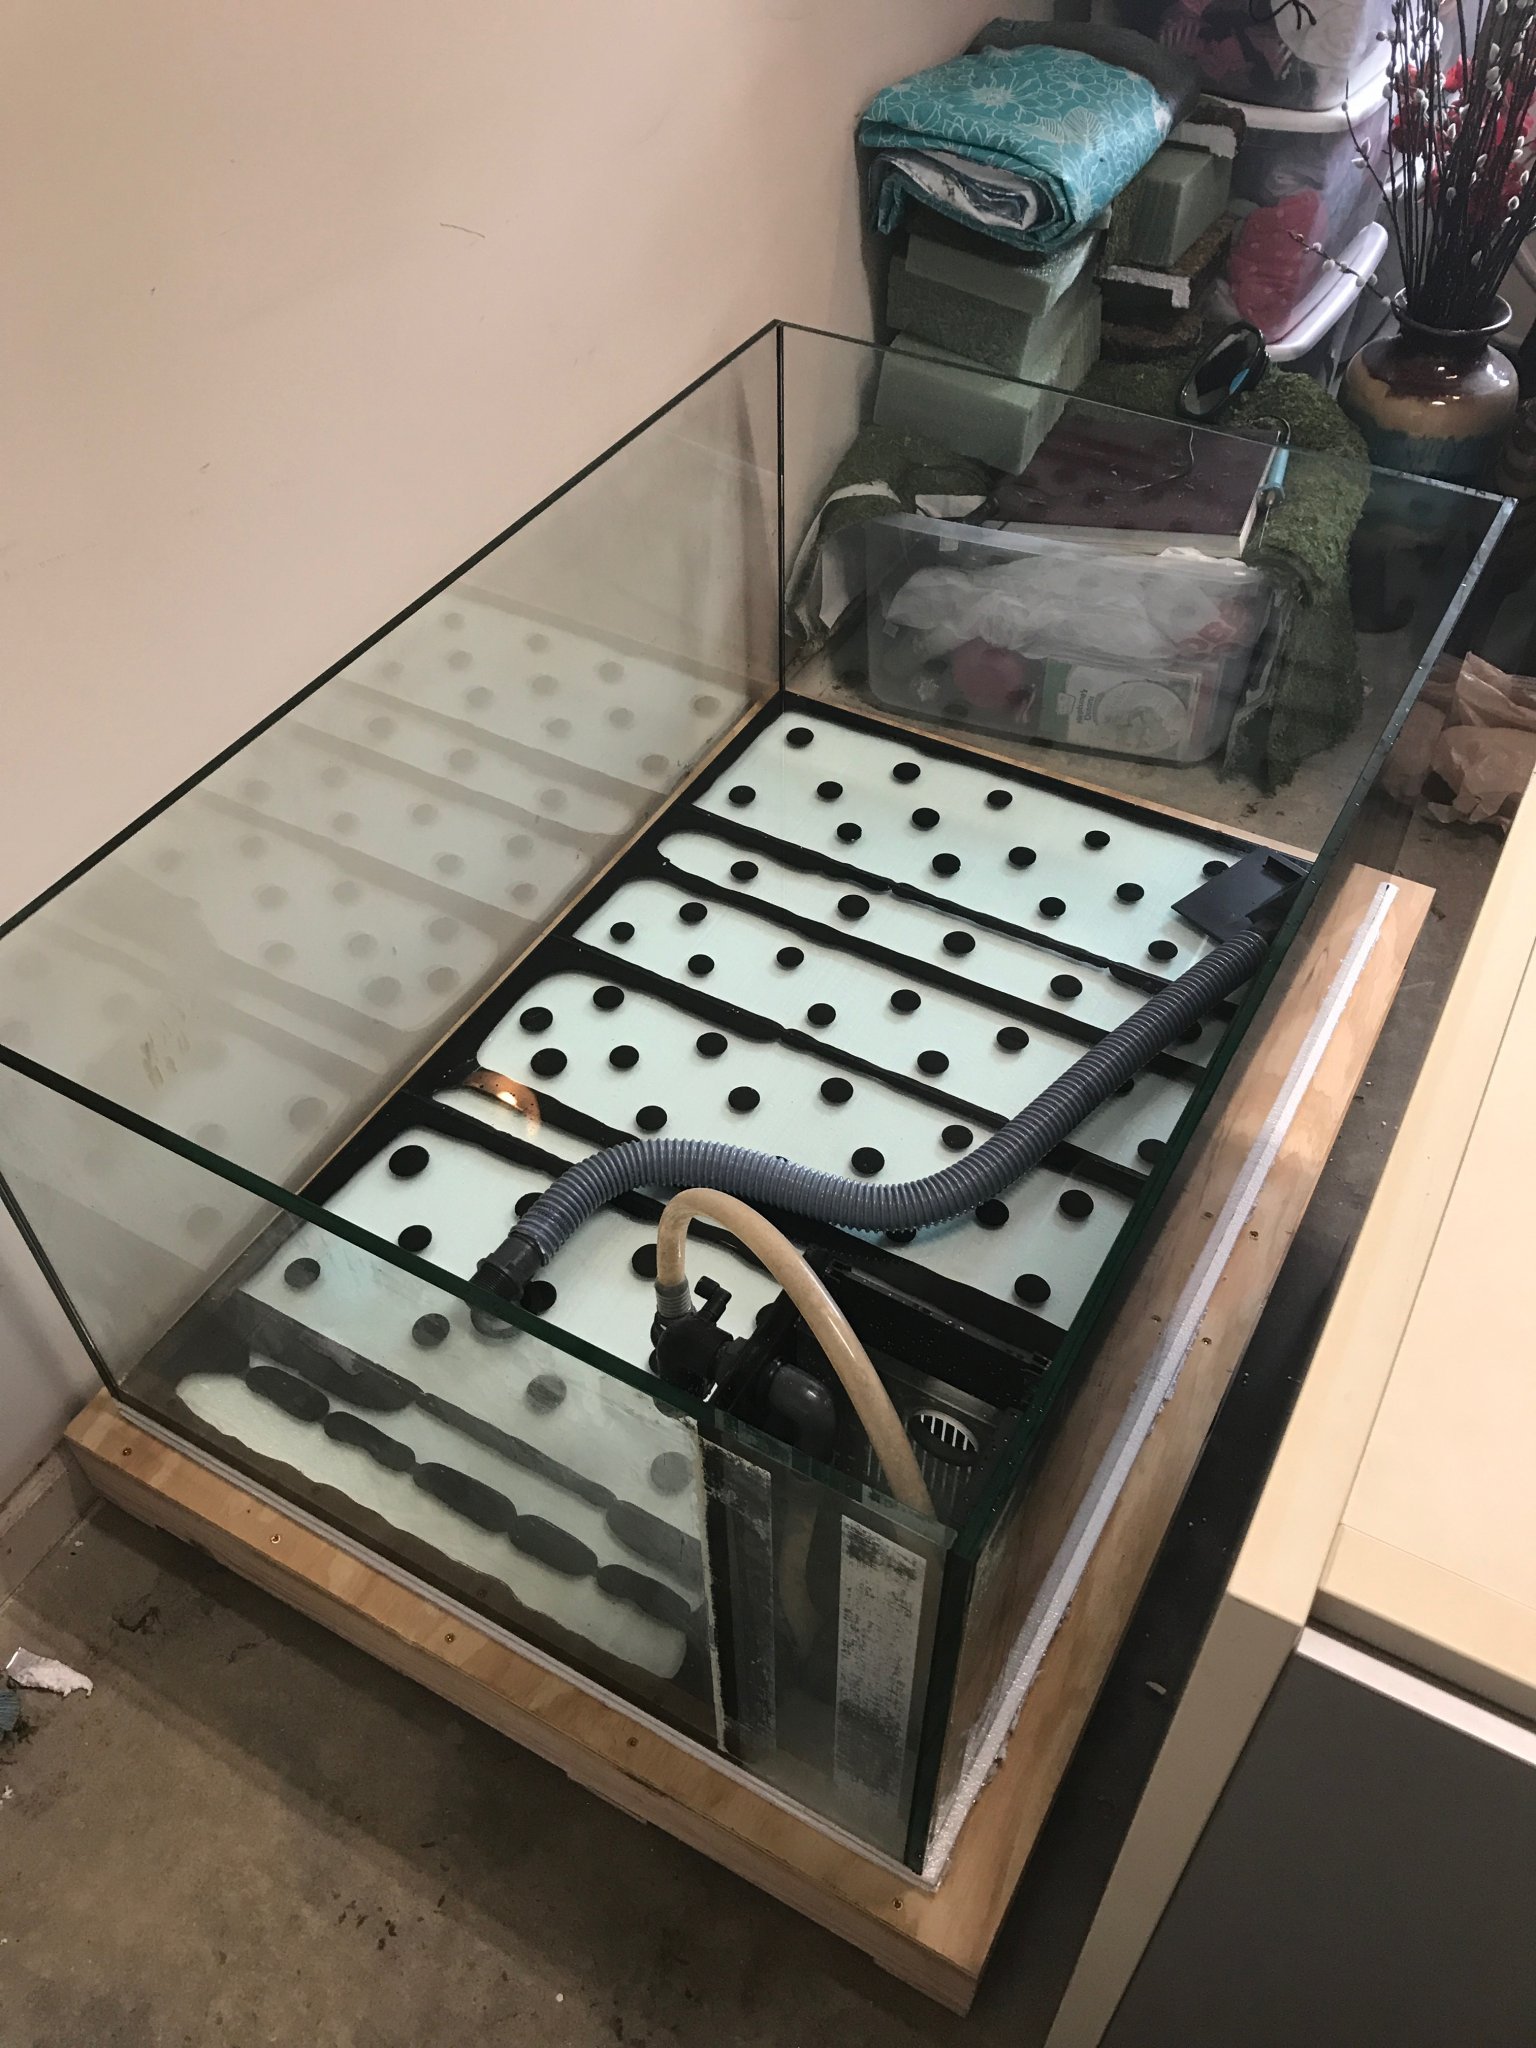
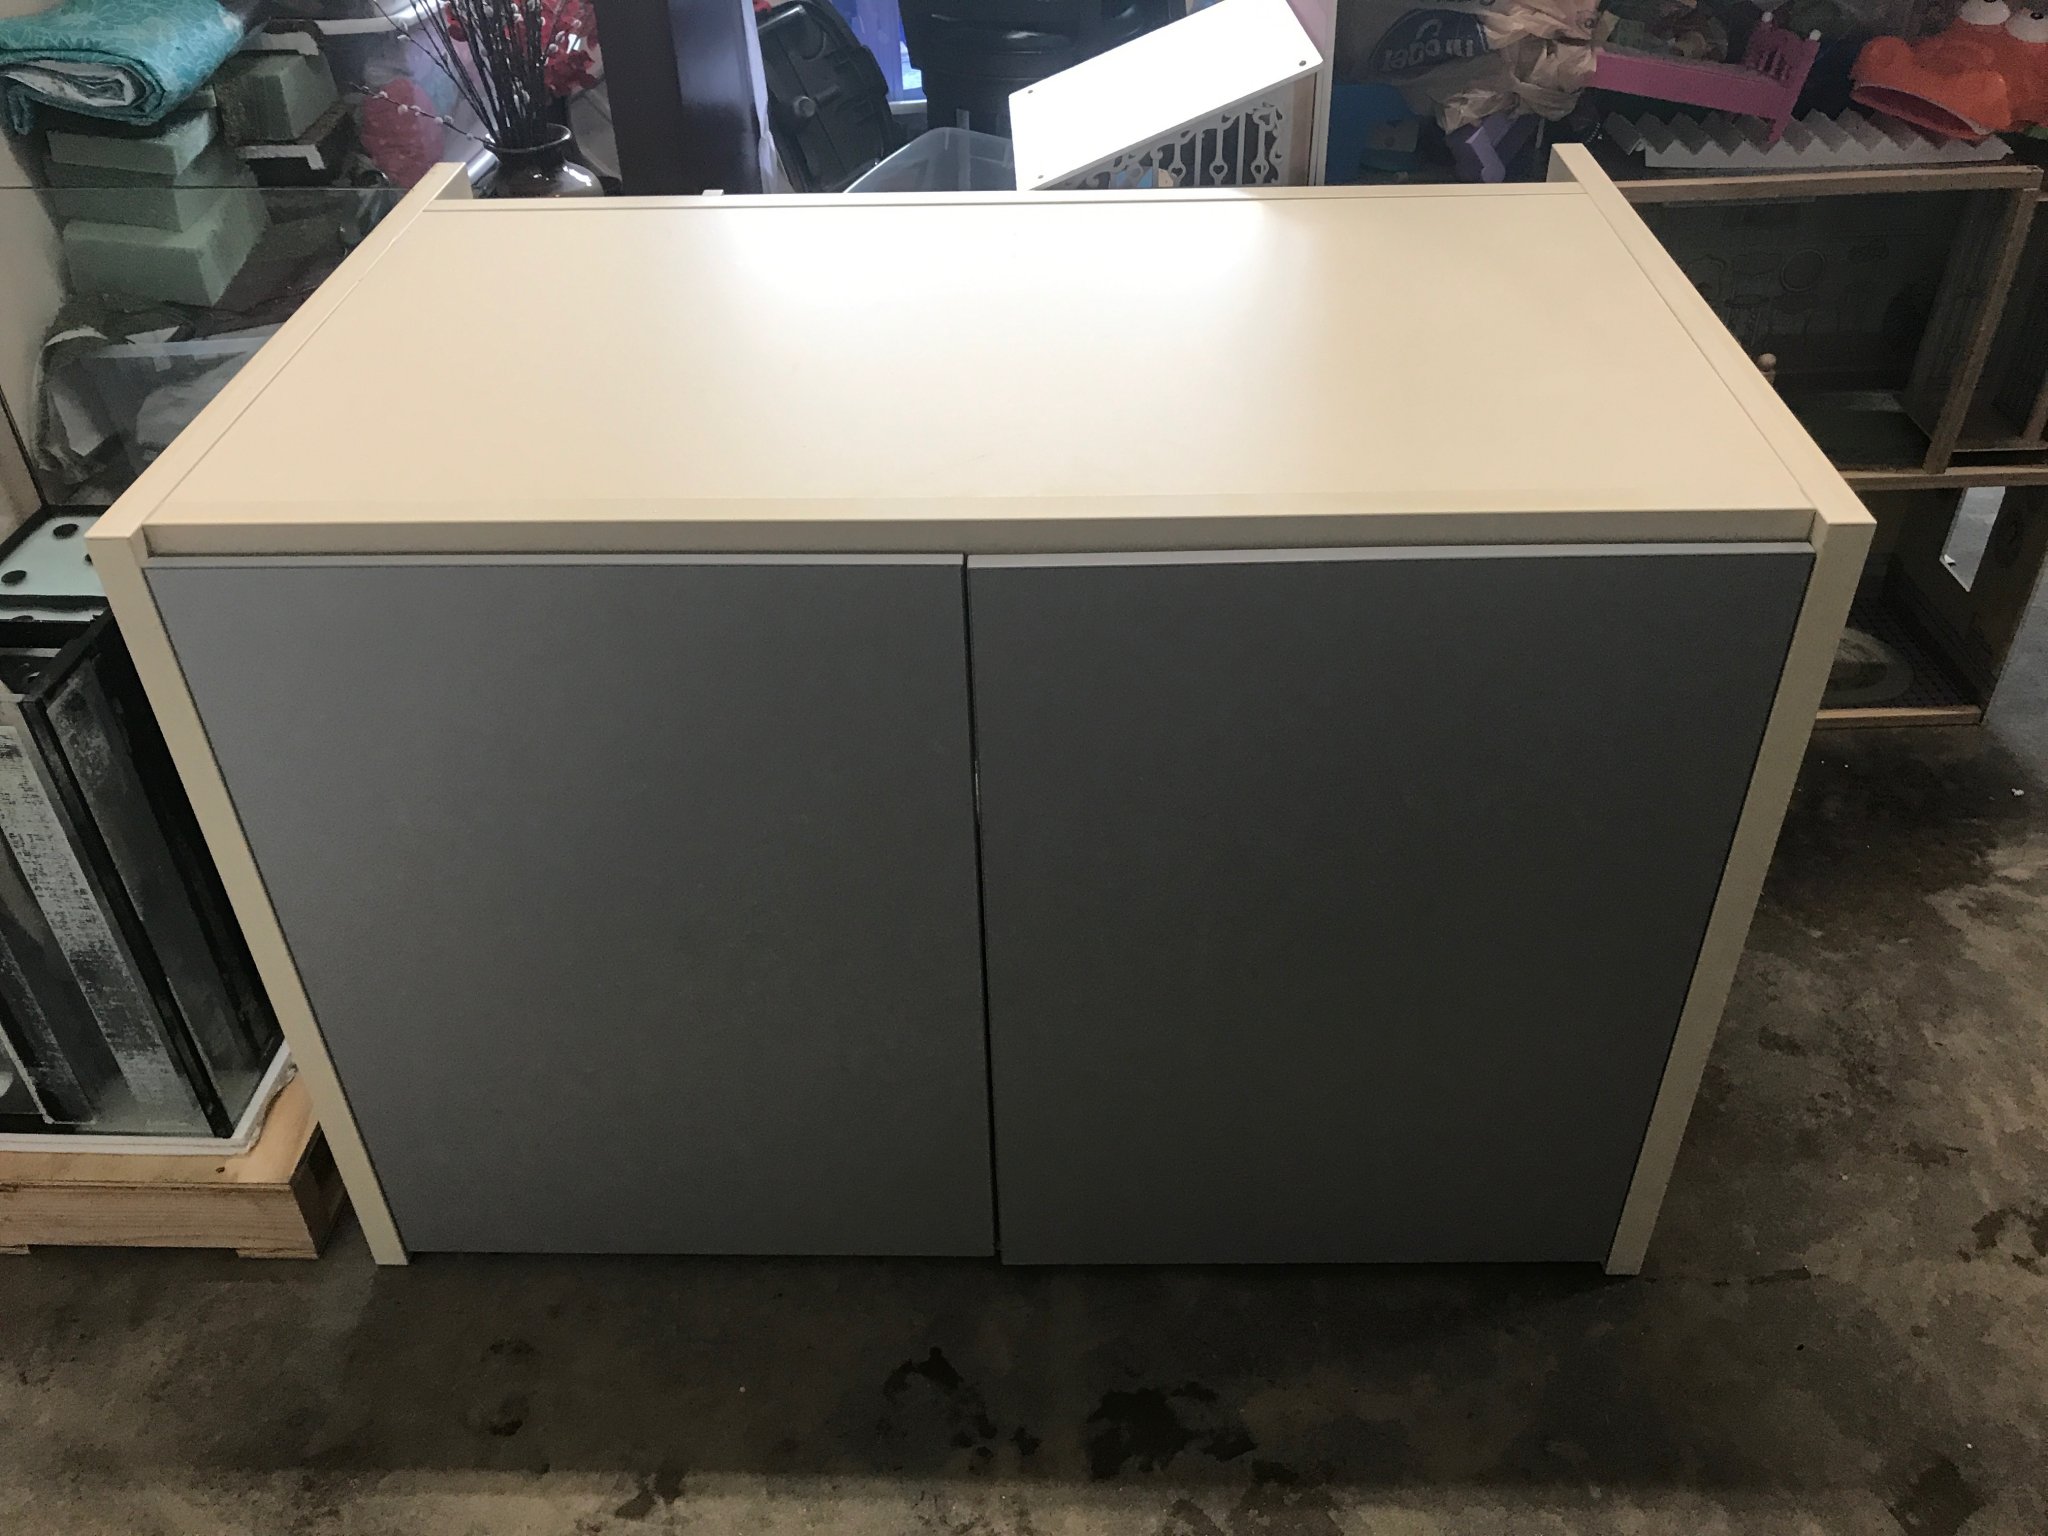
So I found a used Elos 120XL from a previous shop owner and plunked down the cash for it. Hired a LFS to come out and help me move it as it was cheaper to hire them than to buy a set of suction cups
Here she sits right after I picked her up. Made a pallet for it to go into the container. Later found out that the moving company would have done this for me, but oh well.
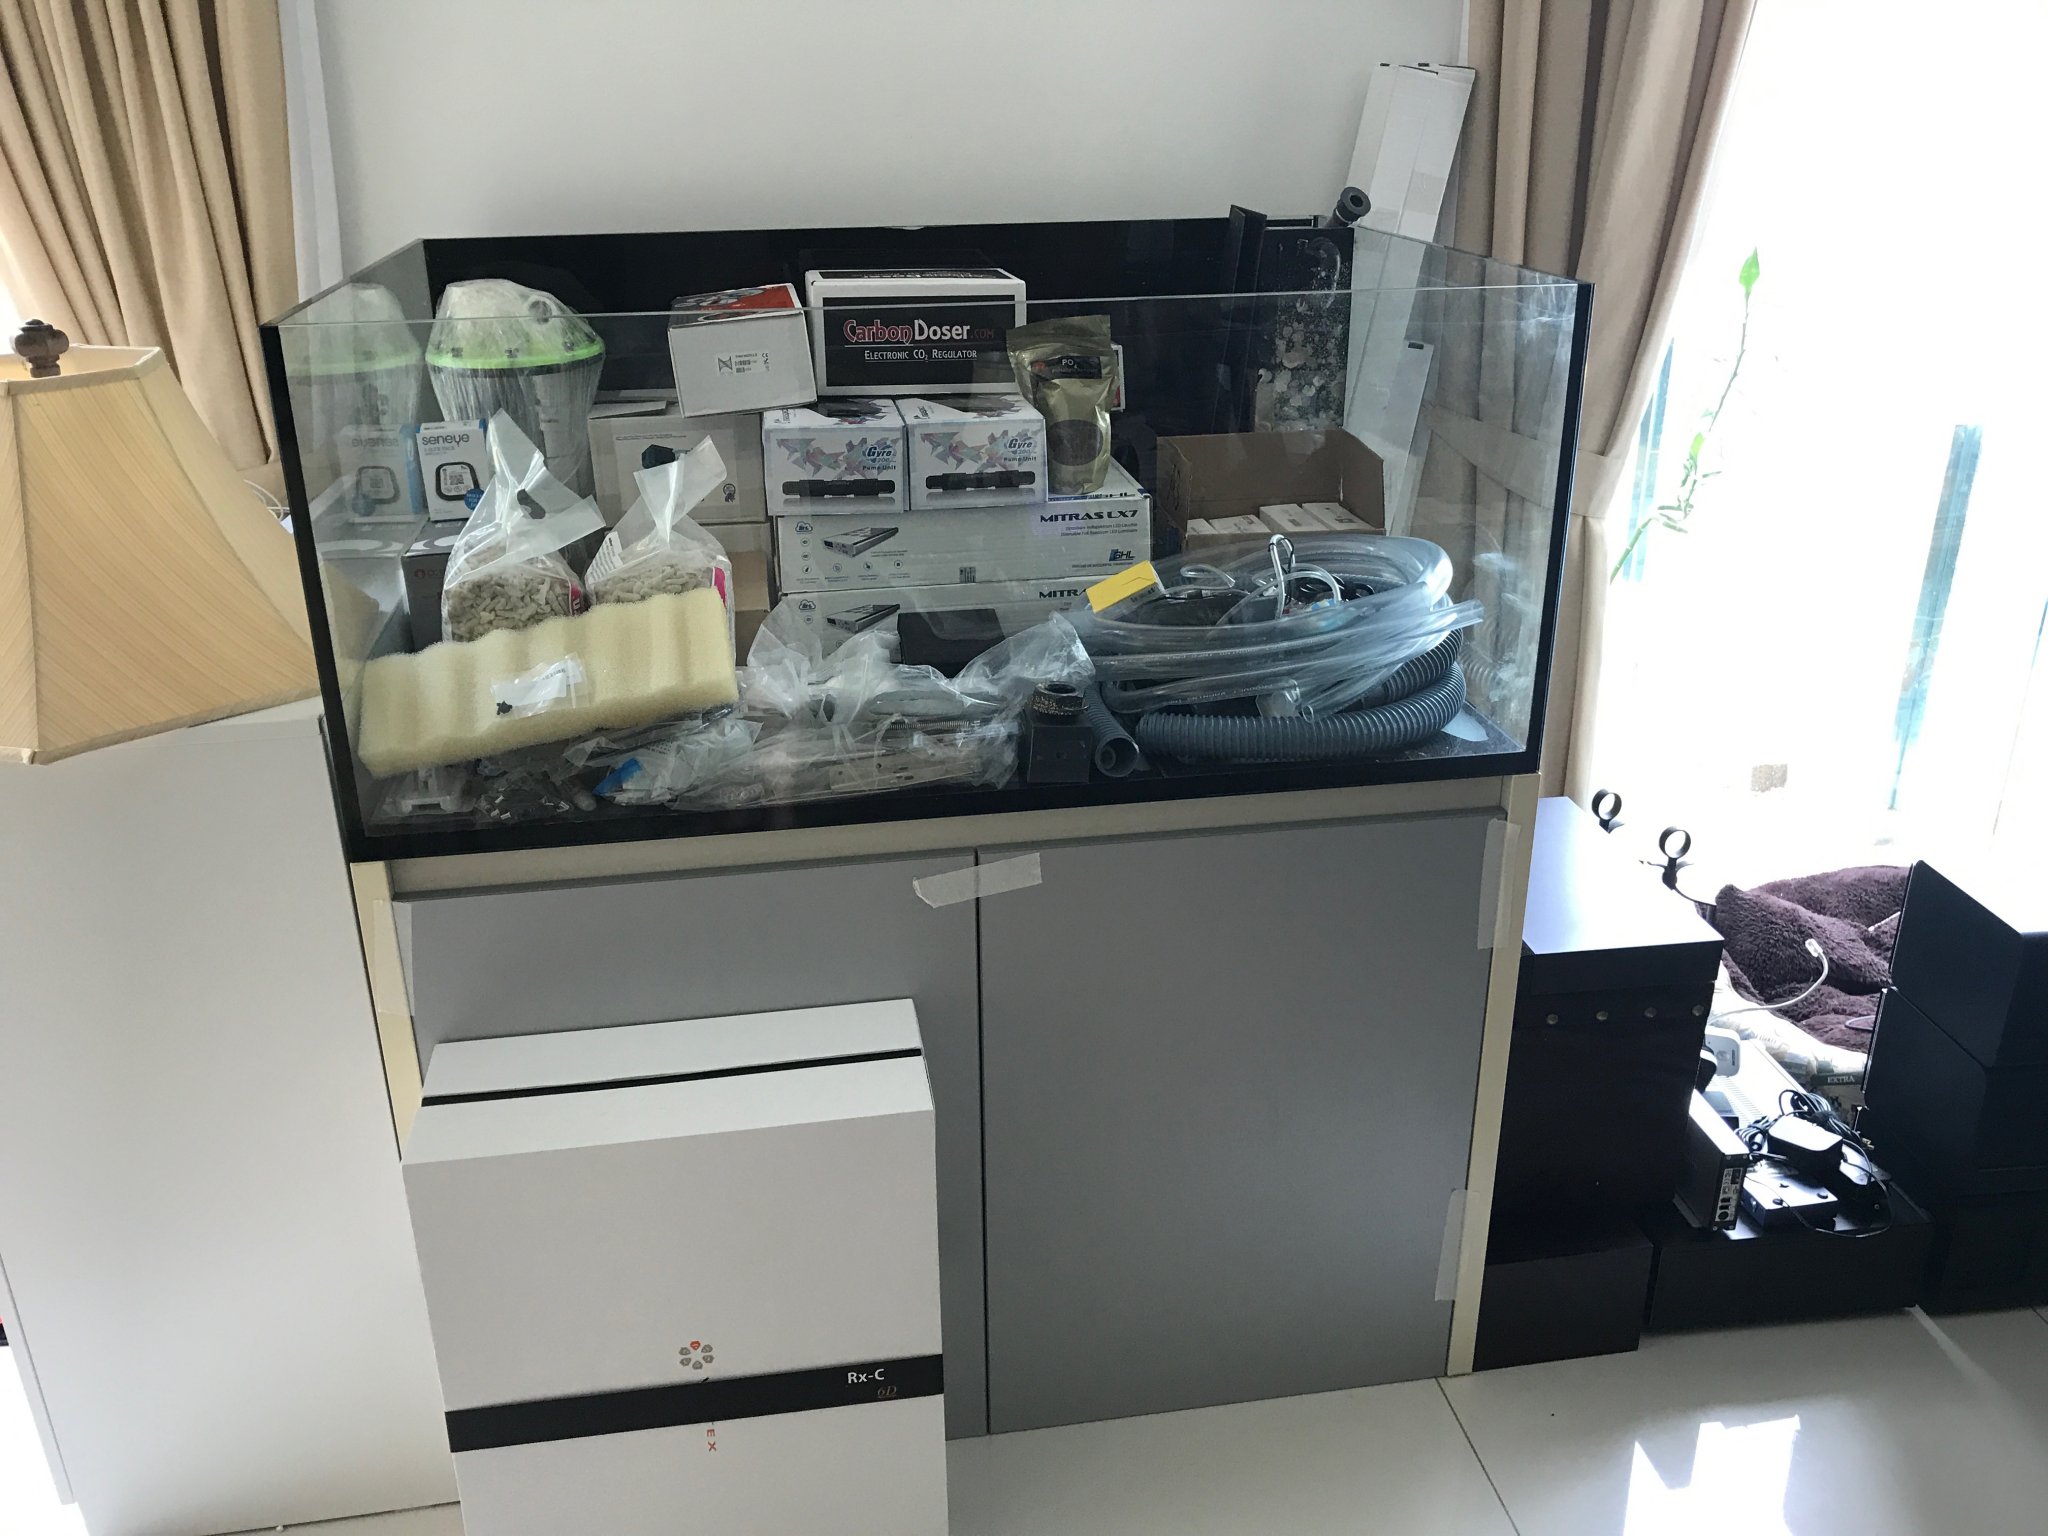
As the tank came with the Elos stand already, I now had to go out and buy everything else. The sump was the first thing on the list.
So, I had been reading through @d2mini's tank build thread for many months and really liked how Dennis did things, and the way he thought things through. Mostly it stemmed from the fact I always wanted an Elos tank as getting one from Felix is dang near impossible under any sort of uncertain timeline. So, what you'll see that follows is largely based on Dennis' work and I stole a whole bunch of his ideas, and come up with some others on my own. Dennis - you didn't know you inspired my entire build, but kudos to you right up front!
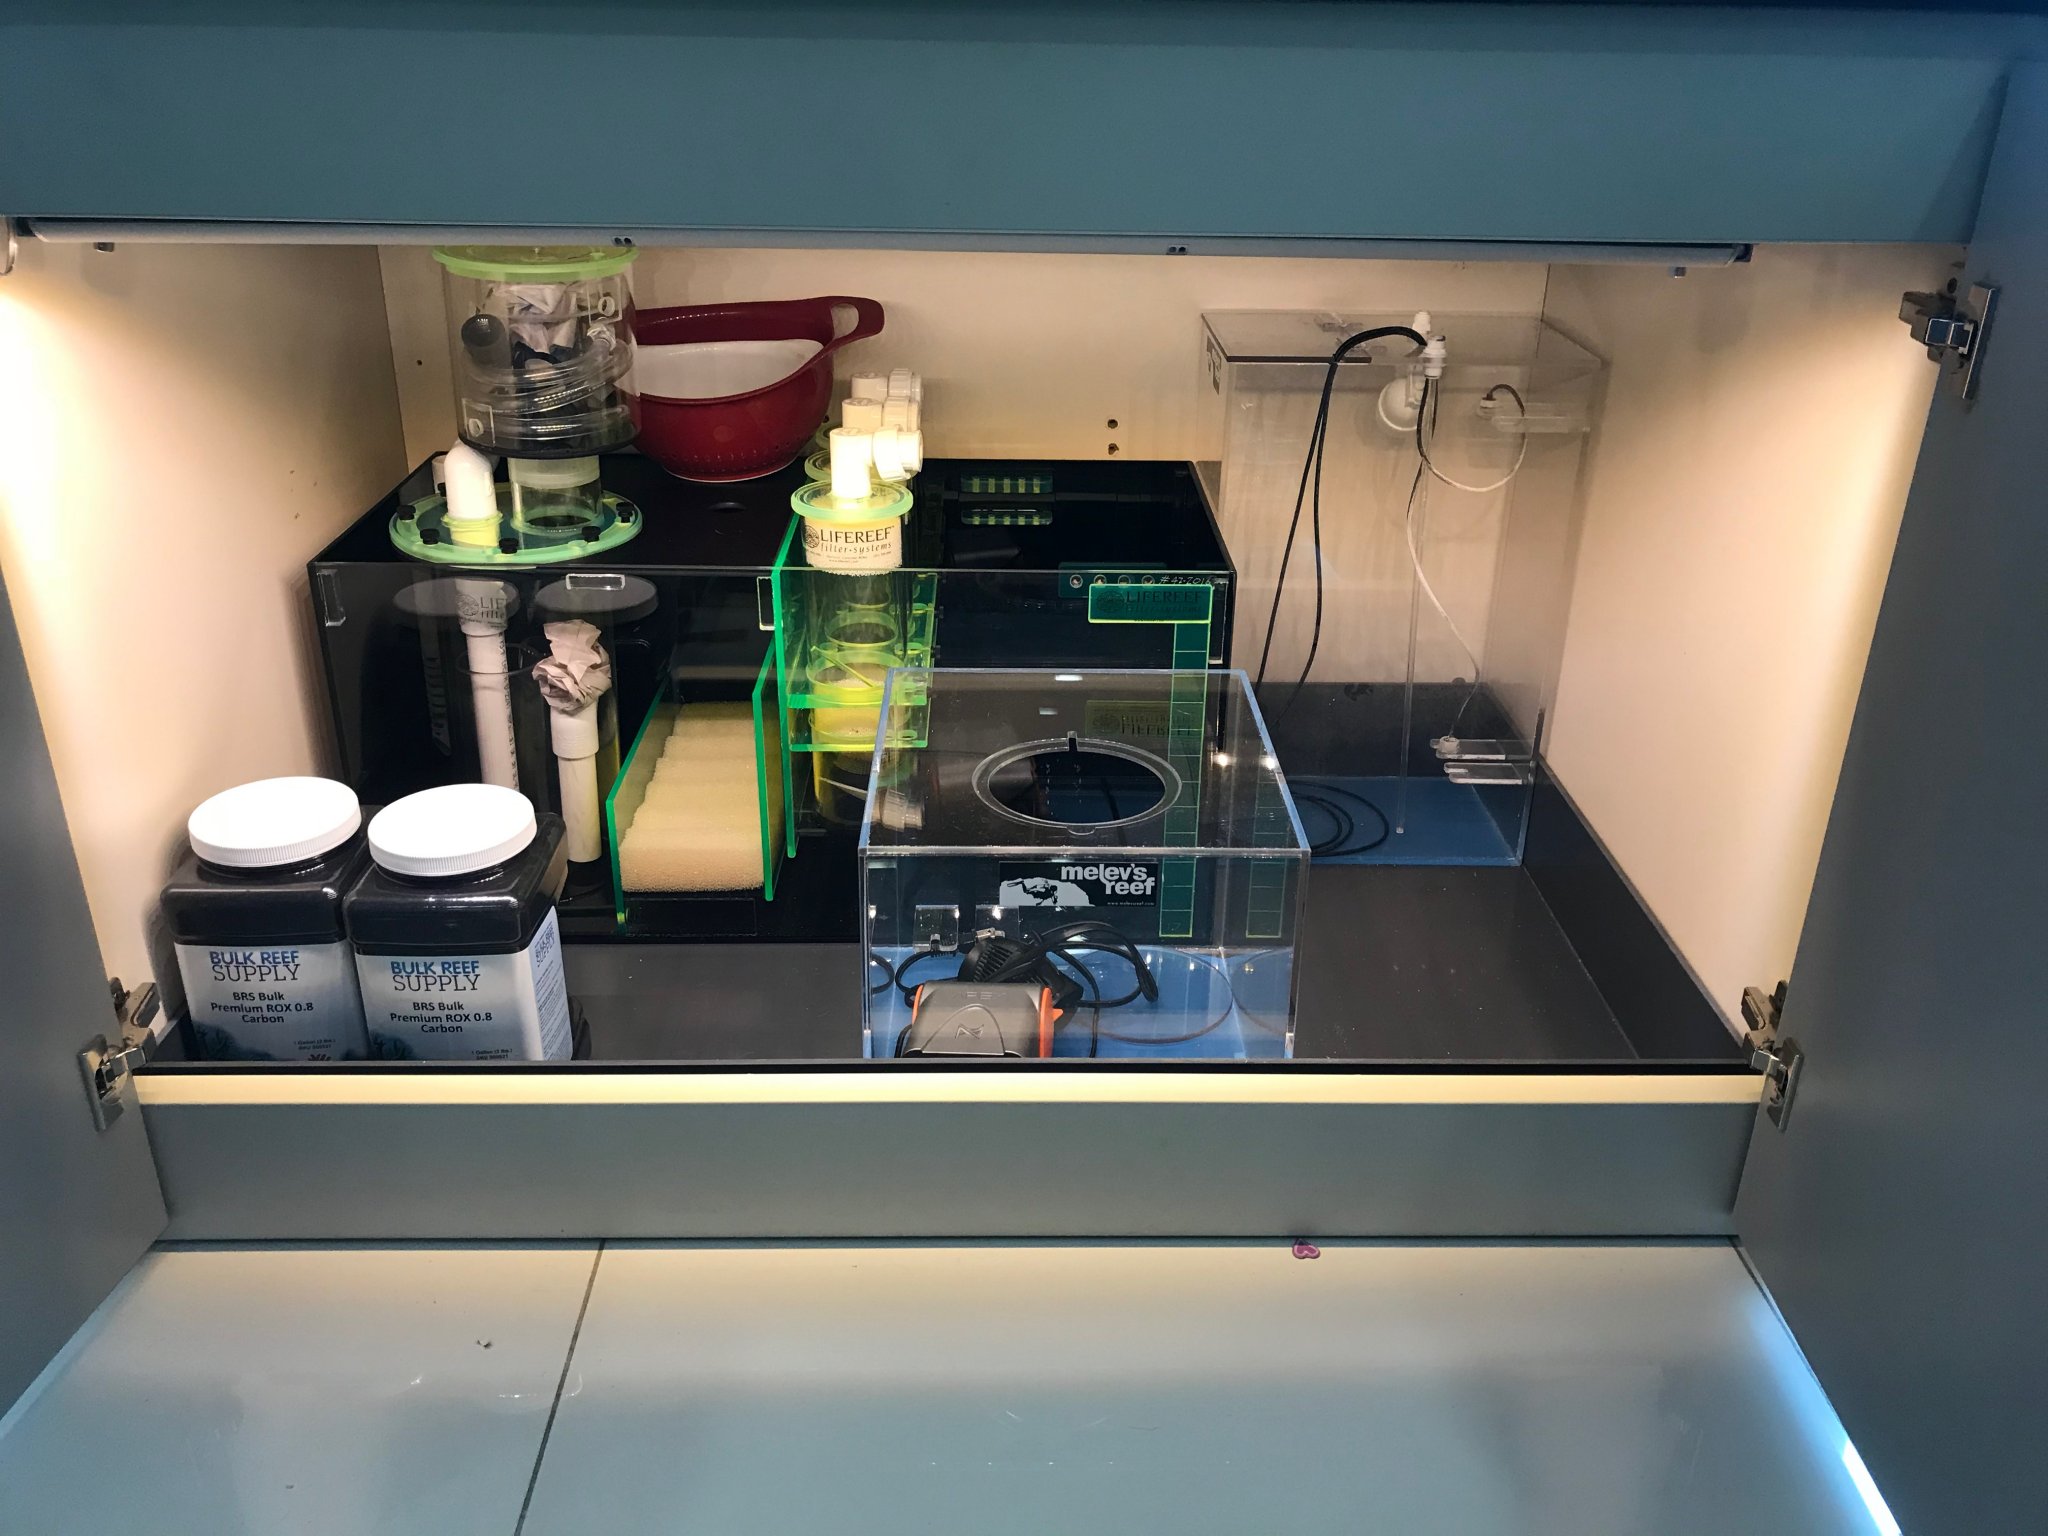
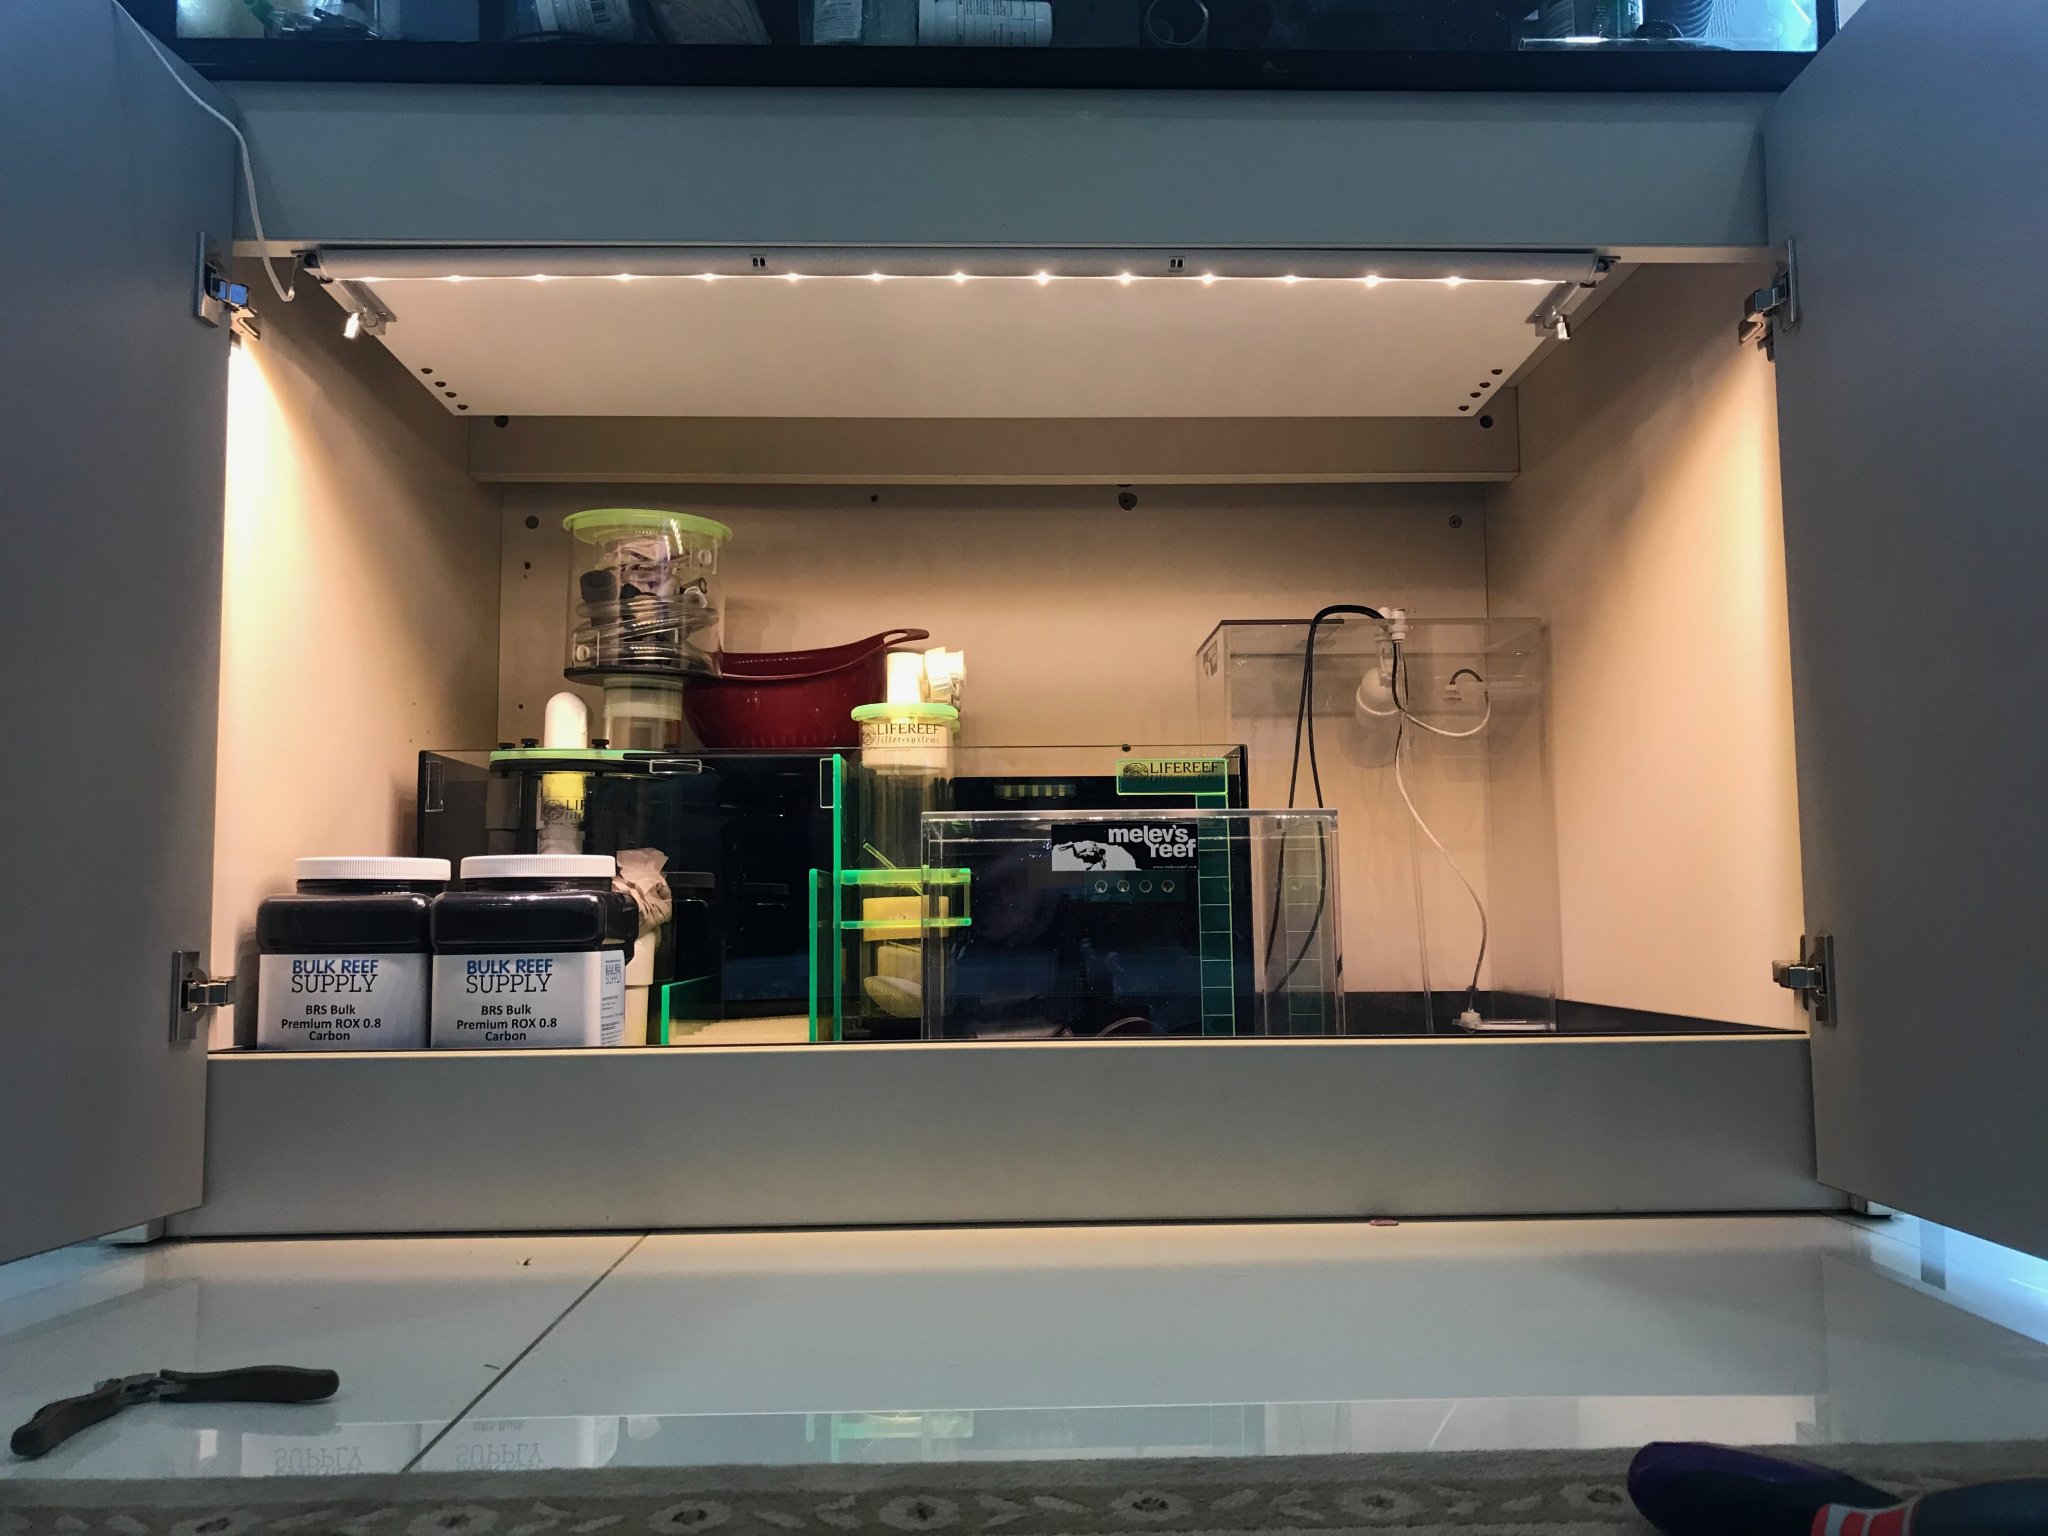
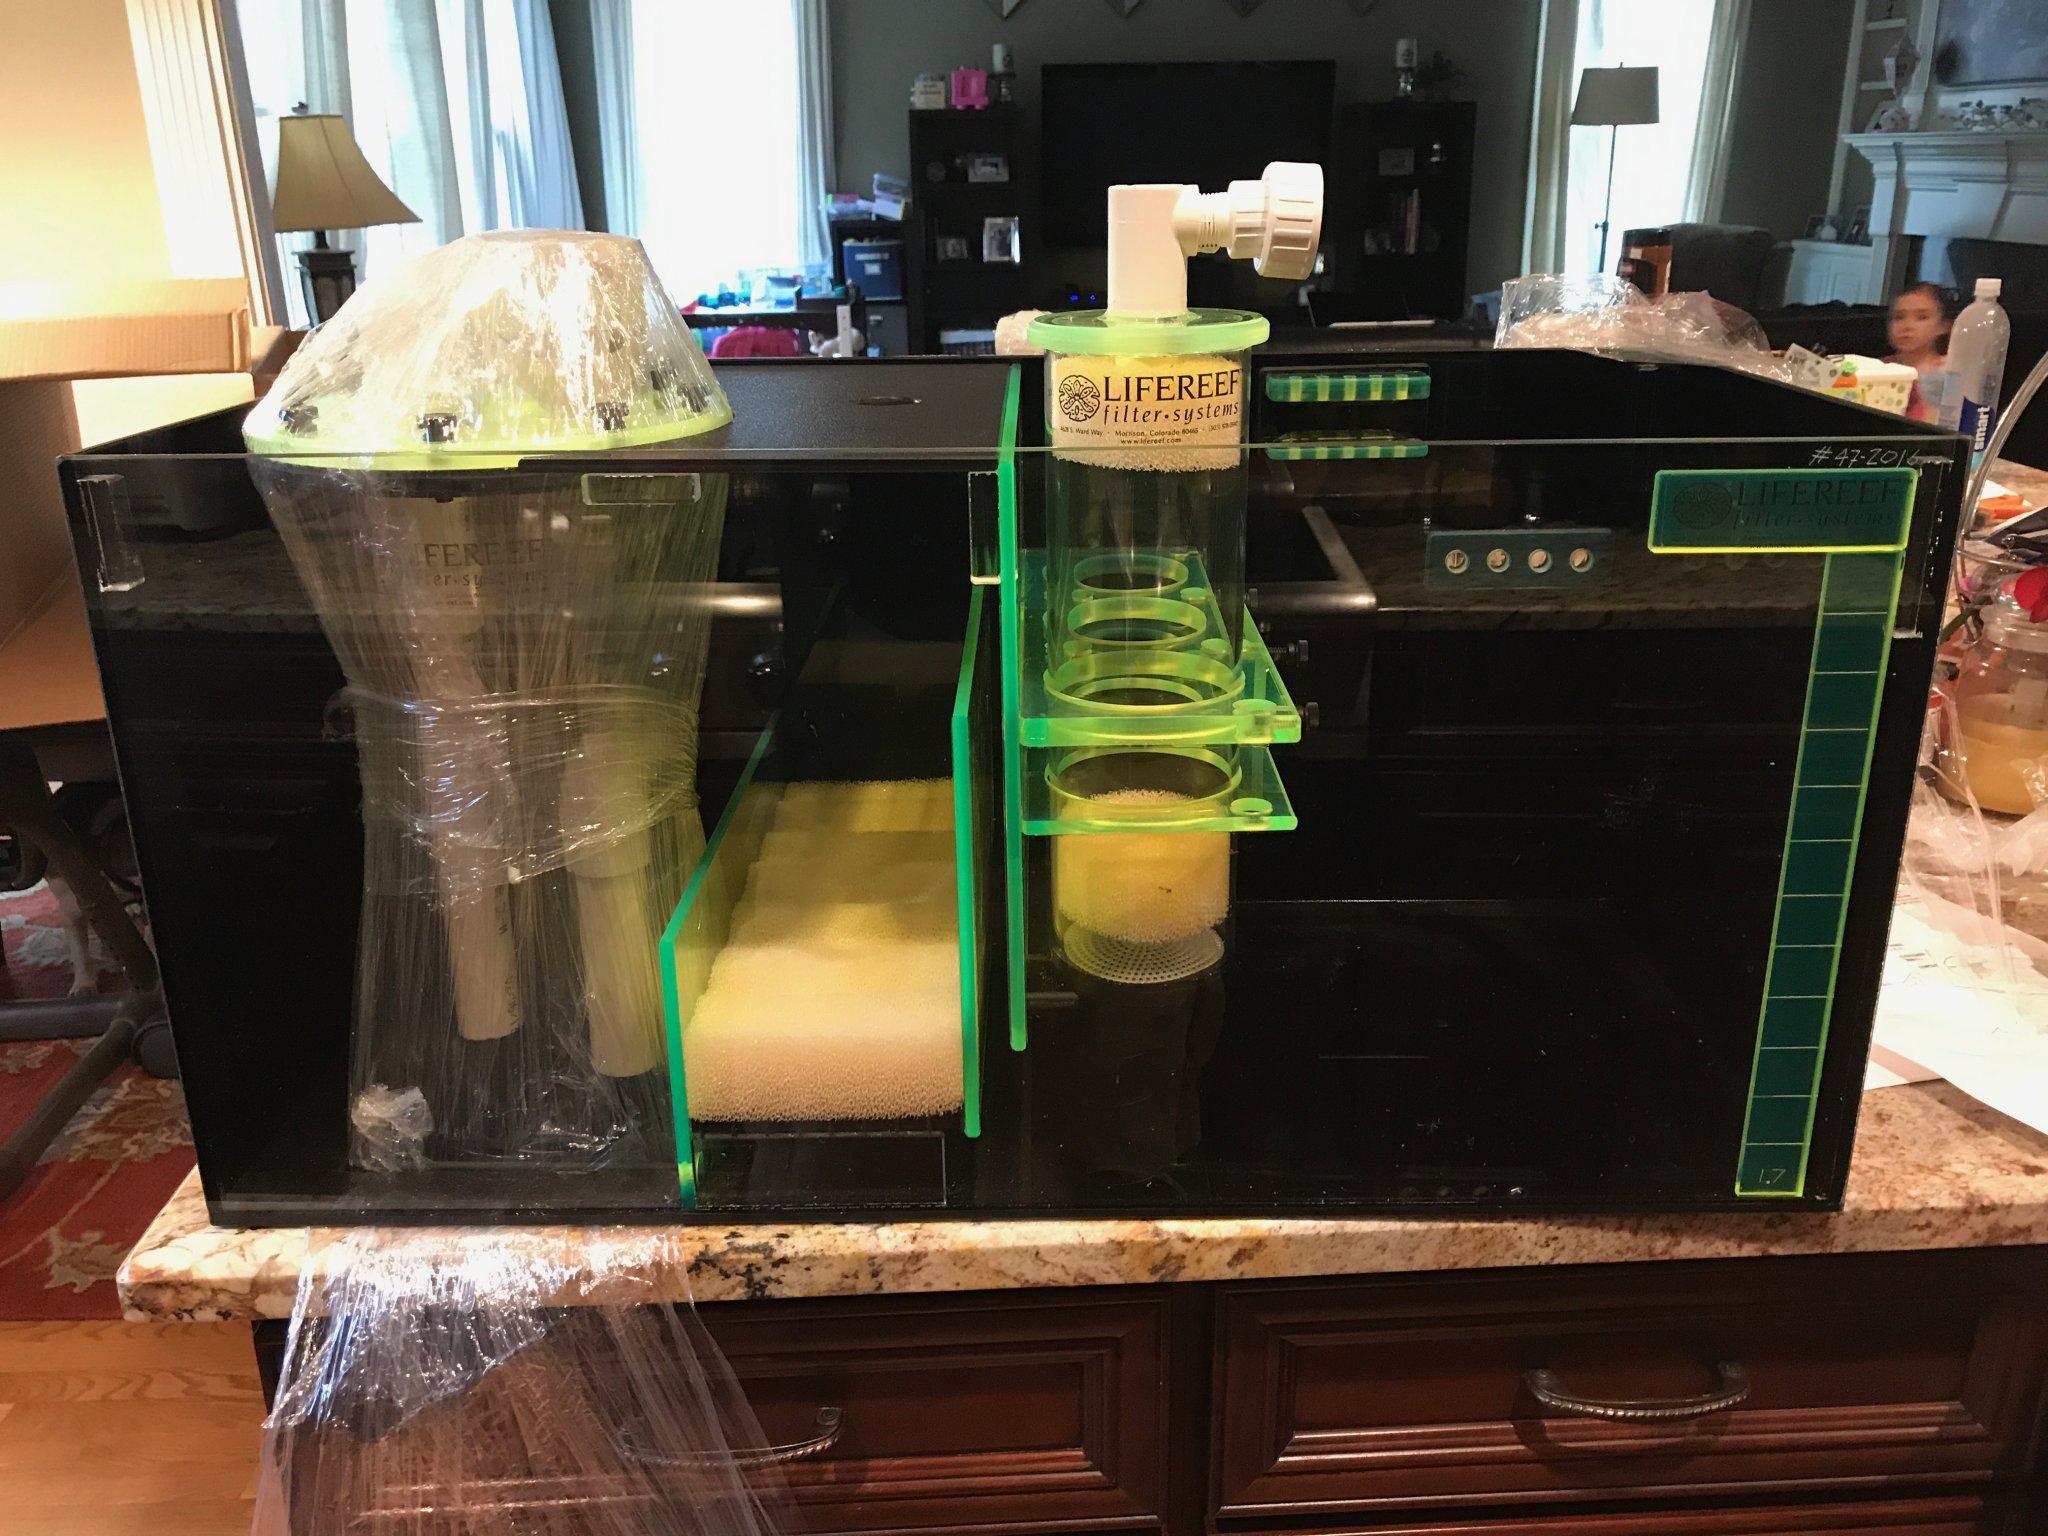
I knew I wanted to keep things simple. I had used a turf scrubber before in my Nuvo, but didn't want to go that route again. There's some things about scrubbers that disenchanted me, so I figured a bog standard Berlin type sump is really what I wanted, as well as a refugium. So I called up Jeff at LifeReef and asked him what his waiting period was like as I had a few months before we were moving. Turns out that Jeff had his prototype Signature Series sump sitting in the corner and he had never gotten around to selling it. We did some measurements and sure has heck, it was literally exactly what I would have ordered. Happy coincidence that it matches Dennis' sump, but worked for me! As I already had a good sized custom ATO reservoir from Marc at Melev's Reef, I had Jeff custom make me a LifeReefugium to fit the space I had and it turned out perfect.
One of the more interesting things about my tank is I'll be running dual voltages. I already had a lot of 120v things from my Nuvo, but power here is 3phase, so everything is 220v. Most all of my "new" purchases were based on DC type systems that could run at either 120v or 220v. Some things I couldn't purchase as 220v before I left the states, though, so those will be on my voltage converter with other existing equipment.
Equipment List
Elos 120XL with Elos Stand (this is the non-"quiet drain" model)
LifeReef CLF2 Prototype Sump in green/black/clear signature style
LifeReefugium in green/black/clear signature style
LifeReef SVS3-24 skimmer in green/black/clear signature style
2 Maxspect Gyre XF250
Apex 2016, EB832, EB6, EB8, ATK, VDM, WXM, ALD, FMM (2", 2 x 1/2", 3 x 1/4"), LSM, AFS, DOS, PM1, PM2, custom BoB, and probably some others I'm forgetting
IceCap Apex VDM interface for the Gyres
IceCap backup batteries for the Gyres
3 Reef Octopus Varios6 (Skimmer, Return, and Fuge/Reactors)
1 Reef Octopus Varios4 (Mixing Station)
Radion G3 XR15 Pro
2 GHL Mitras LX7206 with mounts
Artfully Acrylic custom screen
Melev's Reef custom ATO container
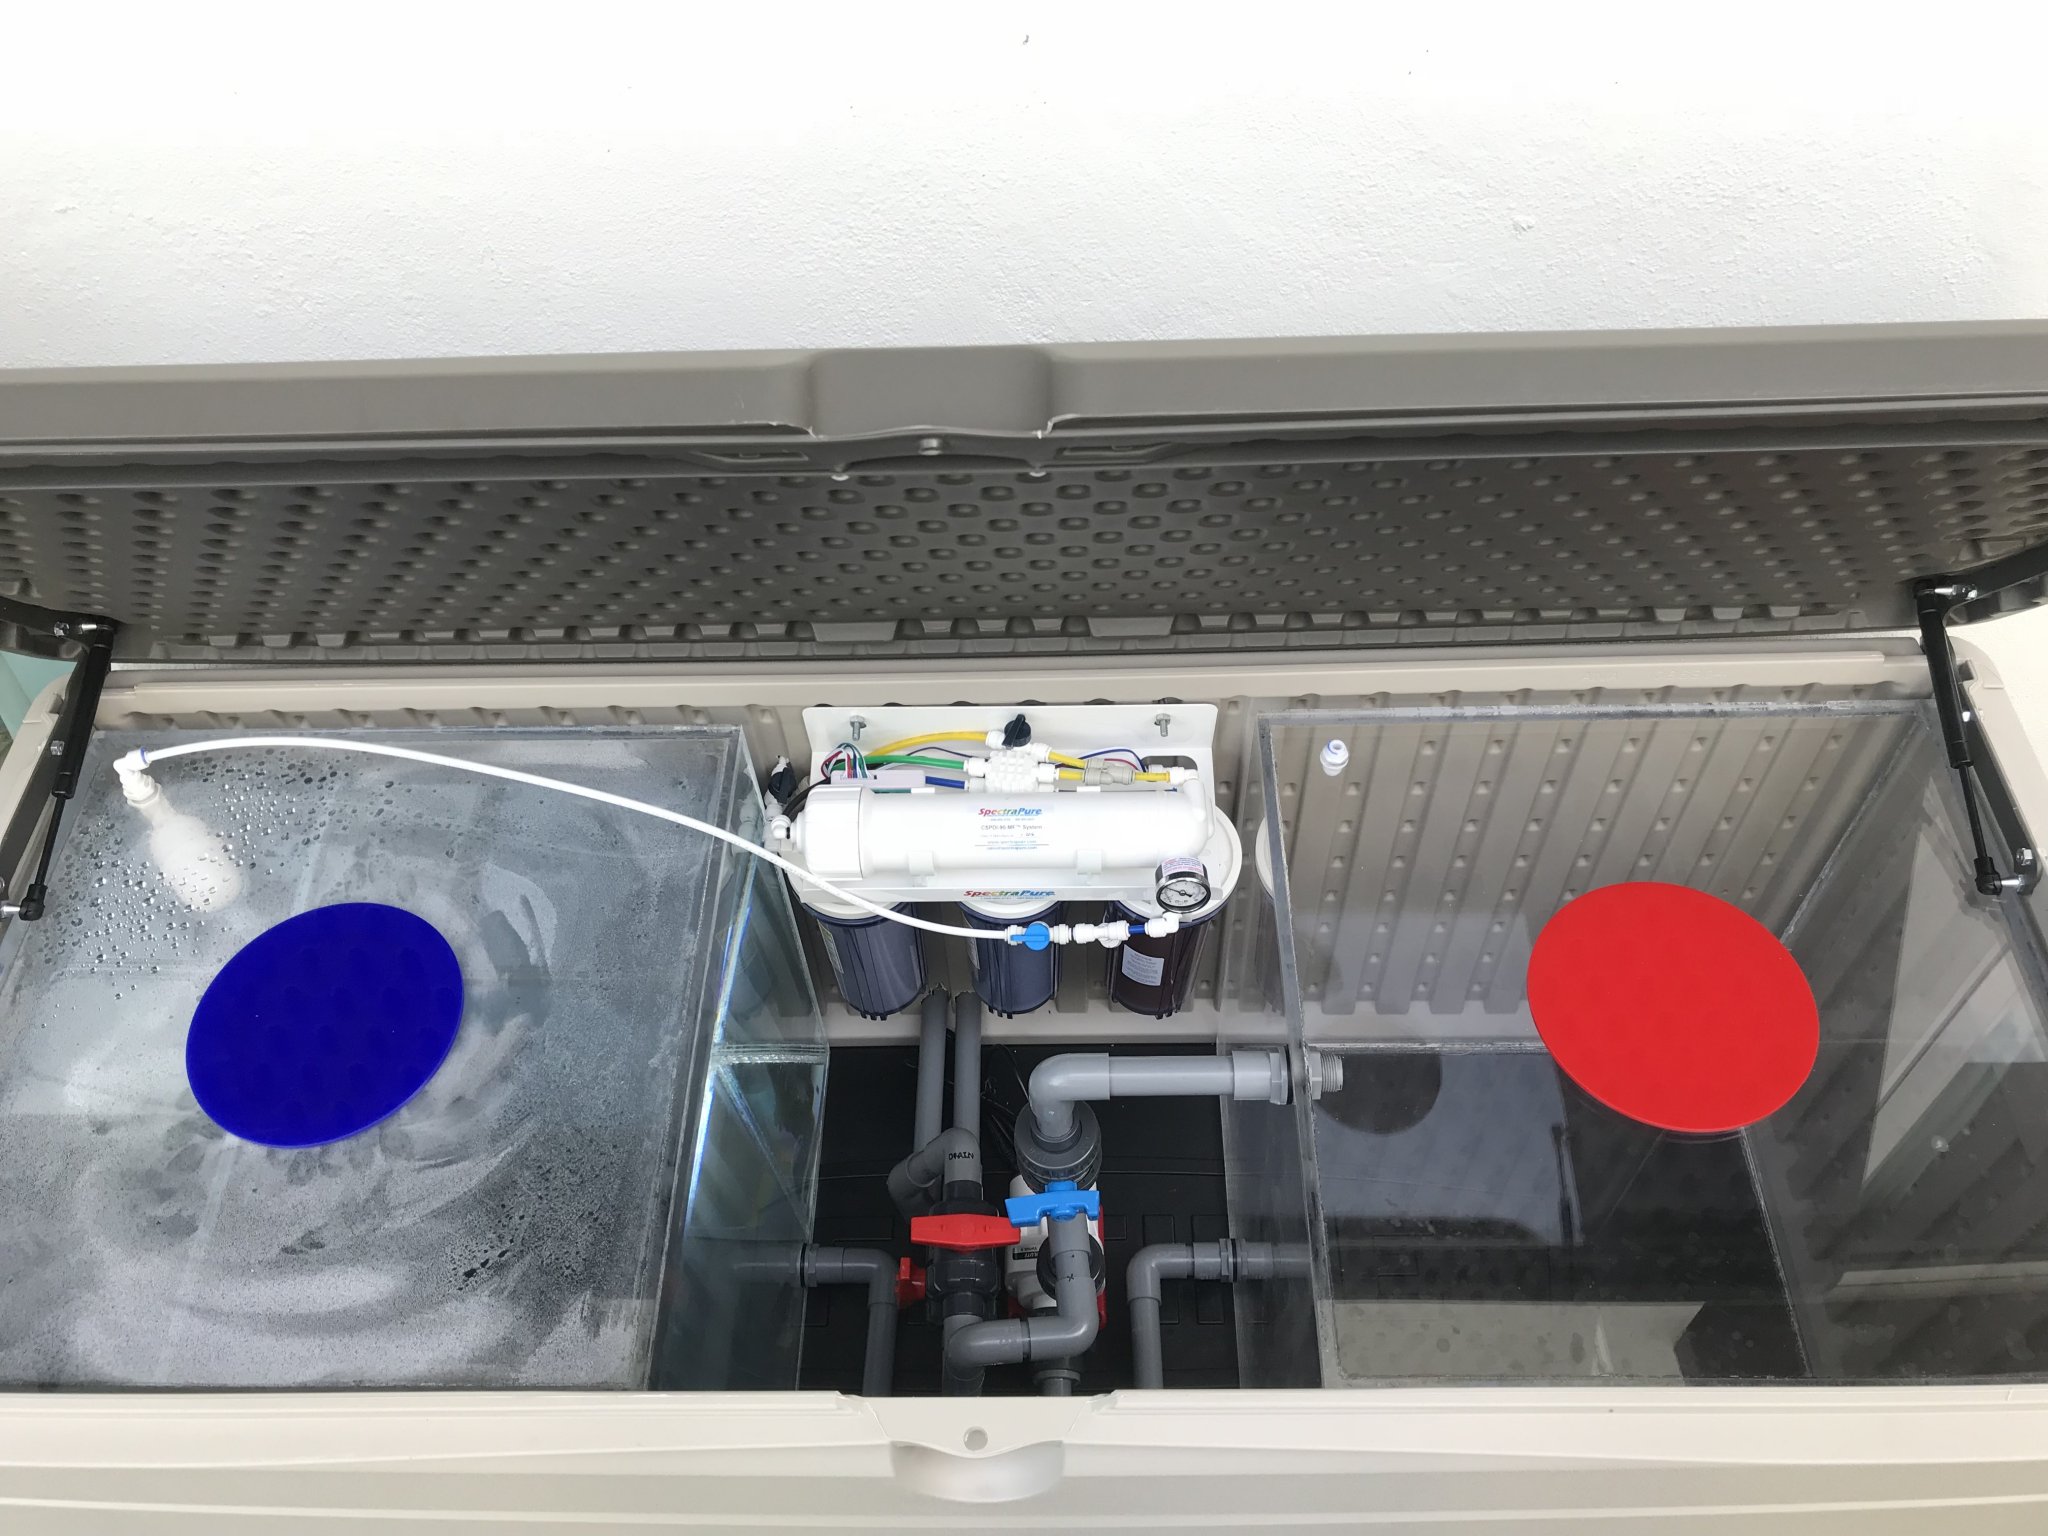
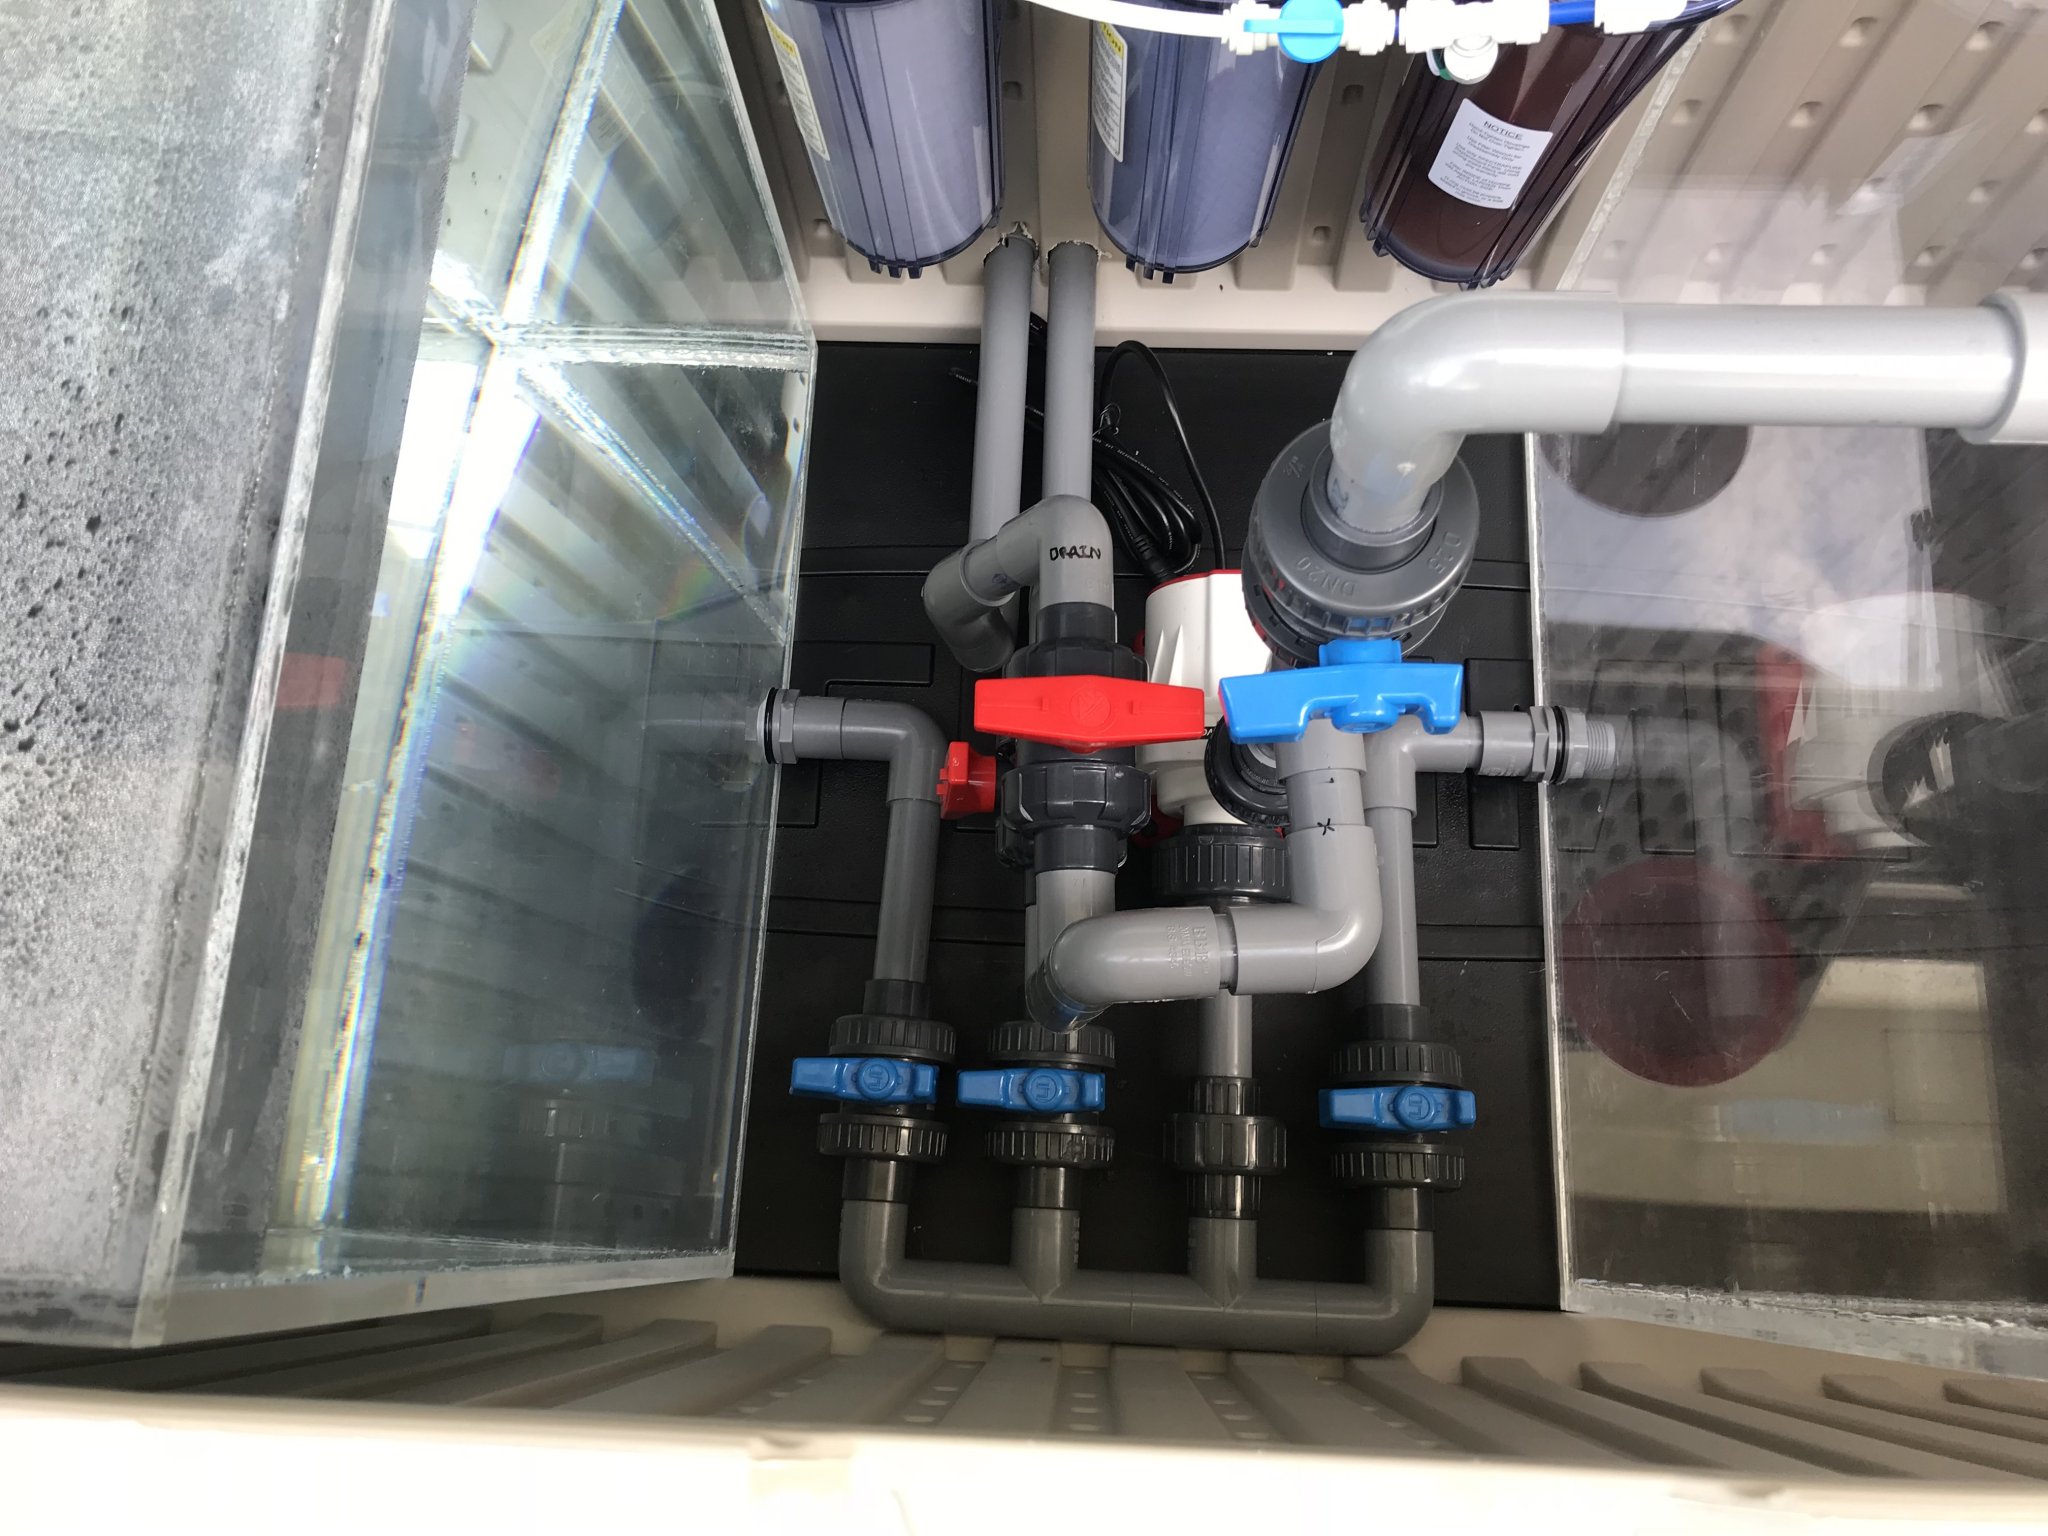
Custom acrylic boxes for mixing station
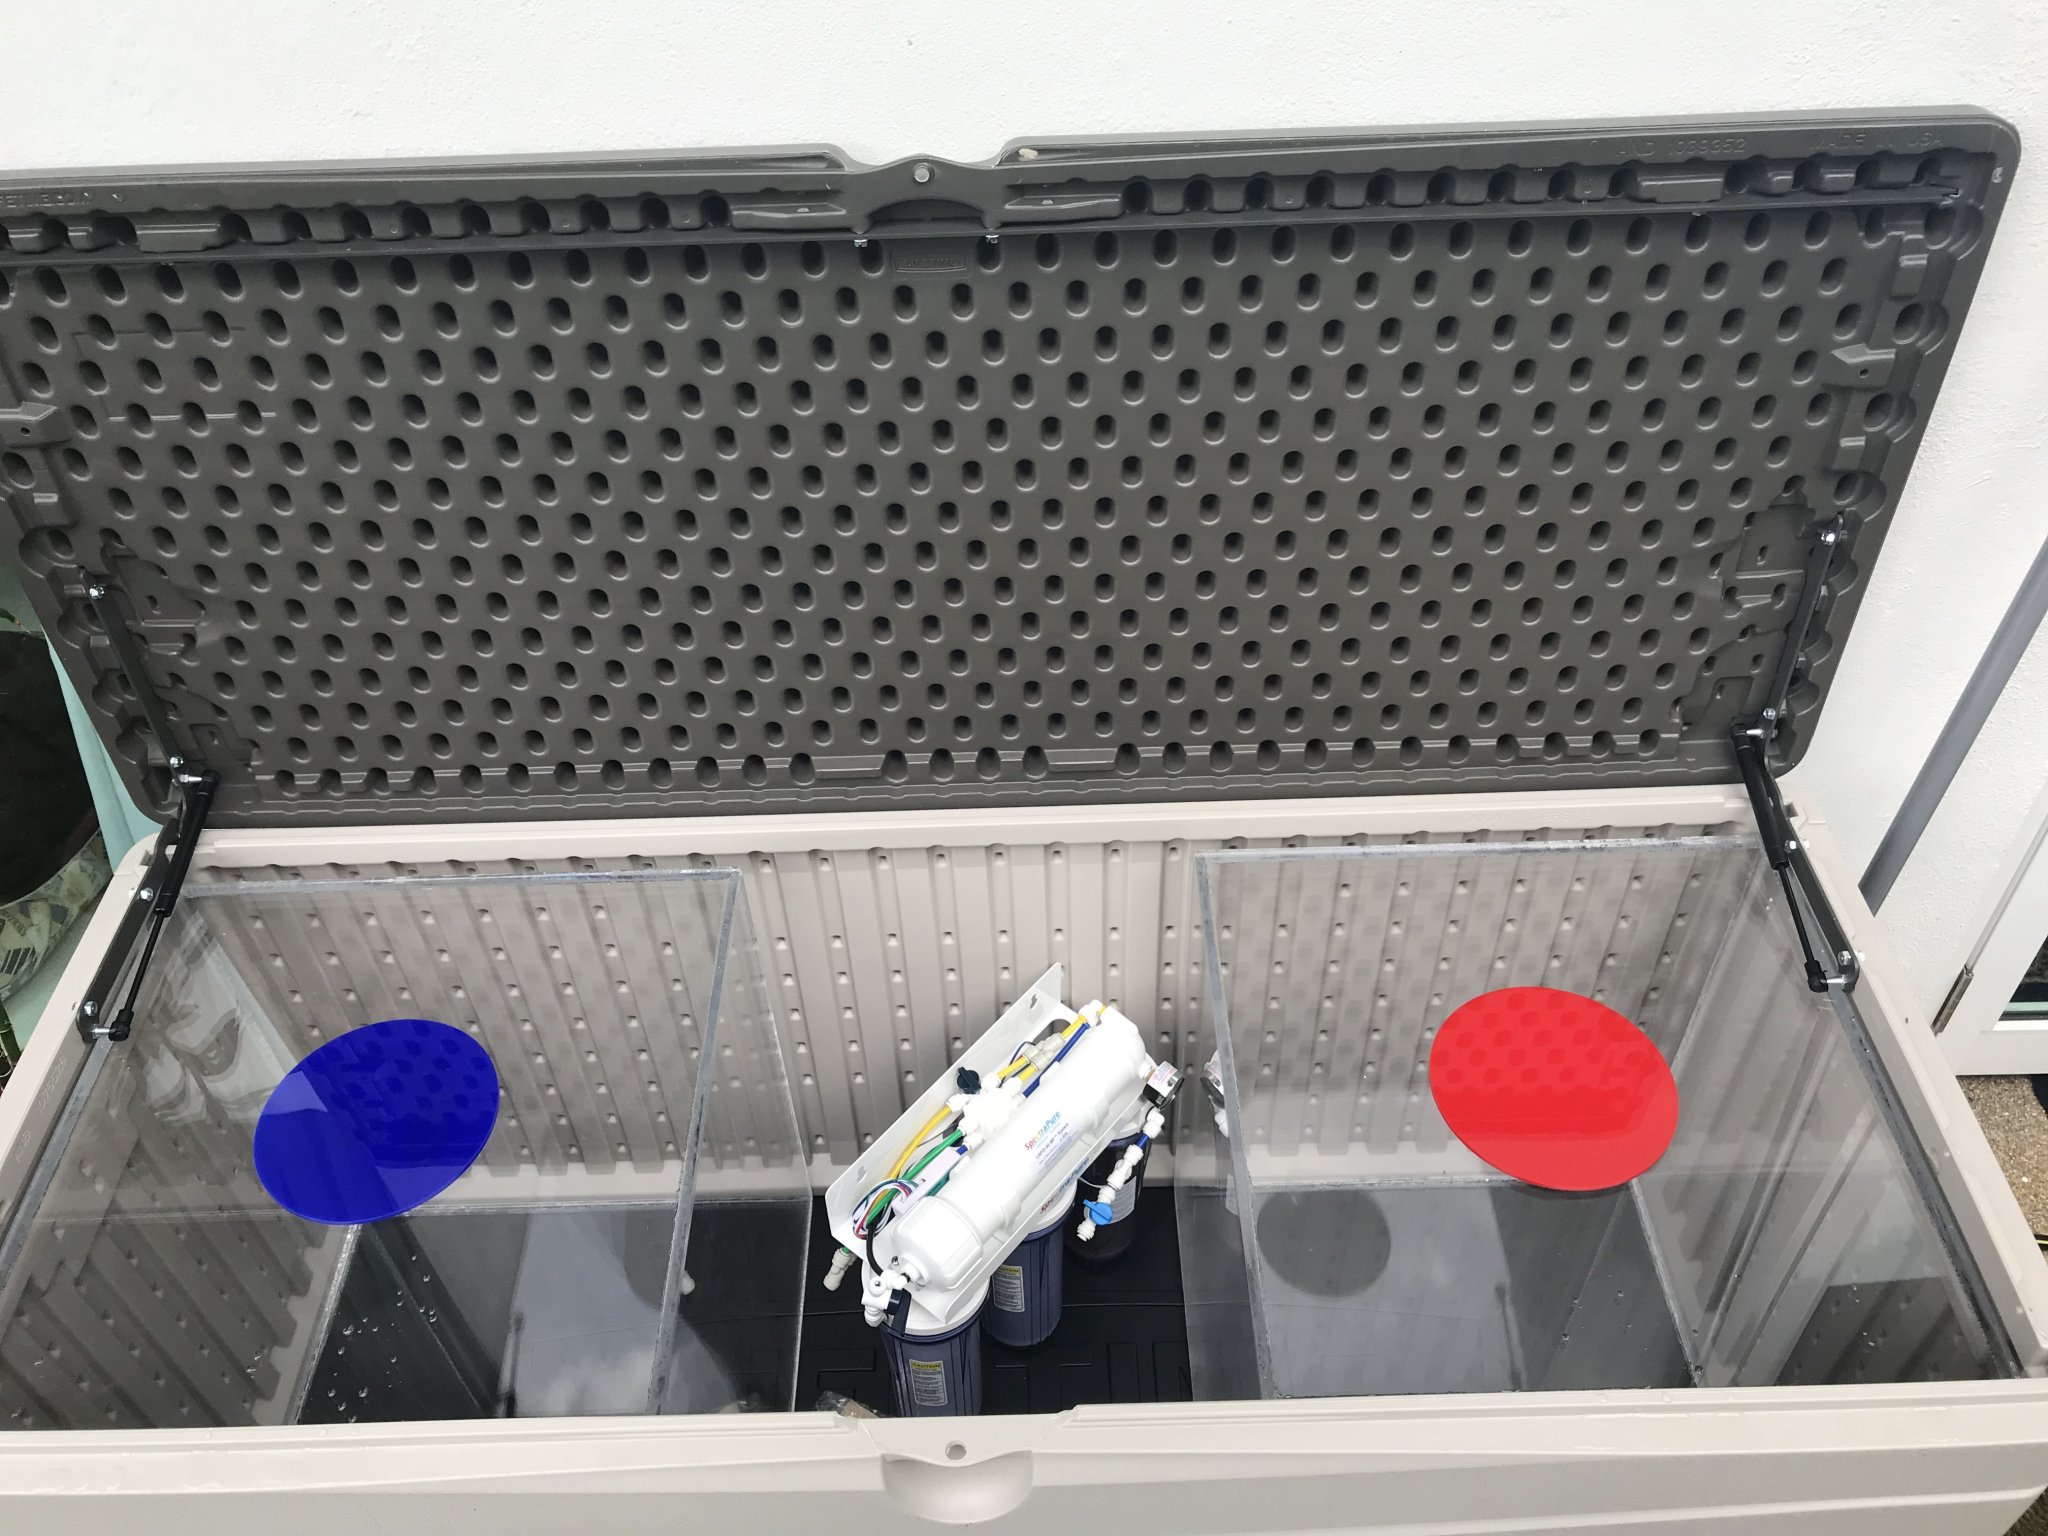
4 stage RO - Spectrapure 90GPD CSPDI with booster pump and auto-flush
Seneye Reef and SWS
Ecotech MP10qd
Ecotech MP40qd
UFO LED Grow Light for the fuge
Vertex RX-C 6D CaRx
Kamoer FX-STP CaRx doser pump
Carbon Doser Electronic CO2 regulator
Reef Octopus 4" skimmate waste collector
Alkatronic
Teco TK1000 Chiller
I'm planning to subscribe to some of the Aquaforest system as it seems readily available here.
That's it for my first post. I've gotten a lot done over the past month and a half and as I type it up, I'll share it.
Seems I was right on both counts.
I currently had an IM Nuvo 20 gal with a rear sump and had tricked it out with an apex, radion XR15 Pro Gen3, AWC, some custom ATO and NSW tanks from @melev, among a bunch of other fun stuff. Had some issues here and there with it, but it was mostly a successful tank for a few years. I even learned the importance of quarantining during this time. All in all, it was a fun first reef tank. I even was able to grow out some SPS in it. Tried to find a FTS of it from before I took it down but can't seem to find it. Doesn't matter. Imagine a blue cast picture with rocks, fish, and coral and you got the idea.
So I found a used Elos 120XL from a previous shop owner and plunked down the cash for it. Hired a LFS to come out and help me move it as it was cheaper to hire them than to buy a set of suction cups
Here she sits right after I picked her up. Made a pallet for it to go into the container. Later found out that the moving company would have done this for me, but oh well.
As the tank came with the Elos stand already, I now had to go out and buy everything else. The sump was the first thing on the list.
So, I had been reading through @d2mini's tank build thread for many months and really liked how Dennis did things, and the way he thought things through. Mostly it stemmed from the fact I always wanted an Elos tank as getting one from Felix is dang near impossible under any sort of uncertain timeline. So, what you'll see that follows is largely based on Dennis' work and I stole a whole bunch of his ideas, and come up with some others on my own. Dennis - you didn't know you inspired my entire build, but kudos to you right up front!
I knew I wanted to keep things simple. I had used a turf scrubber before in my Nuvo, but didn't want to go that route again. There's some things about scrubbers that disenchanted me, so I figured a bog standard Berlin type sump is really what I wanted, as well as a refugium. So I called up Jeff at LifeReef and asked him what his waiting period was like as I had a few months before we were moving. Turns out that Jeff had his prototype Signature Series sump sitting in the corner and he had never gotten around to selling it. We did some measurements and sure has heck, it was literally exactly what I would have ordered. Happy coincidence that it matches Dennis' sump, but worked for me! As I already had a good sized custom ATO reservoir from Marc at Melev's Reef, I had Jeff custom make me a LifeReefugium to fit the space I had and it turned out perfect.
One of the more interesting things about my tank is I'll be running dual voltages. I already had a lot of 120v things from my Nuvo, but power here is 3phase, so everything is 220v. Most all of my "new" purchases were based on DC type systems that could run at either 120v or 220v. Some things I couldn't purchase as 220v before I left the states, though, so those will be on my voltage converter with other existing equipment.
Equipment List
Elos 120XL with Elos Stand (this is the non-"quiet drain" model)
LifeReef CLF2 Prototype Sump in green/black/clear signature style
LifeReefugium in green/black/clear signature style
LifeReef SVS3-24 skimmer in green/black/clear signature style
2 Maxspect Gyre XF250
Apex 2016, EB832, EB6, EB8, ATK, VDM, WXM, ALD, FMM (2", 2 x 1/2", 3 x 1/4"), LSM, AFS, DOS, PM1, PM2, custom BoB, and probably some others I'm forgetting
IceCap Apex VDM interface for the Gyres
IceCap backup batteries for the Gyres
3 Reef Octopus Varios6 (Skimmer, Return, and Fuge/Reactors)
1 Reef Octopus Varios4 (Mixing Station)
Radion G3 XR15 Pro
2 GHL Mitras LX7206 with mounts
Artfully Acrylic custom screen
Melev's Reef custom ATO container
Custom acrylic boxes for mixing station
4 stage RO - Spectrapure 90GPD CSPDI with booster pump and auto-flush
Seneye Reef and SWS
Ecotech MP10qd
Ecotech MP40qd
UFO LED Grow Light for the fuge
Vertex RX-C 6D CaRx
Kamoer FX-STP CaRx doser pump
Carbon Doser Electronic CO2 regulator
Reef Octopus 4" skimmate waste collector
Alkatronic
Teco TK1000 Chiller
I'm planning to subscribe to some of the Aquaforest system as it seems readily available here.
That's it for my first post. I've gotten a lot done over the past month and a half and as I type it up, I'll share it.
Last edited: