A lot of you are going to hate this build.
Not because you’ll be envious. More because you will be baffled, annoyed…possibly even angry…that I would ignore all conventional modern reef keeping methods and wisdom and just carelessly slap this thing together. I am about to commit several R2R bannable offenses.
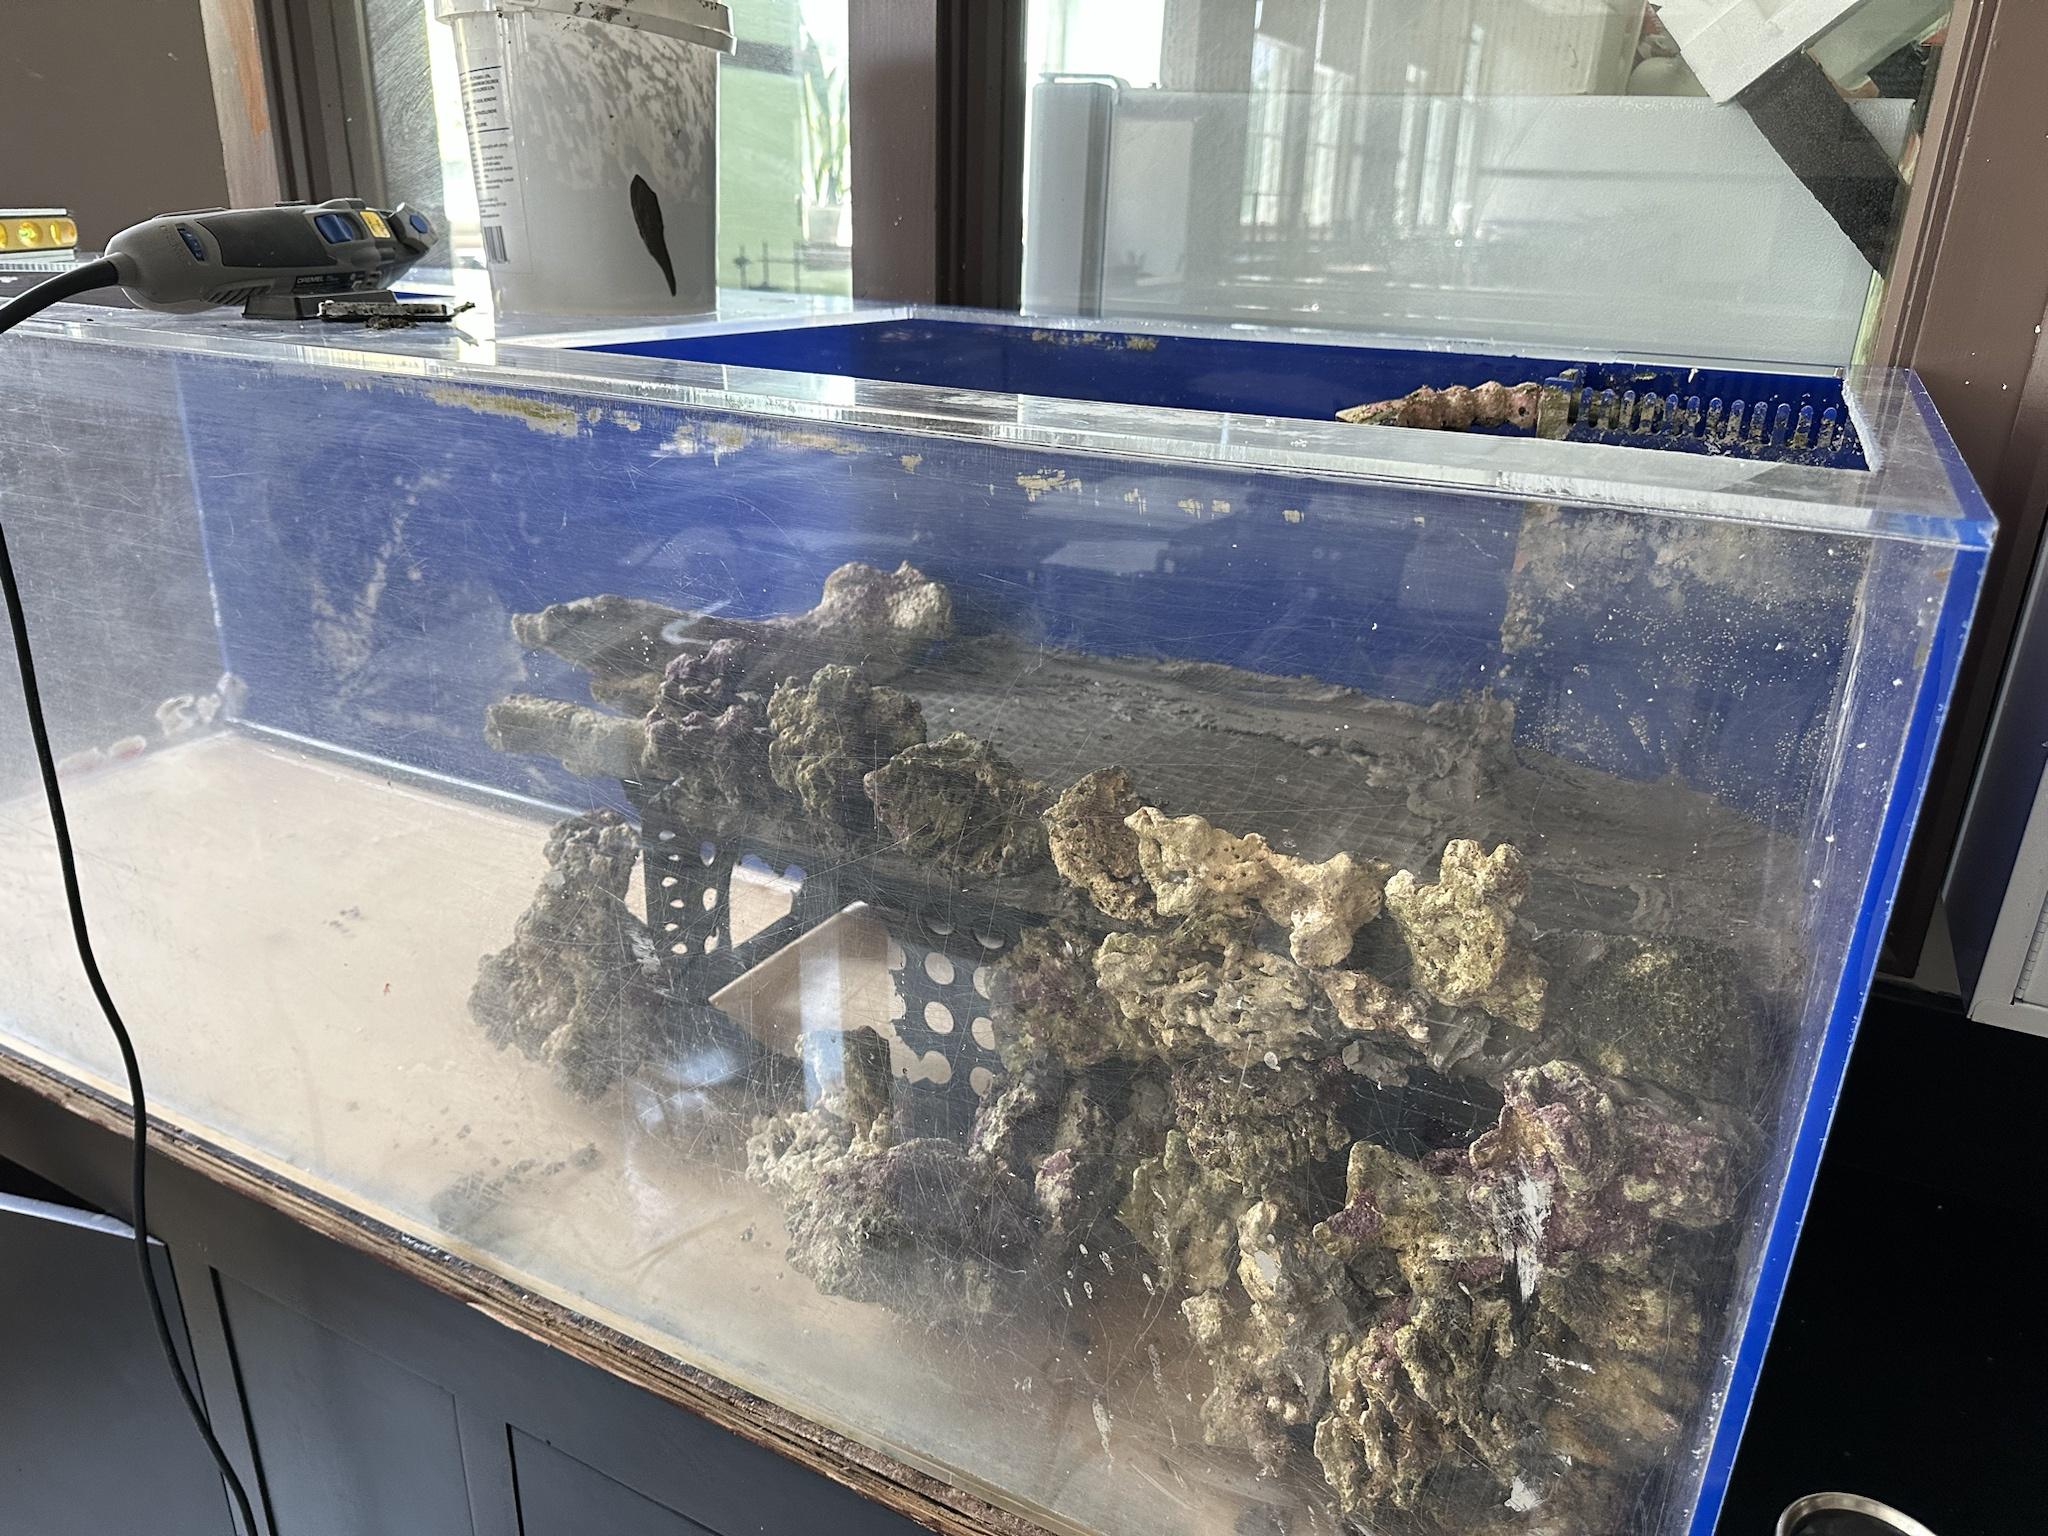
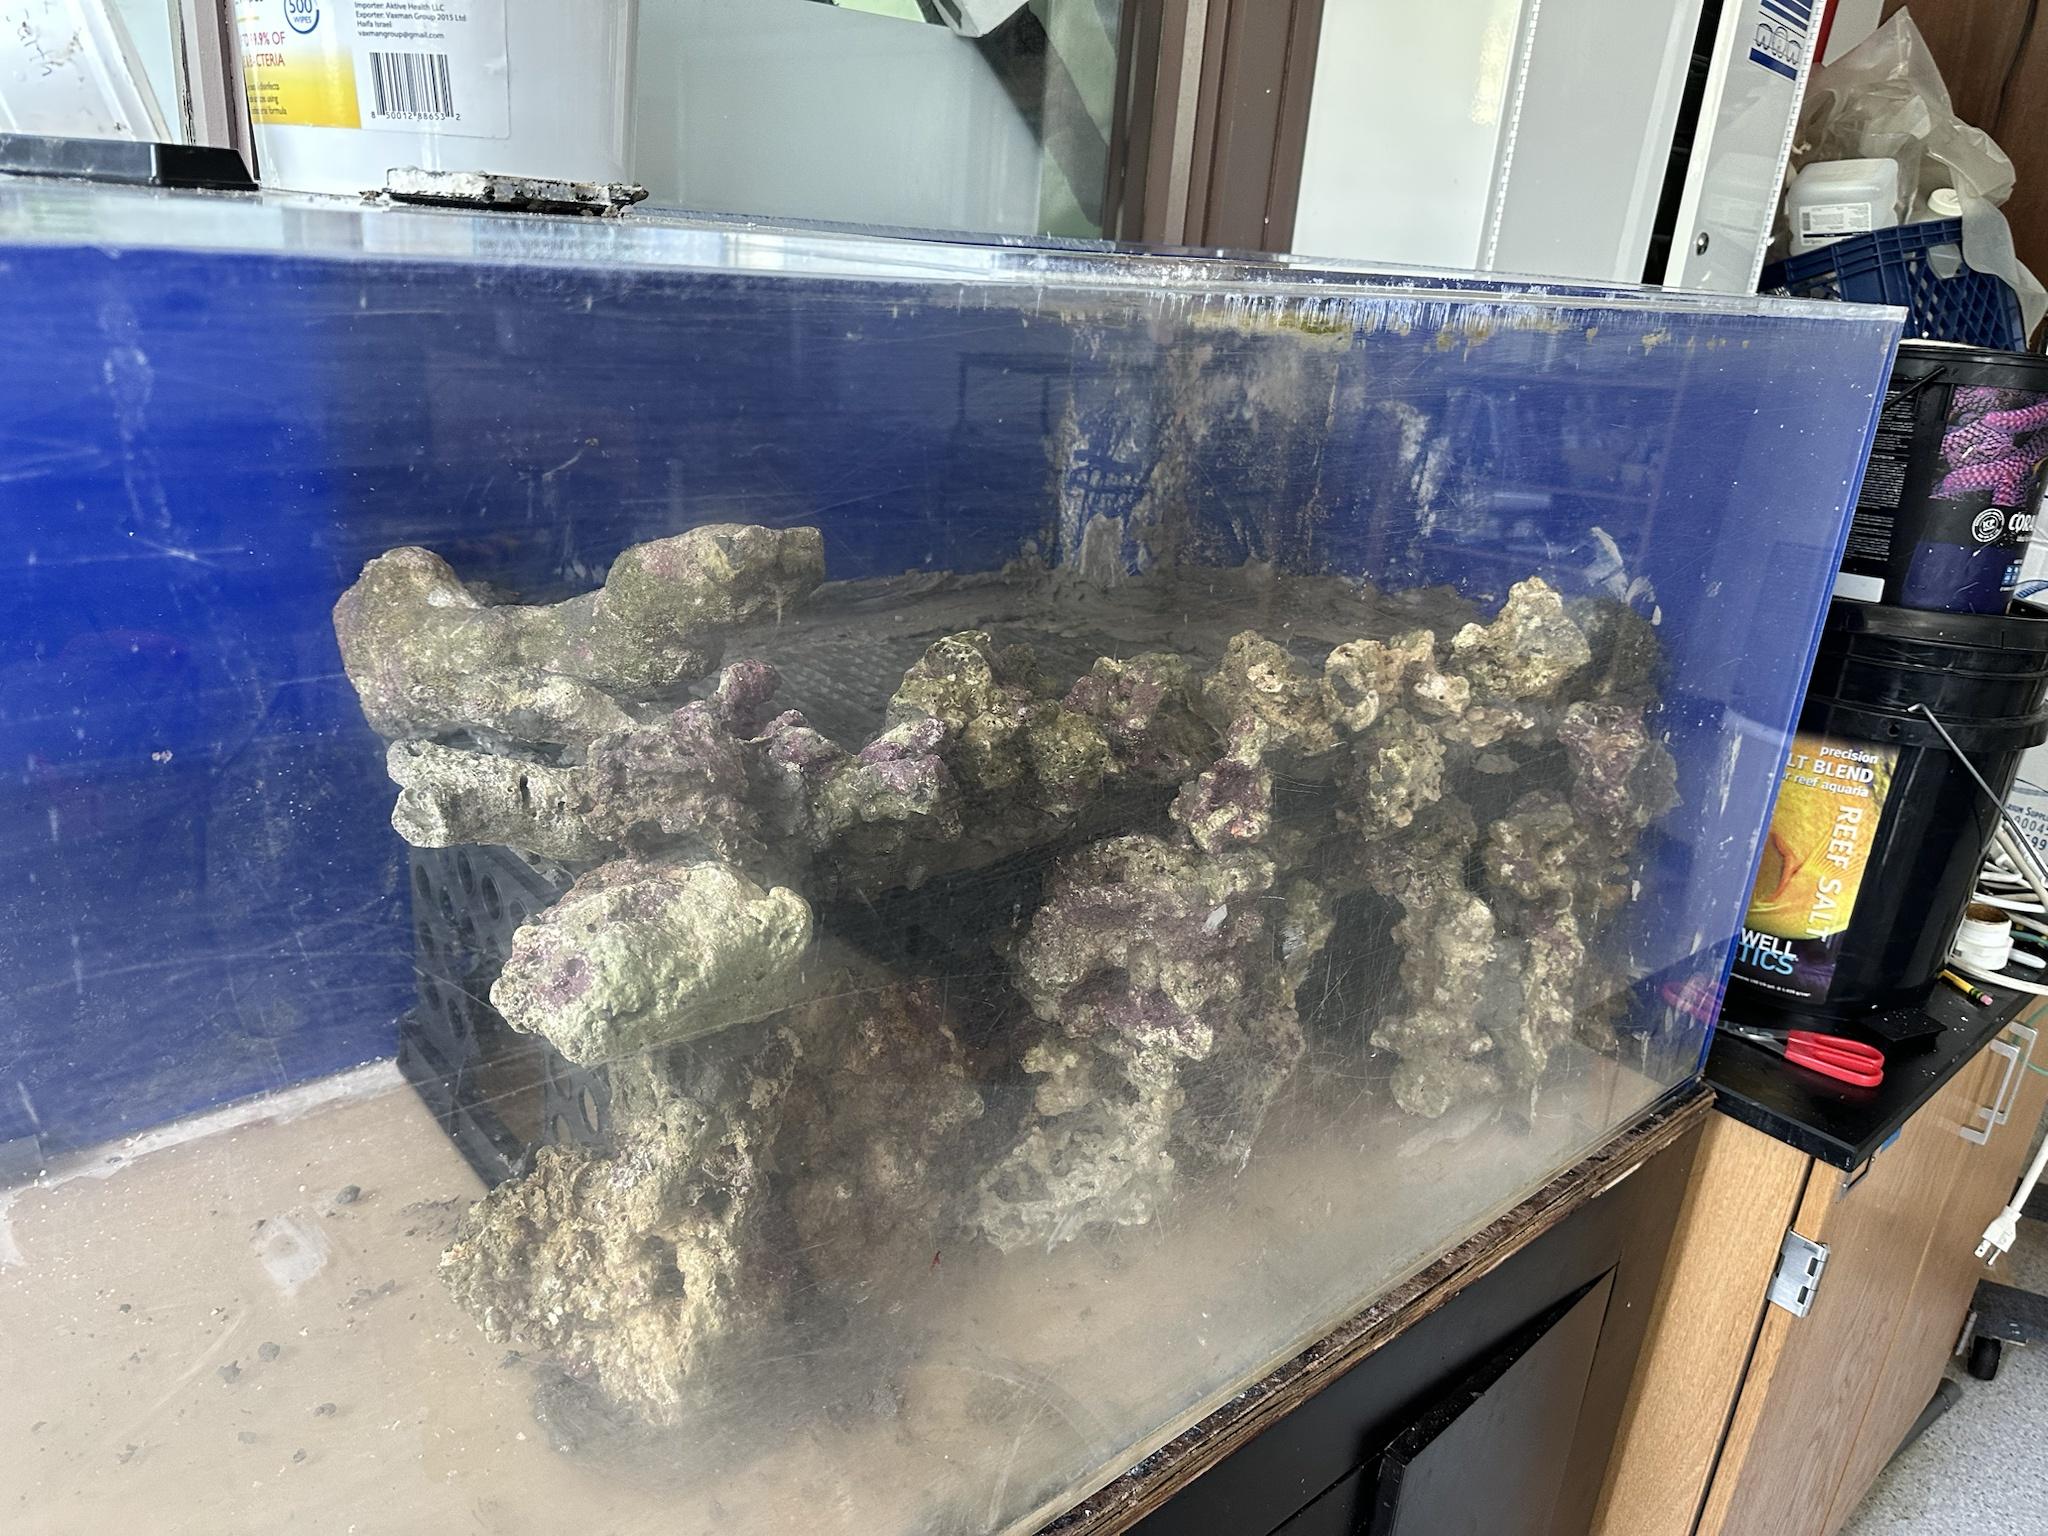
OK, little backstory. First and foremost, I already set this thing up, so the beginning is going to be sort of a retrospective. Secondly, my goal is to spend as close to no money on this thing as possible. I had a 180g acrylic () tank lying around that I found a perfect space for in my new classroom, and wanted to just go full ecology-mode with the design and management.
Also, I have started a few build threads, but never keep them going. I promise I will keep this one going.
Reef System Goals:
- spend as little money as possible (except for livestock)
- use no life support other than a circ pump
- I refuse to test a single water quality parameter (but at some point will simply to post results here)
- no media (carbon, GFO, etc) or skimmers
- have the tank be as natural as possible (maricultured live rock, etc)
- no medications, QT, etc
- get my students pumped about science (this one is pretty far-fetched)
- be successful (possibly also a stretch)
Concept:
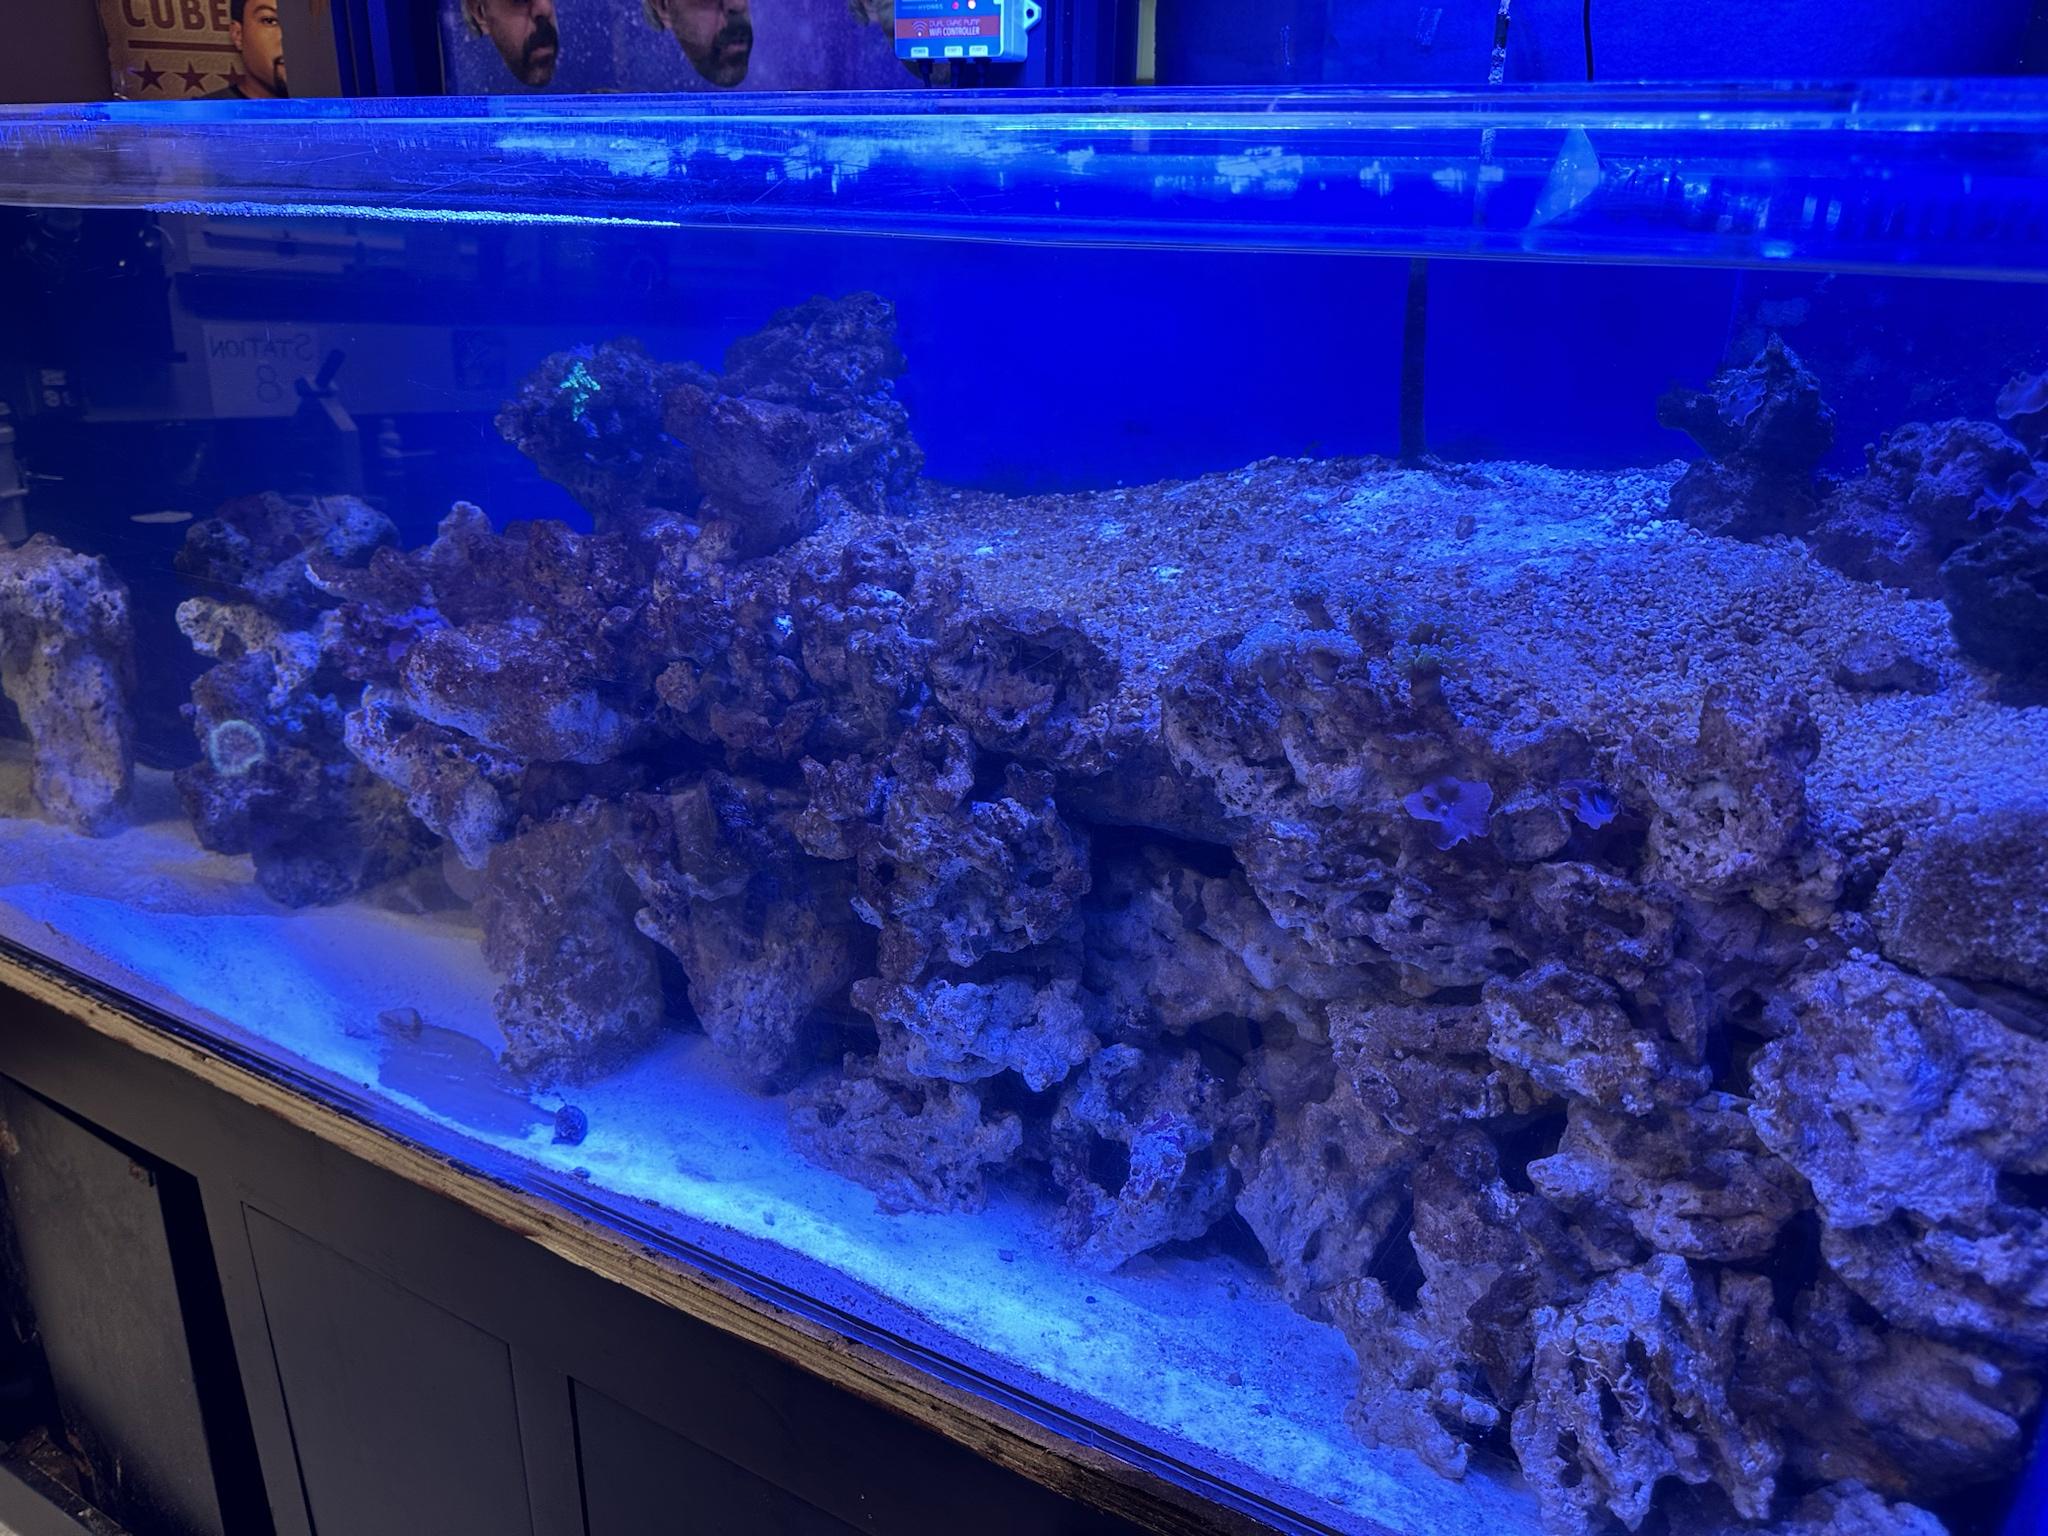
This system has been designed to feature and display multiple zones that constitute (to the extent I can) a complete reef ecosystem.
- shallow lagoon zone with mangroves, some sort of turtle or eel grass, and lagoon-ish inverts. This will be from 3-8” deep.
- reef wall zone: shallow to deep, higher light intensity, lot of water flow, etc
- deeper reef zone (as deep as you can get with a 24”H tank)
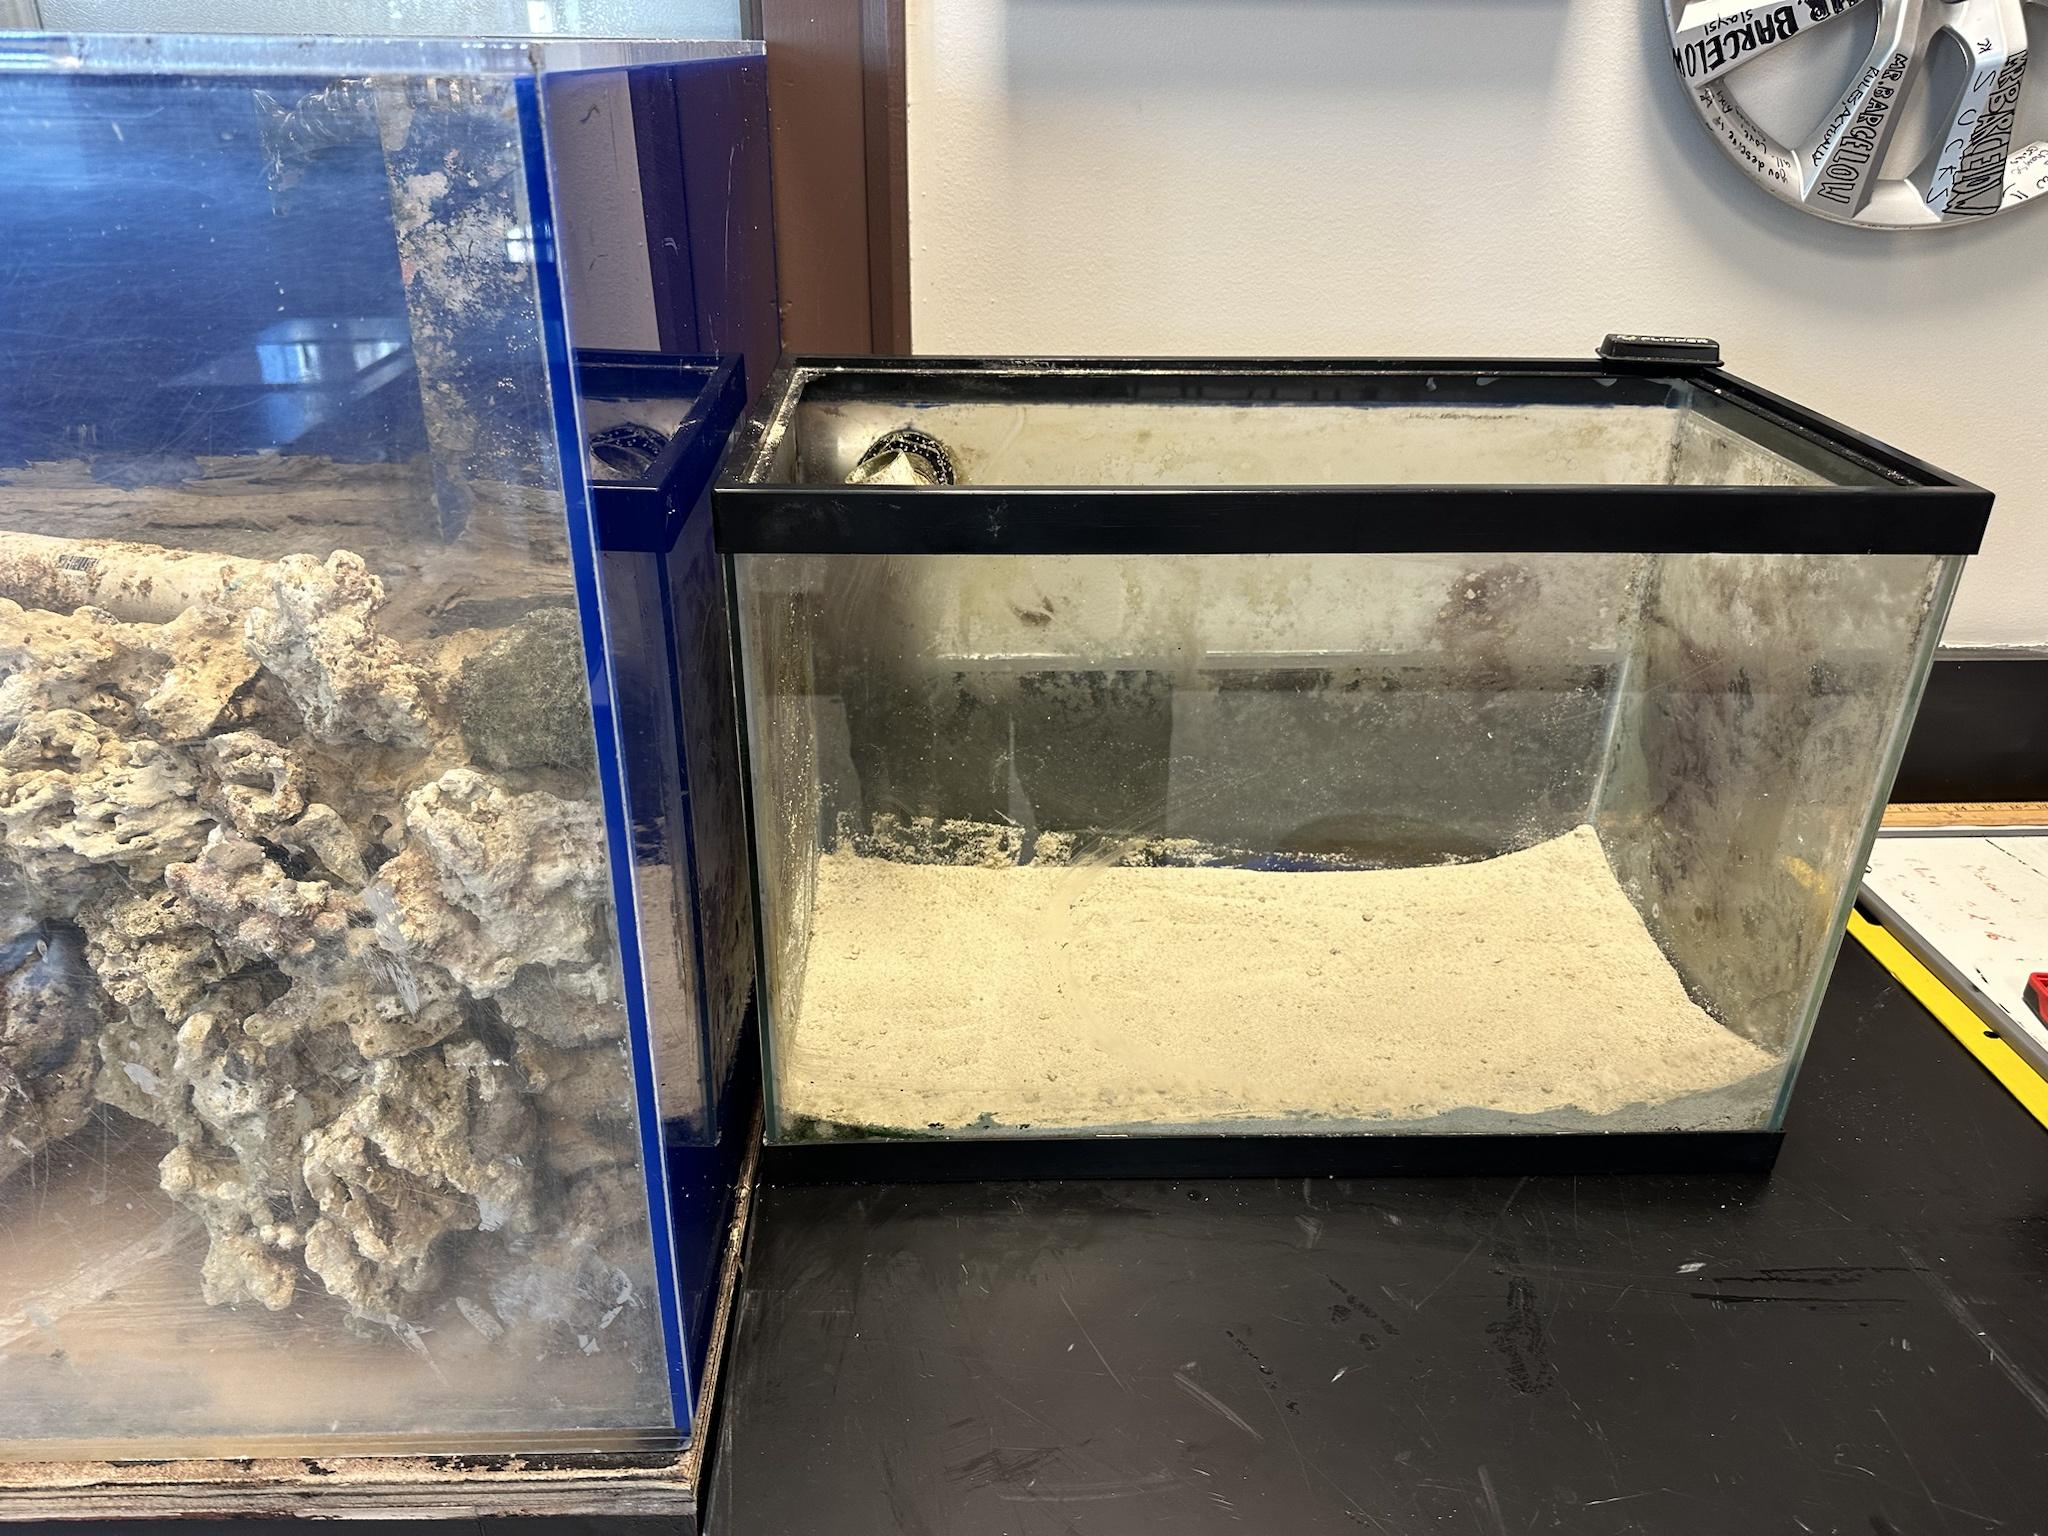
- macro-algae zone (separate tank)
- micro-algae zone: haven’t put this together yet
- cryptic zones: one in the display, one in the sump
Equipment:
- acrylic sump that I built maybe 15 years ago (actually, 2 sumps hooked together)
- Jaebo pump that had been rolling around in the back of my vehicle for the last 2 years
- used IceCap wave gyre and controller
- some very used AI 52 and 26 Hydras
- a powerhead to move water into macro-algae tank
Here we go:
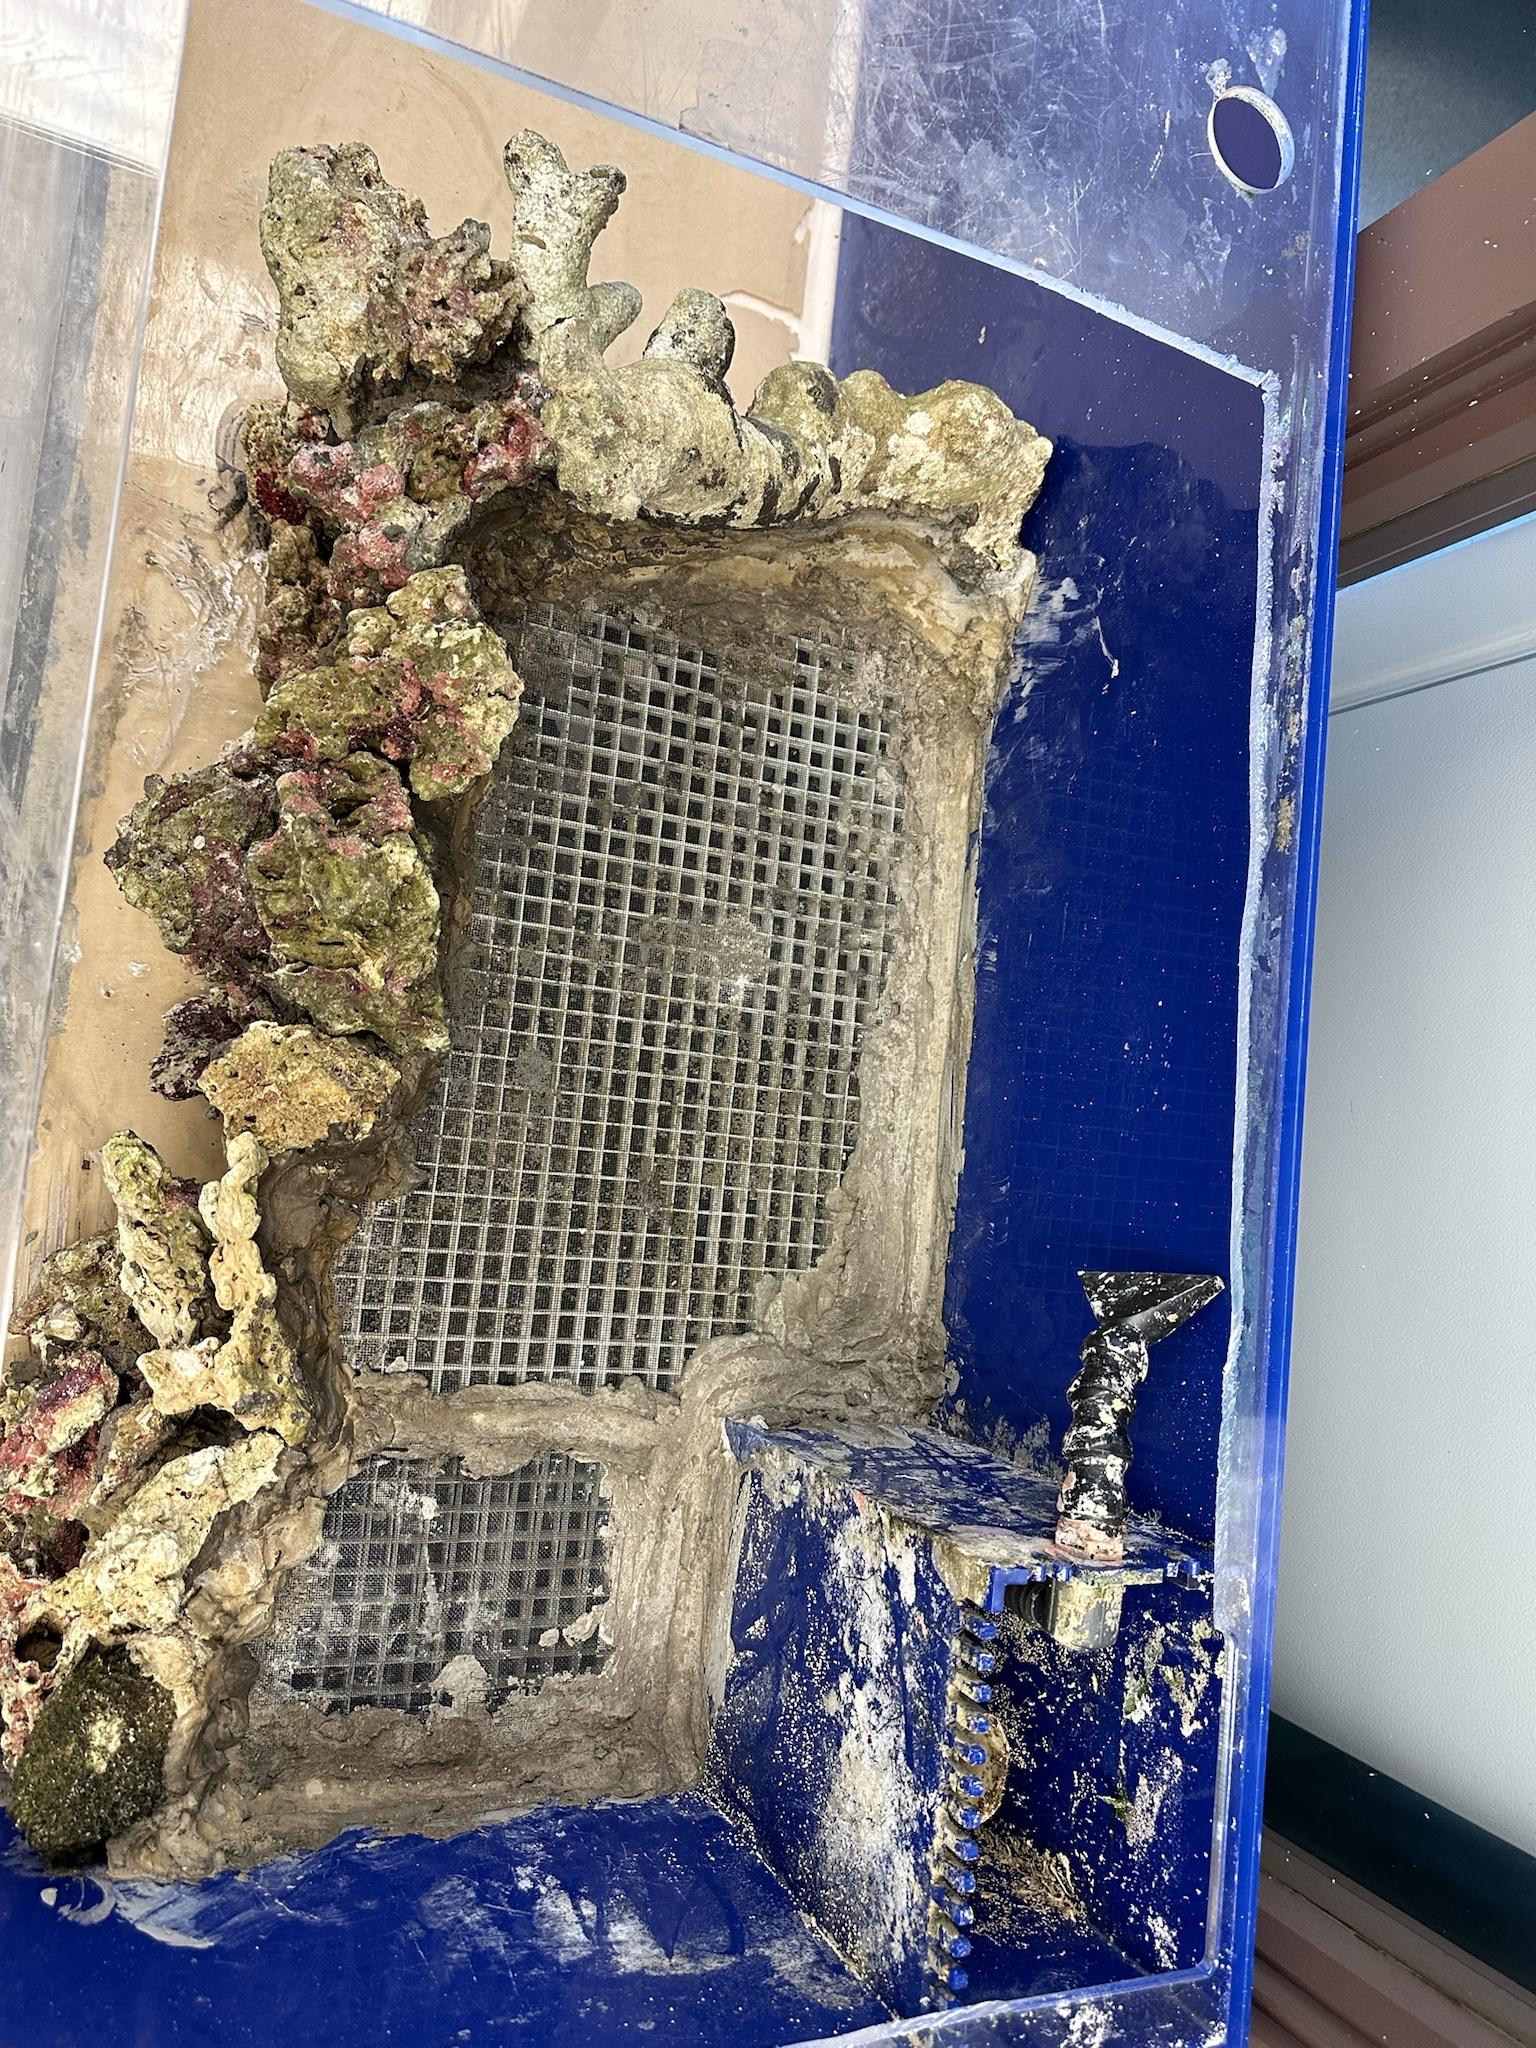
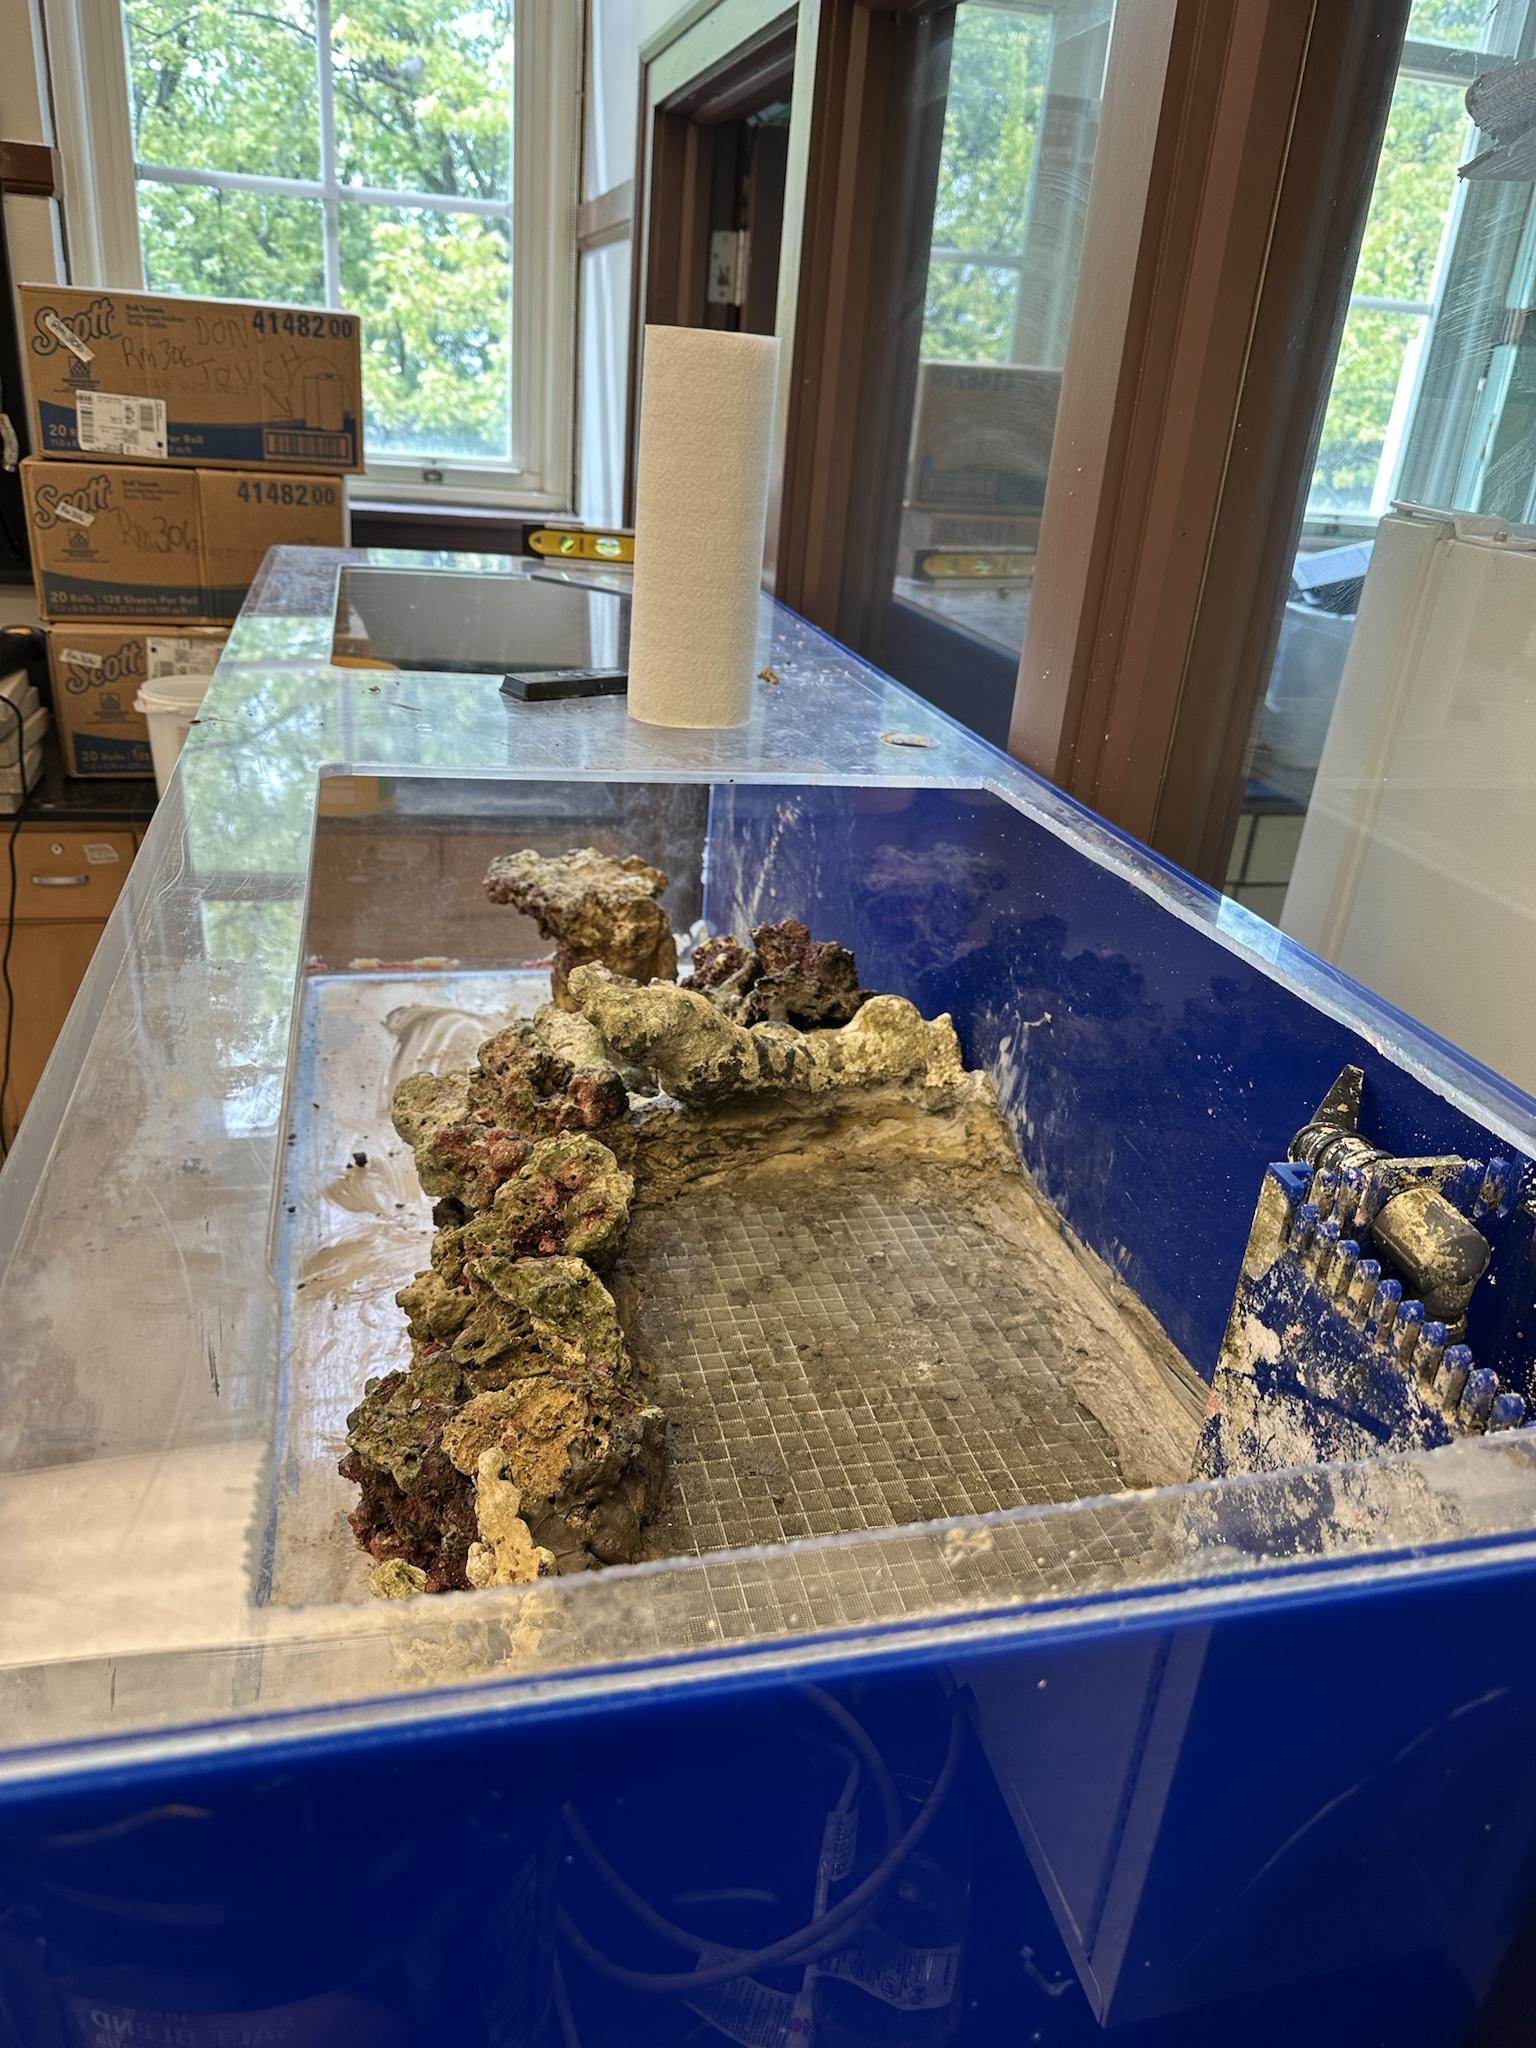
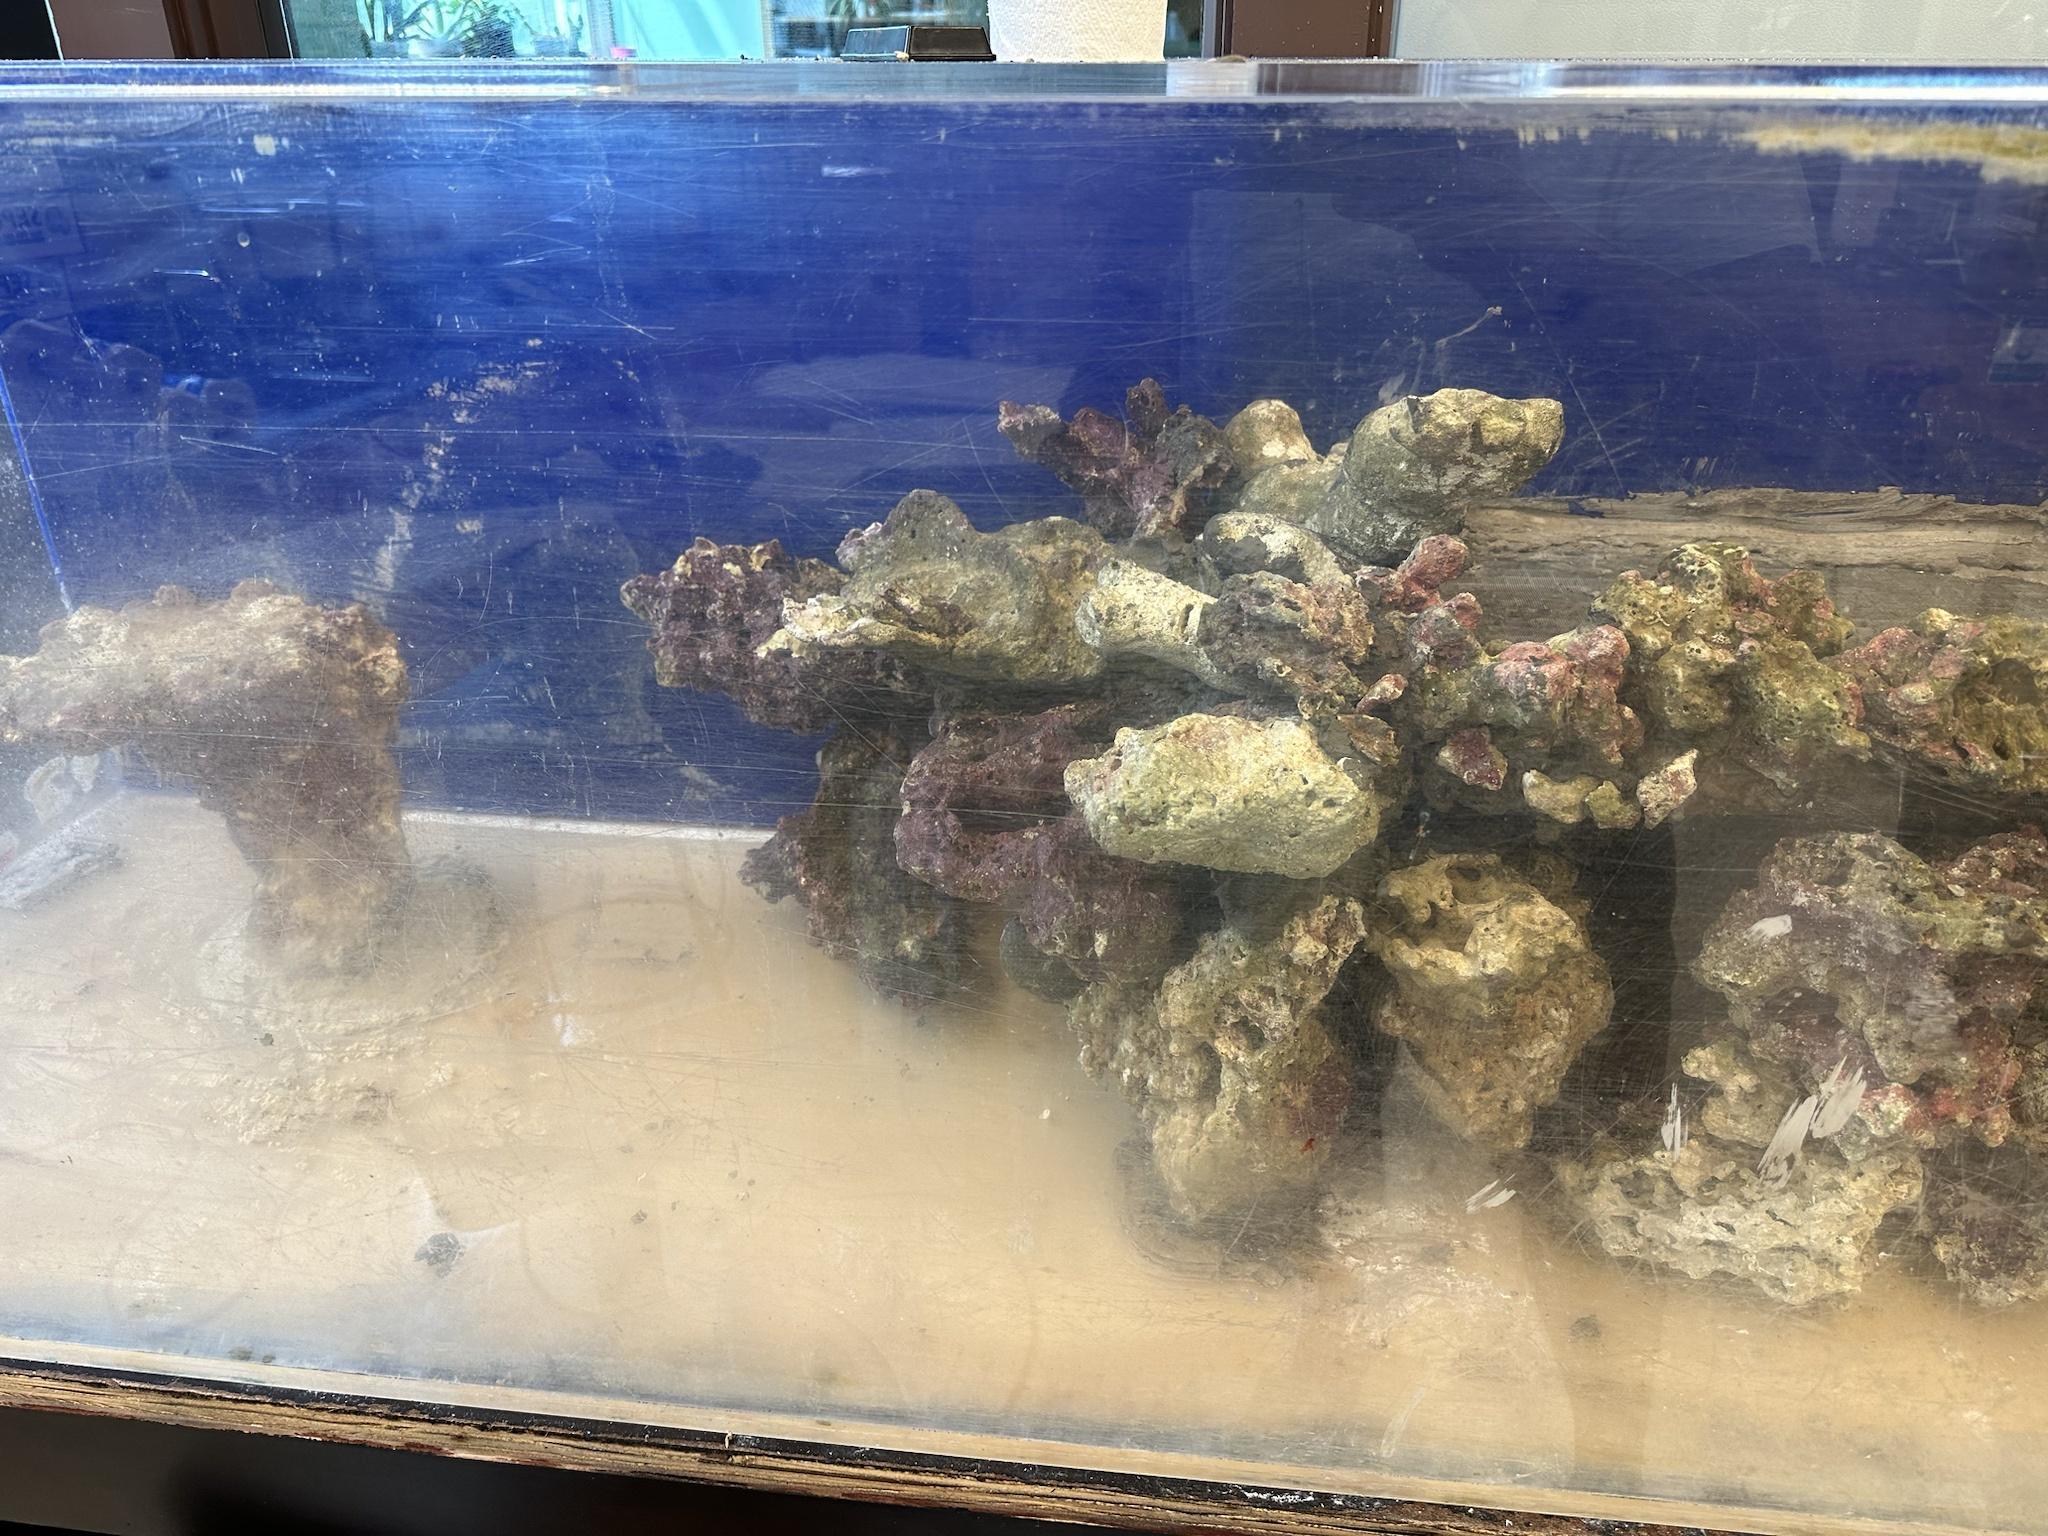
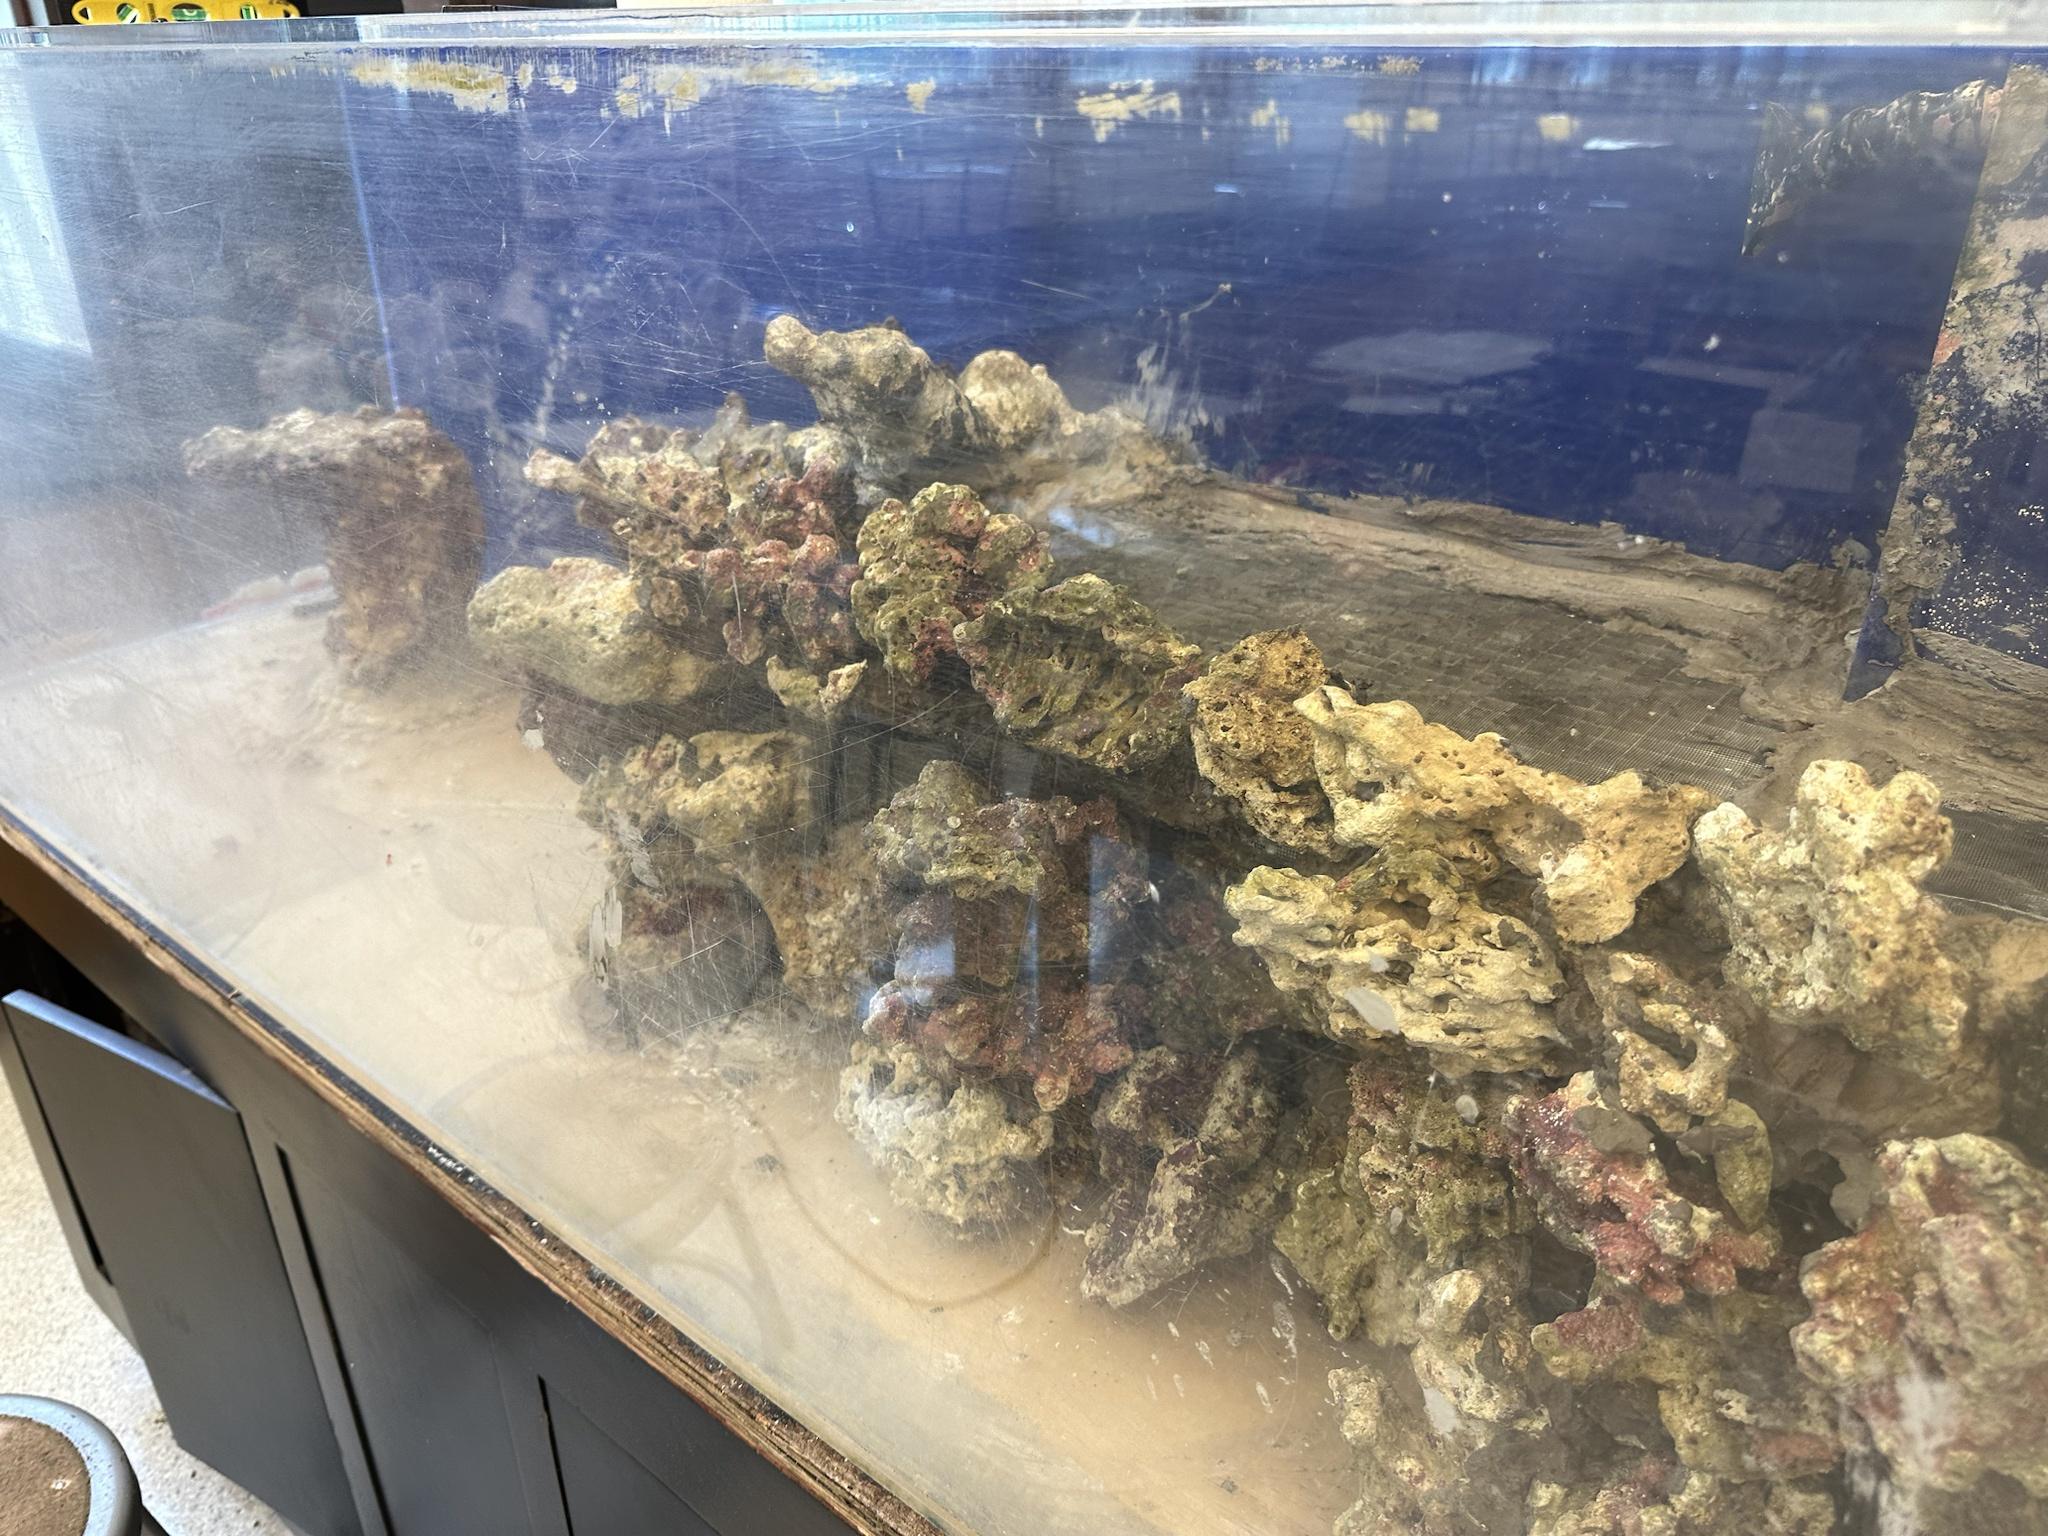
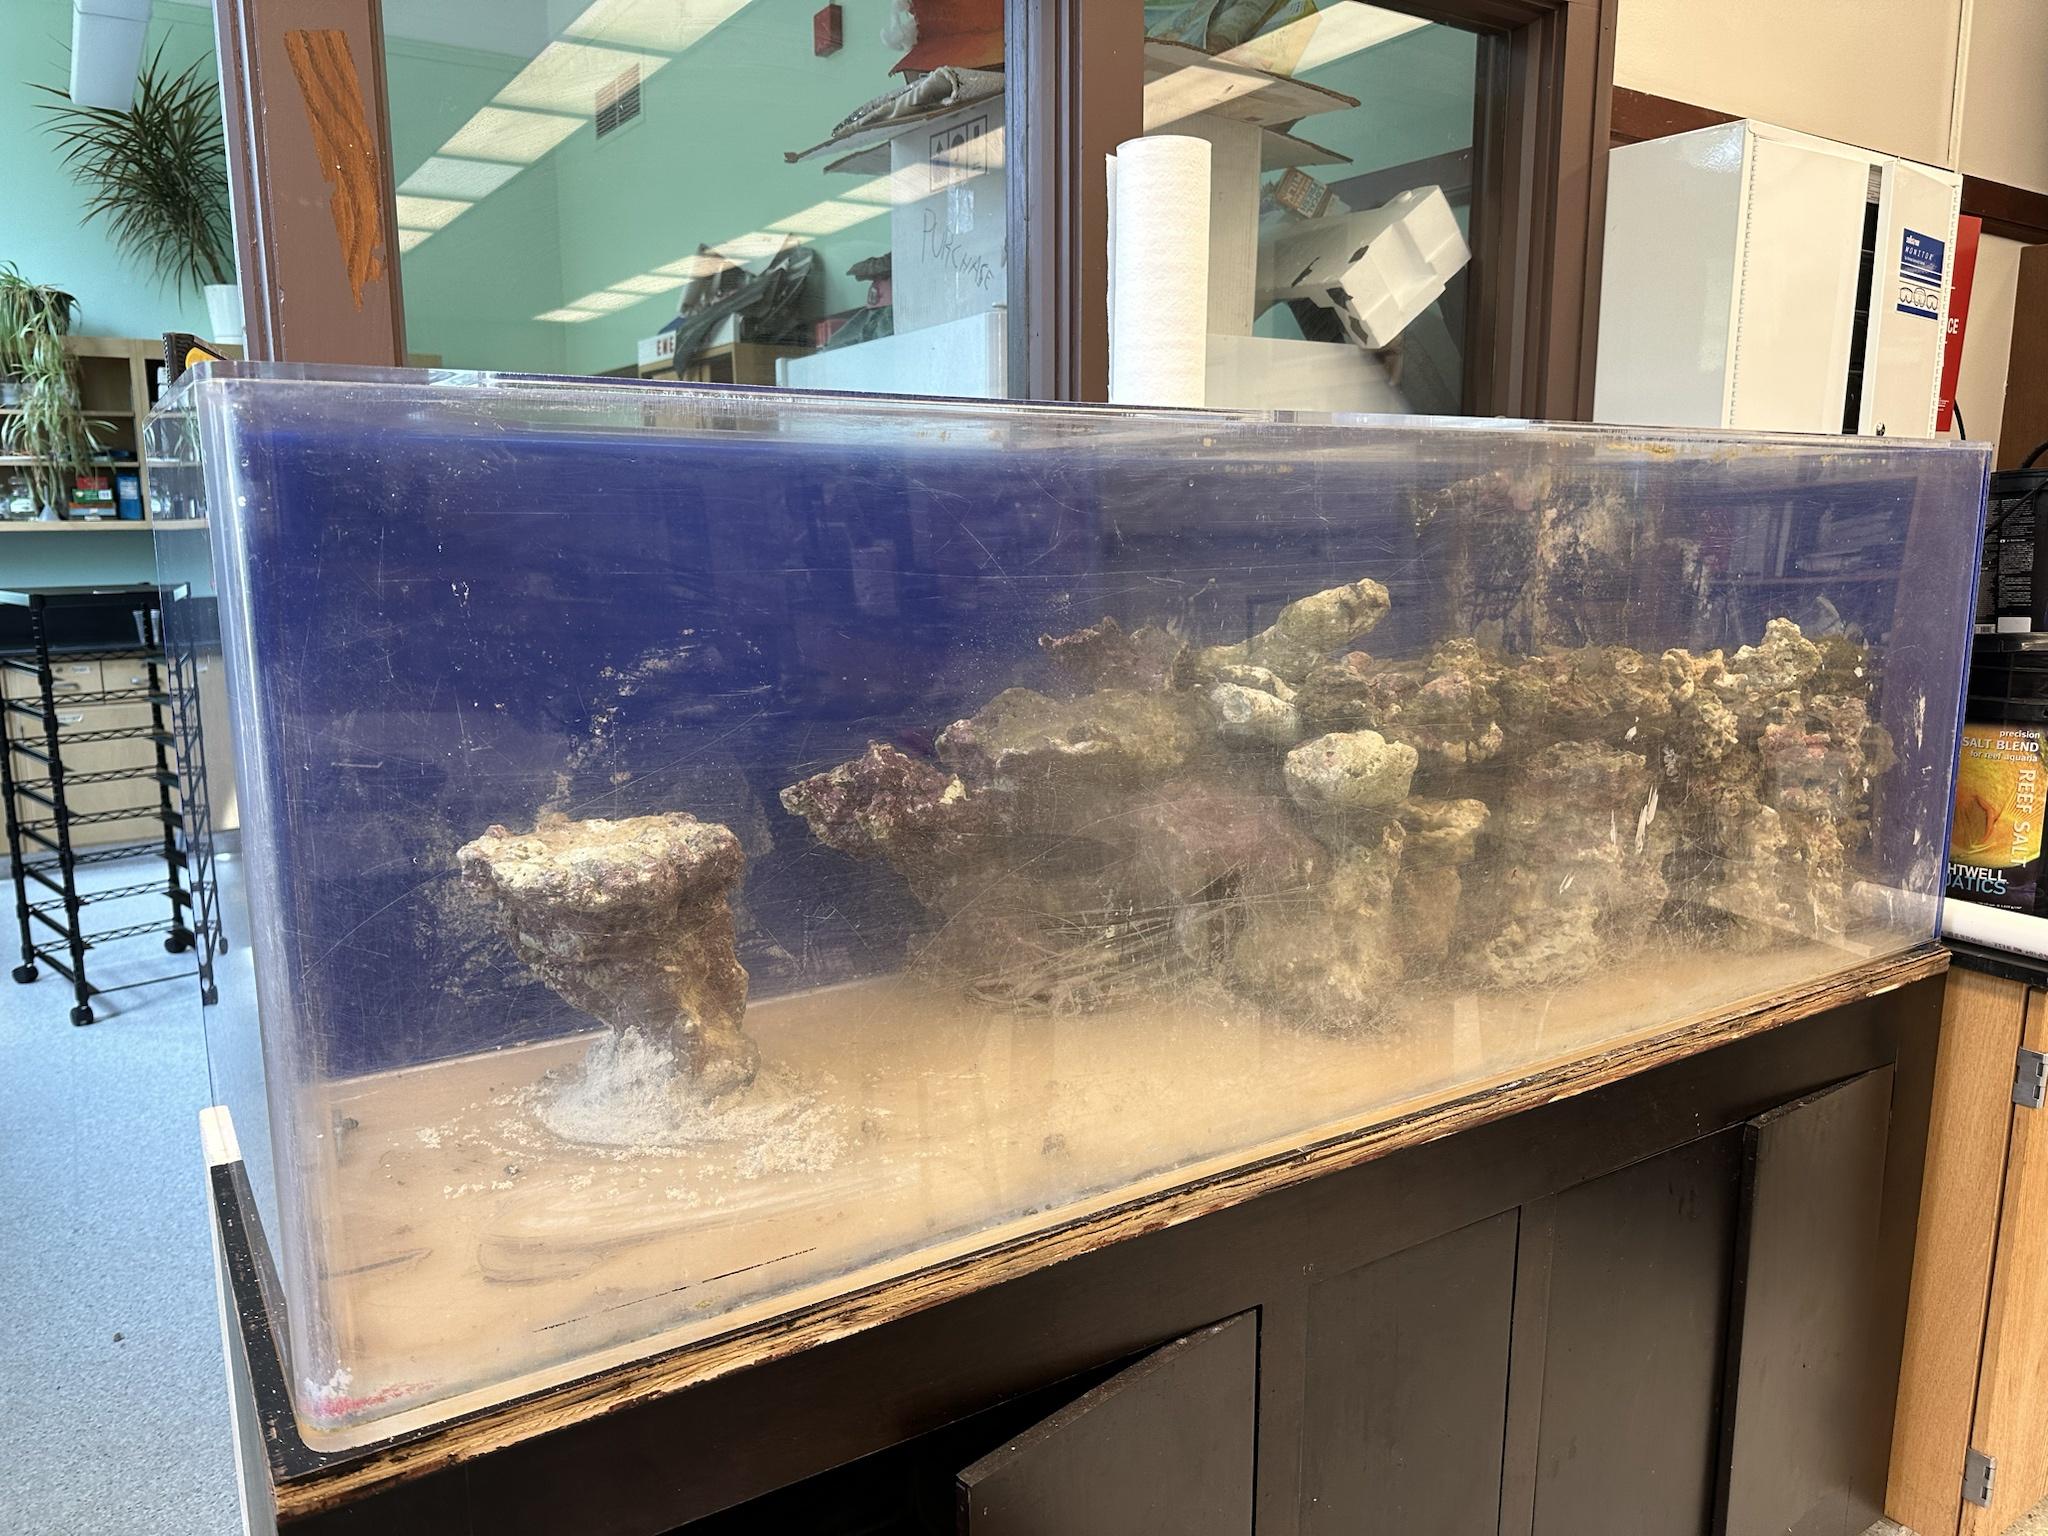
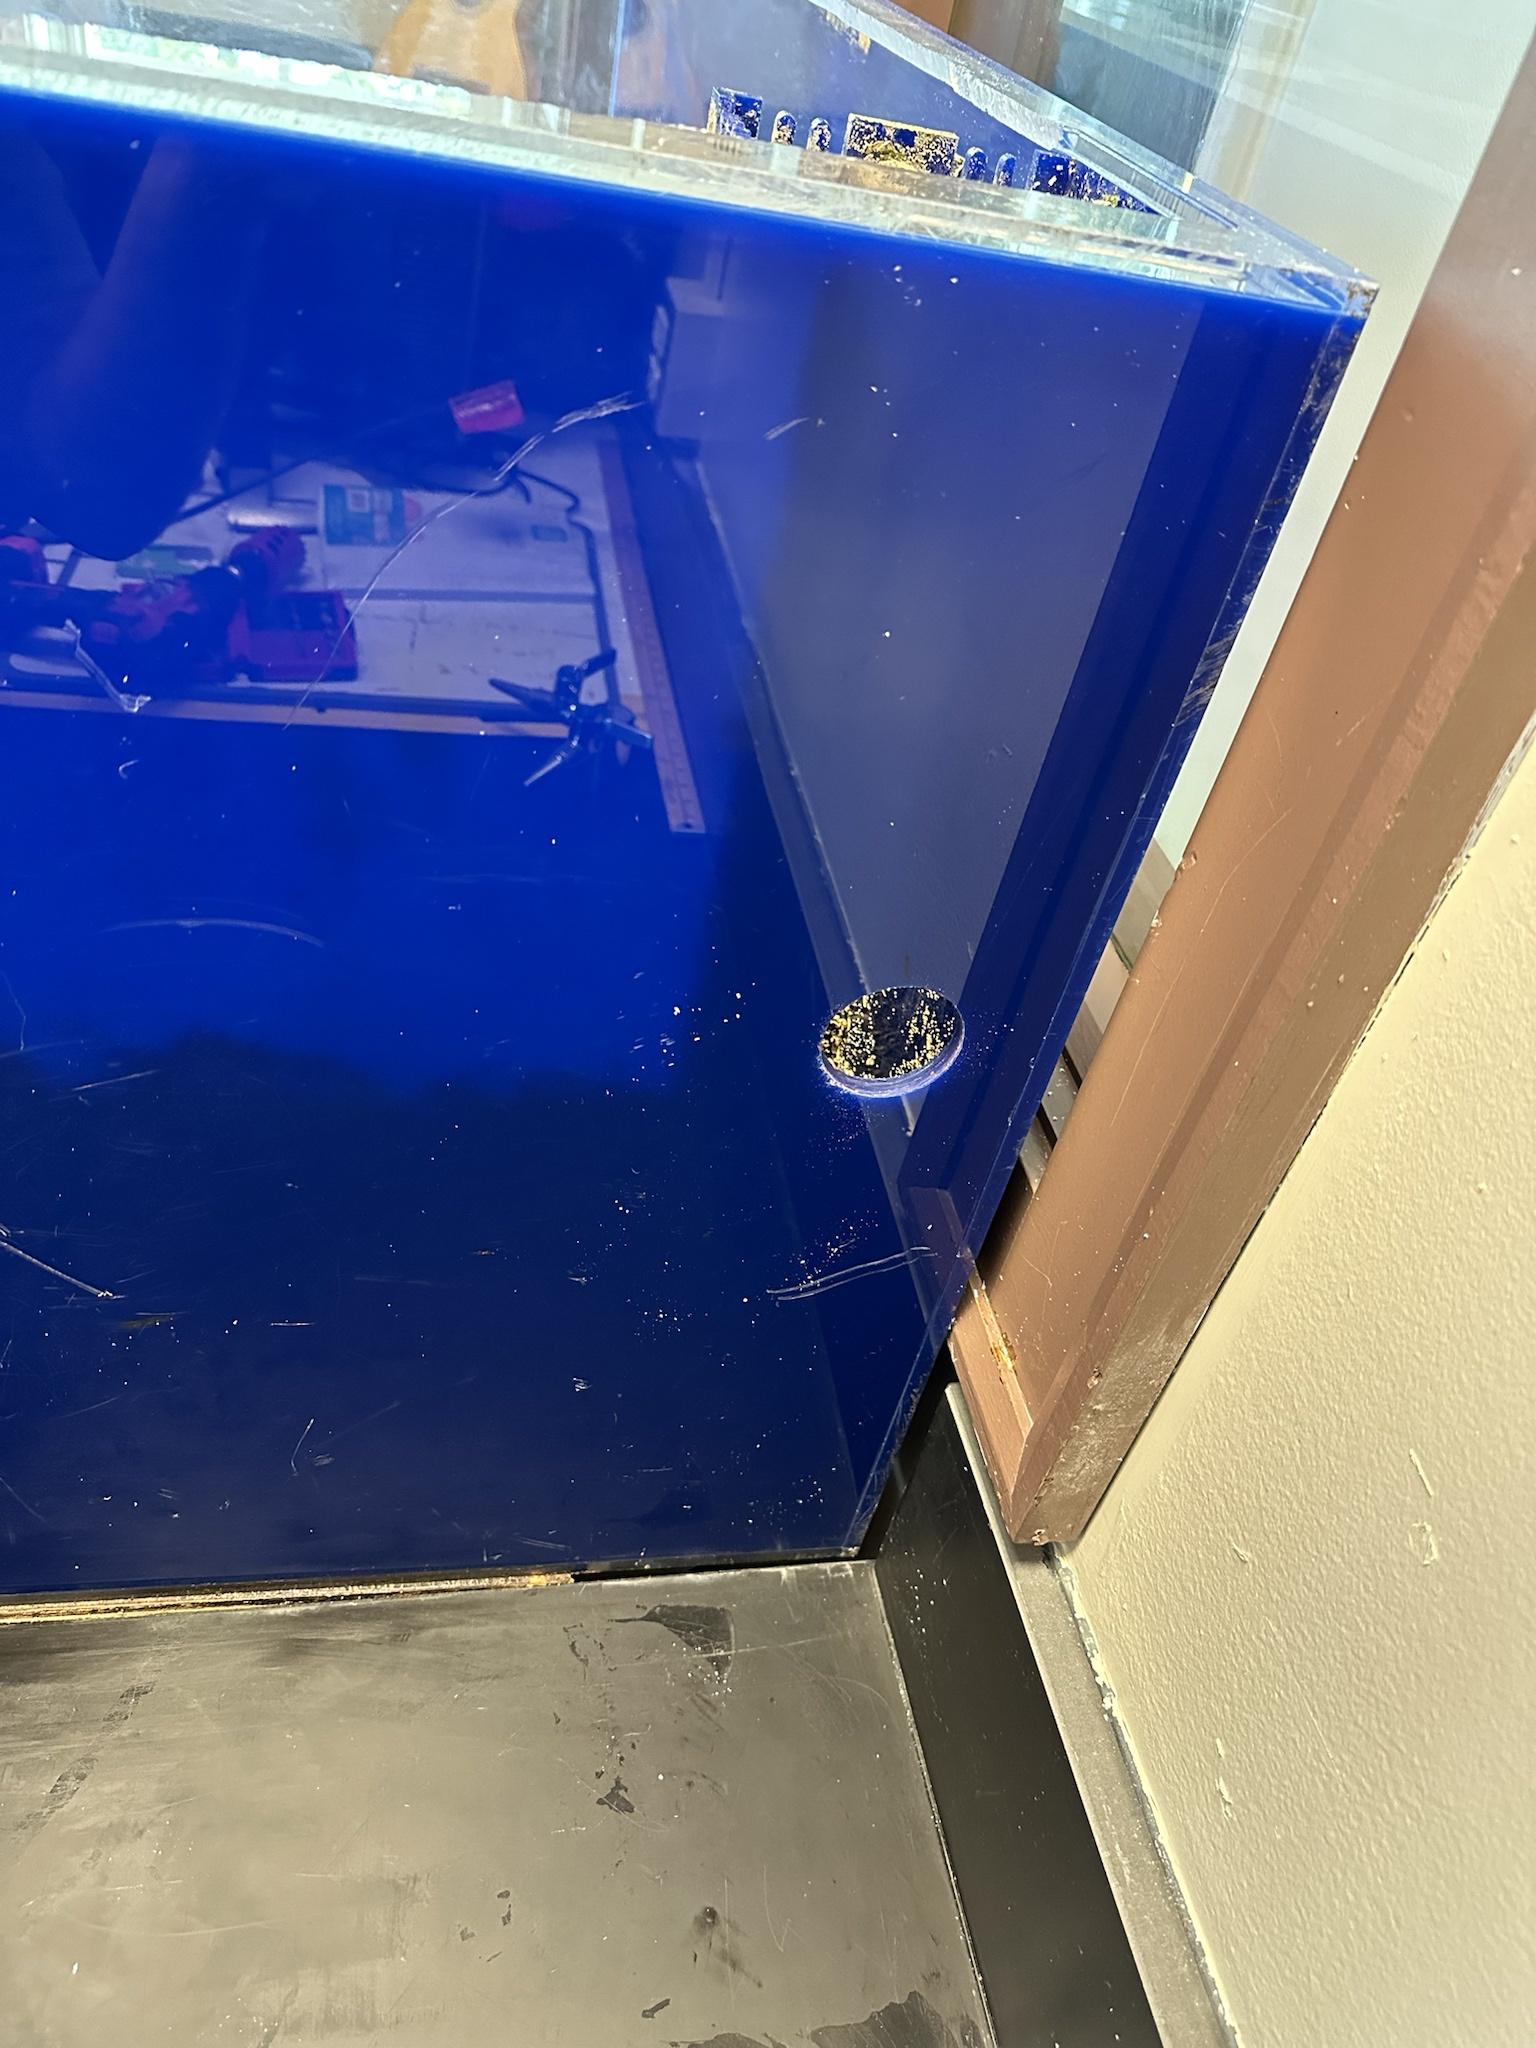
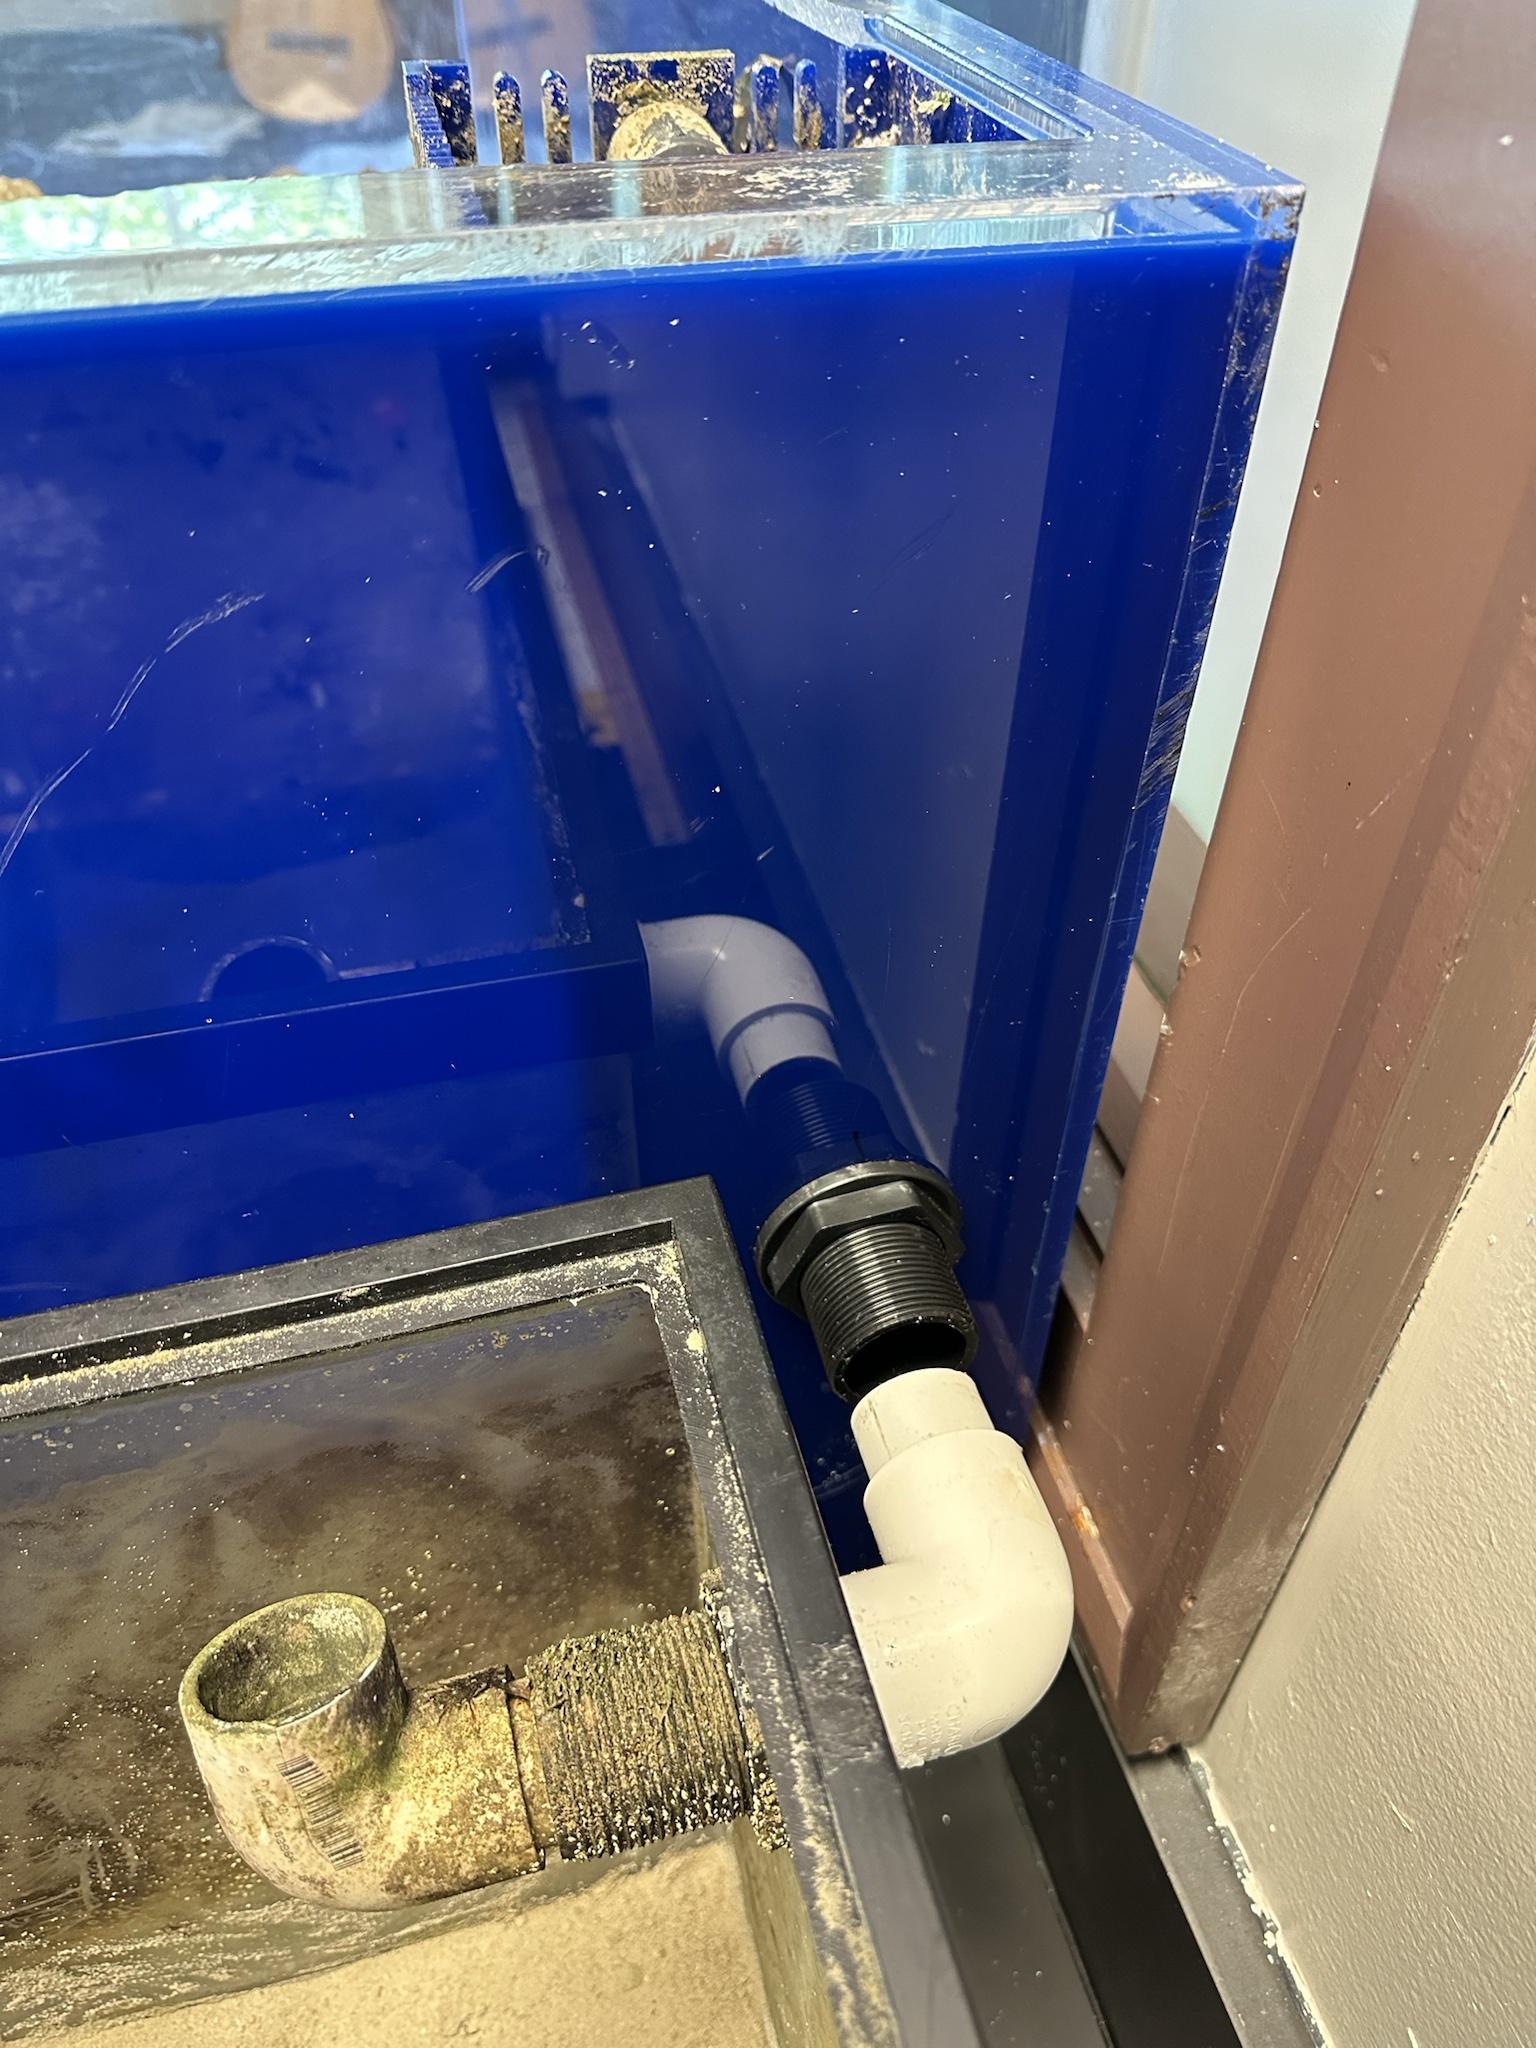
The first issue I encountered was that I did not have a stand for the tank. I thought about building one, but then got lazy. I then realized I had a 72”x 18” cabinet stand from another tank, which is obviously not wide enough for a 24” wide tank. Nothing that several feet of 2x6s and some deck screws couldn’t fix. Of course, that created an issue with the plumbing coming out of the overflow, so I had to build a little gap in there to accommodate.
Mistake #1: You know how on a build, you should plan ahead? I didn’t. The aquarium cabinet I used had a solid plywood back panel. Given that the overflow plumbing was coming from outside of the existing cabinet, one would think I would have considered that before I put everything together and set the tank up, but I did not.
Cutting an opening through the back with a Sawzall one-handed while lying on my side with 90% of the plumbing done was not impossible, but it wasn’t far off. Still managed to pull it off with only minor injuries (and no damage to plumbing).
Pics incoming…
Not because you’ll be envious. More because you will be baffled, annoyed…possibly even angry…that I would ignore all conventional modern reef keeping methods and wisdom and just carelessly slap this thing together. I am about to commit several R2R bannable offenses.
OK, little backstory. First and foremost, I already set this thing up, so the beginning is going to be sort of a retrospective. Secondly, my goal is to spend as close to no money on this thing as possible. I had a 180g acrylic () tank lying around that I found a perfect space for in my new classroom, and wanted to just go full ecology-mode with the design and management.
Also, I have started a few build threads, but never keep them going. I promise I will keep this one going.
Reef System Goals:
- spend as little money as possible (except for livestock)
- use no life support other than a circ pump
- I refuse to test a single water quality parameter (but at some point will simply to post results here)
- no media (carbon, GFO, etc) or skimmers
- have the tank be as natural as possible (maricultured live rock, etc)
- no medications, QT, etc
- get my students pumped about science (this one is pretty far-fetched)
- be successful (possibly also a stretch)
Concept:
This system has been designed to feature and display multiple zones that constitute (to the extent I can) a complete reef ecosystem.
- shallow lagoon zone with mangroves, some sort of turtle or eel grass, and lagoon-ish inverts. This will be from 3-8” deep.
- reef wall zone: shallow to deep, higher light intensity, lot of water flow, etc
- deeper reef zone (as deep as you can get with a 24”H tank)
- macro-algae zone (separate tank)
- micro-algae zone: haven’t put this together yet
- cryptic zones: one in the display, one in the sump
Equipment:
- acrylic sump that I built maybe 15 years ago (actually, 2 sumps hooked together)
- Jaebo pump that had been rolling around in the back of my vehicle for the last 2 years
- used IceCap wave gyre and controller
- some very used AI 52 and 26 Hydras
- a powerhead to move water into macro-algae tank
Here we go:
The first issue I encountered was that I did not have a stand for the tank. I thought about building one, but then got lazy. I then realized I had a 72”x 18” cabinet stand from another tank, which is obviously not wide enough for a 24” wide tank. Nothing that several feet of 2x6s and some deck screws couldn’t fix. Of course, that created an issue with the plumbing coming out of the overflow, so I had to build a little gap in there to accommodate.
Mistake #1: You know how on a build, you should plan ahead? I didn’t. The aquarium cabinet I used had a solid plywood back panel. Given that the overflow plumbing was coming from outside of the existing cabinet, one would think I would have considered that before I put everything together and set the tank up, but I did not.
Cutting an opening through the back with a Sawzall one-handed while lying on my side with 90% of the plumbing done was not impossible, but it wasn’t far off. Still managed to pull it off with only minor injuries (and no damage to plumbing).
Pics incoming…
Last edited: