Navigation
Install the app
How to install the app on iOS
Follow along with the video below to see how to install our site as a web app on your home screen.
Note: This feature may not be available in some browsers.
More options
You are using an out of date browser. It may not display this or other websites correctly.
You should upgrade or use an alternative browser.
You should upgrade or use an alternative browser.
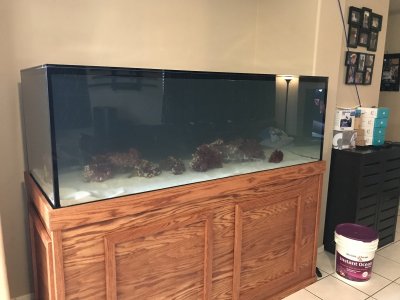
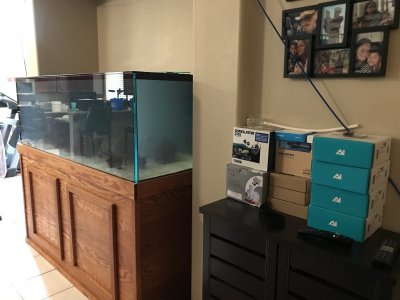
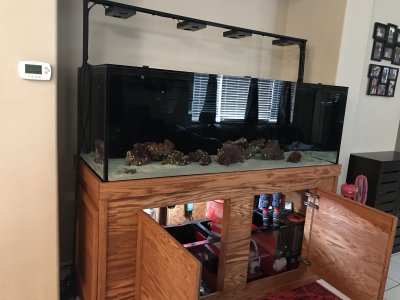
The tale of a newb, a sump and a Glasscage.
- Build Thread
- Thread starter dreamcatcherr9
- Start date
- Tagged users None
It’s going to be SOOO awesome!! What made you decide on this overflow vs an internal? I’m familiar with an internal box, external is intimidating. But I like the space that the external box saves in the tank. They look nicer too I think.
Look for the white bandaids (LOL). I changed the primary drain line from where it elbowed into stand. When I was gluing it, I hit the side of opening in stand and before I realized it, had glued the pvc slightly crocked. I hoped it would hold, but nope. I could have replaced a smaller section but I wanted to fix it good.
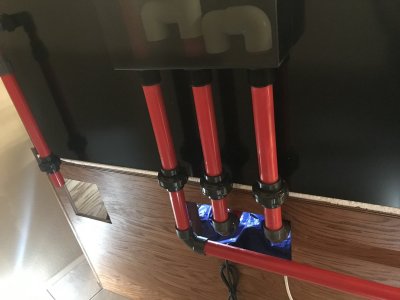
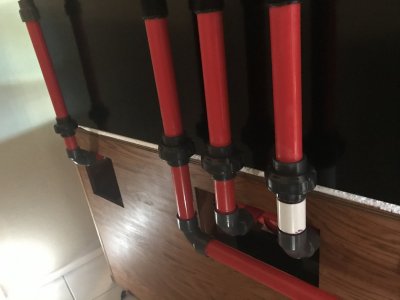
War wounds, no doubt. It gives the tank character. If anyone ever asks you can tell them it's white, because that's where the arc reactor powering your tank is located.
Or, you could just paint it red....
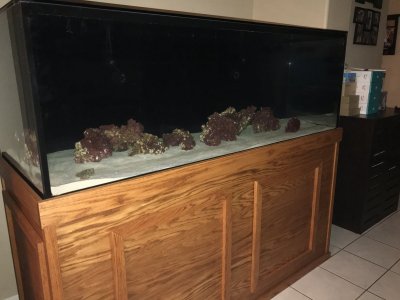
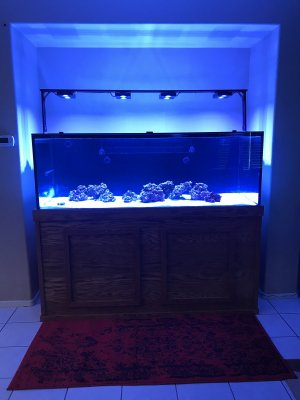
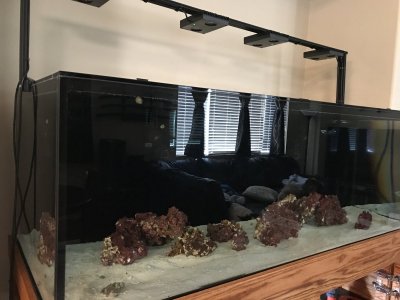
Man! That is one handsome tank!! Great work! Take a breath and sit back and enjoy. The scape looks great too.... Envious......
Hahaha, exact same boat. So originally I was going to go internal overflow. My logic was it would be easier to plumb with tank against wall (but I was able to just slide tank in place when I was ready). I also thought if I had a leak, it would leak directly into sump (but that was assuming a bad situation a would not fix. And that was not a good option).It’s going to be SOOO awesome!! What made you decide on this overflow vs an internal? I’m familiar with an internal box, external is intimidating. But I like the space that the external box saves in the tank. They look nicer too I think.
I also thought internal because many manufacturers throw it in for free (or it’s part of the total cost); GlassCages would have included at very little (if no) extra cost. So the external style box I went with would cost extra $$, but it was nice.
At first I thought it would be closer to wall, the style of the EMS boxes are not the slimmest externally, and did protrude off wall 6”, but internally it is so sleek.
Previous initial review I mentioned it was clean, built solid, and as sleek as expected. Now installed, it is dang near invisible in tank!
Running, it’s as functional as expected, but I have no other reference point to judge (my first sump, overflow, etc).
So I rattled on long enough. While it was a added expense I think it was worth it. The space saved internally in tank (for fish swimming and general realty space) was definitely a plus!
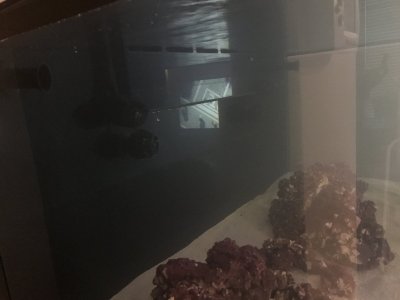
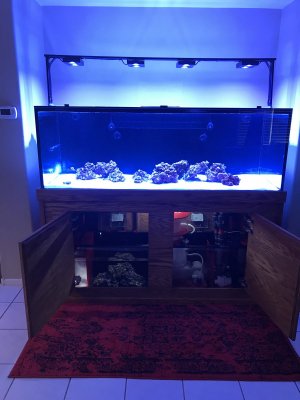
Well I think you made a great decision, it looks great. Plumbing looks great, doesn’t leak. Perfect! Just wondering how you “slid” this beast?? Magic spells?
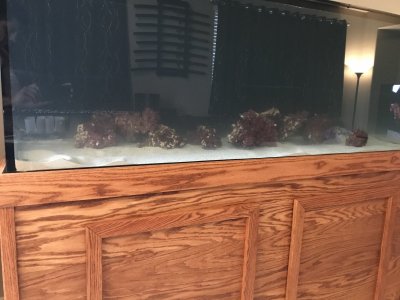
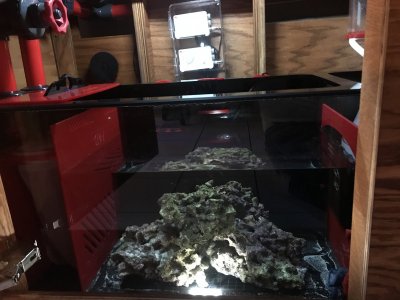
Thank you! liked my simple scape too. I tried not to overthink it (I had no brain power left). The first thing my wife commented, and I quote, “That’s all the rocks your putting in? That it?” I explained I was going for a simple look. That I could add more later (since it was technically dry rock). I did not mention the cost that rock was and what more rock would have cost!!! Lol.Man! That is one handsome tank!! Great work! Take a breath and sit back and enjoy. The scape looks great too.... Envious......
Thank you! liked my simple scape too. I tried not to overthink it (I had no brain power left). The first thing my wife commented, and I quote, “That’s all the rocks your putting in? That it?” I explained I was going for a simple look. That I could add more later (since it was technically dry rock). I did not mention the cost that rock was and what more rock would have cost!!! Lol.
Hey - that was your "in" for more rock.
You are right though. The open area will allow your corals to make the scape. It will be prefect once the corals are large and mature.
The power of “will” is greater than we think! Lol. Actually, bought (from Amazon) furniture slide pad things. Very specific (since there are tons to choice from). They are super thin (that was important since they are going to be permanently fixed to bottom of stand and I didn’t want it to affect it level wise).Well I think you made a great decision, it looks great. Plumbing looks great, doesn’t leak. Perfect! Just wondering how you “slid” this beast?? Magic spells?
They worked as expected, fuzzy on one side to slide (sticky on other side). I glued them to bottom of stand when it was up on furniture dolly’s being moved into house. I used a drop off wood glue (since the adhesive on the back was not sticking to wood well).
And obviously I slide into place empty (no sand, rocks or water). I still need to add more equipment and wiring, but I can do from inside stand.
If I ever have to move tank, I think I can slide out under same circumstances. But I did install the unions just at the point of tank and stand separation. I may be able to access from cut outs in stand and lift tank off stand (or have movers do it if needed). Just sharing.
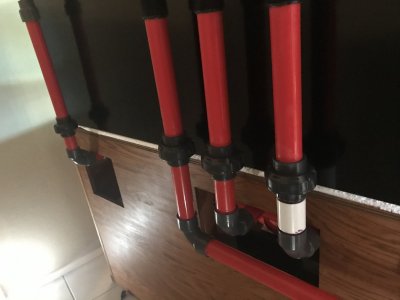
Hi everyone! Tomorrow marks 3 weeks since tank arrived. What a fun and educational start to a long journey ahead.
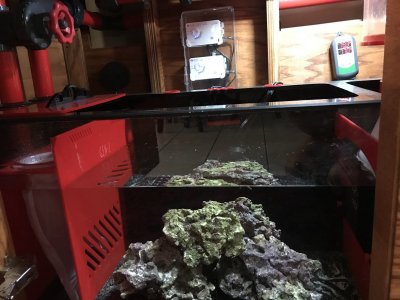
A few little things left to do, but I have sand, rocks and saltwater in tank! I still need to hook up and start protein skimmer (I wonder how long the break in period is).
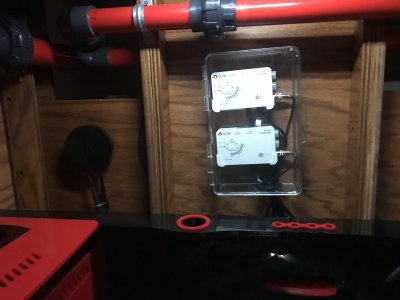
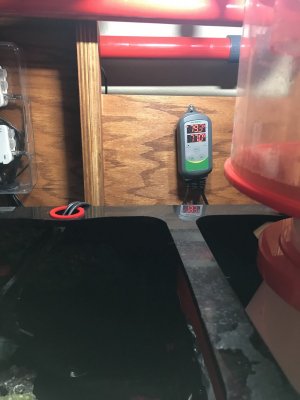
I also need to hook up ATO, heater, fans and lights! So this weekend I’ll pick away at it! The challenges and hard work do make the end result more satisfying. More this weekend!
Daniel@R2R
Living the Reef Life
View Badges
Staff member
Super Moderator
Reef Squad
Partner Member 2024
Excellence Award
Photo of the Month
Article Contributor
Hospitality Award
Article Administrator
Reef Pumpkin Carver
R2R Secret Santa 2023
My Tank Thread
Following!!
Update time. Slow and steady wins the race. And sometimes you just need to keep pushing forward, even if just baby steps.
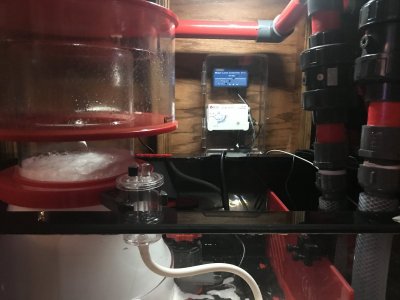
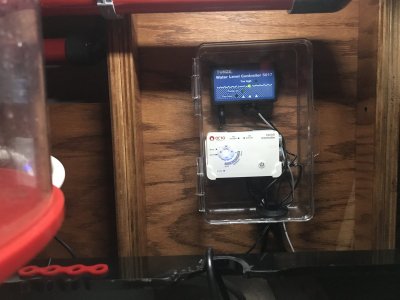
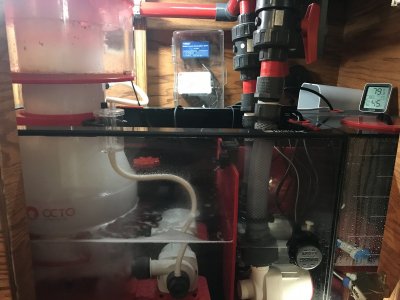
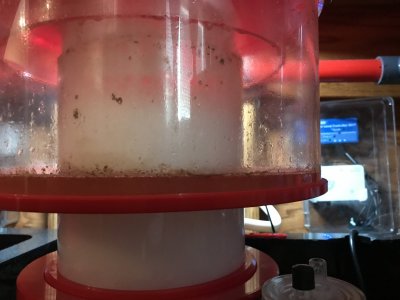
Got all the circulation pumps running today. ATO installed. Protein skimmer up and running! Yesterday I added established rocks from old tank along with the media blocks I had gathering good bacteria for months.
Never using a sump before, it was very interesting how water height greatly affects skimmer, and the water in sump is affected when you sneeze! Just kidding, but seriously, dang.
Turned pump on, affected water volume. Testing ATO, turning return pumps off, which raised sump water lever, which overflowed skimmer cup.
Turned skimmer off to empty, ATO went crazy (high water lever). Adjusted ATO to shut alarm off, but then had to re adjust back when I turned skimmer back on.
So lessons learned; when working on sump in any way, turn off ATO and skimmer together. I keep trying to work on lights to, but that’s challenging.
Tomorrow I will add heater and fans. And go back to lights and tear them apart to redo a third time!
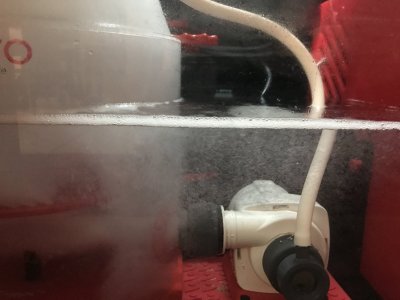
Skimmer seems to be releasing a lot of bubbles from pump connect. Not sure if that’s normal, break in period thing, or defective seal. I tried to open and re tighten but it had no affect.
No bubbles going into return chamber or back to display, so not really an issue, but it’s something to watch....
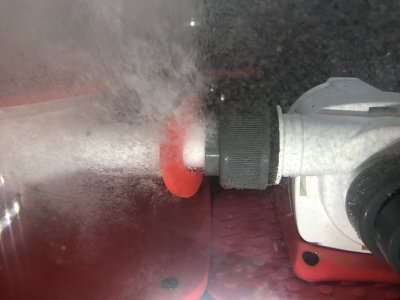
No bubbles going into return chamber or back to display, so not really an issue, but it’s something to watch....

Hey @dreamcatcherr9, any change in your skimmer bubbles? If no change then I wonder if you’re missing an o ring somewhere in the fitting?
Also, I could always look at more pics
Also, I could always look at more pics
Settled. I’ve never used a “in sump skimmer”, only HOB equipment. With no point of reference, I don’t know if the bubbles escaping may be within some type of normal.Hey @dreamcatcherr9, any change in your skimmer bubbles? If no change then I wonder if you’re missing an o ring somewhere in the fitting?
Also, I could always look at more pics
I can say it’s running great! Just need to remember to turn off and back on when turning off return pumps. It’s overflowed a few times (LOL): I’m glad I added the 3 layers of water protection in sump.
Similar threads
- Replies
- 64
- Views
- 1,685
- Replies
- 18
- Views
- 331
- Replies
- 3
- Views
- 178
- Replies
- 5
- Views
- 121
- Replies
- 25
- Views
- 558


