As a newbie poster, long time lurker to R2R, what better way to say hello than to start a build thread as well as track my progressions and mistakes.
The main focus of this build will be a mixed reef with a focus on SPS.
Being as this is going to be a budget build, I will be using some accessories from my current system to help save a couple bucks all the while doing as much of the work I can, myself.
Tank is a Planet Aquariums 150 ( 60x24x24 ) black silicone no center brace. 2, 1" overflow holes and 2, 3/4" return's


For flow I will be using a Gyre 150 for side to side, as well as a pair of Tunze Turbelle Stream 6105's for back to front flow, to help eliminate any stagnant water.
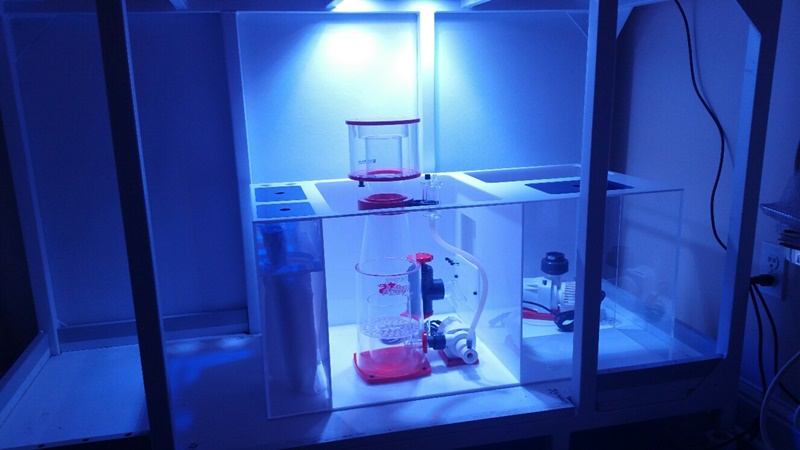
Skimming will be accomplished by a Reef Octopus, Regal 150INT again DC controlled.
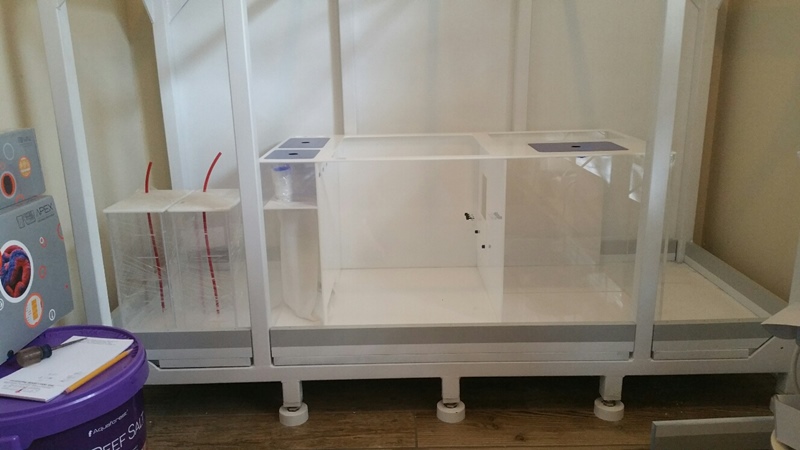
For the sump I have an Eshopps RS 200, 3rd gen.
For return I am contemplating, ditching the power hungry Reeflo Dart hybrid for a Reef Octopus RODC 5500. The biggest that Reef Octopus makes currently in controllable DC pumps.
Notice the trend? I am trying to stay with energy efficient DC pumps. Not trying to cheap out, but if I can save a little $$ on the electricity bill, that means I can spend more on accessory upgrades and corals later.
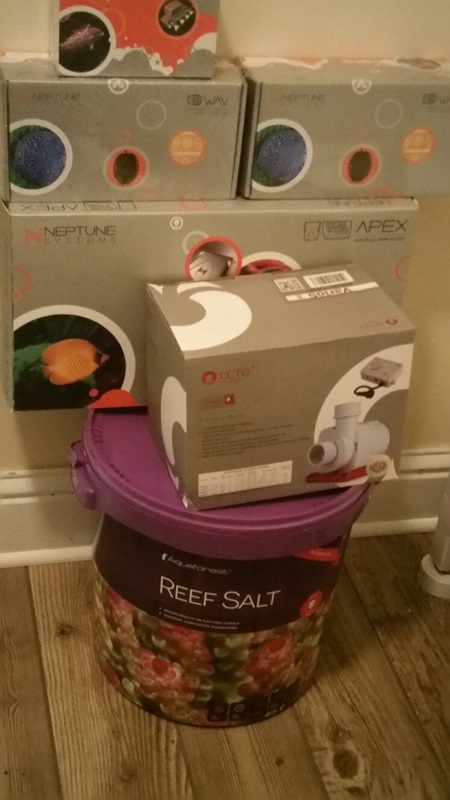
I would like to go full Apex, but being as this is a budget build, I will have to go manual mode for now.
Lighting will be 3 Radion Gen 3 XR30's ( working on getting a third, anyone have one for a good price? ) supplemented by T5's should the need arise.
Now that the preliminaries are done for now, onto the meat and potatoes.
After spending a gawd awful amount of time perusing the web, looking at other stand build's, I decided to quit over thinking and start drawing up the plans.

I decided on using 1 1/2 x 1 1/2 x 1/8,wall A-36 for the main frame along with 3/16, A-36 gussets, as you can see, I went just a tad overboard.
For the sump support area, I used 1 x 1 x 1/16 wall A-36.
Using my trusty cheapo compound miter saw with cutoff blade, I proceeded to make lot's of noise, sparks and prodigious use of adult like word's, when a melting ember would find it's way onto soft tissue.
An hour later and I was finished.

A welder friend of mine offered the use of his welding machine to me, however after seeing my practice welds, he decided it in his best interest to do the welding himself.
From the above, to the below in less than 3 day's.


I also had him weld a few feet under the stand to get it off the floor in the event of a spill, I can still wipe underneath.
My wife would kill me if I didn't do what I could to keep water off the floor
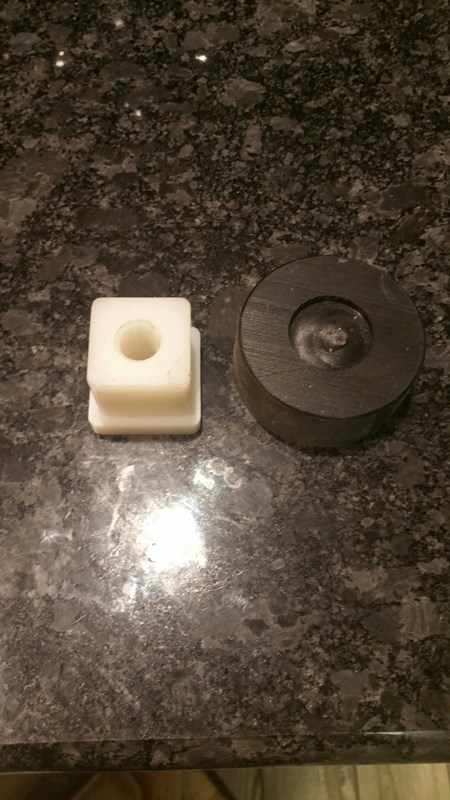
These inserts will fit within the feet to help with the leveling
http://www.mcmaster.com/#leveling-feet/=10sa08v
Here are the feet.http://www.mcmaster.com/#standard-leveling-mounts/=10sa2f2
part # 62805K71 is the part # for anyone interested.
To help even more with my wooden floor woe's, I had some 3/4 PVC sheet at work which I cut out to use as the sump floor, I also cut out a wall system 2 1/2" high which will be glued around the perimeter to help contain any water that either leaks or spills.
On top of the PVC sheet I will use a piece of pink foam sheeting which will cushion the sump.
I will try and get pic's up soon of the stand in it's present form but suffice it to say that , I had the stand sand blasted ( another friend ) and I primed it with Rustoleum clean steel primer and gave it 3 coats of Rustoleum hammertone silver.
I am not sure what I am going to skin the stand with, so I am open to idea's.
I did draw up a sketch of the hood although I am not completely sold on it yet?

Any and all opinions are welcomed.
The main focus of this build will be a mixed reef with a focus on SPS.
Being as this is going to be a budget build, I will be using some accessories from my current system to help save a couple bucks all the while doing as much of the work I can, myself.
Tank is a Planet Aquariums 150 ( 60x24x24 ) black silicone no center brace. 2, 1" overflow holes and 2, 3/4" return's
For flow I will be using a Gyre 150 for side to side, as well as a pair of Tunze Turbelle Stream 6105's for back to front flow, to help eliminate any stagnant water.
Skimming will be accomplished by a Reef Octopus, Regal 150INT again DC controlled.
For the sump I have an Eshopps RS 200, 3rd gen.
For return I am contemplating, ditching the power hungry Reeflo Dart hybrid for a Reef Octopus RODC 5500. The biggest that Reef Octopus makes currently in controllable DC pumps.
Notice the trend? I am trying to stay with energy efficient DC pumps. Not trying to cheap out, but if I can save a little $$ on the electricity bill, that means I can spend more on accessory upgrades and corals later.
I would like to go full Apex, but being as this is a budget build, I will have to go manual mode for now.
Lighting will be 3 Radion Gen 3 XR30's ( working on getting a third, anyone have one for a good price? ) supplemented by T5's should the need arise.
Now that the preliminaries are done for now, onto the meat and potatoes.
After spending a gawd awful amount of time perusing the web, looking at other stand build's, I decided to quit over thinking and start drawing up the plans.
I decided on using 1 1/2 x 1 1/2 x 1/8,wall A-36 for the main frame along with 3/16, A-36 gussets, as you can see, I went just a tad overboard.
For the sump support area, I used 1 x 1 x 1/16 wall A-36.
Using my trusty cheapo compound miter saw with cutoff blade, I proceeded to make lot's of noise, sparks and prodigious use of adult like word's, when a melting ember would find it's way onto soft tissue.
An hour later and I was finished.
A welder friend of mine offered the use of his welding machine to me, however after seeing my practice welds, he decided it in his best interest to do the welding himself.
From the above, to the below in less than 3 day's.
I also had him weld a few feet under the stand to get it off the floor in the event of a spill, I can still wipe underneath.
My wife would kill me if I didn't do what I could to keep water off the floor
These inserts will fit within the feet to help with the leveling
http://www.mcmaster.com/#leveling-feet/=10sa08v
Here are the feet.http://www.mcmaster.com/#standard-leveling-mounts/=10sa2f2
part # 62805K71 is the part # for anyone interested.
To help even more with my wooden floor woe's, I had some 3/4 PVC sheet at work which I cut out to use as the sump floor, I also cut out a wall system 2 1/2" high which will be glued around the perimeter to help contain any water that either leaks or spills.
On top of the PVC sheet I will use a piece of pink foam sheeting which will cushion the sump.
I will try and get pic's up soon of the stand in it's present form but suffice it to say that , I had the stand sand blasted ( another friend ) and I primed it with Rustoleum clean steel primer and gave it 3 coats of Rustoleum hammertone silver.
I am not sure what I am going to skin the stand with, so I am open to idea's.
I did draw up a sketch of the hood although I am not completely sold on it yet?
Any and all opinions are welcomed.


