Whiskey's 300 Gallon Glass Cages Dream Reef. It only took 22 years!

OP
OP
Wiskey

Wiskey

Well-Known Member
View Badges
Joined
Sep 7, 2017
Messages
735
Reaction score
916
Rating - 0%
0   0   0
I have a little bit of an update from just before I went out of town. I tried the new airless sprayer to spray the doors, and after I did the back side of two of them it was apparent that it wasn't working. I was getting the most awful orange peel ever. I'm new to an airless so I wasn't sure what to do, and I hit up youtube for some hints. Ended up finding out that I have a few options,.. but the only one that applies to my gun is to thin the paint. This means I need more coats of course, but I'm happy to report that it worked beautifully!

This is both sides with one coat. At least a second coat will be required:
1675874473054.png


Whiskey
 

BZOFIQ

2500 Club Member
View Badges
Joined
Jul 31, 2014
Messages
4,690
Reaction score
3,990
Location
NYC
Rating - 100%
9   0   0
I have a little bit of an update from just before I went out of town. I tried the new airless sprayer to spray the doors, and after I did the back side of two of them it was apparent that it wasn't working. I was getting the most awful orange peel ever. I'm new to an airless so I wasn't sure what to do, and I hit up youtube for some hints. Ended up finding out that I have a few options,.. but the only one that applies to my gun is to thin the paint. This means I need more coats of course, but I'm happy to report that it worked beautifully!

This is both sides with one coat. At least a second coat will be required:
1675874473054.png


Whiskey
Looks Great!

Which airless setup are you using?
 
Last edited:
OP
OP
Wiskey

Wiskey

Well-Known Member
View Badges
Joined
Sep 7, 2017
Messages
735
Reaction score
916
Rating - 0%
0   0   0
Looks Great!

Which airless setup are you using?
Thank you!!!

On the air sprayer I had a wagner because I wanted to get something a little nicer that would last. It held on for less than a year, and only 2 small projects before the motor fried,.. so I figured that sprayers weren't going to last no matter what I did and got a Harbor Freight Avanti Handheld Airless Paint sprayer.
1675965575387.png


Whiskey
 

BZOFIQ

2500 Club Member
View Badges
Joined
Jul 31, 2014
Messages
4,690
Reaction score
3,990
Location
NYC
Rating - 100%
9   0   0
Thank you!!!

On the air sprayer I had a wagner because I wanted to get something a little nicer that would last. It held on for less than a year, and only 2 small projects before the motor fried,.. so I figured that sprayers weren't going to last no matter what I did and got a Harbor Freight Avanti Handheld Airless Paint sprayer.
1675965575387.png


Whiskey

Thanks for confirming.

What primer and paint did you use?
 
OP
OP
Wiskey

Wiskey

Well-Known Member
View Badges
Joined
Sep 7, 2017
Messages
735
Reaction score
916
Rating - 0%
0   0   0
Thanks for confirming.

What primer and paint did you use?
Sure thing! If you are looking at getting one of these, I don't recommend it. See my next post for what I was finding.

For paint I'm using exactly what the builder of my house used for my cabinetry. Sherwin Williams Interior acrylic latex for trim and doors. The color is Pure White, I'm using a semi gloss formula. It's silly that this paint is almost $100 per gallon but having it exactly match the kitchen since the house is a great room style open concept is important to me.

The primer is a basic valspar interior primer best for wood among other things. The primer I'm not as concerned about other than making sure it doesn't have mold inhibiters, that it's white, and it sands easy. Basically I'm using it like a light mud to get the wood even more smooth by laying it on thick and sanding.

Whiskey
 
OP
OP
Wiskey

Wiskey

Well-Known Member
View Badges
Joined
Sep 7, 2017
Messages
735
Reaction score
916
Rating - 0%
0   0   0
So I figured out why I'm struggling so much with this airless sprayer. Even the thinning wasn't perfect so I started digging deeper into what people are doing with this thing, and I noticed a key difference. Most airless paint sprayers maintain pressure in the gun, and they pull a valve like trigger for a steady spray of paint out of the nozzle. The motor runs on and off like a compressor to maintain pressure. My gun has a switch for a trigger and the motor runs all the time, when the piston or whatever is coming up I get a strong blast of paint, but then as it goes down the paint falls off giving a distinct zebra stripe pattern to the paint. Almost like pumping a squirt gun. The thicker paint makes this effect worse somehow so it lays down too heavy in one spot, and light in the next. With the thinned paint it reflows and fills in, but not with the thicker paint.

That being said, spraying from 4 directions and using thinned paint worked well and I was able to get a reasonably good finish. I was hoping to up the bar this go around and get a glass like gloss finish, but I ended up with basically an exact match to my cabinets which is what I was going for anyway so I'm going to run with it.

When I do the lowers I'm going to seriously consider getting a HVLP sprayer (I think that's the acronym) that runs off a typical air compressor. It's the style that they use for automotive paint, and from what I'm finding on YouTube most high end cabinet builders use that style for getting the high gloss finishes. I think what I have might be better suited for painting walls,.. although they would be small walls seeing as how it only holds a pint.

Anyway,.. enough chat. Here's where we are now!
1676224201574.png


Now I need to turn my attention to moving the stock tank out of the way so that I can replace the sump with the new one, along with making a few minor modifications for the sump so that I can plumb in my Frag tank.

Whiskey
 
OP
OP
Wiskey

Wiskey

Well-Known Member
View Badges
Joined
Sep 7, 2017
Messages
735
Reaction score
916
Rating - 0%
0   0   0
Okay! I have a project that I've really been dreading, but I got myself together today and did it!! The next major step in this project is to replace my existing sump that's made with a 50 gallon tank with the new much nicer sump that I bought with this tank. The new sump is about 5 foot long by 2 foot wide by about 16 inches tall. It's probably actually bigger than my current display tank, but more water volume never hurts!

The problem is that when I installed this stock tank I made it very temporary and it was never intended to run for more than a couple weeks, so I just kindof slapped it right next to the tank and ran plumbing straight over. Now I need better access to the sump so I need to swing it around and out of the way.
1676239184495.png

This is what the Sump Room looked like, you can see that I have no room to work on or replace the sump.

This is after I slid the stock tank into a better position:
1676239463802.png


Much better! Now I have a new problem, The new tank sump won't fit by about 4 inches. It's not a perfect solution but I think I can slide the frag tank over during the transition, I can't do it now because all the drain plumbing doesn't have that room to move.

Speaking of plumbing, this is the sump I will be using, but I need to make a couple changes to make it work with my system.
1676239842122.png

This is setup perfectly for the tank, but not for my Frag tank.
The Blue Dots will be 2 additional 1" drains to support the Frag Tank.
The Red Dot will be a 3/4 return to go up to the Frag Tank
The Pink Dot will be a 3/8 Jhon Guest fitting to support the Kalk reactor. I don't want that going into the skimmer compartment because it tends to have a lot of precipitation.

I might add a CA reactor effluent line to the drain section just to give it more time to off gas the CO2, but at the same time I usually like to put my PH probe there to get accurate readings, so I'm on the fence about that.

Whiskey
 
OP
OP
Wiskey

Wiskey

Well-Known Member
View Badges
Joined
Sep 7, 2017
Messages
735
Reaction score
916
Rating - 0%
0   0   0
Well! Just a quick update, but hopefully by the end of the weekend I will have a HUGE one. I have the sump prepped with the additional bulkheads I needed, and I got it outside to wash it all out. This design has the drawback that it's harder to clean than an all glass tank, but I LOVED the fact that I didn't have to be nearly as careful with it, and the fact that it was SO LIGHT for it's size. I was easily able to move this around completely by myself using a furniture dolly, and it's sitting in the sump room now.

1676677758714.png


This weekend I hope to switch all my plumbing over to 1.5", drill a bunch of new holes in the wall, and get this new sump installed on the old tank. When completed this will make the eventual move over to the 300 gallon much easier because all I have to do is cut the plumbing in the front room and connect it to the other overflow box and return holes, no messing with any filtration, reactors, topoffs, none of it.

Whiskey
 
OP
OP
Wiskey

Wiskey

Well-Known Member
View Badges
Joined
Sep 7, 2017
Messages
735
Reaction score
916
Rating - 0%
0   0   0
Man,.. I continually underestimate how much time and effort this stuff takes. That was a completely wild weekend, but everything is up and running in the new sump!!! Still some wire management to do, and some testing and tuning, plus I need to label everything but we are rocking! This has the new Octo Int-200 skimmer installed as well! Eventually I will run the 200 and 150 together for redundancy, but right now with the 135 gallon tank and fish load it seems like overkill.

Even though the 135 is still drilled for 1 inch drains, having the 1.5 inch pipe back to the sump room actually allows me to run much higher return flow which is nice.

Here's the sump room now:

1676910139827.png


Whiskey
 
OP
OP
Wiskey

Wiskey

Well-Known Member
View Badges
Joined
Sep 7, 2017
Messages
735
Reaction score
916
Rating - 0%
0   0   0
Everything’s coming together, good job on the build! I’d say save the money on pvc and take the savings to spend on coral.
I have noticed though that the thicker the plastic the better heat retention it has. I’ve found myself running acrylic and sch 80 PVC holds in heat like crazy. My 400g system is heated by a 50w heater, tank stable 77.1deg. As long as you have lids in the sump, you’d be surprised by the retention.
The only thing to watch out for is if your dosing kalk. You’ll find out quickly that you want to evaporate, but your heat will fall dramatically. Unfortunately, nothings perfect.
You were completely right about this! I doubt 50W will do the trick for me, but I've gone from the 135 basically bouncing off the 500 W heater all day and all night to a 300 W heater hardly ever clicking on. I'll probably need both 300W elements when I get the larger tank installed, but the PVC sump made a big difference even though it added a ton of water volume to heat.

Whiskey
 
OP
OP
Wiskey

Wiskey

Well-Known Member
View Badges
Joined
Sep 7, 2017
Messages
735
Reaction score
916
Rating - 0%
0   0   0
I have BIG news! I need to get some updated coral pics because I'm starting to get some good growth and colors from the new corals which is super exciting! But that's another post. This one is all about the tank and controlling aptasia.

Joe from glass cages sent me a picture of my assembled tank sitting in QA already!!!! We are a week away from the Silicone being cured, and probably about 3 weeks away from shipping. He had estimated 8-12 weeks for a tank this size and complexity, but it's looking like he will beat that by a week or two. Now,.. what we are all here for anyway, the photo
1677267220568.png


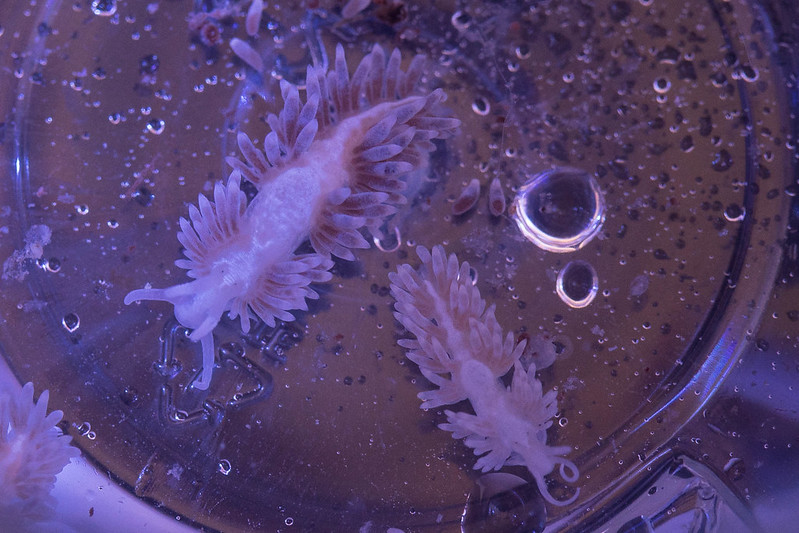
And! Regarding Aptasia, I'm starting to have a bunch of them popping up here an there,.. I have tried peppermint shrimp before with limited success, I've definitely used the Aptasia X and Joe's Juice and the like, but that only gets the ones I can see, and there is some question of if it helps to spread them. This time I decided try something new and took advantage of a deal Dinkins Aquatic Gardens was doing where you order 3 berghia nudibranchs and get 2 small ones free to see if that is a better method of control. I have some concern about my Wrasse getting them, but they are nocturnal, and lots of food exists for them, so I'm hoping that it's okay.

Here's a big and little guy during acclimation:
IMG_6236 by Wiskey2727, on Flickr

Cool looking guys!

Whiskey
 
OP
OP
Wiskey

Wiskey

Well-Known Member
View Badges
Joined
Sep 7, 2017
Messages
735
Reaction score
916
Rating - 0%
0   0   0
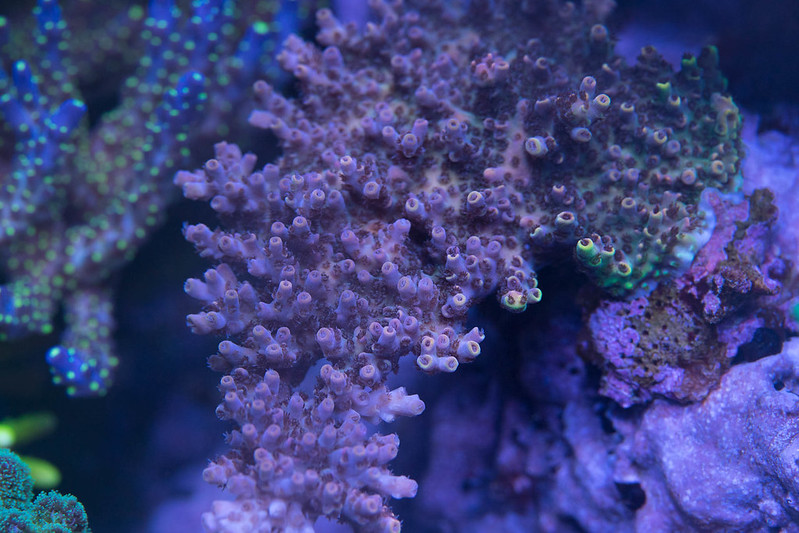
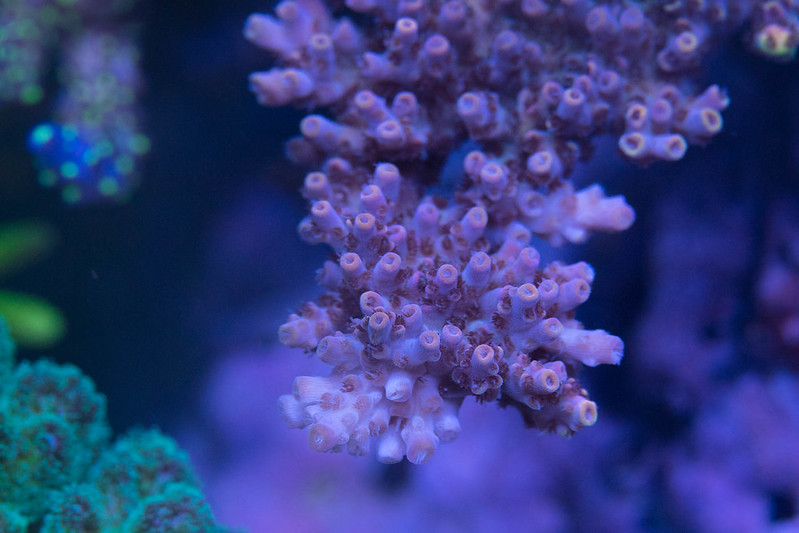
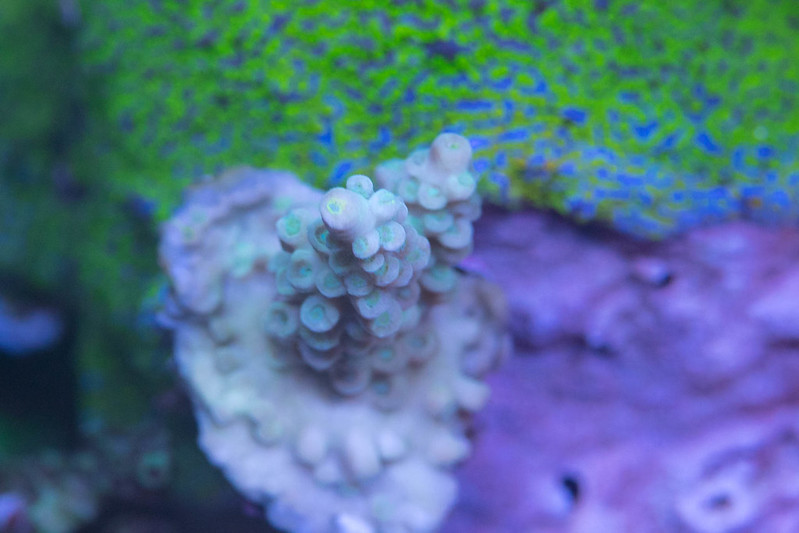
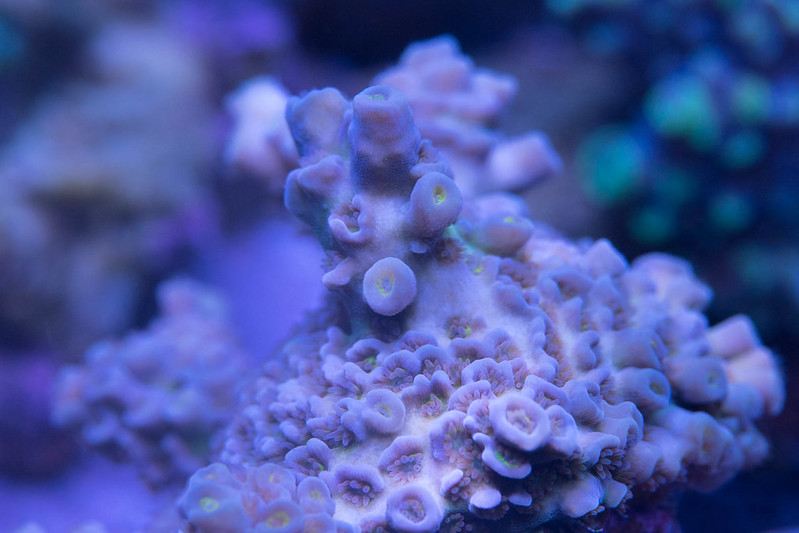
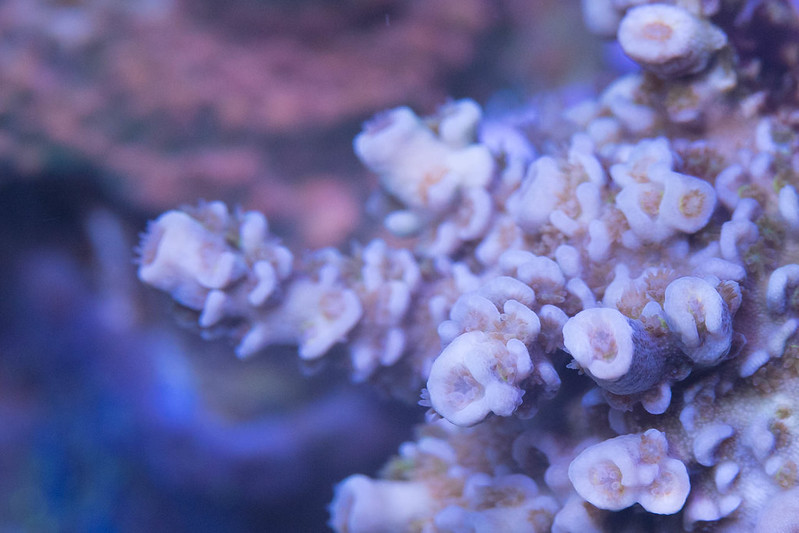
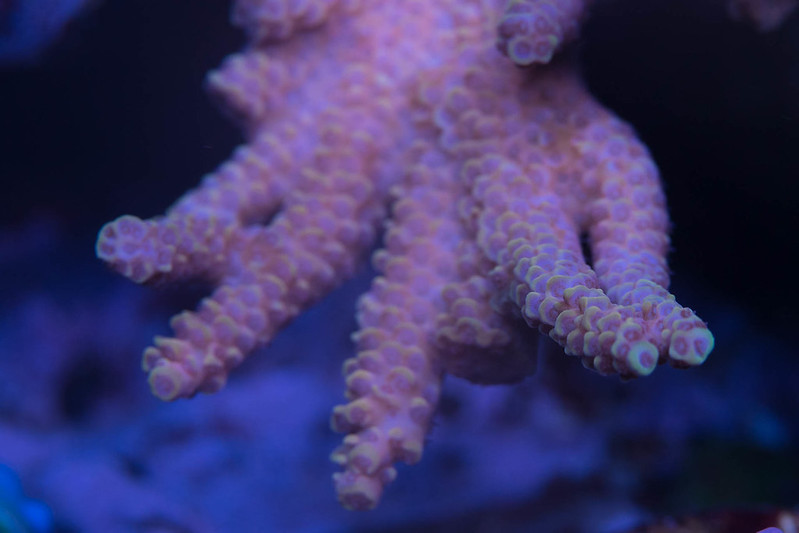
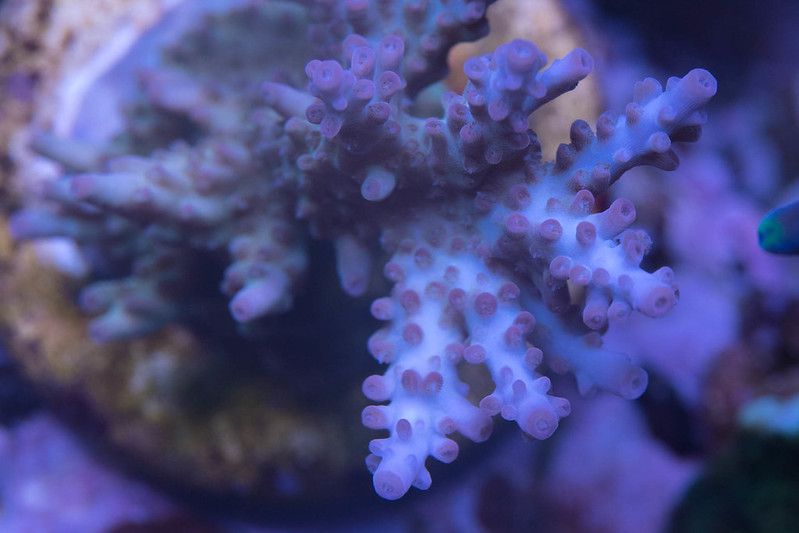
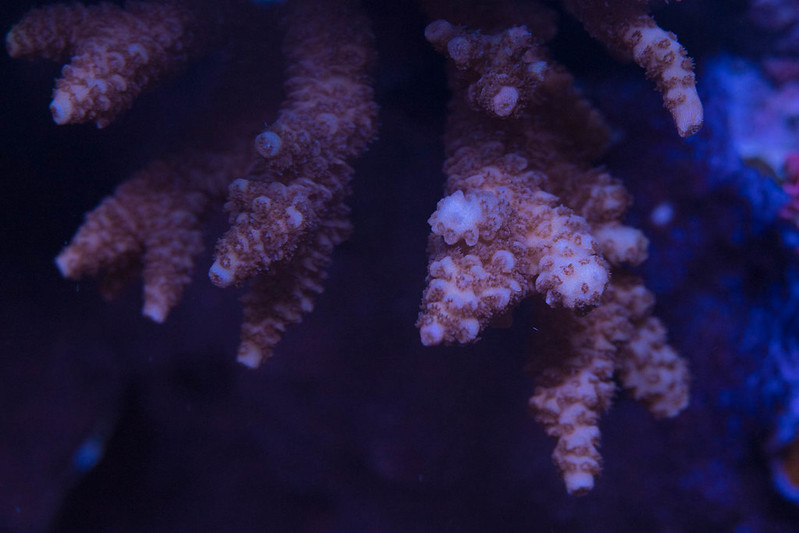
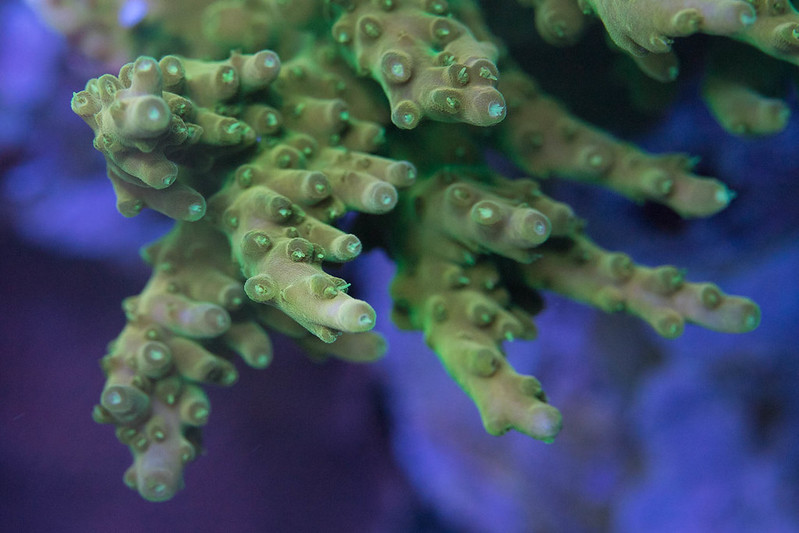
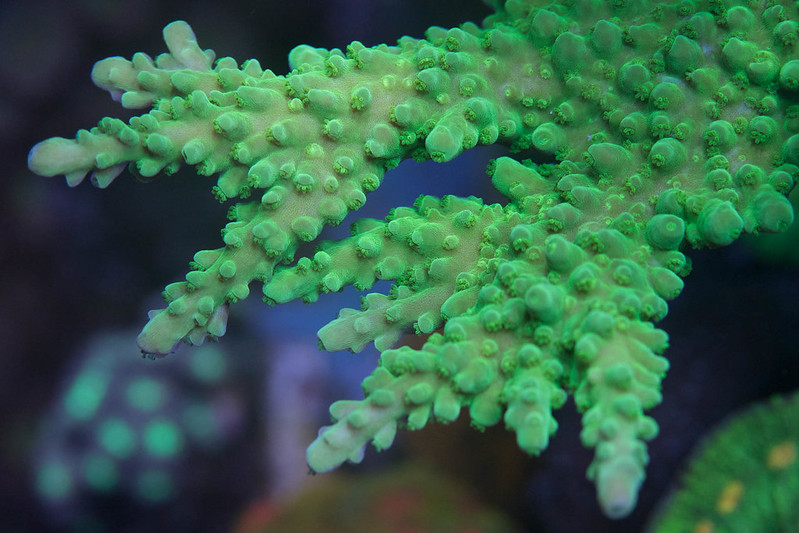
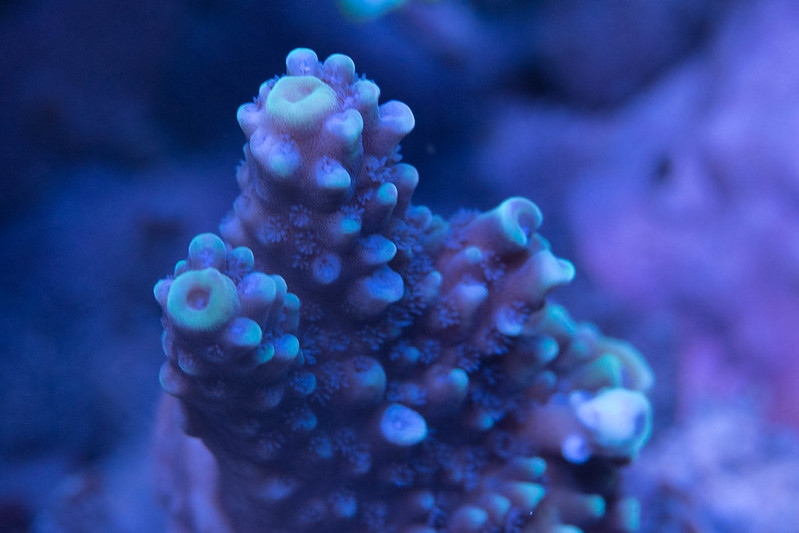
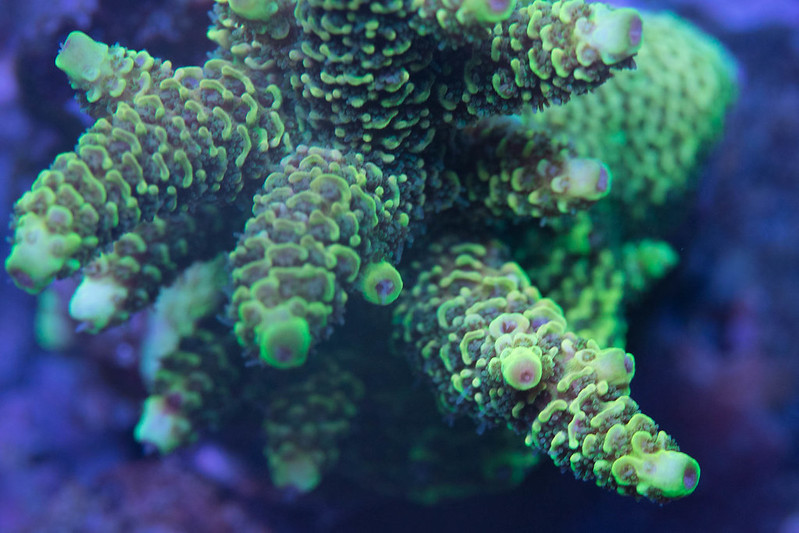
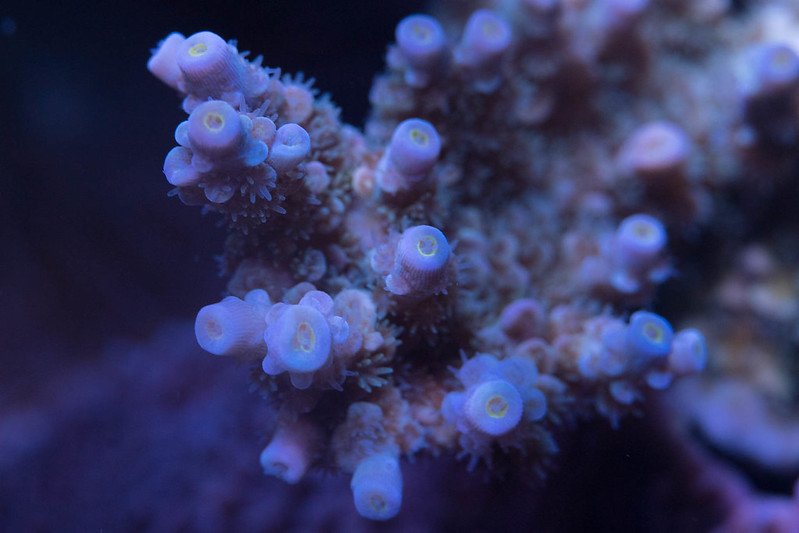
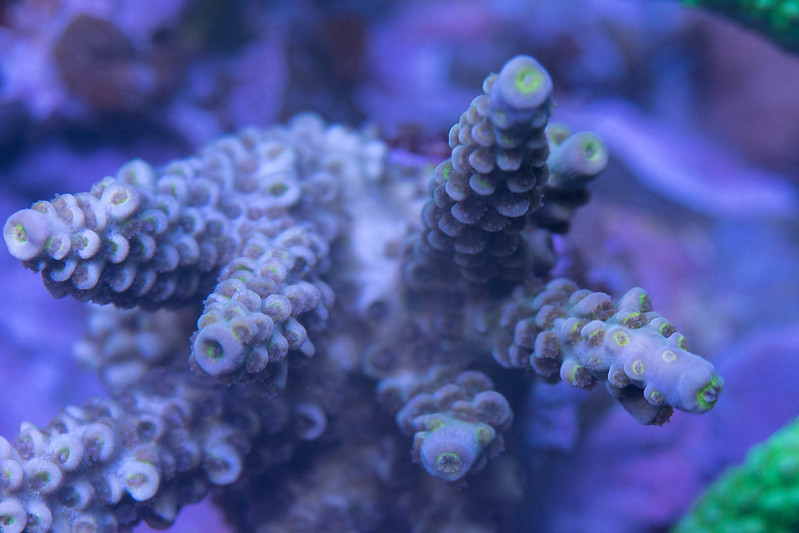
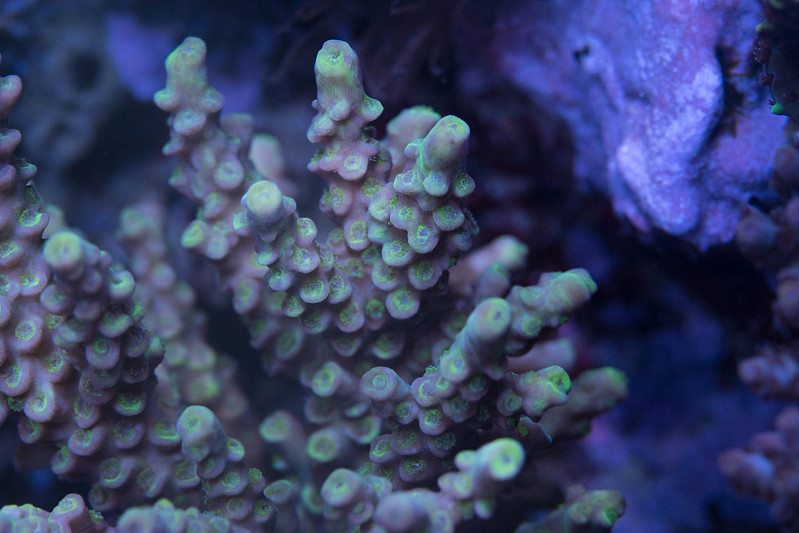
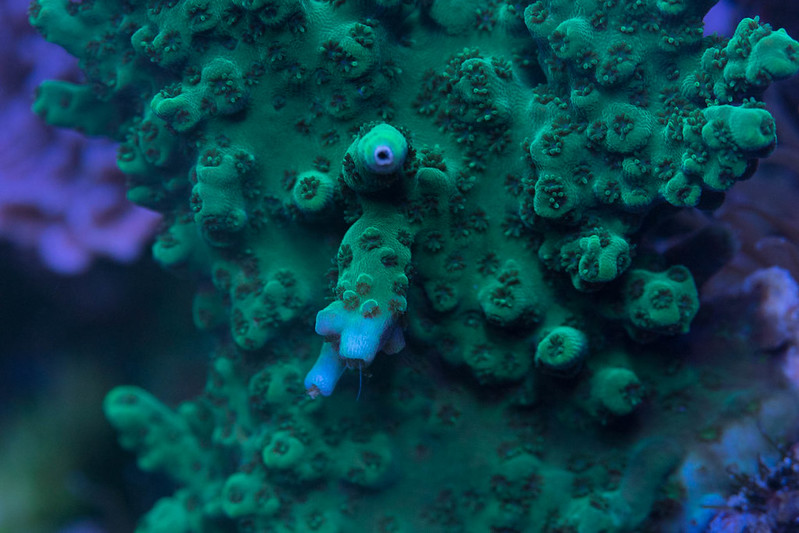
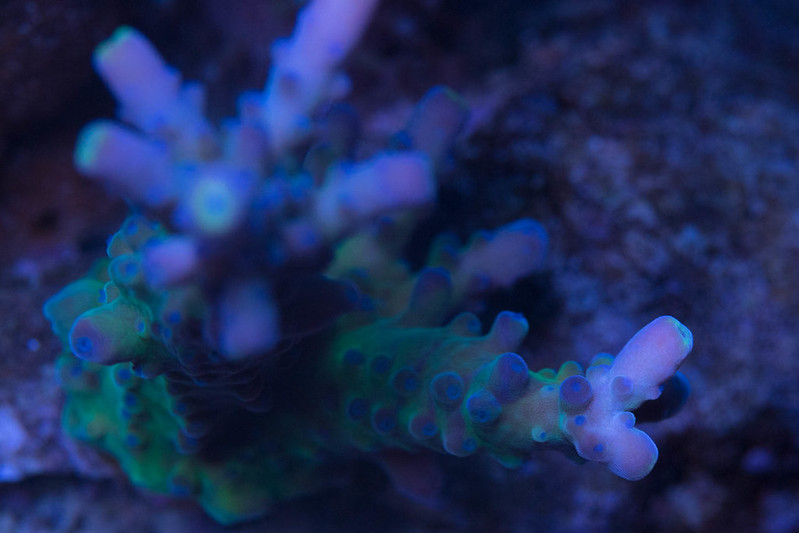
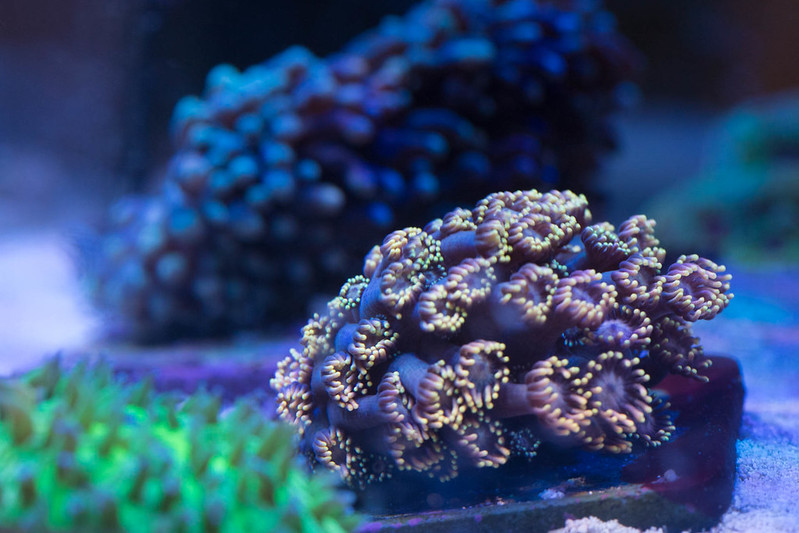
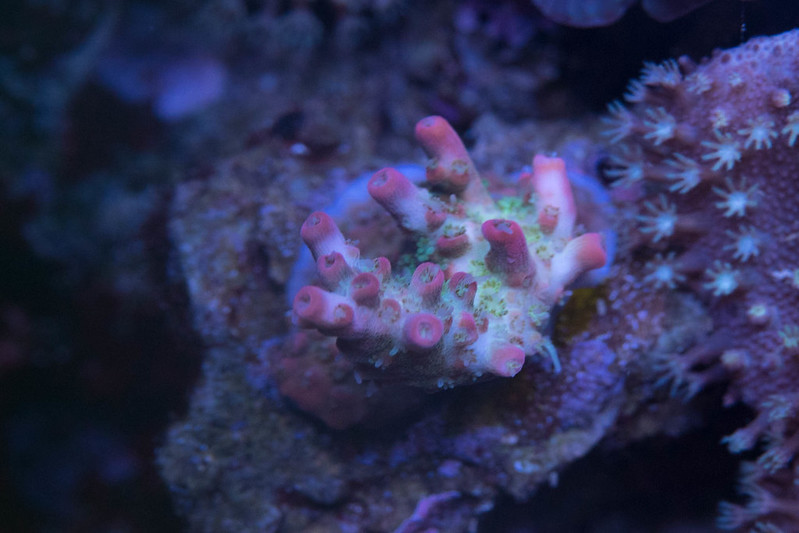
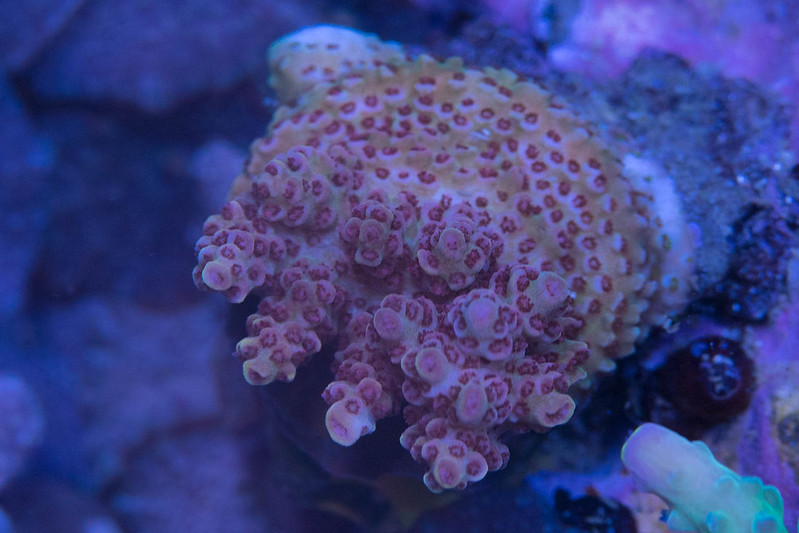
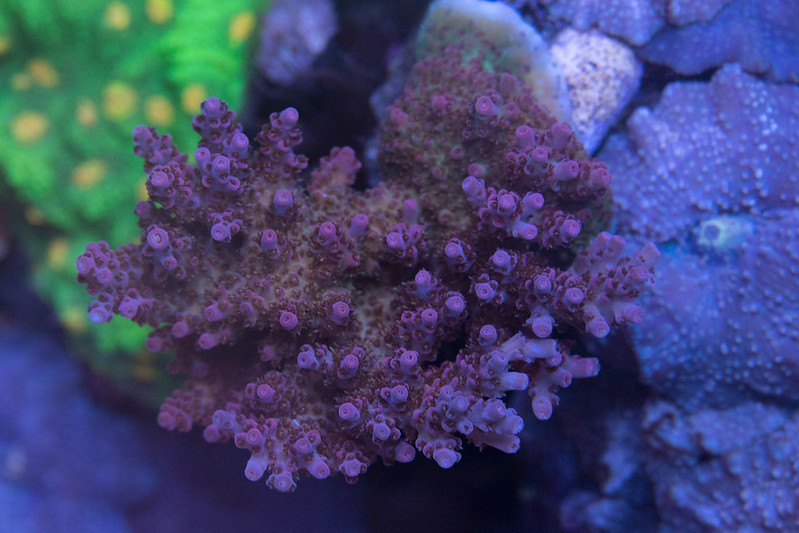
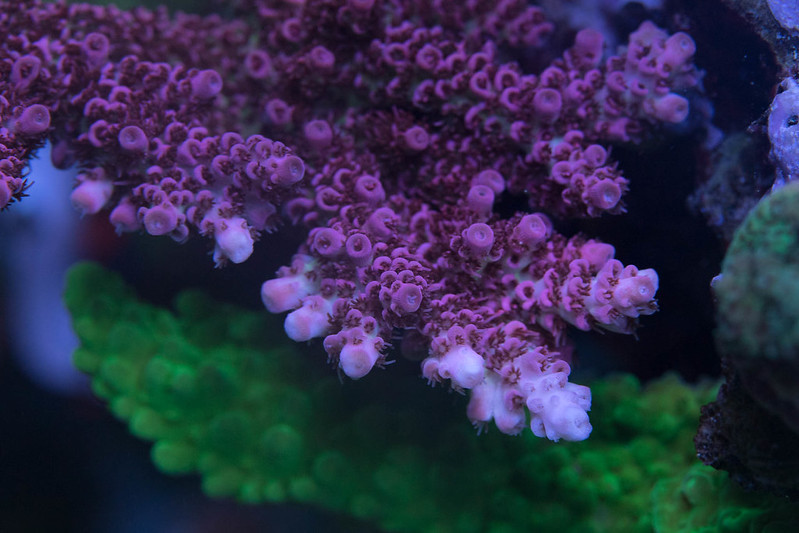
Okay! I have a fun post for everyone!! There are TONS more new corals that I can't shoot because the only way I can do this is with a fixed 100MM lens which makes my range fairly limited, but I did get some awesome pictures of things settling in and coloring up!

All of these are new from Hydrored:

This is different parts of the same coral:
IMG_6311 by Wiskey2727, on Flickr
IMG_6310 by Wiskey2727, on Flickr

The rest of these are all different corals:
IMG_6308 by Wiskey2727, on Flickr

IMG_6304 by Wiskey2727, on Flickr

IMG_6303 by Wiskey2727, on Flickr

IMG_6299 by Wiskey2727, on Flickr

IMG_6298 by Wiskey2727, on Flickr

IMG_6295 by Wiskey2727, on Flickr

IMG_6294 by Wiskey2727, on Flickr

IMG_6288 by Wiskey2727, on Flickr

IMG_6284 by Wiskey2727, on Flickr

IMG_6274 by Wiskey2727, on Flickr

IMG_6272 by Wiskey2727, on Flickr

IMG_6271 by Wiskey2727, on Flickr

IMG_6268 by Wiskey2727, on Flickr

IMG_6266 by Wiskey2727, on Flickr

IMG_6261 by Wiskey2727, on Flickr

IMG_6260 by Wiskey2727, on Flickr

IMG_6257 by Wiskey2727, on Flickr

IMG_6243 by Wiskey2727, on Flickr

These have had a few extra months to settle in, they came in the order for the Raindrops on Roses contest from Battle Corals:
IMG_6292 by Wiskey2727, on Flickr

IMG_6290 by Wiskey2727, on Flickr

IMG_6289 by Wiskey2727, on Flickr

This one isn't new, I just like it.
IMG_6283 by Wiskey2727, on Flickr
 
OP
OP
Wiskey

Wiskey

Well-Known Member
View Badges
Joined
Sep 7, 2017
Messages
735
Reaction score
916
Rating - 0%
0   0   0
It has been a super long time since I've posted on this! Mainly because I've been hard at work trying to get everything done before the tank arrives. I didn't make it,.. but everything that absolutely needs to get done is done, I will finish up the cabinetry on the stand later. It pops on and off the extruded aluminum with little clips so it's easy to completely remove if I need to.

The tank arrives this week!!!! Friday I'm breaking down the 135 With the help, and 300 gallon stock tank of Aqua Ventures in my area that does tank moves, Saturday the new tank is lifted into place with Aqua Venture's help, and then I get to plumb and put everything back in.

I have the Drawers in at least!
IMG_2729.jpg


IMG_2731.jpg


And I have Doors built. Man that takes a ton of parts!
IMG_2740.jpg


IMG_2737.JPG


But now we shift gears a little bit to the actual setup. I will let you know how it goes!

Whiskey
 

MickeyCT

Active Member
View Badges
Joined
Oct 9, 2016
Messages
363
Reaction score
233
Location
Cheshire, CT
Rating - 0%
0   0   0
I just saw this thread today. I have no words! Awesome build so far and I'll be following along.

My tank is a 225 custom size that is 18+ years old. Makes me want to upgrade and fix all the things I'd do differently. But.... I'm too old to start over and I have room for a fish room. My 69 year old knees and back just hate working in the sump under the stand.

If I ever decide to go forward with a tank replacement, will you build my stand for me? Your woodworking skill is beautiful. Just wishful thinking.......

Mickey
 
OP
OP
Wiskey

Wiskey

Well-Known Member
View Badges
Joined
Sep 7, 2017
Messages
735
Reaction score
916
Rating - 0%
0   0   0
I just saw this thread today. I have no words! Awesome build so far and I'll be following along.

My tank is a 225 custom size that is 18+ years old. Makes me want to upgrade and fix all the things I'd do differently. But.... I'm too old to start over and I have room for a fish room. My 69 year old knees and back just hate working in the sump under the stand.

If I ever decide to go forward with a tank replacement, will you build my stand for me? Your woodworking skill is beautiful. Just wishful thinking.......

Mickey
Welcome to the Party Mickey! And thank you!!

That's the way it always goes, as time goes on you find all these things that you wish were done differently. Also new equipment often comes out that doesn't fit in your Sump design or whatever. Having it still up and running after 18 years is something to brag about though! You must have done it pretty dang well! It seems that many tanks never make the year mark before they are upgraded or torn down.

Hopefully I'll be celebrating my tank's 20 year birthday here in this thread!

Whiskey
 

Reefing threads: Do you wear gear from reef brands?

  • I wear reef gear everywhere.

    Votes: 37 15.9%
  • I wear reef gear primarily at fish events and my LFS.

    Votes: 13 5.6%
  • I wear reef gear primarily for water changes and tank maintenance.

    Votes: 1 0.4%
  • I wear reef gear primarily to relax where I live.

    Votes: 30 12.9%
  • I don’t wear gear from reef brands.

    Votes: 135 58.2%
  • Other.

    Votes: 16 6.9%
Back
Top