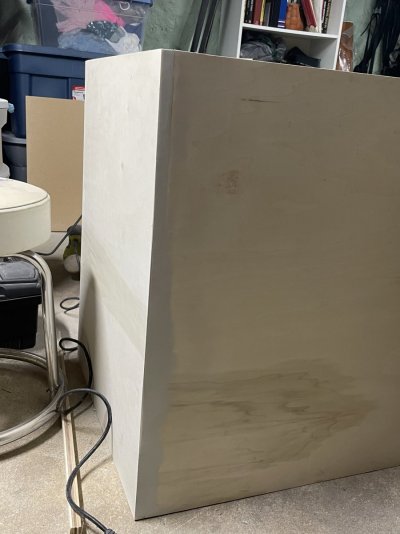
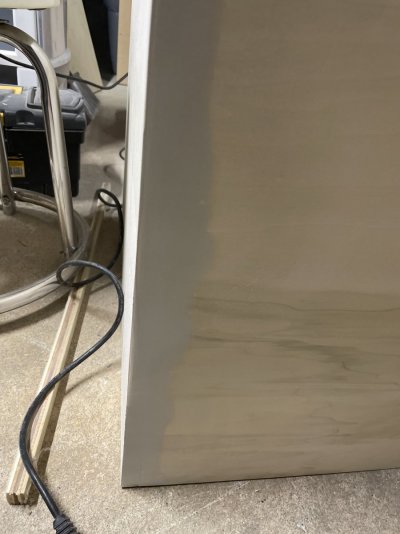
So after I glued and screws the boards I noticed the next day that the panel moved slightly what are my options I was thinking fill it with wood filler or bondo but I’m not sure


Follow along with the video below to see how to install our site as a web app on your home screen.
Note: This feature may not be available in some browsers.


Yeah it was set for 3/4 so I dialed it back some I also backed out the screw tiny bit and will sand

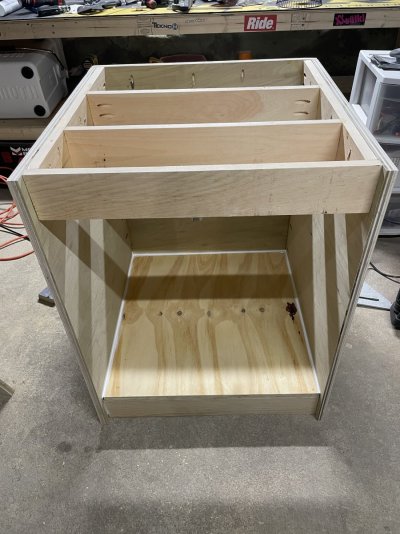
Rimmed or rimless? If it has a rim, it's designed to be supported only along the perimeter. If it's rimless, the entire bottom needs to be supported so a couple cross braces under a 3/4 plywood top would be a good idea.Do you guys think I should brace the top with 1x4 ? Or should be fine with just plywood ? It’s a 60gallon cube 24x24
")

The original stand is hollow bottom on Marineland however It’s the main reason I’m changing itRimmed or rimless? If it has a rim, it's designed to be supported only along the perimeter. If it's rimless, the entire bottom needs to be supported so a couple cross braces under a 3/4 plywood top would be a good idea.