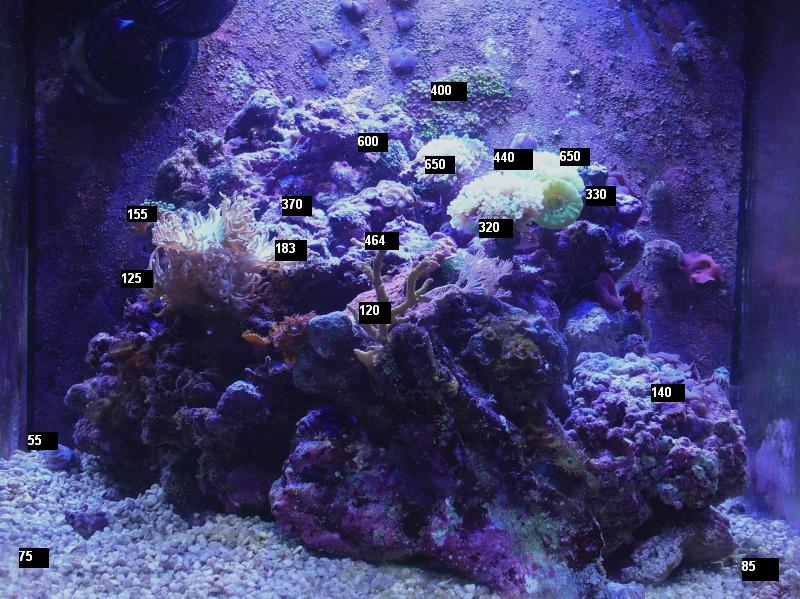
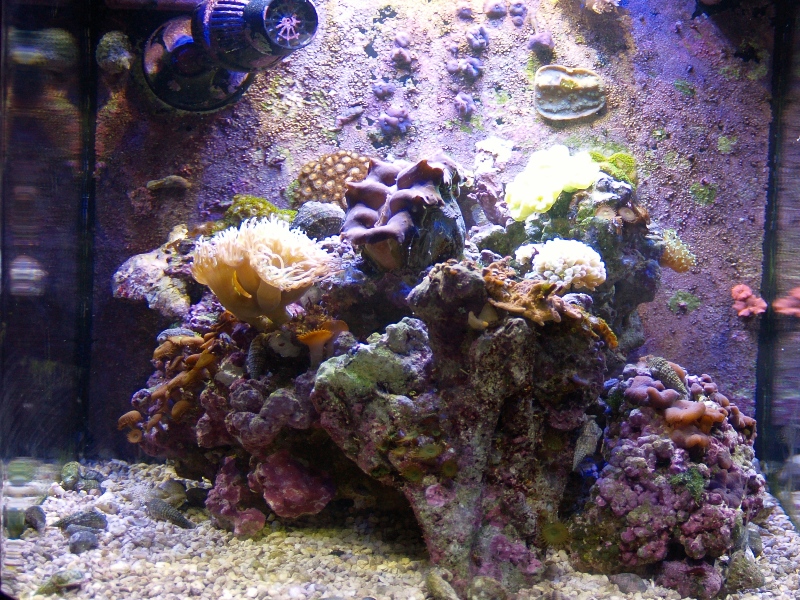
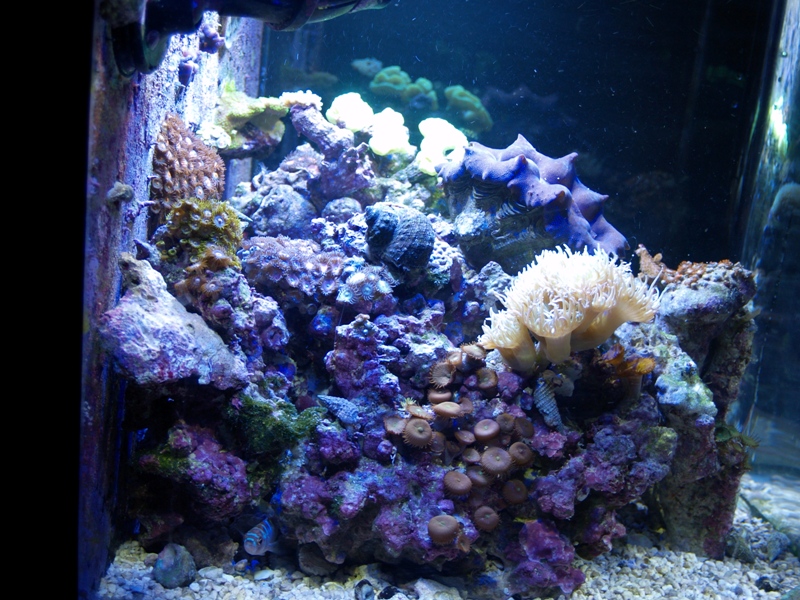
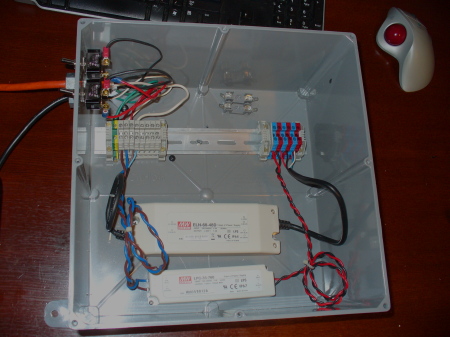
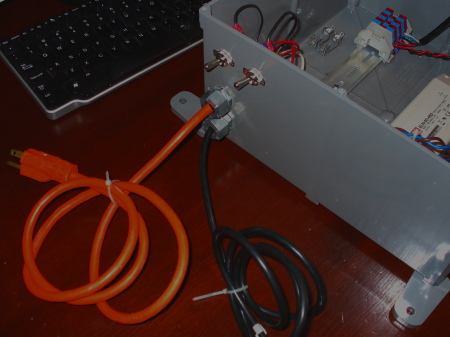
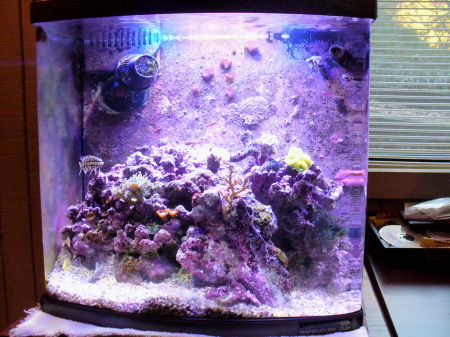
I just completed retrofitting my JBJ Lighting 24G Nano hood with LEDs. I gutted everything out of the hood and set up the wiring to use the existing two openings and strain reliefs. I got some good advice from an excellent DIY forum in an otherwise draconian-managed reef site (not this one). But I thought I'd take the opportunity to post this here and increase my traffic here a bit.
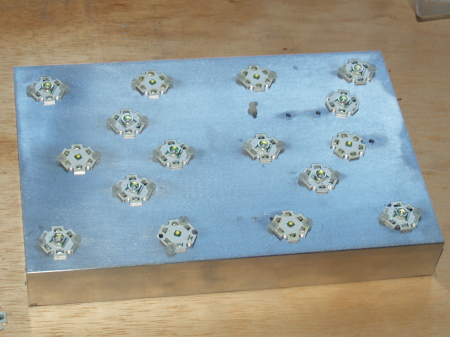
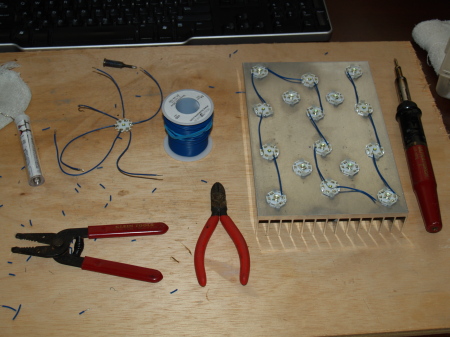
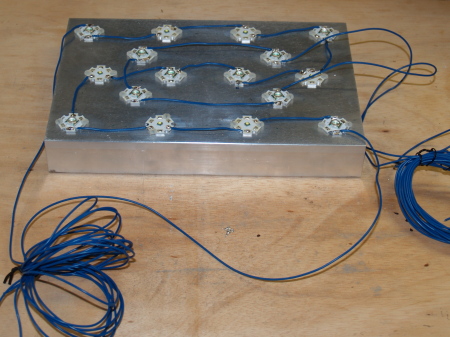
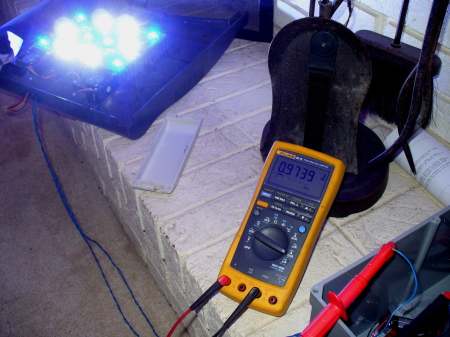
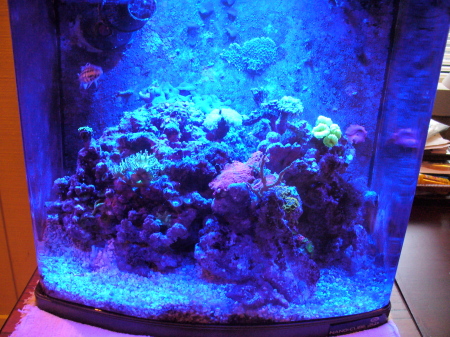
The basic LED fixture is a 6" x 9" aluminum heat sink with six (6) Cree 3W XP-G White and ten (10) XR-E Royal Blue LEDs mounted on it. I drilled and and tapped for 4-40 screws and used nylon screws to attached the LEDS. To increase heat transfer, I applied Arctic Silver thermal paste between the starboards and the heatsink.
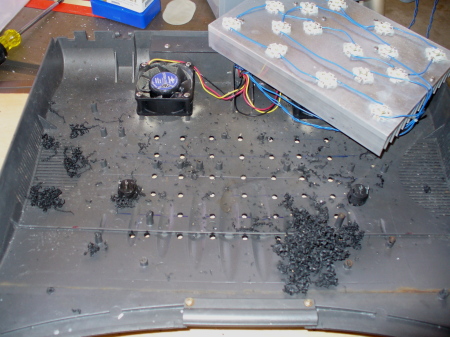
For the LED interconnections I used used 26 AWG stranded UL1007 wire (rated at 105C) to connect a string of 6 white and 6 blue LEDs. I pre-tinned the wires to keep the "touch-time" down between my butane soldering iron tip and the LED star board pads. I went on to connect the other 4 blue LEDs on another circuit. The thing that looks like a spider in the below photo was a dead LED that I used to practice soldering before I did the work on the real thing...
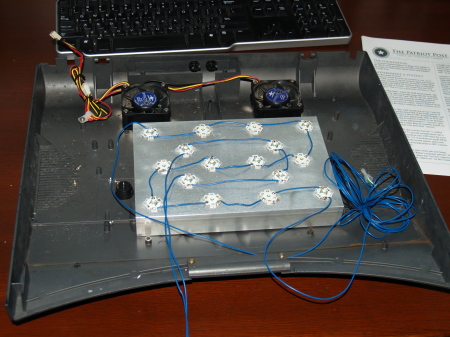
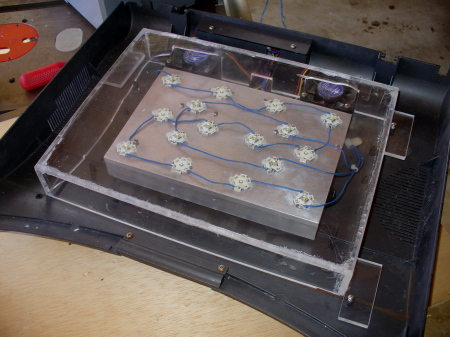
I then measured off the correct dimensions for my acrylic cover. The cover was sized to fit between screw posts in the hood. I did not span the entire width of the hood because I wanted to bypass the existing air-intake vents. The plan at that time was to cut new vents directly over the heatsink fins.
I used a table saw armed with a plastic-cutting blade to cut the face plate and the side panels of the acrylic cover. I buffed out the scratches on the main cover facing and then taped everything into roughly the proper shape -- leaving a little overhang to be routed off flush later...
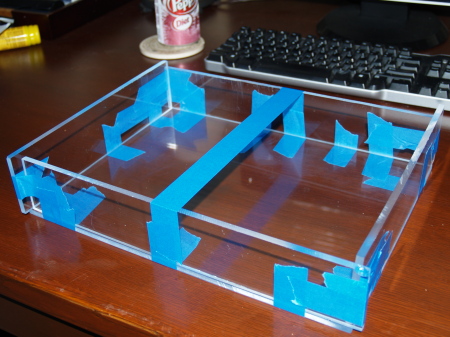
After leaching in the Weld On 4 into the cracks of the plastic, I applied pressure with the largest books I had available. I am not sure Wayne Grudem would approve...

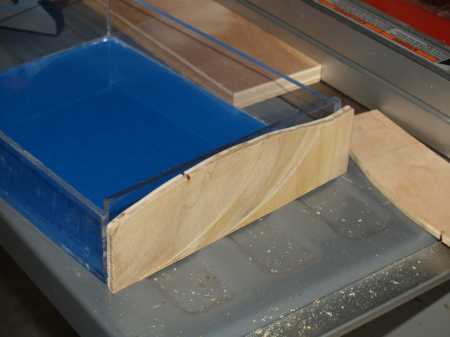
After welding the acrylic together, I protected the cover plate with painting tape and used a router to trim off the excess. I then used a piece of paper to trace out the rough shape of the hood profile. I transfered this to a piece of wood that was roughly the width of the acrylic and routed it into the approximate shape needed to fit in the hood. After I was satisfied with the fit, I transfered the shape to the plastic and routed it using the wood as a guide as much as possible.
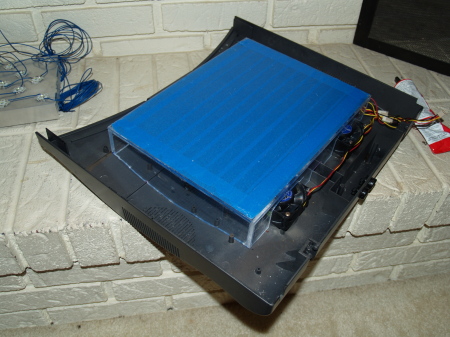
After routing both sides, I used a table saw to cut the front and back sides down to the proper height. My intent is a 3/8" overhang below the hood -- which gives me about 1/4" to 1/2" clearance over the water. I used the table saw to cut out holes for the fans and cables after marking the proper locations. The end result fit snug enough that I am not worried about the effect of the air leaks.
The basic LED fixture is a 6" x 9" aluminum heat sink with six (6) Cree 3W XP-G White and ten (10) XR-E Royal Blue LEDs mounted on it. I drilled and and tapped for 4-40 screws and used nylon screws to attached the LEDS. To increase heat transfer, I applied Arctic Silver thermal paste between the starboards and the heatsink.
For the LED interconnections I used used 26 AWG stranded UL1007 wire (rated at 105C) to connect a string of 6 white and 6 blue LEDs. I pre-tinned the wires to keep the "touch-time" down between my butane soldering iron tip and the LED star board pads. I went on to connect the other 4 blue LEDs on another circuit. The thing that looks like a spider in the below photo was a dead LED that I used to practice soldering before I did the work on the real thing...
I then measured off the correct dimensions for my acrylic cover. The cover was sized to fit between screw posts in the hood. I did not span the entire width of the hood because I wanted to bypass the existing air-intake vents. The plan at that time was to cut new vents directly over the heatsink fins.
I used a table saw armed with a plastic-cutting blade to cut the face plate and the side panels of the acrylic cover. I buffed out the scratches on the main cover facing and then taped everything into roughly the proper shape -- leaving a little overhang to be routed off flush later...
After leaching in the Weld On 4 into the cracks of the plastic, I applied pressure with the largest books I had available. I am not sure Wayne Grudem would approve...
After welding the acrylic together, I protected the cover plate with painting tape and used a router to trim off the excess. I then used a piece of paper to trace out the rough shape of the hood profile. I transfered this to a piece of wood that was roughly the width of the acrylic and routed it into the approximate shape needed to fit in the hood. After I was satisfied with the fit, I transfered the shape to the plastic and routed it using the wood as a guide as much as possible.
After routing both sides, I used a table saw to cut the front and back sides down to the proper height. My intent is a 3/8" overhang below the hood -- which gives me about 1/4" to 1/2" clearance over the water. I used the table saw to cut out holes for the fans and cables after marking the proper locations. The end result fit snug enough that I am not worried about the effect of the air leaks.


")