5ft of questionable decisions....

Knology

Active Member
View Badges
Joined
Sep 19, 2018
Messages
106
Reaction score
270
Location
Atlanta, GA
Rating - 0%
0   0   0
So the story begins. Well, it actually begins a decade ago but let's not get into that just yet.

After years in the hobby, with wavering dedication, I come upon the beginning of my first real mature reef build. My family just purchased our first home we intend to stay in for a while, so naturally, I am ignoring all the needed projects and jumping right into a built in reef tank.

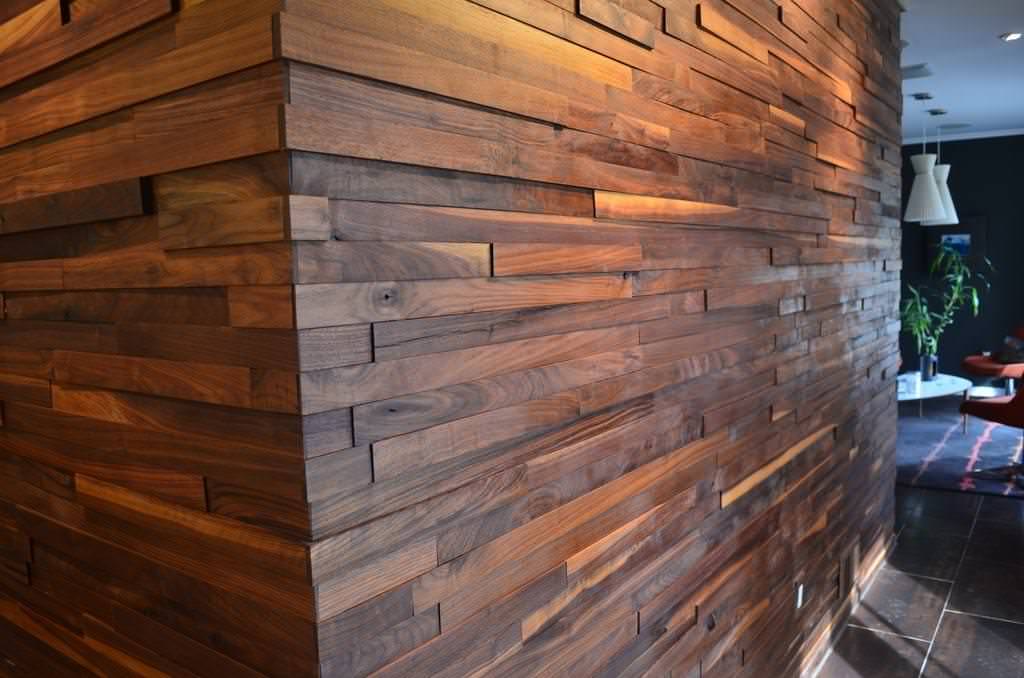
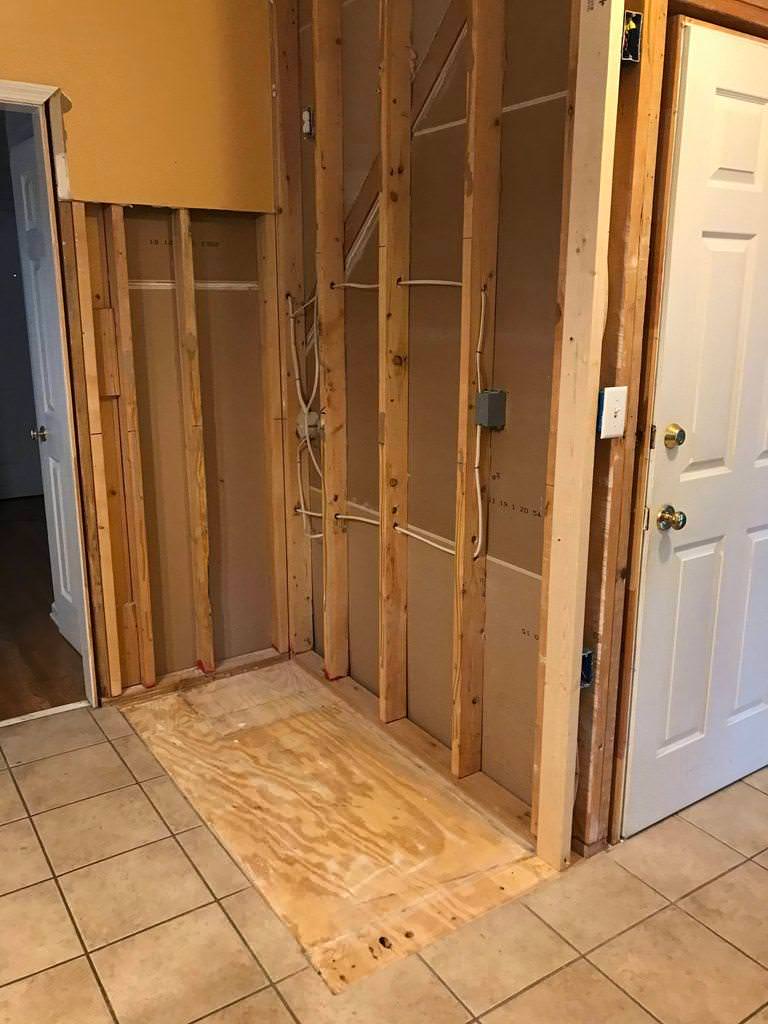
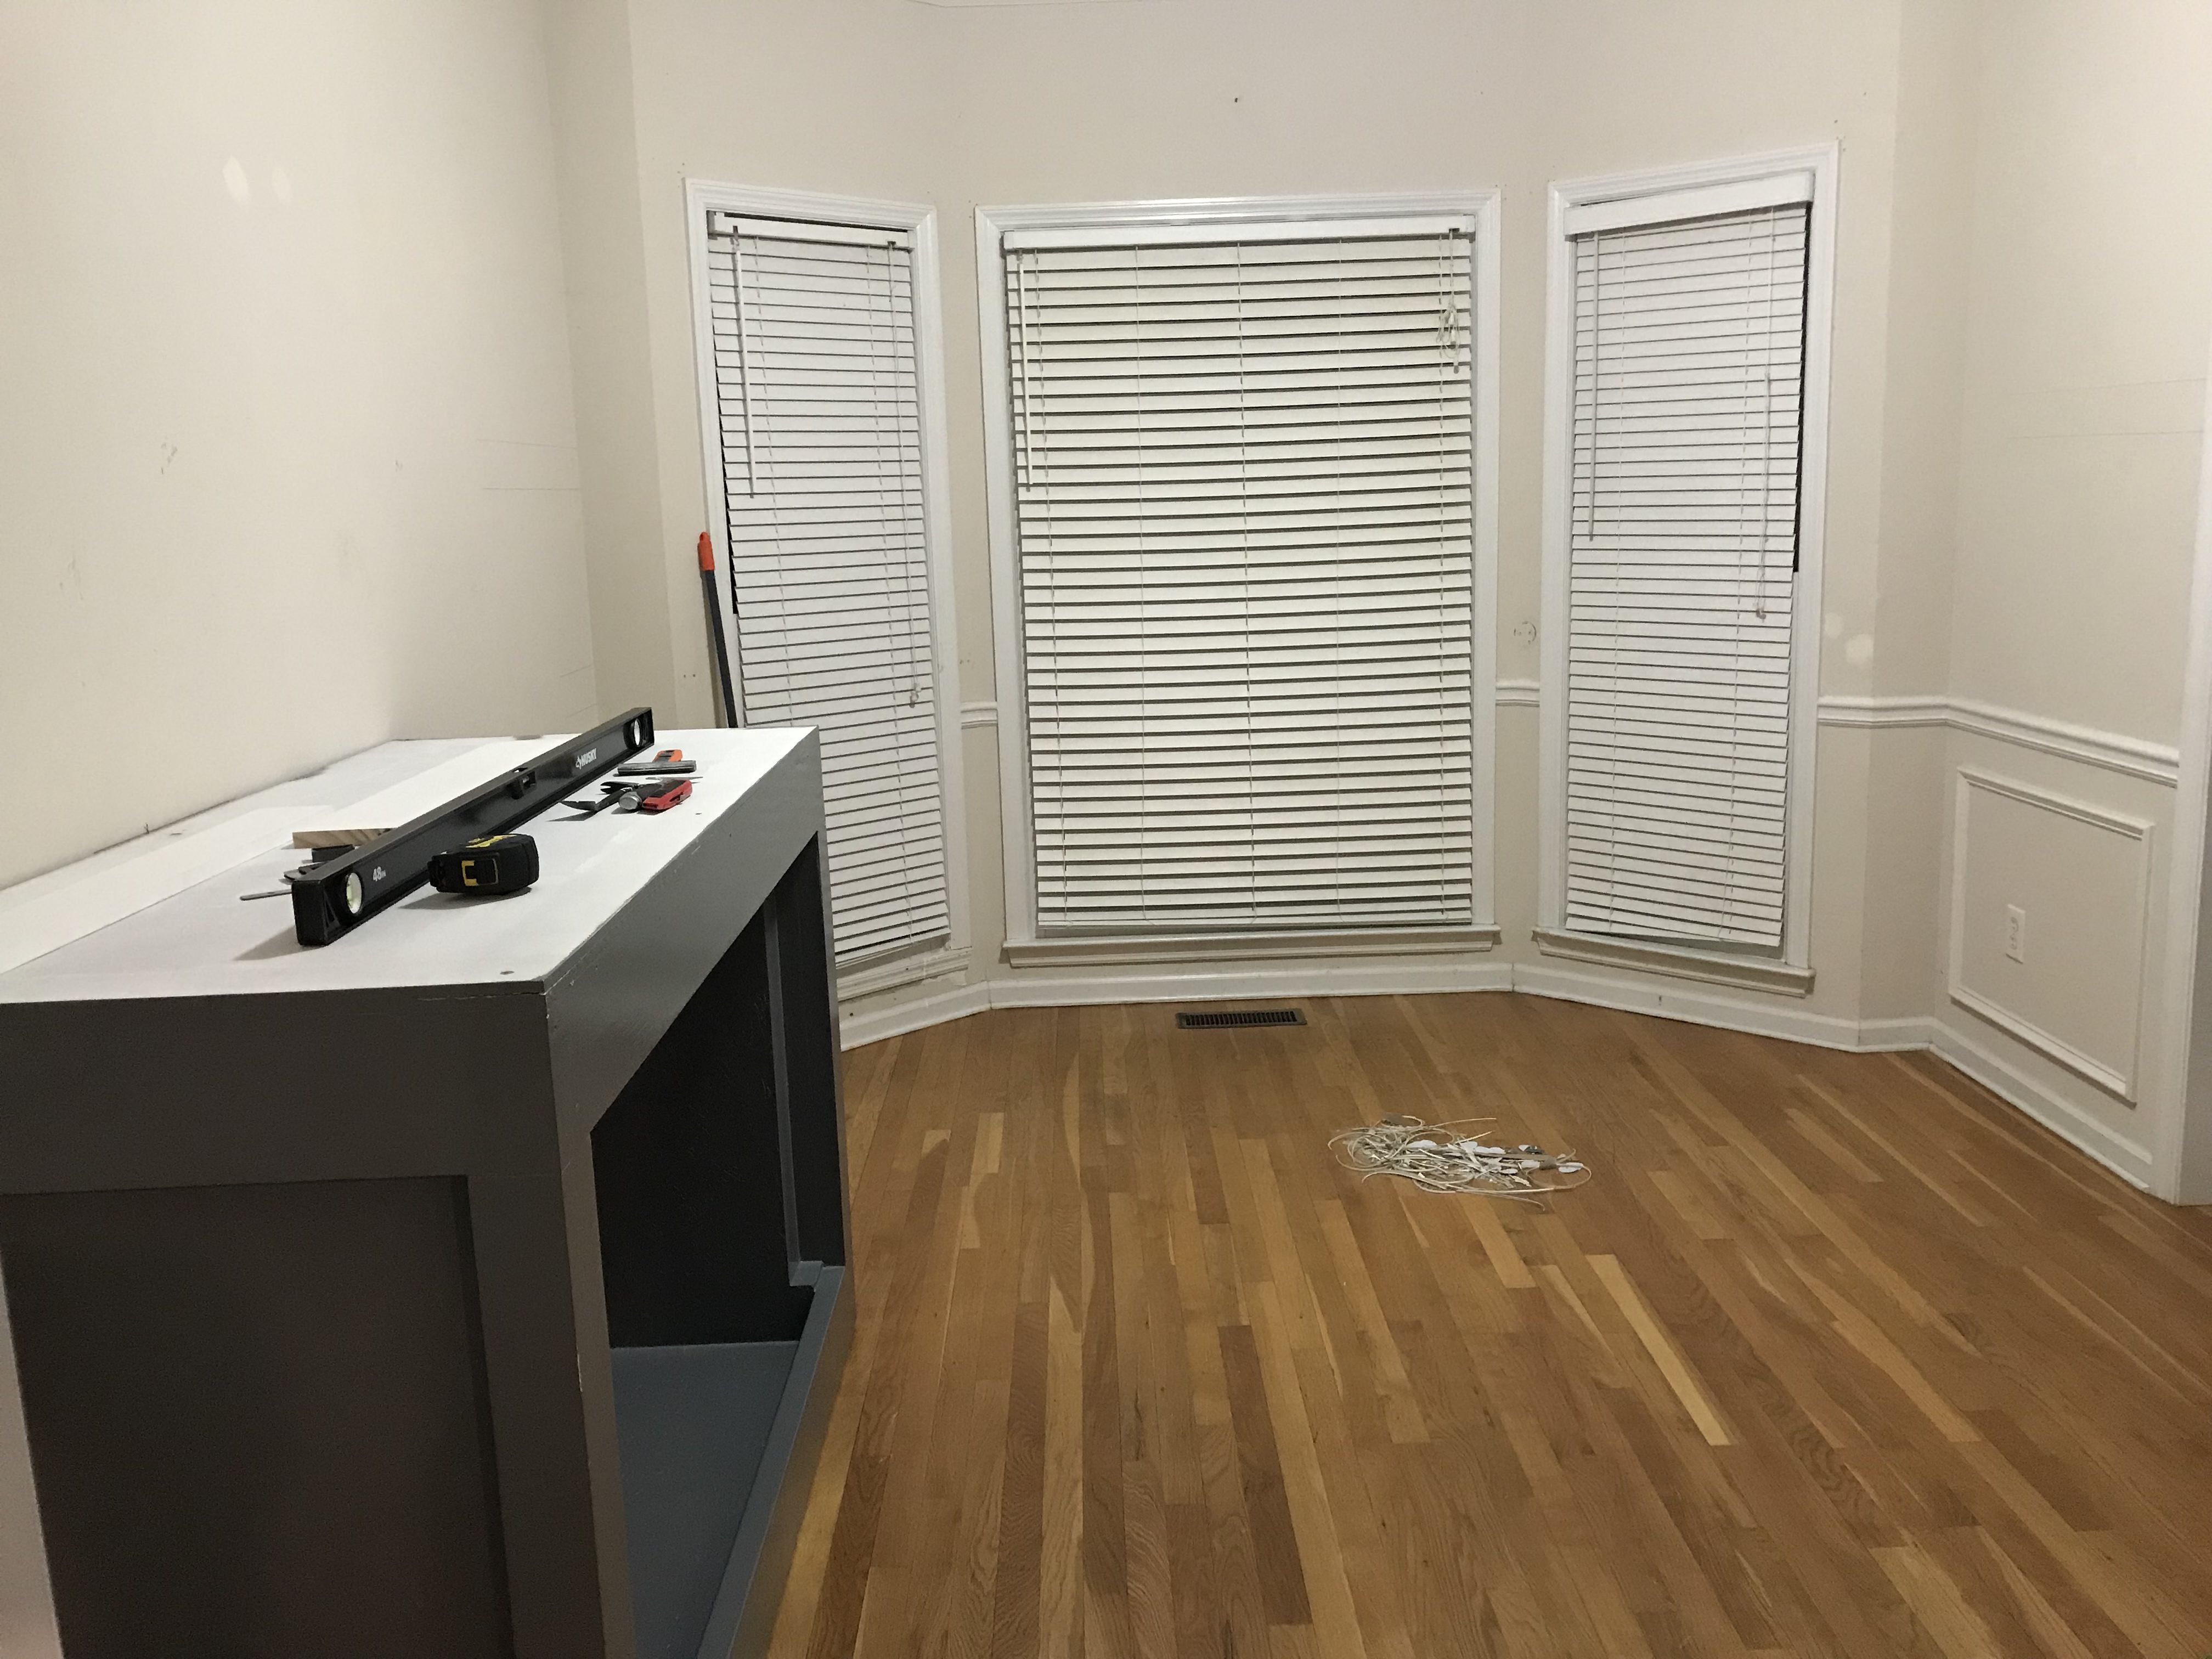
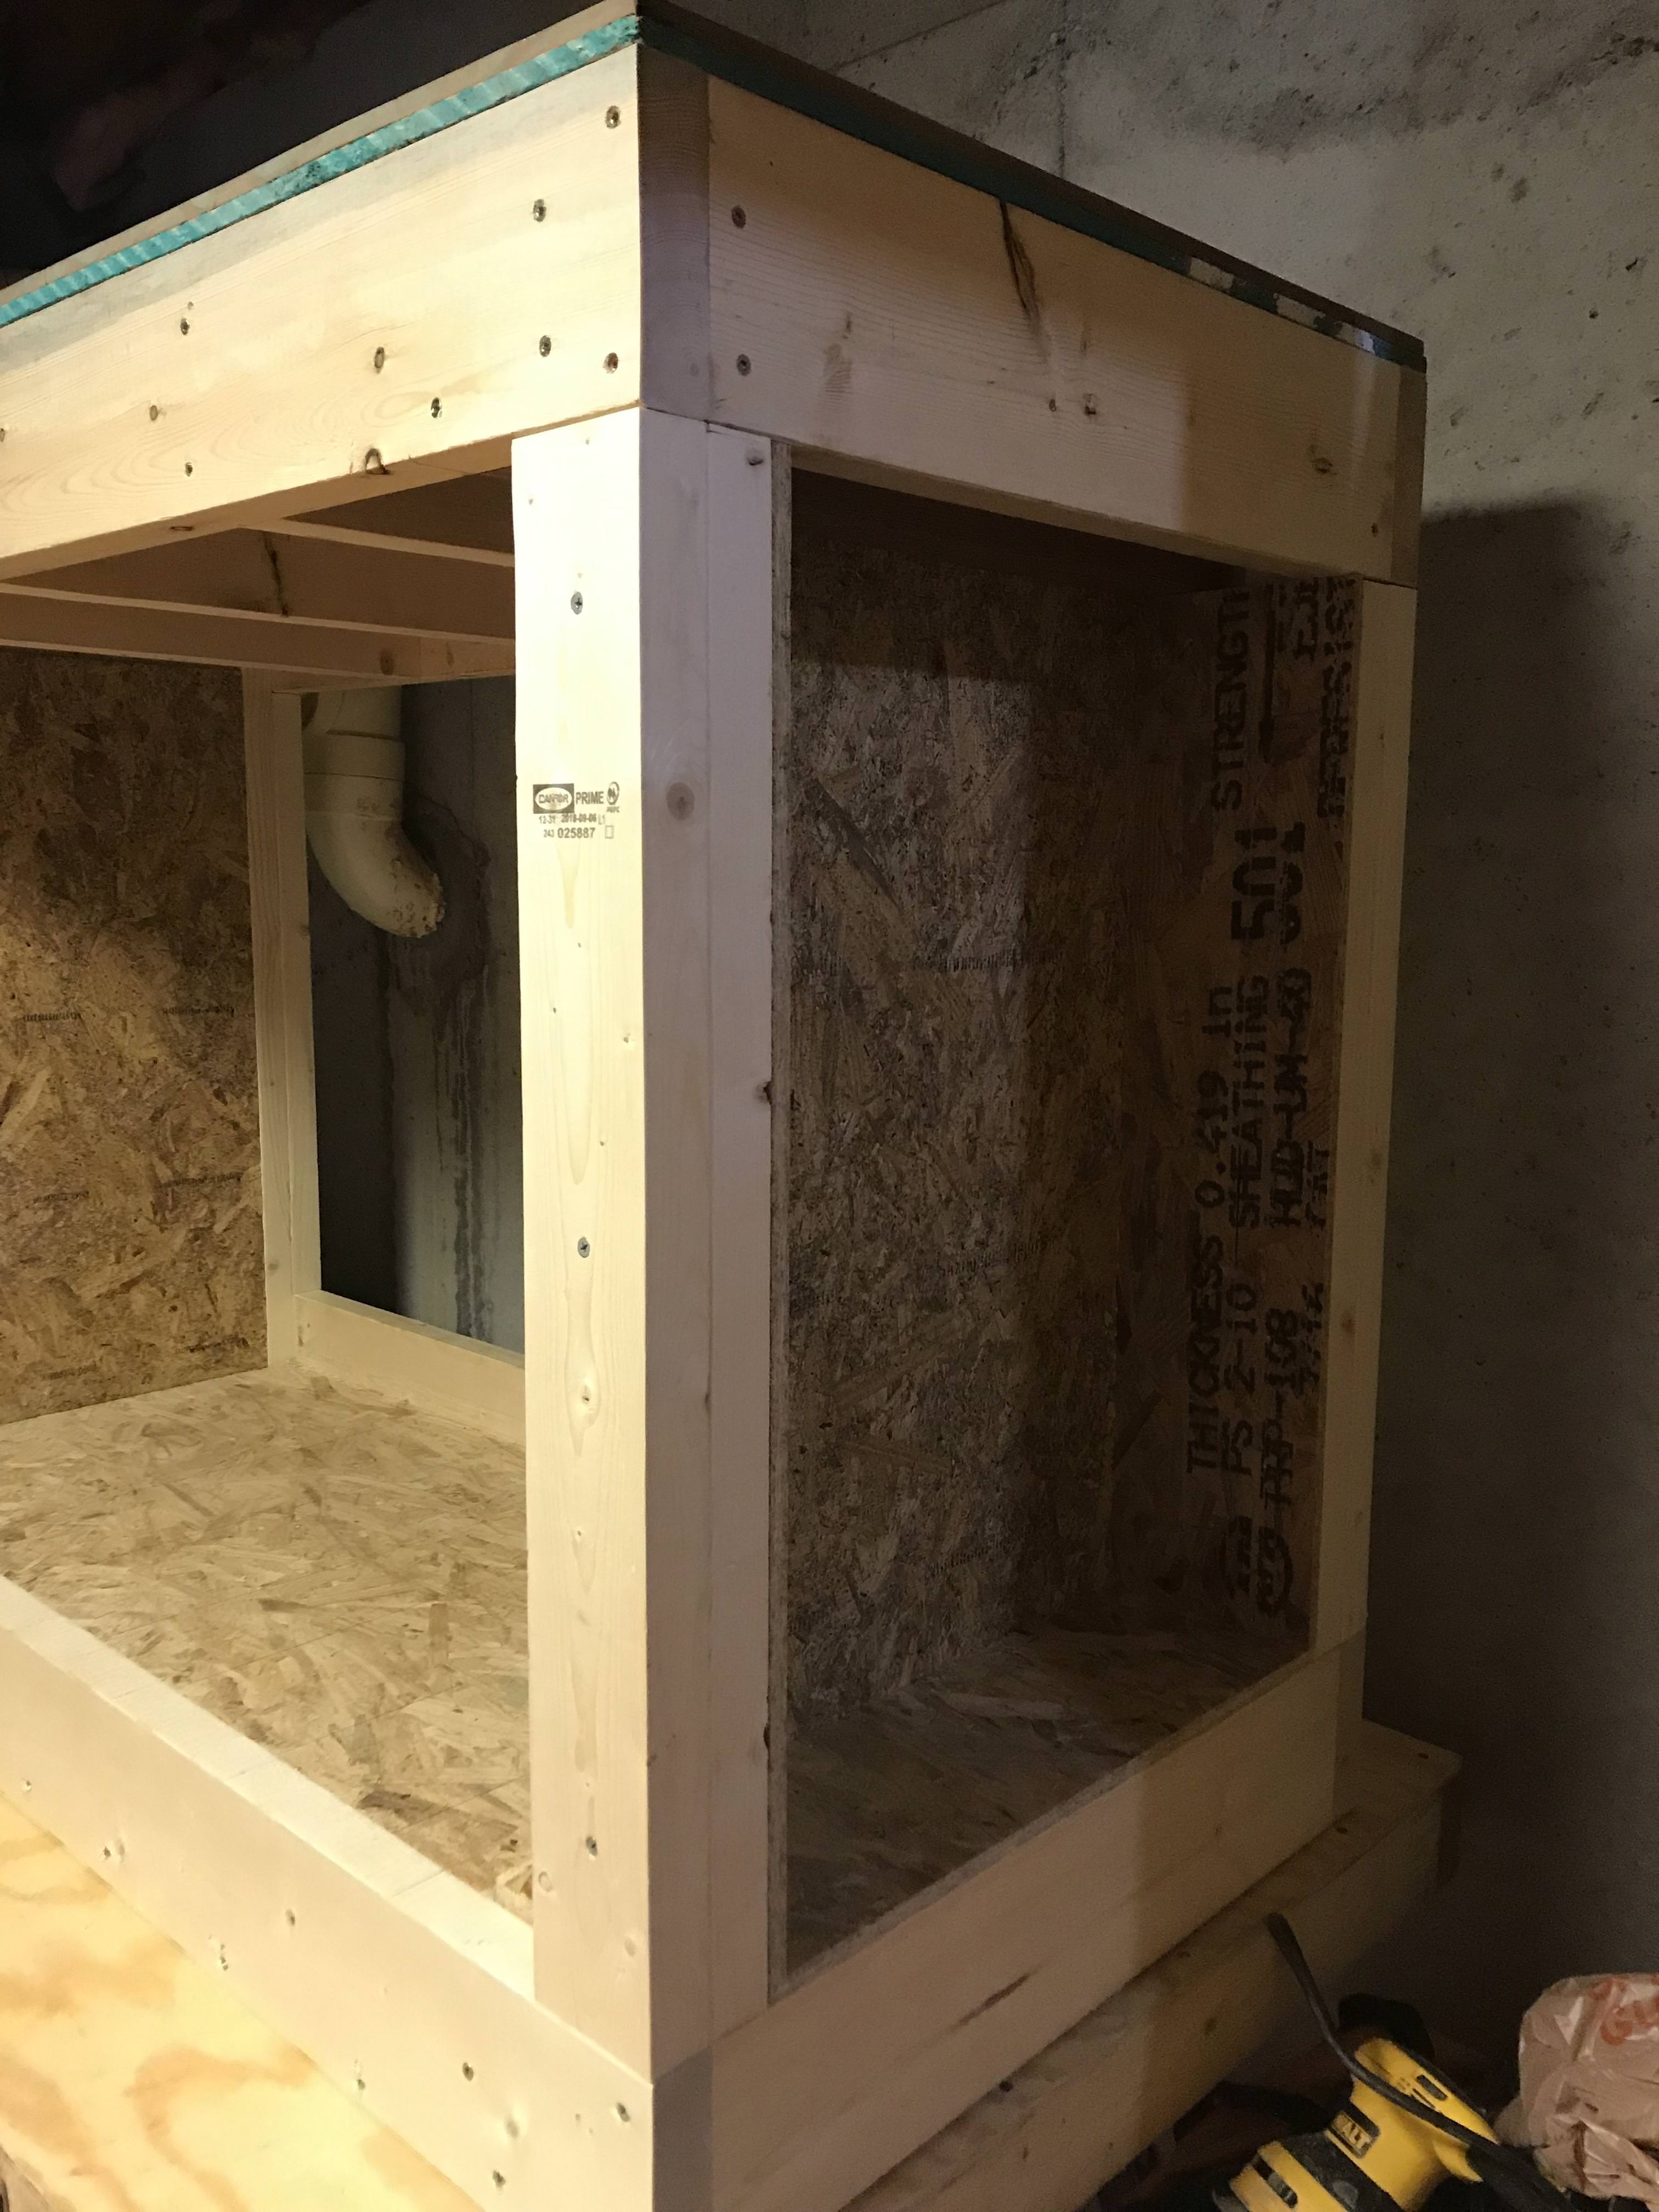
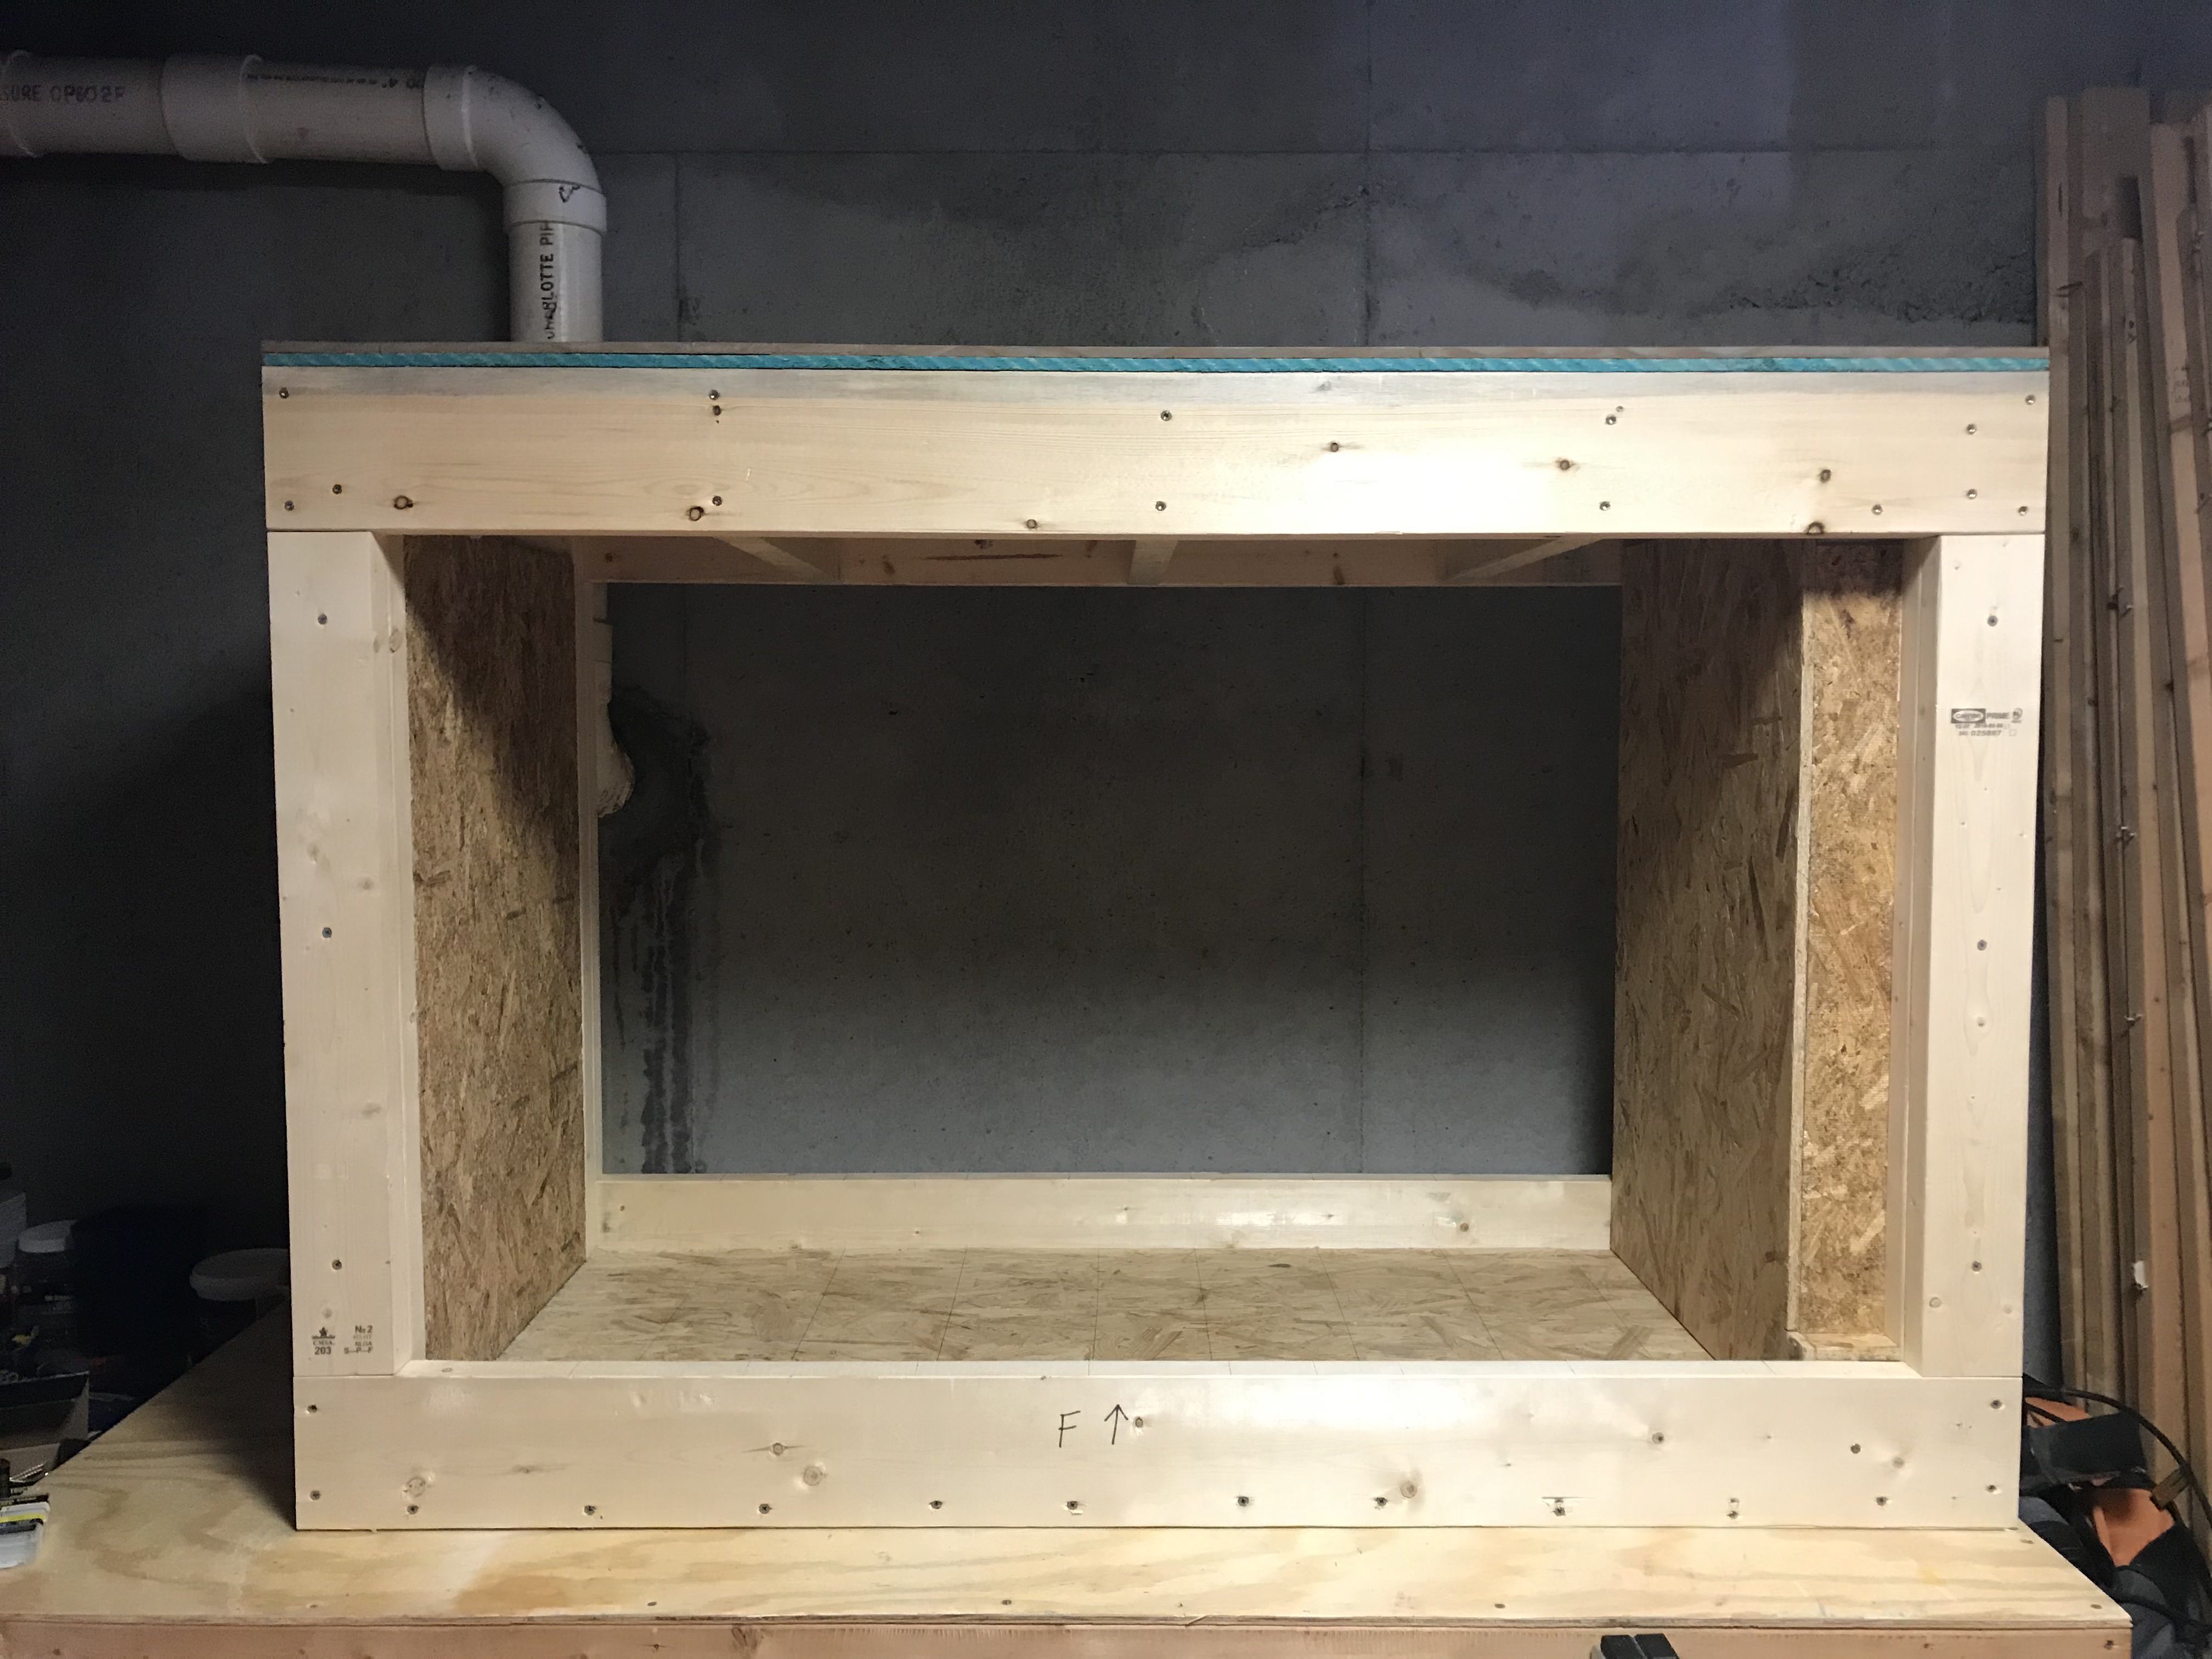
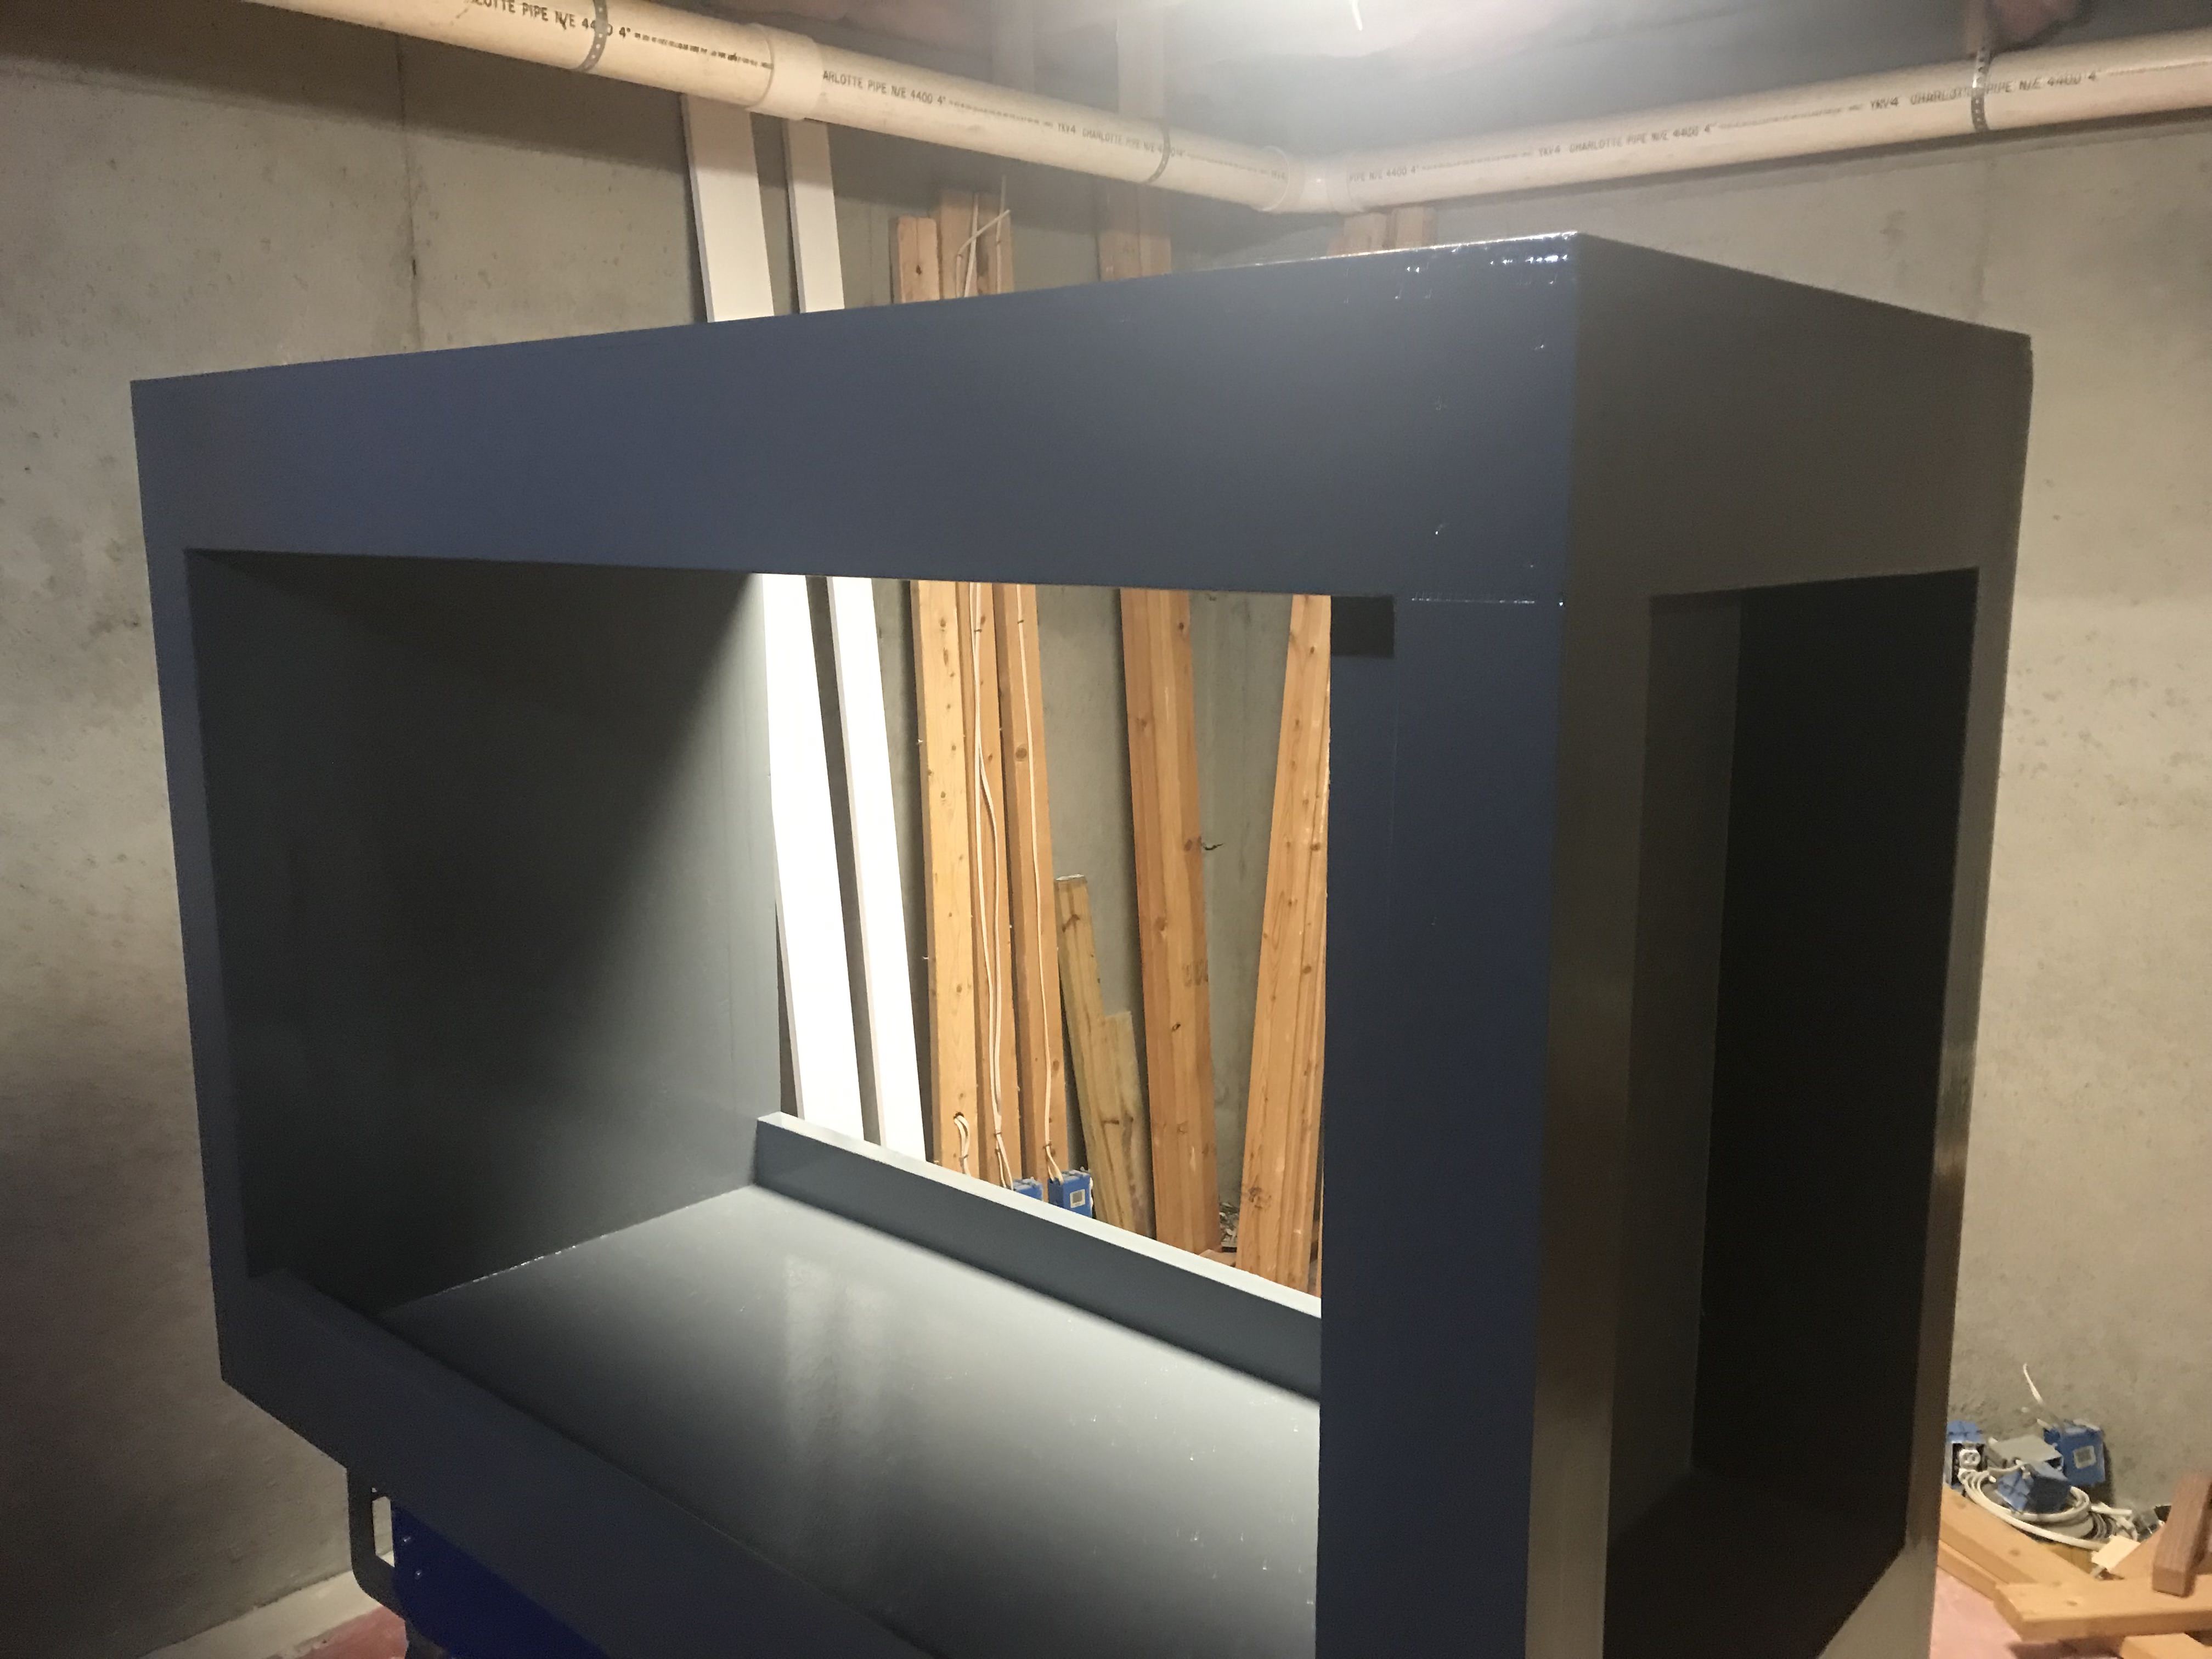
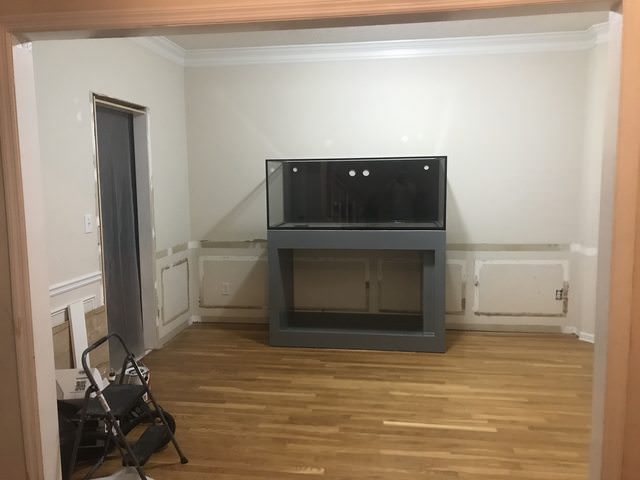
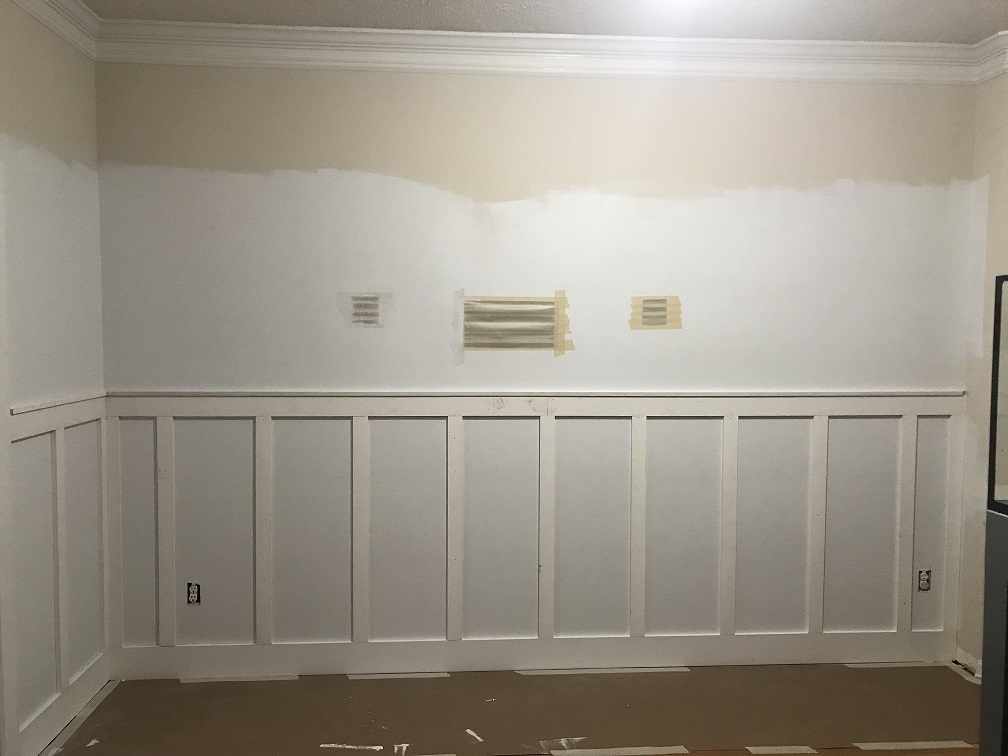
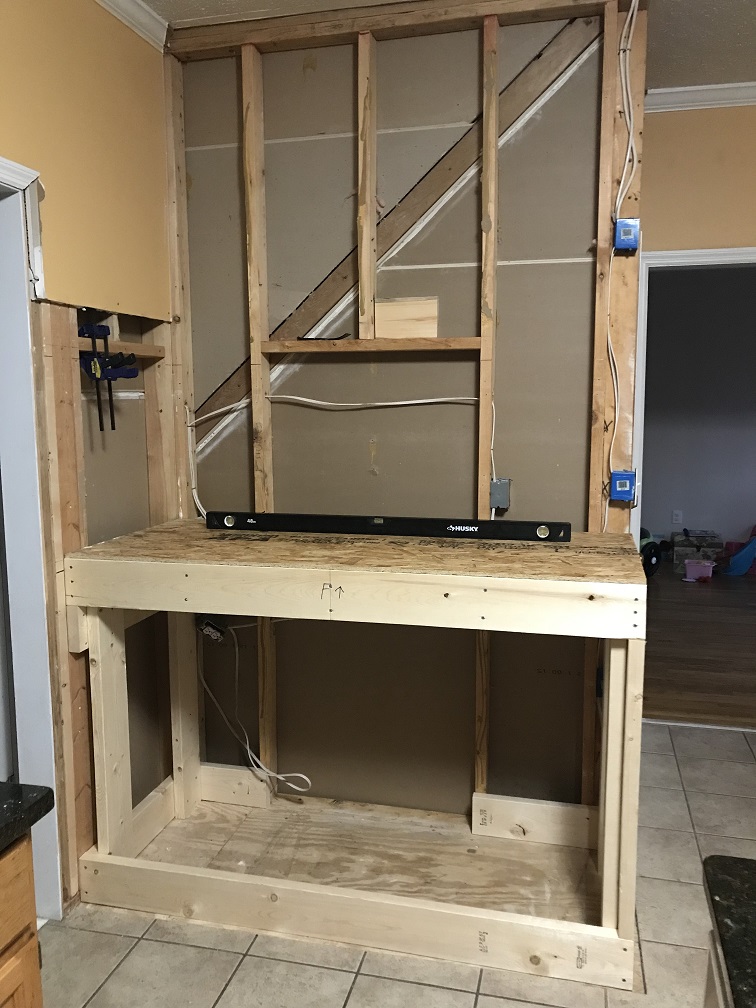
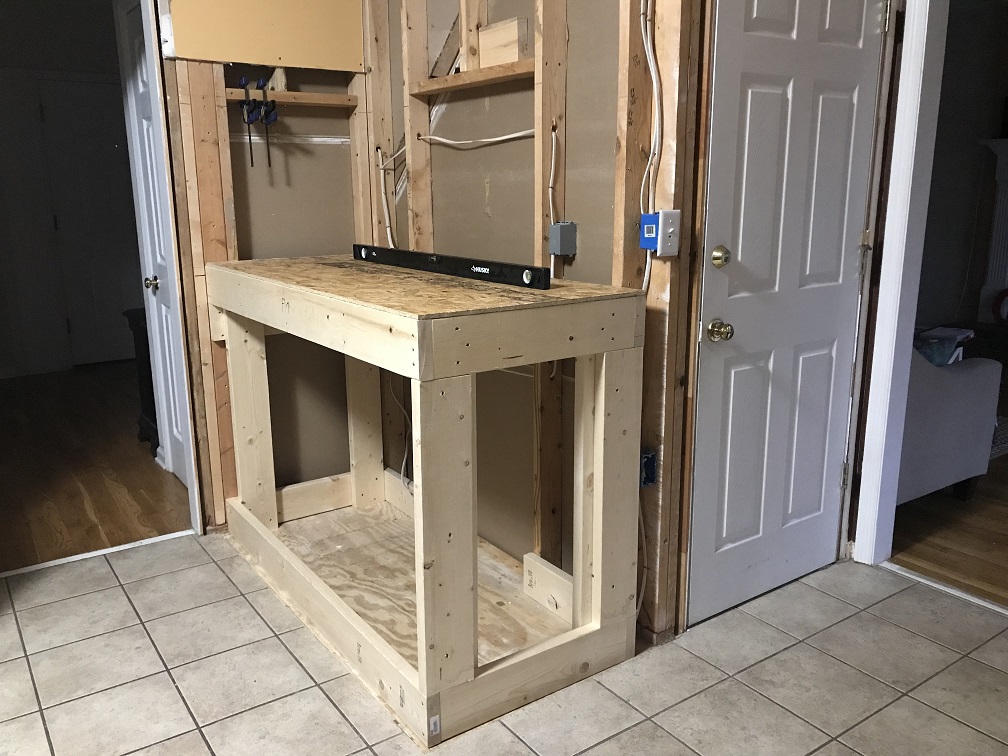
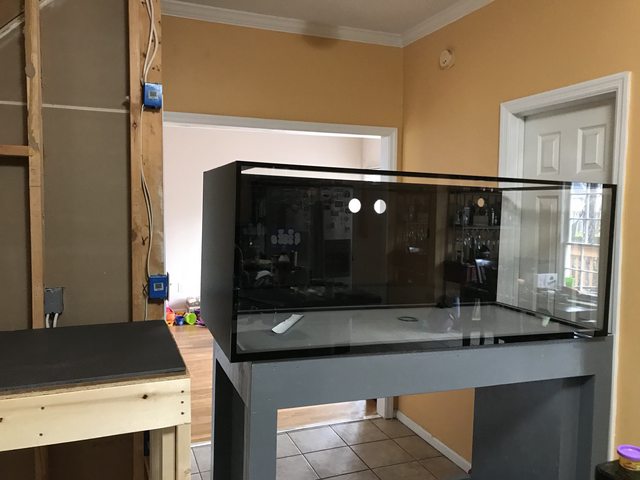
I spent a lot of time staring at random walls, and gutting the basement, to finally settle on a wall in our kitchen that has no real purpose. It had a granite desk built in which holds no value to us, so out it goes.


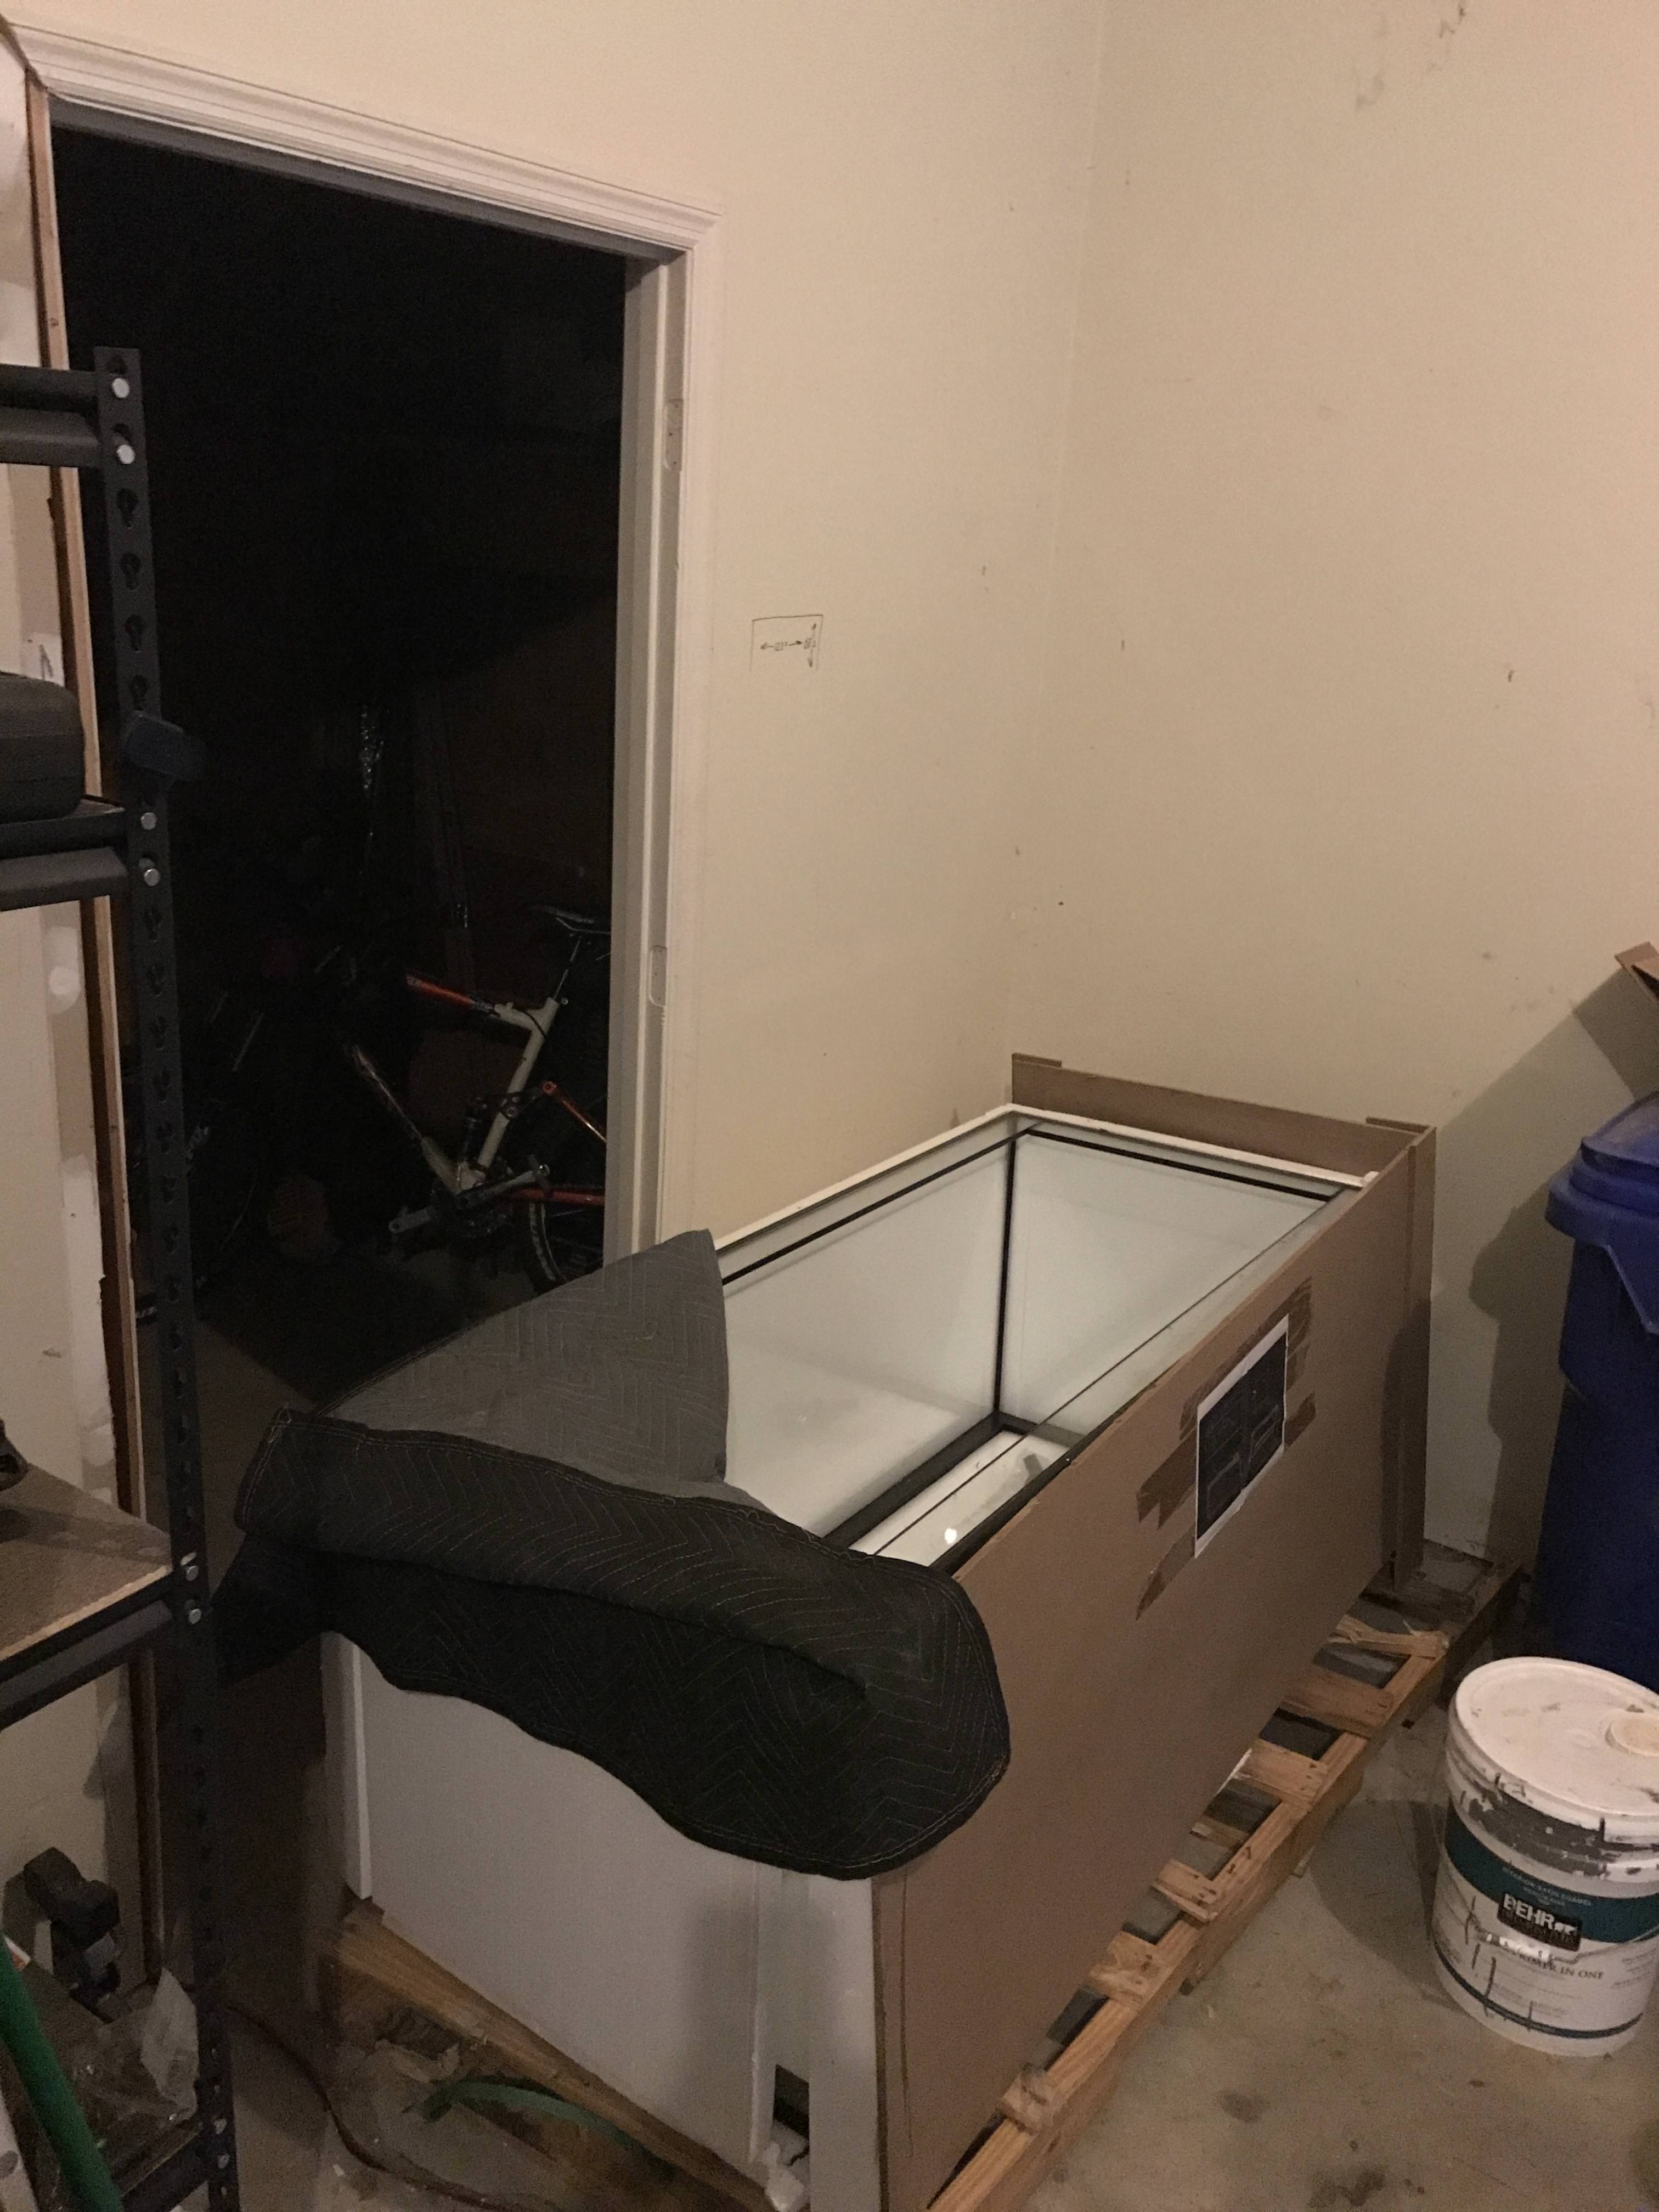
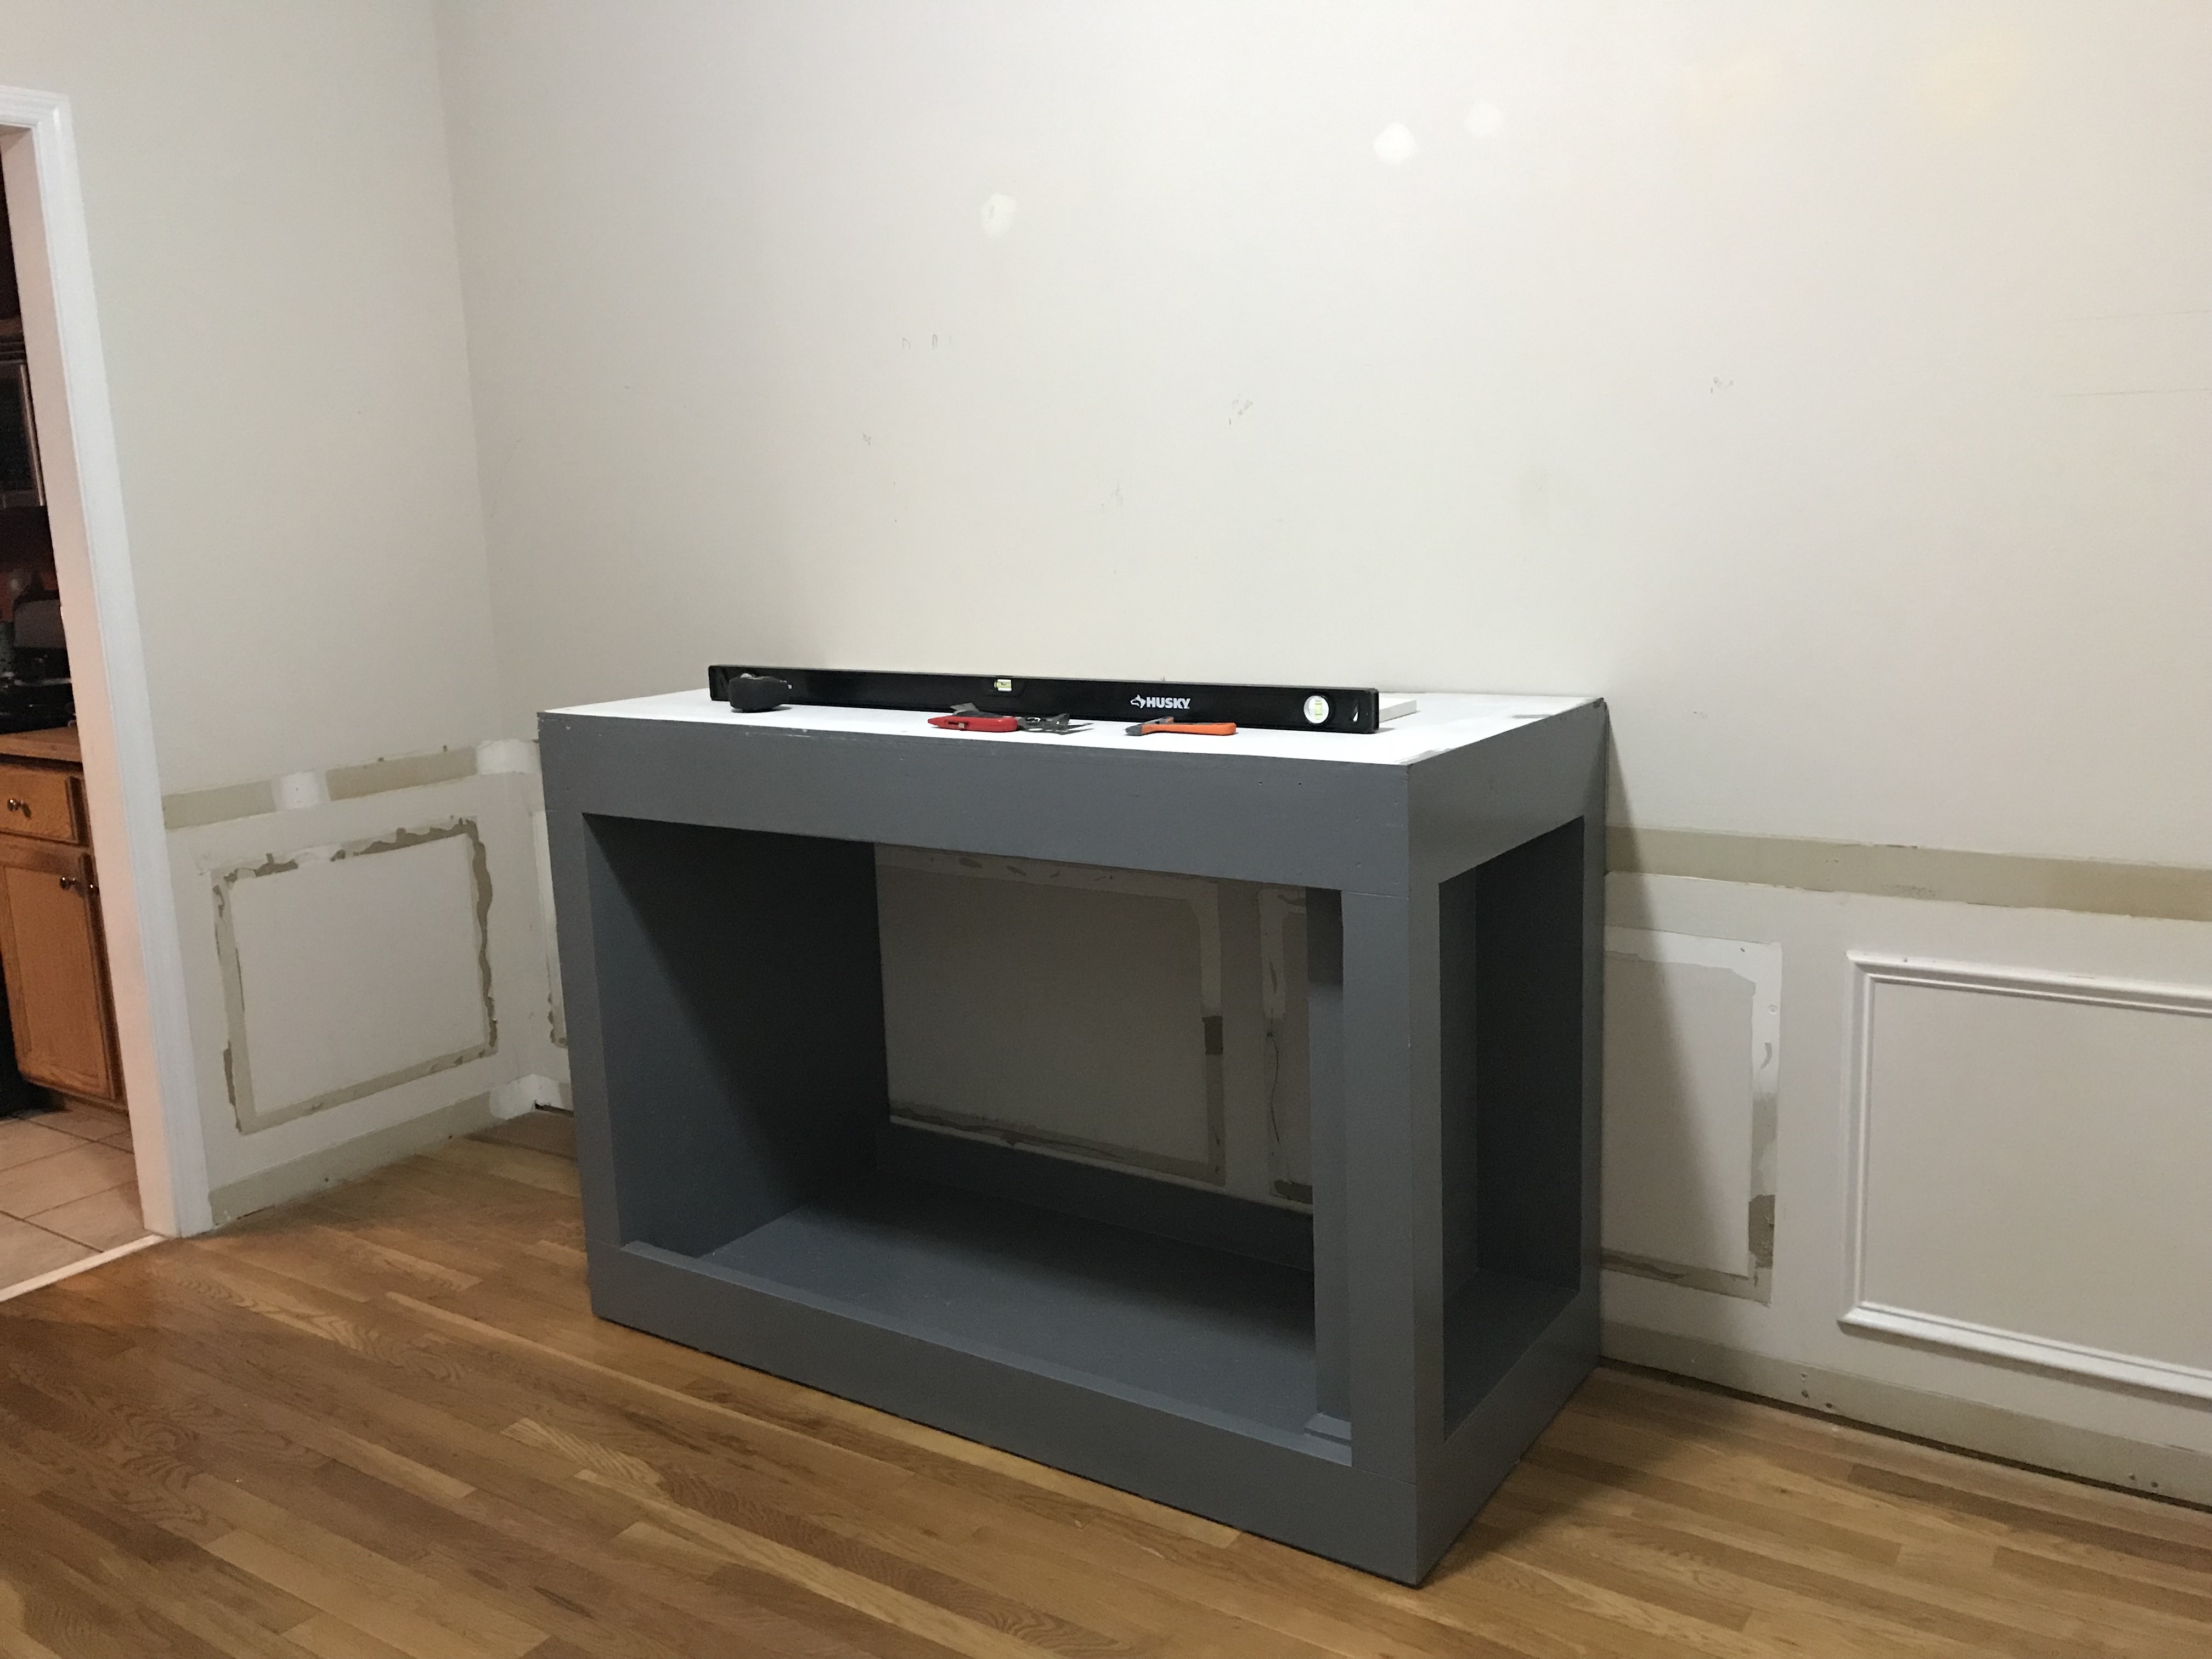
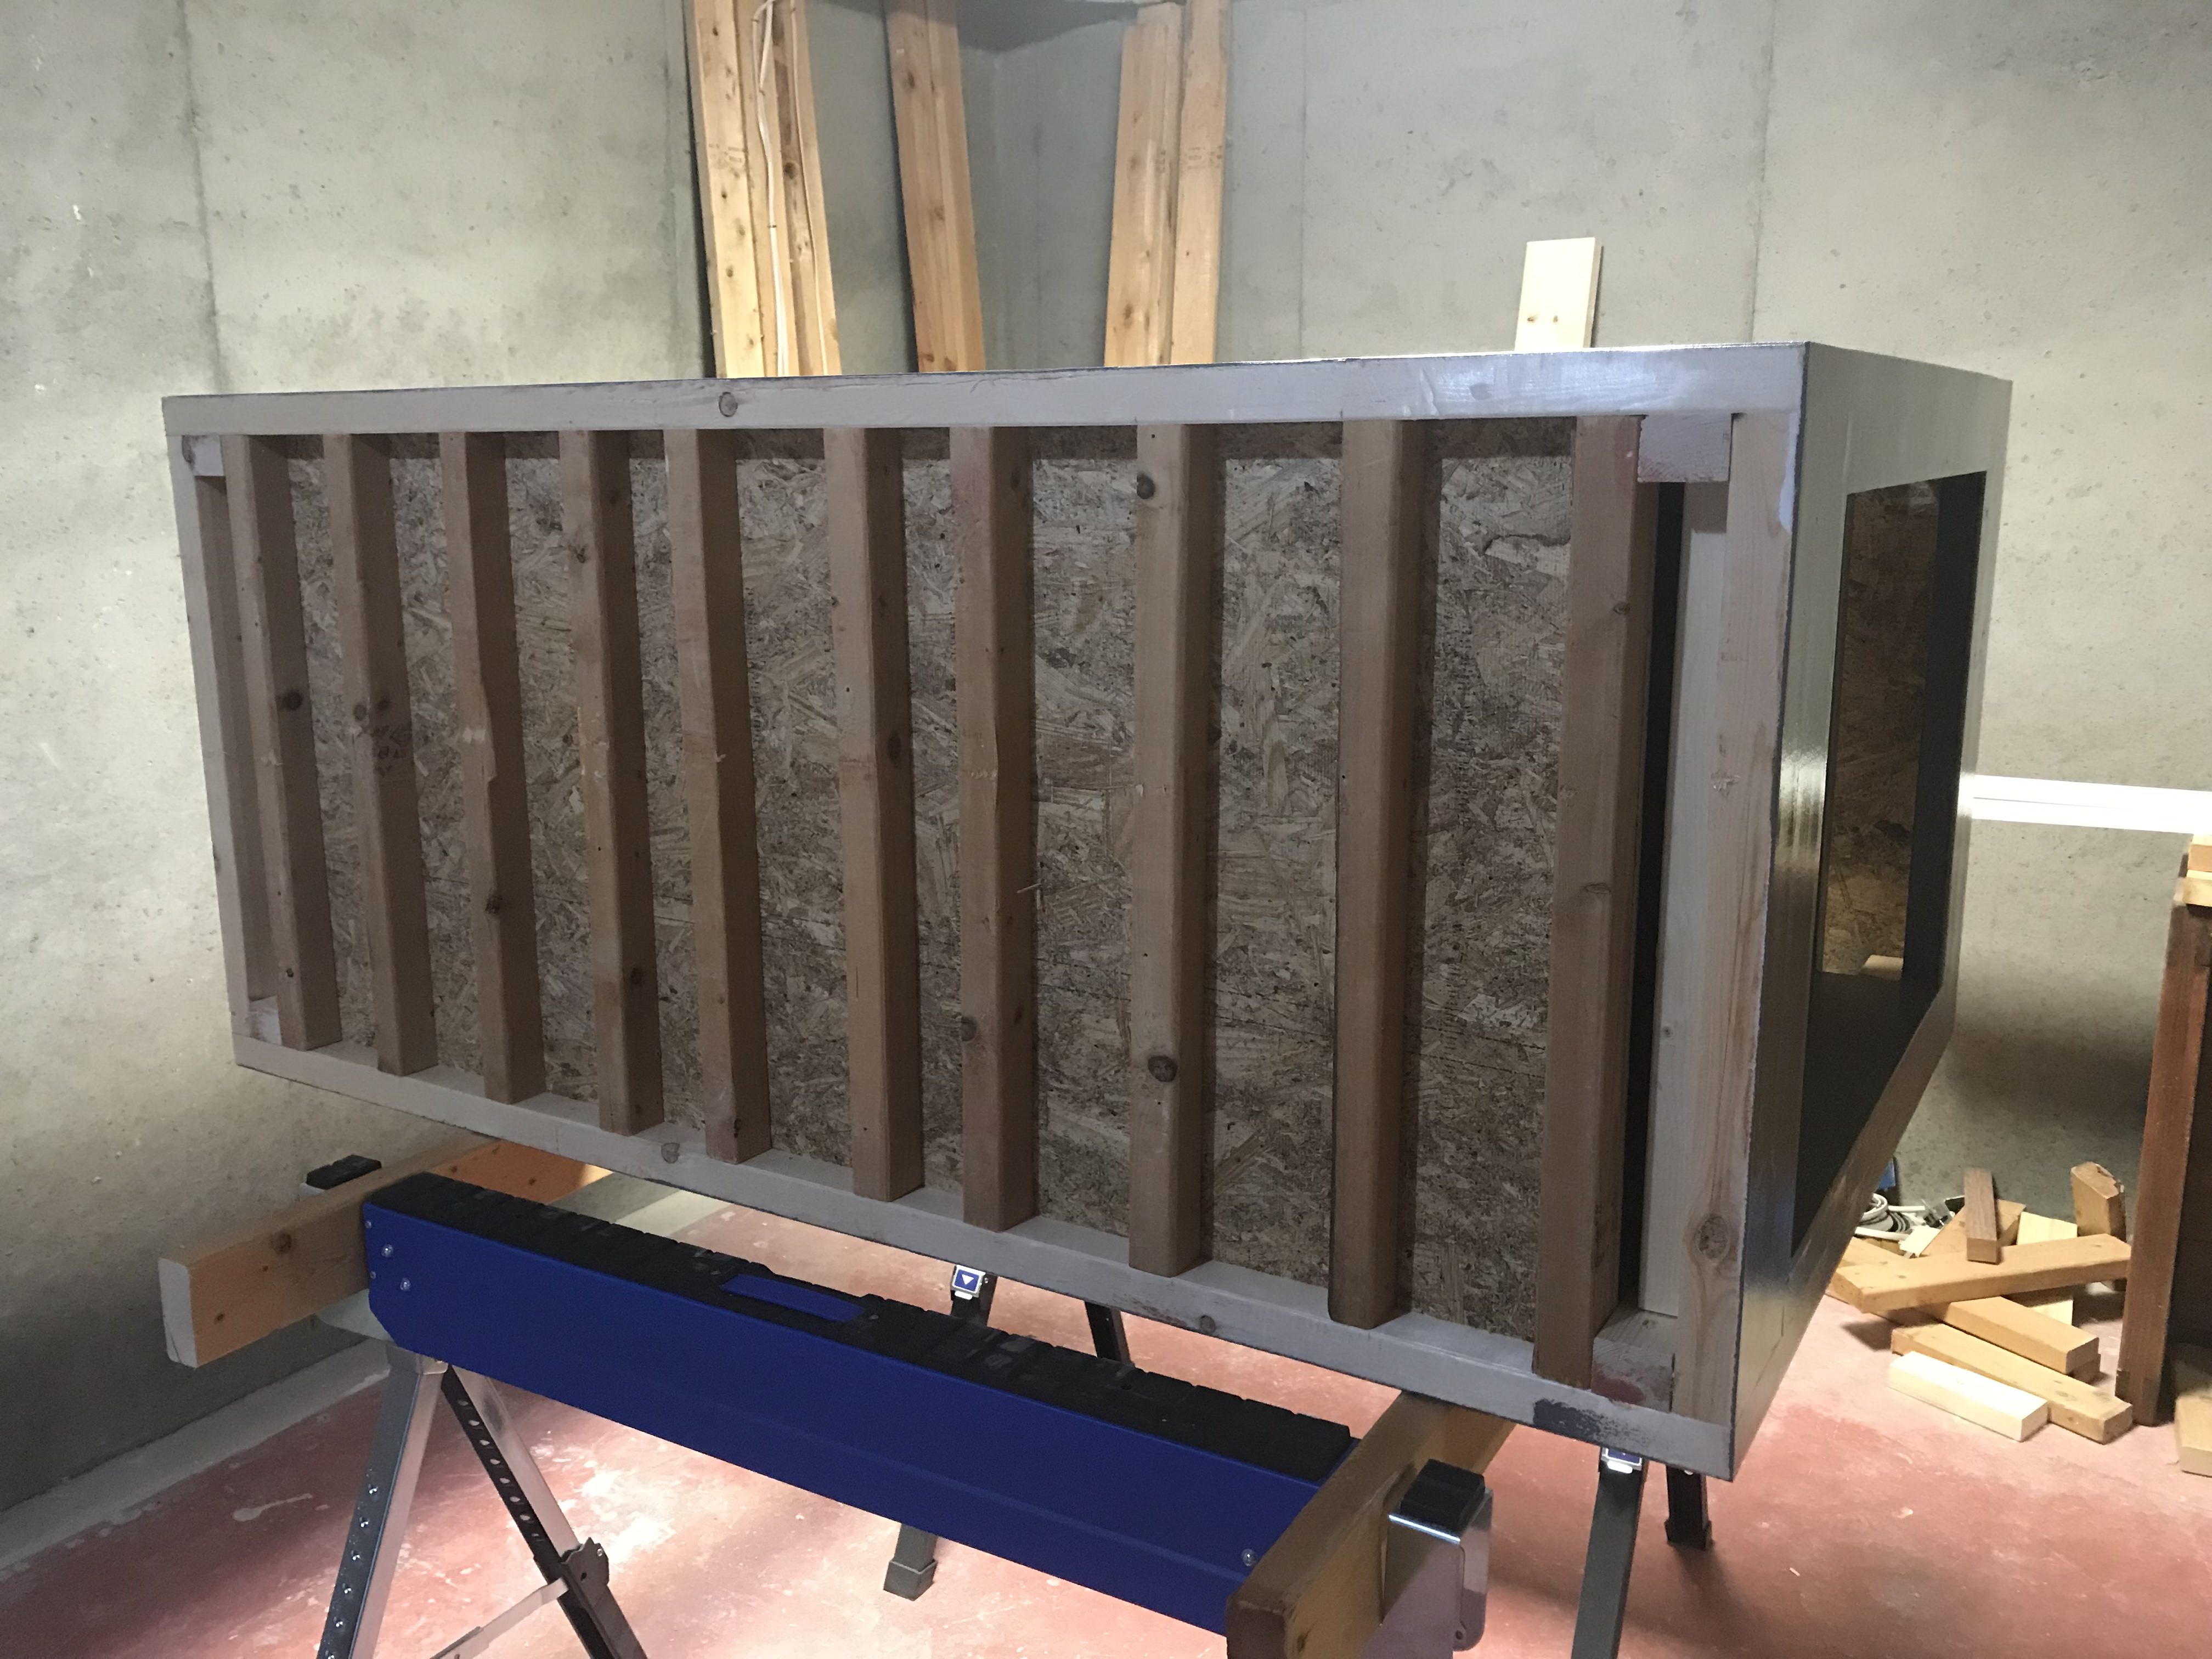
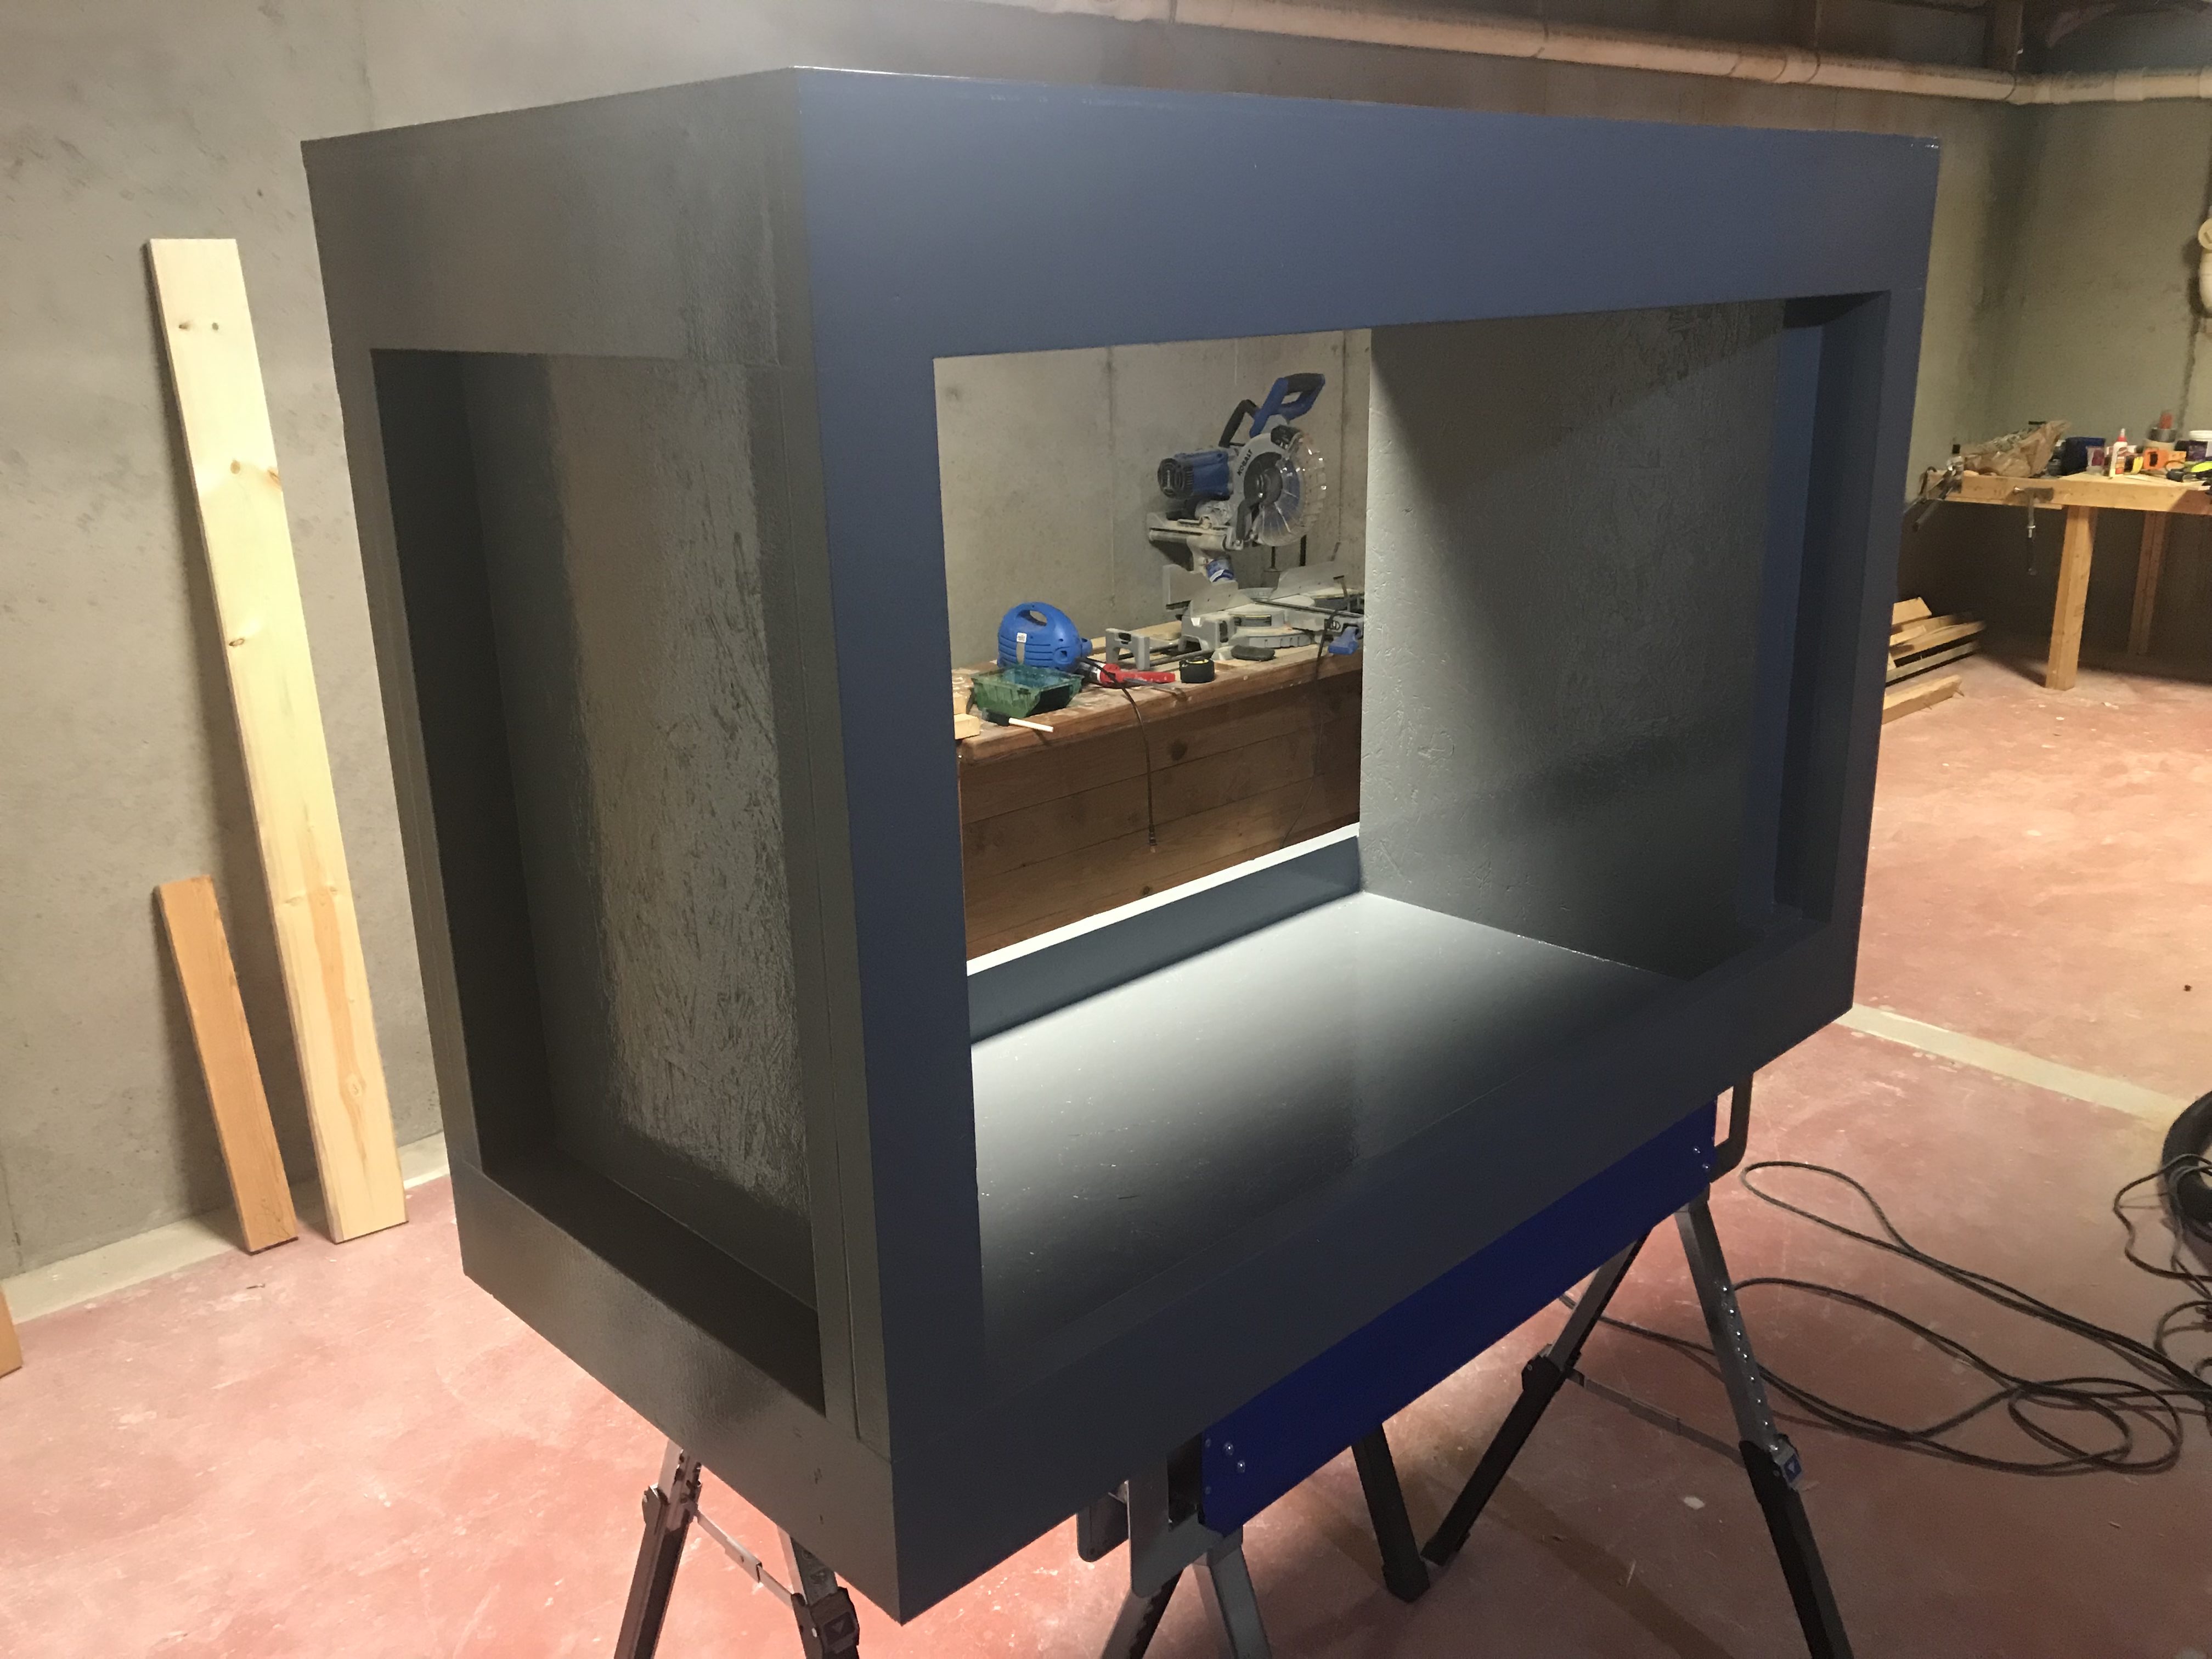
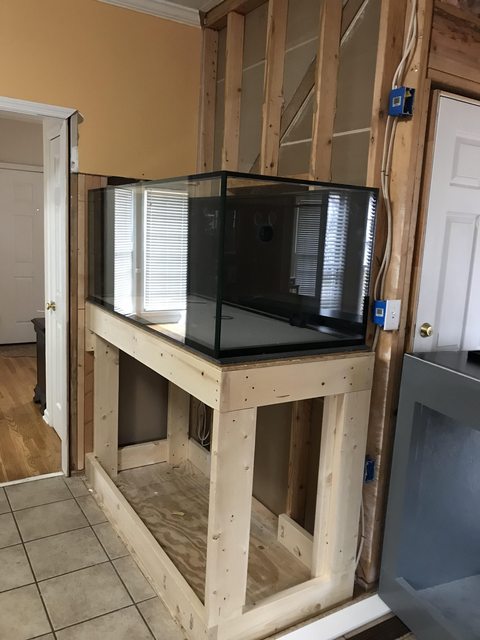
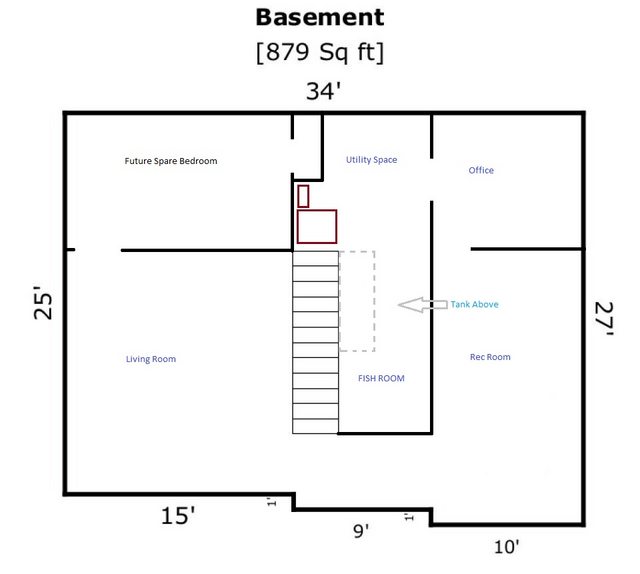
The trick is that below this will be the utility and fish tank equipment room. It also sits against a load bearing wall and spans over 5 beams. So, I am confident of the home taking the weight with no issues.

Originally, I was eyeing a SCA 150g starfire on sale for $895. As many suggest, just get the tank you want up front or you will live to regret the foundation of everything else. That being said, I was seduced into buying a 120g off Craigslist right afterwards for $100.

I'm a ***** for a good deal. That lasted about 2 days though.I recently moved back to ATL but was on a different side of the city and wanted to check out the LFS on my side of the world. I was a bit spoiled living a couple blocks from Pure Reef up in Alpharetta.

We went from store to store until I walked into one of the largest known in the area called Premier Aquatics. Great selection, great prices....and then they stole $900 bucks from me. What I mean by that is I stumble upon a fully established Red Sea 625XL. I stared at this thing for like 15 minutes and realized the real difference between a 4 foot tank and what that extra foot really gives you. I then spent the next 48 hours convincing my wife why the $100 tank in the back of my SUV wasn't going to cut it.

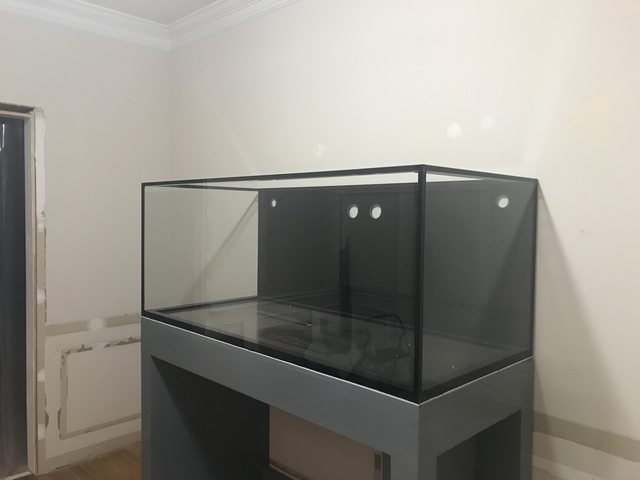
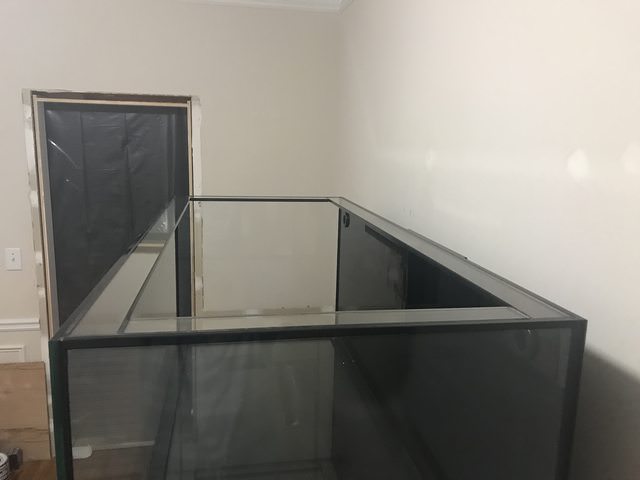
So, after a few e-mails to Steve over at SCA, I found myself ordering a custom tank.


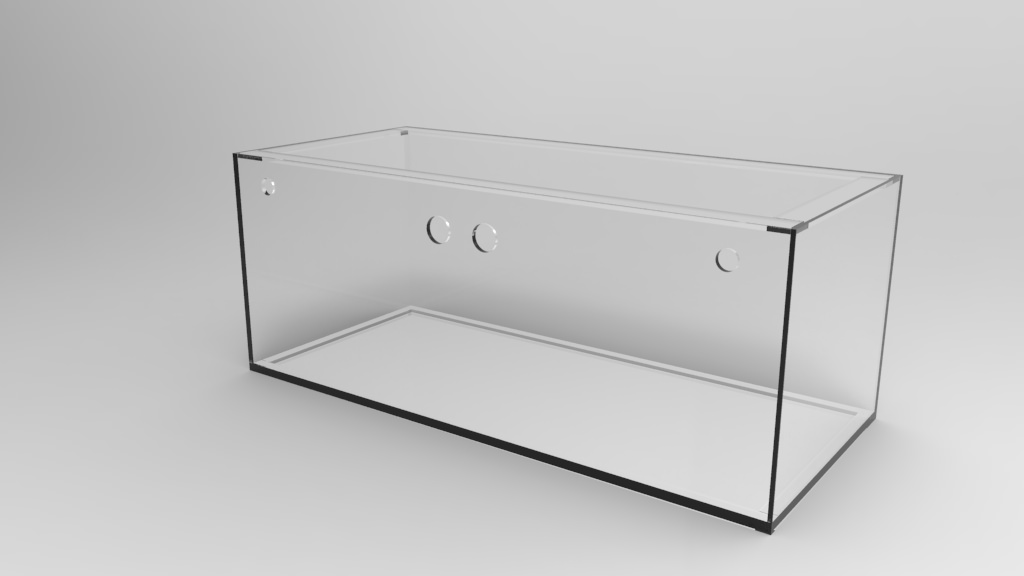
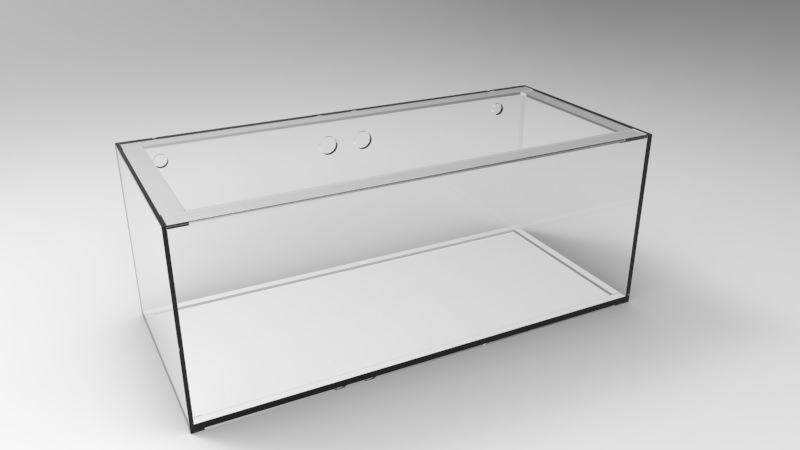
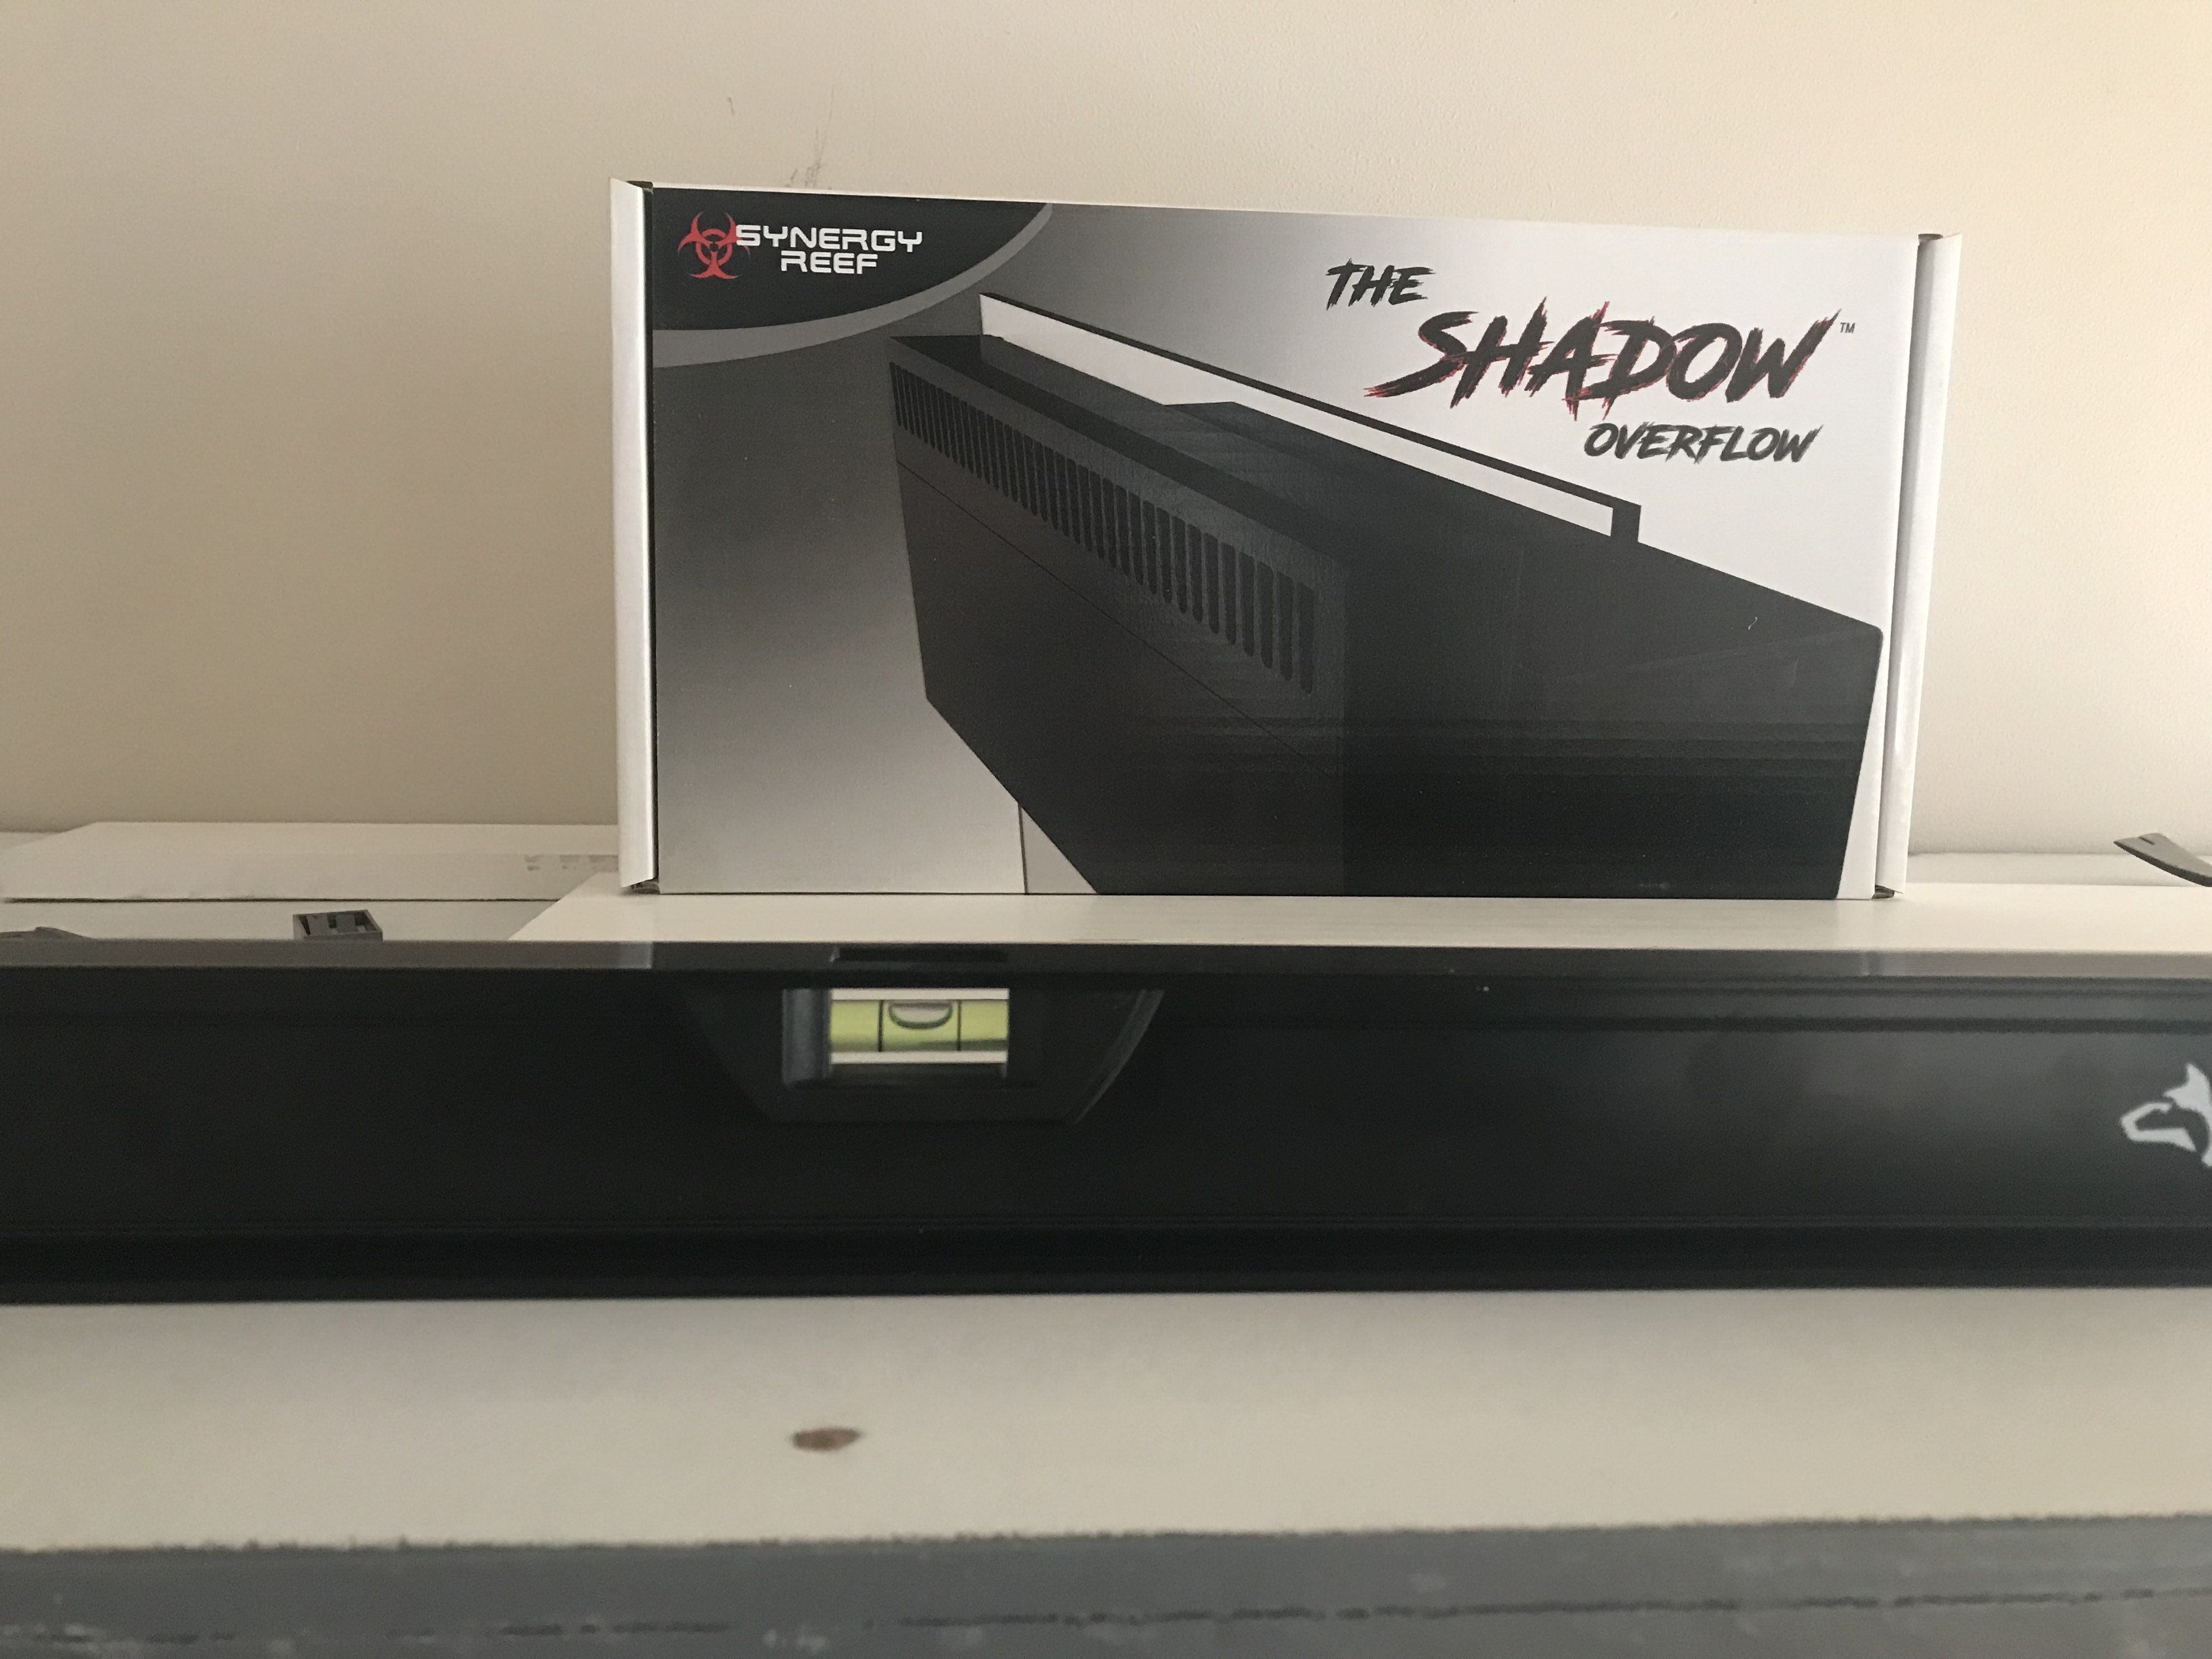
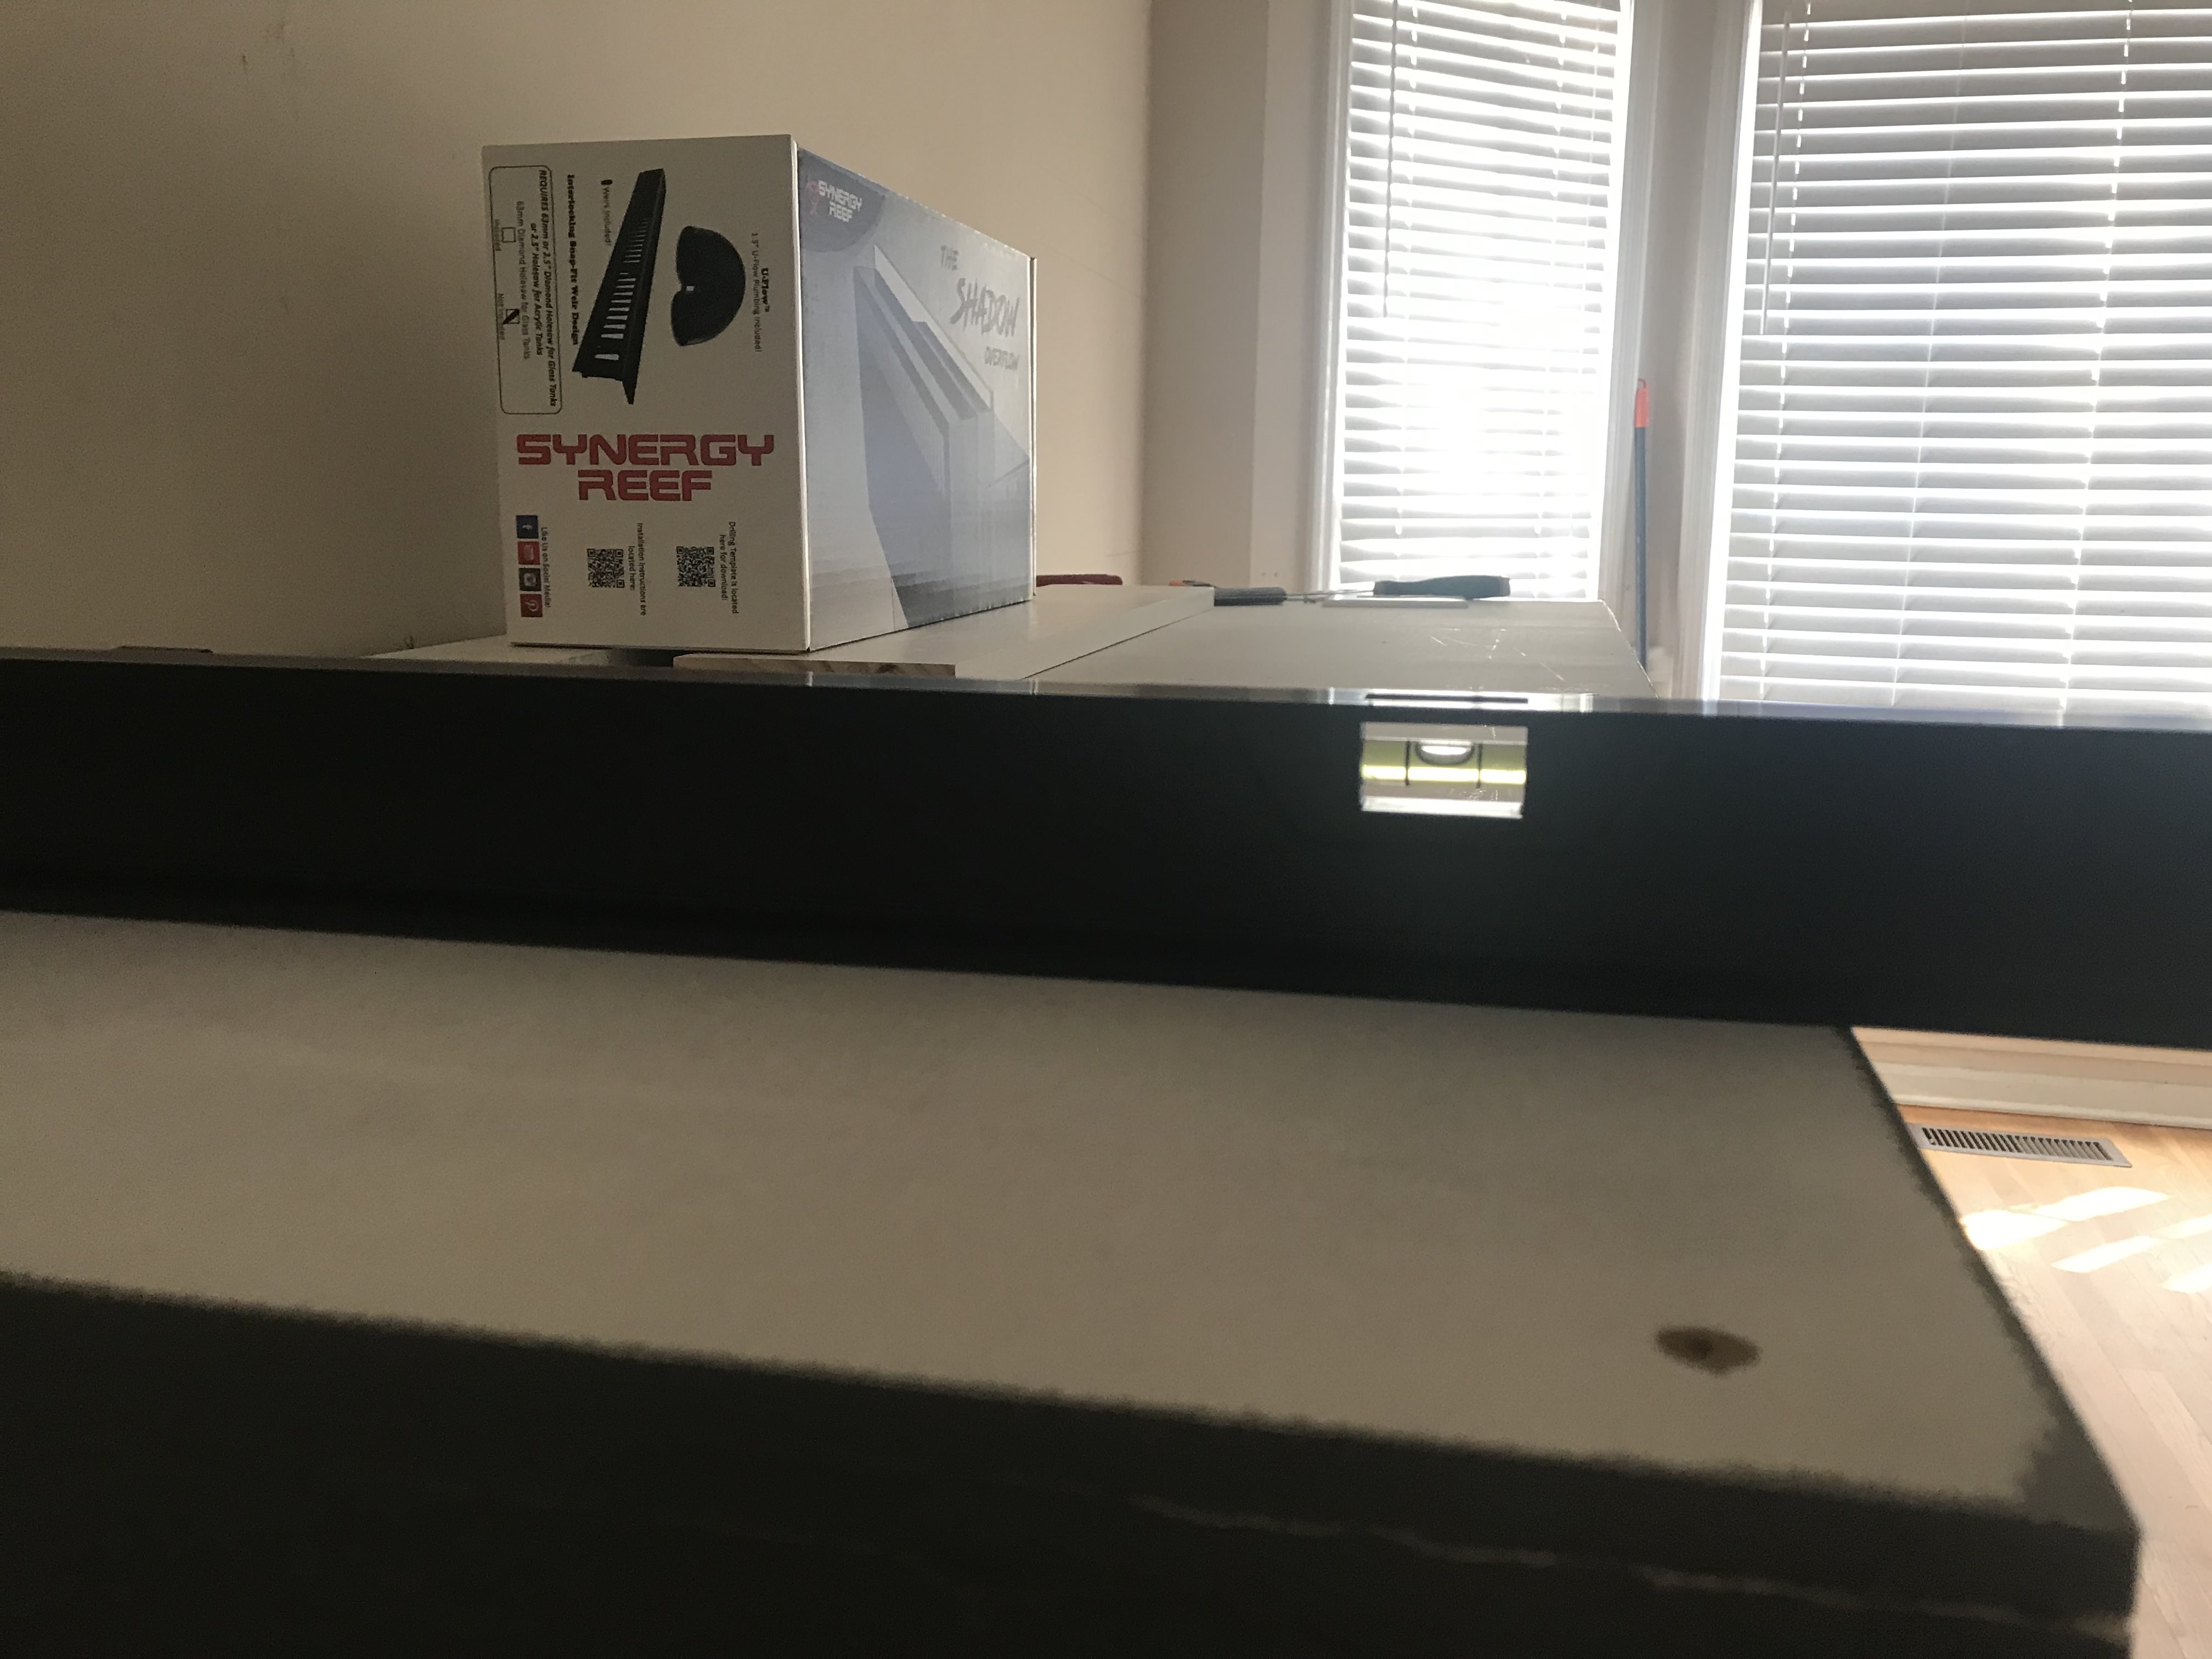
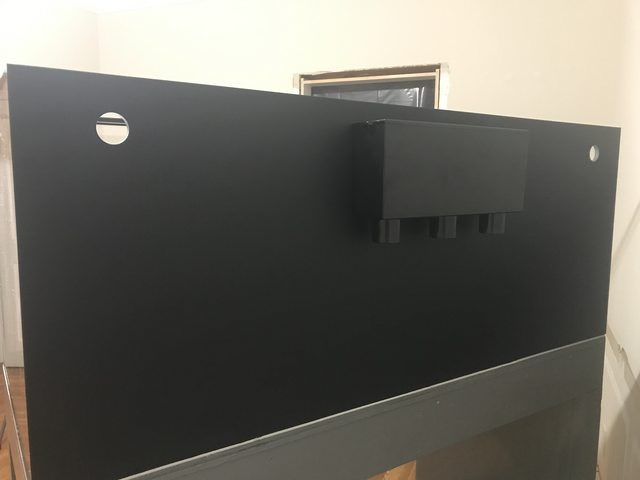
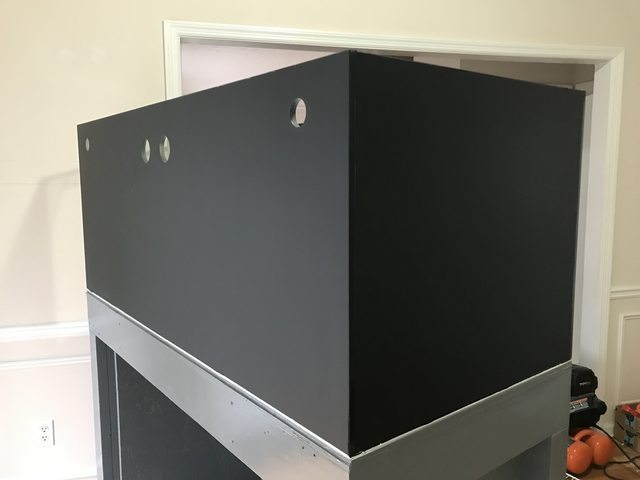
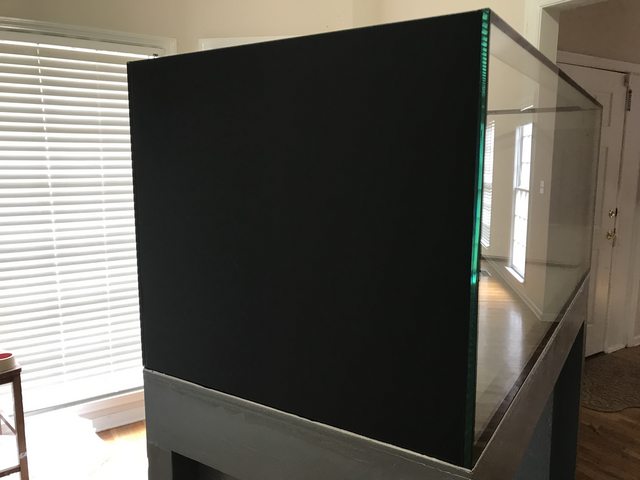
It is a custom Starfire 5' tank drilled for two return and the Reef Synergy Shadow overflow. The eurbrace has been raised to be flush with the top and the overflow will mount almost flush to create a waterline of only about 1.7" below the top of the tank. I went ahead and added some depth as well because why not. They didn't even charge for the extra depth. If anyone is interested in the price, message me. Going custom was very minimal.


OP
OP
Knology

Knology

Active Member
View Badges
Joined
Sep 19, 2018
Messages
106
Reaction score
270
Location
Atlanta, GA
Rating - 0%
0   0   0
History and let the madness begin.

I have had a few tanks over the years but most were weak attempts mixed with moving too often and too many life changes to succeed.

Biocube 29, 14, 90g custom I never finished, and then a 120g I was really proud of that never got water in it(moved). I finally got a nice 30g rimless cube setup when I was in Alaska. I started to get some small automation going and it was OK for a while until a baby arrived.

Anyway, now that I can finally have all the excuses to do it right, here are my initial thoughts and research points.

- Fish room will be in the basement. I have never done this before but I have plenty of room in the 1,000sq ft space to carve out dedicated resources.
-Roller mat filtration. I am researching options. This is so new that it is hard to nail anything down in gen 1.
-The tank will be 40" base height and made to be viewed in the kitchen next to where an island will be installed with bar seating. Base will match bar height. top of tank will be at 64".
-Tank wall will be a textured wood wall made of distressed and shou sugi ban pine. Yeah, I play around with a bit of word working ideas of grandeur.

Example


Right now I am getting ready to cut out the tile and backer board on the floor for the space where the stand frame will sit. I'll be making the stand out of 3/4" plywood so I have a base I can make drawers into and cabinets. These won't be used for the tank, as the plumbing goes to the basement, but it will give us some extra storage in the kitchen.

I have about 40lbs of dry rock on the way from a supplier I got at $1.10lb so I can see what I'm working with. If I like it, I'll order a few more boxes and start playing around with aquascaping.

The tank is due to be in the SCA warehouse at the end of this month. I should have it here at home by mid October.

I did some more work on the tank wall over the weekend. This should wrap up the demo and not I can start to design the frames, hood, and backsplash. On to the fun parts.


We spent all day Saturday going to the larger reef stores in Atlanta. I even had the chance to finally stop in to a place I have been shopping for the last 10 years. I haven't been in there since 2012 and they still remember the first tank I had. Incredible customer service and remarkable quality. They also continue to have fair pricing and am back on the top of my list for livestock and hardware.

We did learn some valuable price points over the weekend. There are some shops asking 100-200% higher than others, for no reason. A couple places to avoid unless they have something I must have. (You know how it goes)
 
OP
OP
Knology

Knology

Active Member
View Badges
Joined
Sep 19, 2018
Messages
106
Reaction score
270
Location
Atlanta, GA
Rating - 0%
0   0   0
I got a few things done over the weekend with the tank wall. I made an access box on the left wall and rear wall so I can have an access panel to each side. These panels will give me access to the left side glass that will be against the wall. This will allow me to put a power head on the glass. Also, I'll have an access panel on the back to get to the Shadow overflow rear box as well as the back glass for any random future reasons.

Right now I am in research mode.

Since this is a from the ground up build, incorporating things I have never done before, in more room than I have ever had, I want to use to most up to date methods and incorporate them from the start.

Thinking out loud on ideas I am looking into.

-Triton method. Building the system around starting this discipline from the start.
-Roller mat filters. This is not needed in the Triton method, but I am still doing my research on this new product
-Power saving technologies.
-Apex controller
-Kessils A360x x3 with the 48" Aquatic Life T5HO hybrid fixture
-Protein Skimmer - Cloud 9 or Octo 202-S
-Maxspect Gyre

Sump design:

I have a new 40B that came with a full baffle kit for a fuge setup. I am actually thinking about getting another 40B and creating a dual 40B sump system. Where one flows into the other through some bulkheads. This will allow me to make a larger refugium and have a large area for the skimmer section and return. Plus, more water volume for whatever may end up added to the system. Like reactors, etc.
 
OP
OP
Knology

Knology

Active Member
View Badges
Joined
Sep 19, 2018
Messages
106
Reaction score
270
Location
Atlanta, GA
Rating - 0%
0   0   0
Well, if you are wondering what took so long, it took 3 months for the tank to arrive.

Sweet baby Christmas Jesus this tank is bigger in person than I thought. SCA really does get close to Elos/Reef Savvy/Red Sea when it comes to their finished product. I have not got it on the stand yet, but I am extremely impressed at the finished product for the price.

AsnnZVf.jpg


So, we are back to it and there have been some changes. We are no longer putting the tank in the wall in the kitchen. I have ADD, so I overthunk it too many nights and came up with too many pros and cons for having it in that area.

Pro - Super safe area as it sits on top of two load bearing walls and 4 beams. Easy access to run pipes down the backside right into the future utility room downstairs AKA fish room.

Con - It's in the kitchen. A lower traffic area for enjoyment everyday. You would only be able to stand there and stare at it vs it being in a room you could enjoy it's addition. We also wanted to turn that nook into a drybar/storage area for the kitchen and have it be an addition to the kitchen layout. Plus, whenever we do need to sell the house, it would require ripping out the tank and renovating that entire area to return it back to part of the kitchen layout.

So, we have decided to convert the dining room, with the bay window, to a sitting room where the reef tank will be the centerpiece. I will also be running the tank equipment under the tank until the basement can be finished with a fish room. If I was to wait to get the fish room done to start the tank, we'd be looking at this time next year. I'll just get the fish room ready over time and then patch the tank into the basement when ready.

The tank will sit on the back wall of the dining room, which has the garage behind it, and will be across several load beams as well as a main beam of 4 2x10's. So I still feel pretty good about the tank load.

This is how things sit now, and I'll add some steps I took to make the stand frame below.

I went aread and masked off the dining room so I don't make the living area of the house a war zone.
MJlrXnF.jpg

QhOYnI4.jpg

mwD7GCM.jpg


I needed an excuse to at least start renovating one f the rooms in the new house and the dining room was a good start. One, I get my fish tank started, and two it really doesn't get in our way in regards to the parts of the house we use. The "breakfast nook" on the backside of the house is so large we'll just turn that into the dining room in the long run.

Here is the steps I went through over the last month to build the stand frame. It will be skinned with magnetic doors I'll put together this month. Probably a carbon gray stained oak.

Top framework.
J9bXlCo.jpg


D2K0q0O.jpg

SfcNSiS.jpg

BXF63q5.jpg


Bottom of frame.
BAUYzsm.jpg


yxNhTDR.jpg


uxqRrkr.jpg


The left and right side will have a hidden area to keep electronics and monitors accessible and dry. The sump area is recessed into the frame so if we have any leaks it sits in a tub of sorts.

The whole stand was done in an oil based exterior primer and then in a gloss smoke gray enamel so it will be easy to clean and keep water out of the wood.

More to come.
 

NY_Caveman

likes words, fish and arbitrary statistics
View Badges
Joined
Sep 8, 2017
Messages
17,009
Reaction score
108,393
Location
New York
Rating - 0%
0   0   0
Well, if you are wondering what took so long, it took 3 months for the tank to arrive.

Sweet baby Christmas Jesus this tank is bigger in person than I thought. SCA really does get close to Elos/Reef Savvy/Red Sea when it comes to their finished product. I have not got it on the stand yet, but I am extremely impressed at the finished product for the price.

AsnnZVf.jpg


So, we are back to it and there have been some changes. We are no longer putting the tank in the wall in the kitchen. I have ADD, so I overthunk it too many nights and came up with too many pros and cons for having it in that area.

Pro - Super safe area as it sits on top of two load bearing walls and 4 beams. Easy access to run pipes down the backside right into the future utility room downstairs AKA fish room.

Con - It's in the kitchen. A lower traffic area for enjoyment everyday. You would only be able to stand there and stare at it vs it being in a room you could enjoy it's addition. We also wanted to turn that nook into a drybar/storage area for the kitchen and have it be an addition to the kitchen layout. Plus, whenever we do need to sell the house, it would require ripping out the tank and renovating that entire area to return it back to part of the kitchen layout.

So, we have decided to convert the dining room, with the bay window, to a sitting room where the reef tank will be the centerpiece. I will also be running the tank equipment under the tank until the basement can be finished with a fish room. If I was to wait to get the fish room done to start the tank, we'd be looking at this time next year. I'll just get the fish room ready over time and then patch the tank into the basement when ready.

The tank will sit on the back wall of the dining room, which has the garage behind it, and will be across several load beams as well as a main beam of 4 2x10's. So I still feel pretty good about the tank load.

This is how things sit now, and I'll add some steps I took to make the stand frame below.

I went aread and masked off the dining room so I don't make the living area of the house a war zone.
MJlrXnF.jpg

QhOYnI4.jpg

mwD7GCM.jpg


I needed an excuse to at least start renovating one f the rooms in the new house and the dining room was a good start. One, I get my fish tank started, and two it really doesn't get in our way in regards to the parts of the house we use. The "breakfast nook" on the backside of the house is so large we'll just turn that into the dining room in the long run.

Here is the steps I went through over the last month to build the stand frame. It will be skinned with magnetic doors I'll put together this month. Probably a carbon gray stained oak.

Top framework.
J9bXlCo.jpg


D2K0q0O.jpg

SfcNSiS.jpg

BXF63q5.jpg


Bottom of frame.
BAUYzsm.jpg


yxNhTDR.jpg


uxqRrkr.jpg


The left and right side will have a hidden area to keep electronics and monitors accessible and dry. The sump area is recessed into the frame so if we have any leaks it sits in a tub of sorts.

The whole stand was done in an oil based exterior primer and then in a gloss smoke gray enamel so it will be easy to clean and keep water out of the wood.

More to come.

Sweet! Nice update!

 
OP
OP
Knology

Knology

Active Member
View Badges
Joined
Sep 19, 2018
Messages
106
Reaction score
270
Location
Atlanta, GA
Rating - 0%
0   0   0
The stand weights as much as a tank. I had to craft skis out of 2x4's to get to to the staircase. Getting up the staircase has left all of the muscles below my waist wrecked. It was like trying to push a used clothes washer up a staircase.

I'm pretty sure the stand weighs around 200lbs but I feel confident in the design.

I used the week to pick up some needed tools for the house and to move the tank build along. Air compressor, brad nailer, pinner, some routing bits for the dremel to soften the edges inside the stand.
 
OP
OP
Knology

Knology

Active Member
View Badges
Joined
Sep 19, 2018
Messages
106
Reaction score
270
Location
Atlanta, GA
Rating - 0%
0   0   0
Now this was not what I was expecting. I know I went to good lengths this time around to true up measurements, to pay a little more for 2x4s and 2x6's that had 90 degree edging and decently straight. I put about 24 1/4" felt pads on the bottom of the tank so it could move around while we finish the room. Also to give the tank a bit of an air gap underneath for when any minor water makes it under.

I was NOT expecting it to come out so level though.

nGfZSas.jpg

9PNfomU.jpg
 

Captain Quint

Plank Owner of the Orca
View Badges
Joined
May 5, 2018
Messages
4,000
Reaction score
17,228
Location
Carolina
Rating - 0%
0   0   0
@Knology this is a spectacular build thread and I really enjoy the information on all aspects taking place. Thanks for joining and sharing such an awesome build.

Great decision not to have it in the kitchen area.

Please keep the pics coming and again welcome aboard.
 

mch1984

Valuable Member
View Badges
Joined
Nov 20, 2017
Messages
2,000
Reaction score
6,756
Location
Midland, TX
Rating - 0%
0   0   0
Stand looks good, nothing like an overbuilt heavy duty stand. they are built to last and that's the name of the game when it comes to stands. Location of tanks is for sure always a battle, the balance of easily enjoyed and not in the way. Looking forward to it, and glad the tank made it safe.
 
OP
OP
Knology

Knology

Active Member
View Badges
Joined
Sep 19, 2018
Messages
106
Reaction score
270
Location
Atlanta, GA
Rating - 0%
0   0   0
OK, so we got the tank on the stand. It took 5 grown men to get this thing from the garage, up the front door steps, and in the dining room. It was kinda funny that 3 generations of men made the same sound as we tried to lift it the last 6 inches onto the stand.

qdR4ORWl.jpg


7vD9rQul.jpg


yBDgOGdl.jpg


BGcf6tGl.jpg


I spent the rest of the weekend planing out how to do the wainscoting behind the tank and where we will put the pipes through the wall and route down to the sump.

Now that I have the tank on the stand, I can happily confirm I love this SCA tank. Perfect size, outstanding quality and black silicon boarders, and so happy I moved away from the standard 4' 120.
 

Brandon Wilcox

Community Member
View Badges
Joined
Oct 7, 2018
Messages
34
Reaction score
37
Rating - 0%
0   0   0
Well, if you are wondering what took so long, it took 3 months for the tank to arrive.

Sweet baby Christmas Jesus this tank is bigger in person than I thought. SCA really does get close to Elos/Reef Savvy/Red Sea when it comes to their finished product. I have not got it on the stand yet, but I am extremely impressed at the finished product for the price.

AsnnZVf.jpg


So, we are back to it and there have been some changes. We are no longer putting the tank in the wall in the kitchen. I have ADD, so I overthunk it too many nights and came up with too many pros and cons for having it in that area.

Pro - Super safe area as it sits on top of two load bearing walls and 4 beams. Easy access to run pipes down the backside right into the future utility room downstairs AKA fish room.

Con - It's in the kitchen. A lower traffic area for enjoyment everyday. You would only be able to stand there and stare at it vs it being in a room you could enjoy it's addition. We also wanted to turn that nook into a drybar/storage area for the kitchen and have it be an addition to the kitchen layout. Plus, whenever we do need to sell the house, it would require ripping out the tank and renovating that entire area to return it back to part of the kitchen layout.

So, we have decided to convert the dining room, with the bay window, to a sitting room where the reef tank will be the centerpiece. I will also be running the tank equipment under the tank until the basement can be finished with a fish room. If I was to wait to get the fish room done to start the tank, we'd be looking at this time next year. I'll just get the fish room ready over time and then patch the tank into the basement when ready.

The tank will sit on the back wall of the dining room, which has the garage behind it, and will be across several load beams as well as a main beam of 4 2x10's. So I still feel pretty good about the tank load.

This is how things sit now, and I'll add some steps I took to make the stand frame below.

I went aread and masked off the dining room so I don't make the living area of the house a war zone.
MJlrXnF.jpg

QhOYnI4.jpg

mwD7GCM.jpg


I needed an excuse to at least start renovating one f the rooms in the new house and the dining room was a good start. One, I get my fish tank started, and two it really doesn't get in our way in regards to the parts of the house we use. The "breakfast nook" on the backside of the house is so large we'll just turn that into the dining room in the long run.

Here is the steps I went through over the last month to build the stand frame. It will be skinned with magnetic doors I'll put together this month. Probably a carbon gray stained oak.

Top framework.
J9bXlCo.jpg


D2K0q0O.jpg

SfcNSiS.jpg

BXF63q5.jpg


Bottom of frame.
BAUYzsm.jpg


yxNhTDR.jpg


uxqRrkr.jpg


The left and right side will have a hidden area to keep electronics and monitors accessible and dry. The sump area is recessed into the frame so if we have any leaks it sits in a tub of sorts.

The whole stand was done in an oil based exterior primer and then in a gloss smoke gray enamel so it will be easy to clean and keep water out of the wood.

More to come.
I'm glad it's not just me that goes through the crazy process of figuring out where to put the tank and the many other questions that go along with it. We just moved and I'm trying to figure out where I want my next big tank. In the mean while I started my fish nook (It's small, and I'm pushing the wife stuff out of the area). Good luck man!! I'm excited to see the finished product.
 
OP
OP
Knology

Knology

Active Member
View Badges
Joined
Sep 19, 2018
Messages
106
Reaction score
270
Location
Atlanta, GA
Rating - 0%
0   0   0
So, now that the holidays have died down, and my HOA has got off my back, we can get back to the tank.

51cXJ9k.jpg


Well, the is the wall I was going to put the tank on. It actually turned out so good(pre-paint) that I decided it was a shame to cover it all with a tank. The dining room was going to re purposed into the tank, 2 sitting chairs, a bookshelf, and maybe a small table between the chairs in the bay window. A quite area to enjoy the tank and talk.

The issue was that is all that would fit in there. 2 chairs and a tank. I'd rather turn it into a smaller living room or just go back to a dining room.

So.... we are back to this

cujXsYk.jpg


6u7V7XR.jpg


We are back to it being built into the kitchen spare wall. The trick with this spot is that it spans over 5 floor joists and the fish room is directly below the tank in the basement. THat was the final selling point.

The other trick is that this wall is 63" wide and the tank is 60". This way the tank will visually feel larger than it is as it will take up the entire wall. I'm going to leave the walls open to the left side and below that way I always have access to cable routing and piping. Everything above the tank will be skinned with PVC sheet and easily cleaned. My plan it to get the tank off the stand the weekend and onto the new frame. I have some vinyl coming in to cover the left side panel where it will be hidden behind the wall.

It's time to start thinking about building that fish room downstairs...
 
OP
OP
Knology

Knology

Active Member
View Badges
Joined
Sep 19, 2018
Messages
106
Reaction score
270
Location
Atlanta, GA
Rating - 0%
0   0   0
Well, we got the tank moved onto the new frame over the weekend. The new frame ended up being about an inch taller, so it was a bit of a pain(getting old) to lift that thing and get it slid on the new pad.

First, we needed to go ahead and black out the left side as it will be behind the wall. We used "Oracal 651 Matte Black Vinyl" off Amazon. Great product. Just a little soapy water spray and squeegee it on. Too easy.

s8dNZQol.jpg

mmgo8UCl.jpg

COz4E5ol.jpg


I am doing some tweaking to get the best spacing left to right for the tank, plumbing placement, and consideration for future trim work when we skin the tank. The fish room will be directly below the tank so all plumbing will go strait down and through the floor.

mtxEClRl.jpg

KjnDbmll.jpg
 
OP
OP
Knology

Knology

Active Member
View Badges
Joined
Sep 19, 2018
Messages
106
Reaction score
270
Location
Atlanta, GA
Rating - 0%
0   0   0
OK, I got the tank setup on the stand and took a few days to look over where everything is going to sit. Especially the plumbing and how the trim will marry the bottom to the top of the tank.

So, today I'll be taking the stand apart and shaving a 1/2" off the ends and adding a brace up the left hand side. The brace ot the left will be whee the left side of the tank buts up, where I will attach the side trim, and then be the end brace for the canopy frame. I'll also re-cut the mat and base to fit exactly the underside of the tank and make a border around the footprint. This way I'll slide the tank back on and into a footprint that fits exactly what is needed. This will also resolve some issues with mating the stand ending to the preexisting frame of the house for when I skin the tank to the surrounding walls.

Here are the future plans for the basement. Most of the basement was gutted as the quality of the finished basement was pretty poor. The middle space will be fish room and utility space.

HvlNplAl.jpg
 

Creating a strong bulwark: Did you consider floor support for your reef tank?

  • I put a major focus on floor support.

    Votes: 66 39.8%
  • I put minimal focus on floor support.

    Votes: 36 21.7%
  • I put no focus on floor support.

    Votes: 58 34.9%
  • Other.

    Votes: 6 3.6%
Back
Top