I recently added RS Coral Colours to my tank, but found that with a low drip rate, I would get a lot of precipitation on one of the additives. Essentially the additive was evaporating before it had time to drip into the water column (I am adding 1 drop every 3 hours or so). I had seen a product from Pacific Sun years ago that claimed to address this situation. It was a dosing module that had acrylic tubes that extended into the water surface and had a smaller tip inside the air tight volume of the tube to stop evaporation. I figured that is what I needed, so I decided to build a DIY version.
I thought I must have something on hand to use for this? Ah, yes, my bag of 10ml syringes. A bit of staring at them and I had a plan.
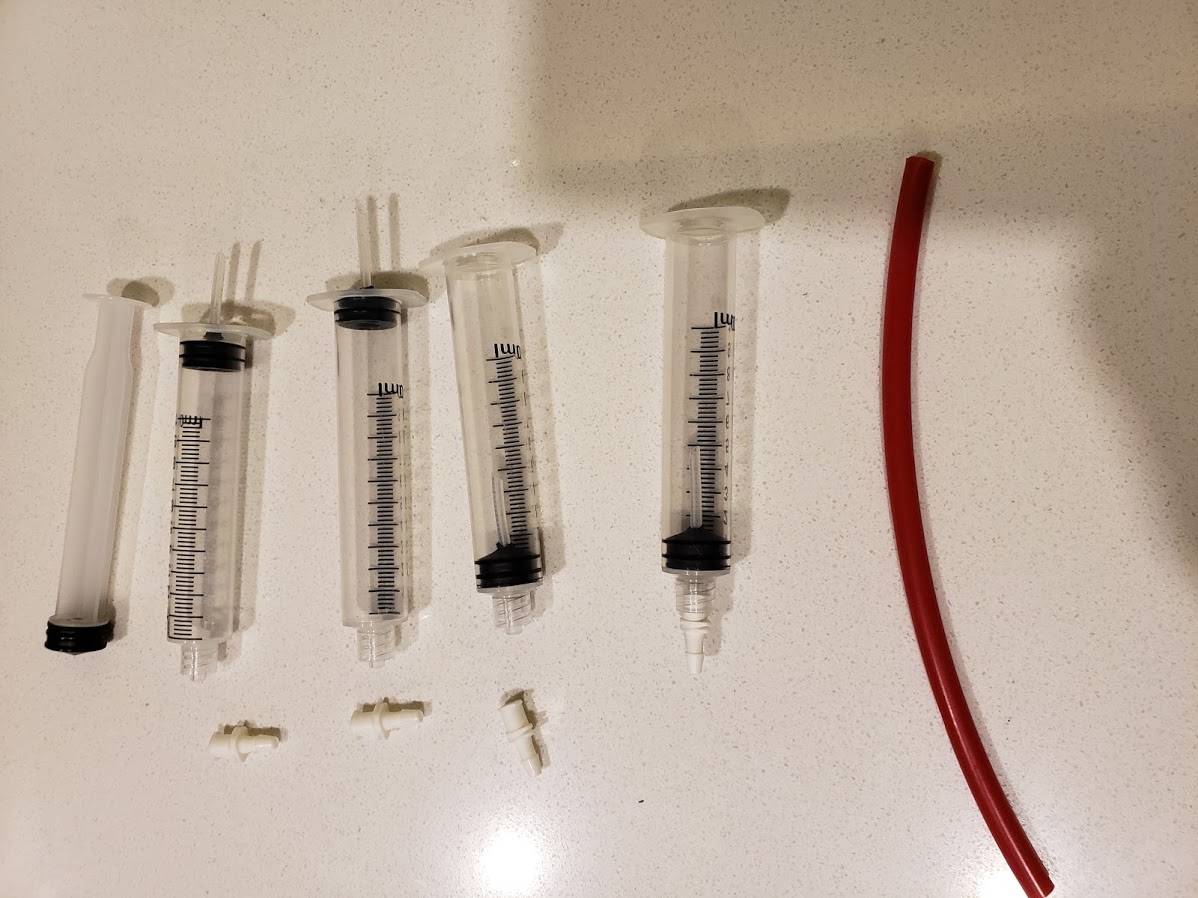
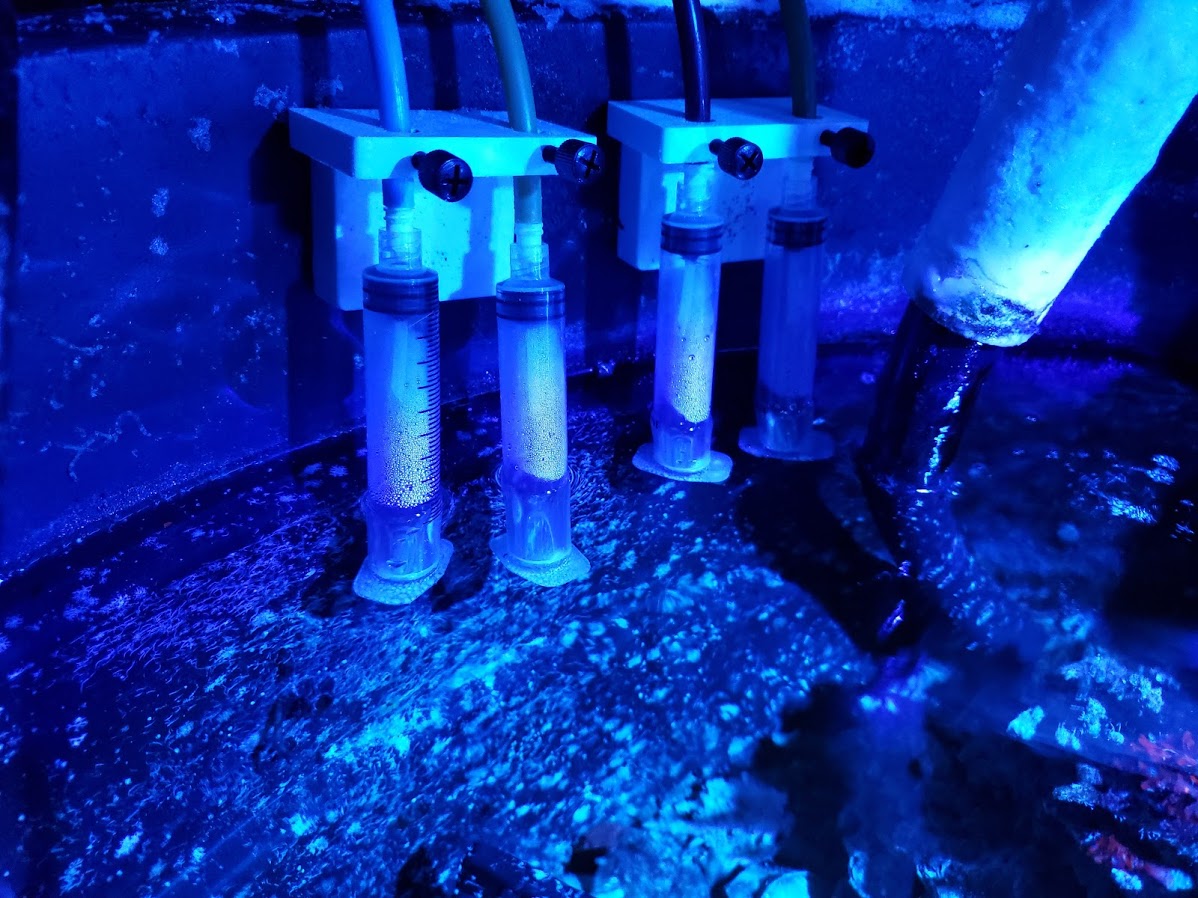
Here are 4 heads in various stages of completion. Sorry about the image quality. The shadows make it look out of focus, but it is not really.
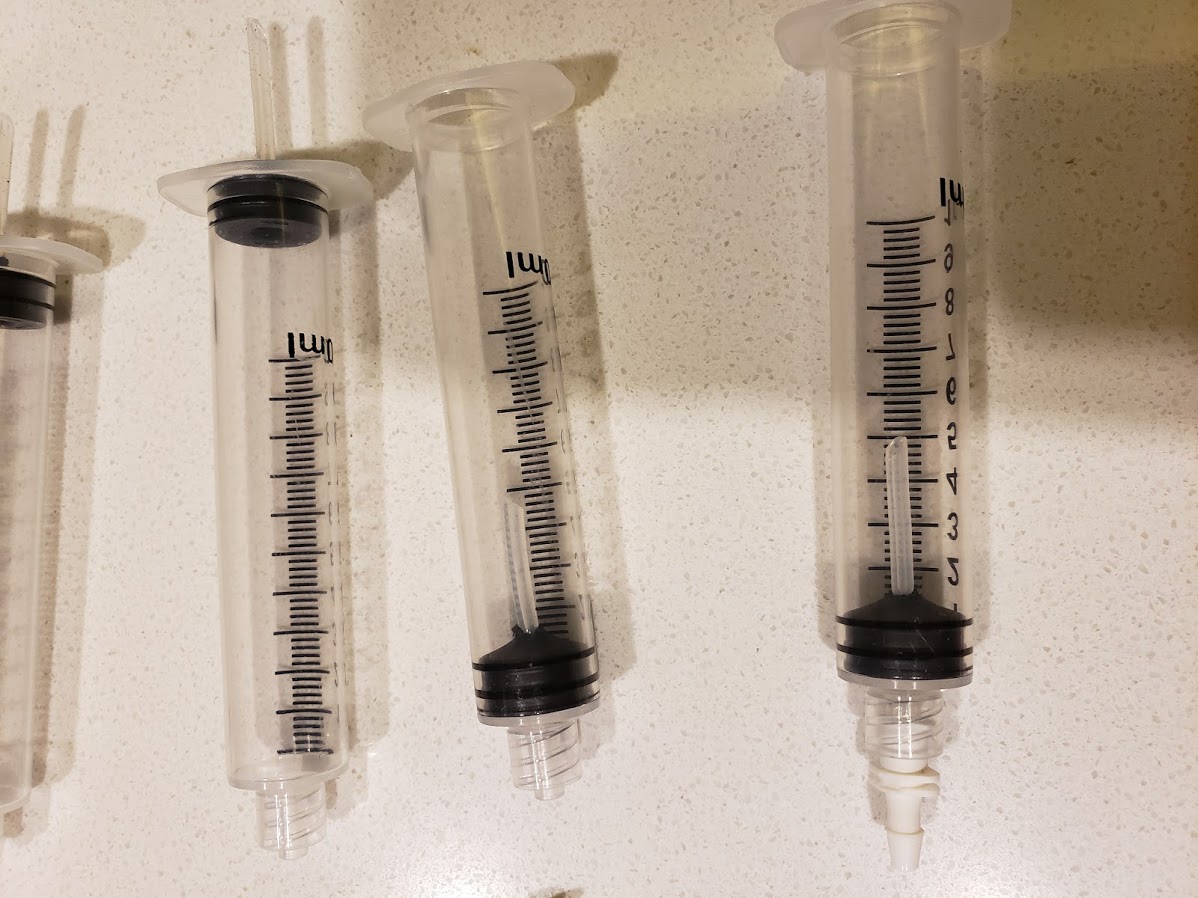
A close up to help show the actual bits better.
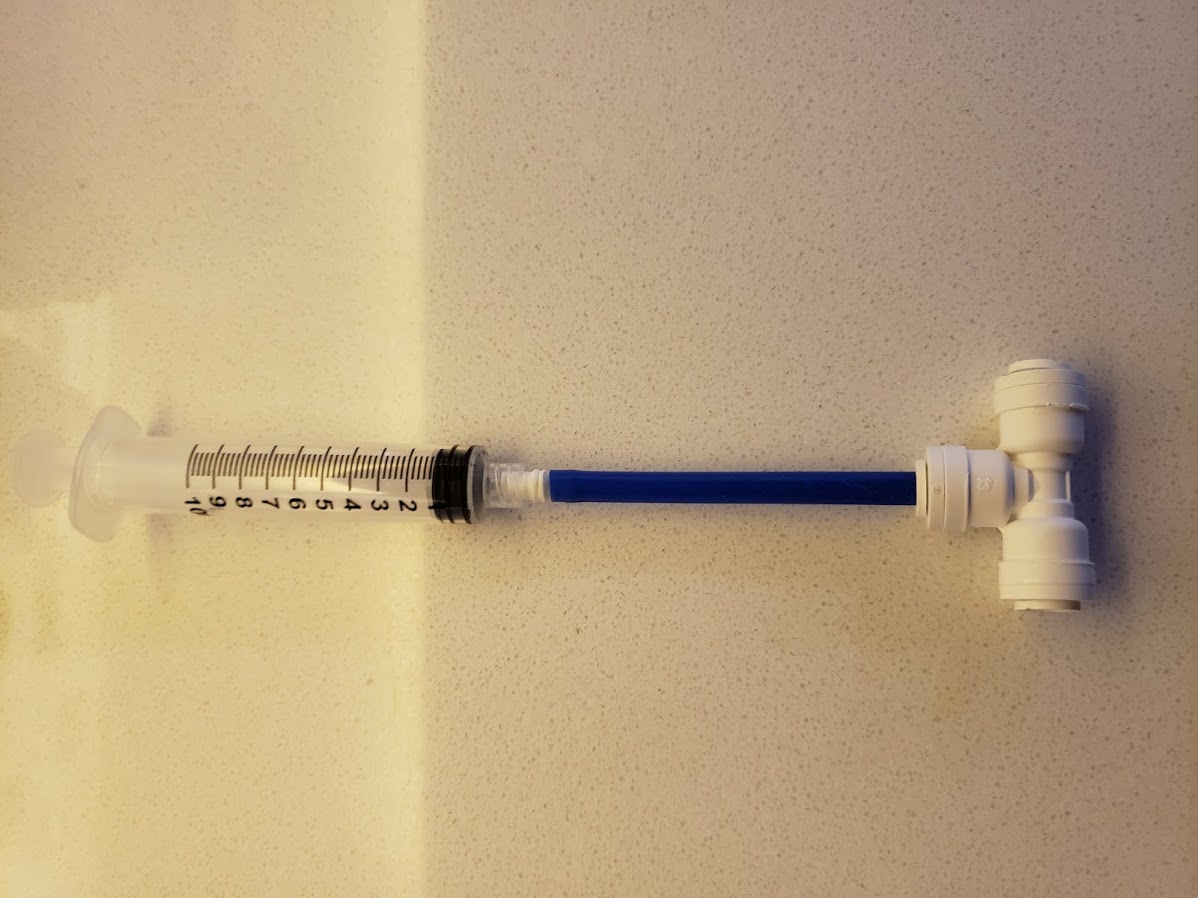
... and the installed version. This is on a frag tank, so it is really hackish. The white on the syringe tube is condensation. At first I thought there was a ton of precipitation and pulled the tube holders off to examine, and nope, no precipitation. Yay!
This also keeps your tips dry even when the water rises when the return pump is off. No back siphoning possible.
Dennis
I thought I must have something on hand to use for this? Ah, yes, my bag of 10ml syringes. A bit of staring at them and I had a plan.
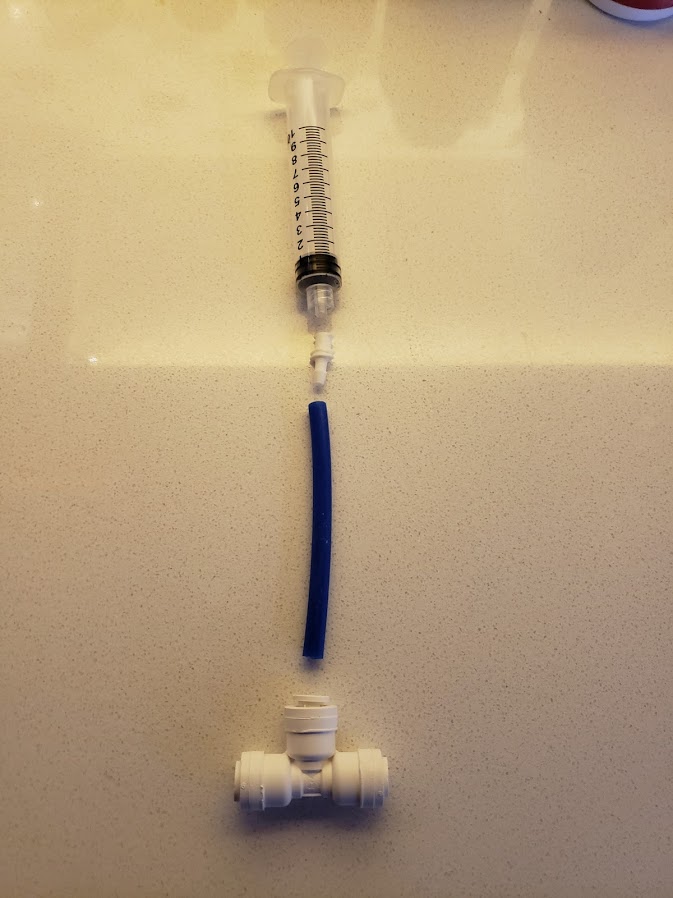
- Take a syringe and remove the plunger completely.
- Pull the rubber stopper off the plunger.
- Drill a small hole through the rubber stopper.
- Cut a small piece of silicone tubing with a very small gauge hole in it (<1mm).
- Pull the small piece of silicone tubing through the stopper. I used part of a small nylon zip tie (not pictured) to feed through the hole in the silicone tube and pull against the end.
- Put the stopper back into the syringe backwards from normal operation.
- Push the stopper to the bottom of the syringe with a piece of 1/4" PE tubing.
- Attach a barb fitting to the luer on the syringe.
Here are 4 heads in various stages of completion. Sorry about the image quality. The shadows make it look out of focus, but it is not really.
A close up to help show the actual bits better.
... and the installed version. This is on a frag tank, so it is really hackish. The white on the syringe tube is condensation. At first I thought there was a ton of precipitation and pulled the tube holders off to examine, and nope, no precipitation. Yay!
This also keeps your tips dry even when the water rises when the return pump is off. No back siphoning possible.
Dennis