DIY Pressurised Kalk Reactor/Stirrer

Borat

Valuable Member
View Badges
Joined
Apr 4, 2021
Messages
1,482
Reaction score
1,713
Location
United Kingdom
Rating - 0%
0   0   0
Jagshemash! Warm greetings from the best country in the world (Kazakistan)!

In this threead I am going to show you some more advanced Kazakistan technologies: Kalk reactor!

To be very honest I have very little understanding of how a kalk reactor works, other than reading about it and hearing it's good for raising PH. My PH is generally quite low as I use CaRx for calcium/alk dosing (7,8).. But nevermind - we shall figure out the best design as we go along..
 
Last edited:
OP
OP
Borat

Borat

Valuable Member
View Badges
Joined
Apr 4, 2021
Messages
1,482
Reaction score
1,713
Location
United Kingdom
Rating - 0%
0   0   0
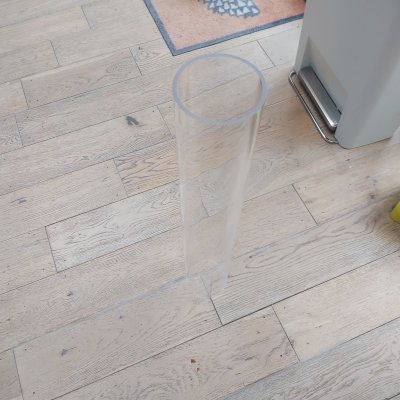
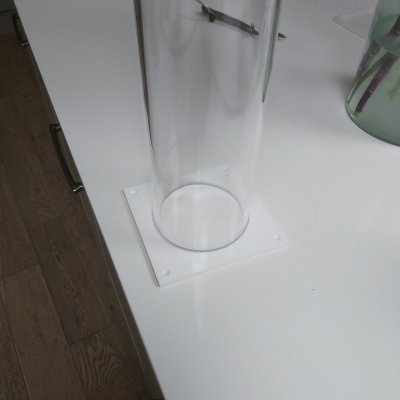
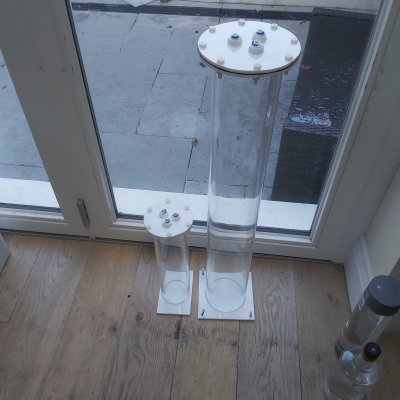
I bought this 700mm long tube (approximately 3 US pizza long) that has 110mm OD/100mm ID dimensions (approximately 1 US burger wide) - this was a bargain at £15 (+£10 delivery charge) because it was one of the off-cut (they normally sell tubing in 1m/2m lengths..

20210928_144307.jpg
 
Last edited:
OP
OP
Borat

Borat

Valuable Member
View Badges
Joined
Apr 4, 2021
Messages
1,482
Reaction score
1,713
Location
United Kingdom
Rating - 0%
0   0   0
The reactor will consist of a magnetic stirrer underneath the reactor body and 3 bulkheads ( for RO water in, for Kalk water out and one more for draining excess air).

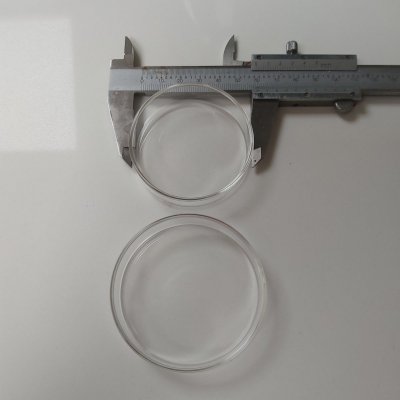
As kalk can have impurities - I want to avoid having microplastic being scratched by the stirrer bar... So I bought this petri dish that's 60mm diameter:

20211002_083441.jpg
 
OP
OP
Borat

Borat

Valuable Member
View Badges
Joined
Apr 4, 2021
Messages
1,482
Reaction score
1,713
Location
United Kingdom
Rating - 0%
0   0   0
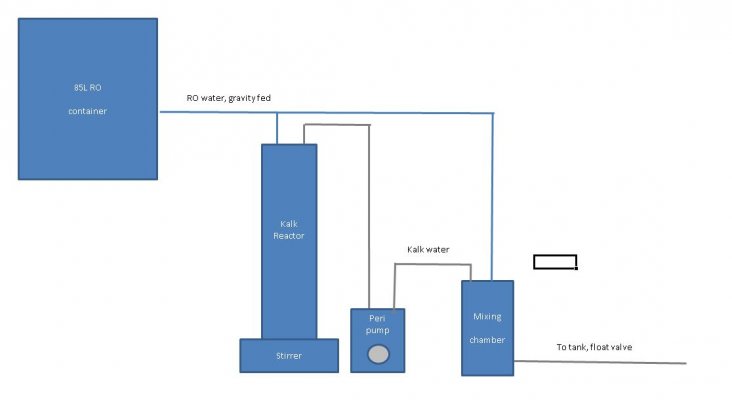
Here's the diagram - of how I envisage my kalk reactor to work... the purpose of kalk reactor will be to provide additional PH, not to dose calcium/alkalinity.

Obviously I can't avoid having extra calcium/alkalinity being added and will adjust my CaRx dosing schedule accordingly.

kalk_reactor_diagram.JPG
 
OP
OP
Borat

Borat

Valuable Member
View Badges
Joined
Apr 4, 2021
Messages
1,482
Reaction score
1,713
Location
United Kingdom
Rating - 0%
0   0   0
The idea of this genious plan is as follows:

- my tank consumes about 20L a week (as a minimum) in evaporation, that's about 3L/day.
- to the extent I add less than 3L of kalk water to the tank each day all of kalk reactor output will end up going into tank, this will be topped off by extra RO water as necessary
- the rate of evaporation does not affect the amount of kalk effluent being added

I plan to dose about 1ml/min continously 24/7, that's about 1.4L/day.

I already have a spare peristaltic pump, that's also a DIY build detailed here:

 
OP
OP
Borat

Borat

Valuable Member
View Badges
Joined
Apr 4, 2021
Messages
1,482
Reaction score
1,713
Location
United Kingdom
Rating - 0%
0   0   0
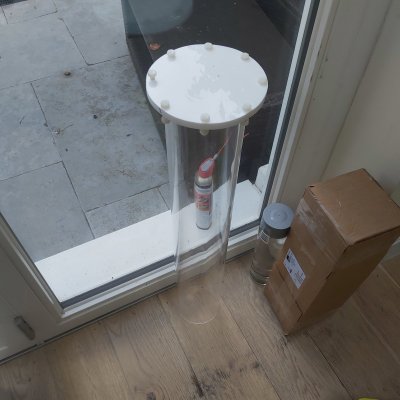
Reactor lid held by 8 M6 plastic screws glued to the acrylic tube:

20210929_151715.jpg
 
OP
OP
Borat

Borat

Valuable Member
View Badges
Joined
Apr 4, 2021
Messages
1,482
Reaction score
1,713
Location
United Kingdom
Rating - 0%
0   0   0
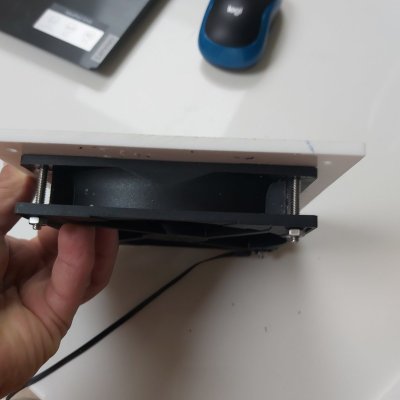
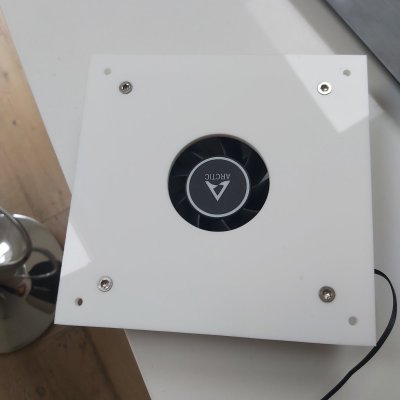
Magnetic stirrer will be built using Artclic F12 PWM fan as a motor

20211002_102738.jpg

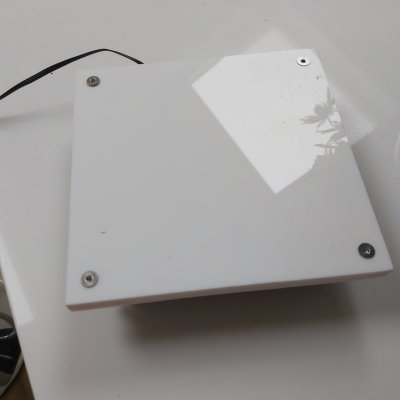
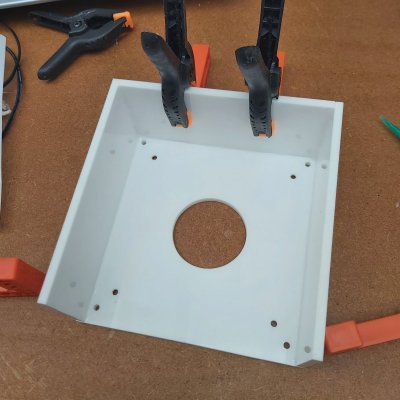
I build a double-plate, this one will be glued to the chamber..

20211002_102824.jpg

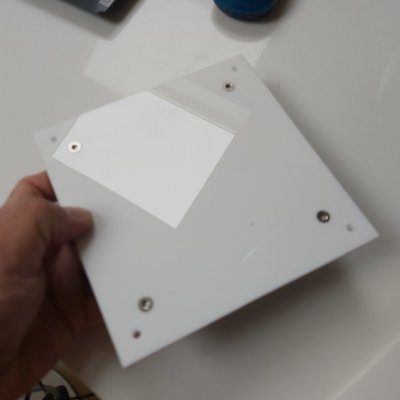
..and this one will be underneath with the PWM fan attached

20211002_102741.jpg
 
OP
OP
Borat

Borat

Valuable Member
View Badges
Joined
Apr 4, 2021
Messages
1,482
Reaction score
1,713
Location
United Kingdom
Rating - 0%
0   0   0
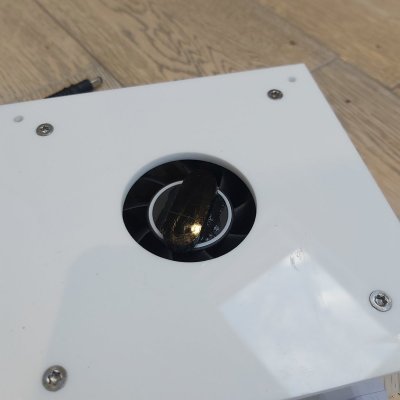
Second panel receives a 50mm hole for magentic strip, PWM fan is seen there..


20211002_105509.jpg
 
OP
OP
Borat

Borat

Valuable Member
View Badges
Joined
Apr 4, 2021
Messages
1,482
Reaction score
1,713
Location
United Kingdom
Rating - 0%
0   0   0
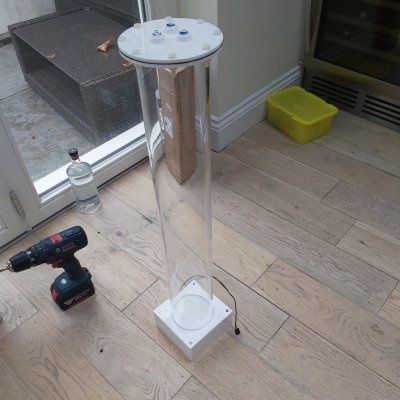
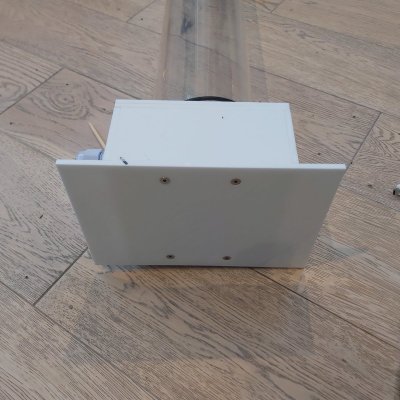
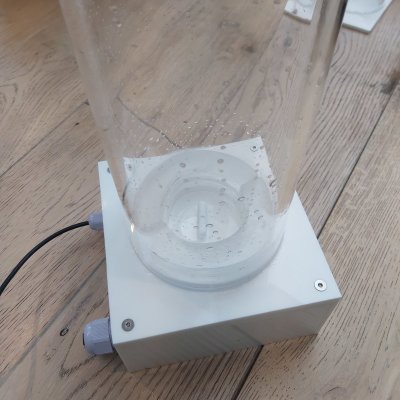
Top cover receives 3 bulkheads and the reactor body is complete..

20211002_141017.jpg


Reactor will be pressurised - similarly to how any CaRx reactor works.. therefore I added a neoprene rubber gasket to keep the reactor sealed..
 
Last edited:
OP
OP
Borat

Borat

Valuable Member
View Badges
Joined
Apr 4, 2021
Messages
1,482
Reaction score
1,713
Location
United Kingdom
Rating - 0%
0   0   0
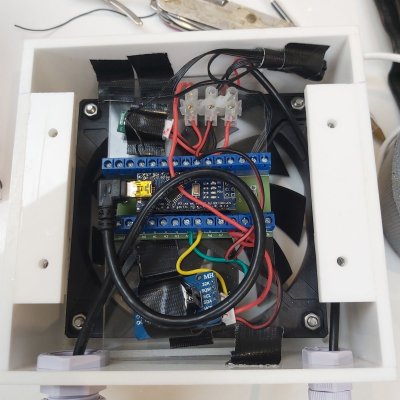
Now we just need to add a few electronic components:
- Arduino Nano
- RTC clock
- connector for 12V supplied externally (standard 12v PSU used for home appliances)
- 12v to 5v voltage converter to power Nano and RTC
 
OP
OP
Borat

Borat

Valuable Member
View Badges
Joined
Apr 4, 2021
Messages
1,482
Reaction score
1,713
Location
United Kingdom
Rating - 0%
0   0   0
Electronics is so simple that I didn't bother to have a proper PCB - used one of the Arduino Nano shields...

20211005_161821.jpg
 
OP
OP
Borat

Borat

Valuable Member
View Badges
Joined
Apr 4, 2021
Messages
1,482
Reaction score
1,713
Location
United Kingdom
Rating - 0%
0   0   0
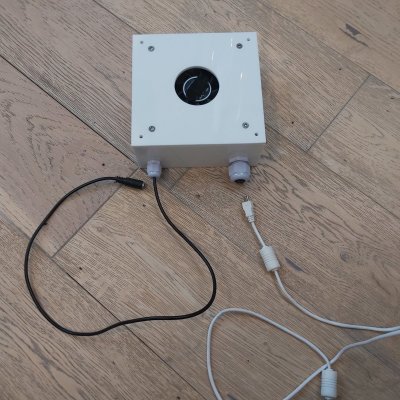
There is an external 12v supply DC connector (female) and a mini-USB port to upload the code into Arduino...

20211005_172616.jpg

An acrylic stip with 4 magnets fitted inside (2 each side of centre) is glued to the fan

20211005_171407.jpg
 
OP
OP
Borat

Borat

Valuable Member
View Badges
Joined
Apr 4, 2021
Messages
1,482
Reaction score
1,713
Location
United Kingdom
Rating - 0%
0   0   0
Made a 2cm thick half-ring that will surround the petri dish..

20211007_101034.jpg


20211007_104931.jpg
 
OP
OP
Borat

Borat

Valuable Member
View Badges
Joined
Apr 4, 2021
Messages
1,482
Reaction score
1,713
Location
United Kingdom
Rating - 0%
0   0   0
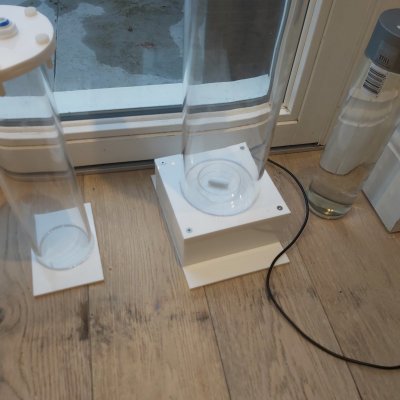
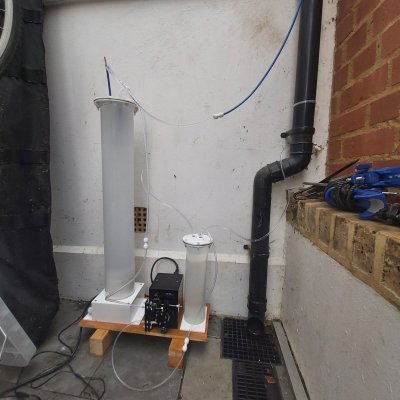
The reactor has gone live - I still need to sort out a few ball valves and replace the stirrer bar with a cross-type..

Started by dosing 1ml/min of saturated kalc solution...

20211007_132701.jpg

The reactor is placed outside - half way between the tank and RO water container..
 

Caring for your picky eaters: What do you feed your finicky fish?

  • Live foods

    Votes: 20 30.8%
  • Frozen meaty foods

    Votes: 53 81.5%
  • Soft pellets

    Votes: 11 16.9%
  • Masstick (or comparable)

    Votes: 7 10.8%
  • Other

    Votes: 3 4.6%
Back
Top