

OP
OP

I have been waiting on some parts to arrive as have re-thought how I want the bottom of the non-flanged versions to be constructed. While I was waiting I did some more digging on expected PH ranges that a full saturation CaRX will operate at. I ran across an old school boutique vendor in Germany and got some info and ideas from their site.
Firstly, their design is similar to a Dastaco, unlike the Jetstream, and they list a PH of 5.0 - 5.5 as the expected range of their units to operate at. Though they use calcite media, so I am not sure if that affects the PH range of their reactor at saturation. I plan to run Reborn.
They also had a couple of interesting features that I will probably poach for my DIY reactor. They have an aeration tube/tower as part of the design of their reactor. The effluent flows through a tube that has an air-stone operating in it. this helps to degas the CO2 from the effluent and raise the PH. They quote an expected PH of between 7.0 and 7.3 depending on the air volume pumped through the aeration tower. This does not sound like too much of a PH bump compared to normal CaRX reactors, but considering their effluent starts at 5.0 - 5.5, that is a pretty significant bump from just aerating the effluent.
They also use an sedimentation tube, which helps to settle out sediment and separate the air from the aeration stage. They state that a slight lowering of PO4 will occur by the passing effluent having the PO4 bound to the sediment. I don't expect this to have a big effect, but any PO4 stripping is welcome.
Lastly they use a separate stage called a magnesium tube. Essentially a media compartment to hold magnesium medium separate from the calcium media. All the effluent would pass through the magnesium media. I am not sure on the reason for holding the magnesium separate, perhaps because it would melt too fast at the PH level the main reactor runs at. I will probably add this to mine as well just to experiment and see what benefit (if any) it has over just mixing the medias in the main chamber.
I expect that I may need to bleed the CO2 gas off periodically to help maintain saturation, but until I have hard data as to the PH range the CaRX runs at over time, I will not know for sure. To help with collecting the data on the PH and hopefully if saturation is maintained, I will be adding a PH probe (or 2) into the test mule reactor. With that in mind I sourced 20 x 1/2" NPT cable glands from Amazon that "should" work for allowing probes to be put inline.
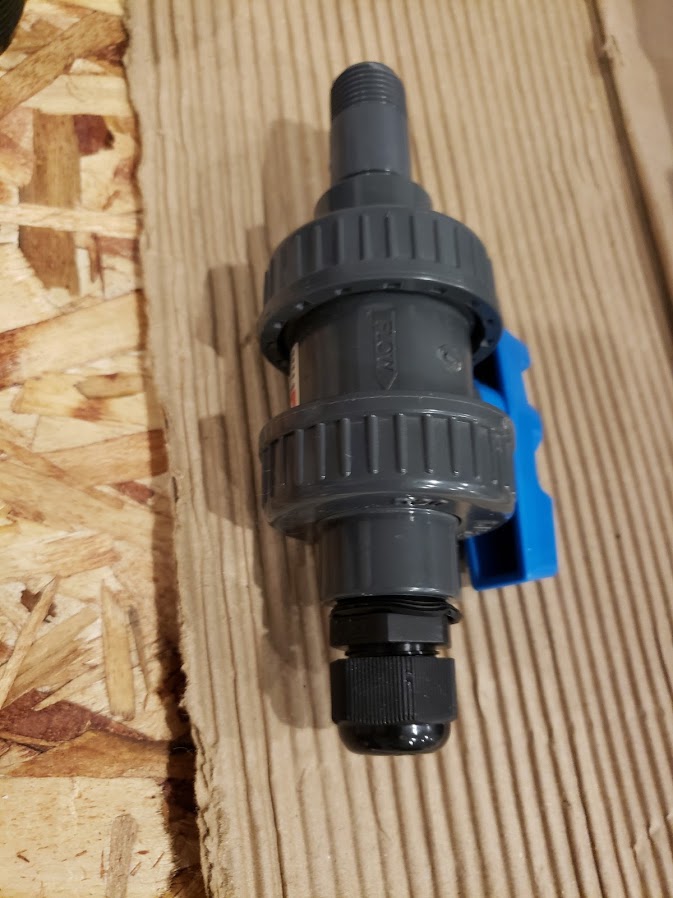
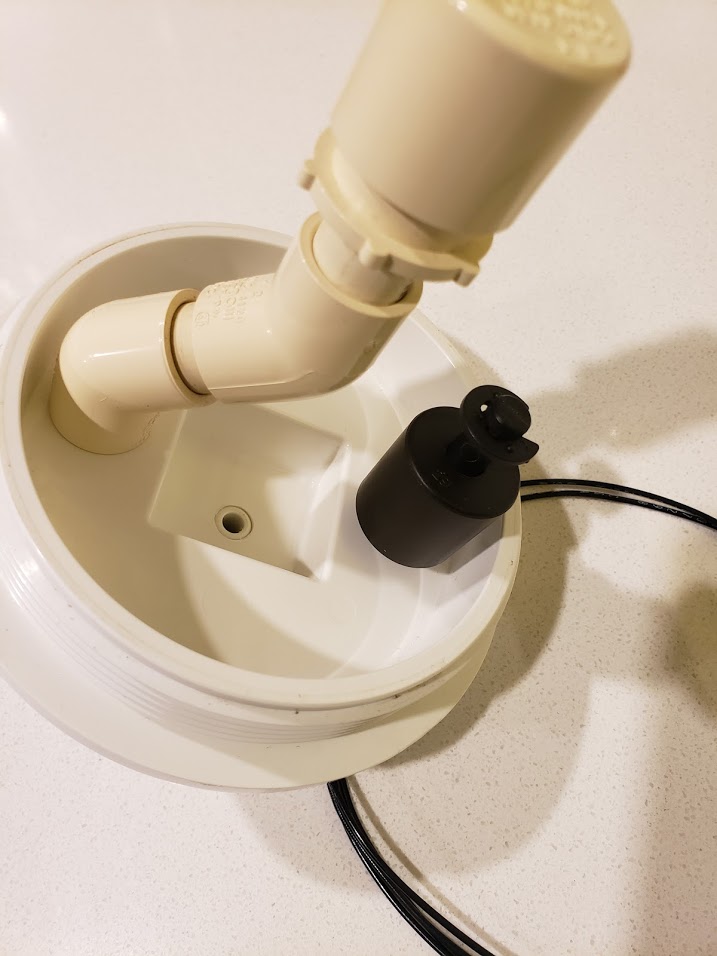
Here is an example of one of these cable glands threaded into a 1/2 ball valve.
I also received the new plumbing parts to remove the curved bottom of the end caps that I had planned to use, but was worried about the o-ring's not being able to seal properly. I have moved to a spigot plug and a fitting.

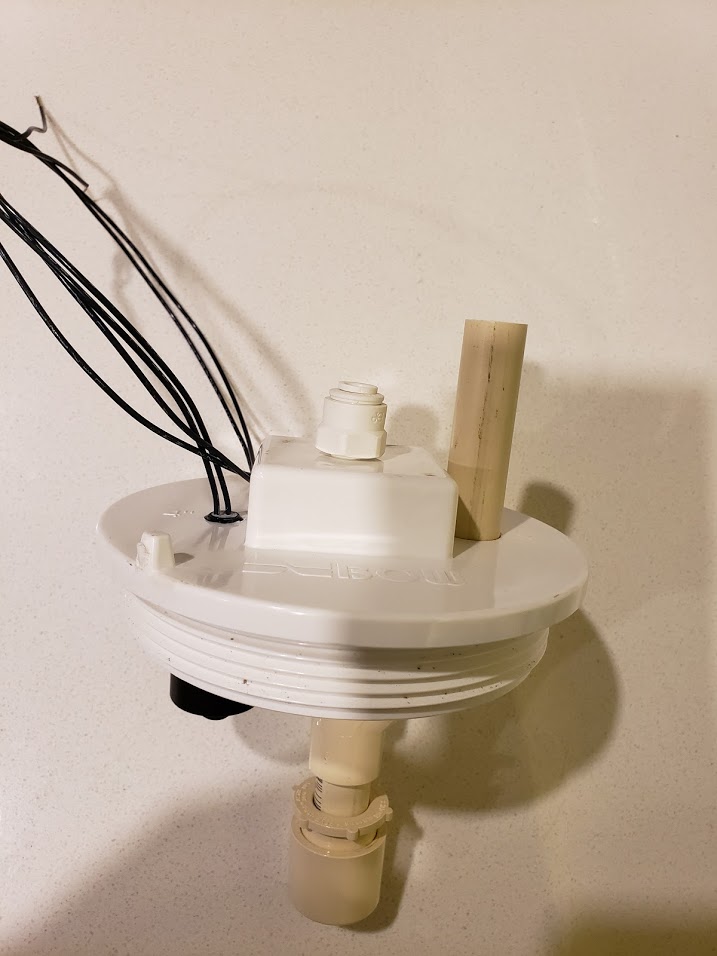
Here is how it looks on the mock-up. I did not seat the spigot fully for the mock-up as I find them so hard to get apart when seated fully dry. This should work so much better than the previous curved end caps.
For comparison, this is how the previous version fit.
I will be away for most of February, so this project will go into standby until the end of February, early March.
Dennis
Firstly, their design is similar to a Dastaco, unlike the Jetstream, and they list a PH of 5.0 - 5.5 as the expected range of their units to operate at. Though they use calcite media, so I am not sure if that affects the PH range of their reactor at saturation. I plan to run Reborn.
They also had a couple of interesting features that I will probably poach for my DIY reactor. They have an aeration tube/tower as part of the design of their reactor. The effluent flows through a tube that has an air-stone operating in it. this helps to degas the CO2 from the effluent and raise the PH. They quote an expected PH of between 7.0 and 7.3 depending on the air volume pumped through the aeration tower. This does not sound like too much of a PH bump compared to normal CaRX reactors, but considering their effluent starts at 5.0 - 5.5, that is a pretty significant bump from just aerating the effluent.
They also use an sedimentation tube, which helps to settle out sediment and separate the air from the aeration stage. They state that a slight lowering of PO4 will occur by the passing effluent having the PO4 bound to the sediment. I don't expect this to have a big effect, but any PO4 stripping is welcome.
Lastly they use a separate stage called a magnesium tube. Essentially a media compartment to hold magnesium medium separate from the calcium media. All the effluent would pass through the magnesium media. I am not sure on the reason for holding the magnesium separate, perhaps because it would melt too fast at the PH level the main reactor runs at. I will probably add this to mine as well just to experiment and see what benefit (if any) it has over just mixing the medias in the main chamber.
I expect that I may need to bleed the CO2 gas off periodically to help maintain saturation, but until I have hard data as to the PH range the CaRX runs at over time, I will not know for sure. To help with collecting the data on the PH and hopefully if saturation is maintained, I will be adding a PH probe (or 2) into the test mule reactor. With that in mind I sourced 20 x 1/2" NPT cable glands from Amazon that "should" work for allowing probes to be put inline.
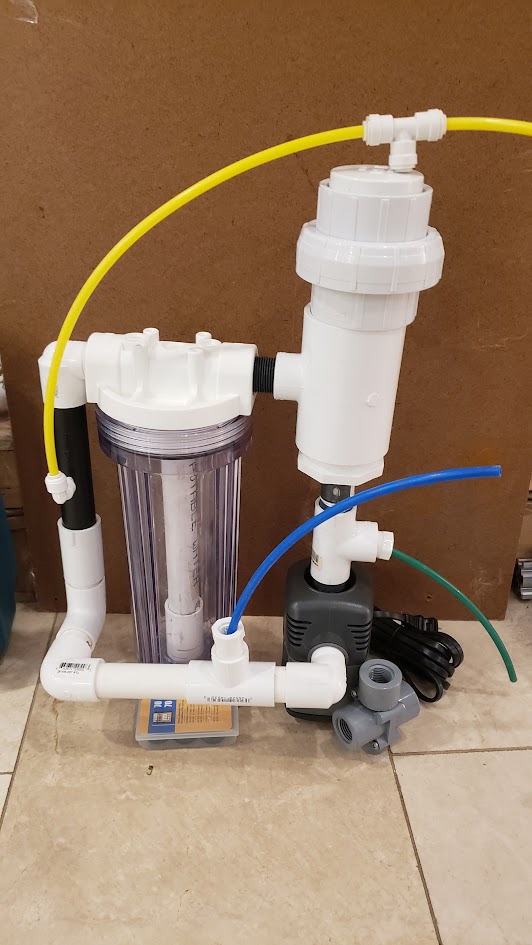
Here is an example of one of these cable glands threaded into a 1/2 ball valve.
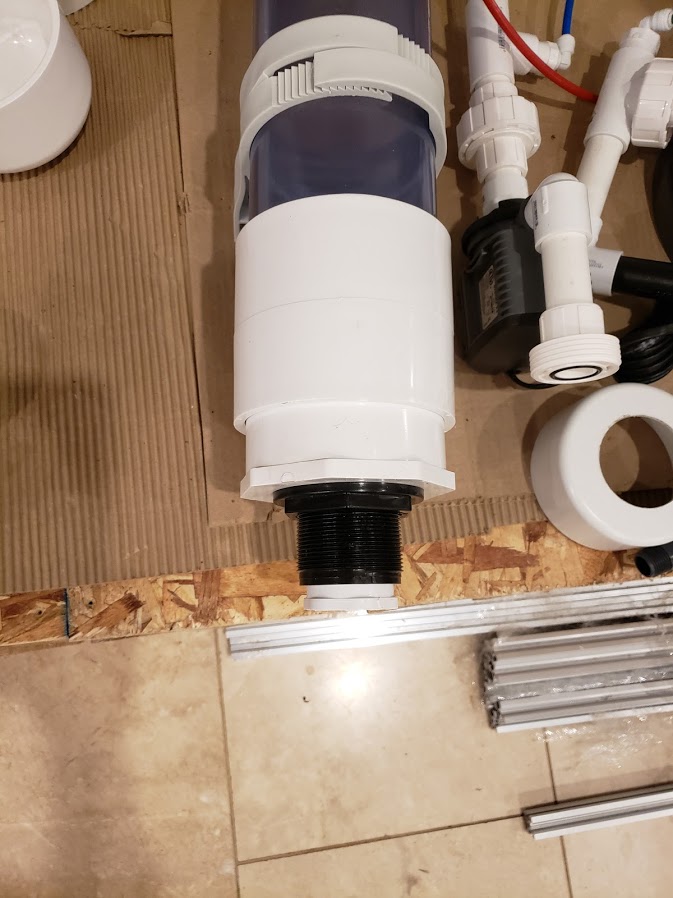
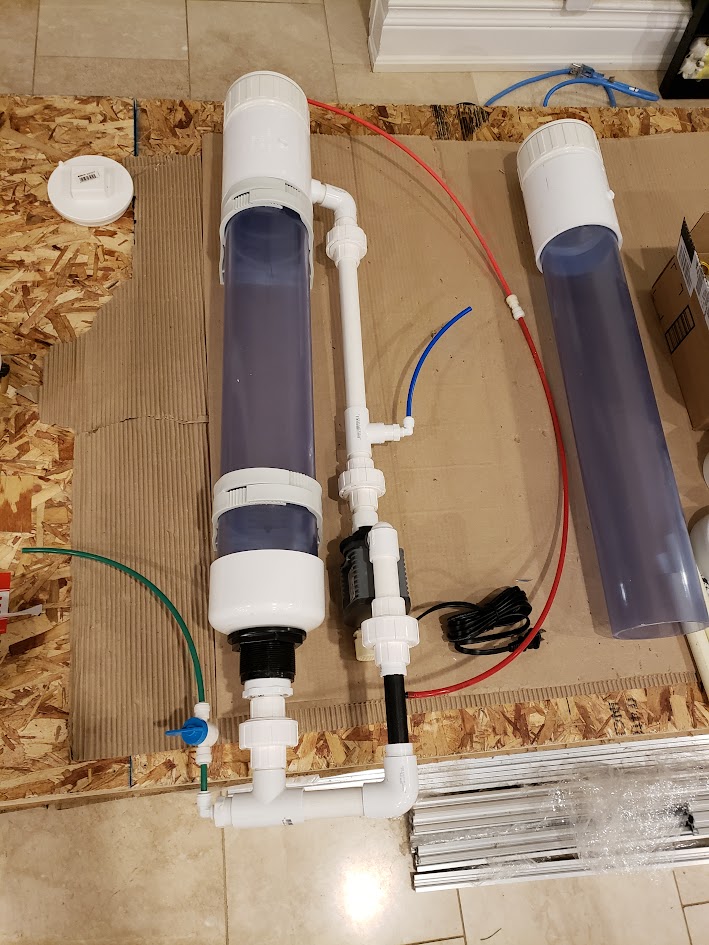
I also received the new plumbing parts to remove the curved bottom of the end caps that I had planned to use, but was worried about the o-ring's not being able to seal properly. I have moved to a spigot plug and a fitting.
Here is how it looks on the mock-up. I did not seat the spigot fully for the mock-up as I find them so hard to get apart when seated fully dry. This should work so much better than the previous curved end caps.
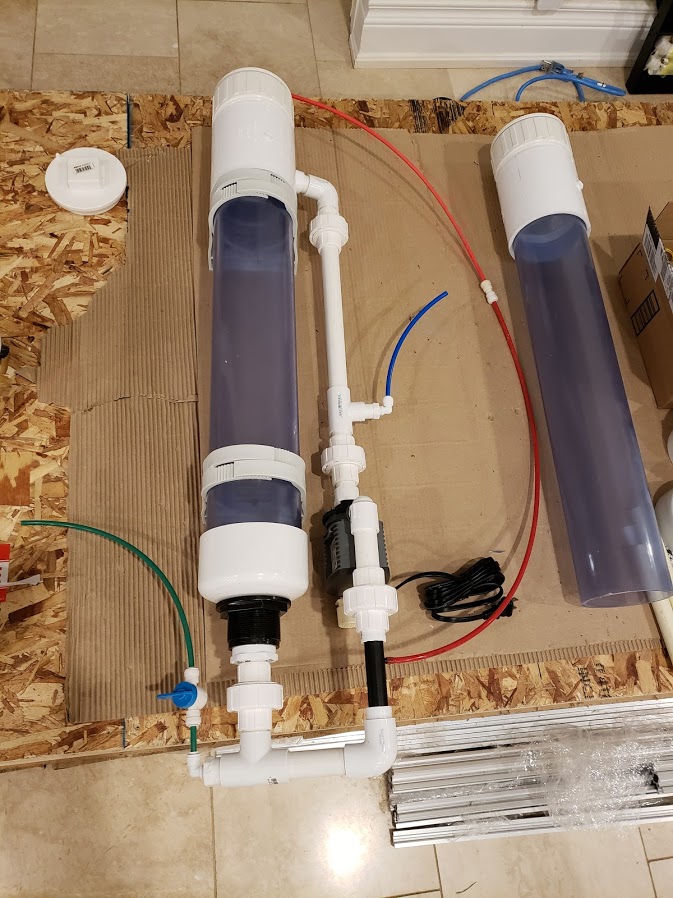
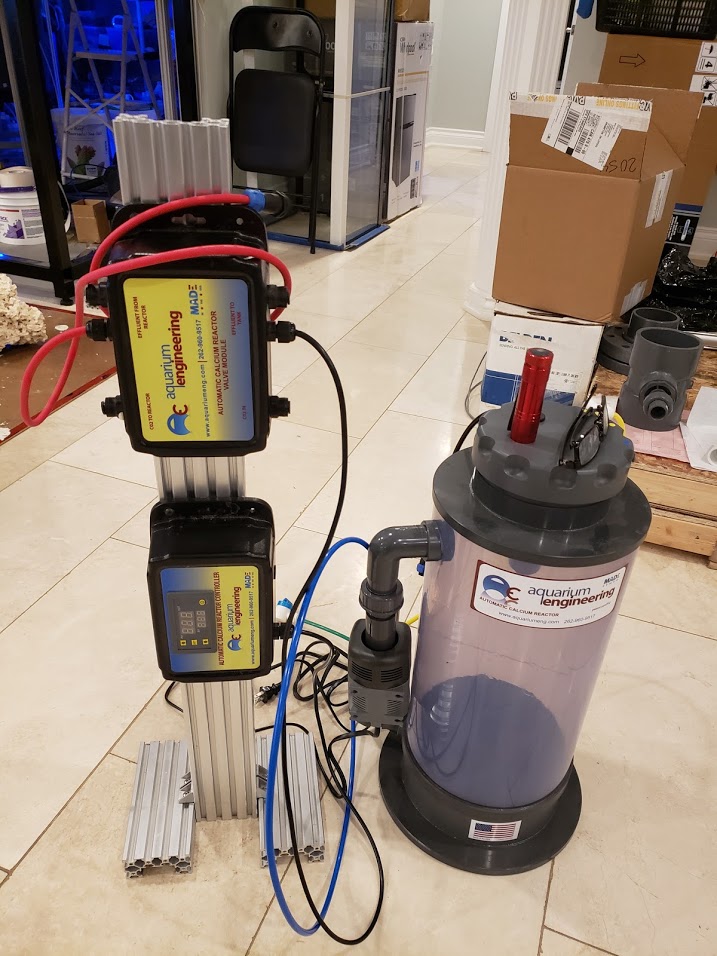
For comparison, this is how the previous version fit.
I will be away for most of February, so this project will go into standby until the end of February, early March.
Dennis


")


