redfishbluefish
Stay Positive, Stay Productive
View Badges
Super Moderator
Ultimate Member
Reef Squad
Excellence Award
Article Contributor
NJRC Member
Hospitality Award
My Tank Thread
This will be my third Ecotech bearing replacement, and second MP40. I documented the MP10 rebuild on our local club site HERE. They are very similar, with the MP40 easier since the front cover doesn’t need to be cut off.
Now this is for an old MP40, and once opened, found that it was a 2006. The reason for the rebuild was not so much the whining noise, which I could have lived with, but that the dryside was so hot I couldn’t keep my hand on it for more than a fraction of a second. HOT!
If you do a search, you’ll find multiple threads and videos on how to do this. I must give credit to dahenley on RC for what I believe is the first How-To, and which I’ve used on all by bearing changes. That post can be found here, and it's long, but definitely educates you on bearings, learning stuff you’ll never need to know again:
Noisy Vortech DrySide FIX!!
This long thread discussing other members picking the “right” or “best” bearing caused me to mull for too long over picking the bearings for my fix….ABEC number, shielding and shielding type, ceramic versus metal, etc. For me, this was the most difficult part of these past rebuilds. There just wasn’t a correlation of price, ABEC, type to the bearing being quiet. It almost appeared that the least expensive metal bearing was the “best.” With this current fix I gave minimal thought to which type and simply picked SKF brand bearing because I knew the brand from working on cars and they came with metal shields. Metal shields because some reports stated that metal shields resulted in quieter bearings.
So the bearings you need for these older MP40’s are one each of:
607 (7mm x 19mm x 6mm)
698 (8mm x 19mm x 6mm)
There will be additional letters or numbers after the above which have to do with specifics of the bearing….shielding, seals, etc….which I won’t get into. The specific SKF bearings I purchased from eBay are:
SKF 607-2Z/LHT23 for 16.75 for 2 bearings
SKF 698-ZZ for 14.50 for 2 bearings
I purchased 2 each in anticipation of yet another old MP40 that has been getting louder. So for $15.63 I’ll have two new bearings and will be good for another 16 years. Out of curiosity I did look up the price of a new dryside (granted, a QD), and that price was $241.34.
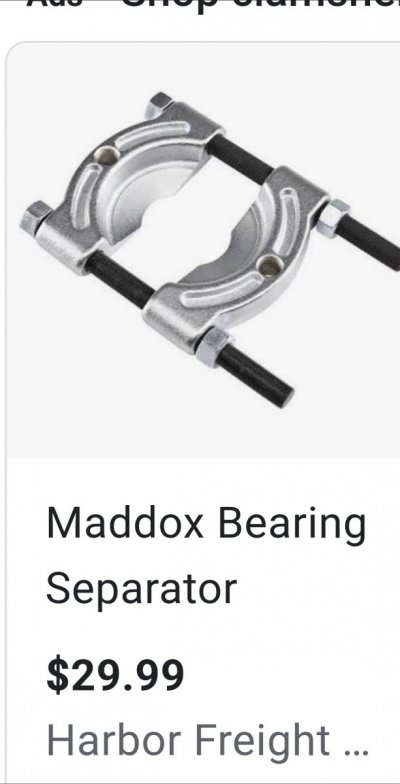
Let’s get into the meat and potatoes of this fix. I’ve done this fix using simple tools. You can go out and get the fancy mini pullers and presses, but they really aren’t necessary. Once you’ve done this once you’ll discover it’s so easy you’ll want to do it again. If you’ve got everything ready, it should only take about half an hour, or as the video I’ll link a little later, two beers. It’s taking longer to write up this DIY than the actual fix time, but I’m doing this because I’ve ordered the bearings and I’m still waiting for them to be delivered.
HERE WE GO:
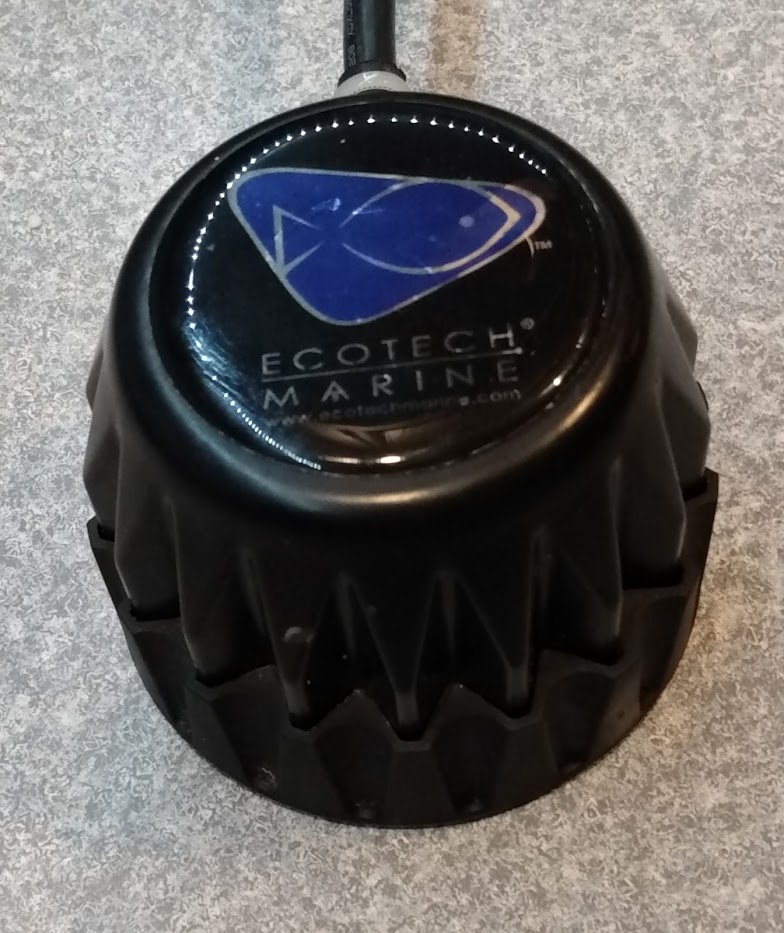
I totally removed the dryside from the controller because the wire goes through holes in my stand which would make it impossible to work on unless I did this right next to the tank. Open up the controller and push on the release on the plug and pull off.
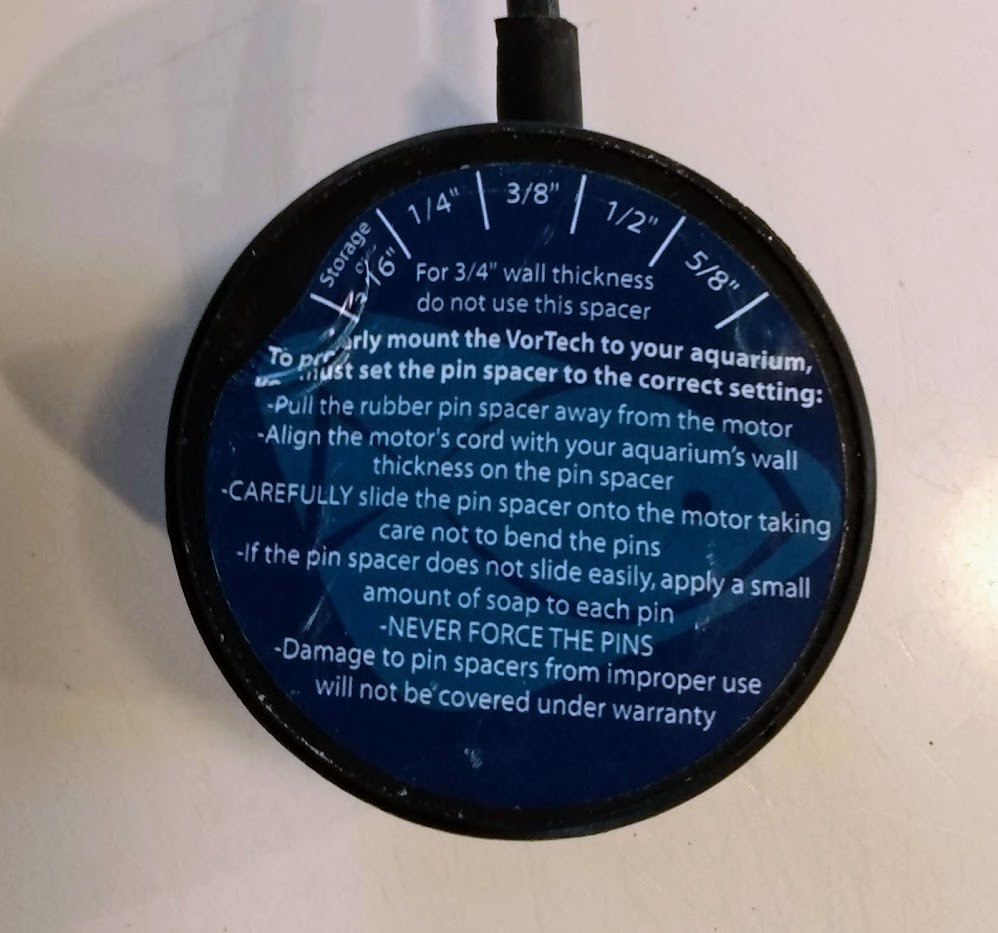
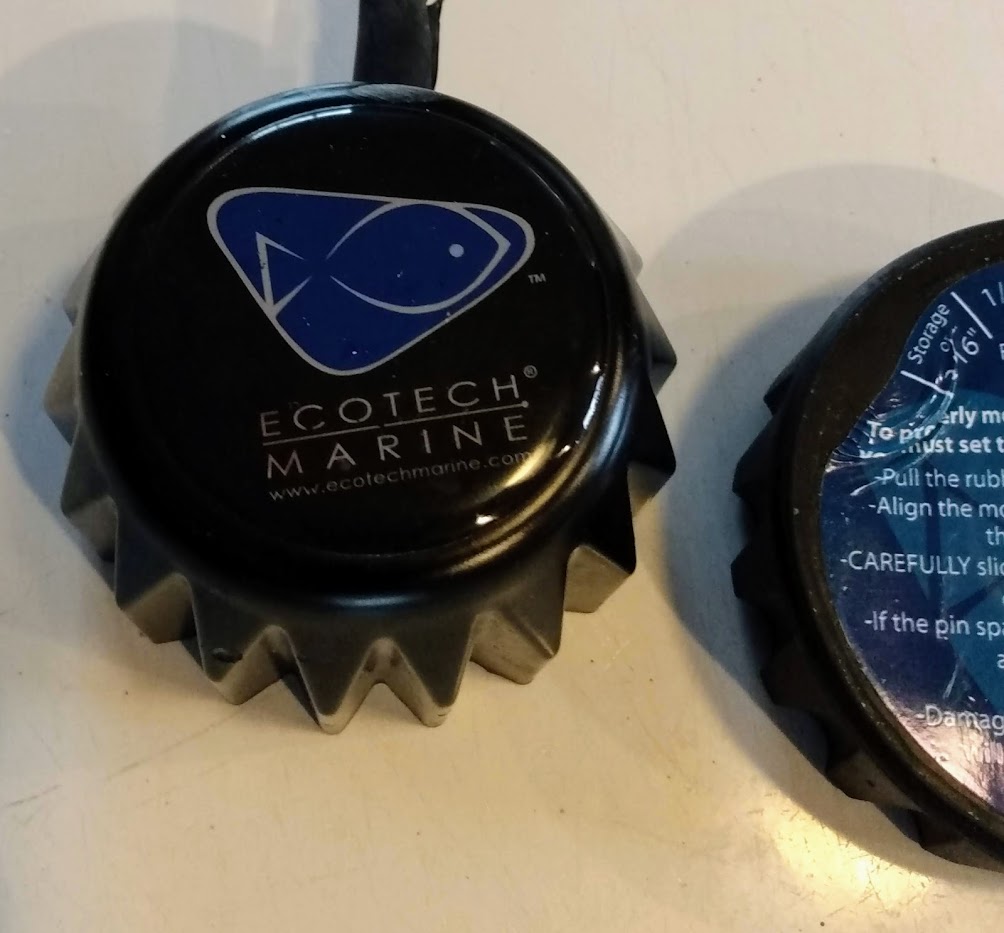
Pull off the glass-thickness spacer plate on the front (tank side) of the dryside exposing the magnet.
Using a stiff knife, pry off the sticker/cover on the back side, exposing three small phillips head screws and the slotted end of the armature.
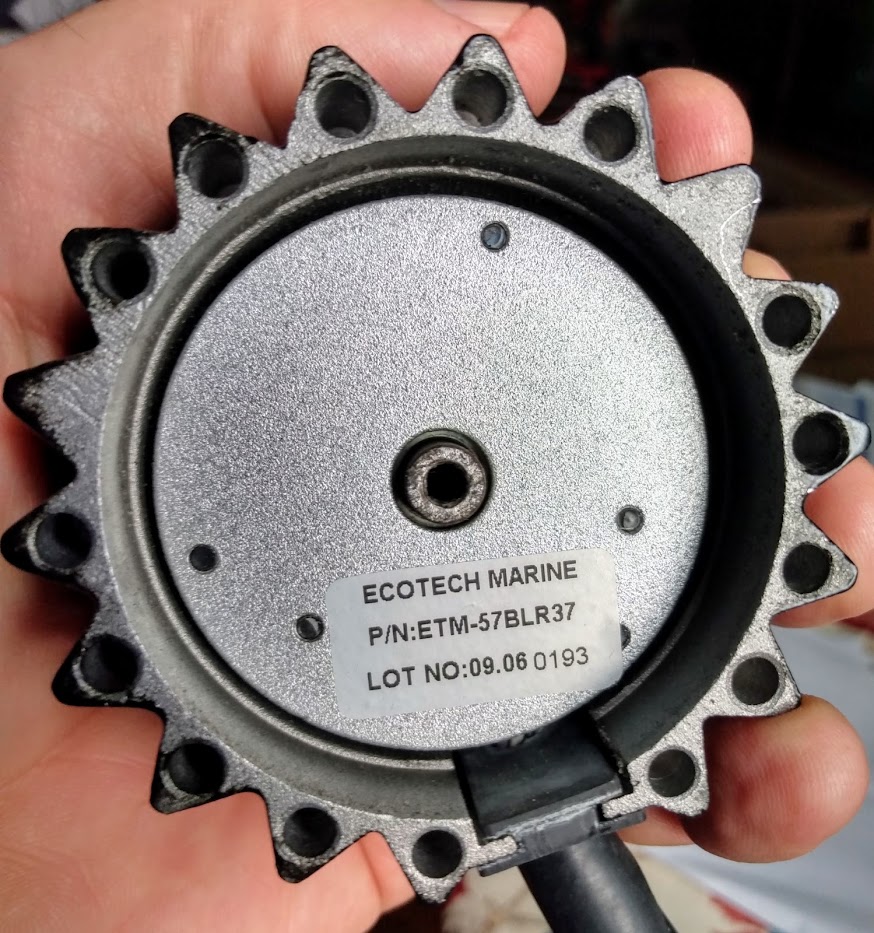
Using a phillips head screwdriver on the magnet side and a flathead screwdriver on slotted armature, unscrew the magnet from the dryside. Immediately put this away from your workspace because it’s so strong it will attract any and all metal things that are close. You also need to make sure you don’t break this magnet….no replacements available…so handle with care. You’ve now exposed the motor assembly which will include a label that has the date of your Vortech.
On the back side of the housing, remove the three phillips head screws using a small screwdriver. A little squirt of WD40 might help in getting these screws out. Now remove the motor assembly from the housing.

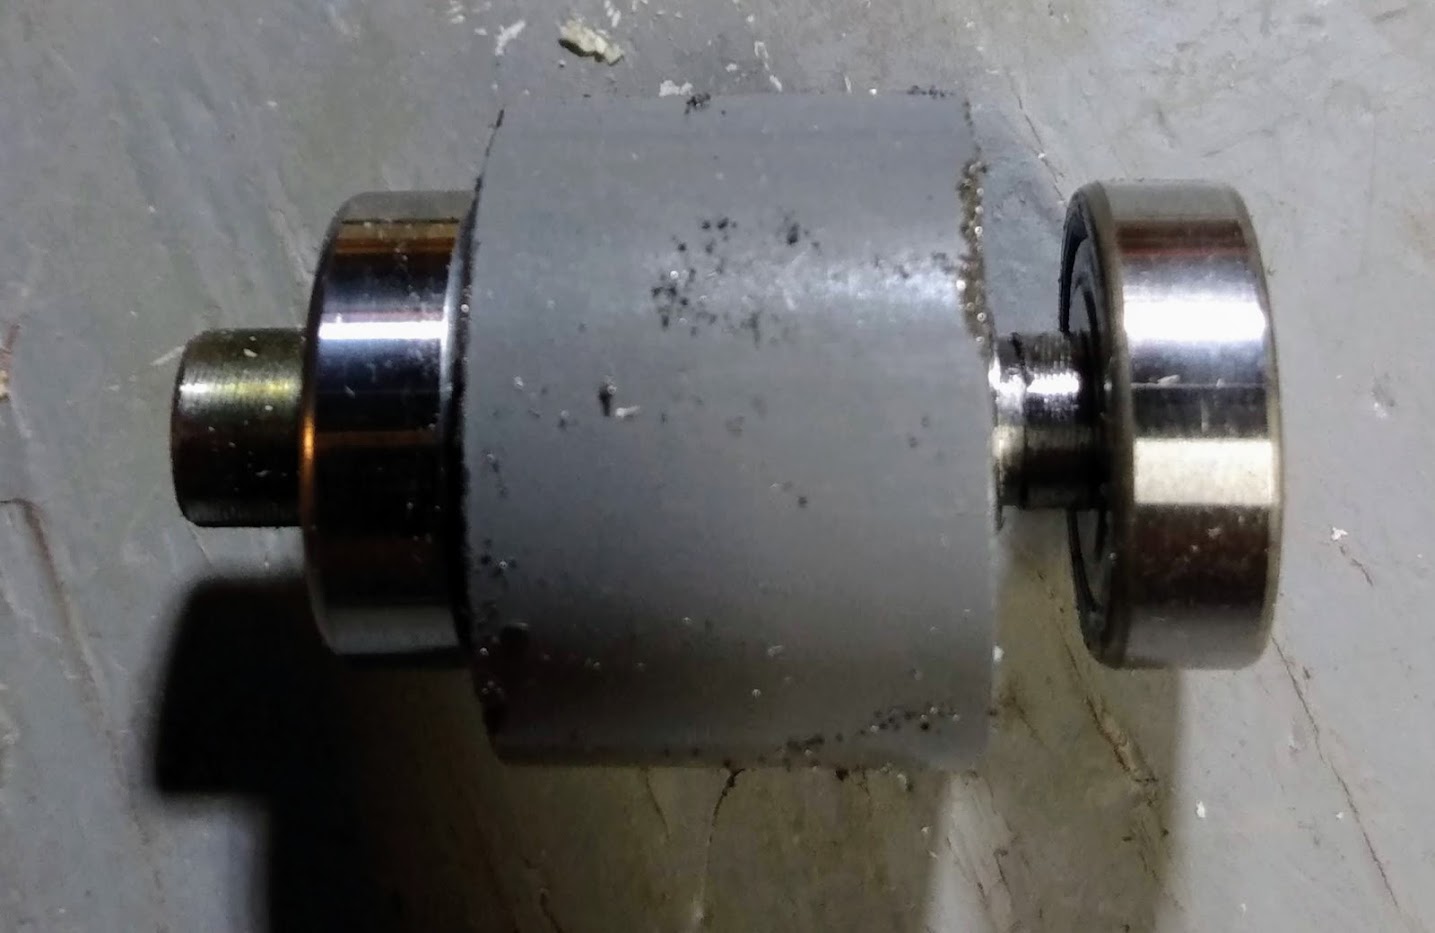
Again, three screws will be visible on the outer edge of the back side of the motor assembly. Remove these screws but be ready to take note of number and location of wavy spacer washers on either end of the armature. Since I have to wait for the bearing to arrive, and wanting to keep all parts organized, I cut a short piece (1 ¼”) of ¾ dowel to replace the armature and hold these washers in place. So careful pull out the armature from the stator.

Here’s the ¾ dowel in the stator ready to be put back together to temporarily hold the washers in place....so I don't lose them.

REMOVING THE BEARING FROM THE ARMATURE
If you look at any of the other threads on bearing removal, some talk about using a building square to slide in between the bearing and armature and tap off the bearing. I’ve scratched my head on this and for the life of me can’t figure out what they are talking about. My building square is about ⅛” thick and the space between the bearing and armature is so tight I had enough of a problem getting my small screwdriver blade in there, let alone a fat building square.
Anyway, the way I removed the bearing was a variation of the method shown in this video:
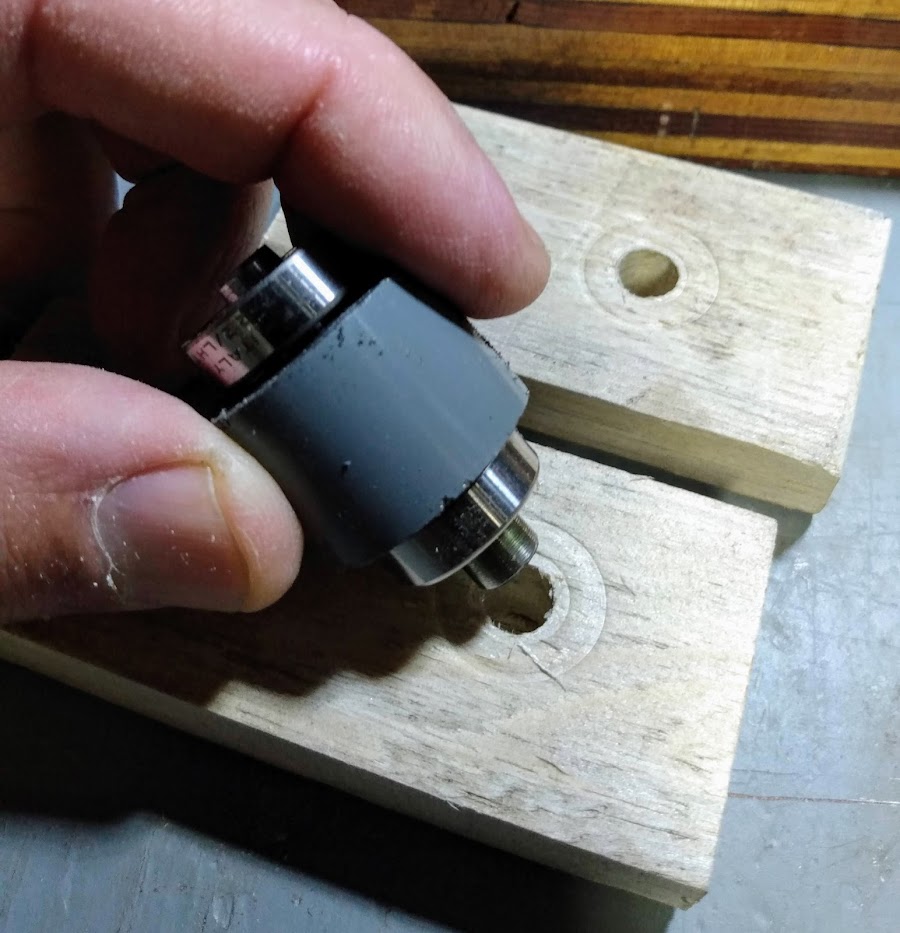
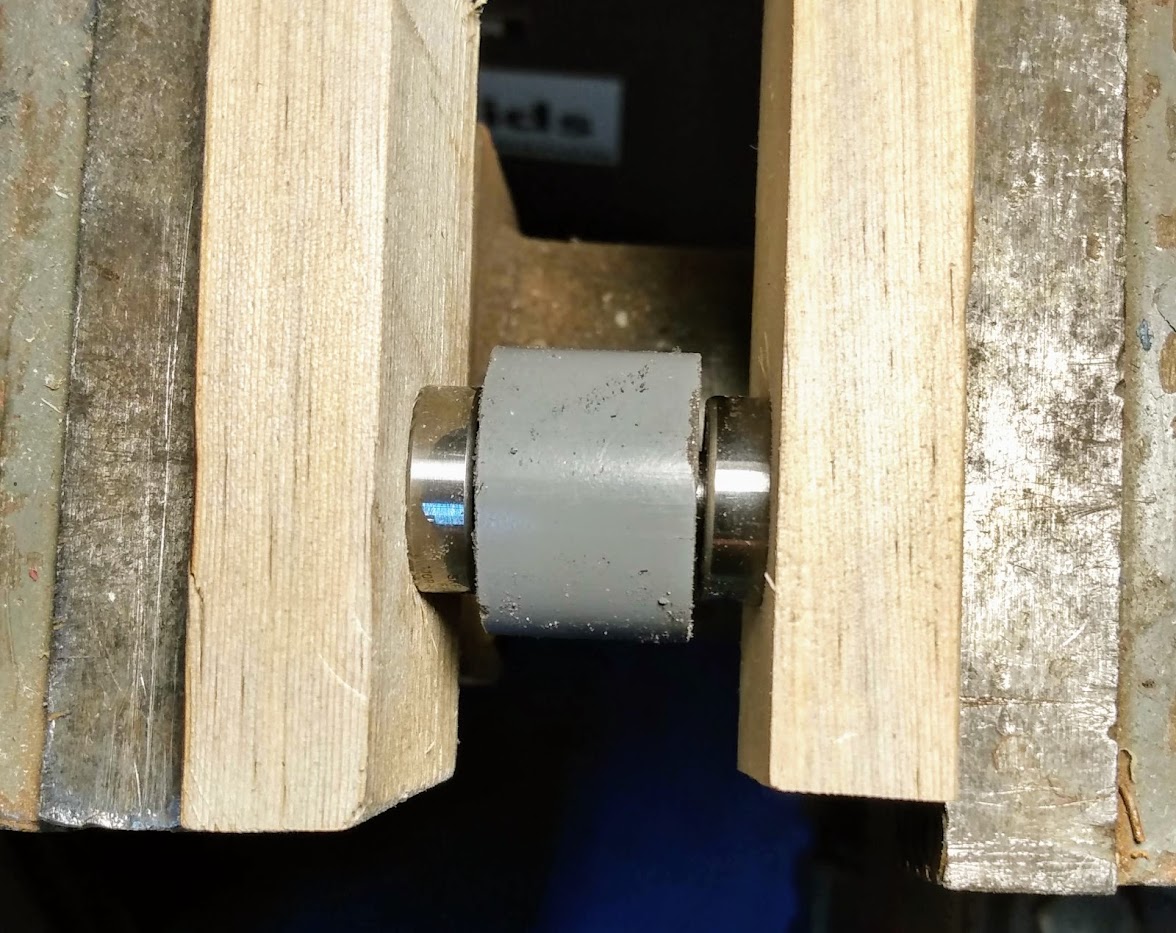
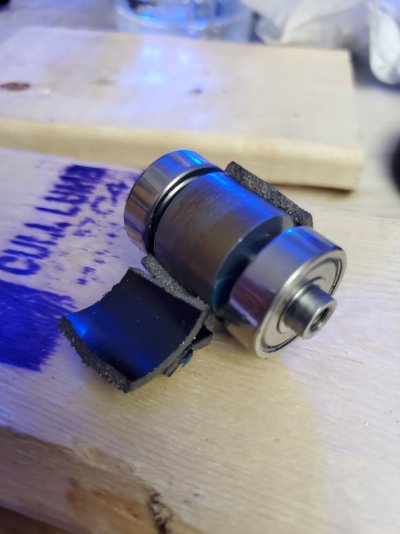
In this video they used a long socket to fit the armature, slightly larger than an inch, and two screwdrivers to wedge under the bearing. This required two people....one to hold the screwdrivers and one to tap the armature shaft. The large socket holds the screwdrivers while you tap on the armature shaft to remove the bearings. The variation I did was to use a 1” piece of PVC pipe that was slightly enlarged using a power rasp. You can see the power rasp in the drill press in the picture below. This snuggly held the armature and I could now do the bearing removal without any outside assistance.
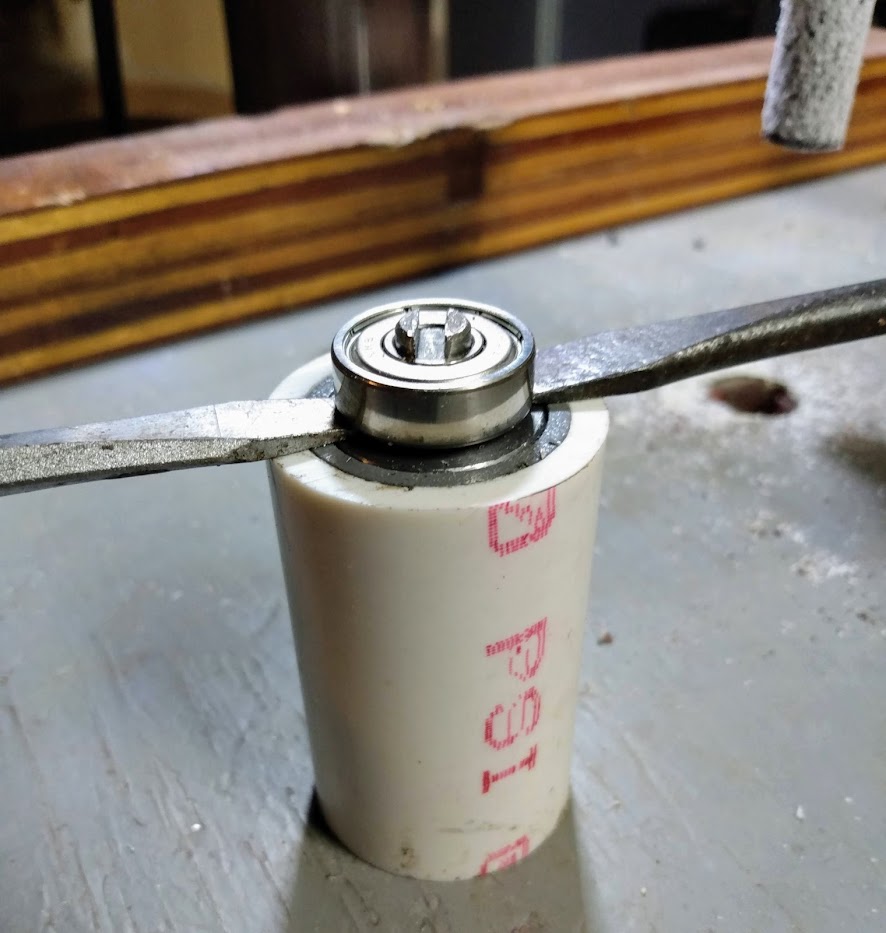
I started with small screwdrivers because they would fit in the small gap between the bearing and armature body. Lightly tap on the shaft to start to remove the bearings. Once the gap increased, I changed to larger screwdrivers. Repeat on the other side of the armature to remove the other bearing.
I’ll continue this fix once the new bearings arrive.
Now this is for an old MP40, and once opened, found that it was a 2006. The reason for the rebuild was not so much the whining noise, which I could have lived with, but that the dryside was so hot I couldn’t keep my hand on it for more than a fraction of a second. HOT!
If you do a search, you’ll find multiple threads and videos on how to do this. I must give credit to dahenley on RC for what I believe is the first How-To, and which I’ve used on all by bearing changes. That post can be found here, and it's long, but definitely educates you on bearings, learning stuff you’ll never need to know again:
Noisy Vortech DrySide FIX!!
This long thread discussing other members picking the “right” or “best” bearing caused me to mull for too long over picking the bearings for my fix….ABEC number, shielding and shielding type, ceramic versus metal, etc. For me, this was the most difficult part of these past rebuilds. There just wasn’t a correlation of price, ABEC, type to the bearing being quiet. It almost appeared that the least expensive metal bearing was the “best.” With this current fix I gave minimal thought to which type and simply picked SKF brand bearing because I knew the brand from working on cars and they came with metal shields. Metal shields because some reports stated that metal shields resulted in quieter bearings.
So the bearings you need for these older MP40’s are one each of:
607 (7mm x 19mm x 6mm)
698 (8mm x 19mm x 6mm)
There will be additional letters or numbers after the above which have to do with specifics of the bearing….shielding, seals, etc….which I won’t get into. The specific SKF bearings I purchased from eBay are:
SKF 607-2Z/LHT23 for 16.75 for 2 bearings
SKF 698-ZZ for 14.50 for 2 bearings
I purchased 2 each in anticipation of yet another old MP40 that has been getting louder. So for $15.63 I’ll have two new bearings and will be good for another 16 years. Out of curiosity I did look up the price of a new dryside (granted, a QD), and that price was $241.34.
Let’s get into the meat and potatoes of this fix. I’ve done this fix using simple tools. You can go out and get the fancy mini pullers and presses, but they really aren’t necessary. Once you’ve done this once you’ll discover it’s so easy you’ll want to do it again. If you’ve got everything ready, it should only take about half an hour, or as the video I’ll link a little later, two beers. It’s taking longer to write up this DIY than the actual fix time, but I’m doing this because I’ve ordered the bearings and I’m still waiting for them to be delivered.
HERE WE GO:
I totally removed the dryside from the controller because the wire goes through holes in my stand which would make it impossible to work on unless I did this right next to the tank. Open up the controller and push on the release on the plug and pull off.
Pull off the glass-thickness spacer plate on the front (tank side) of the dryside exposing the magnet.
Using a stiff knife, pry off the sticker/cover on the back side, exposing three small phillips head screws and the slotted end of the armature.
Using a phillips head screwdriver on the magnet side and a flathead screwdriver on slotted armature, unscrew the magnet from the dryside. Immediately put this away from your workspace because it’s so strong it will attract any and all metal things that are close. You also need to make sure you don’t break this magnet….no replacements available…so handle with care. You’ve now exposed the motor assembly which will include a label that has the date of your Vortech.
On the back side of the housing, remove the three phillips head screws using a small screwdriver. A little squirt of WD40 might help in getting these screws out. Now remove the motor assembly from the housing.
Again, three screws will be visible on the outer edge of the back side of the motor assembly. Remove these screws but be ready to take note of number and location of wavy spacer washers on either end of the armature. Since I have to wait for the bearing to arrive, and wanting to keep all parts organized, I cut a short piece (1 ¼”) of ¾ dowel to replace the armature and hold these washers in place. So careful pull out the armature from the stator.
Here’s the ¾ dowel in the stator ready to be put back together to temporarily hold the washers in place....so I don't lose them.
REMOVING THE BEARING FROM THE ARMATURE
If you look at any of the other threads on bearing removal, some talk about using a building square to slide in between the bearing and armature and tap off the bearing. I’ve scratched my head on this and for the life of me can’t figure out what they are talking about. My building square is about ⅛” thick and the space between the bearing and armature is so tight I had enough of a problem getting my small screwdriver blade in there, let alone a fat building square.
Anyway, the way I removed the bearing was a variation of the method shown in this video:
In this video they used a long socket to fit the armature, slightly larger than an inch, and two screwdrivers to wedge under the bearing. This required two people....one to hold the screwdrivers and one to tap the armature shaft. The large socket holds the screwdrivers while you tap on the armature shaft to remove the bearings. The variation I did was to use a 1” piece of PVC pipe that was slightly enlarged using a power rasp. You can see the power rasp in the drill press in the picture below. This snuggly held the armature and I could now do the bearing removal without any outside assistance.
I started with small screwdrivers because they would fit in the small gap between the bearing and armature body. Lightly tap on the shaft to start to remove the bearings. Once the gap increased, I changed to larger screwdrivers. Repeat on the other side of the armature to remove the other bearing.
I’ll continue this fix once the new bearings arrive.
Last edited: