OP
OP
In March my favorite caulerpa went sexual. :(
This is the last picture of it. (And the candy cane)

New Fish
I ordered the following in March:
2x - Green Clown Goby
1x - Hi Fin Goby
2x - Redhead Goby
2x Orangetail Damselfish (1M, 1F)
I lost 1 clown goby and the hi fin shortly after receiving them. I'm claiming it was the shipping stress. I finished copper treatment 5/11. Then took a break and didn't start prazi and metro for a while. The remaining fish all completed treatment on 11/22. Just today (12/5) I noticed the male orangetail was missing. :(
Redid the QT plumbing
At some point, I finally redid the QT plumbing. I had also become more and more worried about the amount of weight hanging off of the back of a 20L. I had all of the plumbing and the external box fully supported by the aquarium glass. To fix this I mounted the plumbing to the stand using an isolating mount. I ended up using a paste to seal threaded fittings into the bulkheads. This ended up absorbing copper and leaking.

This is a picture from October before I re-redid the plumbing to fix the leaking. I can't be trusted with .75" threaded fittings and bulkheads.
Reredid the Plumbing
While shopping around I found slip x barb fittings on BRS. This inspired yet another redo of the QT plumbing. I still wanted the return plumbing to be fully modular. This was very difficult to do with a 90 degree turn right before the return bulkhead. I was able to get around this problem by using a reducer from .75" to .5" plumbing. I was able to get the bulkhead ring to slip around the fitting by sanding down parts of a street elbow and the reducer. This allows the bulkhead to be removed if needed.

You can see the return bulkhead on the left. It wasn't pretty, but it worked.
Rereredid the Plumbing
I was constantly tormented by the idea of improving the return bulkhead. I was confident I could get the street elbow inserted farther into the reducer and make the reducer smaller. I purchased new fittings and went to work. Using a dremel I cut the collar off of a reducer, saving 1/4" length. I also ended up cutting the ring down to make it easier to slip around the elbow.
Before:

After:


The keen eyed among you may spot a problem with the photo above. Don't worry I fixed it.


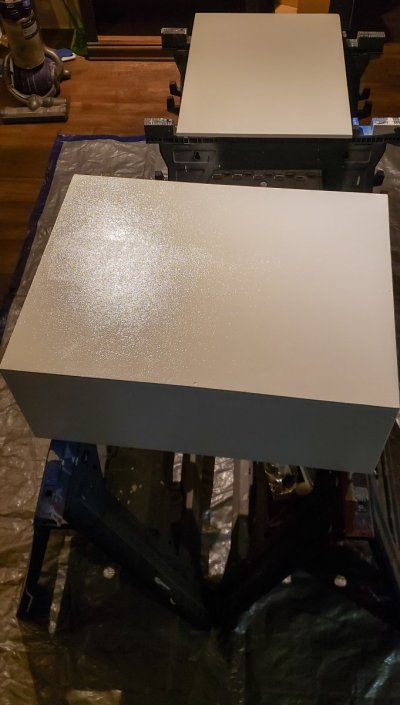
This is how the plumbing sits today. I used a foam insulation to keep algae from growing in the pipes and covered the external box to keep light out.
Still to be continued...
This is the last picture of it. (And the candy cane)
New Fish
I ordered the following in March:
2x - Green Clown Goby
1x - Hi Fin Goby
2x - Redhead Goby
2x Orangetail Damselfish (1M, 1F)
I lost 1 clown goby and the hi fin shortly after receiving them. I'm claiming it was the shipping stress. I finished copper treatment 5/11. Then took a break and didn't start prazi and metro for a while. The remaining fish all completed treatment on 11/22. Just today (12/5) I noticed the male orangetail was missing. :(
Redid the QT plumbing
At some point, I finally redid the QT plumbing. I had also become more and more worried about the amount of weight hanging off of the back of a 20L. I had all of the plumbing and the external box fully supported by the aquarium glass. To fix this I mounted the plumbing to the stand using an isolating mount. I ended up using a paste to seal threaded fittings into the bulkheads. This ended up absorbing copper and leaking.
This is a picture from October before I re-redid the plumbing to fix the leaking. I can't be trusted with .75" threaded fittings and bulkheads.
Reredid the Plumbing
While shopping around I found slip x barb fittings on BRS. This inspired yet another redo of the QT plumbing. I still wanted the return plumbing to be fully modular. This was very difficult to do with a 90 degree turn right before the return bulkhead. I was able to get around this problem by using a reducer from .75" to .5" plumbing. I was able to get the bulkhead ring to slip around the fitting by sanding down parts of a street elbow and the reducer. This allows the bulkhead to be removed if needed.
You can see the return bulkhead on the left. It wasn't pretty, but it worked.
Rereredid the Plumbing
I was constantly tormented by the idea of improving the return bulkhead. I was confident I could get the street elbow inserted farther into the reducer and make the reducer smaller. I purchased new fittings and went to work. Using a dremel I cut the collar off of a reducer, saving 1/4" length. I also ended up cutting the ring down to make it easier to slip around the elbow.
Before:
After:
The keen eyed among you may spot a problem with the photo above. Don't worry I fixed it.
This is how the plumbing sits today. I used a foam insulation to keep algae from growing in the pipes and covered the external box to keep light out.
Still to be continued...
Last edited: