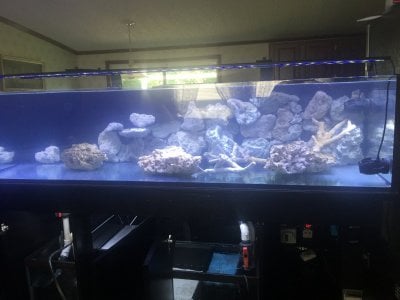
Huge score? Anyone familiar with Innovation Marine aquariums?

OP
OP
ThePlummer

ThePlummer

Active Member
View Badges
Joined
Feb 6, 2020
Messages
292
Reaction score
160
Rating - 0%
0   0   0
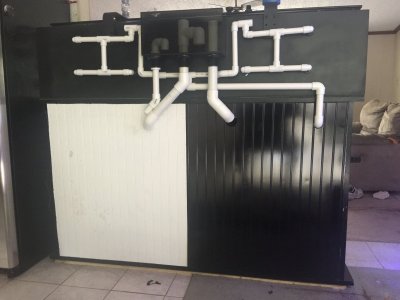
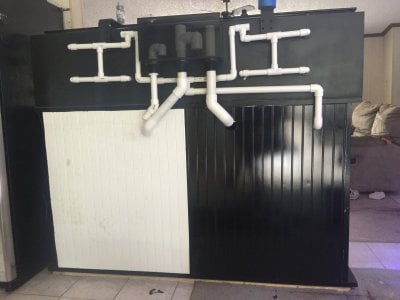
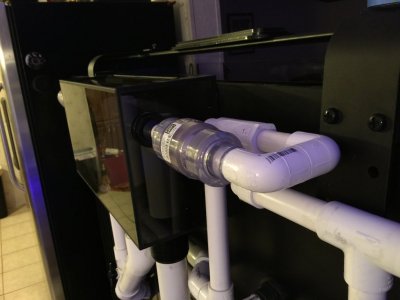
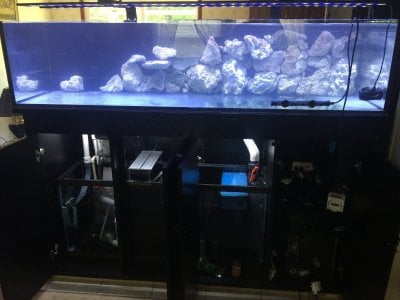
I’ve got the plumbing as far as I can take it, till I cut some beadboard paneling (painted black) to cover the nasty back of this stand.

Some of the plumbing is just dry fitted so I can remove it to get the paneling on.

I’m done for the night, except for maybe hooking up the vacuum breakers.

(Edit): Just figured out I can't do the breakers, the supply house was out of 3/4 X 1/2 bushings... I guess I'll just have a whiskey and call it good.
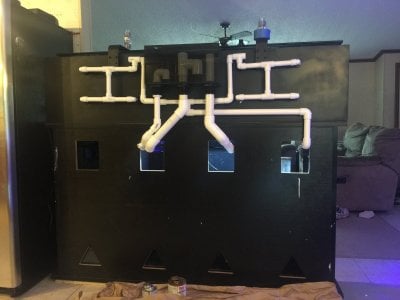
image.jpg
 

tippin.turtle

Active Member
View Badges
Joined
Nov 8, 2019
Messages
220
Reaction score
381
Rating - 0%
0   0   0
I have the SR80 for sale on craigslist right now because the Mrs. says I have to many tanks ;Shifty. You are executing the very plan I had in mind should I not sale it. How clean was the side and rear panels after
they were removed? Can you tell it was a AIO?
 
OP
OP
ThePlummer

ThePlummer

Active Member
View Badges
Joined
Feb 6, 2020
Messages
292
Reaction score
160
Rating - 0%
0   0   0
I have the SR80 for sale on craigslist right now because the Mrs. says I have to many tanks ;Shifty. You are executing the very plan I had in mind should I not sale it. How clean was the side and rear panels after
they were removed? Can you tell it was a AIO?
For the most part, it cleaned up pretty well, I did have to use some Net X glass polish and quite a bit of elbow grease. Although you can see a light hint of the previous silicone when it's empty.... When I water tested it the first time, they were much harder to see.

Removing the AIO was a a bit tricky... You just have to be patient and go slow with it. Pulling back and forth and the silicone eventually lets go.
 

tippin.turtle

Active Member
View Badges
Joined
Nov 8, 2019
Messages
220
Reaction score
381
Rating - 0%
0   0   0
For the most part, it cleaned up pretty well, I did have to use some Net X glass polish and quite a bit of elbow grease. Although you can see a light hint of the previous silicone when it's empty.... When I water tested it the first time, they were much harder to see.

Removing the AIO was a a bit tricky... You just have to be patient and go slow with it. Pulling back and forth and the silicone eventually lets go.
Good to know and thanks for sharing!
 
OP
OP
ThePlummer

ThePlummer

Active Member
View Badges
Joined
Feb 6, 2020
Messages
292
Reaction score
160
Rating - 0%
0   0   0
Working? How’s it look? I’ve got some neat ideas for trimming this out. But not right now, just focused on getting the absolutely necessary things to get this up and running.

image.jpg image.jpg

Hmm, my phone is going nuts... just random opening apps, typing random letters.... I guess it's about to die. Now it's double posting pics... Oh, well.... What else is new...
 
OP
OP
ThePlummer

ThePlummer

Active Member
View Badges
Joined
Feb 6, 2020
Messages
292
Reaction score
160
Rating - 0%
0   0   0
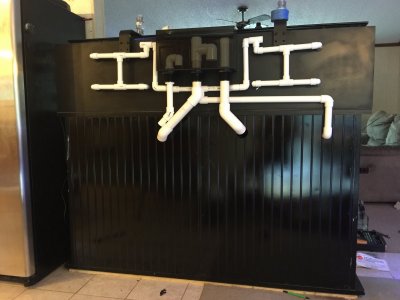
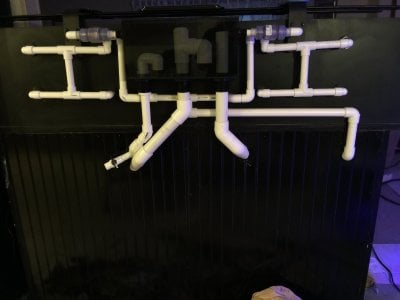
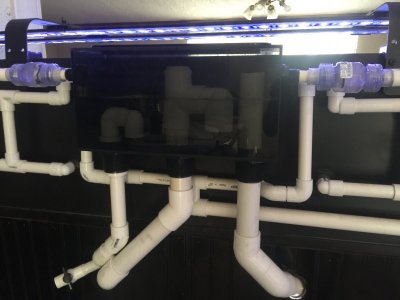
Progress! Back paneling attached. Now to locate and drill the holes to complete the plumbing.

This actually is very tricky as none of the drain pipes penetrate the cabinet perpendicular to the cabinet back.

I’ve learned a little ancient Chinese secret here. Before you drill a hole with a hole saw, cut a short piece of pipe on a 45 degree angle. Put the pipe in the last fitting before the penetration and draw around the pipe. Once you get the pilot hole to stick in the wood, angle the drill to the same angle as the pipe. You will be drilling an elliptical and the hole saw will start on the close side first.

At very steep angles, you may have to stop halfway through and cut the slug in half, so it doesn’t bottom out in the hole saw, preventing you from drilling all the way through.

Doing this l, you will drill a hole that is perfectly sized/shaped to the pipe entering through the panel.

I’ll trim this out later.

BTW, might have to slow down on this project. My local LFS store just tweeted that they have a quantity of REAL TONGA branch rock available for sale. We’ve been wanting that but it’s not available in the market and when it comes available it’s very expensive. Priorities!!!

So the budget for the tank may get hurt a bit. We will see.

image.jpg
 
OP
OP
ThePlummer

ThePlummer

Active Member
View Badges
Joined
Feb 6, 2020
Messages
292
Reaction score
160
Rating - 0%
0   0   0
Spent all night filling the aquarium with RODI water.... Because I don't have the well pressure tank set up yet....Woke up this morning to a tiny 'weeping' leak in the bottom of the aquarium.... It's totally my fault, as I suspected that being a problem area, but neglected to take measures to ensure it being leak free.

Ohh well, I've drained the tank and re siliconed the problem area, and just waiting for it to set up... and begin the process all over again.
 
OP
OP
ThePlummer

ThePlummer

Active Member
View Badges
Joined
Feb 6, 2020
Messages
292
Reaction score
160
Rating - 0%
0   0   0
It’s alive!!!

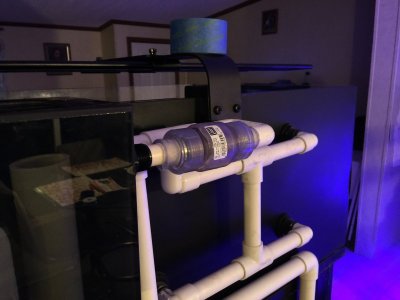
No leaks either. Still have to tweak things and add a check valve, gate valve and another ball valve.

One thing I do notice... Not much pressure at the return nozzles. I knew I'd have to do some flow restrictors but not as much as I thought.

image.jpg image.jpg
 
OP
OP
ThePlummer

ThePlummer

Active Member
View Badges
Joined
Feb 6, 2020
Messages
292
Reaction score
160
Rating - 0%
0   0   0
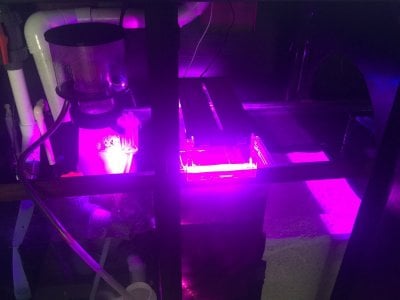
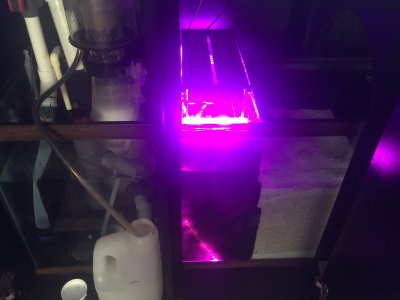
Refugium lights installed. Have quite a bit of light spill into the RDSB and the skimmer section.

I took the plexiglass that I took out of the AIO on the original tank and cut up a few pieces to make some shades.

Still have a bit of light spill so a couple more pieces fixed that right up.

image.jpg image.jpg

Waiting for just a few more parts to complete this project. Need new heaters, and complete the Automatic Water Change tank.

Turns out, with the Orbit Marine 3100gph pump, I wish I had increased the full siphon on the overflow to 1 1/4". As it turns out, with the gate valve wide open, it still can't keep up, with a little bit overflowing into the partial drain. Actually, that's probably just right now that I think about it... Happy accident after all.
 
OP
OP
ThePlummer

ThePlummer

Active Member
View Badges
Joined
Feb 6, 2020
Messages
292
Reaction score
160
Rating - 0%
0   0   0
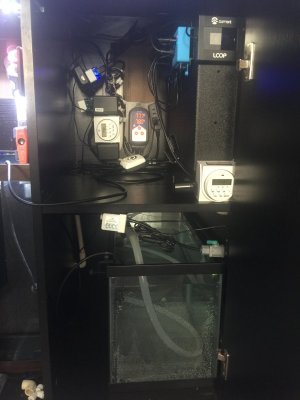
How does the wiring look?
Found these neat little cord from Here me Depot.

image.jpg
1595974041874.png


These things are great! Ever wonder how to be able to use all your outlets on a power strip, when you're using lots of DC transformer plugs? It's aggravating that the transformer is so large it covers the two closest outlets. Well, this little guy is less than $3.00 and not only does it get the transformer out of the way of the other outlets, it has another plug on the back of the prong side, so you don't lose a plug in the first place.
1595974231245.png
 
Last edited:
OP
OP
ThePlummer

ThePlummer

Active Member
View Badges
Joined
Feb 6, 2020
Messages
292
Reaction score
160
Rating - 0%
0   0   0
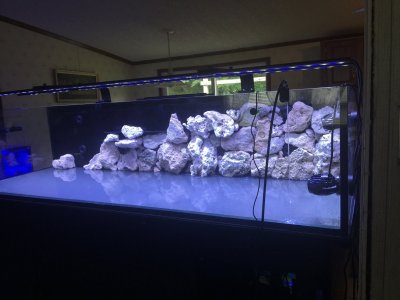
I've got 3 pieces of Tonga Rock to install, but have no idea how to make them stand up.

What do you guys use? Is there any special techniques?
 
OP
OP
ThePlummer

ThePlummer

Active Member
View Badges
Joined
Feb 6, 2020
Messages
292
Reaction score
160
Rating - 0%
0   0   0
I have no idea what to do with the Tonga. I do have one more piece of rock, cycled, about 1/2 the size of the one on the right, and one small piece that I was going to put all the way to the left, leaving a open space from top to bottom, just to the right of the two left returns.

My thought is, that If we have a fish that's in need of a time out, I'd make a screen that would fit vertically and keep it in the end by itself, with a mirror taped to the side of the tank, to give it an attitude adjustment. So, I wanted to just have one small rock out in the middle, somewhere close to the rock all the way on the left side of the back rock scape.

I thought about buying some artificial pieces and make a couple of arches to join the big rocks together, just haven't seen it in my head yet. Any ideas would be welcome.

BTW, waiting for two 3/4 eductors and 4 line loc fan discharge nozzles, as with 6 returns plumbed into this thing, there really isn't much turbulence going on. The two eductors should raise the pressure by about 30%, and I'm sure the fans will raise the pressure some too. That should give quite a bit of motion in the tank.

Ohh, almost forgot... I've got 4 20lb bags of Hawaiian black lava aragonite on it's way. Found a Petco deal online only $18.00 per bag. I plan on mixing that with one bag of crushed coral, and get some coraline algae going. We want the coral to turn pink, mixed with the black....

IDK, it's a woman thing. But it'll probably look cool.
 
OP
OP
ThePlummer

ThePlummer

Active Member
View Badges
Joined
Feb 6, 2020
Messages
292
Reaction score
160
Rating - 0%
0   0   0

samnaz

Earthling
View Badges
Joined
Dec 30, 2016
Messages
3,564
Reaction score
6,879
Location
Humble.fish
Rating - 0%
0   0   0
Refugium lights installed. Have quite a bit of light spill into the RDSB and the skimmer section.

I took the plexiglass that I took out of the AIO on the original tank and cut up a few pieces to make some shades.

Still have a bit of light spill so a couple more pieces fixed that right up.

image.jpg image.jpg

Waiting for just a few more parts to complete this project. Need new heaters, and complete the Automatic Water Change tank.

Turns out, with the Orbit Marine 3100gph pump, I wish I had increased the full siphon on the overflow to 1 1/4". As it turns out, with the gate valve wide open, it still can't keep up, with a little bit overflowing into the partial drain. Actually, that's probably just right now that I think about it... Happy accident after all.
How did you attach the plexi to the refugium light?
 
OP
OP
ThePlummer

ThePlummer

Active Member
View Badges
Joined
Feb 6, 2020
Messages
292
Reaction score
160
Rating - 0%
0   0   0
How did you attach the plexi to the refugium light?
I didn't attach it to the light. I guess I should have explained what I did there.

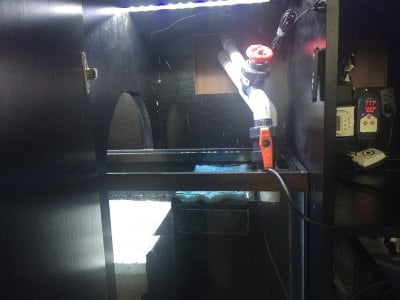
I cut two pieces of Plexiglas and siliconed them inside the tank, slightly above the water line to the underside of the top brace, one of which happened to land directly under the center brace of the 55.

Then I cut another piece large enough to cover the arch that I cut earlier, to install the 55 in the cabinet, and I cut two notches in the Plexiglas to snugly slip over the upper lips of the top brace to hold it vertically. Then the other piece that's at an angle, is just cut to fit between the upper lip, along the center brace and laid it over to rest on the light.

I did this, so I can remove the pieces, because that would be the only way I could get the skimmer out for service, and get into the fuge.

I've been thinking about going ahead and completing a front and back cover, as well as over the light and epoxy them together, but I'm afraid the heat generated from the light, might not be able to get out and damage the light.
 

Bubbles, bubbles, and more bubbles: Do you keep bubble-like corals in your reef?

  • I currently have bubble-like corals in my reef.

    Votes: 58 40.6%
  • I don’t currently have bubble-like corals in my reef, but I have in the past.

    Votes: 17 11.9%
  • I don’t currently have bubble-like corals in my reef, but I plan to in the future.

    Votes: 40 28.0%
  • I don’t currently have bubble-like corals in my reef and have no plans to in the future.

    Votes: 26 18.2%
  • Other.

    Votes: 2 1.4%
Back
Top