- Joined
- Dec 16, 2017
- Messages
- 40
- Reaction score
- 145
My newest build came out from an unusual circumstance. I was in the middle of dealing with one of my clownfish having popeye. Feeling helpless and completely unmotivated I received an email from a representative from Innovative Marine saying I had won a 25 gallon lagoon EXT from their Instagram giveaway. At this point I had no idea what I had won. The EXT’s where their newest line and was completely different from anything else they had. Hardly any plumbing came with it and it required a sump that is also did not come with.
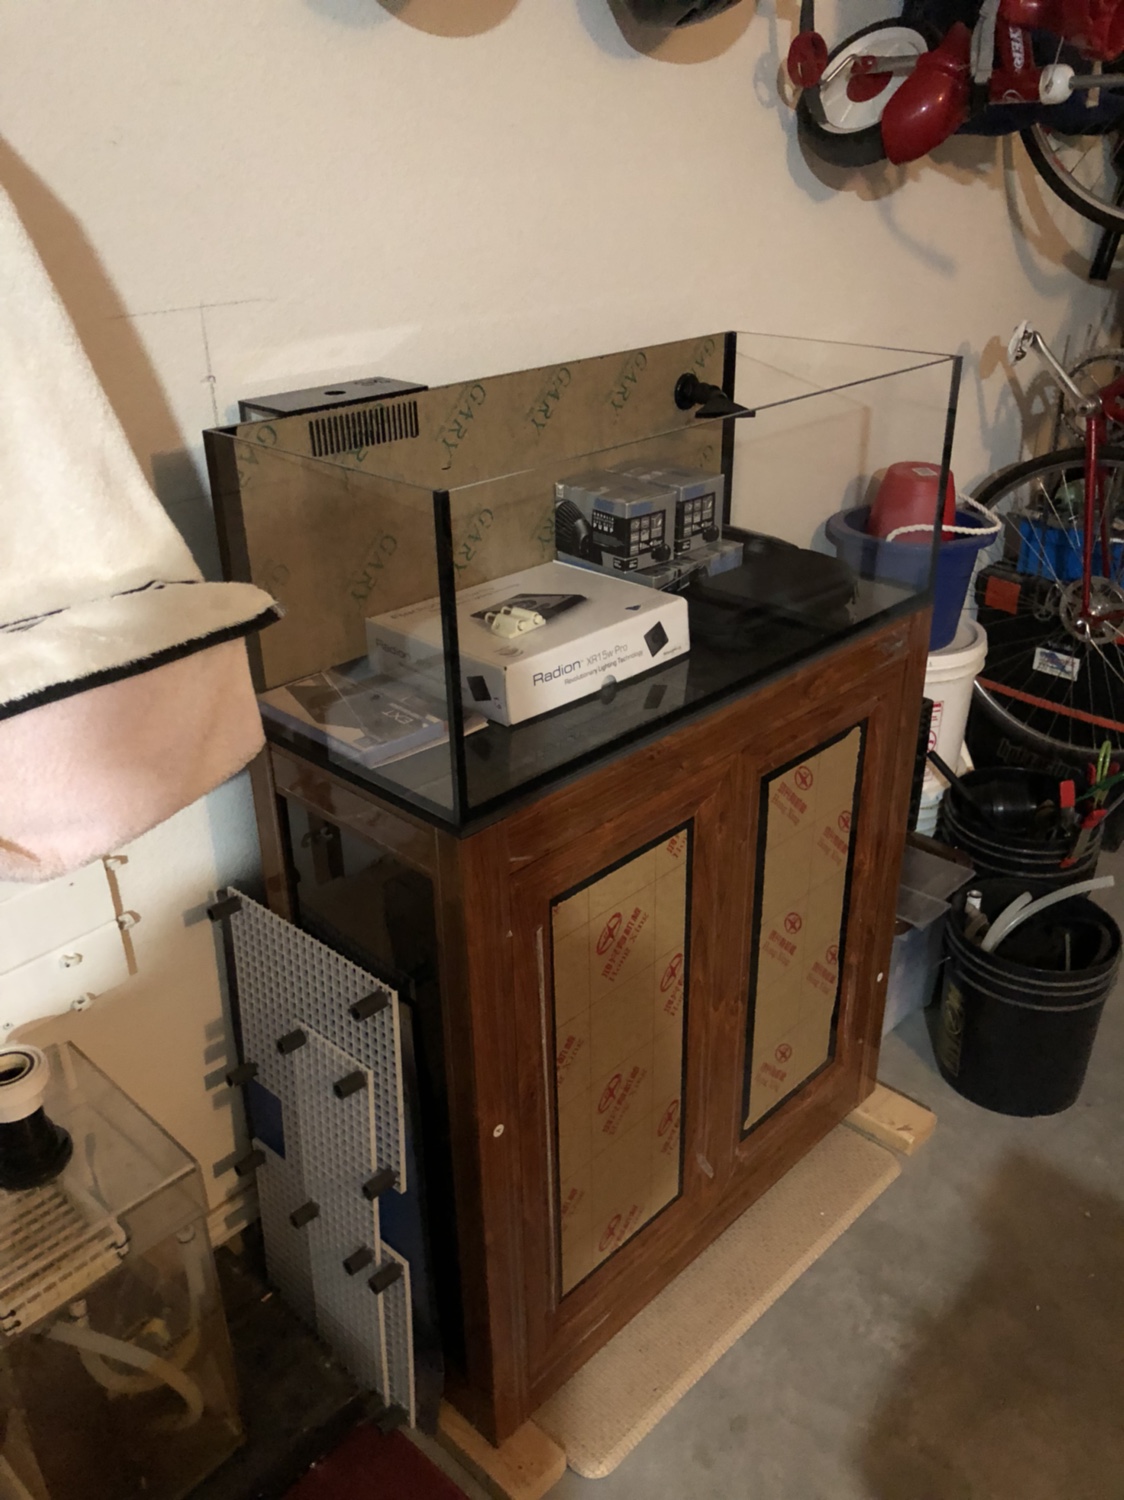
About a month later the tank and stand arrived. All the research I had done left me feeling completely lost and overwhelmed, I needed to step away for a little bit and think this through. After I got the tank together is sat empty in my office until I could come up with a game plan. Even though at this point I have had my Fluval Evo 13.5 almost a year, I still feel completely new to the hobby with this traditional setup.
I started looking again into everything about a month ago. I decided in starting with looking for a sump. I knew this would probably be the hardest thing to find. The stand had a weird size. It quickly became obvious that none of the store bought options would work – they were all just a tad too big to fit in the stand. Shoot. Now what? A friend suggested that I look into OceanBox Designs – they sold kits to convert a ten gallon tank into a sump. I did have an empty ten gallon tank laying around from an old setup. Carefully, I got it into the stand – it barely fit. Shortly one of their kits and filter sock holders were on their way to me.
After the kit came, I went to pick up some hermit crabs for the Fluval Evo and ended up picking the light, return pump and plumbing (and plan) for the IM. Oddly this was the easy part. The IM was moved from my office down to the basement since I didn’t feel like lugging water up a flight of stair. Now the tricky part – building the sump and routing the plumbing.
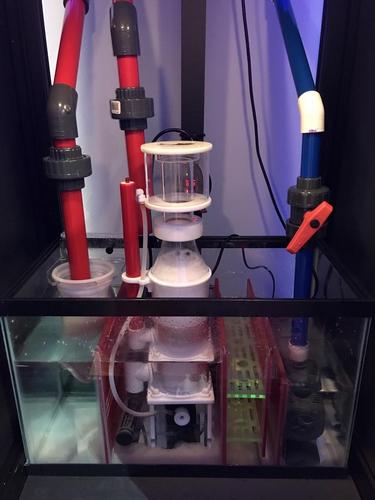
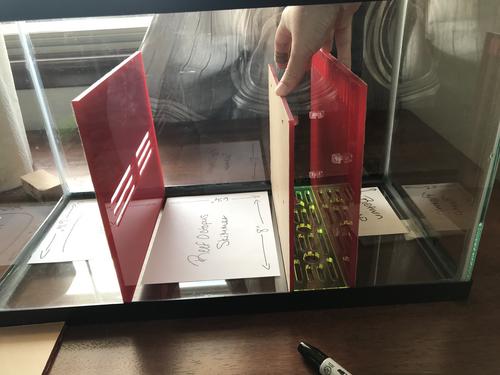
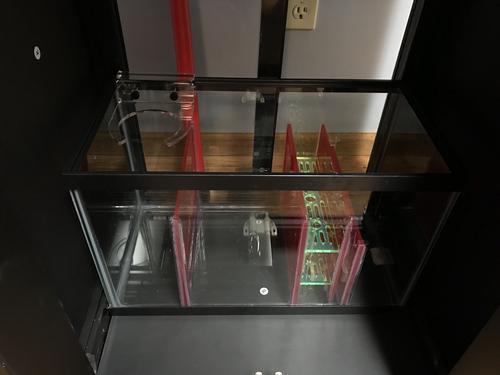
I cut out the footprints of all of the equipment that was going to go into the sump – it was a lot tighter then I initially thought. Eventually it was all mapped out. I started to silicon on the side with the return pump. I used painter’s tape to keep the lines straight and consistent. Once I got the hang of it, it went really smoothly. I let is dry for a few days and then started working on the plumbing. I decided to use hard plumbing throughout the entire build since I thought it would look cleaner.
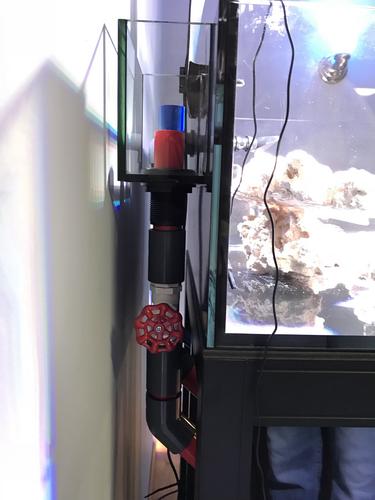
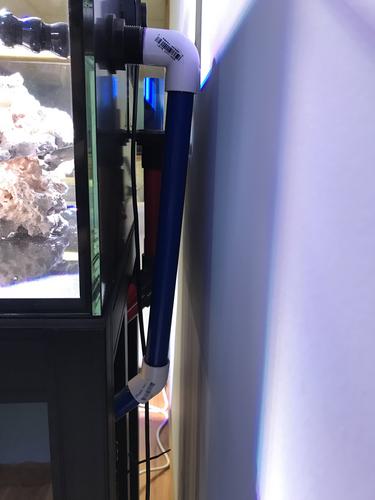
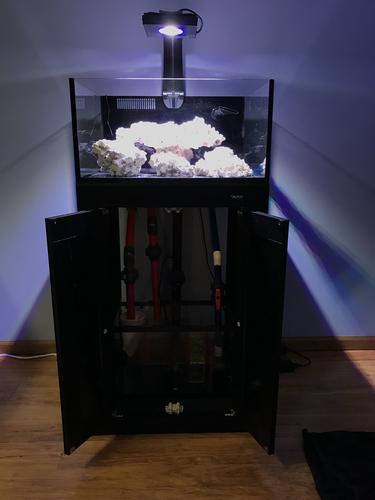
Originally the return was planned to have two 45s to it but it made the whole tank stick too far out from the wall for my liking. I swapped it out for a 90 and now its flush with the overflow box. I did switch the main drain and the emergency drain because of the way the plumbing flowed into the sump and it allowed easier access to a gate valve being on the side with the tank against the wall. I dry fit everything together and let it sit for a week to make sure I was happy with it. This weekend started with gluing everything together and testing for leaks. Luckily there were no leaks.
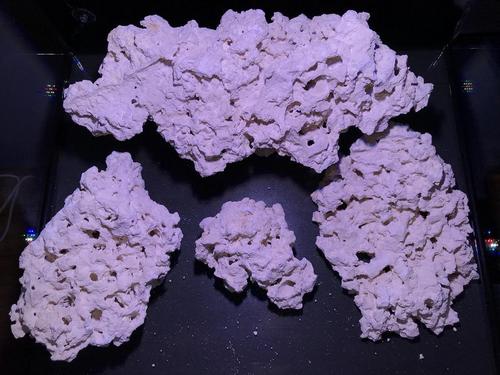
I left the water in it and continued to run the system while I went to pick up sand and live/dry rock. I was planning on cycling this tank with new materials. Not how I started the Fluval with a mini tank transfer. I ended up with marco rock over dried live rock. I liked the way the pieces seemed to fit together better and no risk surprise hitchhikers.
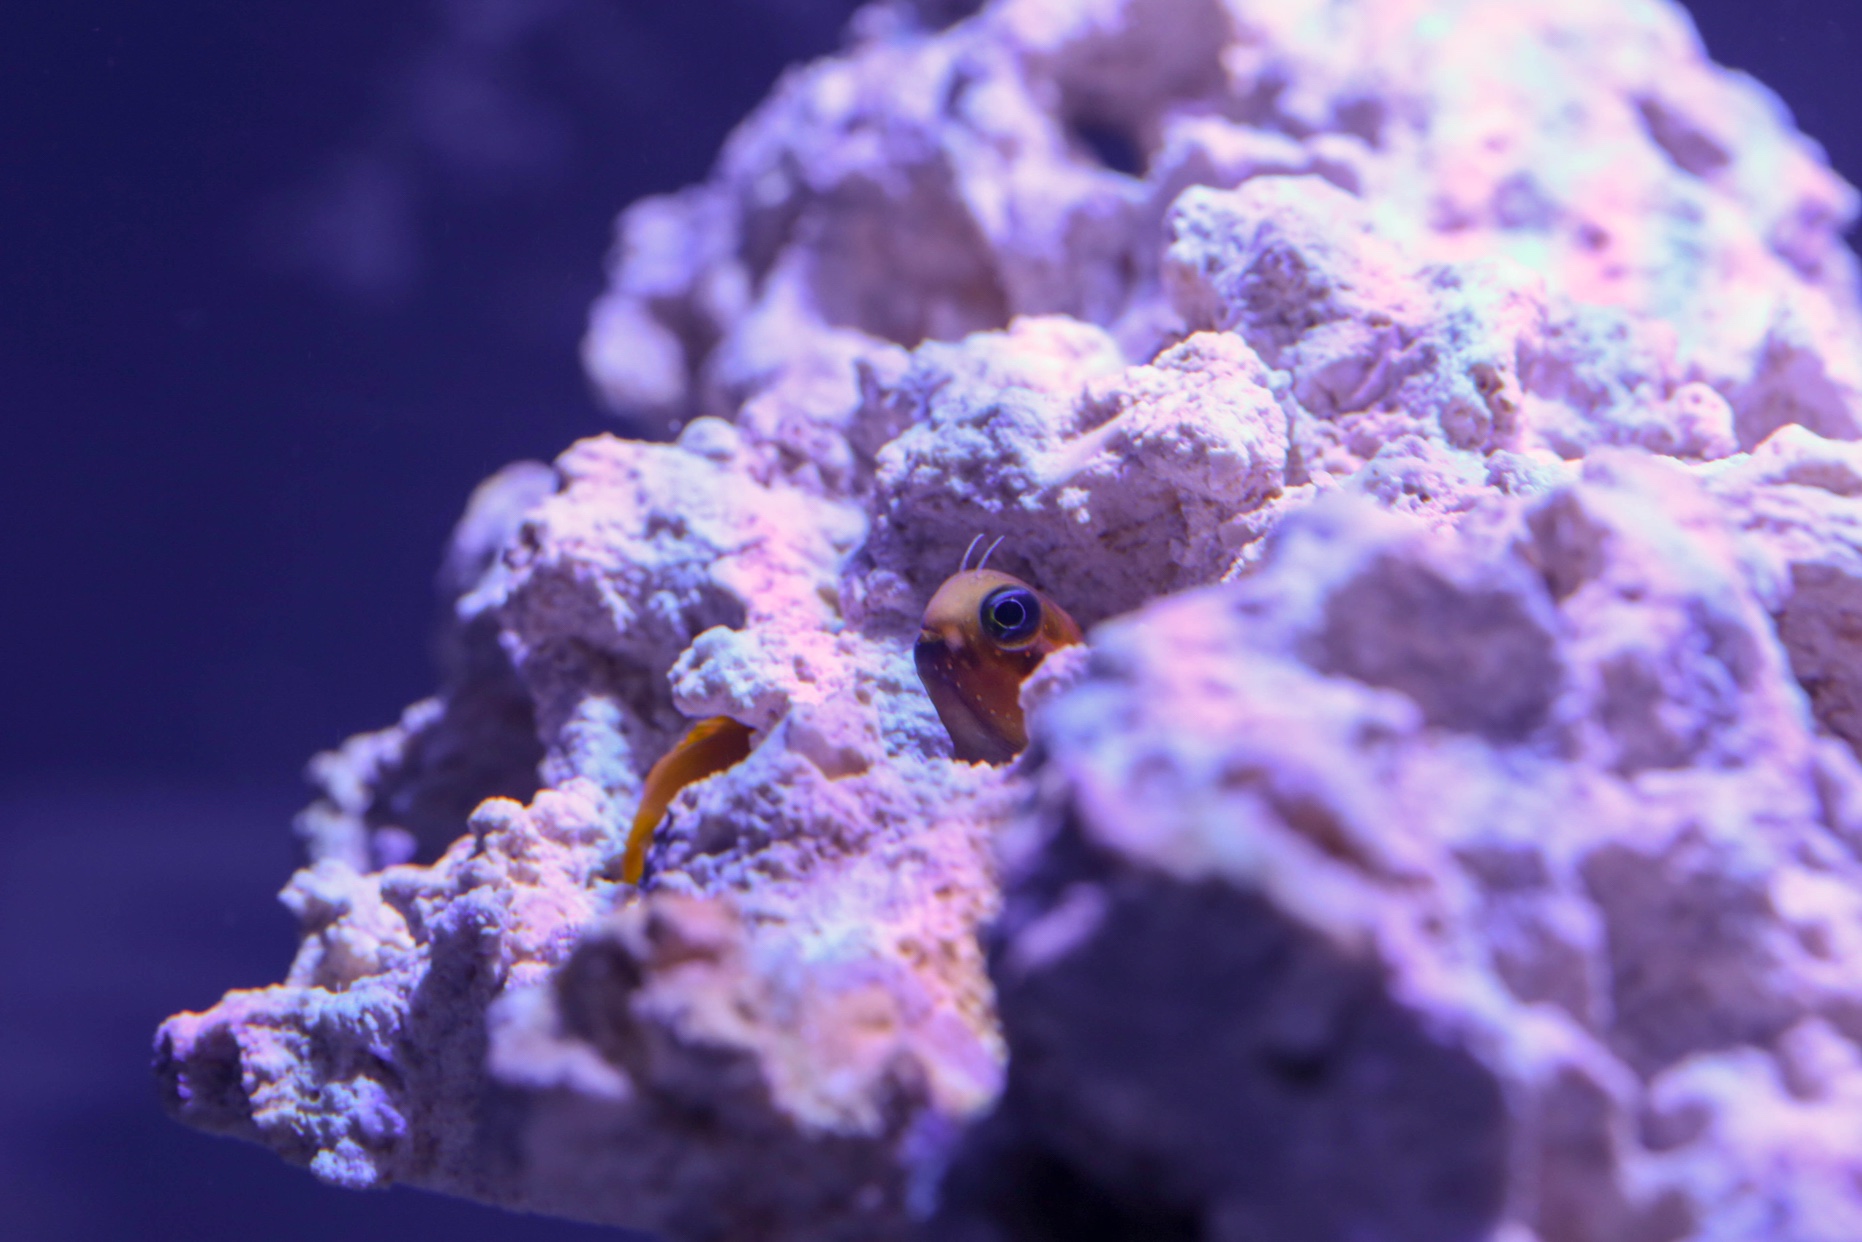
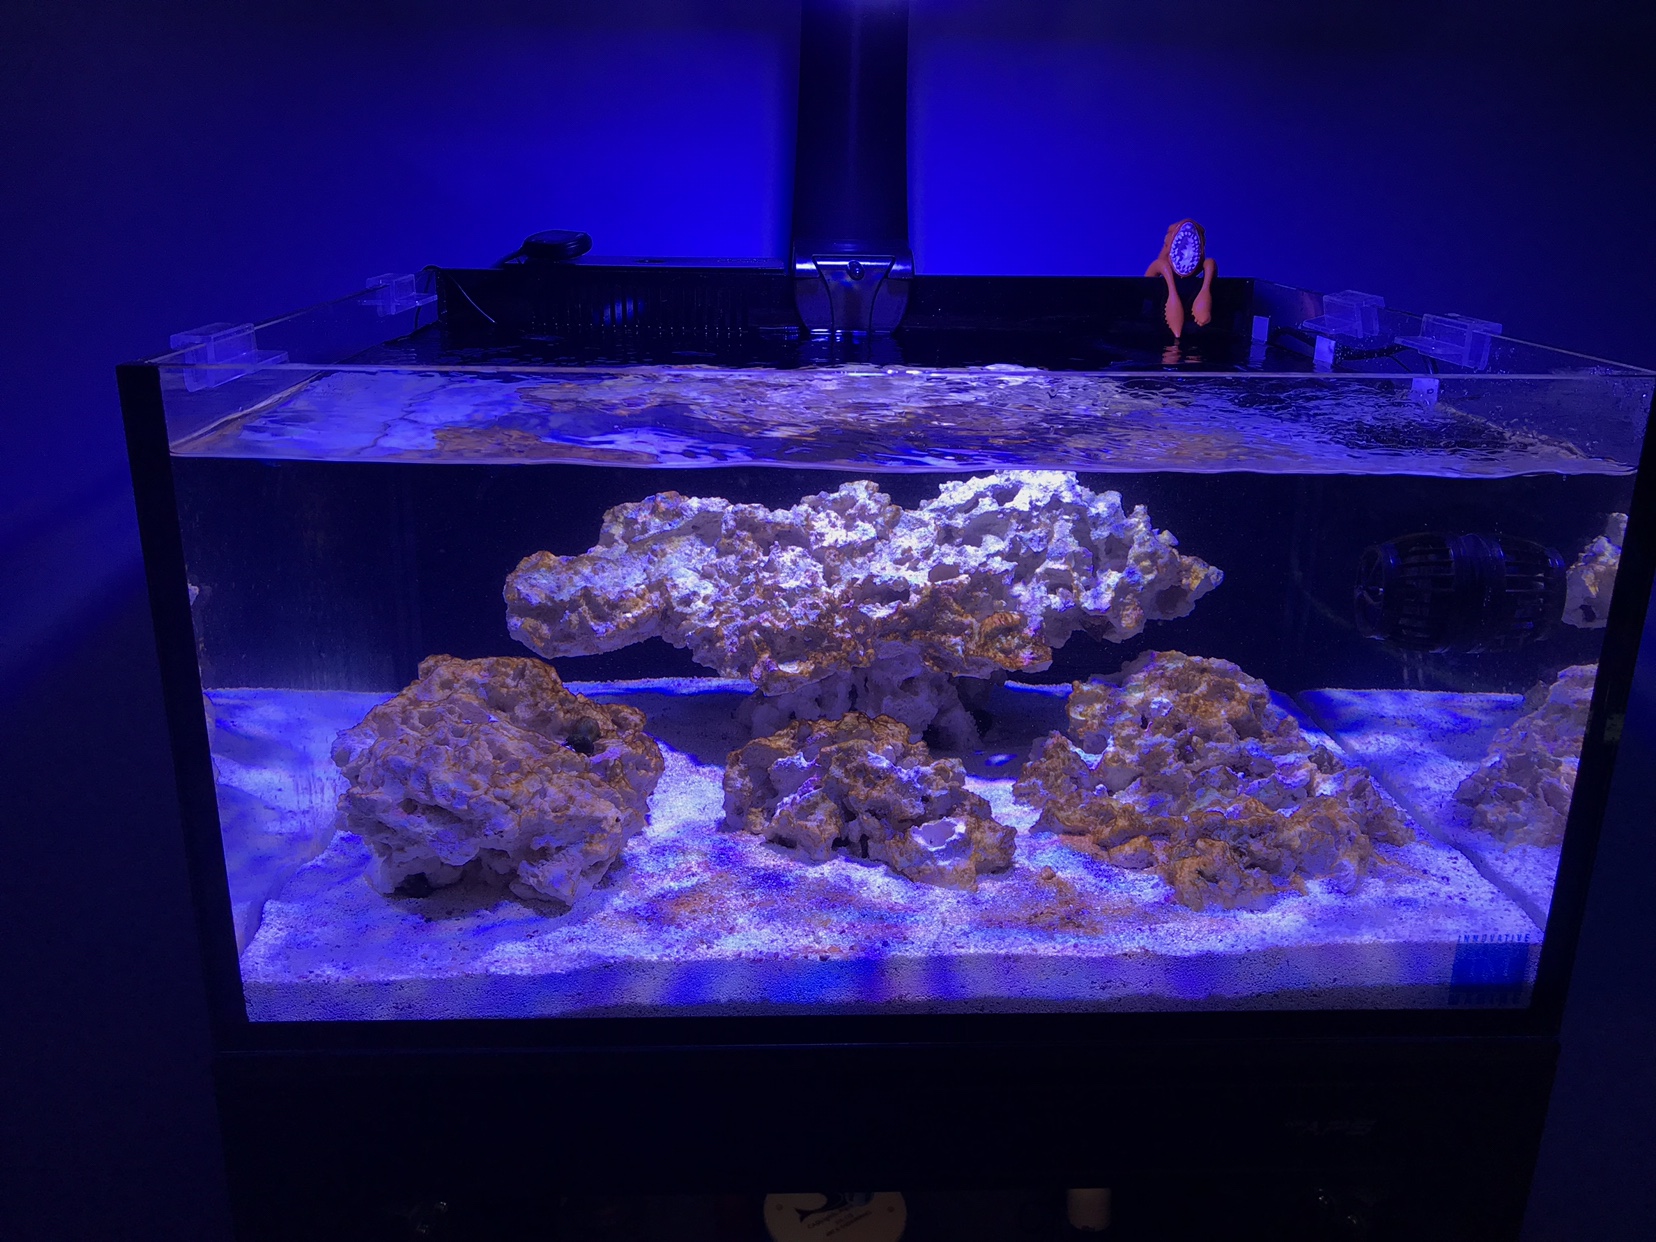
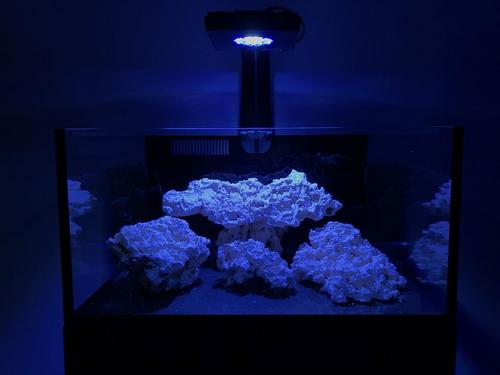
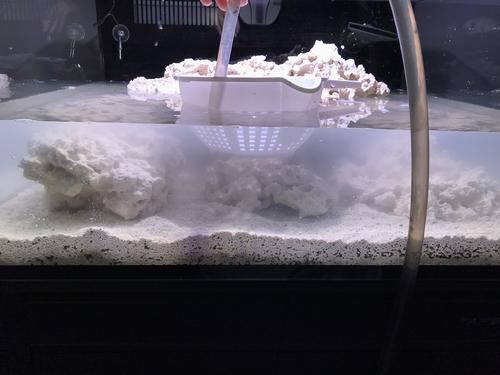
For this scape I wanted more islands and wanted to stay away from the arch. Make it completely different from the Evo. This time I did secure the rocks I stacked before anything else. I used Fiji Pink sand in this build as well. I really like the way it looks. Saltwater was made five gallons at a time, and then put into the tank with a strainer in hopes to not disturb the sand too much. I’ve used this technique in planted tanks so you do not uproot your plants.
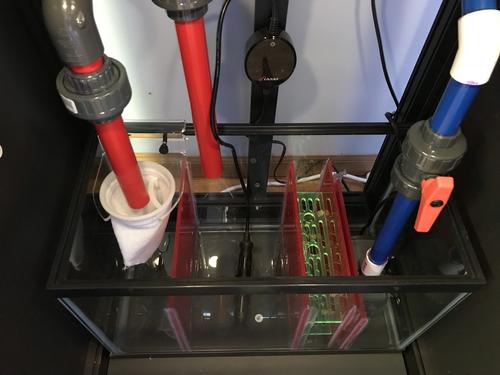
I’m working on fine tuning the “Herbie” drain and will hopefully have it dialed in within a day or so. The plan is to use Dr. Tim’s for the cycling process. Overall I am surprised by how quieted the system is.
Current Equipment:
Light: EcoTech Radion Xr15
Sump: 10 gallon with OceanBox Design baffle kit
Return: Sicce Syncra Silent 2.0
Tank: Innovative Marine 25 gal Lagoon EXT
Skimmer: tbd
Powerheads: tbd
About a month later the tank and stand arrived. All the research I had done left me feeling completely lost and overwhelmed, I needed to step away for a little bit and think this through. After I got the tank together is sat empty in my office until I could come up with a game plan. Even though at this point I have had my Fluval Evo 13.5 almost a year, I still feel completely new to the hobby with this traditional setup.
I started looking again into everything about a month ago. I decided in starting with looking for a sump. I knew this would probably be the hardest thing to find. The stand had a weird size. It quickly became obvious that none of the store bought options would work – they were all just a tad too big to fit in the stand. Shoot. Now what? A friend suggested that I look into OceanBox Designs – they sold kits to convert a ten gallon tank into a sump. I did have an empty ten gallon tank laying around from an old setup. Carefully, I got it into the stand – it barely fit. Shortly one of their kits and filter sock holders were on their way to me.
After the kit came, I went to pick up some hermit crabs for the Fluval Evo and ended up picking the light, return pump and plumbing (and plan) for the IM. Oddly this was the easy part. The IM was moved from my office down to the basement since I didn’t feel like lugging water up a flight of stair. Now the tricky part – building the sump and routing the plumbing.
I cut out the footprints of all of the equipment that was going to go into the sump – it was a lot tighter then I initially thought. Eventually it was all mapped out. I started to silicon on the side with the return pump. I used painter’s tape to keep the lines straight and consistent. Once I got the hang of it, it went really smoothly. I let is dry for a few days and then started working on the plumbing. I decided to use hard plumbing throughout the entire build since I thought it would look cleaner.
Originally the return was planned to have two 45s to it but it made the whole tank stick too far out from the wall for my liking. I swapped it out for a 90 and now its flush with the overflow box. I did switch the main drain and the emergency drain because of the way the plumbing flowed into the sump and it allowed easier access to a gate valve being on the side with the tank against the wall. I dry fit everything together and let it sit for a week to make sure I was happy with it. This weekend started with gluing everything together and testing for leaks. Luckily there were no leaks.
I left the water in it and continued to run the system while I went to pick up sand and live/dry rock. I was planning on cycling this tank with new materials. Not how I started the Fluval with a mini tank transfer. I ended up with marco rock over dried live rock. I liked the way the pieces seemed to fit together better and no risk surprise hitchhikers.
For this scape I wanted more islands and wanted to stay away from the arch. Make it completely different from the Evo. This time I did secure the rocks I stacked before anything else. I used Fiji Pink sand in this build as well. I really like the way it looks. Saltwater was made five gallons at a time, and then put into the tank with a strainer in hopes to not disturb the sand too much. I’ve used this technique in planted tanks so you do not uproot your plants.
I’m working on fine tuning the “Herbie” drain and will hopefully have it dialed in within a day or so. The plan is to use Dr. Tim’s for the cycling process. Overall I am surprised by how quieted the system is.
Current Equipment:
Light: EcoTech Radion Xr15
Sump: 10 gallon with OceanBox Design baffle kit
Return: Sicce Syncra Silent 2.0
Tank: Innovative Marine 25 gal Lagoon EXT
Skimmer: tbd
Powerheads: tbd