Let Me See Your DIY Stands

SeaJay

Well-Known Member
View Badges
Joined
Aug 10, 2018
Messages
816
Reaction score
932
Location
Loganville, GA
Rating - 0%
0   0   0
Built a 2x4 stand for my 135 and clad it with some barnwood I had left over from some other projects.
Gonna build some smaller cabinets on the sides with bookshelves to hide the overflows and a canopy with a rusty tin roof.

27157757-8E43-4580-B8E4-94570D137676.jpeg
DA356A21-18BB-46B0-9CB0-FF6013AE0BFF.jpeg
 

rmchoi

Active Member
View Badges
Joined
Dec 15, 2014
Messages
109
Reaction score
253
Location
Michigan
Rating - 0%
0   0   0
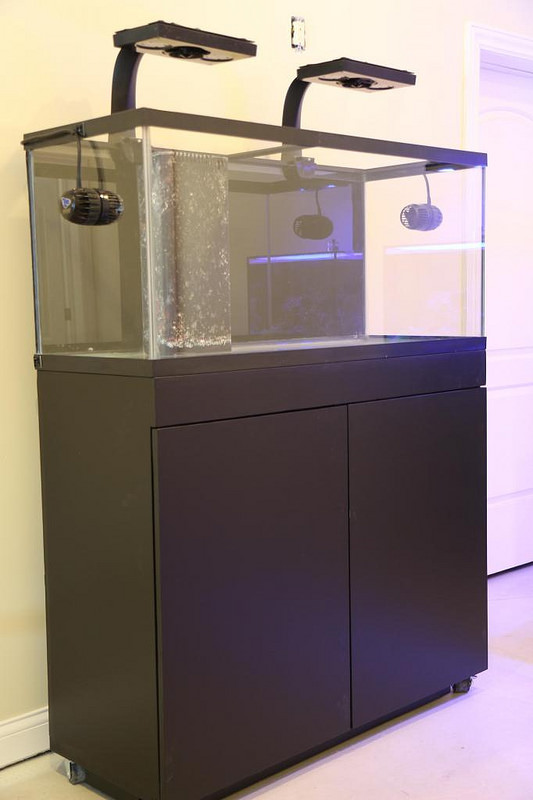
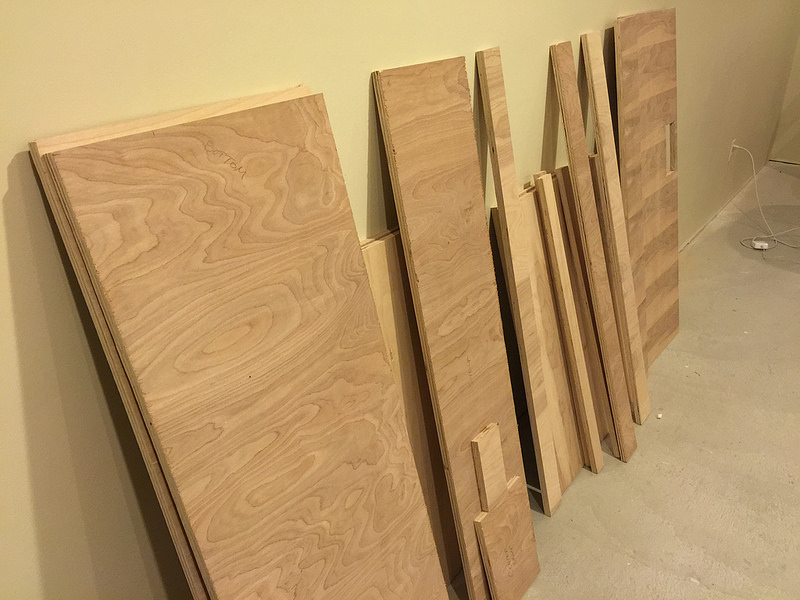
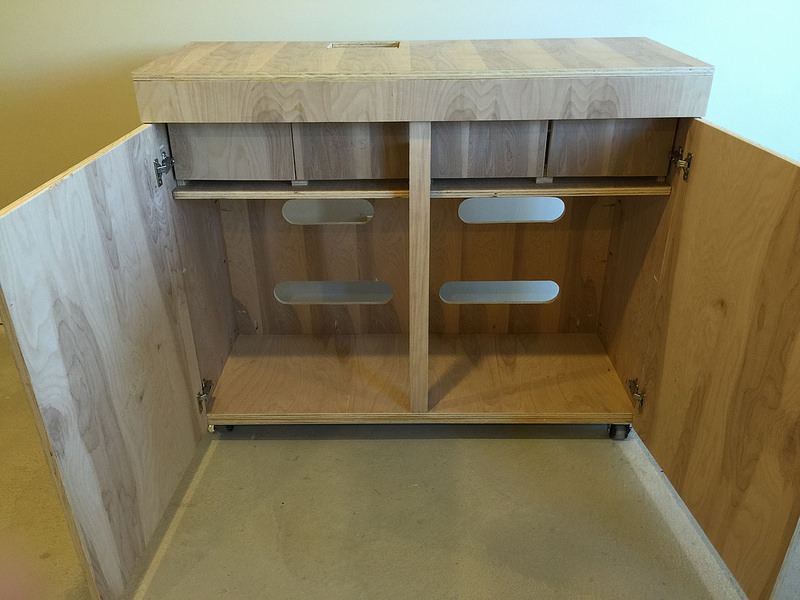
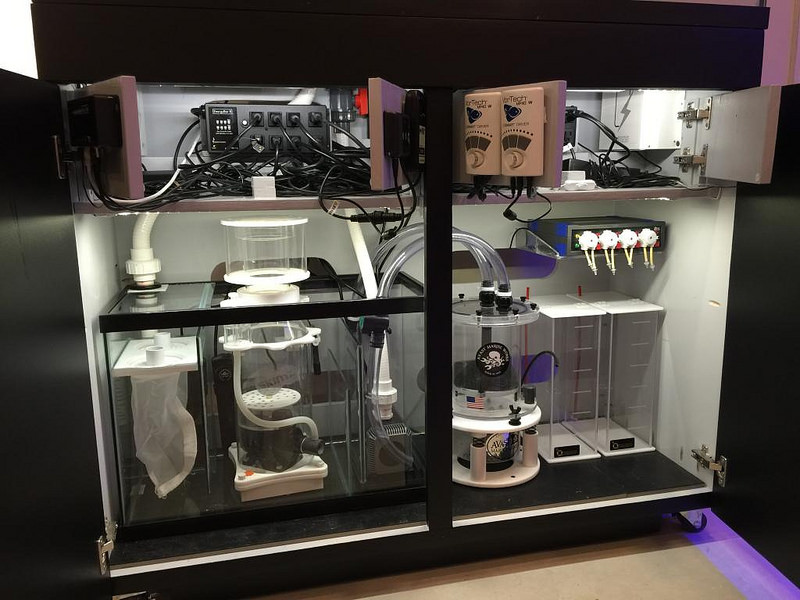
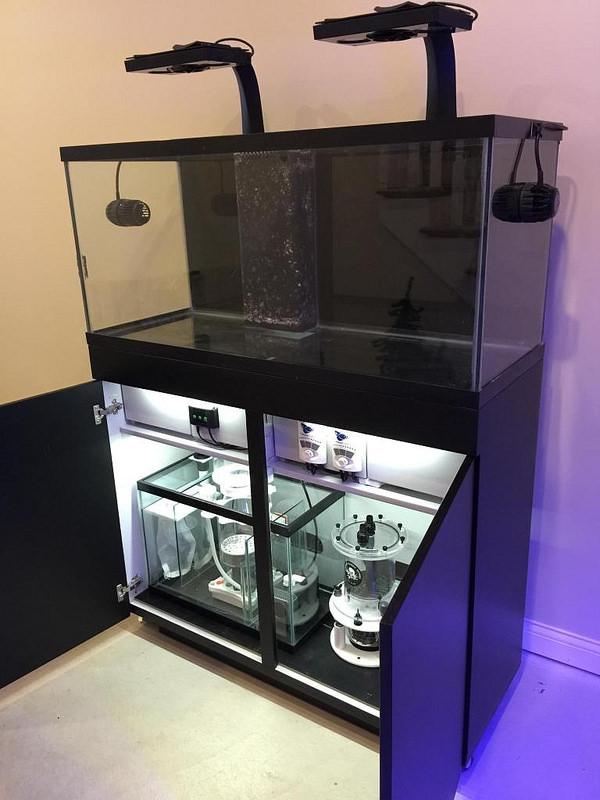
This is a Eurostyle stand for 75 gallon tank. The stand is made entirely of plywood and no 2x4's, to maximize the inside space. I used a Kreg pocket hole jig to glue and screw the plywood panels together. It is a taller design to view the tank standing. The extra stand height gave room for a shelf above the sump to stash plugs, cords and transformers. The controls are mounted on the face of the small doors that hide the shelf. The stand is flush with the tank and painted glossy black to blend with the plastic tank trim. The interior is a light gray marine paint to brighten up the inside, along with led lights above and below the shelf.


doughboy

Well-Known Member
View Badges
Joined
Feb 20, 2010
Messages
563
Reaction score
306
Location
Norcal
Rating - 0%
0   0   0
This is a Eurostyle stand for 75 gallon tank. The stand is made entirely of plywood and no 2x4's, to maximize the inside space. I used a Kreg pocket hole jig to glue and screw the plywood panels together. It is a taller design to view the tank standing. The extra stand height gave room for a shelf above the sump to stash plugs, cords and transformers. The controls are mounted on the face of the small doors that hide the shelf. The stand is flush with the tank and painted glossy black to blend with the plastic tank trim. The interior is a light gray marine paint to brighten up the inside, along with led lights above and below the shelf.


did you use any edging on the plywood or did you just painted the edges?
very well thought out design.
what did you use to light the interior?
I used led strips, but it falls off after a few weeks. I even used 3m double sided tape designed for led strips. I think I will try the red 3M VHB tape.
I used a drawer on my stand instead of shelf, so I had to use 175degree euro hinges.
 

rmchoi

Active Member
View Badges
Joined
Dec 15, 2014
Messages
109
Reaction score
253
Location
Michigan
Rating - 0%
0   0   0
did you use any edging on the plywood or did you just painted the edges?
very well thought out design.
what did you use to light the interior?
I used led strips, but it falls off after a few weeks. I even used 3m double sided tape designed for led strips. I think I will try the red 3M VHB tape.
I used a drawer on my stand instead of shelf, so I had to use 175degree euro hinges.

Thank you. Since I planned to paint the plywood, I did not use any edging. Instead I sanded the joints smooth and let the paint hide the edge. Lowes had these basic LED strips with adhesive backing, which have not fallen off yet. Your idea to remount your LED strips with the special 3M tape sounds good.
 

Lingwendil

Well-Known Member
View Badges
Joined
Jul 23, 2012
Messages
529
Reaction score
444
Location
Antioch, California
Rating - 0%
0   0   0
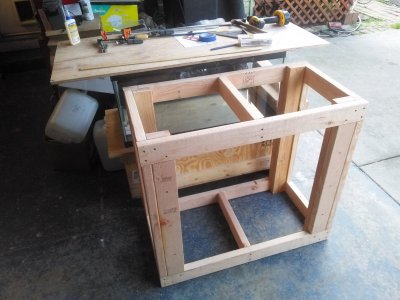
IMG_20190303_170419.jpg


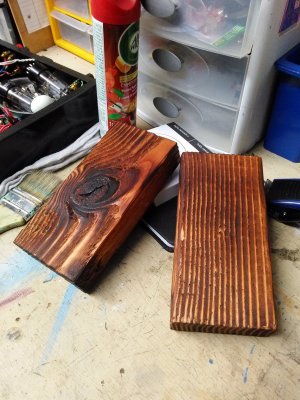
In progress for a 40 breeder, going to get plywood on top of the bottom frame, plywood on top, two shelves for books, and then getting sanded/rounded over all edges with a torch applied to bring out the grain. Going to finish it with boiled linseed oil and wax, as below-

IMG_20190304_165347.jpg
 

burnetb1

Active Member
View Badges
Joined
Mar 4, 2019
Messages
127
Reaction score
209
Location
Southwestern Michigan
Rating - 0%
0   0   0
Old and not the best photo. This stand is in shambles now. It has a display fuge and a 15 gal sump hidden in the back. One major lesson from this build: dont bury your sump in the stand. Make it super easy to get to. Currently building a new stand and will create a build thread once its complete and moved up from the basement.
10917076_10203288049868903_1566347690697082941_n.jpg

(and yes, thats a clamp on the top of the tank... the brace broke and that was my solution. I now have everything in a similar size 50 gal tank)
 

samnaz

Earthling
View Badges
Joined
Dec 30, 2016
Messages
3,564
Reaction score
6,879
Location
Humble.fish
Rating - 0%
0   0   0
Built a 2x4 stand for my 135 and clad it with some barnwood I had left over from some other projects.
Gonna build some smaller cabinets on the sides with bookshelves to hide the overflows and a canopy with a rusty tin roof.

27157757-8E43-4580-B8E4-94570D137676.jpeg
DA356A21-18BB-46B0-9CB0-FF6013AE0BFF.jpeg
wow. This is beautiful! I'm in love.
 

malacoda

Valuable Member
View Badges
Joined
Nov 22, 2015
Messages
1,045
Reaction score
1,180
Location
Western North Carolina
Rating - 0%
0   0   0
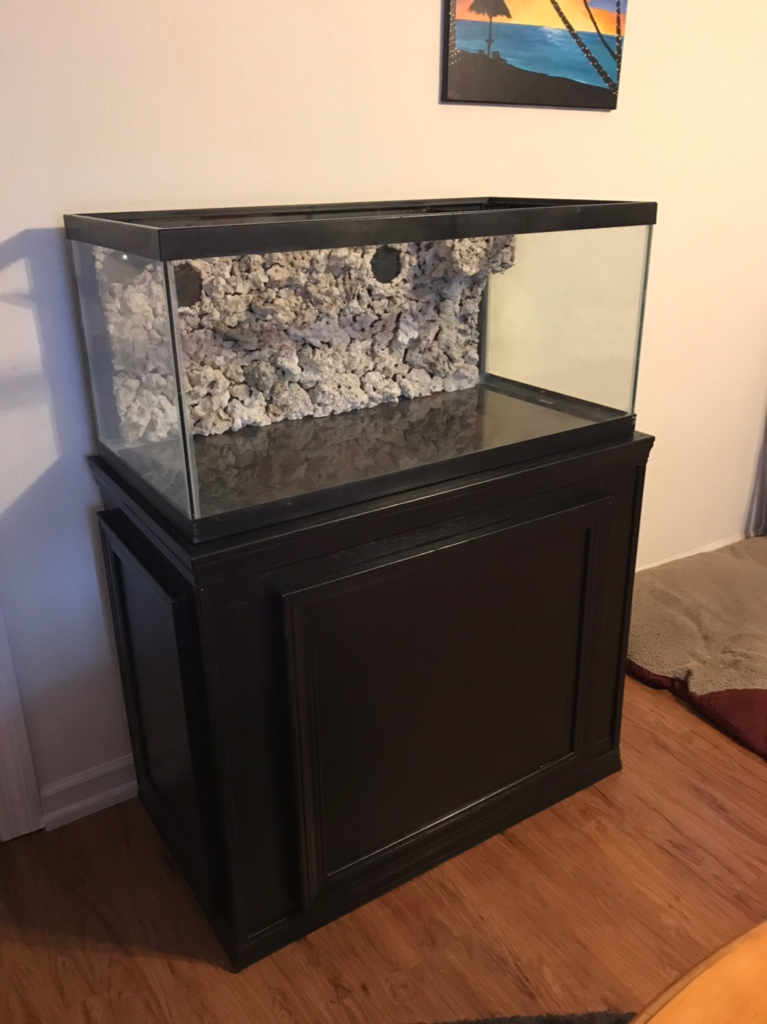
OP has probably already build his stand ... but I'll add a few pics of my recent build to the collection for the sake of posterity and future stand builders who my view the thread for inspiration...

3/4" Red oak (veneered) plywood case with red oak trim:

new tank 1.JPG


plywood stand 6.jpg
 

High pressure shells: Do you look for signs of stress in the invertebrates in your reef tank?

  • I regularly look for signs of invertebrate stress in my reef tank.

    Votes: 35 31.0%
  • I occasionally look for signs of invertebrate stress in my reef tank.

    Votes: 27 23.9%
  • I rarely look for signs of invertebrate stress in my reef tank.

    Votes: 21 18.6%
  • I never look for signs of invertebrate stress in my reef tank.

    Votes: 30 26.5%
  • Other.

    Votes: 0 0.0%
Back
Top