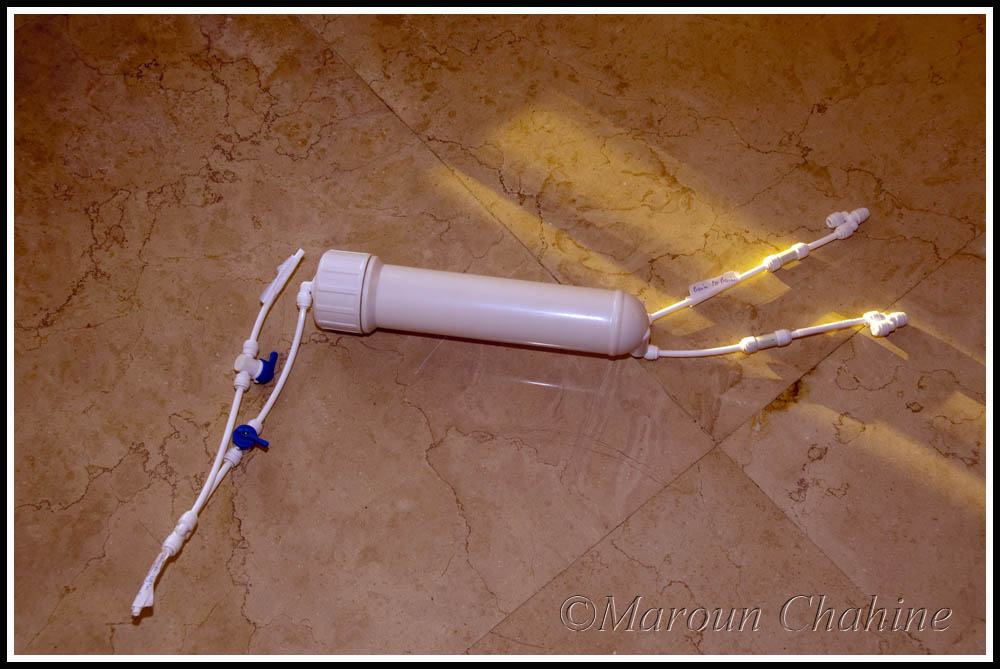
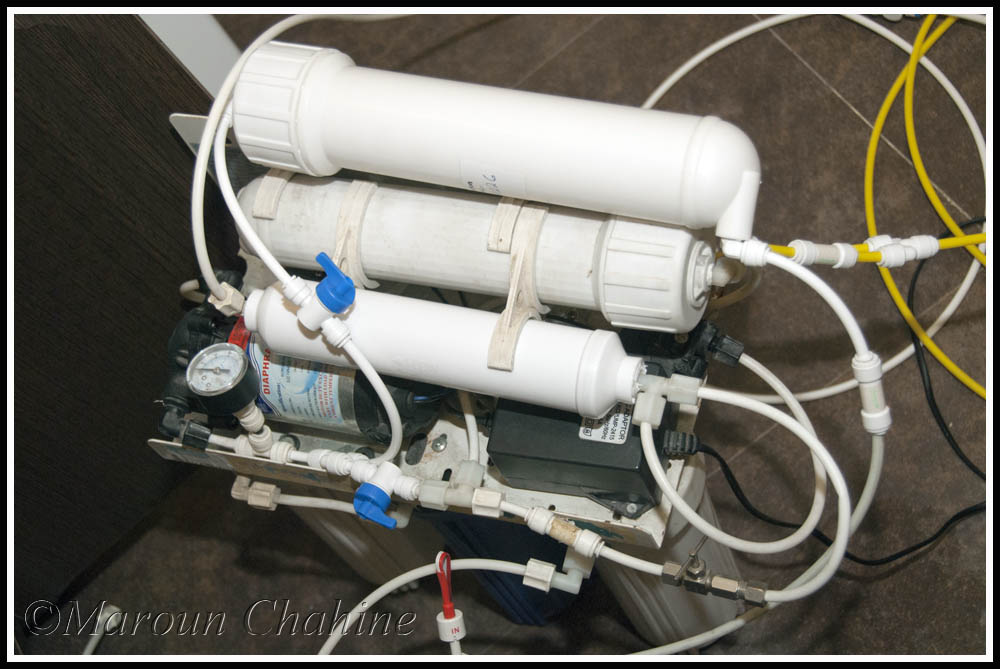
Modded my RO:
Added a second 100GPD RO casing
Can start either or both RO to either have 100 or 200 GPD based on need.
I can also assign one of the RO units for drinking water and have a fixed TDS valve setting instead of fiddling with the TDS valve each time I switch from aquarium to drinking water.
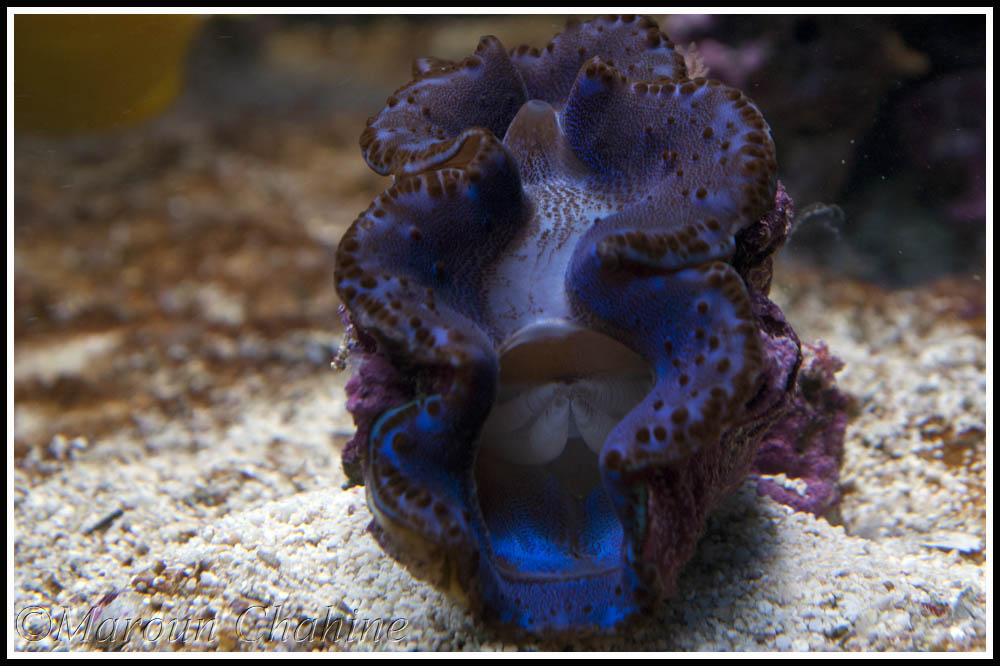
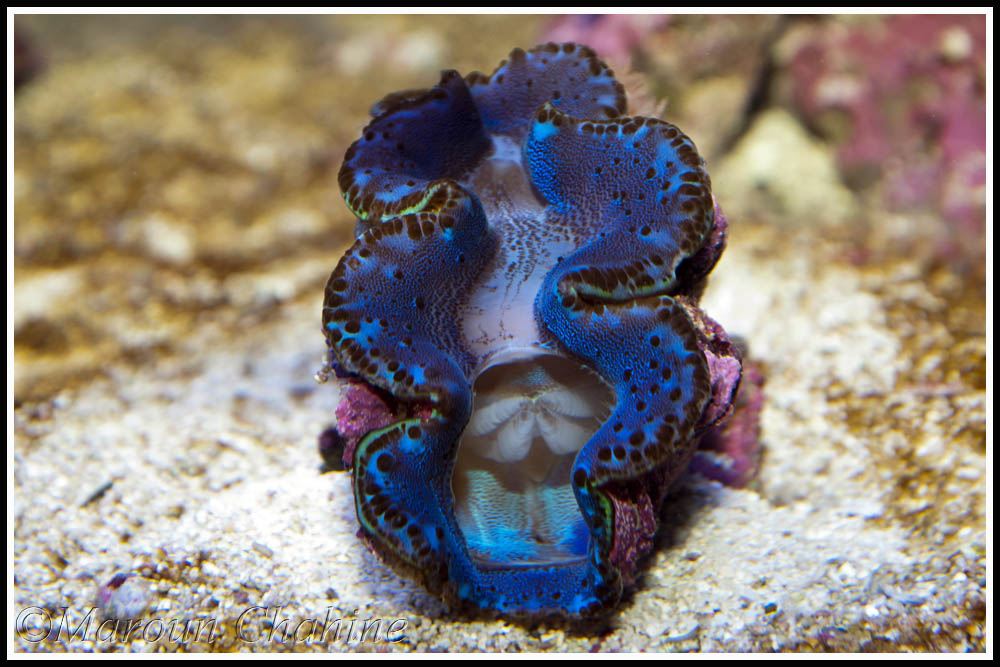
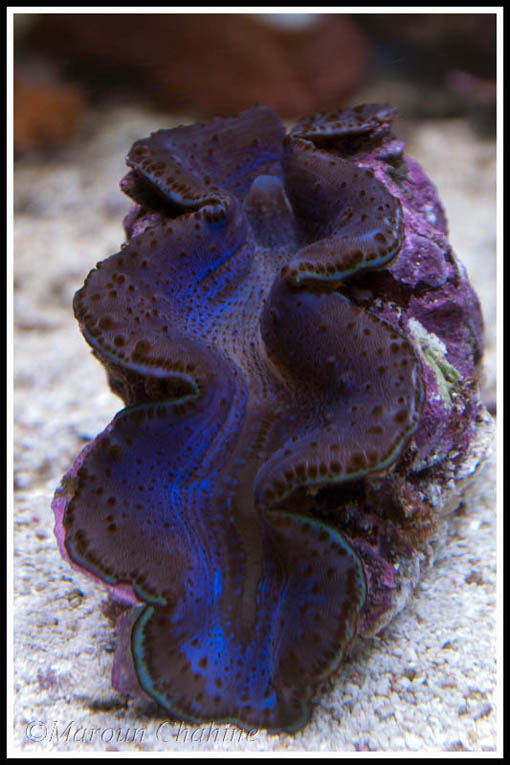
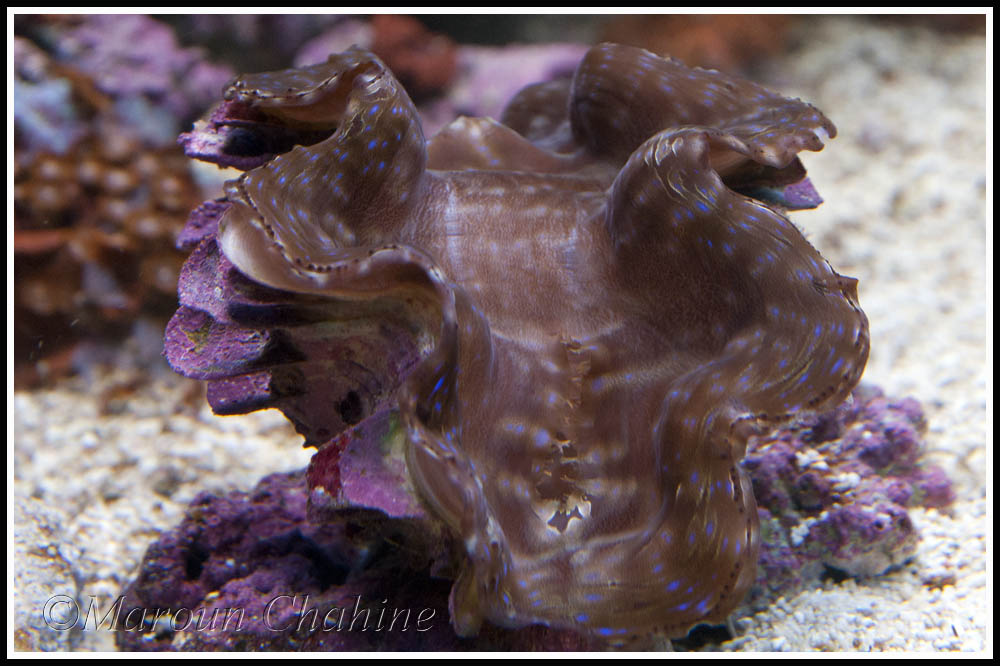
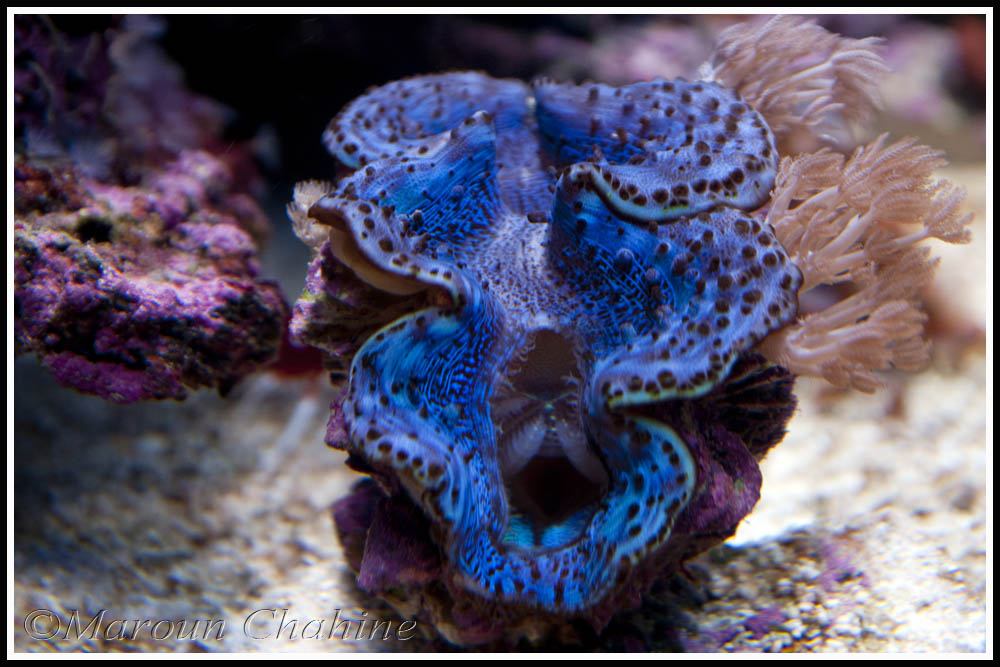
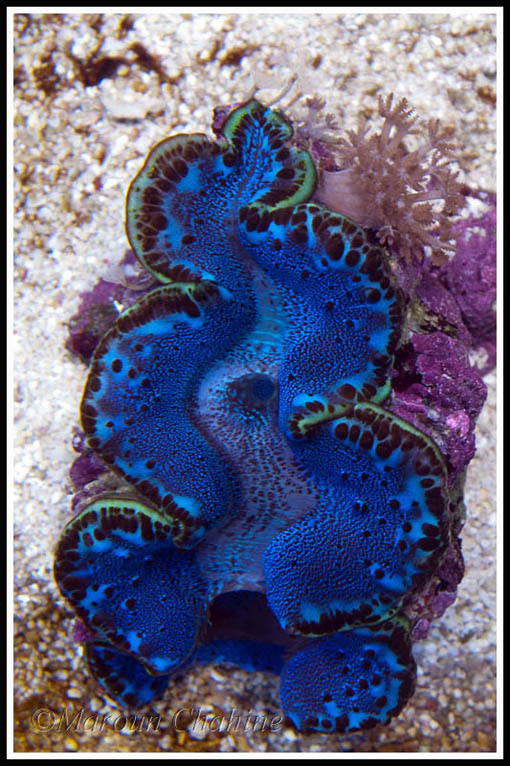
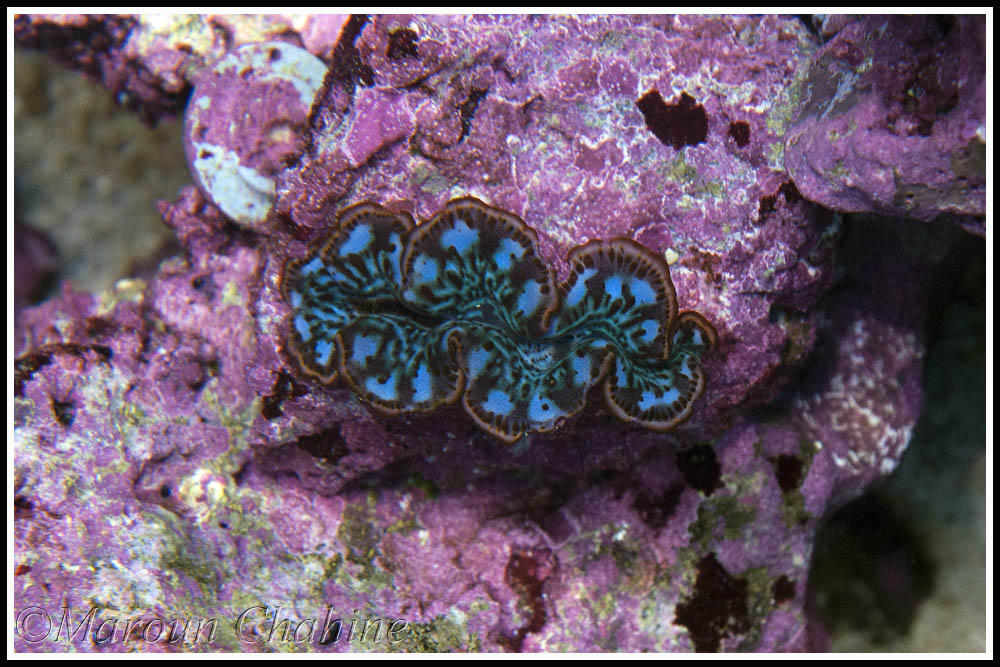
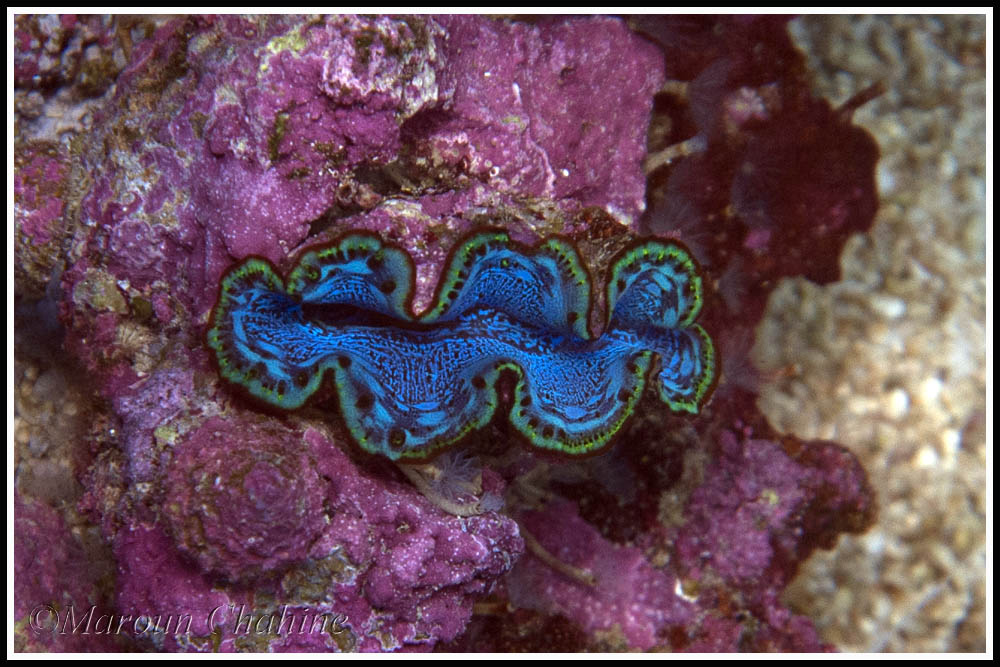
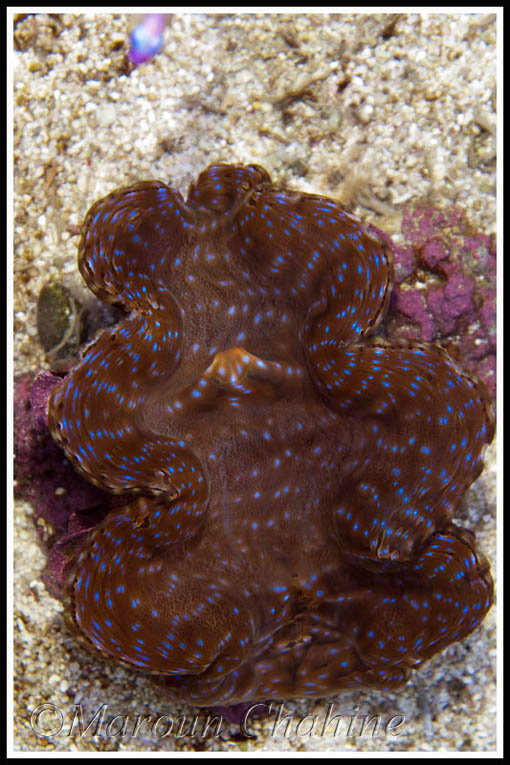
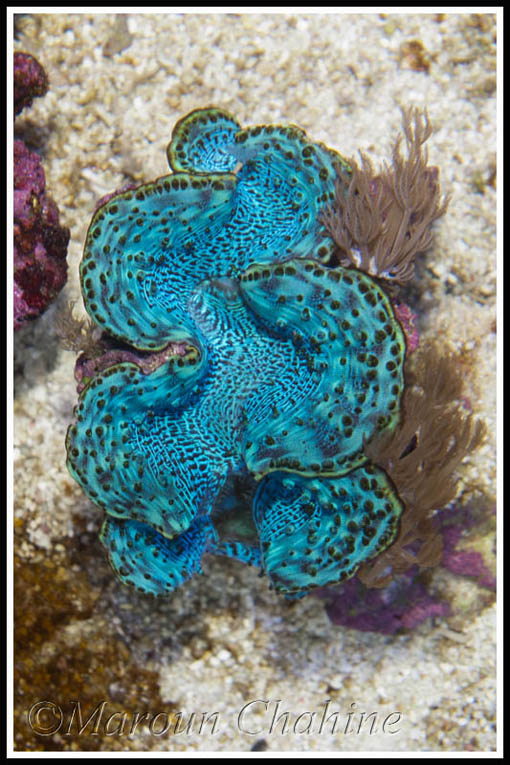
Looking great! Nice clams too! I noticed what I think are double ended Metal Halides...are you using glass cover for these? I am pretty sure with DE Metal Halides you need to use glass covers to block out the harmful UV.
And to get to the interesting Stuff, Stage two of the build is to take down the sump and all the filtration of the tank to the basement and to connect it to the new sump I made downstairs as well as connect the 2 frag tanks and future ones and my cube to the same sump. This will be done gradually over coming weeks.
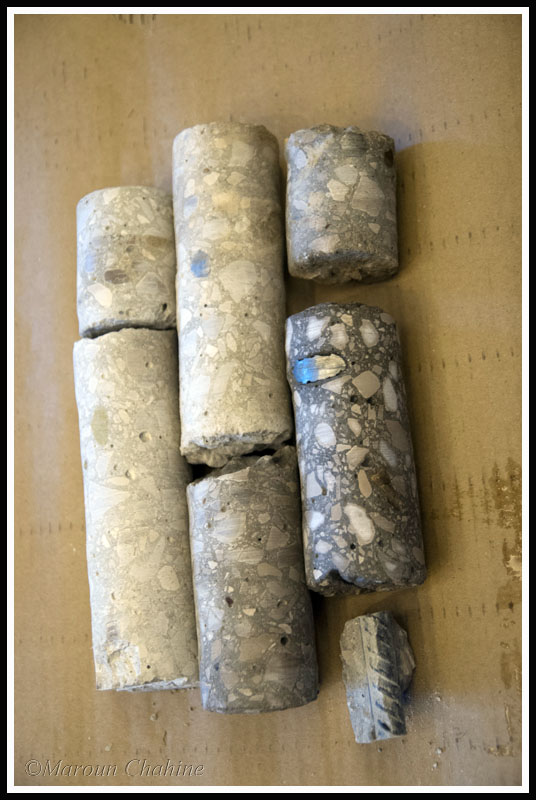
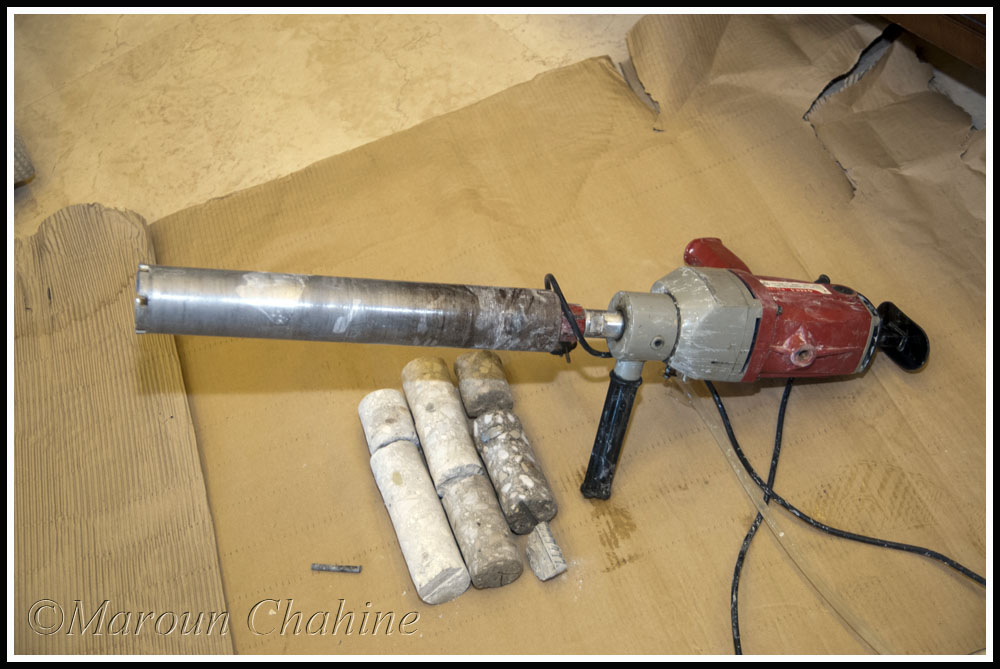
1st step will be to have the plumber come to drill the floor 10" of steel reinforced cement) that I have under the tank. for this a Coring machine will be used which will make 2x4 inch holes through which 2 1.5" drains and 2x1 inch returns, and multiple electrical cables will run.
1 major factor here is to plan the plumbers availability with a day where the wife is not at home as I can't imagine how she'll react to seeing me drill large holes in the reception area.
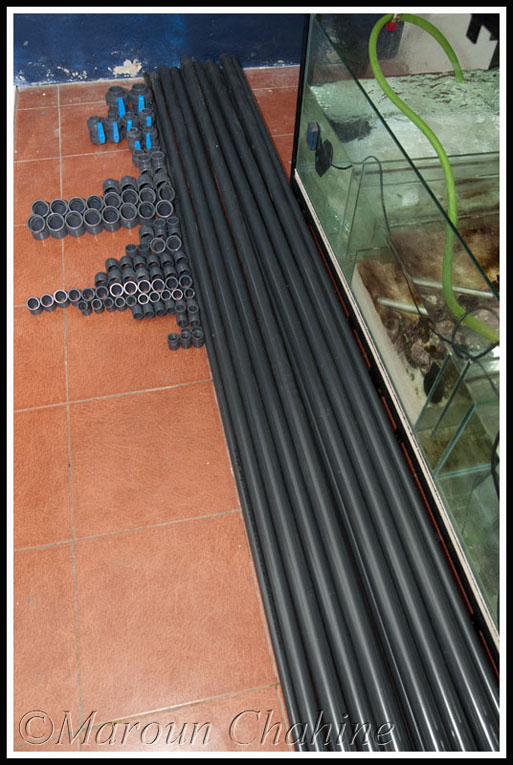
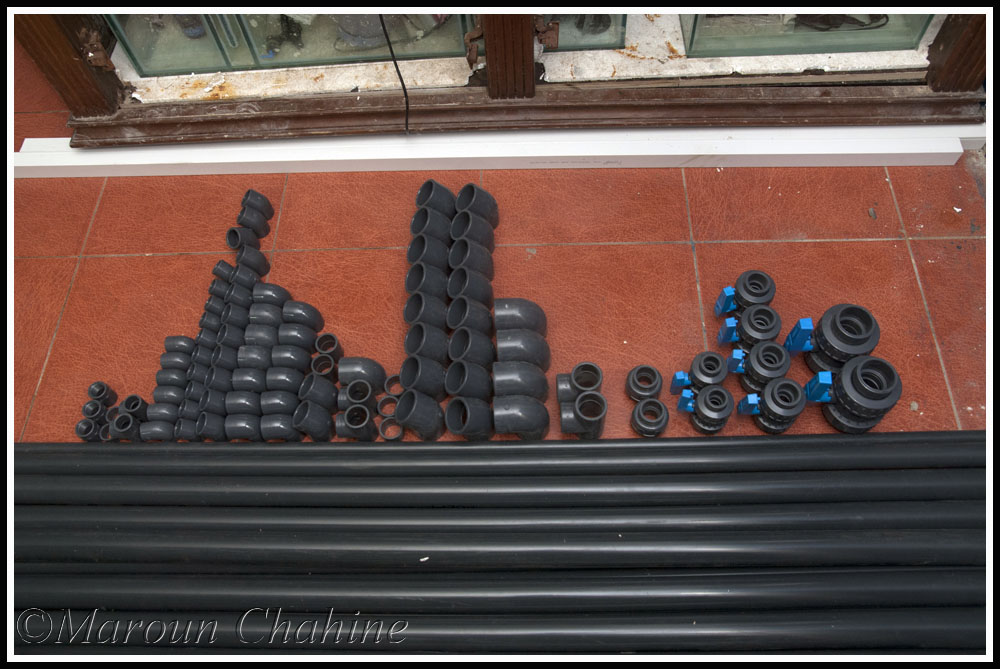
The look on the guy in the plumbing store was unforgettable when he learned that 50 meters of (1.5-1.25 and 1 inch tubing) + a load of accessories for my aquarium.
And to get to the interesting Stuff, Stage two of the build is to take down the sump and all the filtration of the tank to the basement and to connect it to the new sump I made downstairs as well as connect the 2 frag tanks and future ones and my cube to the same sump. This will be done gradually over coming weeks.
1st step will be to have the plumber come to drill the floor 25 cm of steel reinforced cement) that I have under the tank. for this a Coring machine will be used which will make 2x4 inch holes through which 2x 1.5 drains and 2x1 inch returns, and multiple electrical cables will run.
1 major factor here is to plan the plumbers availability with a day where the wife is not at home as I can't imagine how she'll react to seeing me drill large holes in the reception area.
The look on the guy in the plumbing store was unforgettable when he learned that 50 meters of (1.5-1.25 and 1 inch tubing) + a load of accessories for my aquarium.
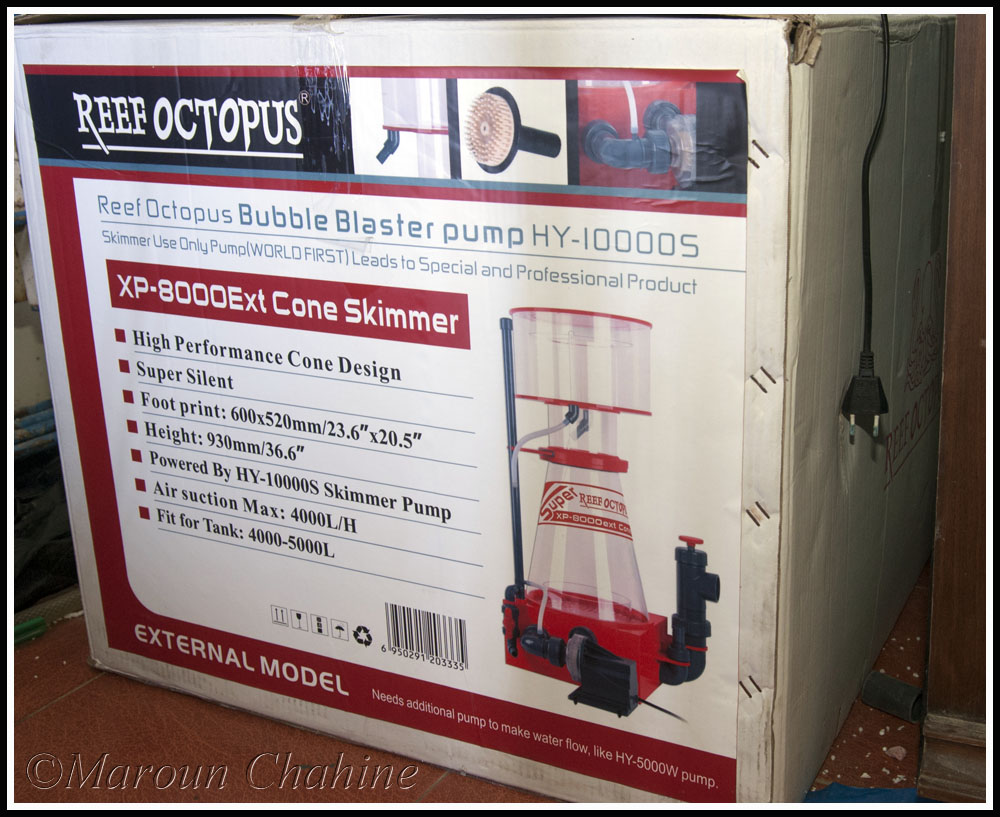
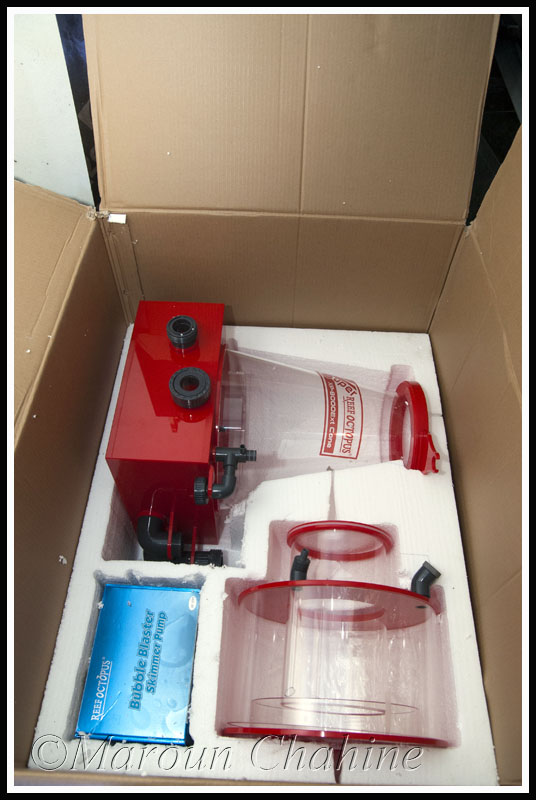
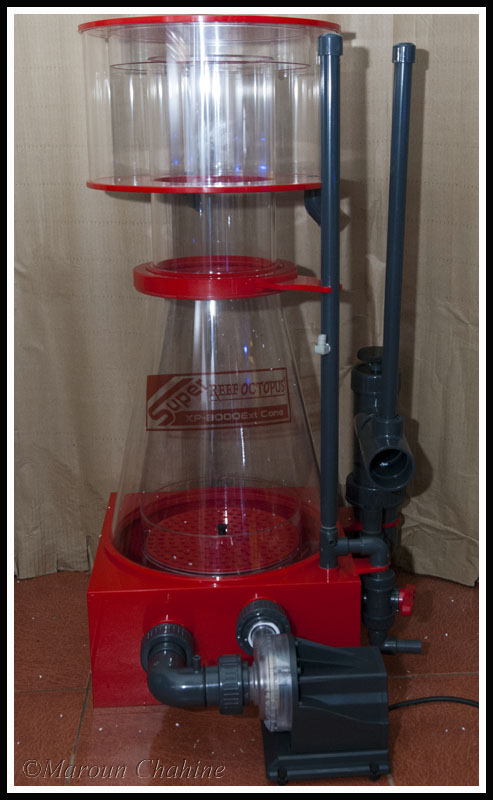
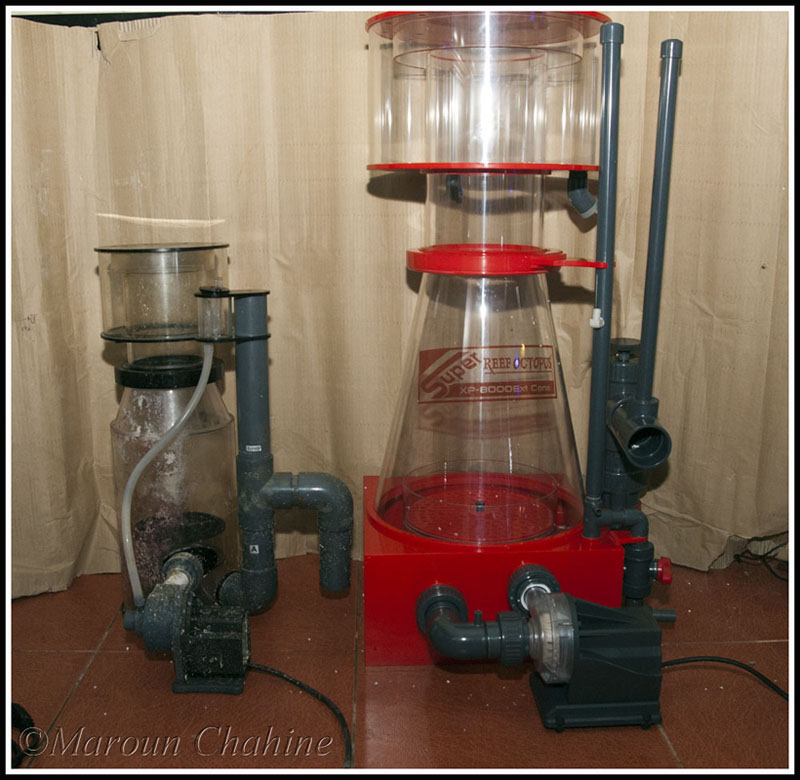
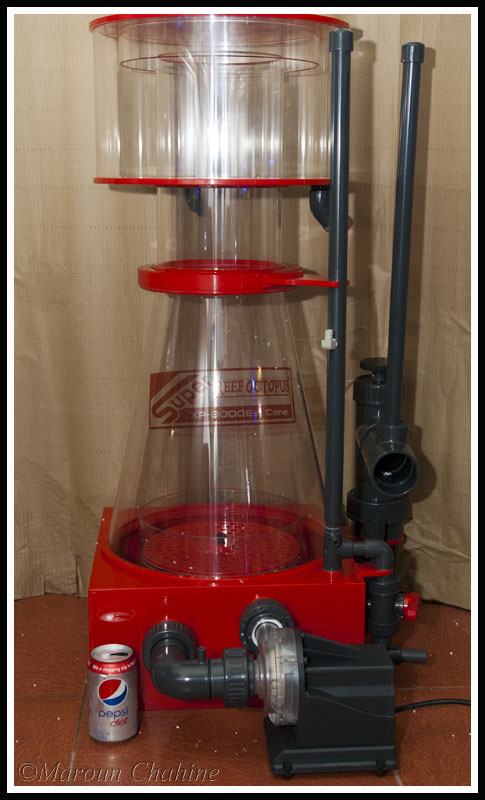
And Finally a long awaited skimmer upgrade. Went with the Super reef octopus external cone 8000. Rated for up to 5000 Litres it should be able to handle the tank, Frag system in the basement and any upgrade or additions!!!
Next to my current Hurricone Cat 1 skimmer
The usual can shot for size refference Can for size reference
Still have to finish some plumbing and electrical before I can run it but definitly impressed with the build quality so far.
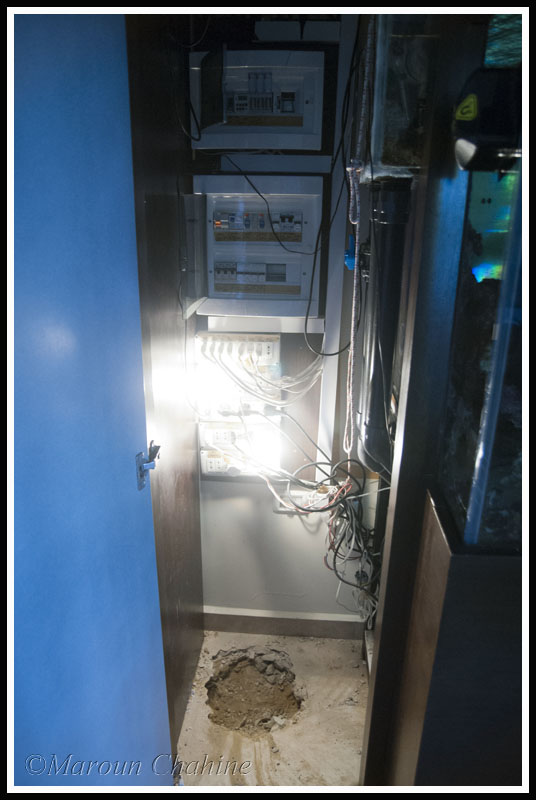
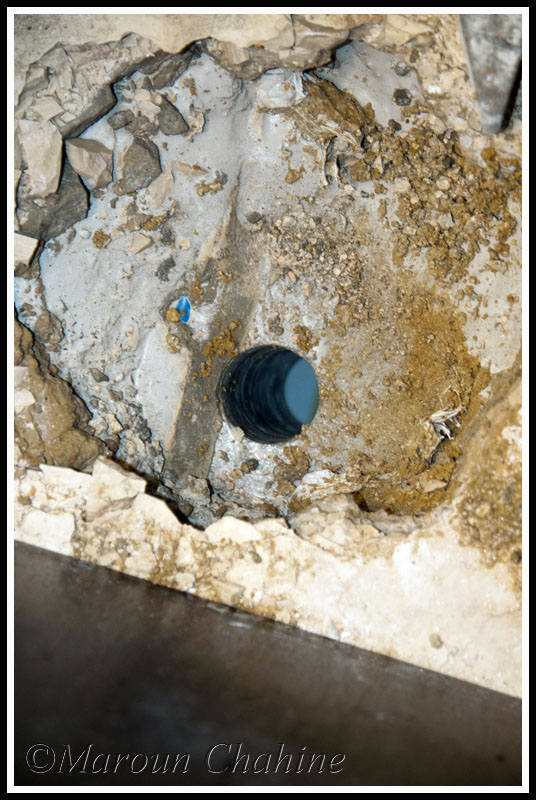
And the project that has been delayed the most: Drilling the floor for plumbing and electrical from tank to the basement filtration!!!
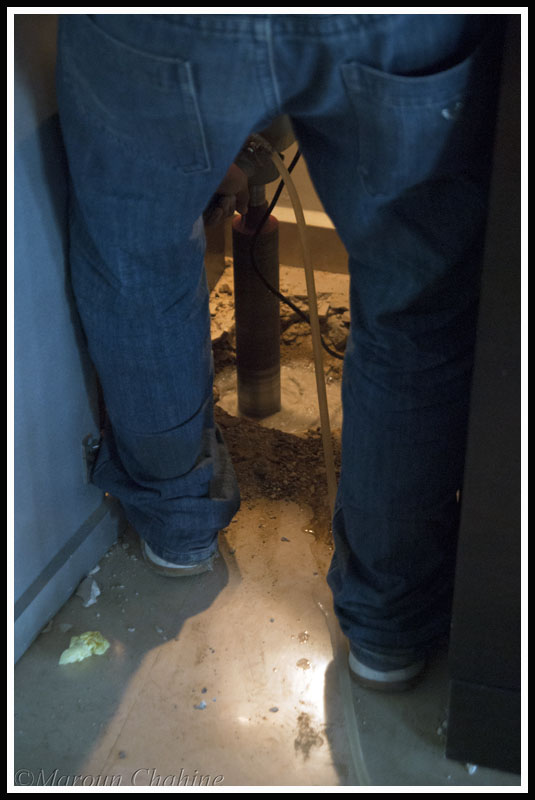
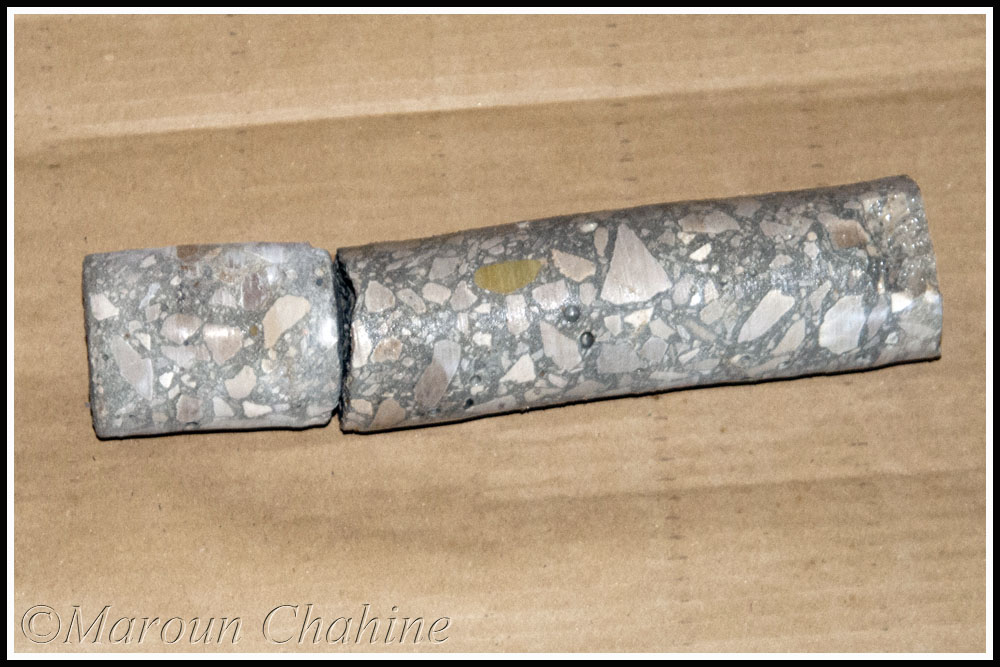
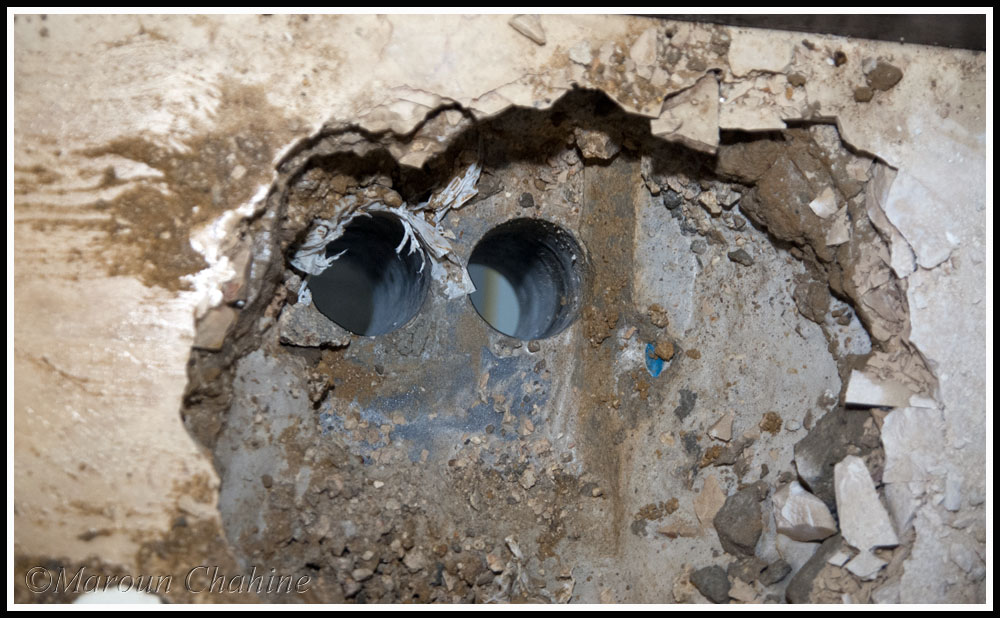
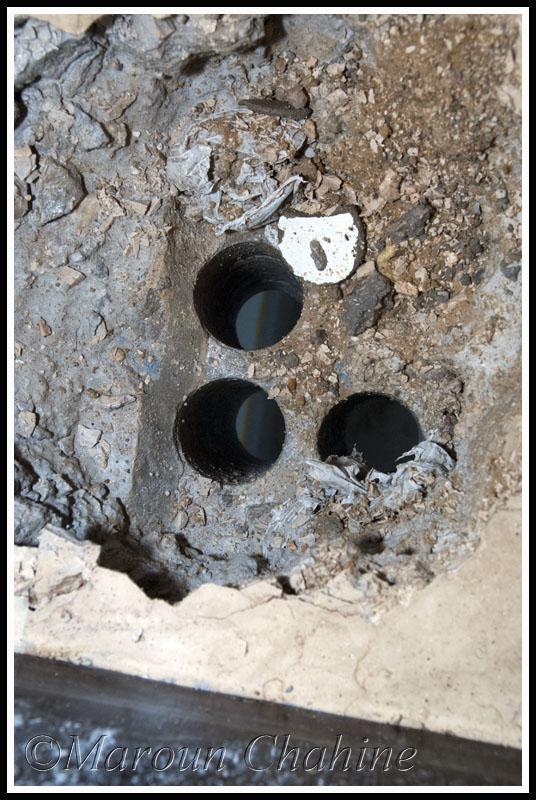
The bigger coring machine that would have gone through Marble, cement, 4 inches of sand and 12 inches of steel reinforced cement didn't fit in the cabinet so they had to manually take off the marble, cement and sand.
In total 3 holes were drilled on the left side (2 1.5 inch crain tubes and an additional for an additional drain if needed or more electrical or ventilation inlet...) and 2 holes on the right for 2x 1.5 inch returns and some more electrical tubes) Each hole took around 40 minutes. wasn't as messy process as I thought due to the initial hole made by taking out the marble which contained all water for cooling and minimized splashing. Still a real test for how far you can stretch your WAF.
Thanks Dr Ernesto, would be a pleasure to show you the setup.
The metal is steel bars in the cement. I knew the tank is positioned over some horizontal pillars, I checked it with an architect and got confirmation that we can drill through those. its amazing how that drill bit cut through sand, cement, and steel!!!
Wow 1.5 years since the last update!!! Time flies.
A lot has been done since then unfortunately it hasn’t been an easy ride nor anything to be proud off.
To start with, connected the system to the basement setup which was cycled and run for 6 weeks to avoid issues and still it resulted in a nasty bacterial bloom that went on for days luckily not killing anything.
Following that the 2x Iwaki WDRT70 which were supposed to provide around 2000 GPH gave less than half which affected my skimmer performance for months till I got that fixed (aquarium pressure pumps not available here as we don’t have basements typically…)
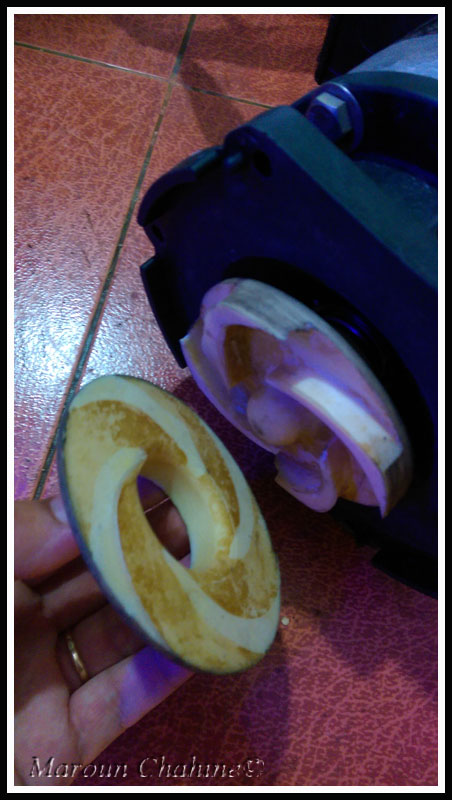
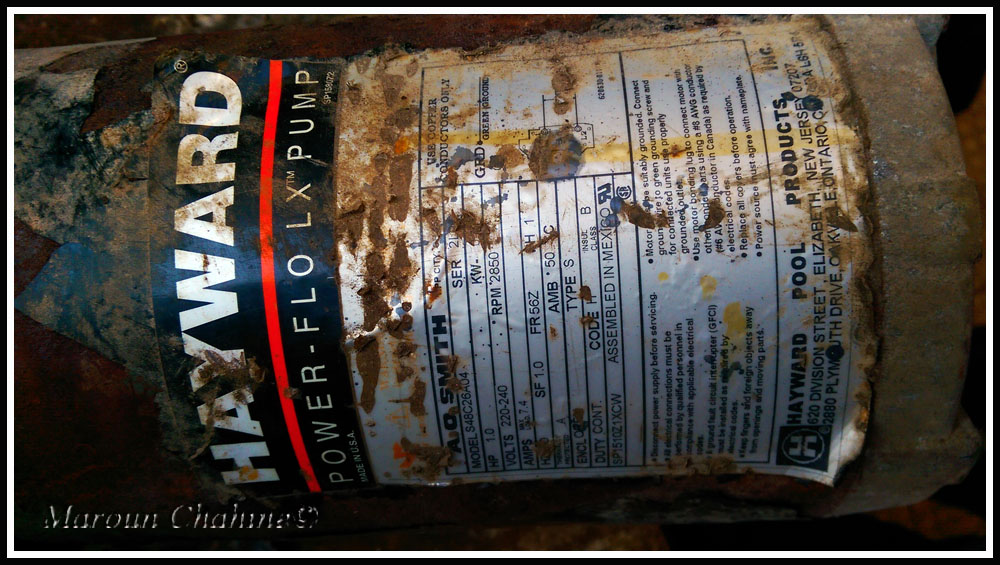
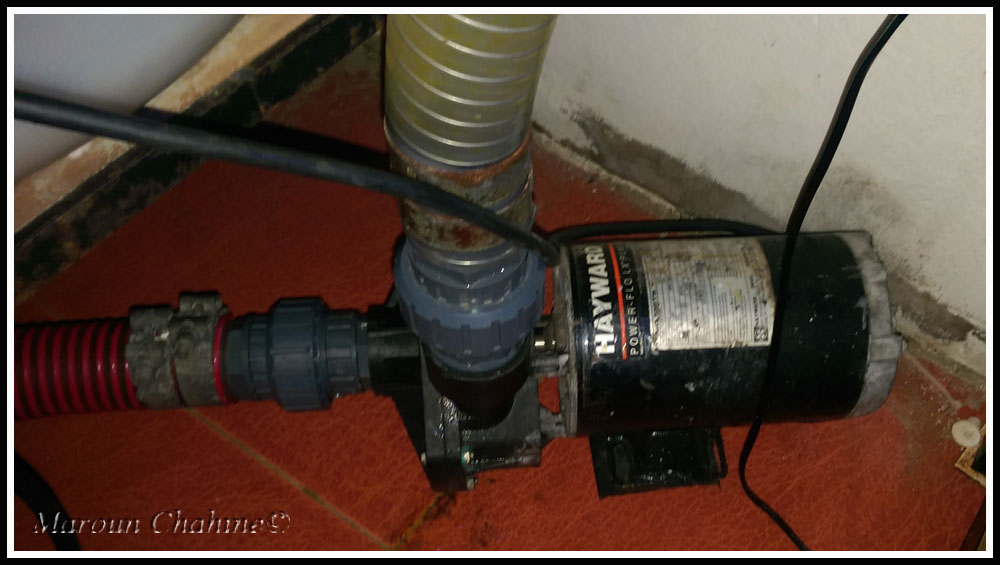
Ended up shipping a MantaRay which finally got me the flow I wanted. Unfortunately the pump struggled with bearing issues at the 6 months mark. Customer support was good in providing replacement parts and shipping across the globe… yet the fix didn’t go fine and the pump failed again with shattered internal parts after the fix which took again spare parts and modifications to fix it only to leak again and come up with a broken impeller . At this stage found a very old and used Hayward Pool pump which I sent for an overhaul (seals bearings…) and it’s done an excellent jo since then. I’m in touch with Reeflo for a 2 pump alternative and also with Hayward for another newer pump to have peace of mind. This is a major concern but at least I have a backup in case things go bad using the Iwakis inline instead of parallel which gave me nearly double the performance.
Heres' how the used replacement looked: Scary to trust on a tank