


MJ’s Waterbox 100.3

Mattiejay6

2500 Club Member
View Badges
Joined
Aug 19, 2013
Messages
2,764
Reaction score
2,169
Location
Fredericksburg
Rating - 0%
0   0   0
Well the time has come to start this thread! I Have been in the reef hobby since about 2012 and absolutely love it! I took about a 4 year break to play catch up in life with some new career choices and am now finding its time for me to come back! Lots of things seem to have changed with coral and fish availability so it’s pretty neat and interest with starting over!

My goal with this tank is to make it pretty hands off and low maintenance as best as possible. I’m currently waiting ecotech products before I can get it wet, but I do plan on cycling it for about 3 months with nothing but ambient light. I’ll introduce a pair of clowns during this process and maybe another fish or two but that’ll be about it.

This will be a mixed reef tank of some LPS, some SPS and zoas. I am going Sandless with an ABS bottom.

specs:

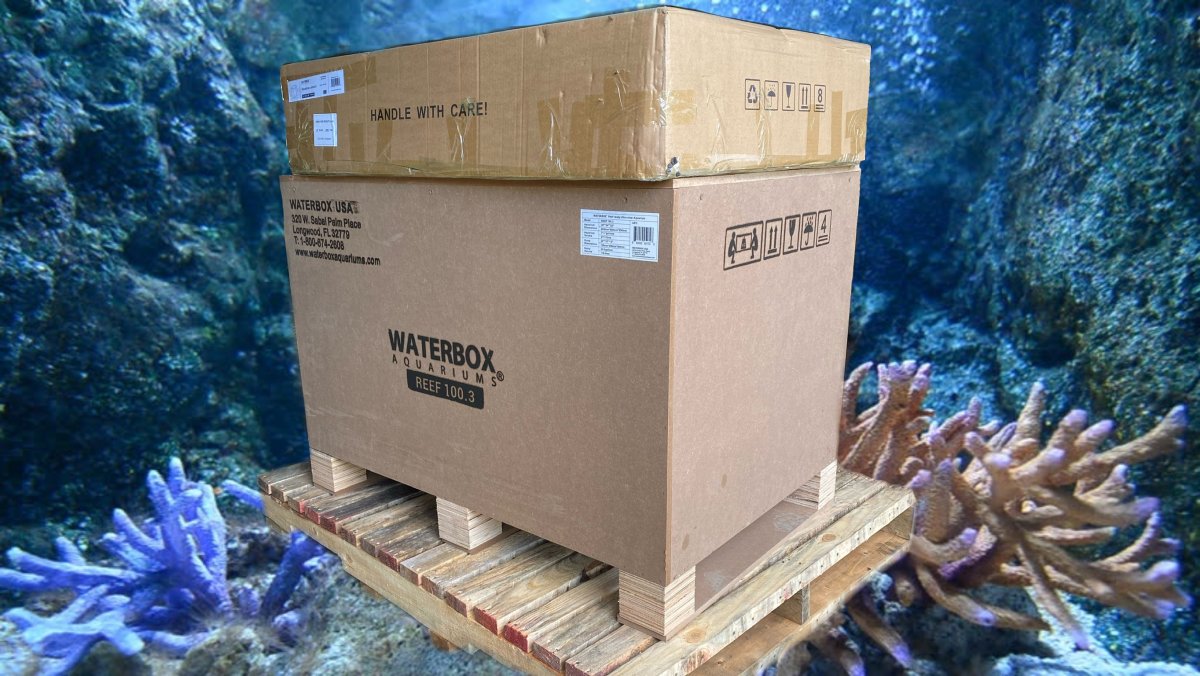
Waterbox 100.3 system
(2) Ecotech XR15 Blues w/RMS tank Mount
(2) Ecotech Mp40’s
Ecotech Vectra M2 Return Pump
NYOS 160 Skimmer
(2) BRS Titanium Heaters with Inkbird controller
(Waiting on an Algae scrubber from Turbo)
TMC Vecton 600 UV
(2) MarinePure 8x8x4 blocks in sump
Tunze Osmo for top off
AutoAqua Smart security sensors for redundancy
(2) Kasa WiFi Power Bars
TopLids Aquarium Top

803E88ED-DB06-4C7D-A3B5-D0C3F0AB4C3A.jpeg
 
Putting the stand together was pretty straight forward. There was some quality control issues, but Waterbox sent me a replacement within a few days and I’m very happy with the customer service. I did buy some Strong tie brackets used in construction just to add a little extra rigidity for my own sake of mind. I don’t think it needs it, but I figured why not. I build houses for a living and we use the heck out of them.

let’s talk about the tank! The seams and glass are phenomenal. I truly love the look of this tank. The 1/2” glass and glass overflow is spectacular. Ok very very happy!

The sump glass is great as well and gives me plenty of room for the filtration I want to run.

plumbing was very clean. I did build my own manifold and it was a breeze. Even though the plumbing is metric they included an adapter to standard where the manifold will be going.
Anyway here is tue pics of the assembled tank.

I did add a luminoodle LED strop to the bank of the tank for accent and a luminoodle click inside the stand for light.

E60F2766-2E09-4361-B623-C57C2CAC9885.jpeg
E72ABCEF-DFAB-457B-99AD-92DC6442E4DB.jpeg
 
I saw a couple videos on BRStv where Ryan was messing with breaking rock up and glueing/mortaring it back together in cool funky shapes. Well it motivated me to give it a try. Now I didn’t really go to the extent they did, but I did buy a couple boxes of Carib sea arches, 2 shrooms and some rock. I took a hammer and chisel break up the rock and slowly started creating my rock scape.

I used a lot of GEL Super Glue with instant activator to initially set the rocks, then I used Marcos Pink Hydraulic Cement to then fill all the joints in. I did two main structures should I need to break down and move this tank.

I am also a Star Wars fan and couldn’t help but add in a storm trooper skull into the scape from Jestersix! Check it out and thanks for looking!
238214E4-B8CA-41EA-A254-D608BA0AC7C0.jpeg
FF86793C-68AF-441B-A383-441CCE79474D.jpeg
06CFAED8-9FEC-4A50-824C-58DF4CB80680.jpeg
99017E7D-76C3-4809-A7B4-49D8A15AB214.jpeg
BC427A30-3BDE-45D7-8E86-1A75672AA84A.jpeg
 
Putting the stand together was pretty straight forward. There was some quality control issues, but Waterbox sent me a replacement within a few days and I’m very happy with the customer service. I did buy some Strong tie brackets used in construction just to add a little extra rigidity for my own sake of mind. I don’t think it needs it, but I figured why not. I build houses for a living and we use the heck out of them.

let’s talk about the tank! The seams and glass are phenomenal. I truly love the look of this tank. The 1/2” glass and glass overflow is spectacular. Ok very very happy!

The sump glass is great as well and gives me plenty of room for the filtration I want to run.

plumbing was very clean. I did build my own manifold and it was a breeze. Even though the plumbing is metric they included an adapter to standard where the manifold will be going.
Anyway here is tue pics of the assembled tank.

I did add a luminoodle LED strop to the bank of the tank for accent and a luminoodle click inside the stand for light.

E60F2766-2E09-4361-B623-C57C2CAC9885.jpeg
E72ABCEF-DFAB-457B-99AD-92DC6442E4DB.jpeg
I think I might steal this idea! Looks so good.
 
These tanks are so good looking even when they are empty. I stared at mine before I could get it wet. Looking forward to seeing updates!
 
Welp.. here is a little update.
I am waiting on all my Ecotech gear still, so I decided to cycle my display rocks in the DT. I am dosing ammonia and using frtizyme 900.

I have one of my marine pure sump blocks in there as well to get nice and established.

C72B4BF9-6C89-4B0B-BB52-E736A7818017.jpeg
 
U have to hook me up with the manifold parts list. I also have the Waterbox 100.3 and that manifold looks clean! Looking forward to following along. I just ordered 2 of the smaller Marine block plates to stack under my skimmer. Let me know how the 2 mp40s go I feel like my mp10s are to strong most of the time with the Vectra pump.
 
U have to hook me up with the manifold parts list. I also have the Waterbox 100.3 and that manifold looks clean! Looking forward to following along. I just ordered 2 of the smaller Marine block plates to stack under my skimmer. Let me know how the 2 mp40s go I feel like my mp10s are to strong most of the time with the Vectra pump.

Parts List:
1- 24” x 1/2” sch 40 pipe
1- 1/2” male Thread adapter x 1/2” slip
2- 1/2” gate valves slip x slip
1- 1/2” slip x slip 90 elbow
1- 1/2” slip x slip x slip Tee
2- 1/2” spigot barbed fitting
1- 1/2” pipe hanger

So I’m sure the MP40’s probably are a bit of over kill, I am gonna put them potentially on the back glass and probably won’t run them too high.

What skimmer are you rubbing? I have the NYOS 160 and it says that best water height is 8” which is what the chamber should be at. So I’m gonna run two of the 8x8x4 blocks next to it since I am Sandless. However! I’m thinking of turning the ATO reservoir into a mini Mudd fuge. I have my RODI plumbed to my sump and don’t really need that space... probably will have TDS creep though, so I haven’t fully decided on this yet.
 
I’m running Reef Octopus 152s it also said 8 inches but I couldn’t get it working until I moved it up to about 6 inches. I bought a Skimz macroalgae reactor and it easily fit in next to my skimmer.
 
@BiKes100g I may end up needing to move this skimmer up some, but we will see. From the videos i have watched it seems 8” was the sweet spot but every tank seems to be unique in its own functioning way. Solid tip tho
 
My son (7) and I established a QT tank. My son really wanted some sponge bob stuff included and I figured this was the perfect opportunity. It’s a QT so who cares. Lol just clean them in between meds and fish.

85004594-9BBF-4A35-B175-E485444F137E.jpeg
 
Small simple easy update.

Cycle: The cycle is going well. It took 6 days for the ammonia to reach zero and be re-dosed and start the cycle again. So I am happy there!

Second thing is, I am waiting on all my Ecotech equipment still, but I did get in the TMC Vecton UV 600 and mounted that inside my stand, I had to make custom brackets to attach inside my stand to mount the UV the way I wanted it. I ordered some hard line plumbing adapters to get rid of the cheesy looking barbed fittings it comes with. They feel heavy duty, I just dont like the look of them.

Screen Shot 2020-08-20 at 6.28.01 PM.png
 
Small simple easy update.

Cycle: The cycle is going well. It took 6 days for the ammonia to reach zero and be re-dosed and start the cycle again. So I am happy there!

Second thing is, I am waiting on all my Ecotech equipment still, but I did get in the TMC Vecton UV 600 and mounted that inside my stand, I had to make custom brackets to attach inside my stand to mount the UV the way I wanted it. I ordered some hard line plumbing adapters to get rid of the cheesy looking barbed fittings it comes with. They feel heavy duty, I just dont like the look of them.

Screen Shot 2020-08-20 at 6.28.01 PM.png

Do you have an updated picture of the sump area? Would like to see how you have the UV plumbed now.
 

TOP 10 Trending Threads

Back
Top

Home
Post thread…
Market
What's new







