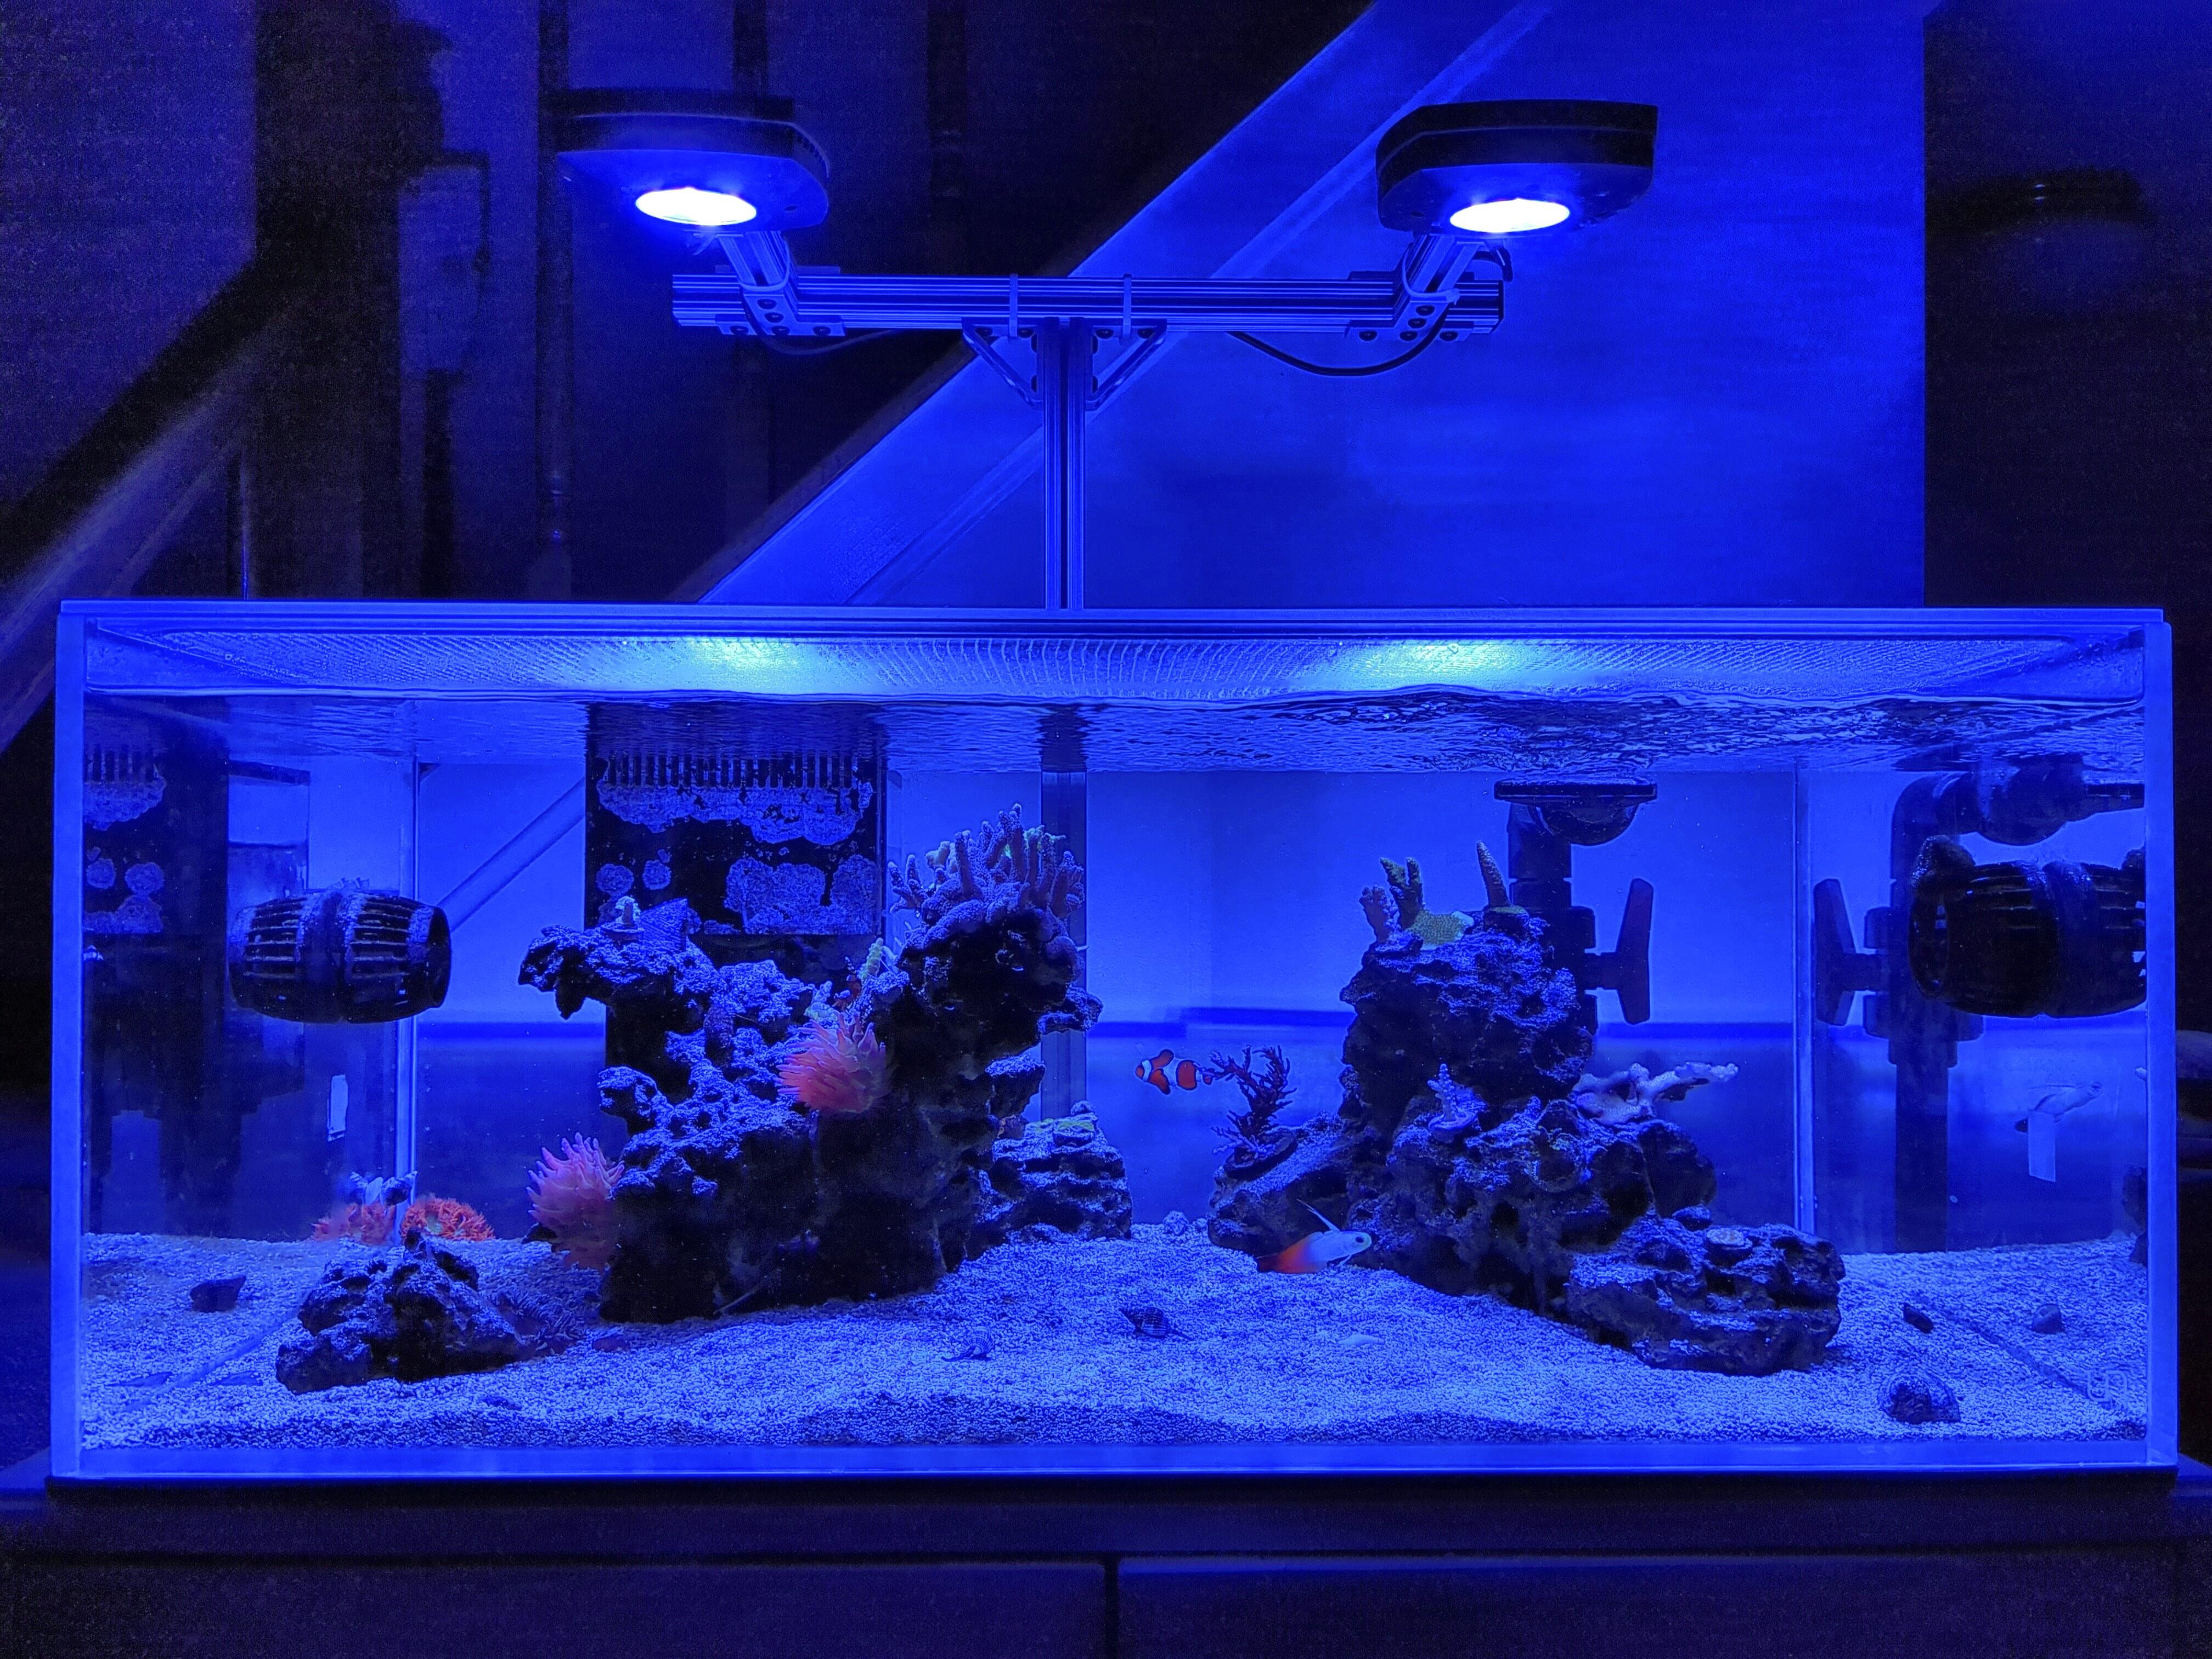
Sharing my modifications on an Ikea stand for my new build. I thought this would be helpful to show.
This stand will be used for a UNS 75s. My main focus is aesthetics. The stand must look like a regular piece of furniture and both my wife and I love Ikea designs. Knowing that their furniture is not likely to last a lifetime, modding it is a must. The first decision was to buy one of their "better" cabinets. Instead of furniture made of laminations, this one is made of solid wood. I wouldn't compare the density to higher end furniture but it is already built very well. The next consideration was how easy is it to mod. Having instructions posted online definitely helps.
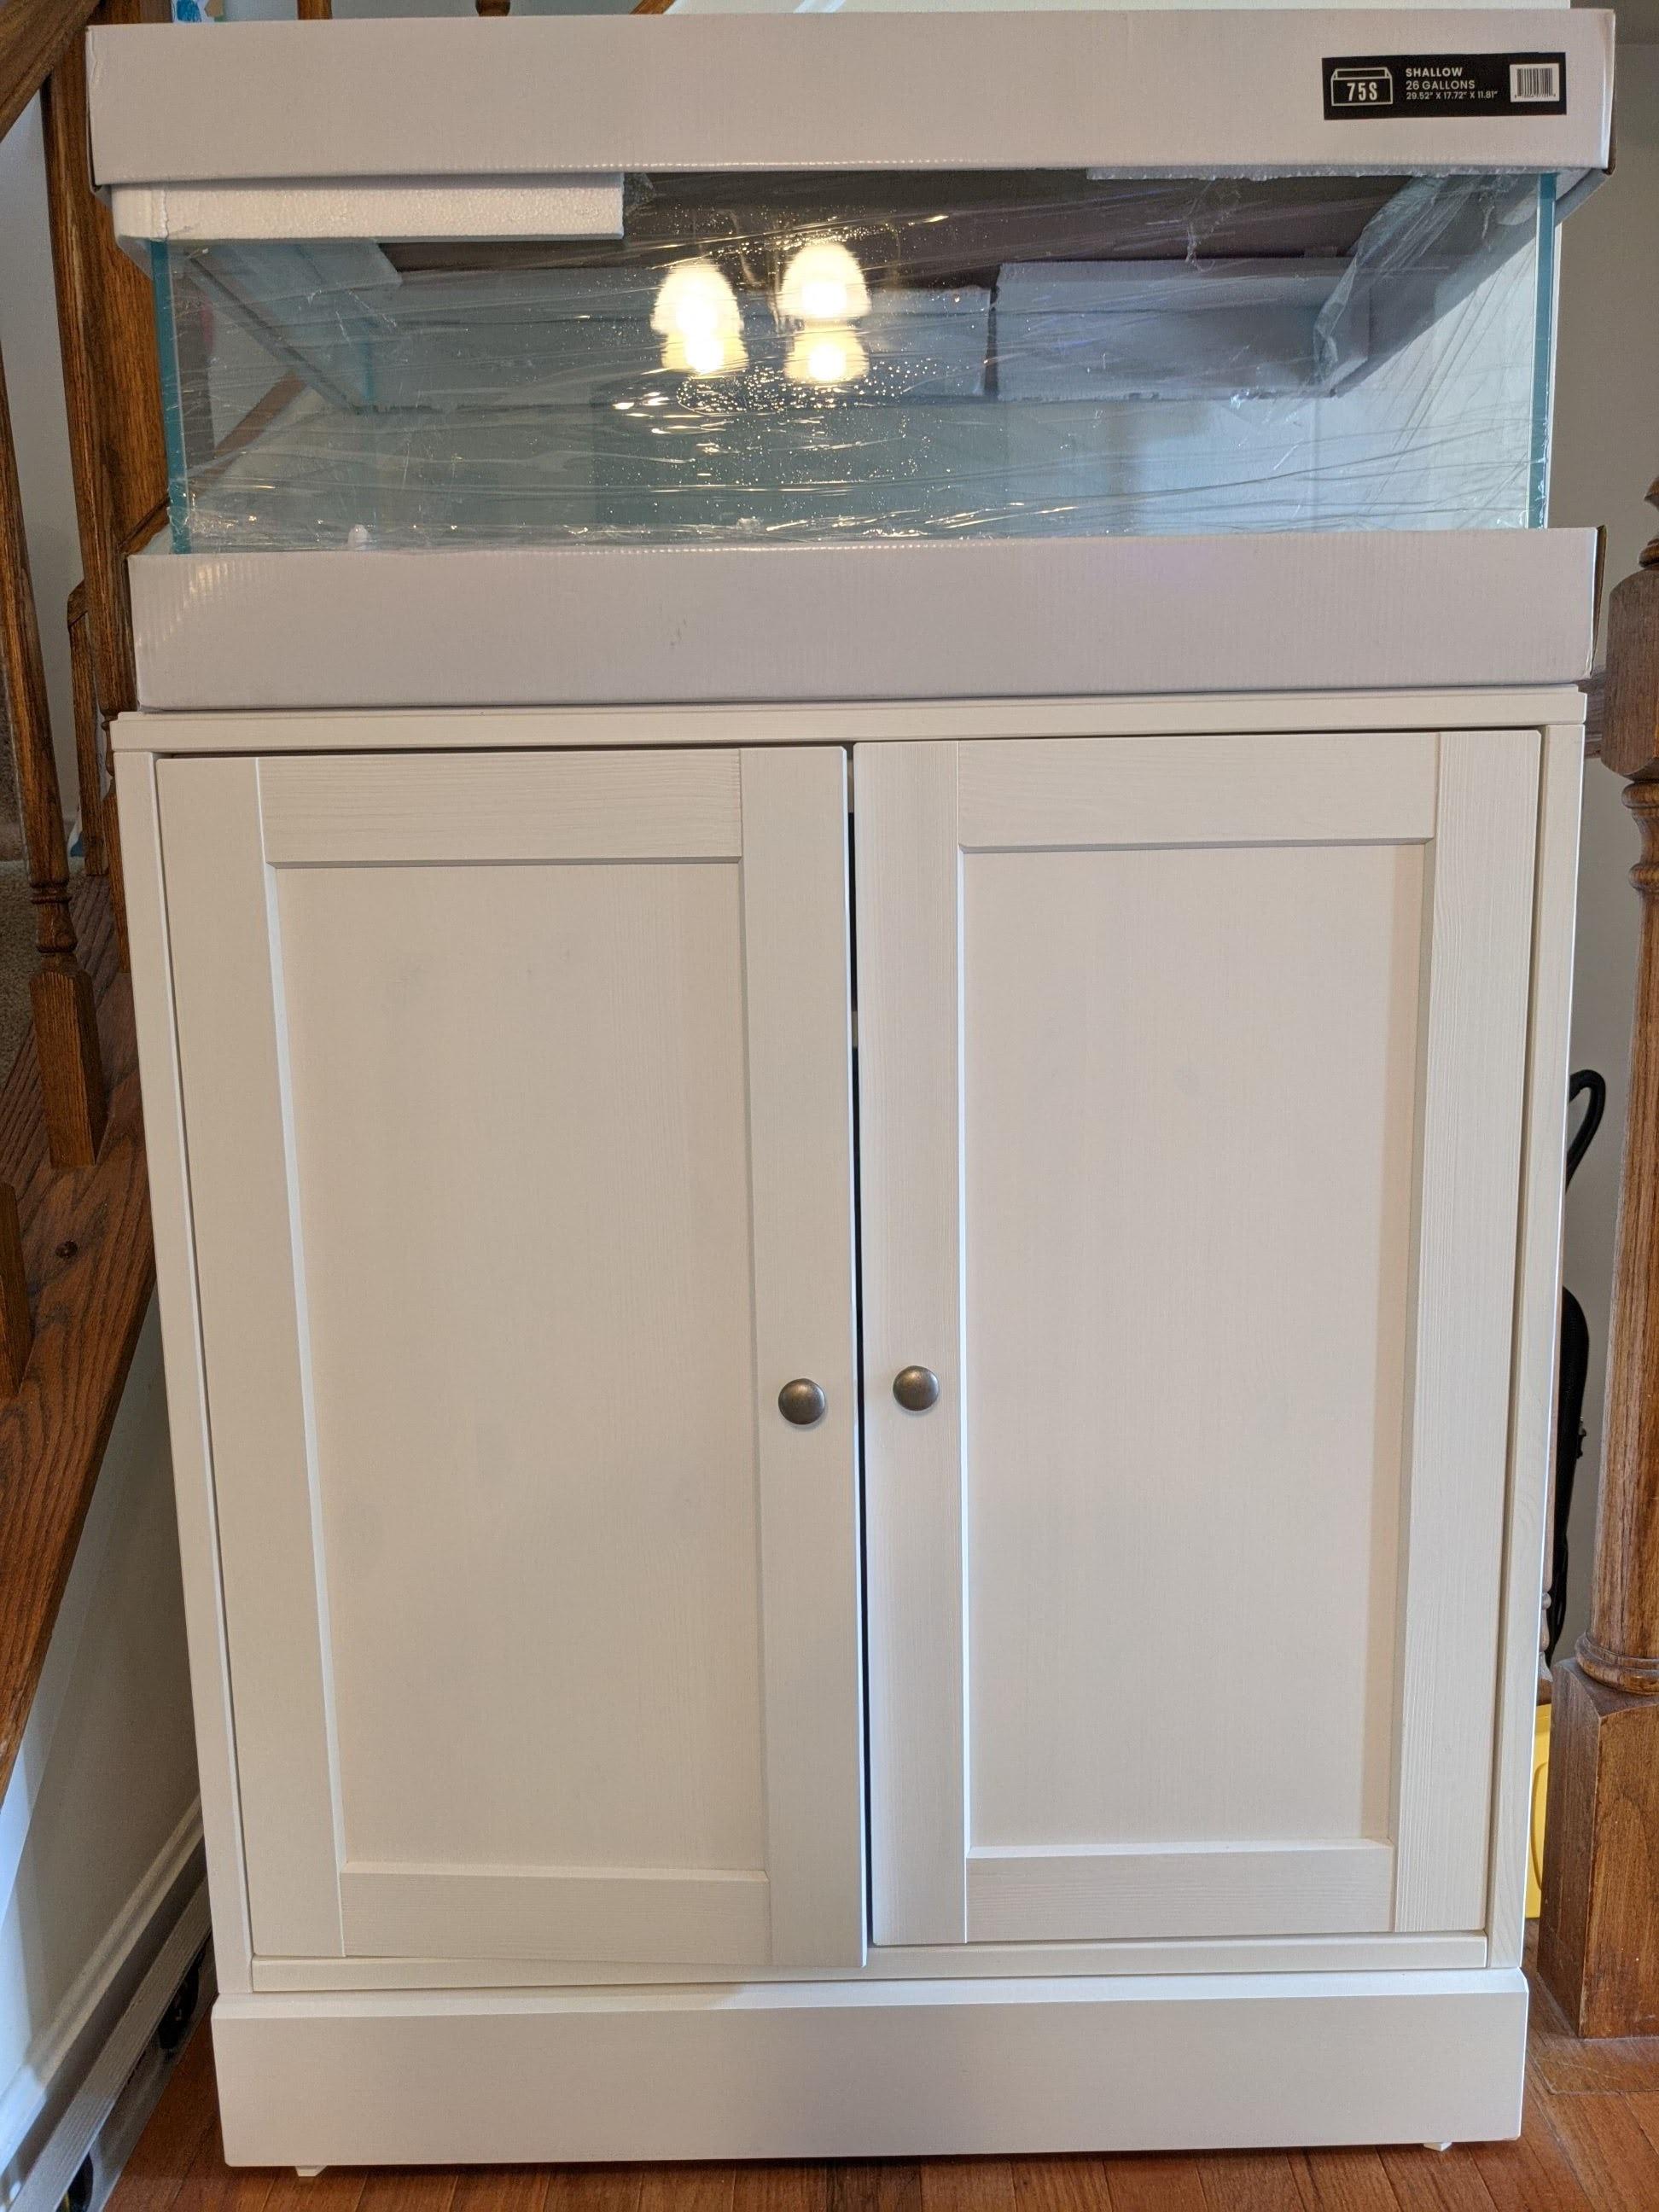
The "stand" is the Havsta. Since my new tank is shallow (12" H), I wanted the cabinet to be higher. I chose white because it matches almost perfectly to the newly added wood bracing without me painting.
The mods consists of extra steel corner braces and new wood placed in strategic locations. I'm lucky enough to be in the building construction industry and have easy access to structural engineers to help with any questions that are outside of my own knowledge. The main issue we have to worry about (usually) is not gravity load. Even the worse stands can handle it. The most important is lateral bracing. You want the stand to not twist. In order to do this, you have to attach sides to one another, preferably three sides together if possible.
The wood I used is pre-primed boards. The white is almost an exact match and since none of it was on an exposed side, I didn't really care. I put 1 board at the bottom to support the sump. This was not really necessary but I had the material. Then another smaller one to support the front top to prevent sagging. There is one in the back that will double as support for my light stand. The rest is all about lateral support. Picts:
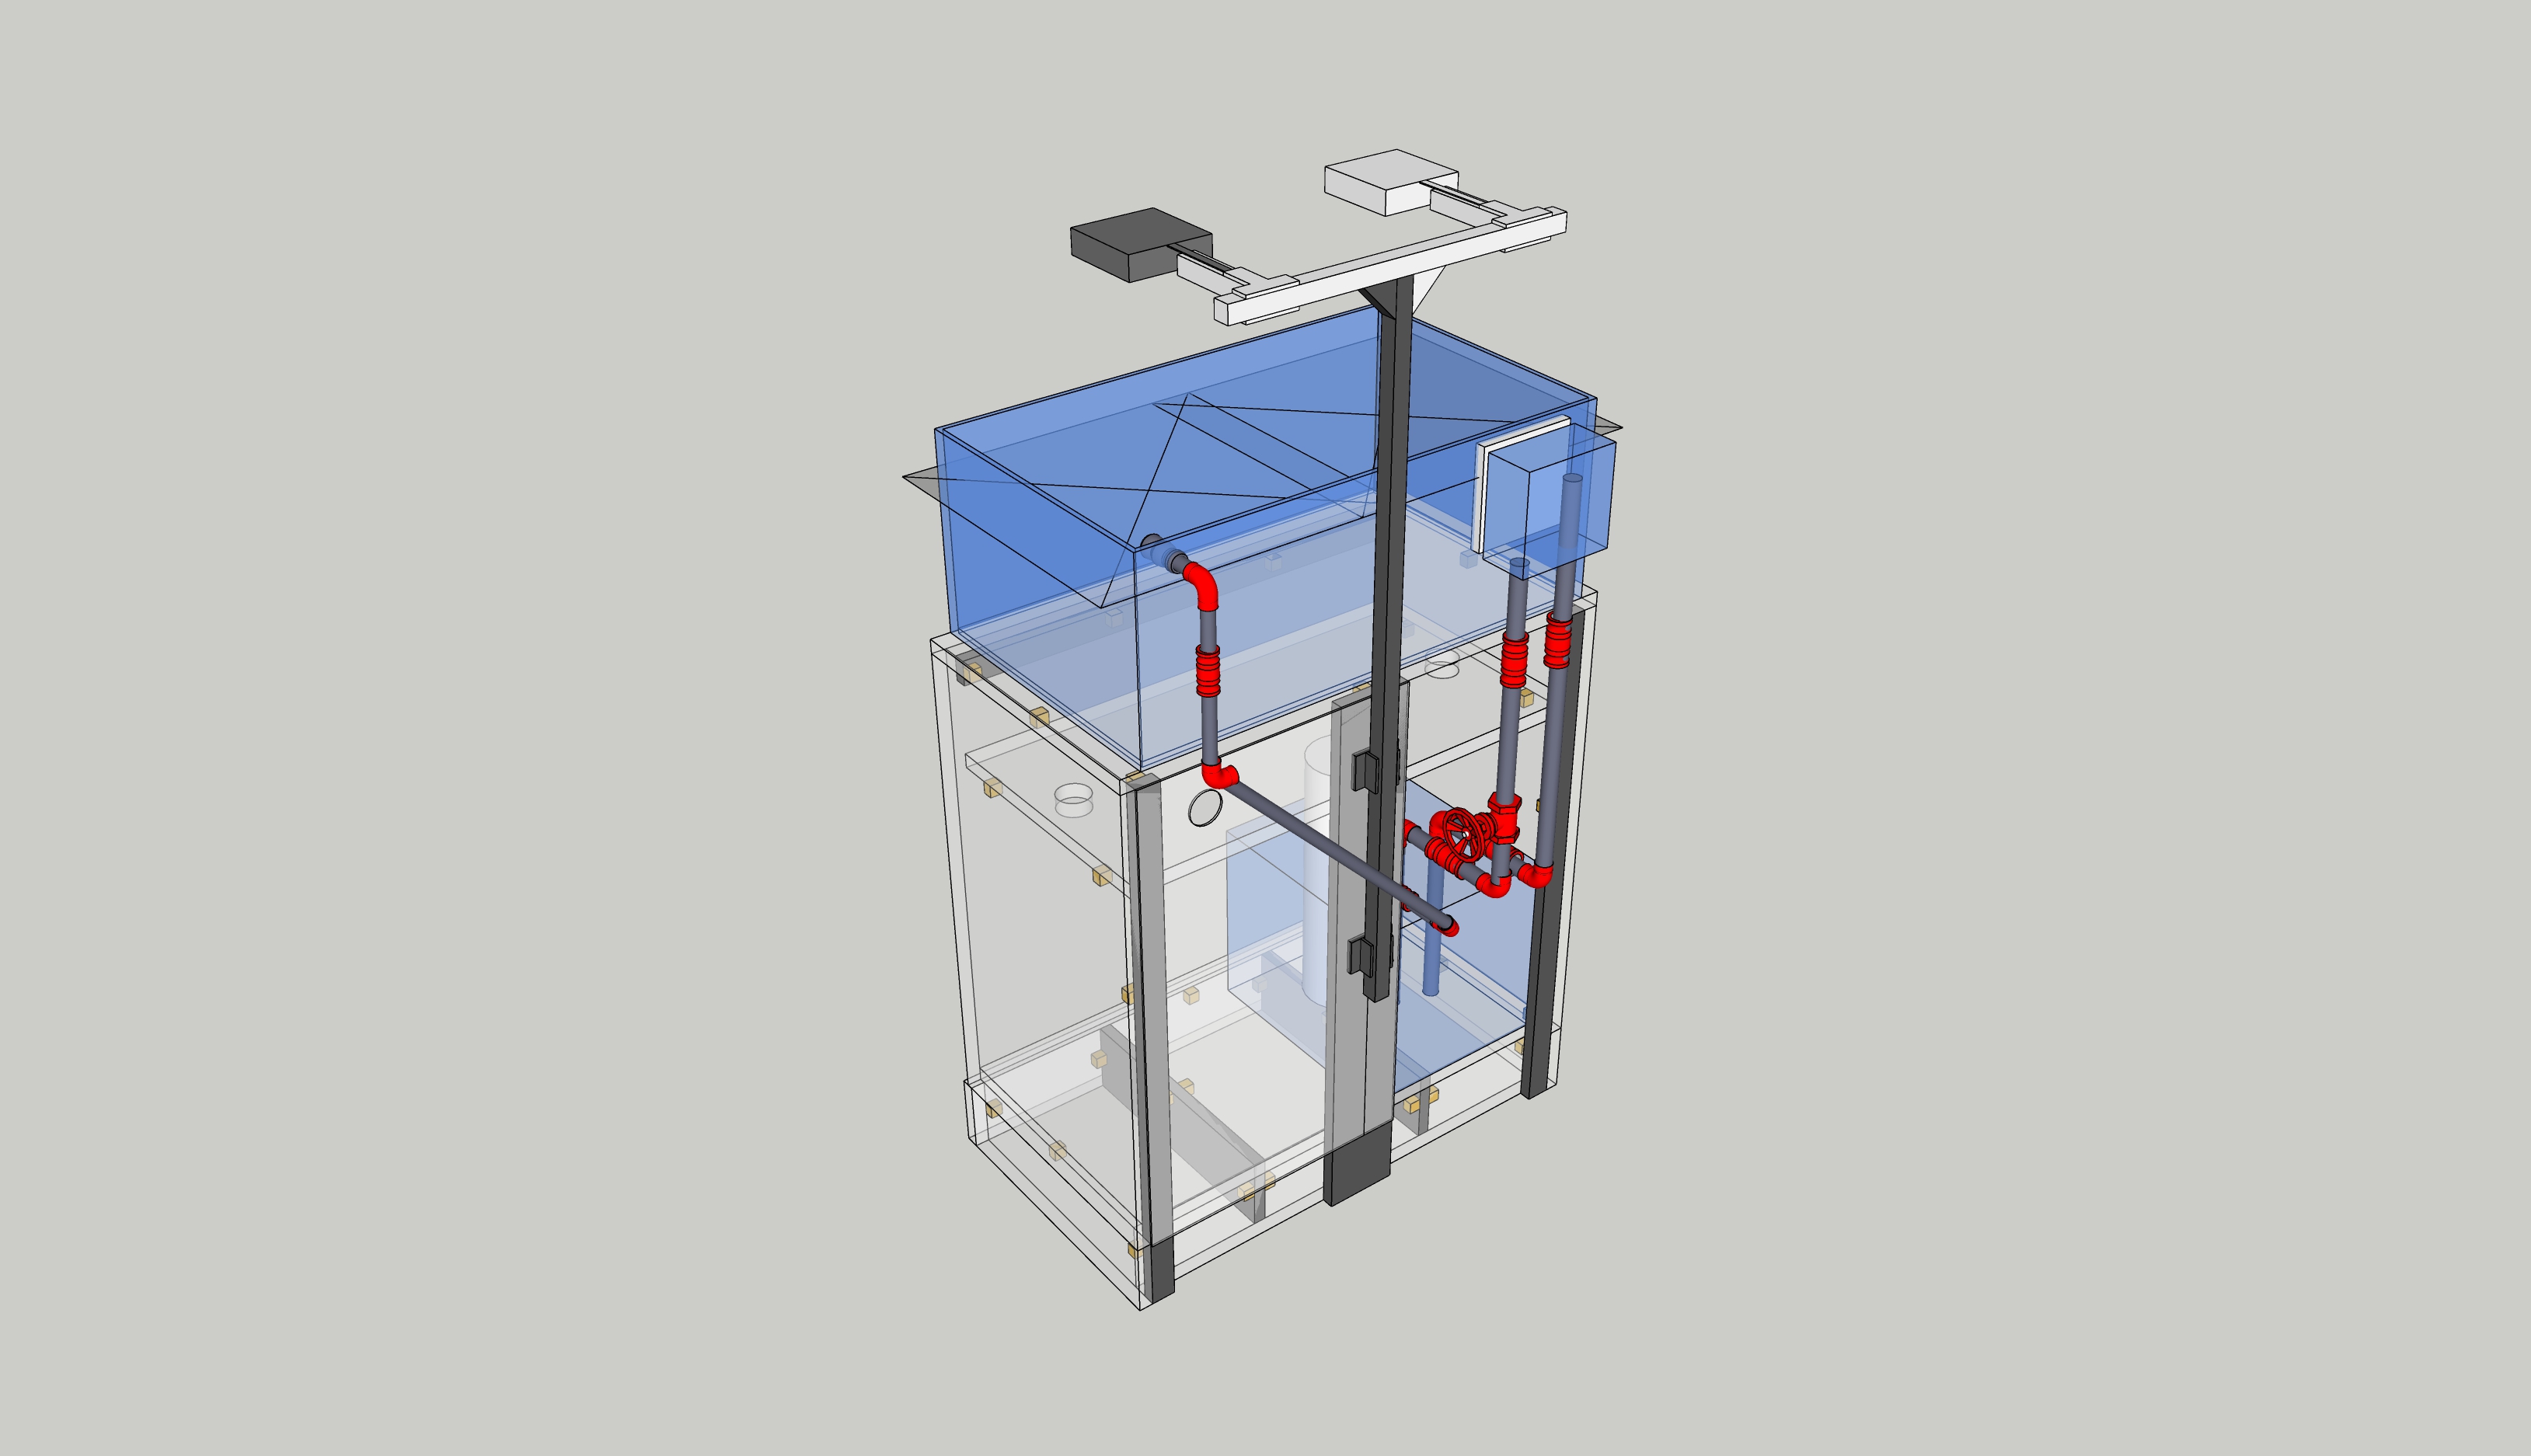
The plan. Solid gray is new wood, small yellow box are the bracings:
I only used 1 at the bottom, not the 2 shown here.
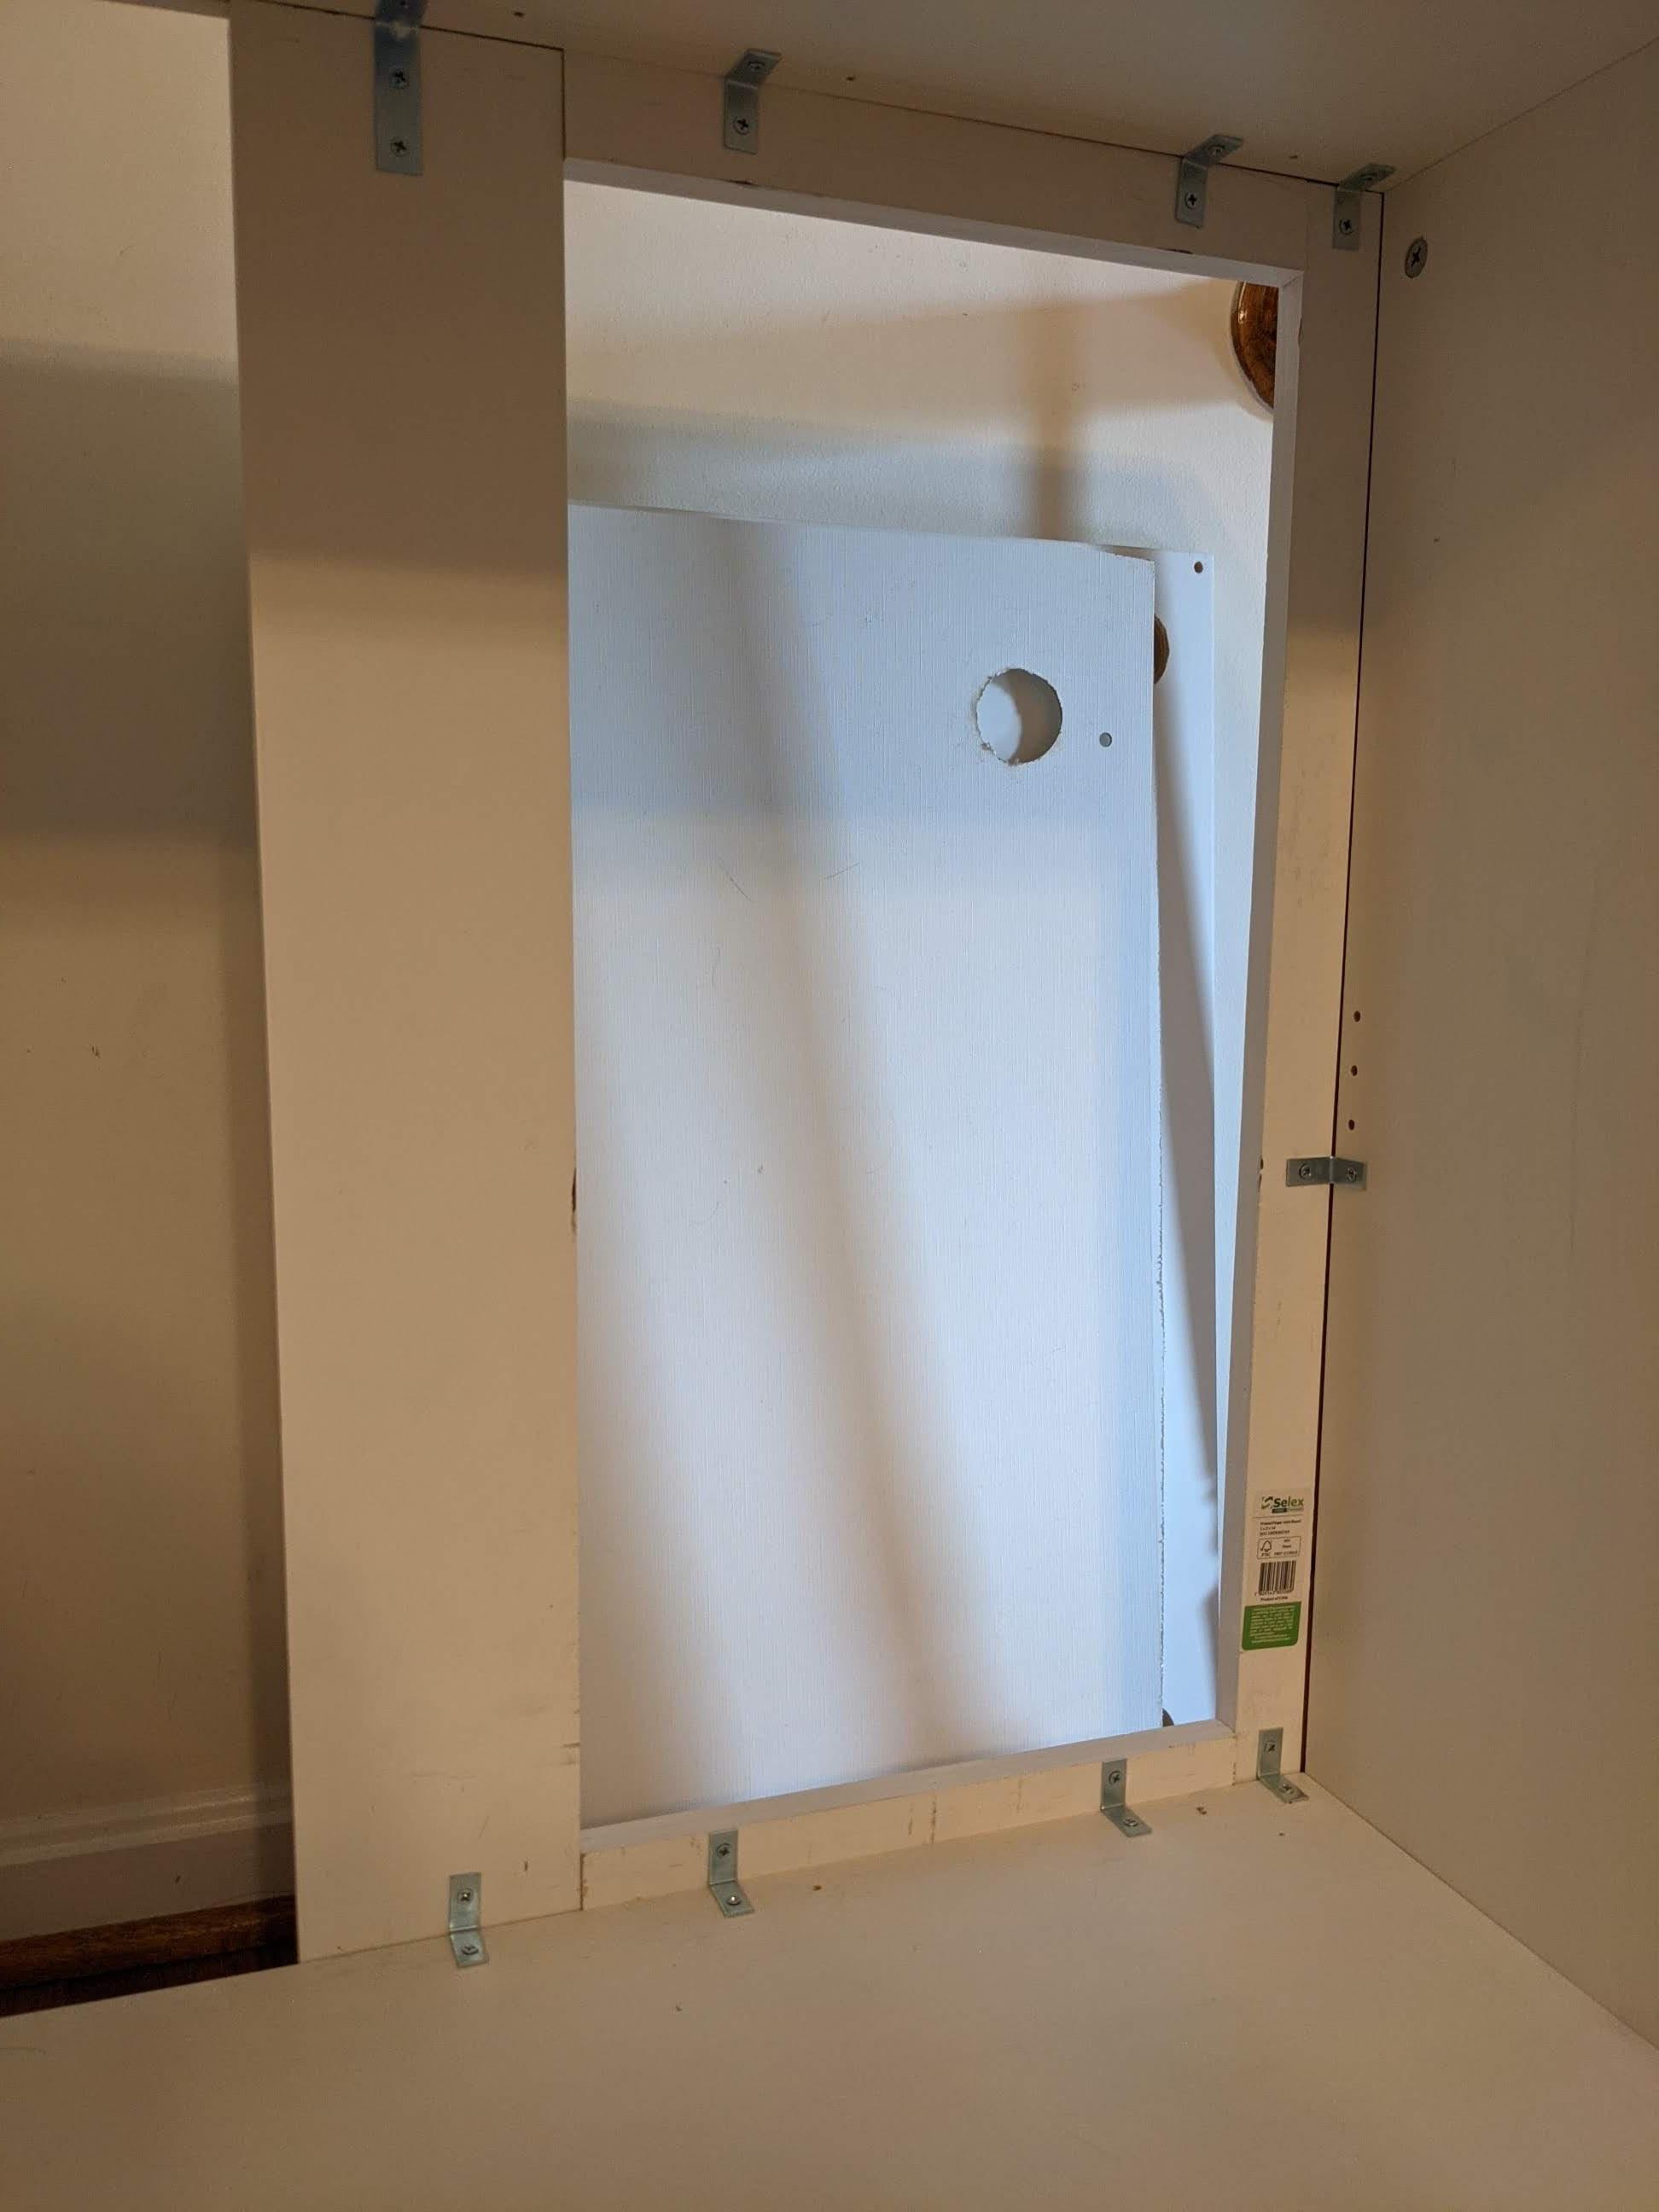
The right back, lots of bracing:
Full shot:
The bottom:
The shelf also helps:
The back:
The right side as shown is open for plumbing. The thin piece you often see is extremely important normally as it provides lateral support. In my case, it wasn't necessary but I didn't want the entire back to be open.
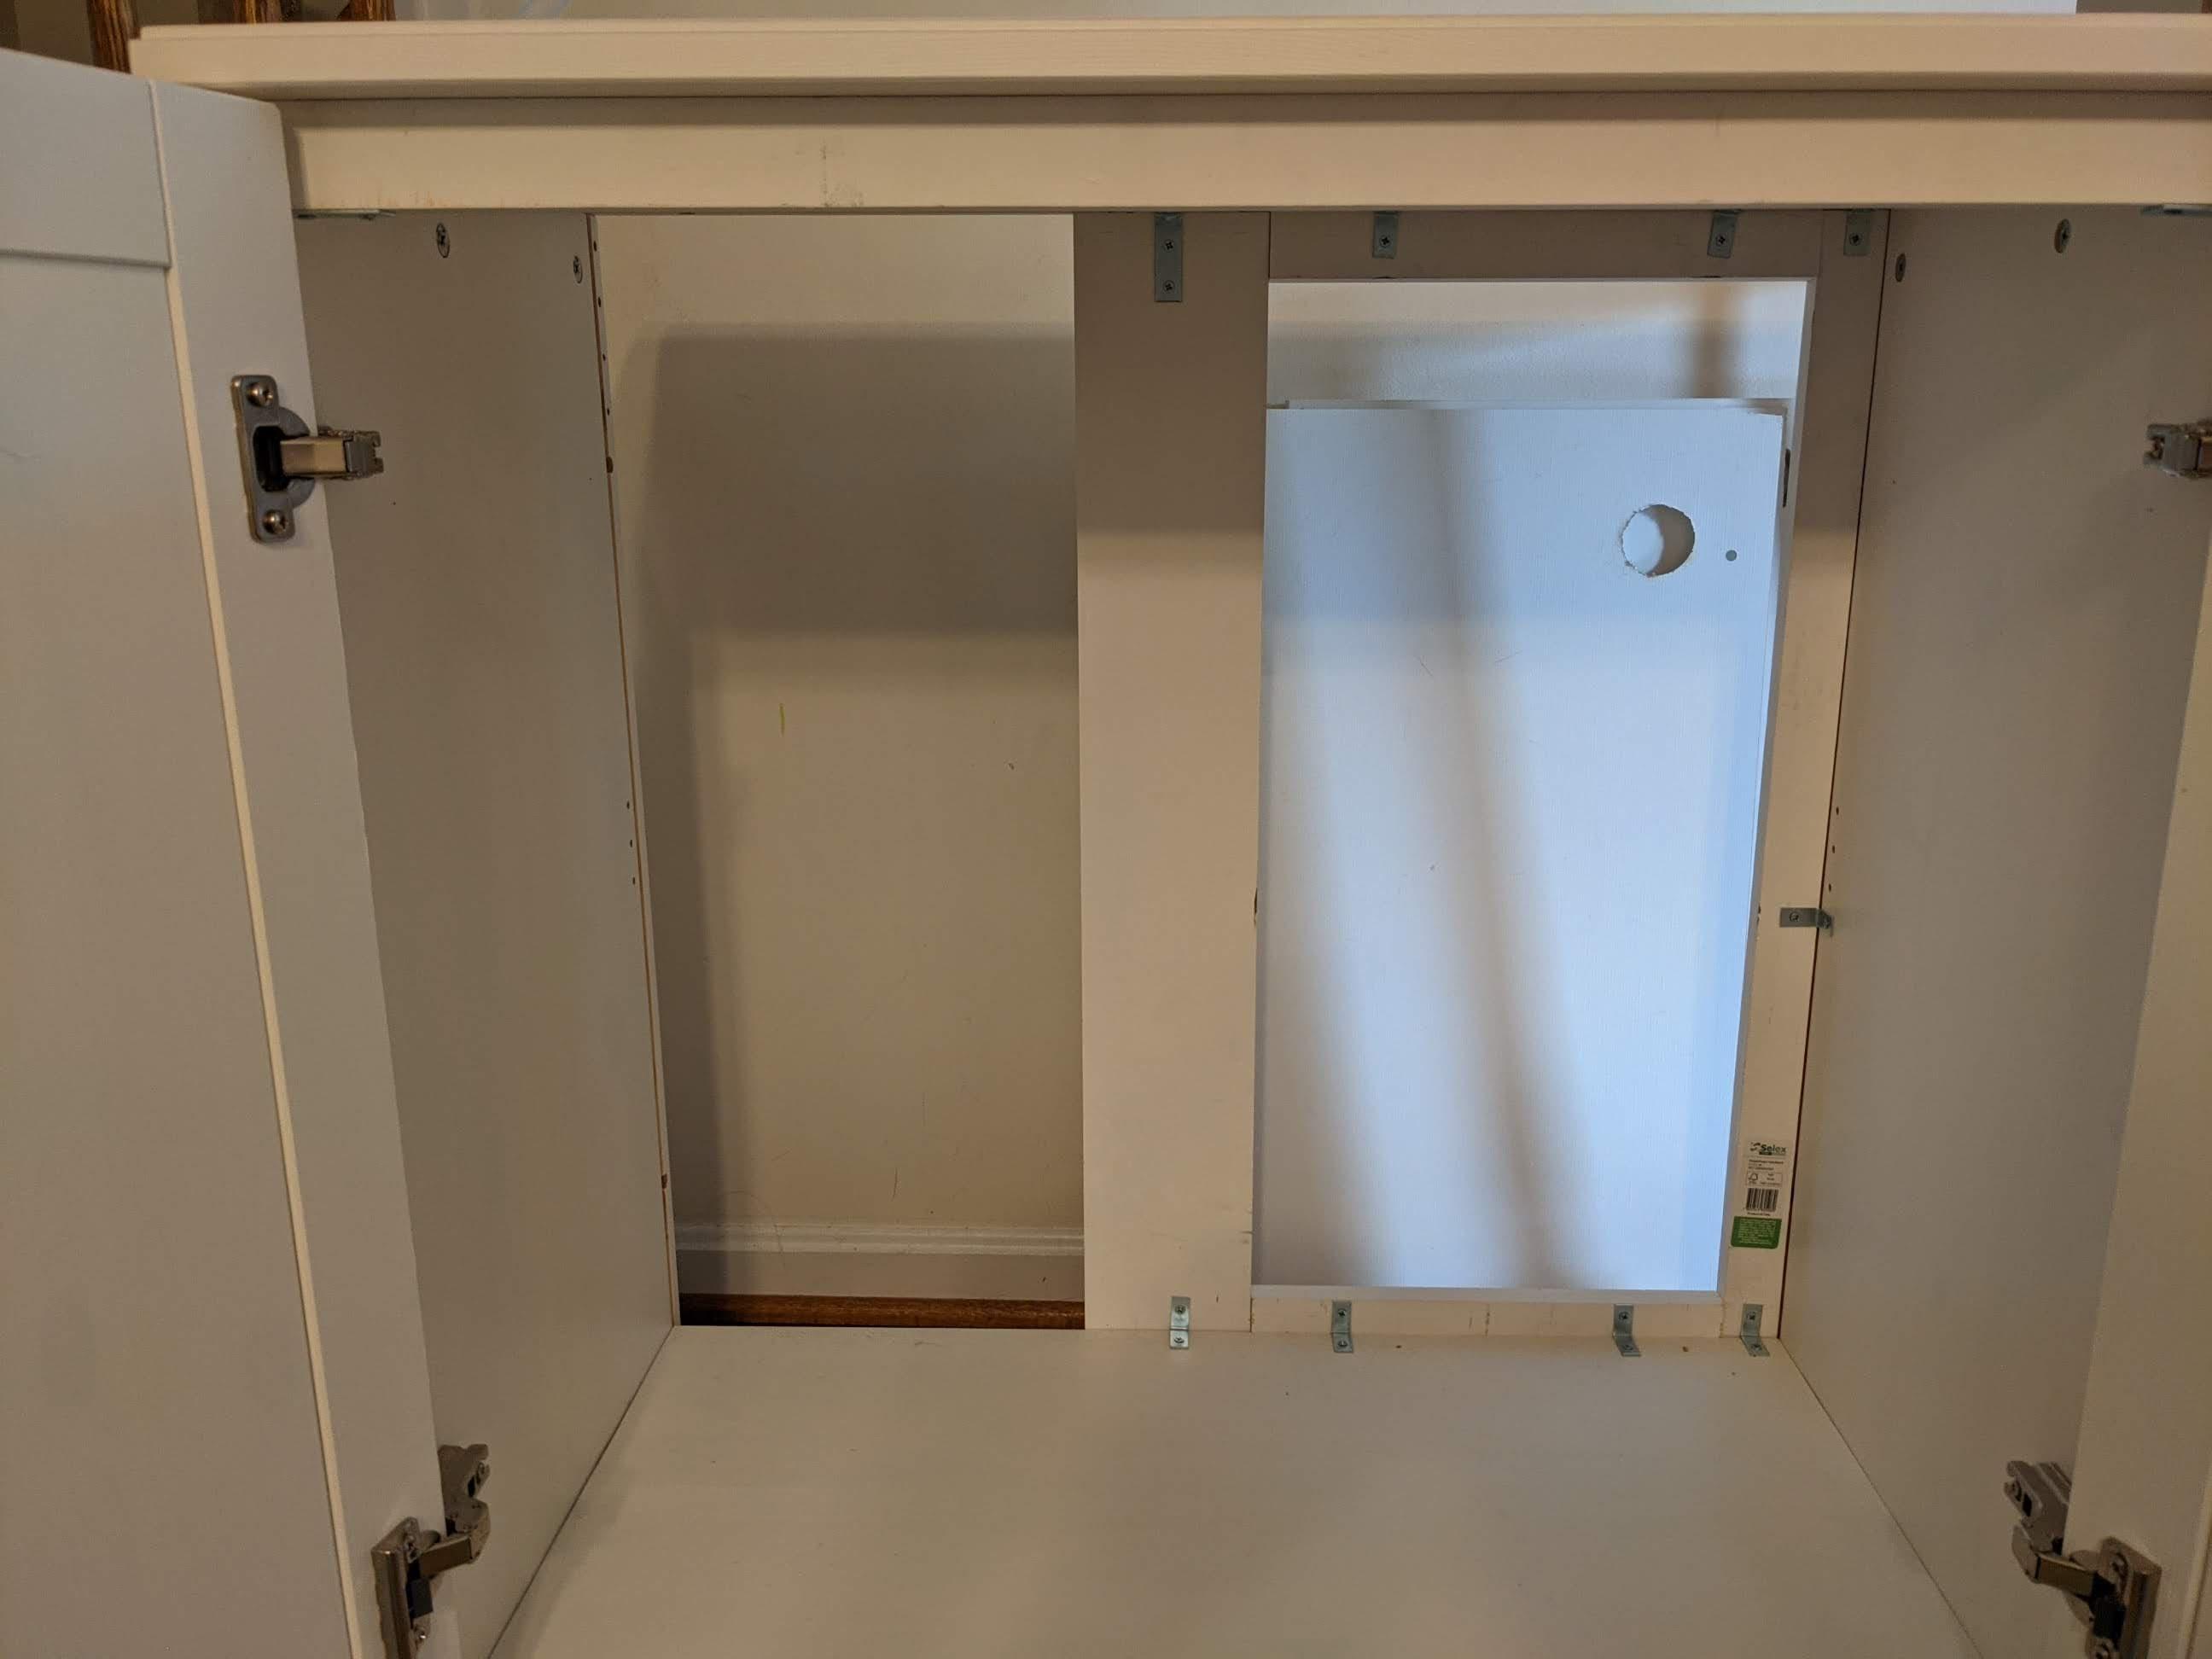
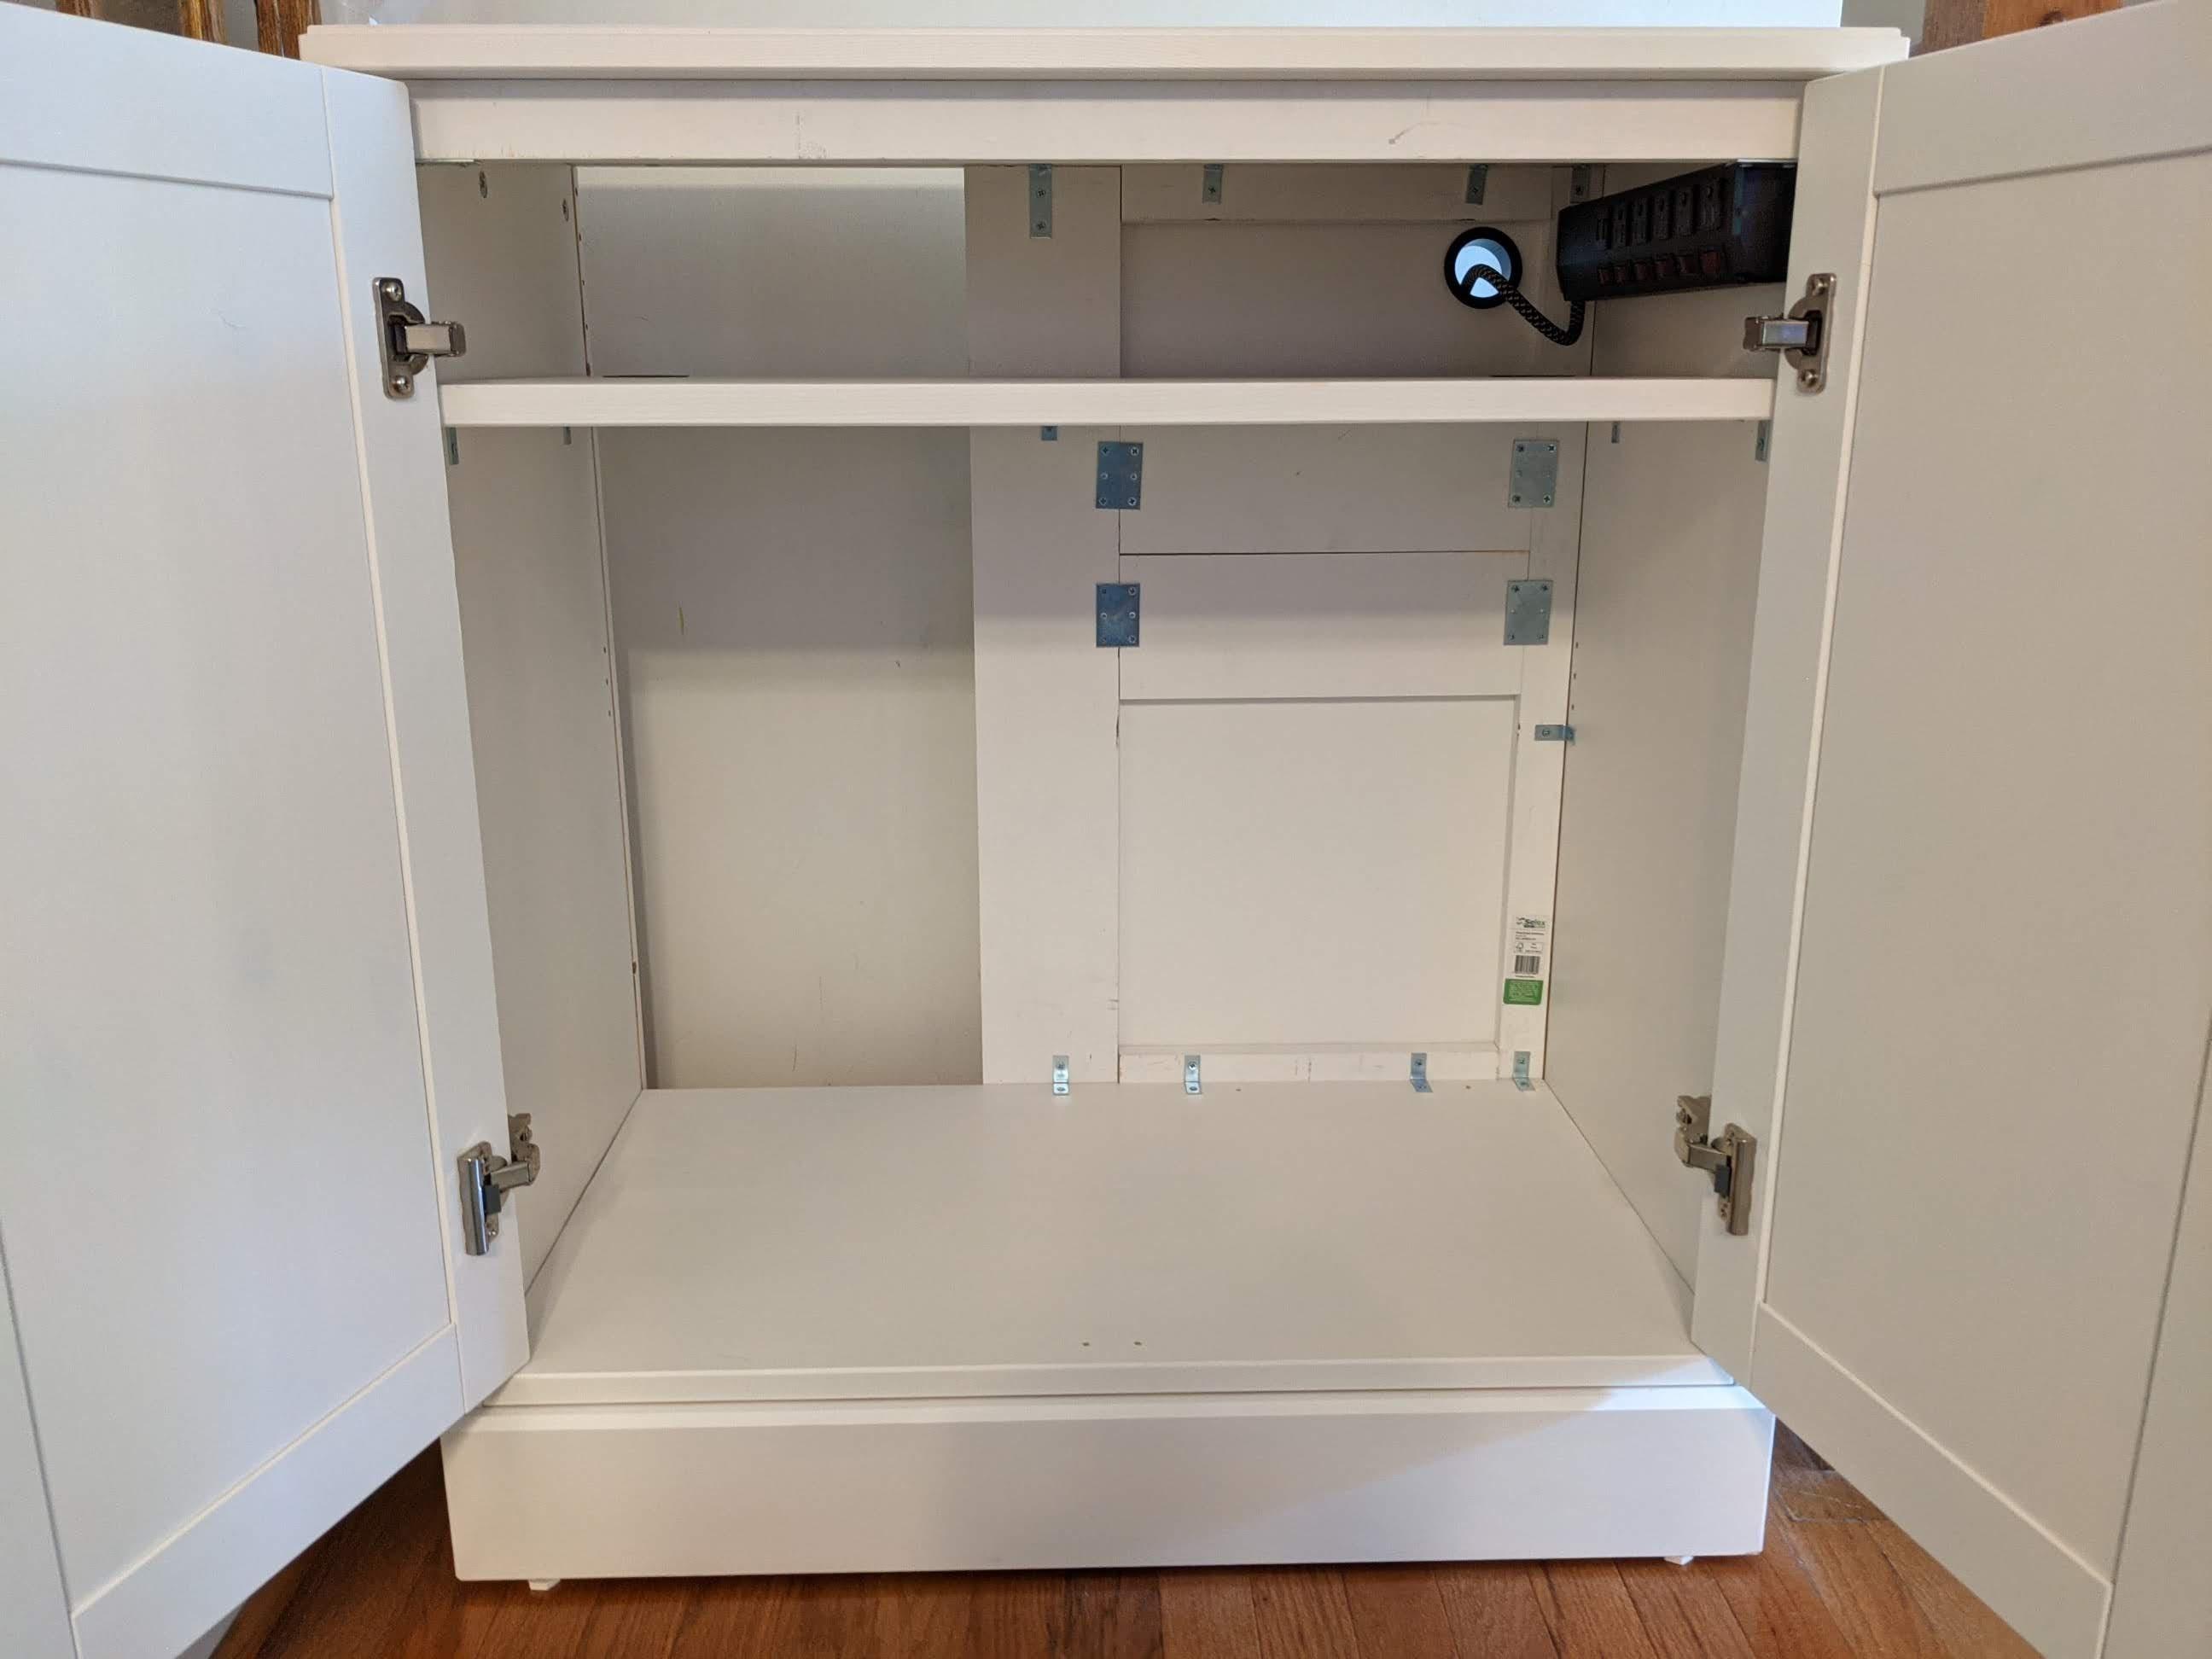
Just about done. I put 2 pieces on the right w/ mending plates. Those are for mounting of equipment. The inside:
With sump:
With tank:
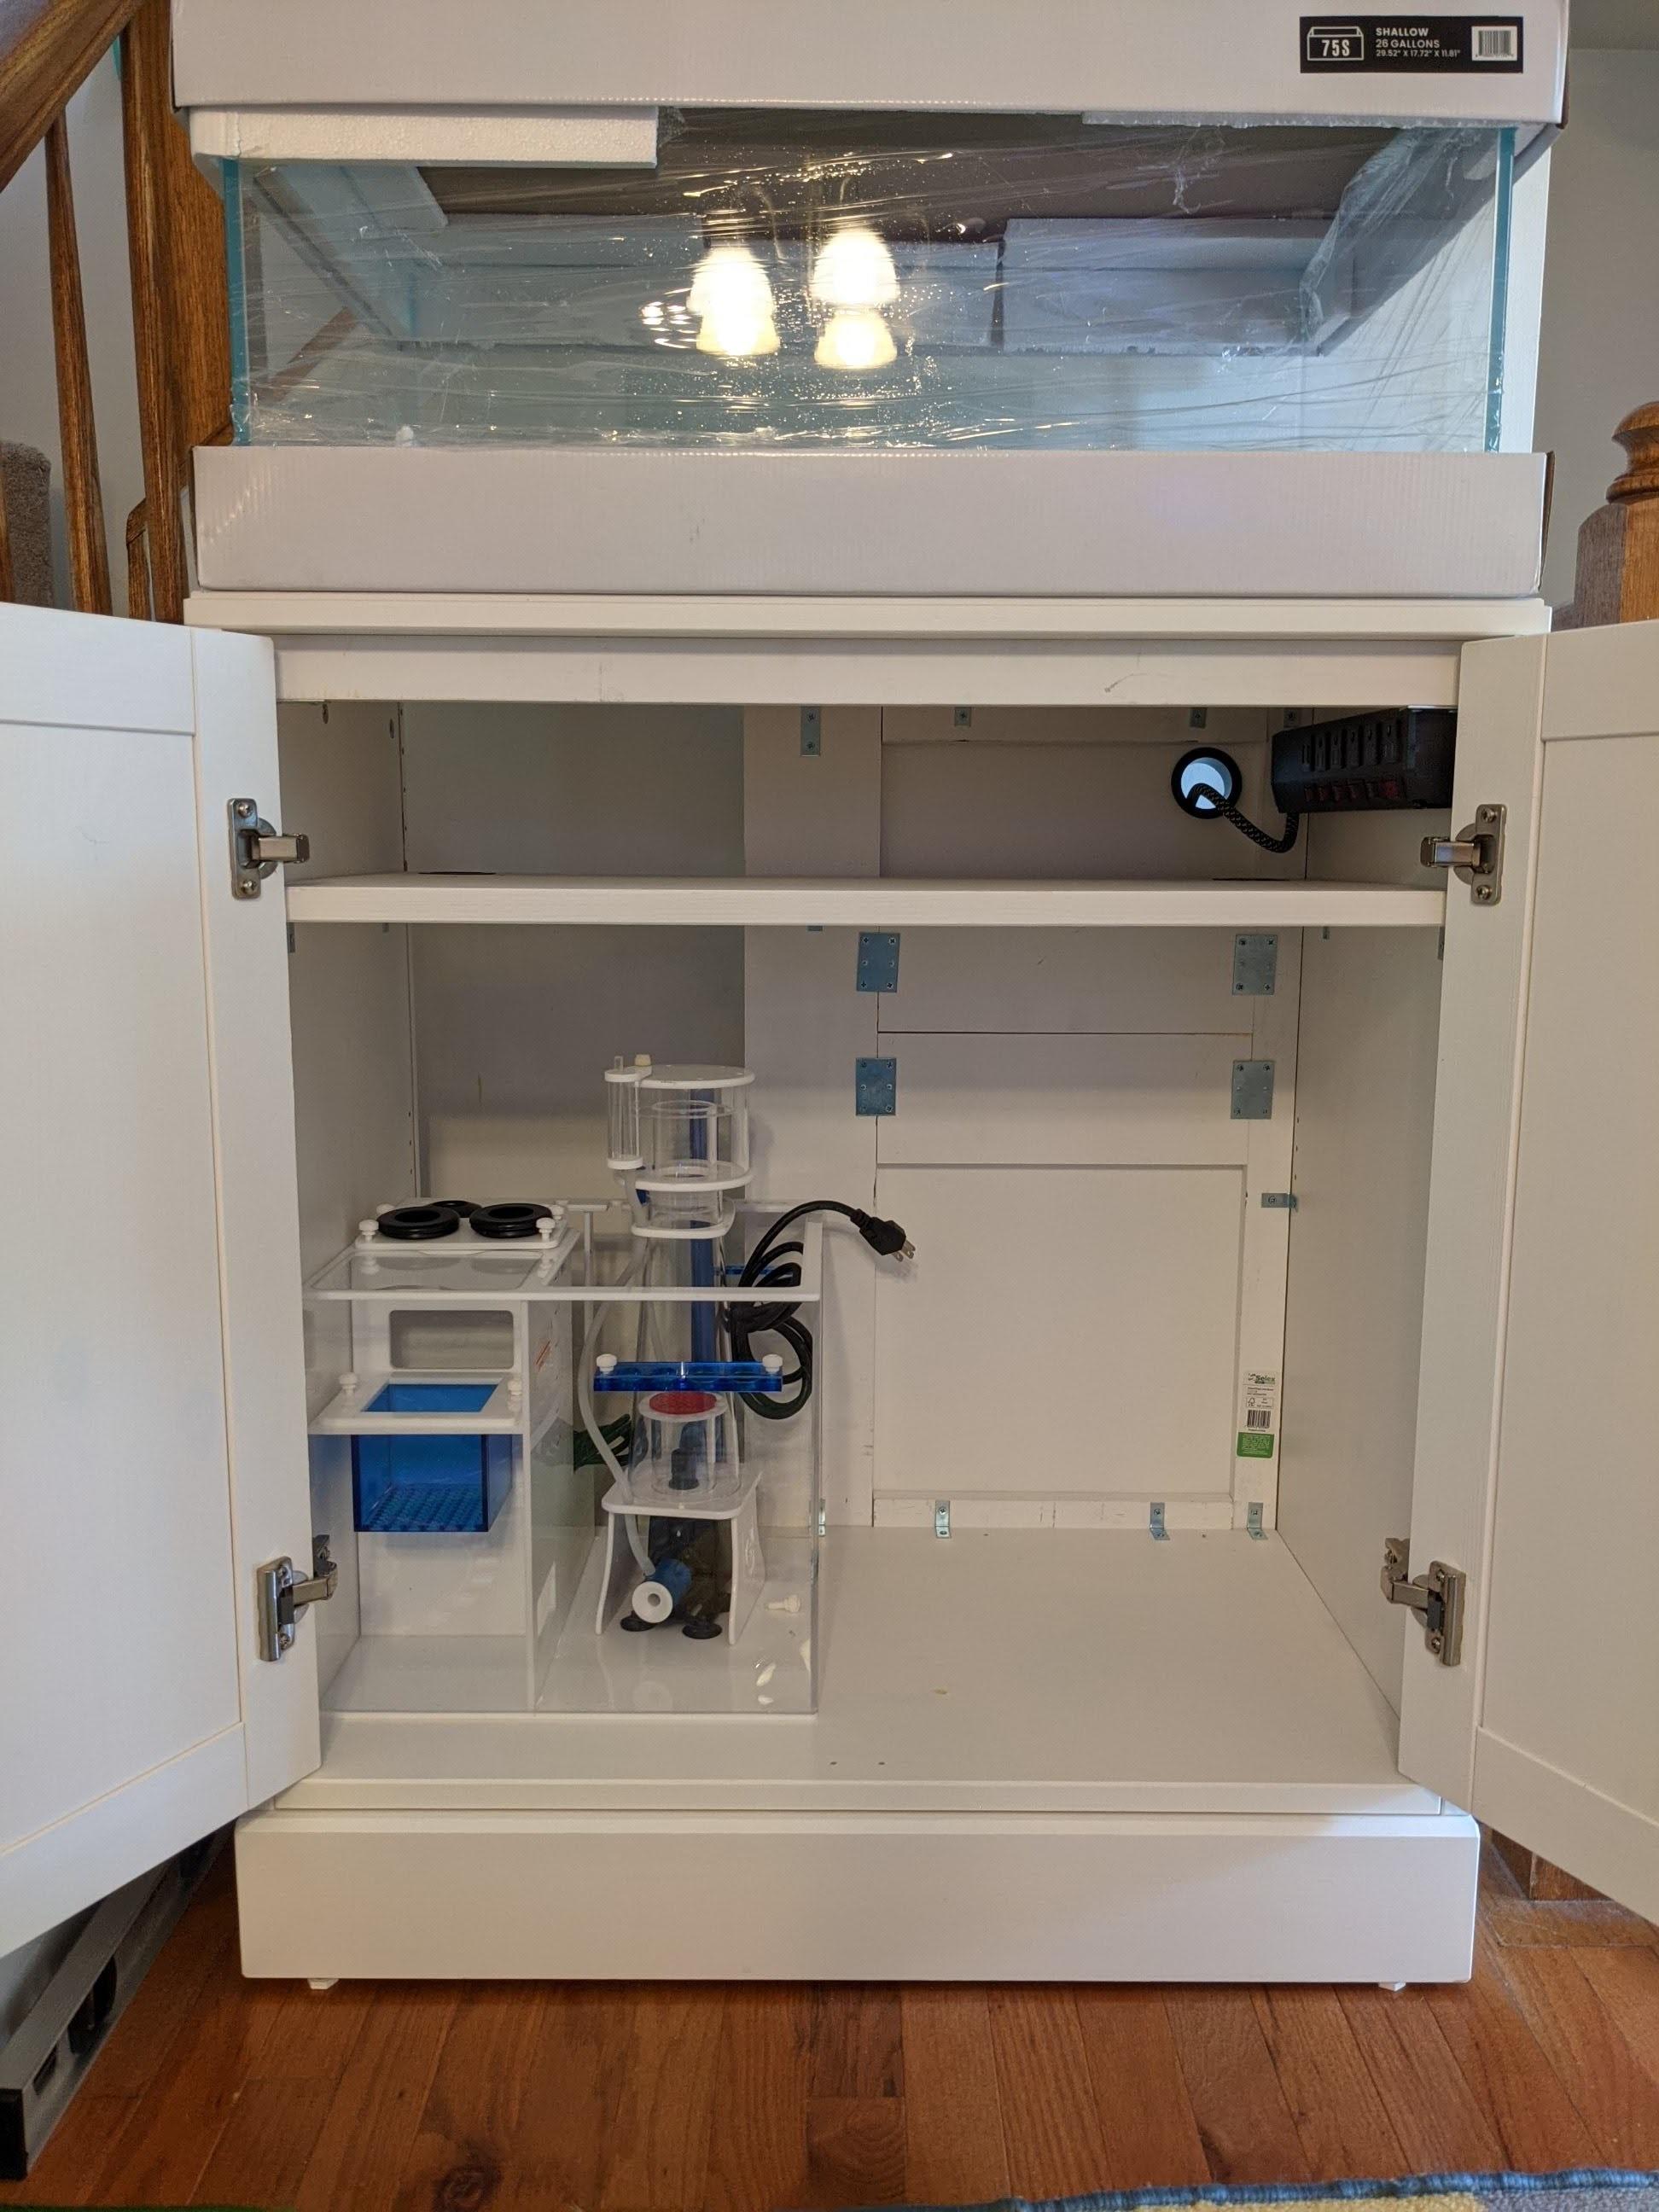
The left side is sump, right side wall will have my controller. The shelf will have misc stuff and hide the cables.
This thing is rock solid.
This stand will be used for a UNS 75s. My main focus is aesthetics. The stand must look like a regular piece of furniture and both my wife and I love Ikea designs. Knowing that their furniture is not likely to last a lifetime, modding it is a must. The first decision was to buy one of their "better" cabinets. Instead of furniture made of laminations, this one is made of solid wood. I wouldn't compare the density to higher end furniture but it is already built very well. The next consideration was how easy is it to mod. Having instructions posted online definitely helps.
The "stand" is the Havsta. Since my new tank is shallow (12" H), I wanted the cabinet to be higher. I chose white because it matches almost perfectly to the newly added wood bracing without me painting.
The mods consists of extra steel corner braces and new wood placed in strategic locations. I'm lucky enough to be in the building construction industry and have easy access to structural engineers to help with any questions that are outside of my own knowledge. The main issue we have to worry about (usually) is not gravity load. Even the worse stands can handle it. The most important is lateral bracing. You want the stand to not twist. In order to do this, you have to attach sides to one another, preferably three sides together if possible.
The wood I used is pre-primed boards. The white is almost an exact match and since none of it was on an exposed side, I didn't really care. I put 1 board at the bottom to support the sump. This was not really necessary but I had the material. Then another smaller one to support the front top to prevent sagging. There is one in the back that will double as support for my light stand. The rest is all about lateral support. Picts:
The plan. Solid gray is new wood, small yellow box are the bracings:
I only used 1 at the bottom, not the 2 shown here.
The right back, lots of bracing:
Full shot:
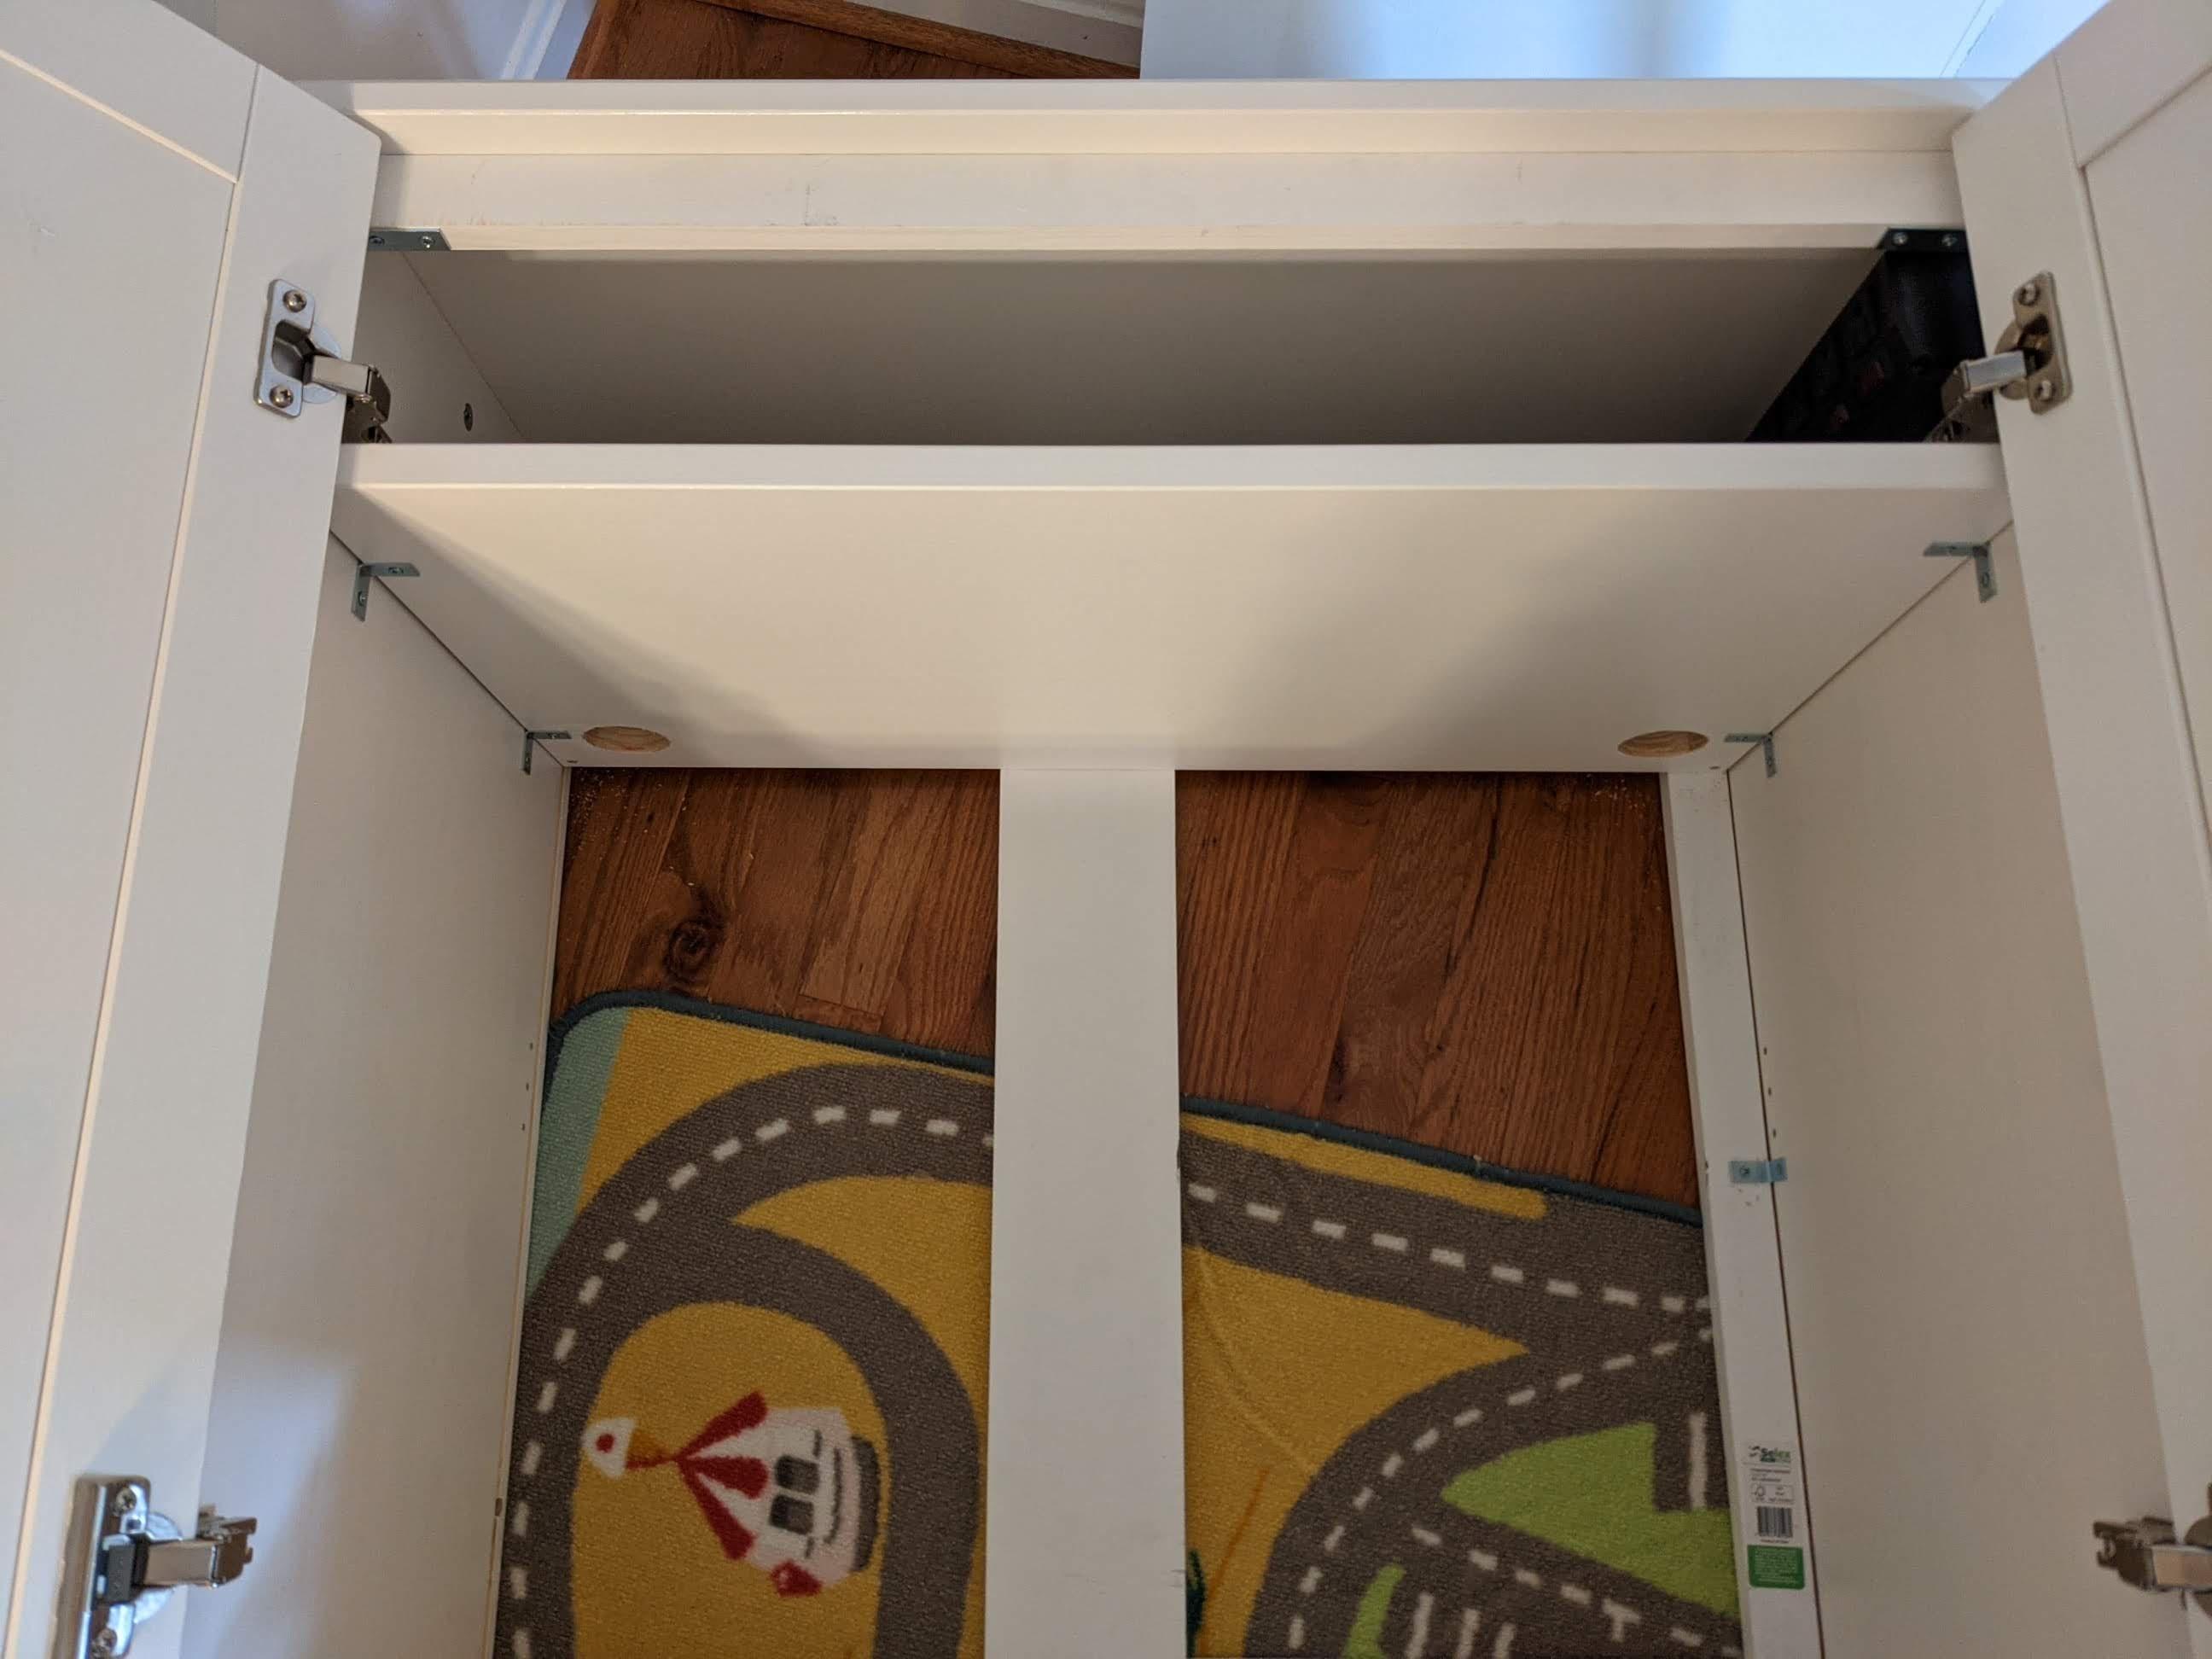
The bottom:
The shelf also helps:
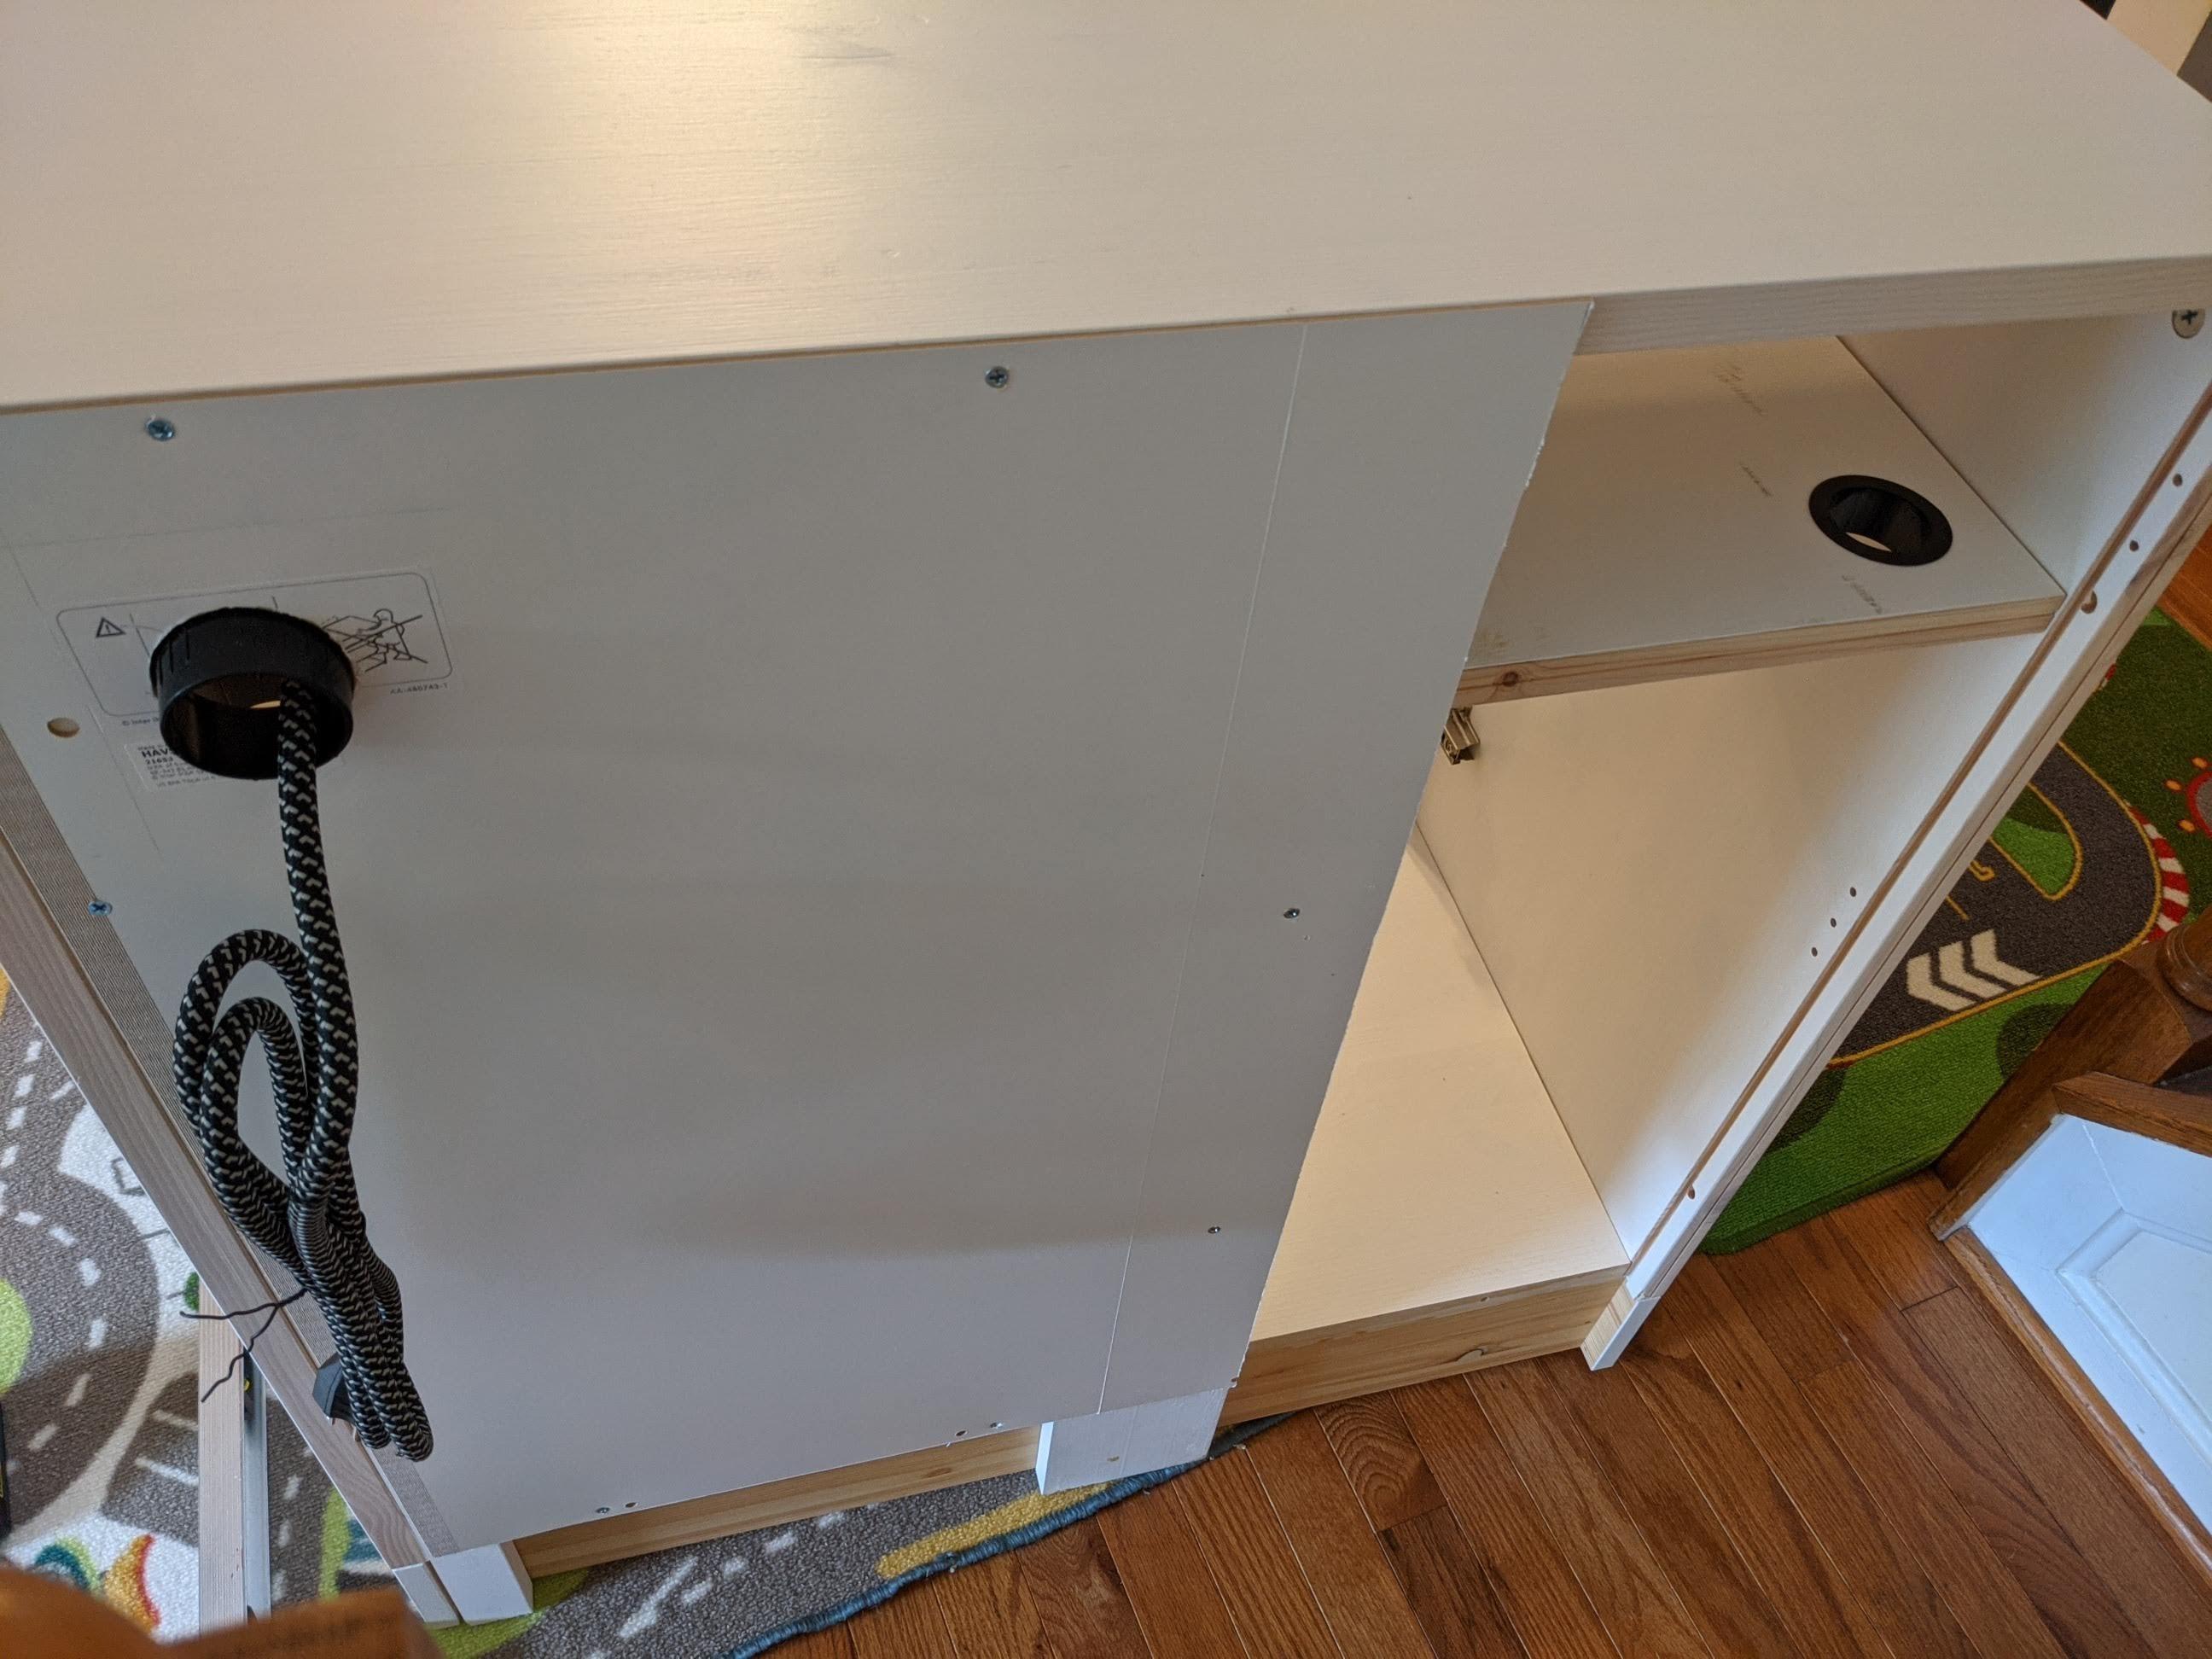
The back:
The right side as shown is open for plumbing. The thin piece you often see is extremely important normally as it provides lateral support. In my case, it wasn't necessary but I didn't want the entire back to be open.
Just about done. I put 2 pieces on the right w/ mending plates. Those are for mounting of equipment. The inside:
With sump:
With tank:
The left side is sump, right side wall will have my controller. The shelf will have misc stuff and hide the cables.
This thing is rock solid.