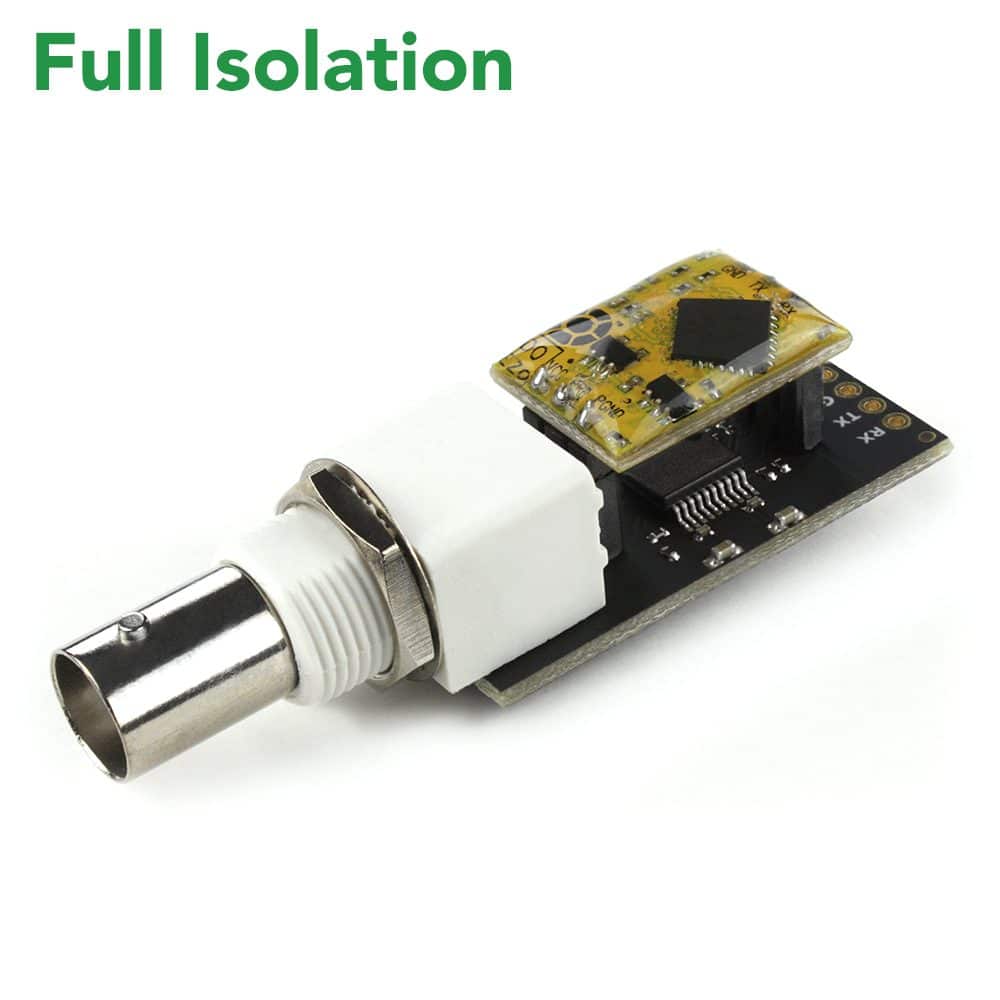
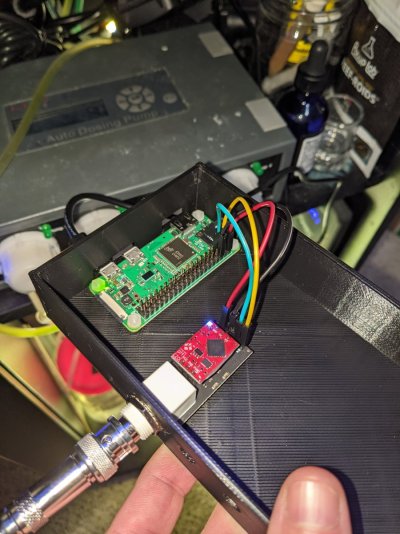
pH probe with atlas carrier board

osterac

New Member
View Badges
Joined
Feb 14, 2022
Messages
12
Reaction score
36
Location
Chico
Rating - 0%
0   0   0
Hi,
I had posted this in the dev thread but I decided it was a better idea to make my own thread.
I have a Raspberry pi 2 I am trying to use for reef pi with a pond. I already have a thermometer working but I am trying to get pH working too. I bought The atlas pH circuit and the atlas carrier board (and a probe of course) but then realized the guide for this doesn't use the carrier board. I want to use the carrier board in my build because it would make everything much tidier but I haven't been able to get it working.
I get this error:
Code:
ph subsystem: Failed read probe:pH probeError:write /dev/i2c-1: remote I/O error
I have a pH ezo driver set up with an address of 99.
I have an analog input for that driver on port 0.
In the pH tab I have a probe set up pointing to that analog input.
on the carrier board I have it wired like this.
rx->sda1 i2c
tx->scl1 i2c
gnd->gnd
off->n/c
vcc->5v
Any tips?
thanks
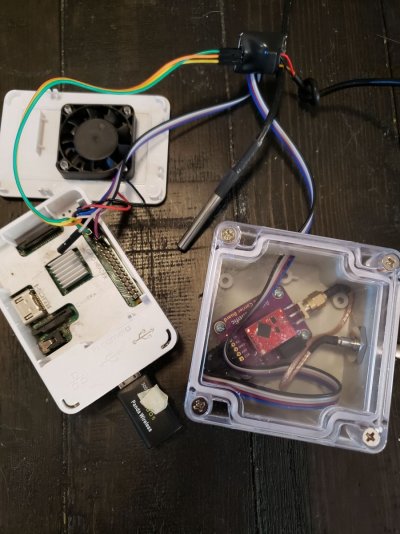
20220214_085201.jpg
 
OP
OP
osterac

osterac

New Member
View Badges
Joined
Feb 14, 2022
Messages
12
Reaction score
36
Location
Chico
Rating - 0%
0   0   0
My guess is you don't have I2C enabled on Pi.
Thanks for the response.
Okay so I tried disabling and re-enabling i2c and then I did this:
Code:
pi@pond:~ $ i2cdetect -y 1
     0  1  2  3  4  5  6  7  8  9  a  b  c  d  e  f
00:          -- -- -- -- -- -- -- -- -- -- -- -- --
10: -- -- -- -- -- -- -- -- -- -- -- -- -- -- -- --
20: -- -- -- -- -- -- -- -- -- -- -- -- -- -- -- --
30: -- -- -- -- -- -- -- -- -- -- -- -- -- -- -- --
40: -- -- -- -- -- -- -- -- -- -- -- -- -- -- -- --
50: -- -- -- -- -- -- -- -- -- -- -- -- -- -- -- --
60: -- -- -- -- -- -- -- -- -- -- -- -- -- -- -- --
70: -- -- -- -- -- -- -- --
I thought that at least 70 and 40 were supposed to show up (or something like that)?
 

Ranjib

7500 Club Member
View Badges
Joined
Apr 16, 2016
Messages
9,843
Reaction score
17,056
Location
Pleasant Hill, Concord
Rating - 0%
0   0   0
OP
OP
osterac

osterac

New Member
View Badges
Joined
Feb 14, 2022
Messages
12
Reaction score
36
Location
Chico
Rating - 0%
0   0   0

Ranjib

7500 Club Member
View Badges
Joined
Apr 16, 2016
Messages
9,843
Reaction score
17,056
Location
Pleasant Hill, Concord
Rating - 0%
0   0   0
The link listed is the parts list is the carrier board. The bnc connected they used in the guide is not listed.
I’m not sure what you are saying, the part list calls this out (bcc connector and carrier board) as one item. And the link does takes me to the correct part

100ACC99-B96B-4333-BEF8-E3E1386BFAD5.jpeg
 

Ranjib

7500 Club Member
View Badges
Joined
Apr 16, 2016
Messages
9,843
Reaction score
17,056
Location
Pleasant Hill, Concord
Rating - 0%
0   0   0
This is what they used in the build
sensors_B9DE5B48-DC0F-447D-BC67-D79E0765EF00.jpg

This is the part in the parts list
EZO-Carrier-Board-OLD-01-1.jpg
Ah, I see what you mean now. The photos don’t match. I should update that, must have slipped my checks. You are right , the photo is a non isolated BNC connector. But the part listed and the build instruction should still be correct
 
OP
OP
osterac

osterac

New Member
View Badges
Joined
Feb 14, 2022
Messages
12
Reaction score
36
Location
Chico
Rating - 0%
0   0   0
Ah, I see what you mean now. The photos don’t match. I should update that, must have slipped my checks. You are right , the photo is a non isolated BNC connector. But the part listed and the build instruction should still be correct
It seems like the instructions are based around a non-isolated connector as well, though. With the carrier board, you don't need to solder up a proto board. You can wire the carrier board directly to the pi.
 

Ranjib

7500 Club Member
View Badges
Joined
Apr 16, 2016
Messages
9,843
Reaction score
17,056
Location
Pleasant Hill, Concord
Rating - 0%
0   0   0
It seems like the instructions are based around a non-isolated connector as well, though. With the carrier board, you don't need to solder up a proto board. You can wire the carrier board directly to the pi.
That is because in the guide the 5v rail is shared between incoming power supply , pi and ezo circuIt, if I recall correctly. and pi is powered through header pin, not micro usb.
 
OP
OP
osterac

osterac

New Member
View Badges
Joined
Feb 14, 2022
Messages
12
Reaction score
36
Location
Chico
Rating - 0%
0   0   0
That is because in the guide the 5v rail is shared between incoming power supply , pi and ezo circuIt, if I recall correctly. and pi is powered through header pin, not micro usb.
Point is that the guide could not be followed by someone who had purchased the carrier board, because in the guide you have the ezo board plugged into a proto board and if you buy a carrier board it plugs into the carrier board.
 

Ranjib

7500 Club Member
View Badges
Joined
Apr 16, 2016
Messages
9,843
Reaction score
17,056
Location
Pleasant Hill, Concord
Rating - 0%
0   0   0
Point is that the guide could not be followed by someone who had purchased the carrier board, because in the guide you have the ezo board plugged into a proto board and if you buy a carrier board it plugs into the carrier board.
Duly noted. I’ll update the guides whenever I find some time. They have not been updated for quite some time.
 

Osbie Feel

New Member
View Badges
Joined
Nov 14, 2022
Messages
22
Reaction score
14
Location
Over the rainbow
Rating - 0%
0   0   0
Duly noted. I’ll update the guides whenever I find some time. They have not been updated for quite some time.
Just going to chime in here with a friendly reminder that the guide still hasn't been updated :) I'm a total raspberry/reef pi beginner and had already soldered most of the proto board before I realized the carrier board wouldn't work with it. Not sure I would have figured out what to do without this thread.
 

Osbie Feel

New Member
View Badges
Joined
Nov 14, 2022
Messages
22
Reaction score
14
Location
Over the rainbow
Rating - 0%
0   0   0
@Osbie Feel were you able to get your board working?
Actually no, I have run in to the same issue as the OP in this thread - I am getting an empty address table when running i2cdetect -y 1. Unfortunately replacing the wiring has not been successful. I have made sure that I2C is enabled on the pi and the ph ezo sensor. Any troubleshooting ideas....?
 

Attachments

  • pi_ph_circuit.jpg
    pi_ph_circuit.jpg
    202.7 KB · Views: 21

Sral

Valuable Member
View Badges
Joined
May 2, 2022
Messages
1,006
Reaction score
976
Location
Germany
Rating - 0%
0   0   0
Actually no, I have run in to the same issue as the OP in this thread - I am getting an empty address table when running i2cdetect -y 1. Unfortunately replacing the wiring has not been successful. I have made sure that I2C is enabled on the pi and the ph ezo sensor. Any troubleshooting ideas....?
You switched Clock and Data cable, if I'm not mistaken. Try switching the blue cable to the RX pin and the yellow cable to the TX pin.

Here is the Raspberries Pinout of the I2C pins, pin 3 is data, e.g. your yellow cable.

Here is the datasheet of the old style Atlas carrier board that you seem to be using. The RX pin seems to be the clock. That's where your yellow cable (e.g. Raspi I2C data line) seems to be connected to.
 

Osbie Feel

New Member
View Badges
Joined
Nov 14, 2022
Messages
22
Reaction score
14
Location
Over the rainbow
Rating - 0%
0   0   0
You switched Clock and Data cable, if I'm not mistaken. Try switching the blue cable to the RX pin and the yellow cable to the TX pin.

Here is the Raspberries Pinout of the I2C pins, pin 3 is data, e.g. your yellow cable.

Here is the datasheet of the old style Atlas carrier board that you seem to be using. The RX pin seems to be the clock. That's where your yellow cable (e.g. Raspi I2C data line) seems to be connected to.
That did the trick! I've got the probe calibrated and collecting data now. Thank you so much for the help everyone, stoked to have my reef pi up and running!
 

Caring for your picky eaters: What do you feed your finicky fish?

  • Live foods

    Votes: 4 18.2%
  • Frozen meaty foods

    Votes: 18 81.8%
  • Soft pellets

    Votes: 4 18.2%
  • Masstick (or comparable)

    Votes: 1 4.5%
  • Other

    Votes: 2 9.1%
Back
Top