How I do a 40 gallon water change.:
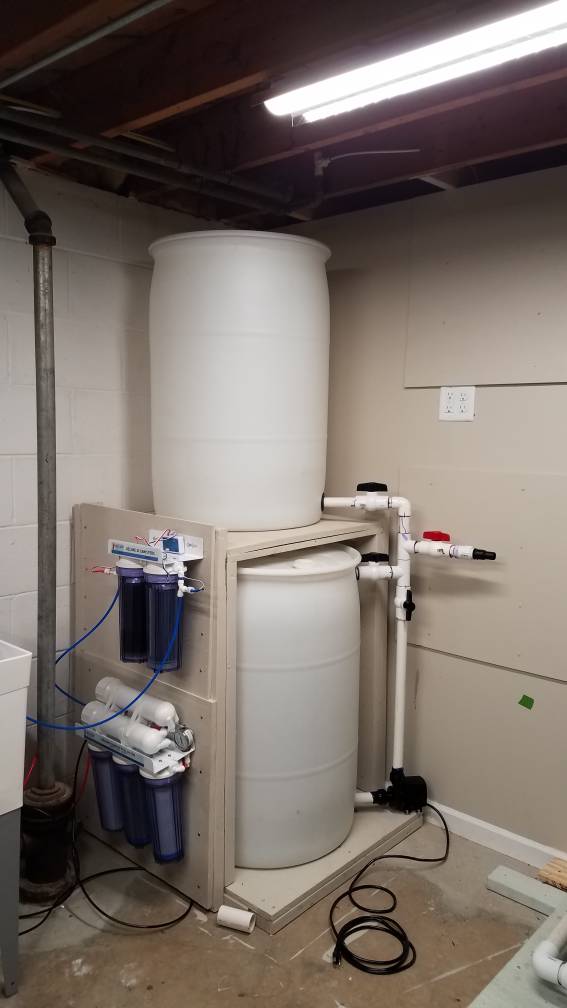
Is that pump self prime. I'm looking for a pump to drain my tank on water change days. External and pump 40 ft away. But priming is the issue 40 ft is far and not sure how to prime it.
This flotec doesnt need priming and just starts sucking??


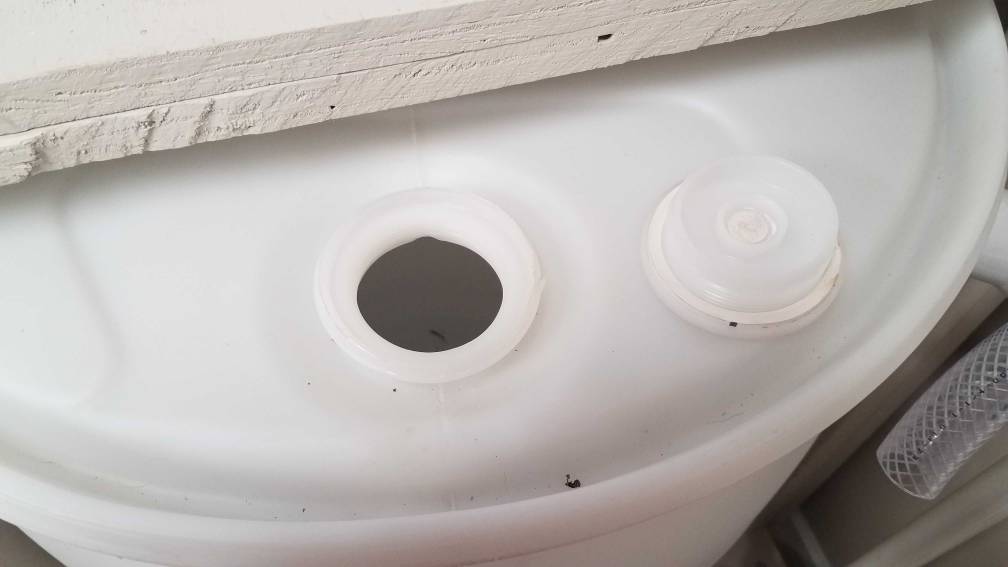
 thankfully it wasn't in contact with the storage container. My new system will be on a auto WC daily and I will forgo heating the water