Show off your DIY stand

mich2599

Valuable Member
View Badges
Joined
May 19, 2018
Messages
2,087
Reaction score
12,395
Location
ELDO
Rating - 0%
0   0   0
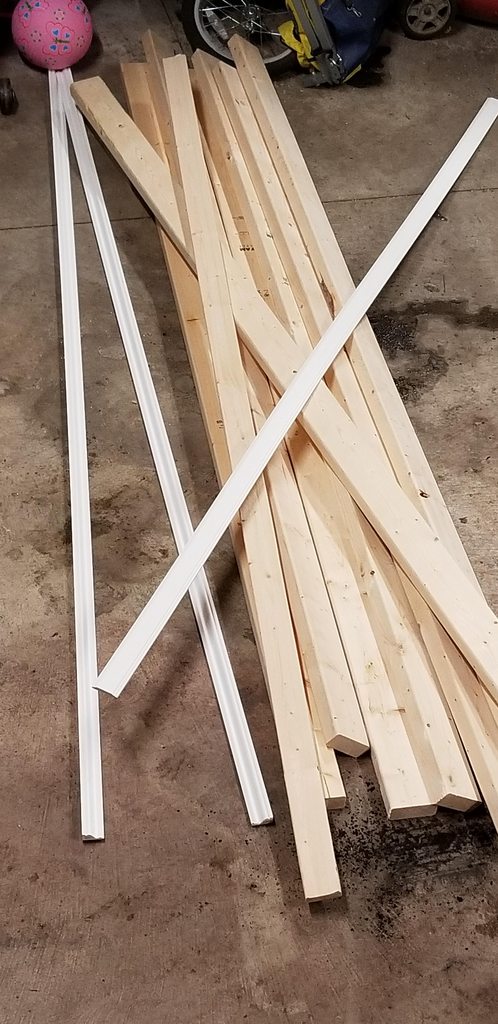
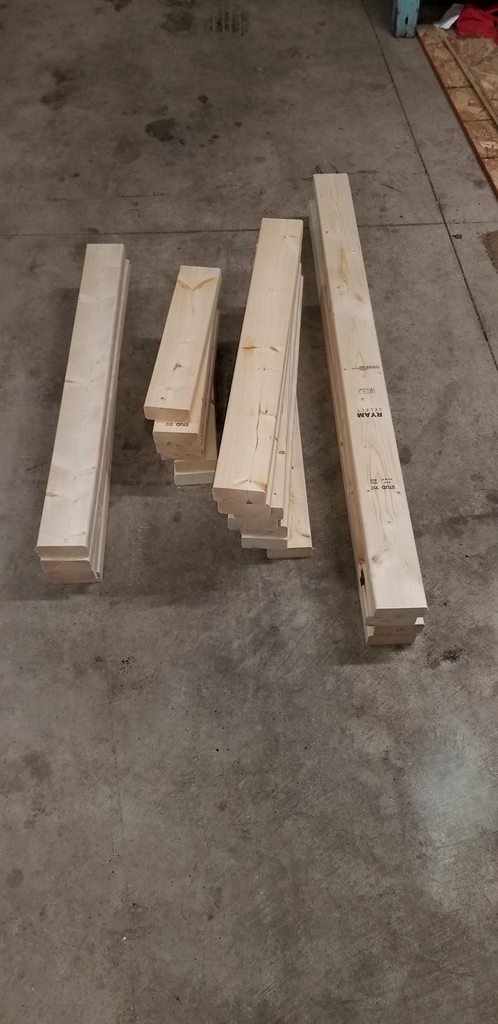
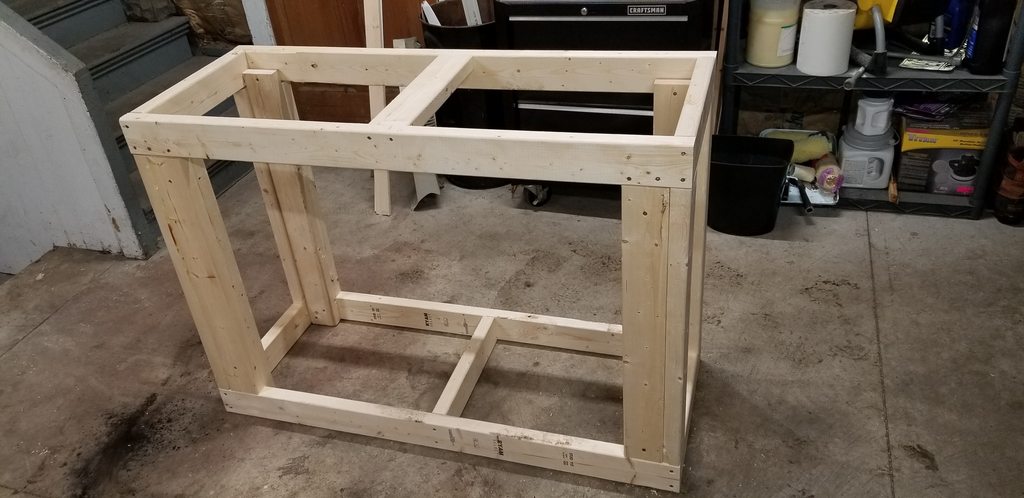
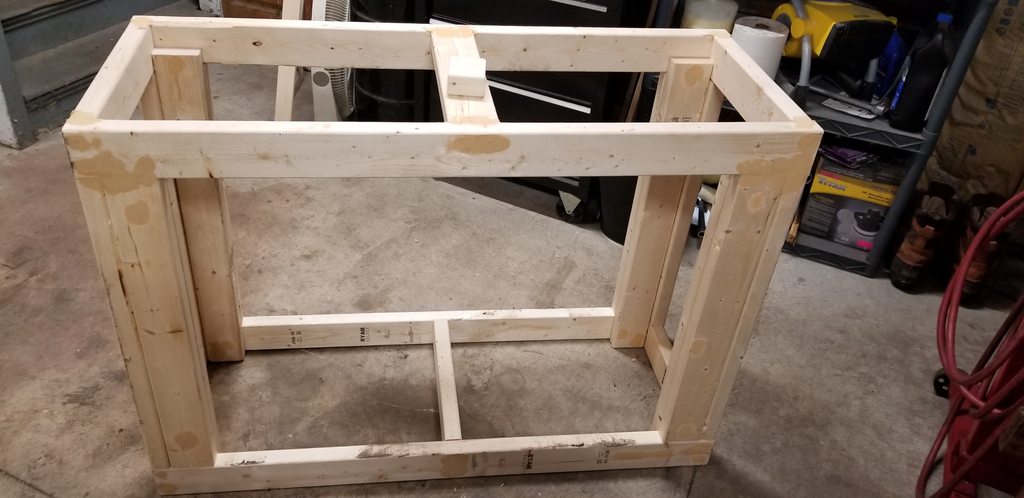
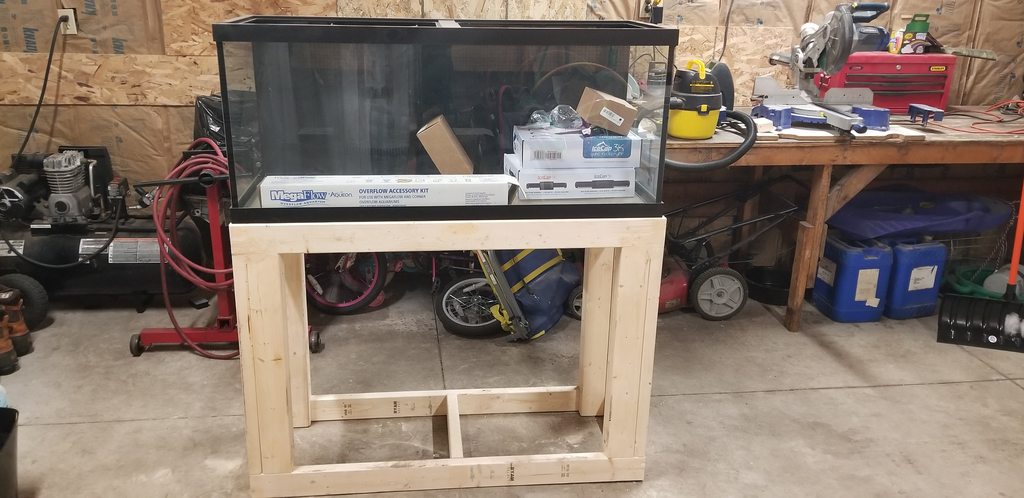
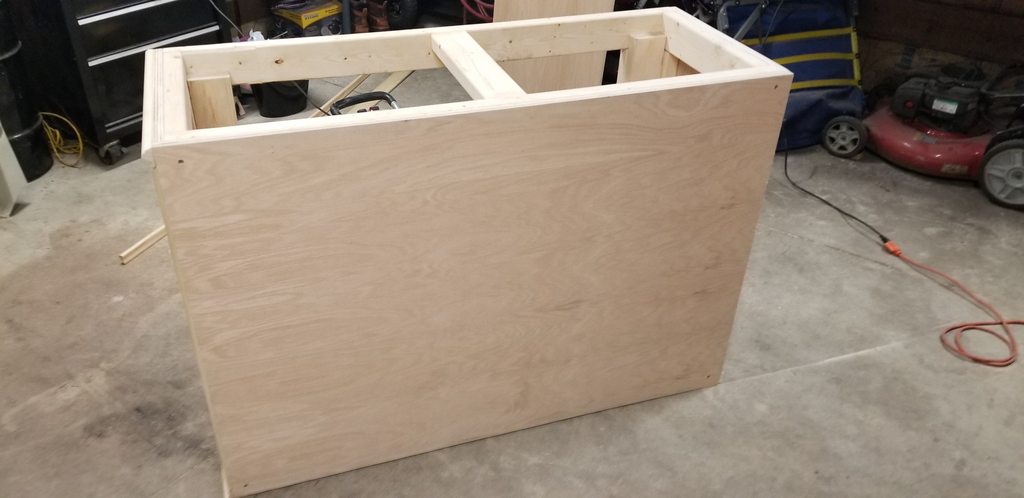
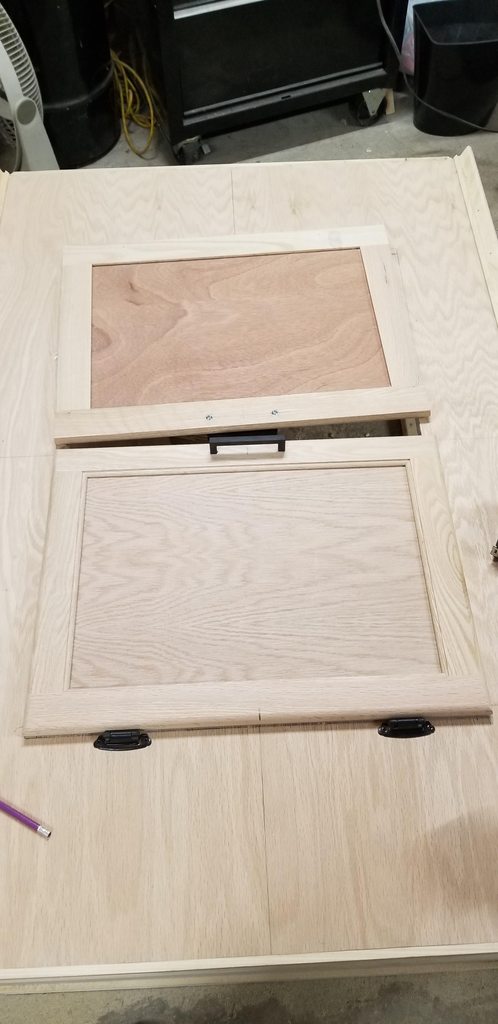
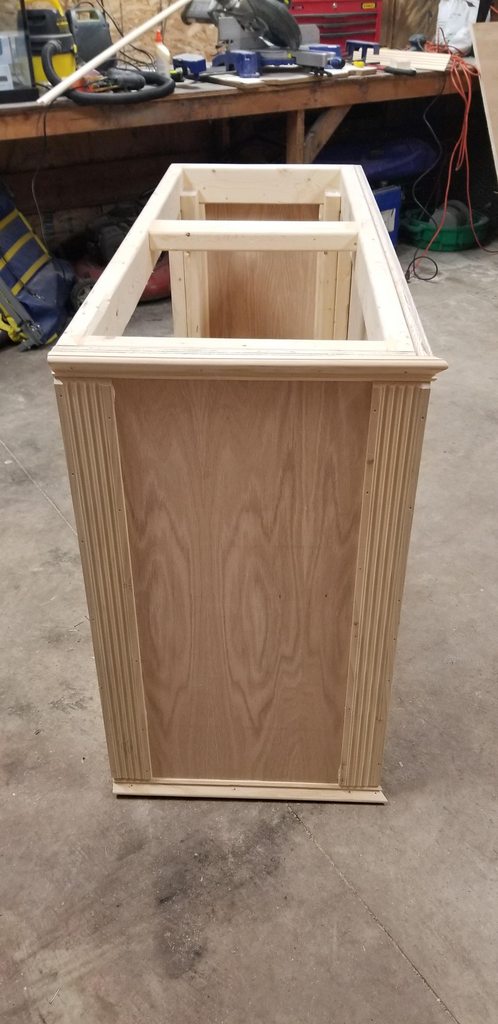
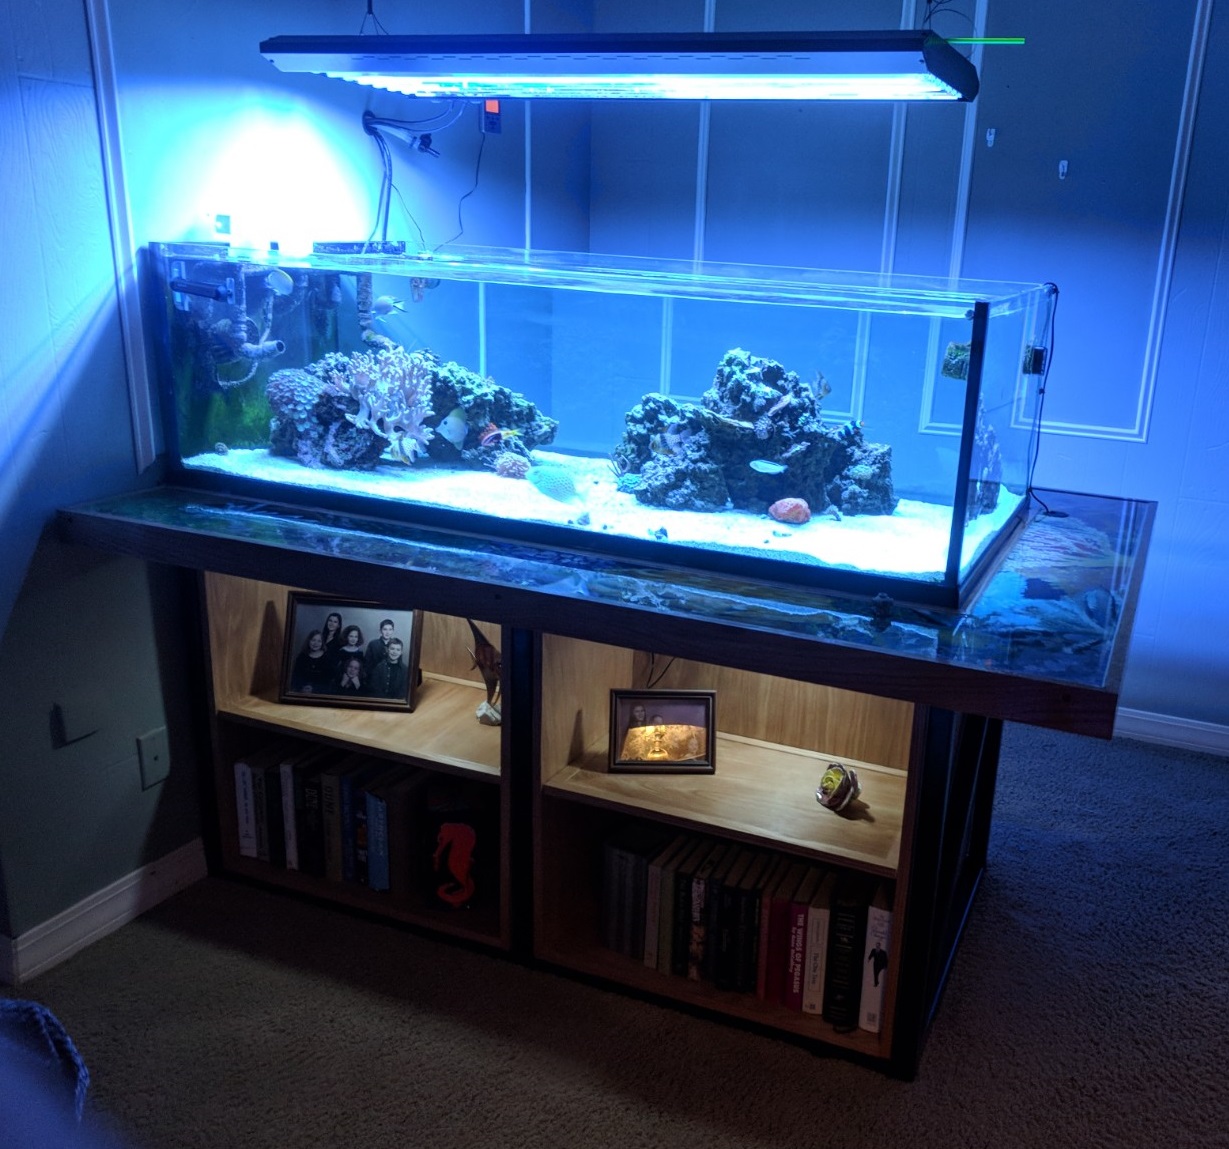
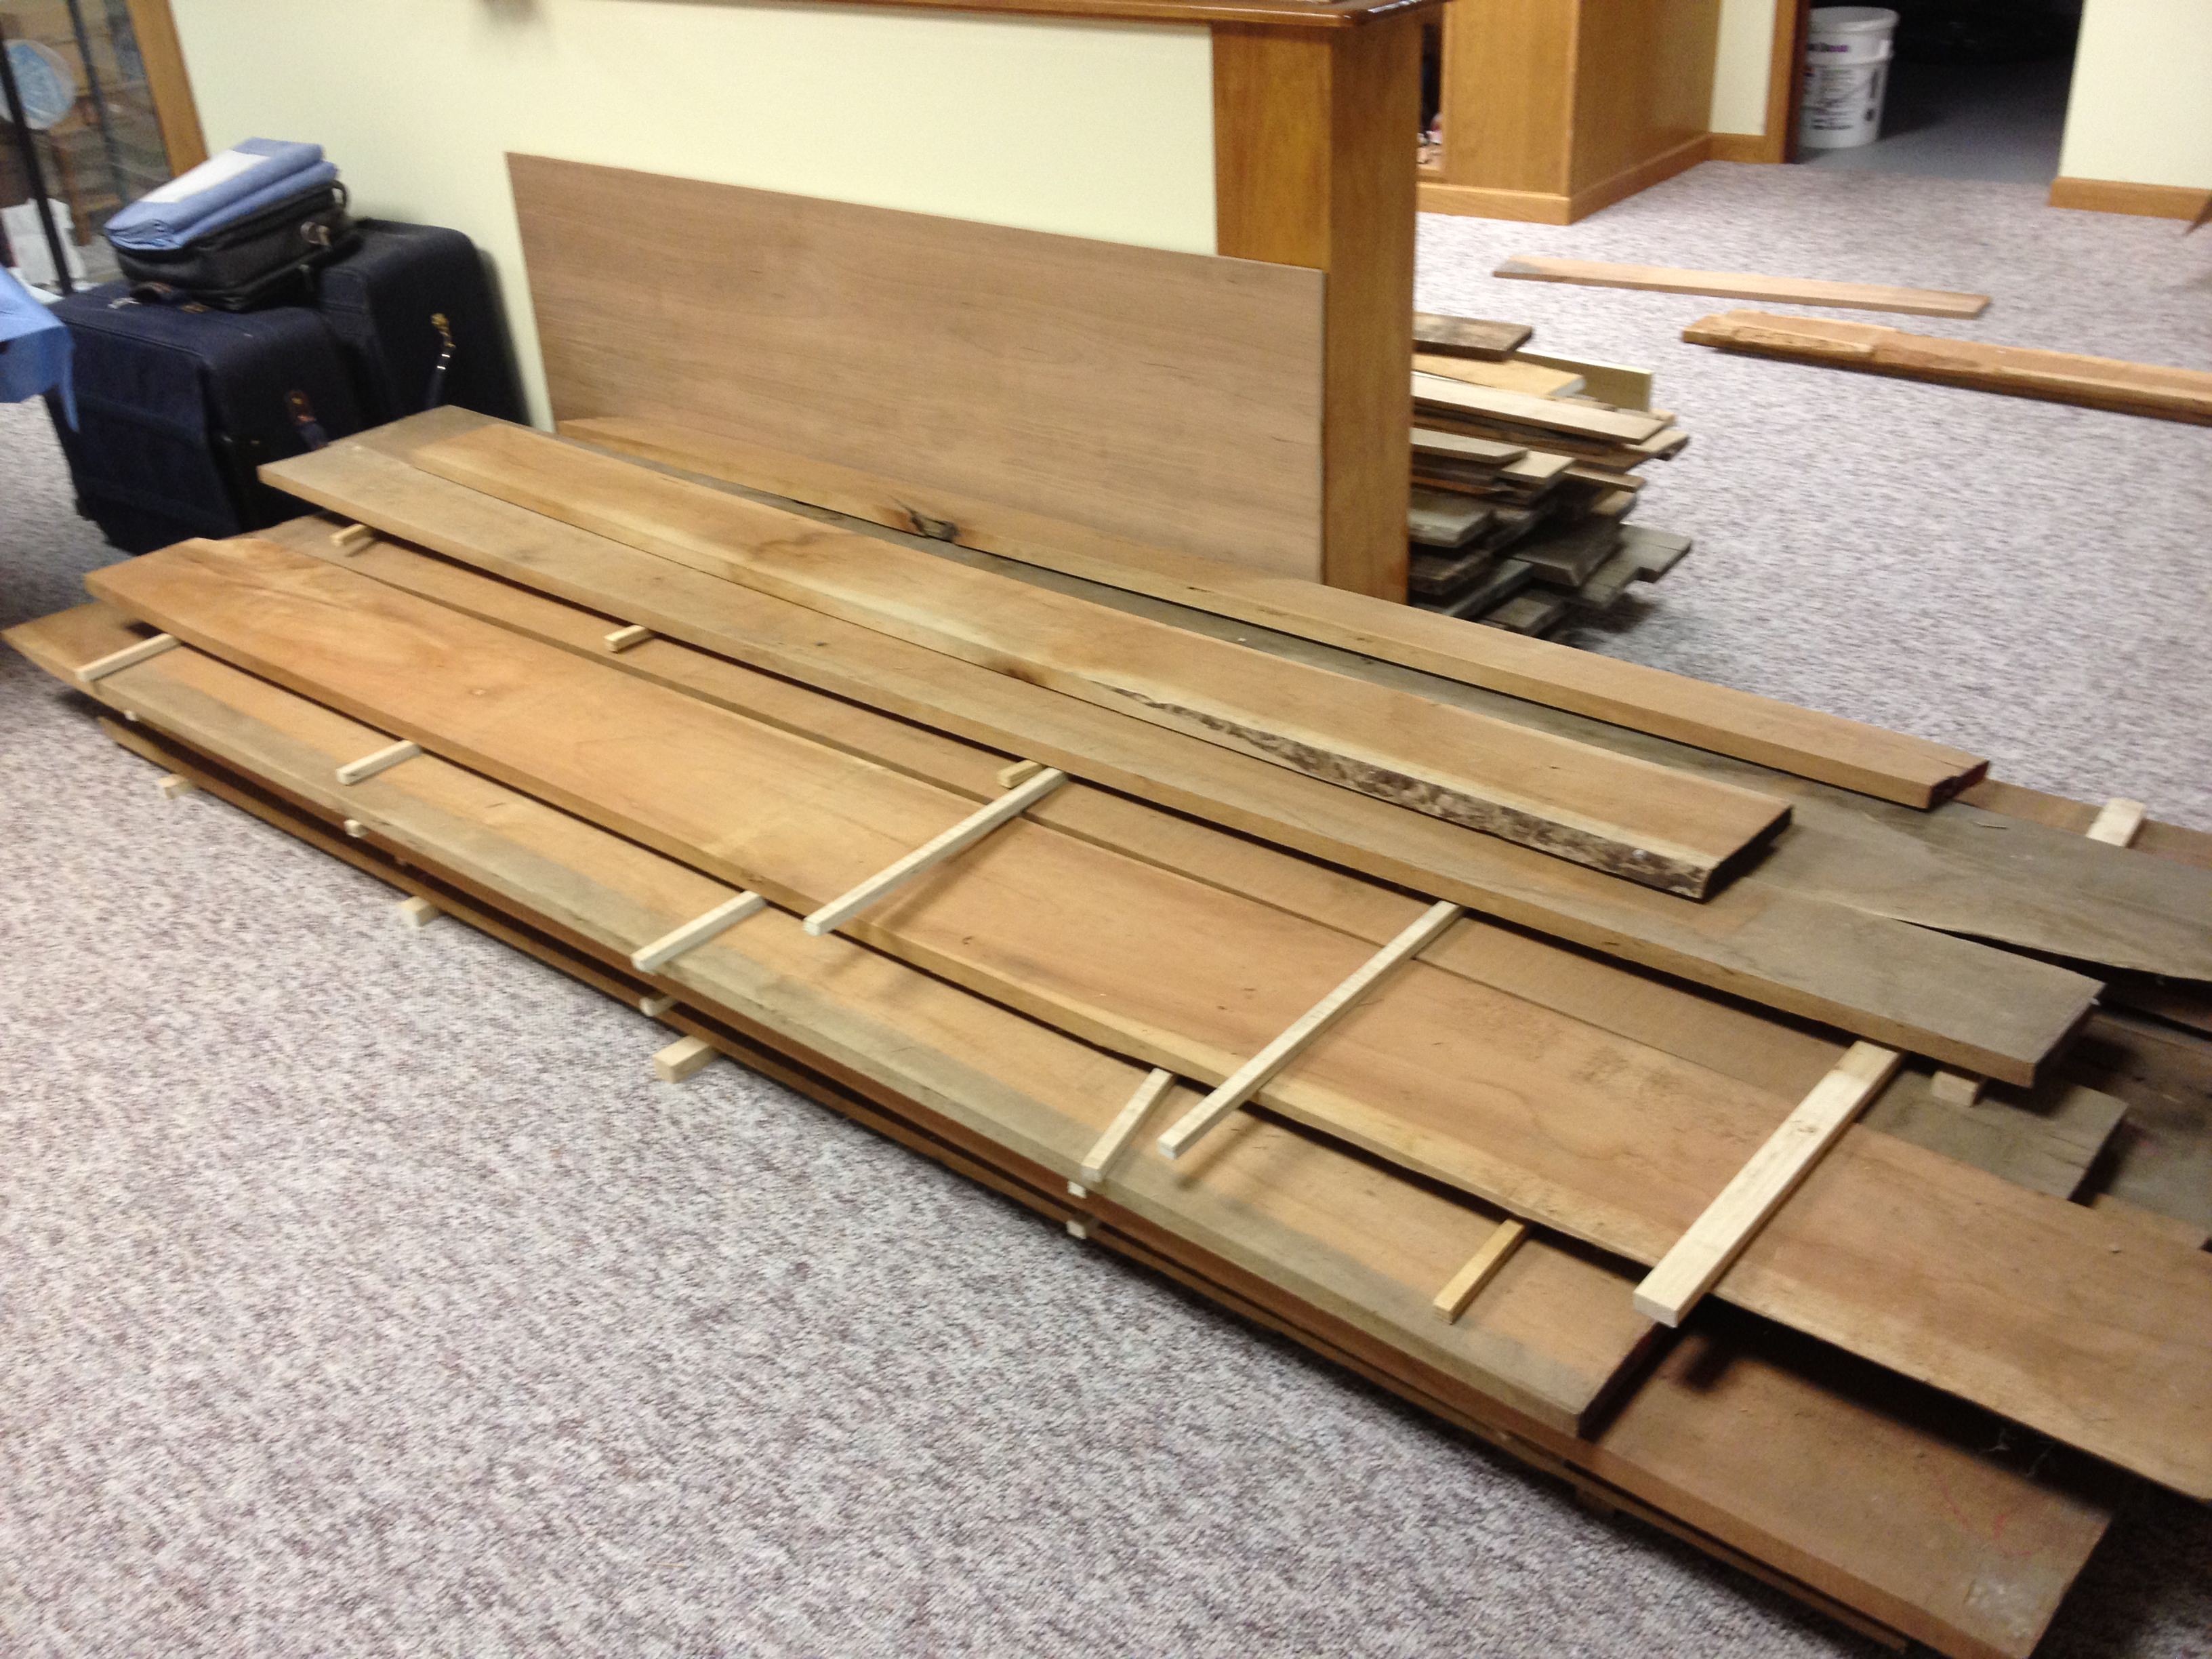
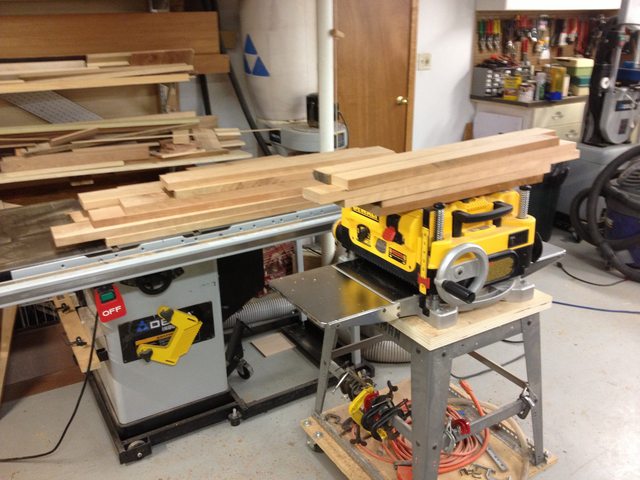
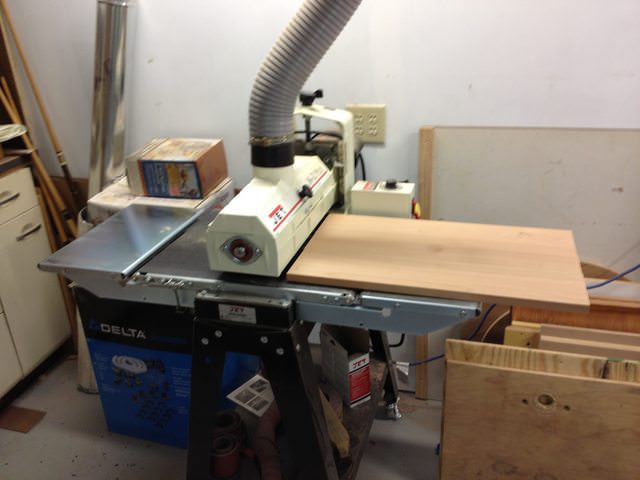
I am planning on upgrading from my current Marineland 50 gallon to another 50 gallon or so rimless. Not a big size upgrade, but I just want a rimless tank and something that is more decent. I am not totally satisfied with the silicone work on my current tank, as well as its dimensions. I am currently gathering information as if I do upgrade, I will have around 3 weeks or less in May to get everything together. I was looking to build my own stand and wanted to see some ideas. If you don’t mind posting some pictures of the progress and end product that would be fantastic. Any help is highly appreciated!:)
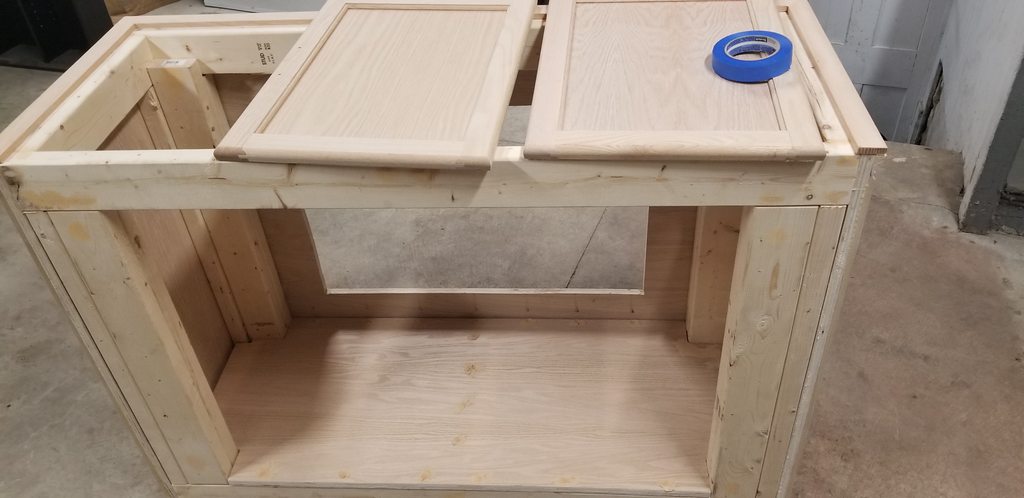
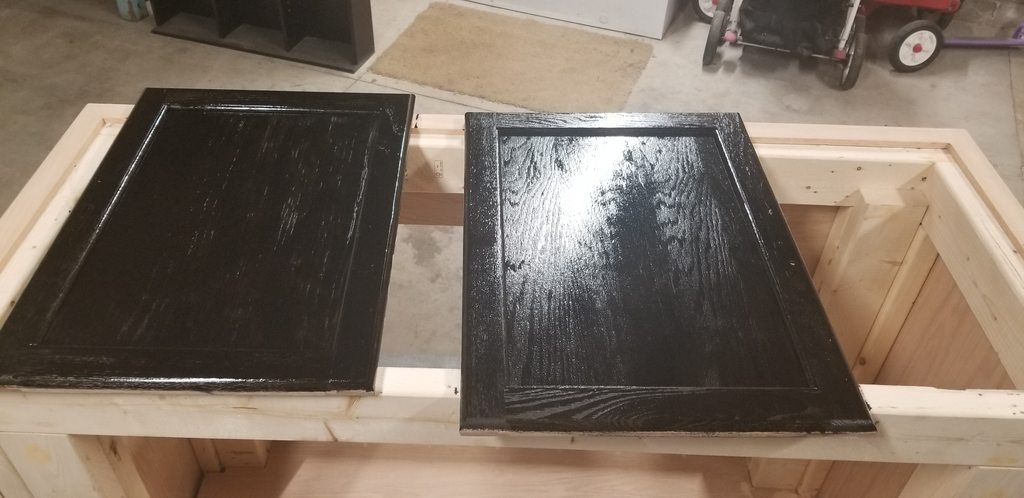
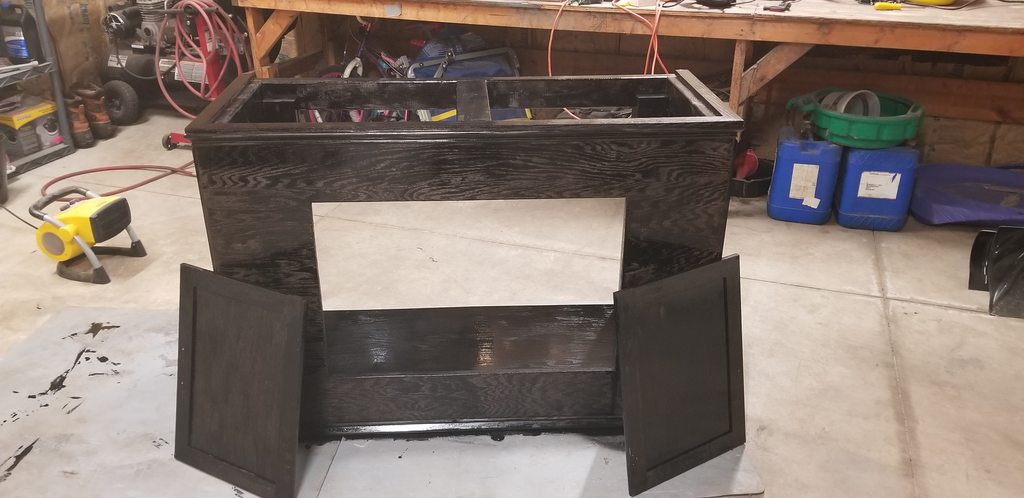
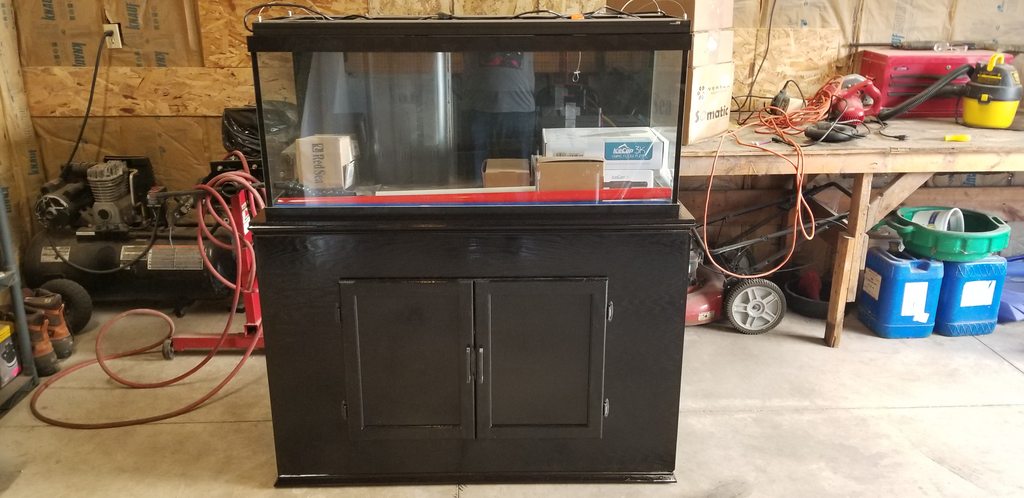
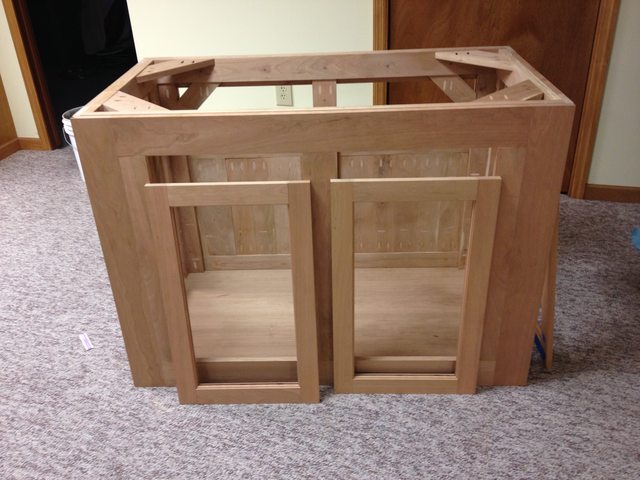
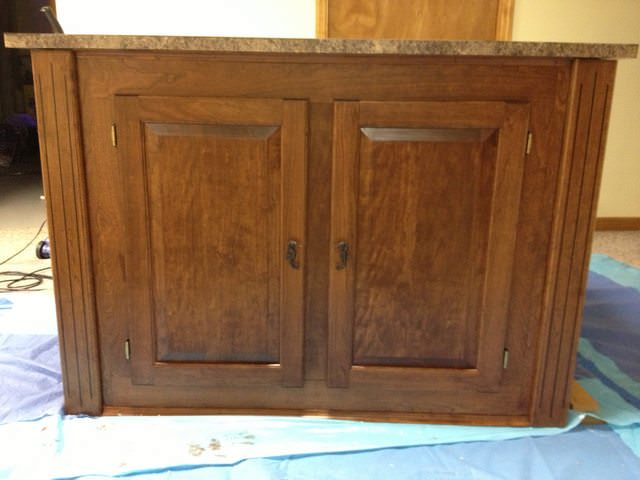
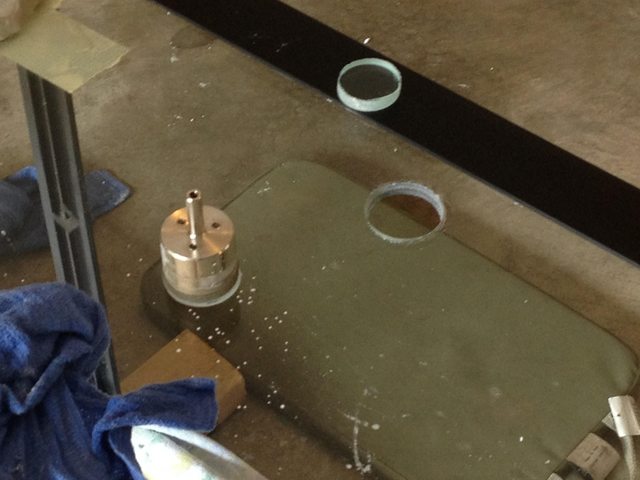
 

Goodair

Valuable Member
View Badges
Joined
Jan 15, 2019
Messages
1,049
Reaction score
1,188
Location
South River, NJ
Rating - 0%
0   0   0
You can take a look at my build for the stand and canopy process!

20190308_212842.jpg
 
Last edited:

nautical_nathaniel

Indecision may or may not be my problem.
View Badges
Joined
Feb 19, 2014
Messages
4,881
Reaction score
12,261
Location
West Palm Beach, FL
Rating - 0%
0   0   0
Not totally DIY, but I did build the siding and a shelf for my Innovative Marine APS Nuvo 20 Stand:

20190131_162221.jpg


I screwed up and forgot to add an inch to the top of the door panel measurements, so a little light from my power strip's switches seeps through :rolleyes: by the time I realize what I had done, I decided to just live with it since I was tired of cutting up wood without a proper work space haha
 
OP
OP
mich2599

mich2599

Valuable Member
View Badges
Joined
May 19, 2018
Messages
2,087
Reaction score
12,395
Location
ELDO
Rating - 0%
0   0   0
Not totally DIY, but I did build the siding and a shelf for my Innovative Marine APS Nuvo 20 Stand:

20190131_162221.jpg


I screwed up and forgot to add an inch to the top of the door panel measurements, so a little light from my power strip's switches seeps through :rolleyes: by the time I realize what I had done, I decided to just live with it since I was tired of cutting up wood without a proper work space haha
Looks good & don’t blame you lol :D
 
OP
OP
mich2599

mich2599

Valuable Member
View Badges
Joined
May 19, 2018
Messages
2,087
Reaction score
12,395
Location
ELDO
Rating - 0%
0   0   0
Just work time i'd say probably 4 or 5 days. Full time it took me about a month lol

I have around 3 weeks of free time in May I could do it all. If I do upgrade hopefully I can do all the work during that time frame. I really like the Deep blue 57 but since they went out of business i’m trying to see if anyone has one for sale...:(
 

Crabs McJones

I'm so shi-nay
View Badges
Joined
Jul 24, 2017
Messages
27,298
Reaction score
138,269
Location
Wisconsin
Rating - 0%
0   0   0
I have around 3 weeks of free time in May I could do it all. If I do upgrade hopefully I can do all the work during that time frame. I really like the Deep blue 57 but since they went out of business i’m trying to see if anyone has one for sale...:(
Kids and life. If I had the time to dedicate, I could have gotten it done in a week :) But the little ones don't really care for power tools lol. So I have to wait until they're asleep. Luckily they can't hear the tools in the garage in their bedroom
 

Ryan Kouns

Active Member
View Badges
Joined
Jan 3, 2018
Messages
121
Reaction score
193
Rating - 0%
0   0   0
interior starts out with 1 1/2 square tube frame throughout the entire cabinet. All the door panels come completely off with no center supports.The left end portion has false walls to be used for mount Apex controller, the modules, tablet for display, COR20 pump controller, ATO controller, etc...all the electronics will be mounted on the far end panel and the left front panel.

upload_2019-4-4_15-52-33.png
upload_2019-4-4_14-44-53.png
upload_2019-4-4_15-53-56.png
upload_2019-4-4_15-54-21.png
upload_2019-4-4_15-54-40.png
 

Billdogg

Valuable Member
View Badges
Joined
Jun 3, 2017
Messages
2,091
Reaction score
3,108
Location
Grove City, Ohio
Rating - 0%
0   0   0
Here mine I made for my 120. Solid cherry. It has a matching floating canopy as well

Home from the sawmill
XmSv1a1.jpg


after a couple hours with the jointer, planer, and table saw to size things
VJTo6lWl.jpg


sanding door panels
FWX5U5al.jpg


making the rails and stiles
ztor9GRl.jpg


time to stain the door panels
ayVbDZOl.jpg


ready to inlay the door trim
FztqUQtl.jpg


corner trim with ebony inlay
KQavMSjl.jpg


assembled stand and door frames
gbwmsThl.jpg


finished stand
nPgHGrgl.jpg


drilling the sump (40b)
BGKpmZjl.jpg


shortly after setup August 2013
AWtly8Tl.jpg


2015
NloHSxml.jpg


left side about 6 months ago
jkAjDYrl.jpg


right side about 6 months ago
ReVGI3rl.jpg
 
OP
OP
mich2599

mich2599

Valuable Member
View Badges
Joined
May 19, 2018
Messages
2,087
Reaction score
12,395
Location
ELDO
Rating - 0%
0   0   0
interior starts out with 1 1/2 square tube frame throughout the entire cabinet. All the door panels come completely off with no center supports.The left end portion has false walls to be used for mount Apex controller, the modules, tablet for display, COR20 pump controller, ATO controller, etc...all the electronics will be mounted on the far end panel and the left front panel.

upload_2019-4-4_15-52-33.png
upload_2019-4-4_14-44-53.png
upload_2019-4-4_15-53-56.png
upload_2019-4-4_15-54-21.png
upload_2019-4-4_15-54-40.png

Very nice!!Maybe you should just come build mine hehe;)
 
OP
OP
mich2599

mich2599

Valuable Member
View Badges
Joined
May 19, 2018
Messages
2,087
Reaction score
12,395
Location
ELDO
Rating - 0%
0   0   0
Here mine I made for my 120. Solid cherry. It has a matching floating canopy as well

Home from the sawmill
XmSv1a1.jpg


after a couple hours with the jointer, planer, and table saw to size things
VJTo6lWl.jpg


sanding door panels
FWX5U5al.jpg


making the rails and stiles
ztor9GRl.jpg


time to stain the door panels
ayVbDZOl.jpg


ready to inlay the door trim
FztqUQtl.jpg


corner trim with ebony inlay
KQavMSjl.jpg


assembled stand and door frames
gbwmsThl.jpg


finished stand
nPgHGrgl.jpg


drilling the sump (40b)
BGKpmZjl.jpg


shortly after setup August 2013
AWtly8Tl.jpg


2015
NloHSxml.jpg


left side about 6 months ago
jkAjDYrl.jpg


right side about 6 months ago
ReVGI3rl.jpg

Lol my dad works at a sawmill and its right across the street so I might get him to give me some good lumber. Very beautiful thank BTW. How many gallons is it?
 

ccombs

Valuable Member
View Badges
Joined
Feb 26, 2019
Messages
1,656
Reaction score
4,644
Location
Nashville
Rating - 0%
0   0   0
I will go. I used this aquarium stand as a test to see if I wanted to get into 'real' woodworking. This is made out of cheap materials and I did not use traditional joinery. It still looks alright, though.

I did not do a full cabinet as I wanted an open design. The whole thing is deceiving because it allows me to mount my gear on the underside and you cannot see it.

My ATO storage is kept outside and I pump it in.

IMG_1494.jpg
 
OP
OP
mich2599

mich2599

Valuable Member
View Badges
Joined
May 19, 2018
Messages
2,087
Reaction score
12,395
Location
ELDO
Rating - 0%
0   0   0
I will go. I used this aquarium stand as a test to see if I wanted to get into 'real' woodworking. This is made out of cheap materials and I did not use traditional joinery. It still looks alright, though.

I did not do a full cabinet as I wanted an open design. The whole thing is deceiving because it allows me to mount my gear on the underside and you cannot see it.

My ATO storage is kept outside and I pump it in.

IMG_1494.jpg

Mine needs to house everything underneath and be closed off. My current stand is not long enough for my sump so its just sitting beside the stand being an easy target for my nephew to throw in anything.
 

ccombs

Valuable Member
View Badges
Joined
Feb 26, 2019
Messages
1,656
Reaction score
4,644
Location
Nashville
Rating - 0%
0   0   0
Mine needs to house everything underneath and be closed off. My current stand is not long enough for my sump so its just sitting beside the stand being an easy target for my nephew to throw in anything.
I get that 100%. My tank is an AIO, so I was able to locate gear in the attached 'sump' and ATO and AWC gear outside!

IMG_2845.jpg
IMG_2846.jpg
IMG_2847.jpg
IMG_2848.jpg
IMG_2777.jpg
IMG_2778.jpg
IMG_2814.jpg
IMG_2835.jpg
IMG_2836.jpg
 

Reefing threads: Do you wear gear from reef brands?

  • I wear reef gear everywhere.

    Votes: 17 16.0%
  • I wear reef gear primarily at fish events and my LFS.

    Votes: 6 5.7%
  • I wear reef gear primarily for water changes and tank maintenance.

    Votes: 0 0.0%
  • I wear reef gear primarily to relax where I live.

    Votes: 17 16.0%
  • I don’t wear gear from reef brands.

    Votes: 58 54.7%
  • Other.

    Votes: 8 7.5%
Back
Top