Waking up from the nightmare build: the reboot

OP
OP
Gregg @ ADP

Gregg @ ADP

Valuable Member
View Badges
Joined
Sep 20, 2018
Messages
1,208
Reaction score
2,995
Location
Chicago
Rating - 0%
0   0   0
Are they bad thing to have? and how do they get into the tank??
Bristle worms? Nah. They’re generally detritivores. I’ve heard of them chomping on clams before, but I’ve seen plenty of tanks with bristle worms in them that had happy clams.

I’m way old school...I just dump live rock in. In a new tank, I don’t even cure it. I use it to get it cycling. I get some unwanted stuff from time to time, but never to the point of having a problem.

One of my old zoology professors was fond of saying ‘Everything is food for something’, and I apply that philosophy to the stocking of aquariums. Seems to work.
 
OP
OP
Gregg @ ADP

Gregg @ ADP

Valuable Member
View Badges
Joined
Sep 20, 2018
Messages
1,208
Reaction score
2,995
Location
Chicago
Rating - 0%
0   0   0
Have you stopped working at all? lol You made quick work of that teardown.
Wait...this is work?!?

Honestly, I could have gotten it done in half the time, but since there’s no real clock ticking, I’m kinda just easing into this project. For instance, I would take all the lights down, and then take the Sawzall to some live rock, and then mess with the filter a little. Not really trying to be focused or organized. That said, the real work starts now that it’s empty.

Tomorrow, I’ll give a little tour of what we have to work with and what I’m going to do (if things go as planned)
 
OP
OP
Gregg @ ADP

Gregg @ ADP

Valuable Member
View Badges
Joined
Sep 20, 2018
Messages
1,208
Reaction score
2,995
Location
Chicago
Rating - 0%
0   0   0
Not doing much today, but did stop by for a short time. I want to open up the drywall ‘ceiling’ above the tank to see if, and how much, I can remove it.

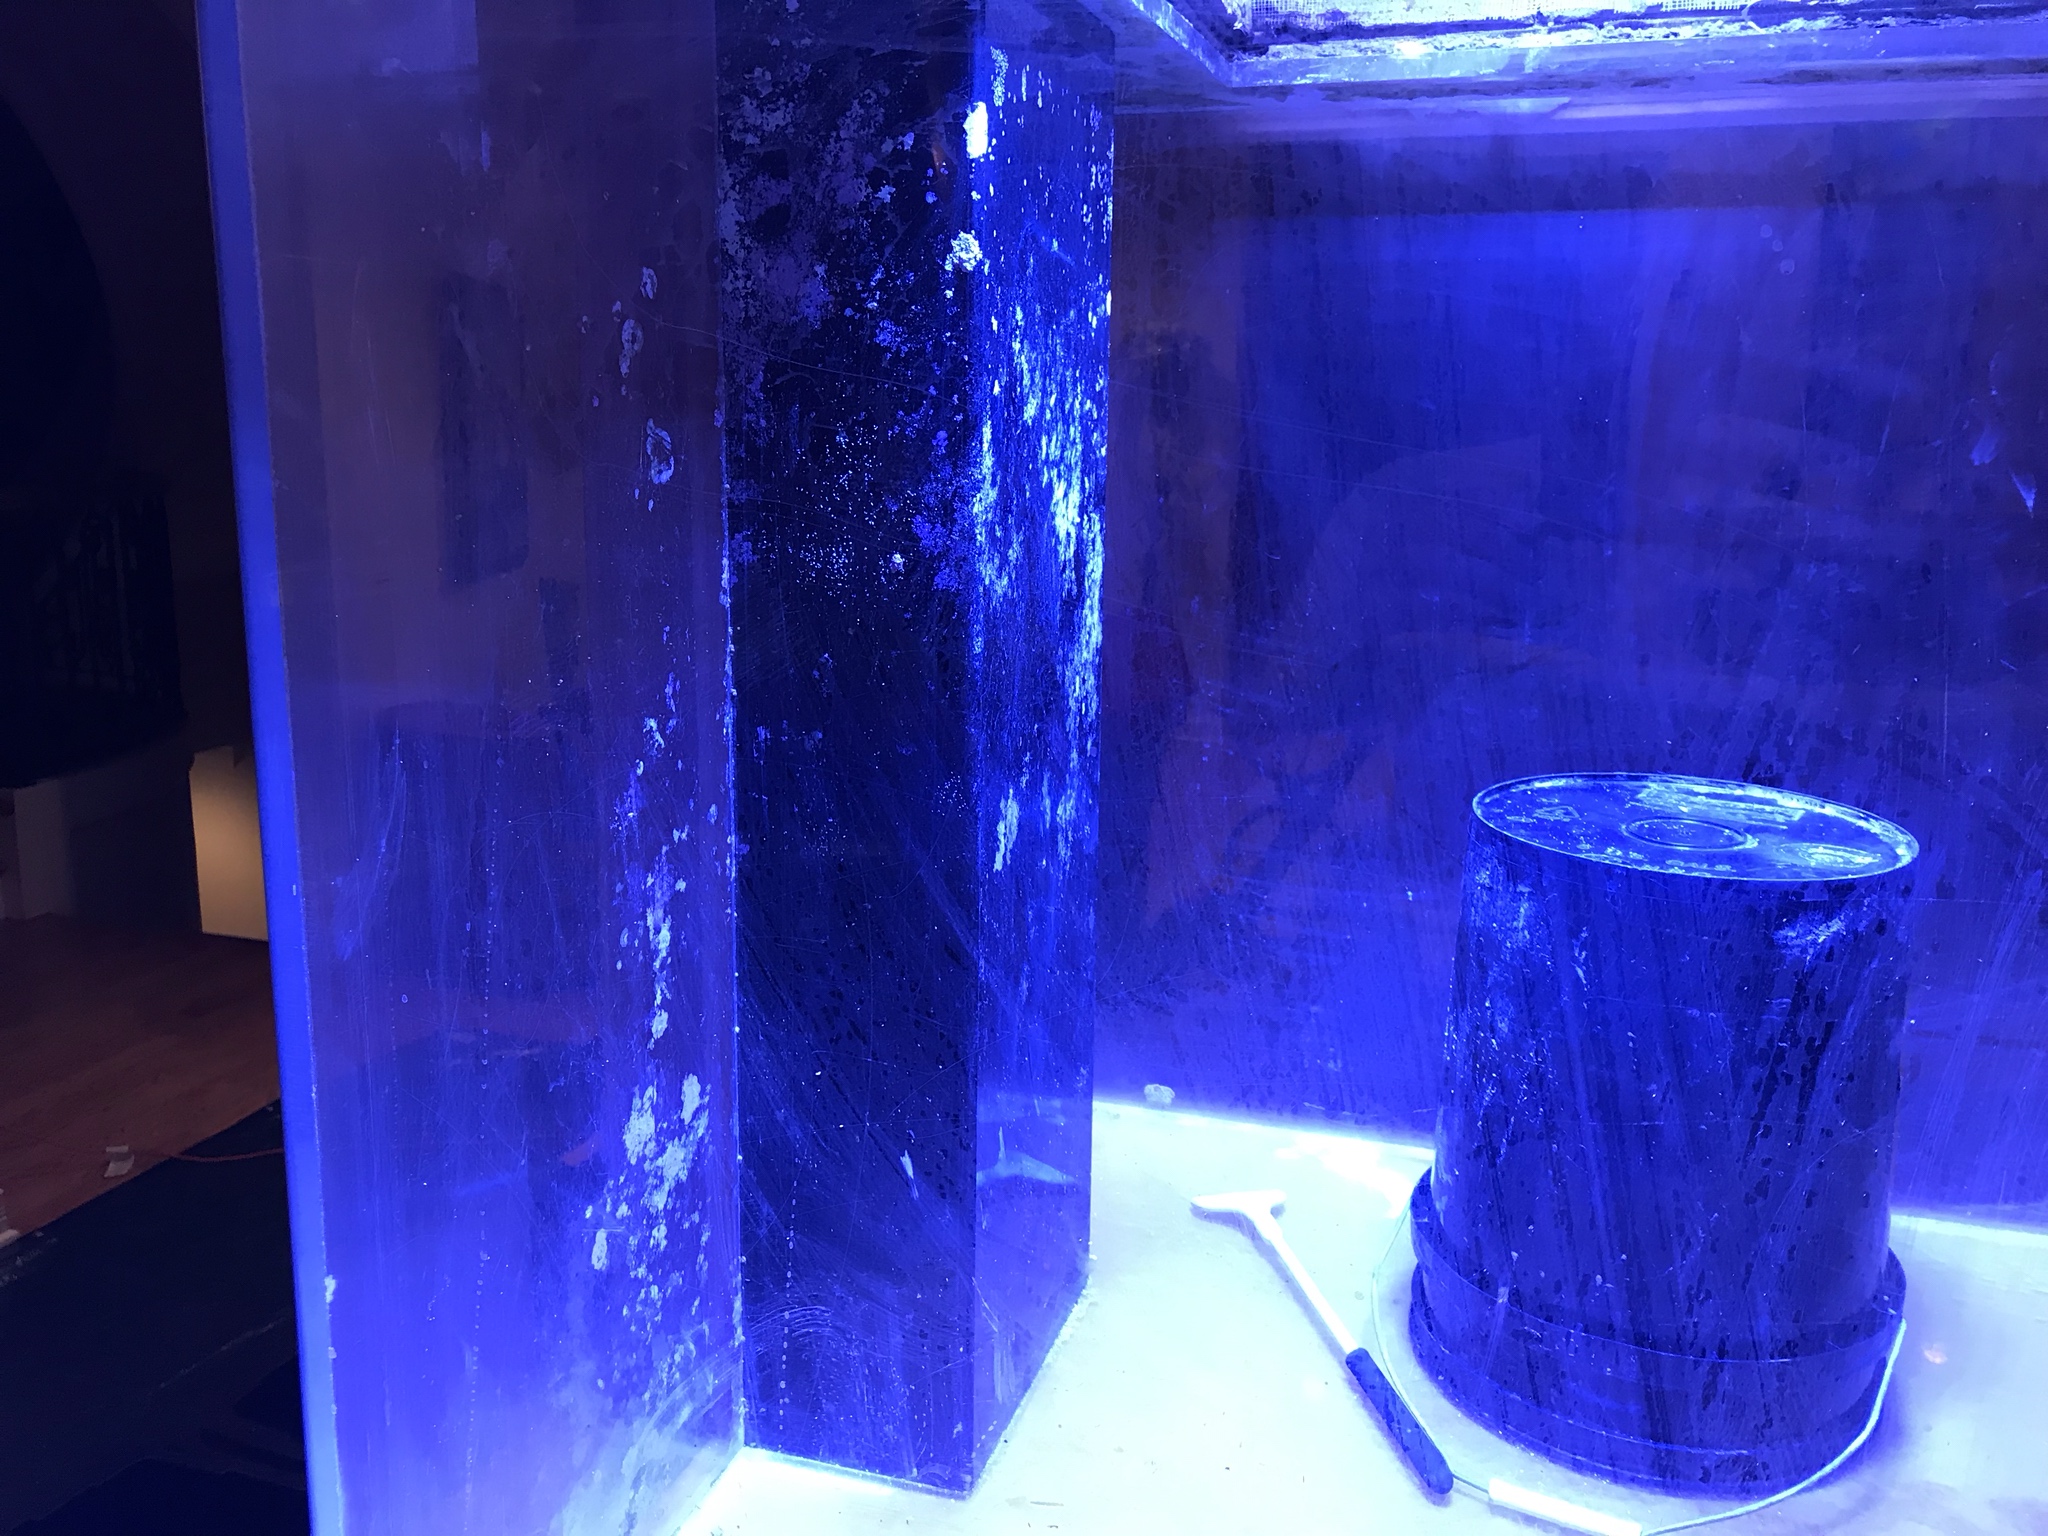
Here’s a general look at the problem areas inside the tank:

Looking from the kitchen side:
zTlfr3D.jpg


Here is the infamous support beam box. This tank could be pretty sweet if the beam wasn’t there and it could just be a peninsula. But...it is here.

My plan is to construct walls using egg crate wrapped in nylon mesh backed by acrylic (so they can be welded on), 1/2” dia acrylic rods to make live rock shelves, and hydraulic cement to cover the walls, which will have live rock embedded into it. That will allow a structure to go all the way to the top (it’s 36”), but not have to come out horizontally more than a few inches (not including live rock shelves). For the bottom half, I can build more of a free standing rock structure that butts up against the wall.
 
OP
OP
Gregg @ ADP

Gregg @ ADP

Valuable Member
View Badges
Joined
Sep 20, 2018
Messages
1,208
Reaction score
2,995
Location
Chicago
Rating - 0%
0   0   0
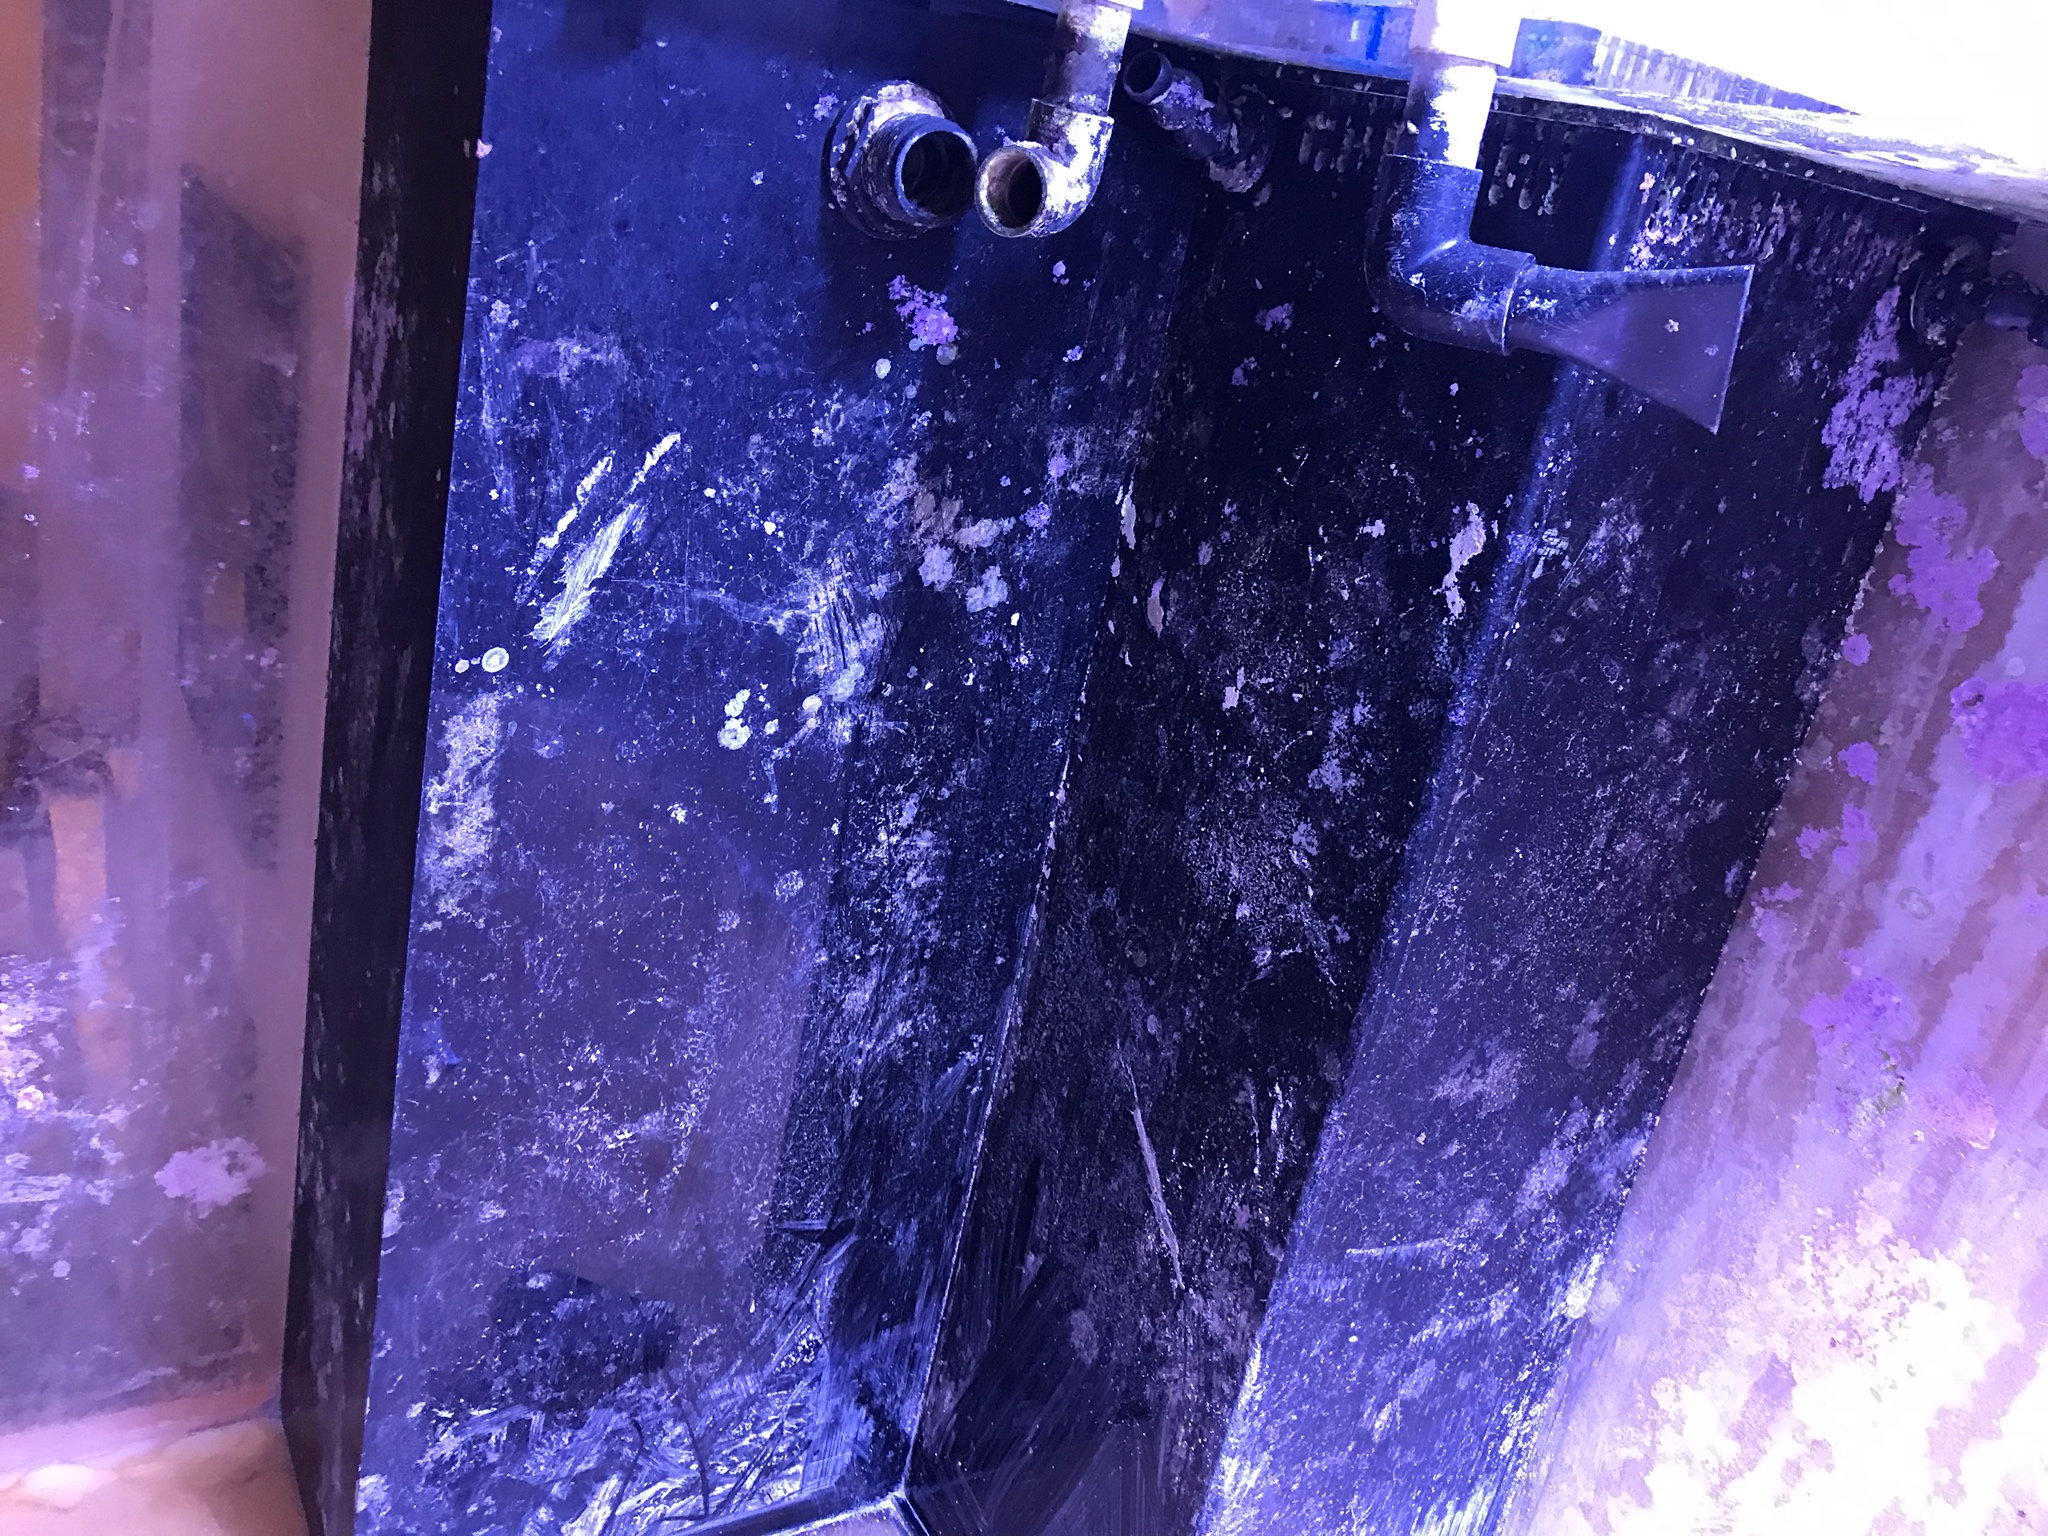
From the living room side:

9eJGcoW.jpg


You can see the overflow on the right, and dry chamber on the left. The far left panel is clear, but doesn’t face anything and is not used for viewing. The far right panel is clear and butts up against the side of the build-in refrigerator.

My plan here is to cover everything from left to right with 1/8” dark blue opaque acrylic.

Using the depth here and building a couple of primary more vertical rock structures on each point from those boxes, as well as proper light placement and angling, I should be able to highlight what is in front of the blue acrylic without hitting the acrylic with direct light. I’m toying with the idea of cementing some of that plastic two-sided locking tape to the sheets and the aquarium so the sheets can be removed and cleaned if needed.

That should help create a more open water look behind the vert structures, and make the tank look even larger.

I’m probably going to wrap the return line around to the side opposite the overflow. I’ve got 2 IceCap 3k and gyres, and I’m going to add a Maxspect 280 to those. The Maxspect will be ‘built-in’ to the rock wall surrounding the beam box, and the other two will probably be painted dark blue and placed on the dry-chamber and overflow way up by the top.

I hate...hate...seeing equipment/plumbing/cords, so I’m going to make sure these things are out of sight but still accessible.
 

Sallstrom

2500 Club Member
View Badges
Joined
Mar 14, 2017
Messages
2,816
Reaction score
11,988
Location
Gothenburg
Rating - 0%
0   0   0
Re: the blue acrylic sheets

I also have a gallon of dark blue 2-part epoxy paint from Pentair.

I’m going back and forth on painting or putting up acrylic. +s and -s to each.
Just found this thread! Will be great to follow this next steps. Thanks for all the posts documenting what you do. I know these kind of work, and I both hate it and love it :)

I understand you don't want too much light onto the blue acrylic, but in any case make sure you can reach it to clean it. I really like the effect of blue colour behind rocks and corals, but a blue wall with dots of coralline algae etc is the opposite. It looks terrible IMO.

Keep up the great work. Looking forward to the building of the reef walls. We've done a couple of walls and pillars outside the tank and then moved them into the tank. Every time it's been heavier and harder to lift without braking it than what I've thought.
Will you build it in parts and put together inside the tank? What's your plan?
 
OP
OP
Gregg @ ADP

Gregg @ ADP

Valuable Member
View Badges
Joined
Sep 20, 2018
Messages
1,208
Reaction score
2,995
Location
Chicago
Rating - 0%
0   0   0
Just found this thread! Will be great to follow this next steps. Thanks for all the posts documenting what you do. I know these kind of work, and I both hate it and love it :)

I understand you don't want too much light onto the blue acrylic, but in any case make sure you can reach it to clean it. I really like the effect of blue colour behind rocks and corals, but a blue wall with dots of coralline algae etc is the opposite. It looks terrible IMO.

Keep up the great work. Looking forward to the building of the reef walls. We've done a couple of walls and pillars outside the tank and then moved them into the tank. Every time it's been heavier and harder to lift without braking it than what I've thought.
Will you build it in parts and put together inside the tank? What's your plan?
Right now, I’m 90% leaning toward painting those back surfaces with the epoxy paint. My biggest concern is being able to keep it clean without destroying it. The primary reason for wanting to paint is that the surfaces is that the paint I have is a full shade darker than the darkest blue acrylic I can find w/o spending twice as much.

Do you have any experience cleaning epoxy paint? I’m going to do 2 coats...hoping it will cure hard enough for me to be able to scrape it w/acrylic blades. If you happen to be reading this and have strong thoughts against painting it, let me know ASAP, because that is next on my list.

Re: rock structure and walls. Structures will be built outside of the tank and then reassembled/cemented in side the tank. The walls are not big...3 panels big enough to cover that unsightly box. I will construct the frame outside of the tank, and then add rock/cement inside the tank while they are lying horizontally, and then cement them on once everything is set and cured.
 

Sallstrom

2500 Club Member
View Badges
Joined
Mar 14, 2017
Messages
2,816
Reaction score
11,988
Location
Gothenburg
Rating - 0%
0   0   0
Right now, I’m 90% leaning toward painting those back surfaces with the epoxy paint. My biggest concern is being able to keep it clean without destroying it. The primary reason for wanting to paint is that the surfaces is that the paint I have is a full shade darker than the darkest blue acrylic I can find w/o spending twice as much.

Do you have any experience cleaning epoxy paint? I’m going to do 2 coats...hoping it will cure hard enough for me to be able to scrape it w/acrylic blades. If you happen to be reading this and have strong thoughts against painting it, let me know ASAP, because that is next on my list.

Re: rock structure and walls. Structures will be built outside of the tank and then reassembled/cemented in side the tank. The walls are not big...3 panels big enough to cover that unsightly box. I will construct the frame outside of the tank, and then add rock/cement inside the tank while they are lying horizontally, and then cement them on once everything is set and cured.
Our propagation tanks are painted with epoxi paint. Sea urchins have done some damage to it, so if you plan on keeping urchins like Diadema expoxi might not be the best idea. They eat everything..
 
OP
OP
Gregg @ ADP

Gregg @ ADP

Valuable Member
View Badges
Joined
Sep 20, 2018
Messages
1,208
Reaction score
2,995
Location
Chicago
Rating - 0%
0   0   0
Our propagation tanks are painted with epoxi paint. Sea urchins have done some damage to it, so if you plan on keeping urchins like Diadema expoxi might not be the best idea. They eat everything..
No Diadema urchins. How does it hold up to cleaning?

The surface it’s being painted on is black, so even if it gets nicked up, I don’t think it will show enough to matter.
 

Sallstrom

2500 Club Member
View Badges
Joined
Mar 14, 2017
Messages
2,816
Reaction score
11,988
Location
Gothenburg
Rating - 0%
0   0   0
No Diadema urchins. How does it hold up to cleaning?

The surface it’s being painted on is black, so even if it gets nicked up, I don’t think it will show enough to matter.

Cleaning it should be find I think. But maybe depends on how well the paint attaches.
 
OP
OP
Gregg @ ADP

Gregg @ ADP

Valuable Member
View Badges
Joined
Sep 20, 2018
Messages
1,208
Reaction score
2,995
Location
Chicago
Rating - 0%
0   0   0
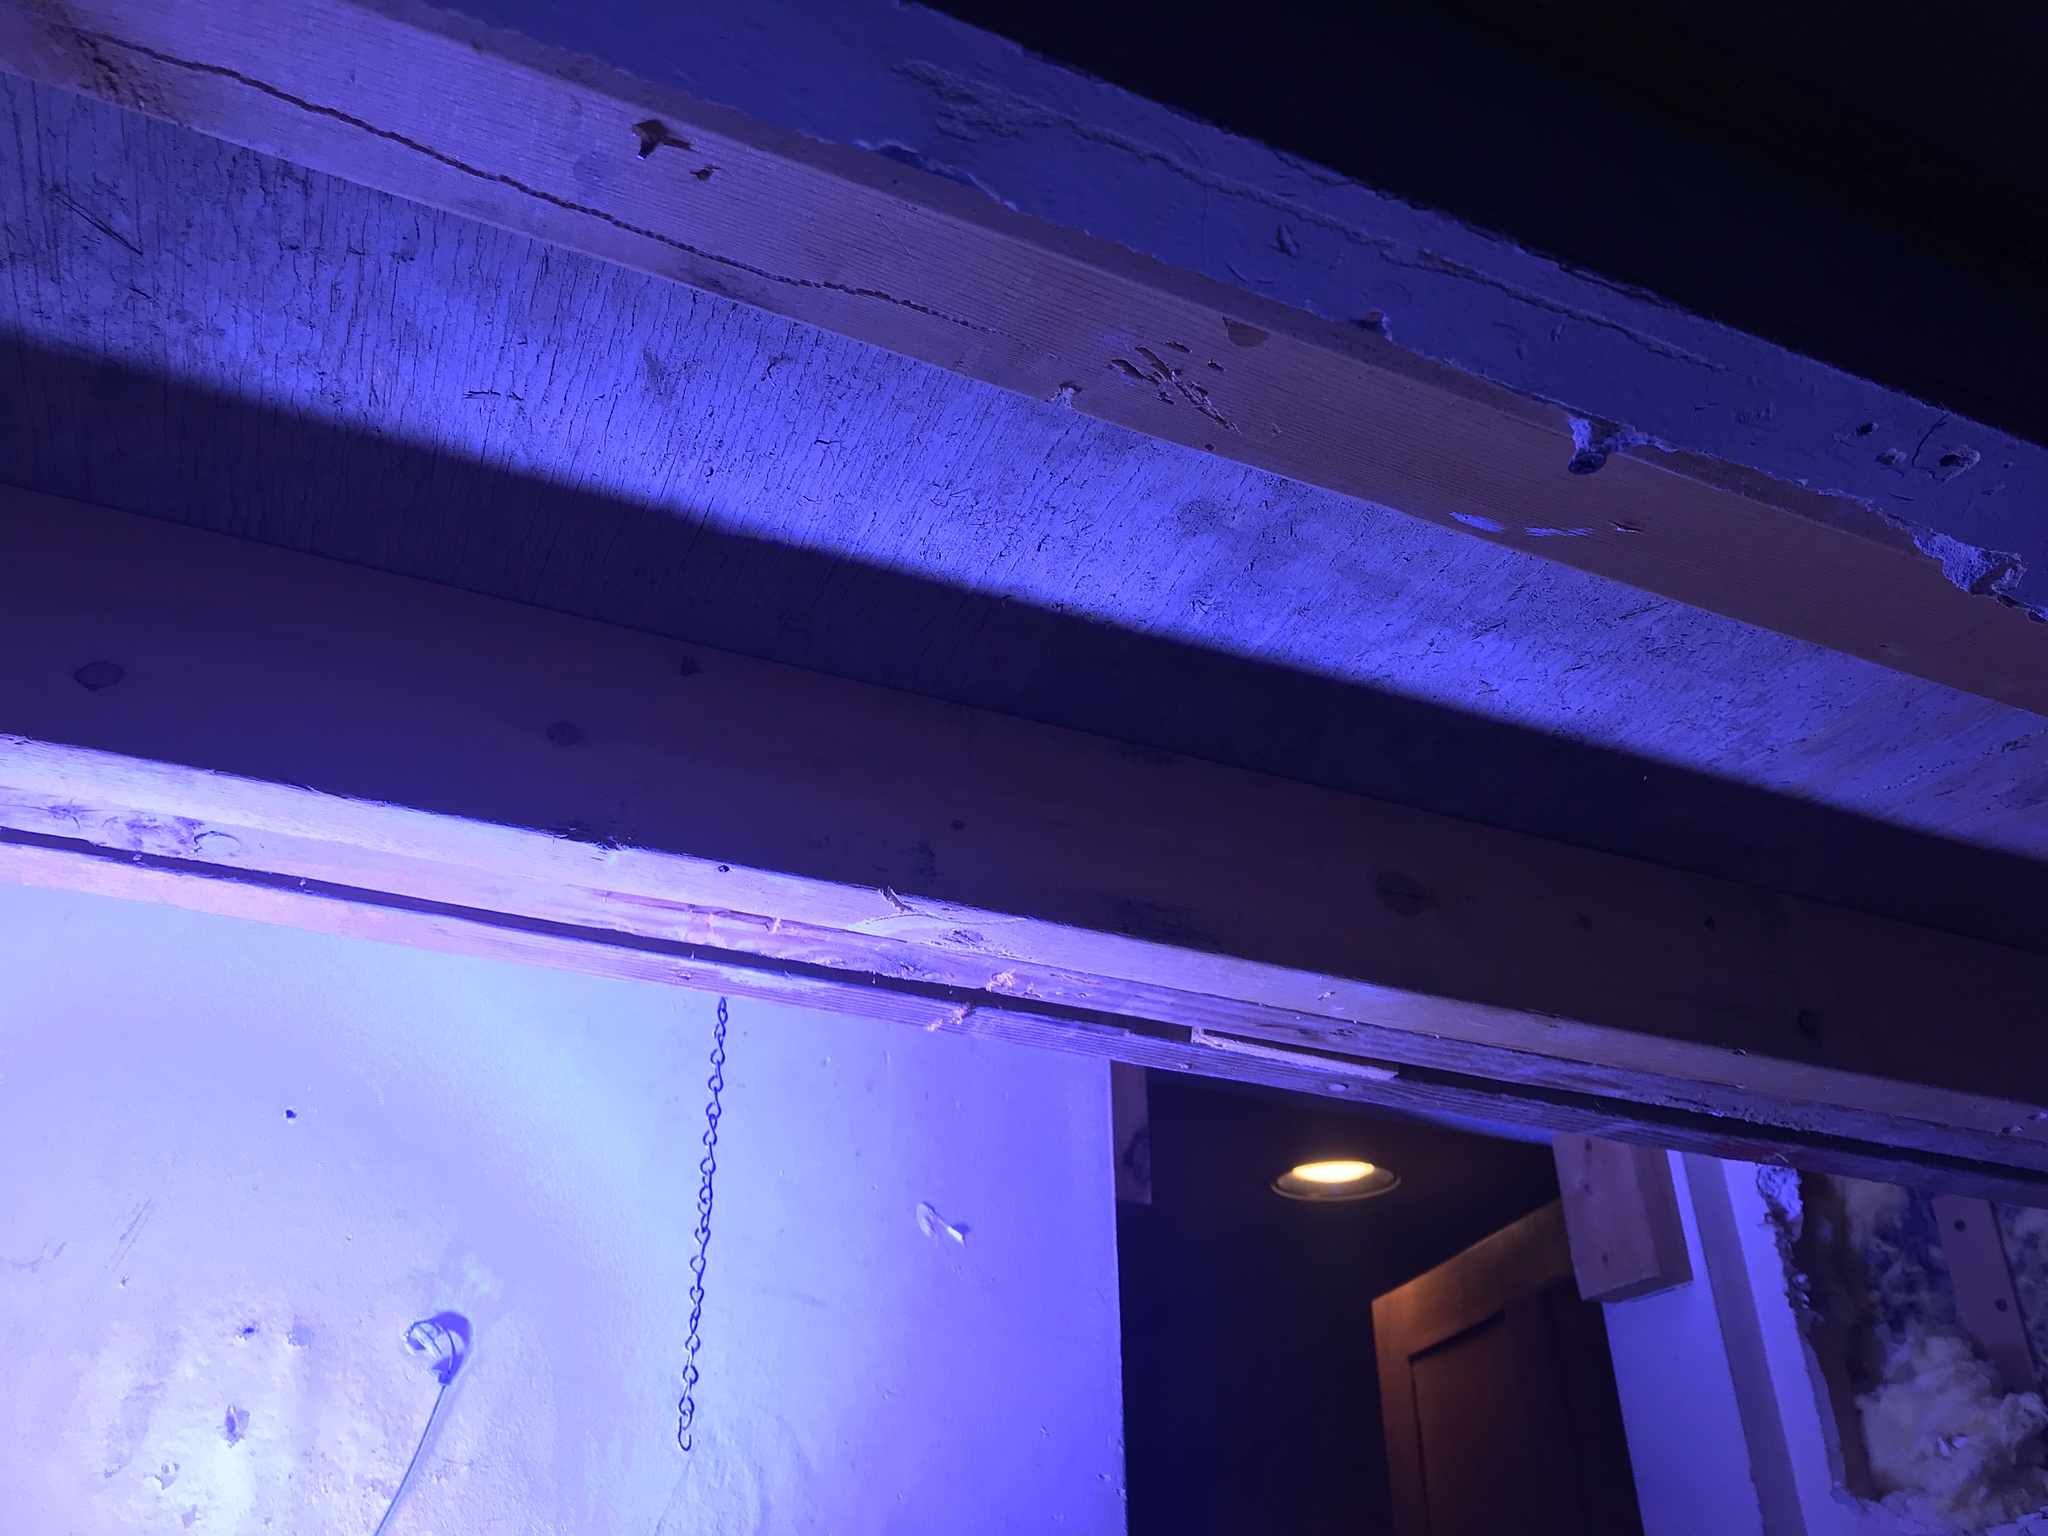
Well, I don’t think the interior of the cabinet space is going to make my website after I finish it. It’s kind of a lost cause without just ripping this whole thing down.

dVKPlis.jpg


There’s a 3 2x12 horizontal support going across the middle. Obviously, that’s not going anywhere. I was able to rip all the dry wall off from the ceiling, and other than the beam in the middle, I was able to gain 6” of additional clearance (plus no more drywall).

Sometimes the game is ugly and played poorly, and you only win by 1 point. But it’s still a win. That’s where I’m at with this.

And then you look at how this was all framed in:
IJsmEoQ.jpg

Just unbelievable. And totally preventable.

Again, without just doing a total demolition, this ain’t goin anywhere. Just going to clean it up as well as I can and then tack plywood over it. Not a whole lot else that I can do.

About to get all this cleaned up and out, hit the coralline algae on viewing panels w/vinegar, scrape off everything that I can, and then prep for buffing the acrylic and then painting.
 
OP
OP
Gregg @ ADP

Gregg @ ADP

Valuable Member
View Badges
Joined
Sep 20, 2018
Messages
1,208
Reaction score
2,995
Location
Chicago
Rating - 0%
0   0   0
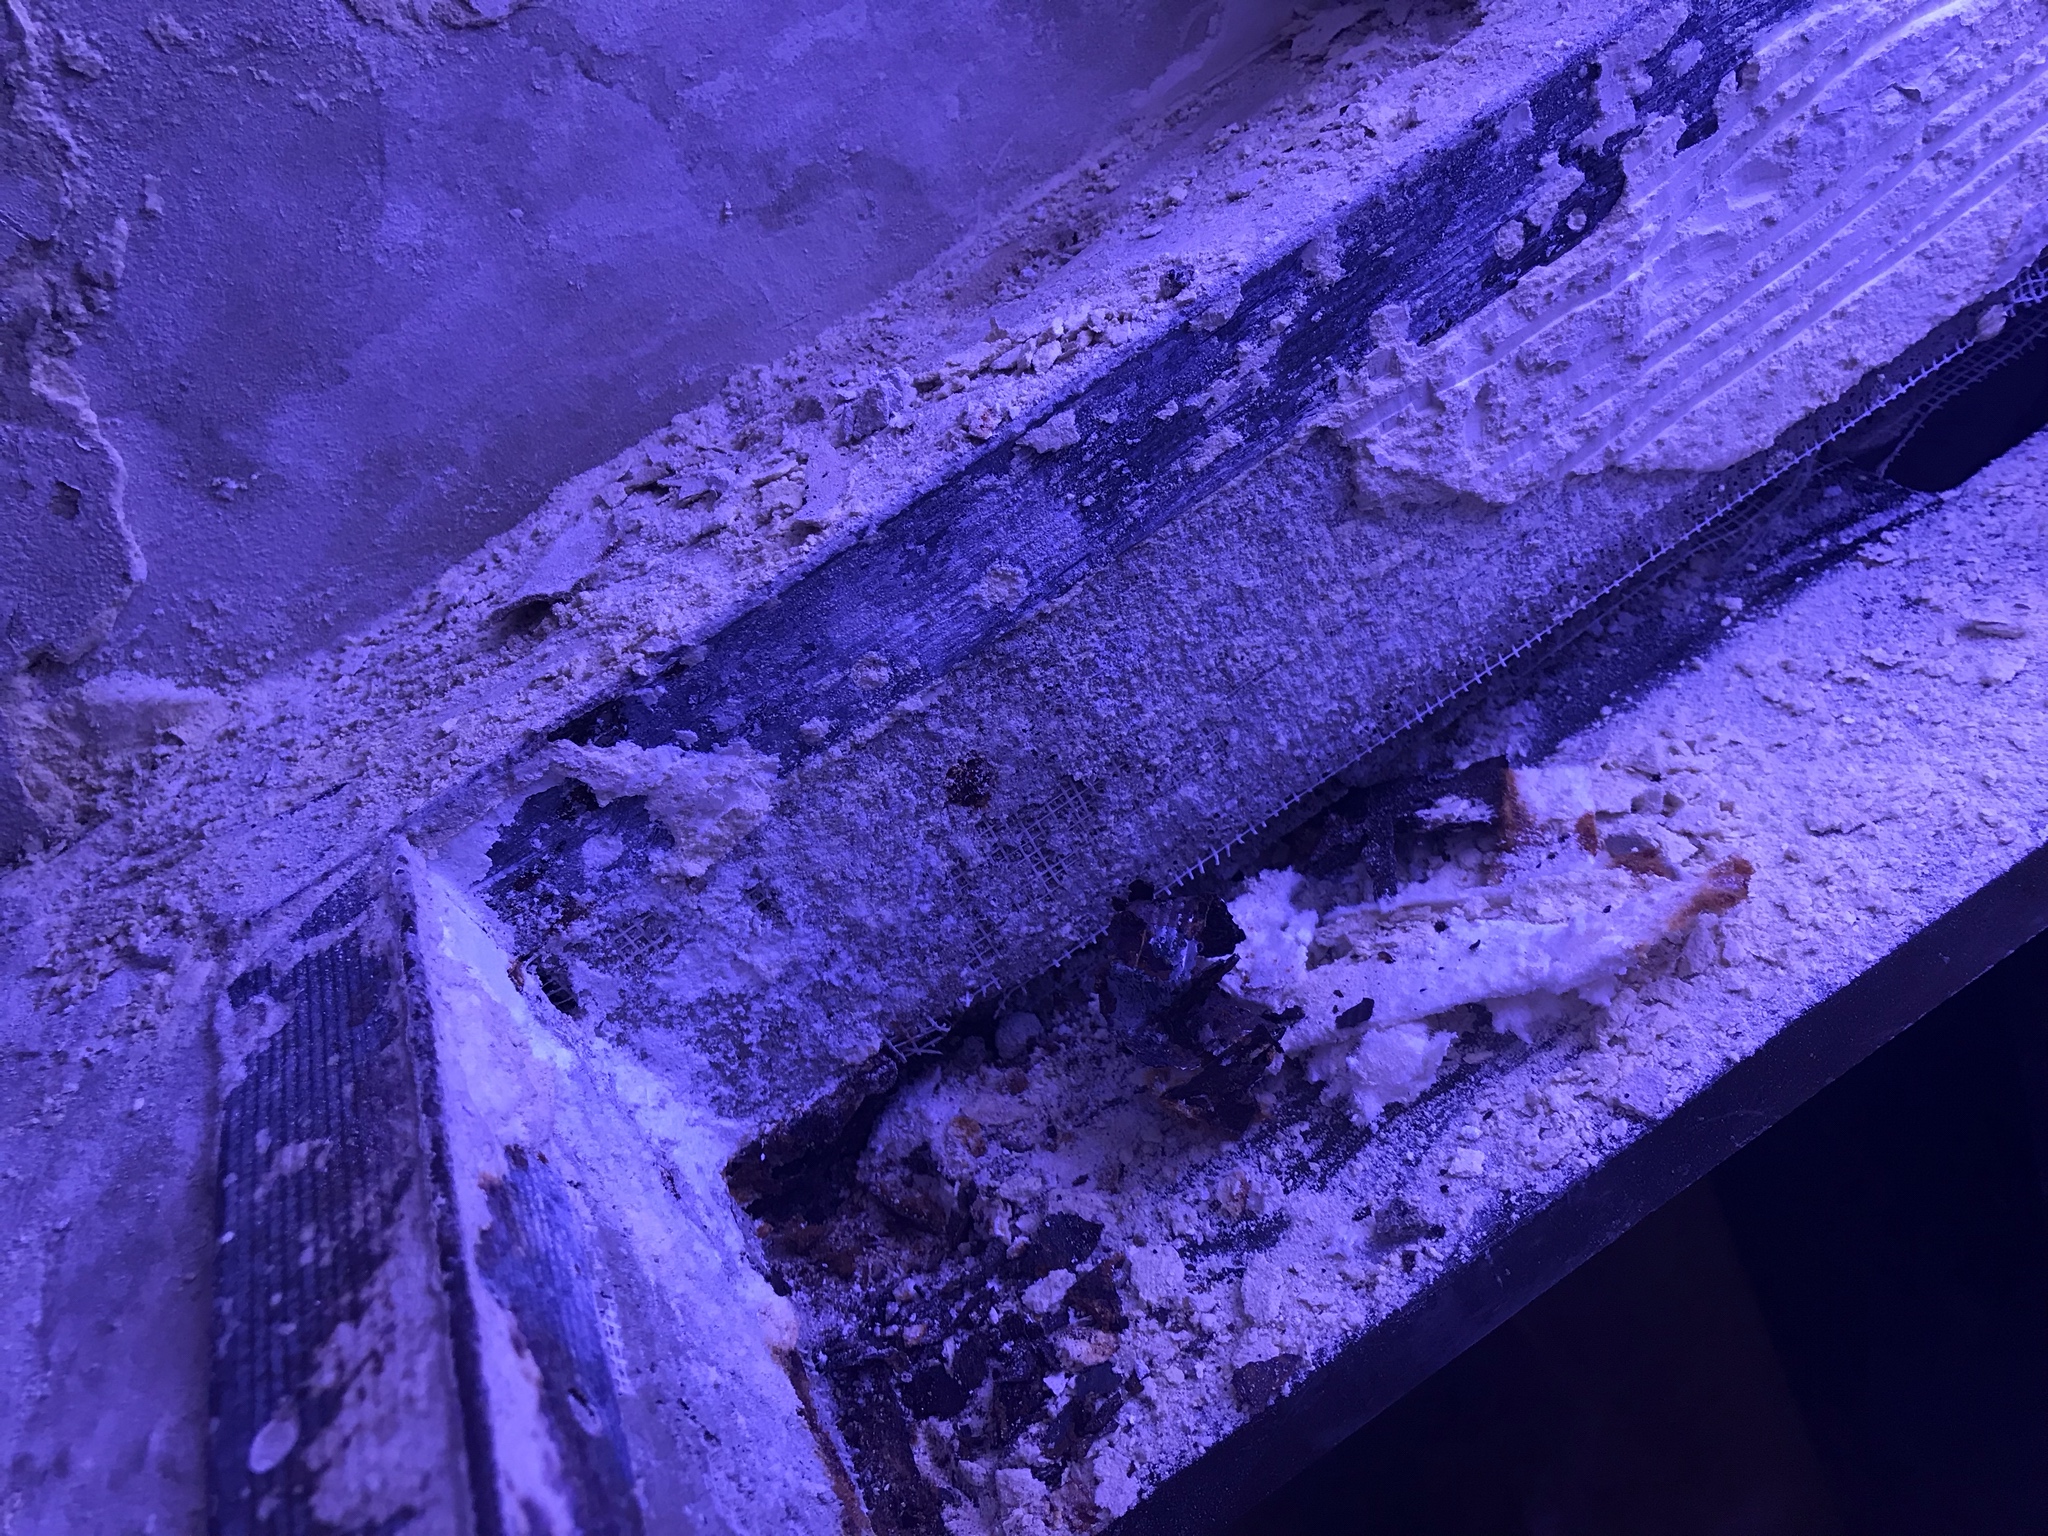
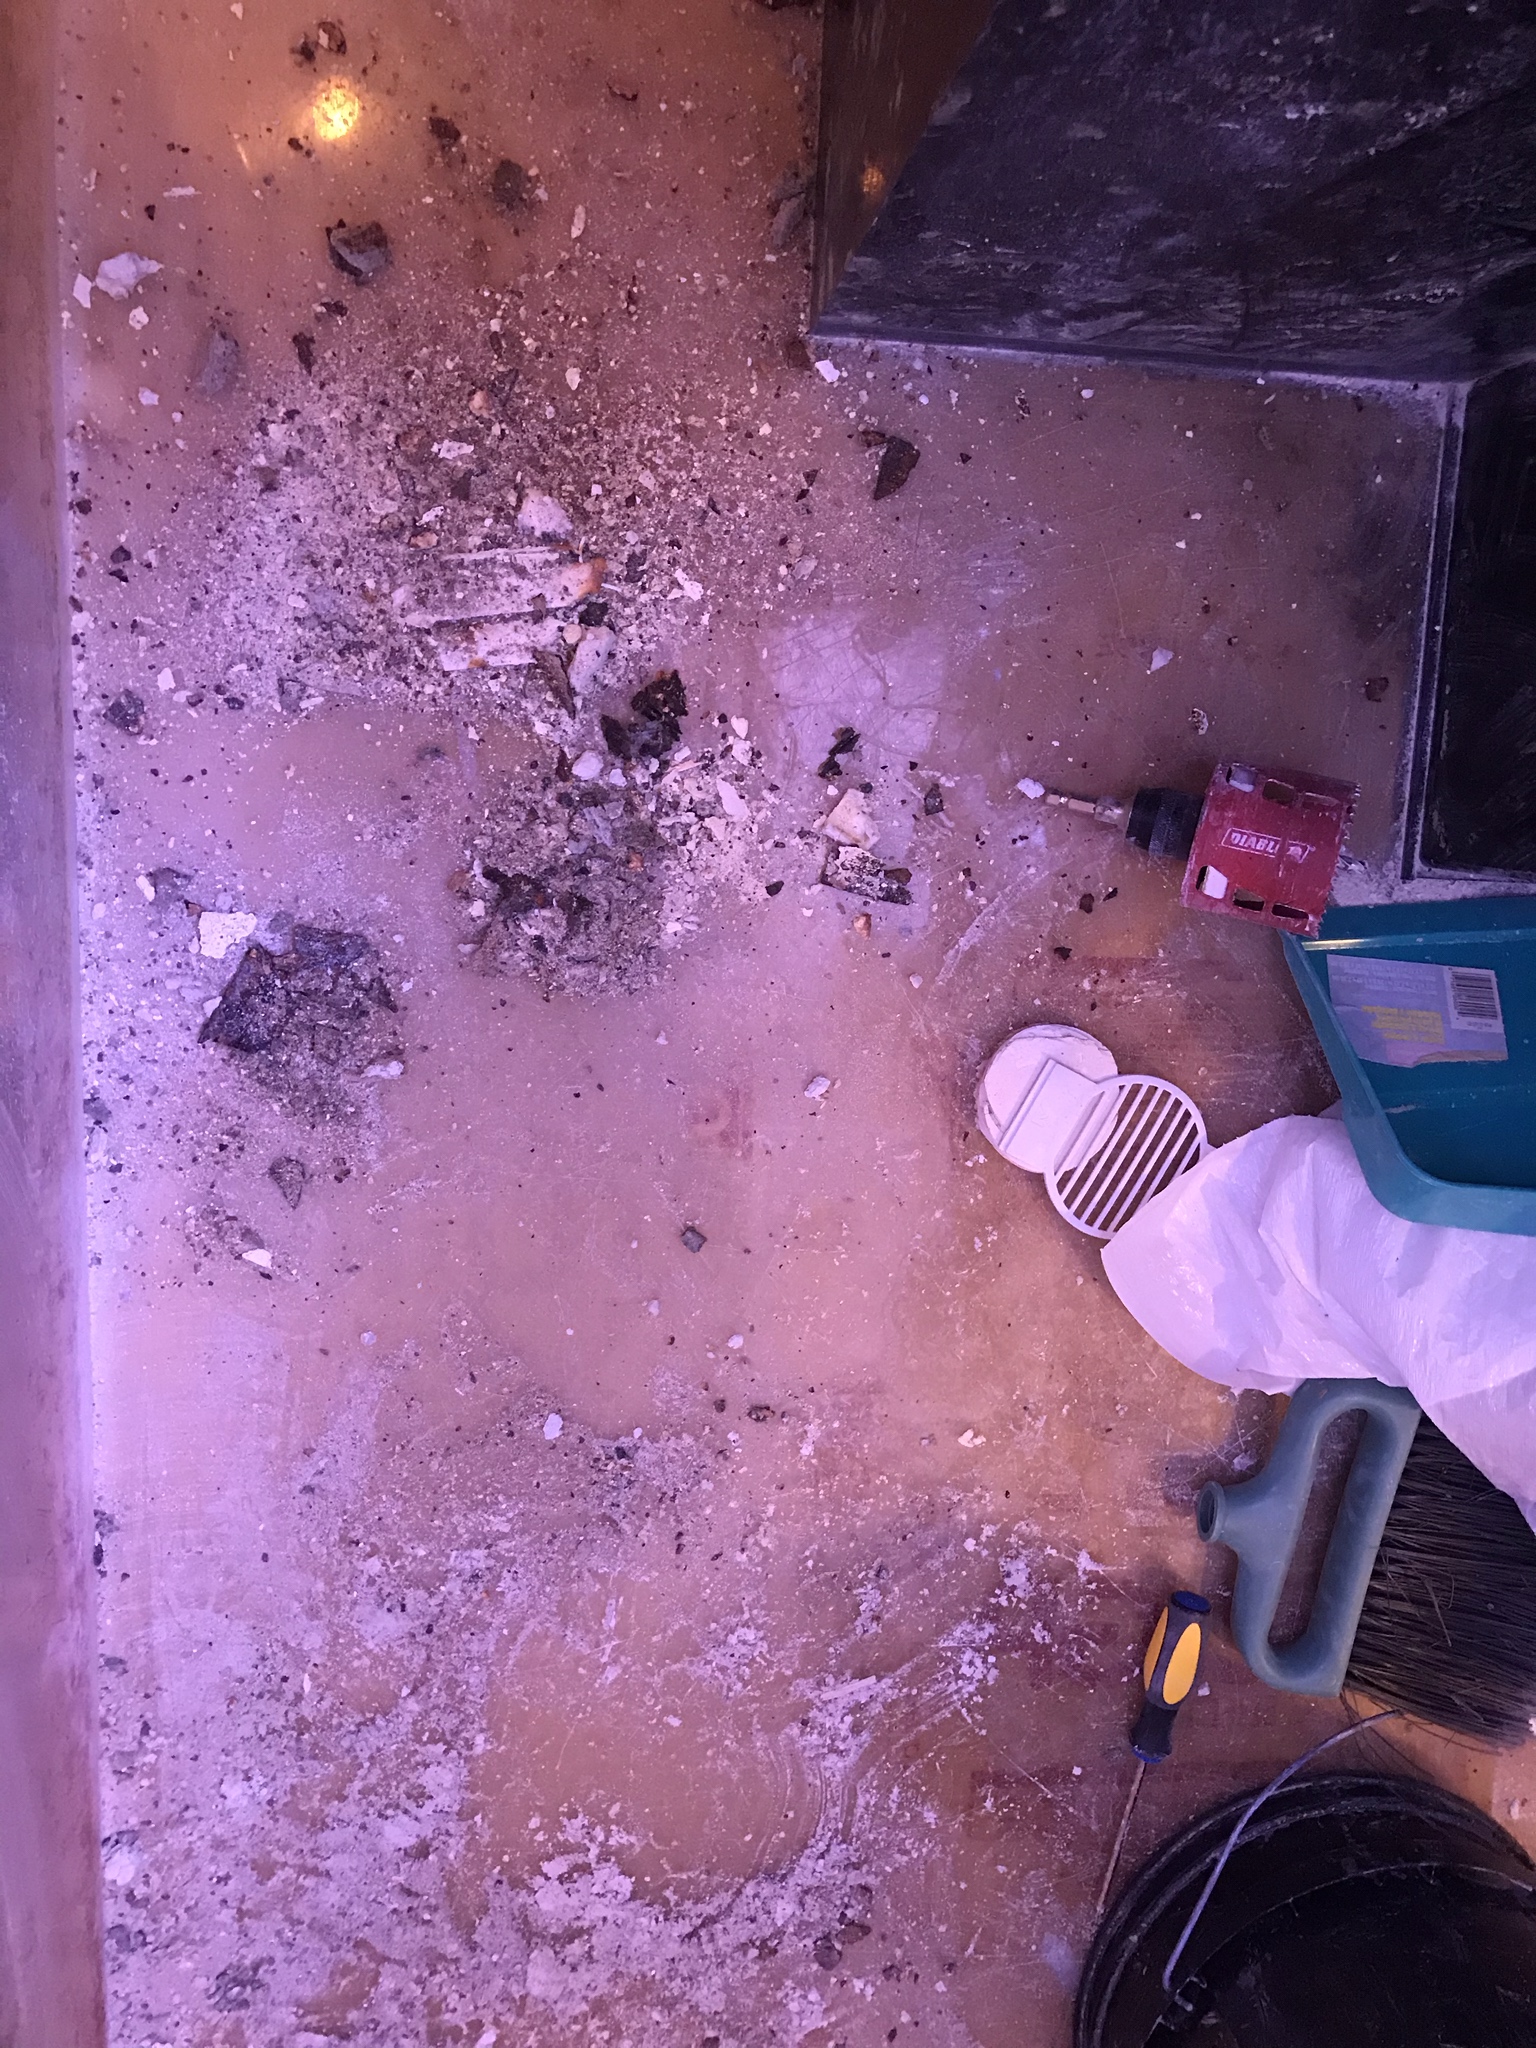
I’m honestly surprised...maybe even shocked...that corals did as well as they did in this tank, given just how much corroded metal and drywall was probably constantly raining into it.

Once I was able to get some of the drywall facing removed from what would constitute the lip around the top of the tank, there was a 1/2” space between the tank and the lip that was just rust dust.

Here is just a little bit of the corroded metal and drywall I was able to extract from that space:

FchvBTM.jpg


I would imagine if I had sent a sample of water in to Triton, their testing equipment would have exploded.

Yet...just about every coral I put in thrived.
 
OP
OP
Gregg @ ADP

Gregg @ ADP

Valuable Member
View Badges
Joined
Sep 20, 2018
Messages
1,208
Reaction score
2,995
Location
Chicago
Rating - 0%
0   0   0
So, moving forward, I need some input from you guys:

My plan is to keep this a mixed-reef, but to have more of an emphasis on SPS. Given the tank height of 36”, it will be populated using some zonation.

Currently:

Lighting: 4 AI 52 HDs
What should I add? Thinking about retro-ing some T5s

Water movement: 2 IceCap 3k
(going to add a Maxspect 280)

What are some ideas on coral and coral placement? What are some good SPS for the mid-level?
 

sde1500

Valuable Member
View Badges
Joined
May 6, 2016
Messages
1,366
Reaction score
2,175
Rating - 0%
0   0   0
Not doing much today, but did stop by for a short time. I want to open up the drywall ‘ceiling’ above the tank to see if, and how much, I can remove it.

Here’s a general look at the problem areas inside the tank:

Looking from the kitchen side:
zTlfr3D.jpg


Here is the infamous support beam box. This tank could be pretty sweet if the beam wasn’t there and it could just be a peninsula. But...it is here.

My plan is to construct walls using egg crate wrapped in nylon mesh backed by acrylic (so they can be welded on), 1/2” dia acrylic rods to make live rock shelves, and hydraulic cement to cover the walls, which will have live rock embedded into it. That will allow a structure to go all the way to the top (it’s 36”), but not have to come out horizontally more than a few inches (not including live rock shelves). For the bottom half, I can build more of a free standing rock structure that butts up against the wall.
I really don't get this. The way it is from the outside it just looks like it butts up to the end of the beam. Why not just actually do that, why push the sides out two partially wrap around the beam?
 

Sallstrom

2500 Club Member
View Badges
Joined
Mar 14, 2017
Messages
2,816
Reaction score
11,988
Location
Gothenburg
Rating - 0%
0   0   0
So, moving forward, I need some input from you guys:

My plan is to keep this a mixed-reef, but to have more of an emphasis on SPS. Given the tank height of 36”, it will be populated using some zonation.

Currently:

Lighting: 4 AI 52 HDs
What should I add? Thinking about retro-ing some T5s

Water movement: 2 IceCap 3k
(going to add a Maxspect 280)

What are some ideas on coral and coral placement? What are some good SPS for the mid-level?

I like Stylopora for their shape and different colours. They do fine in medium light intensity(just doesn't grow as fast in high intensity).

Many types of Montipora do okey in less light as well, but if they grow upwards you'll end up seeing the boring side of the colony.

All kind of Seriatopora do well in medium light as well.

If you do walls, plate shaped Acropora like A. hyacinthus and A. millepora are really nice. Just hard to resist putting them up in the strongest light to get some growth, instead of placing them a bit further down and give them time to grow. Probably slower but as long as they get a PAR value above 150 they should be okey.

Some ideas :)
 
OP
OP
Gregg @ ADP

Gregg @ ADP

Valuable Member
View Badges
Joined
Sep 20, 2018
Messages
1,208
Reaction score
2,995
Location
Chicago
Rating - 0%
0   0   0
I really don't get this. The way it is from the outside it just looks like it butts up to the end of the beam. Why not just actually do that, why push the sides out two partially wrap around the beam?
‘Why’ is the one word that crosses my mind every 45 seconds when dealing with this set-up.

For instance, why have the tank built with a dry chamber when that end of the tank is already enclosed by a wall? They couldn’t just leave a 6” gap between the inside of the wall and the end of the tank?

My guess on the beam that to only go to the edge of the beam would cut 6” out of the length, so on the kitchen side the viewing panel would only be ~18” in length.

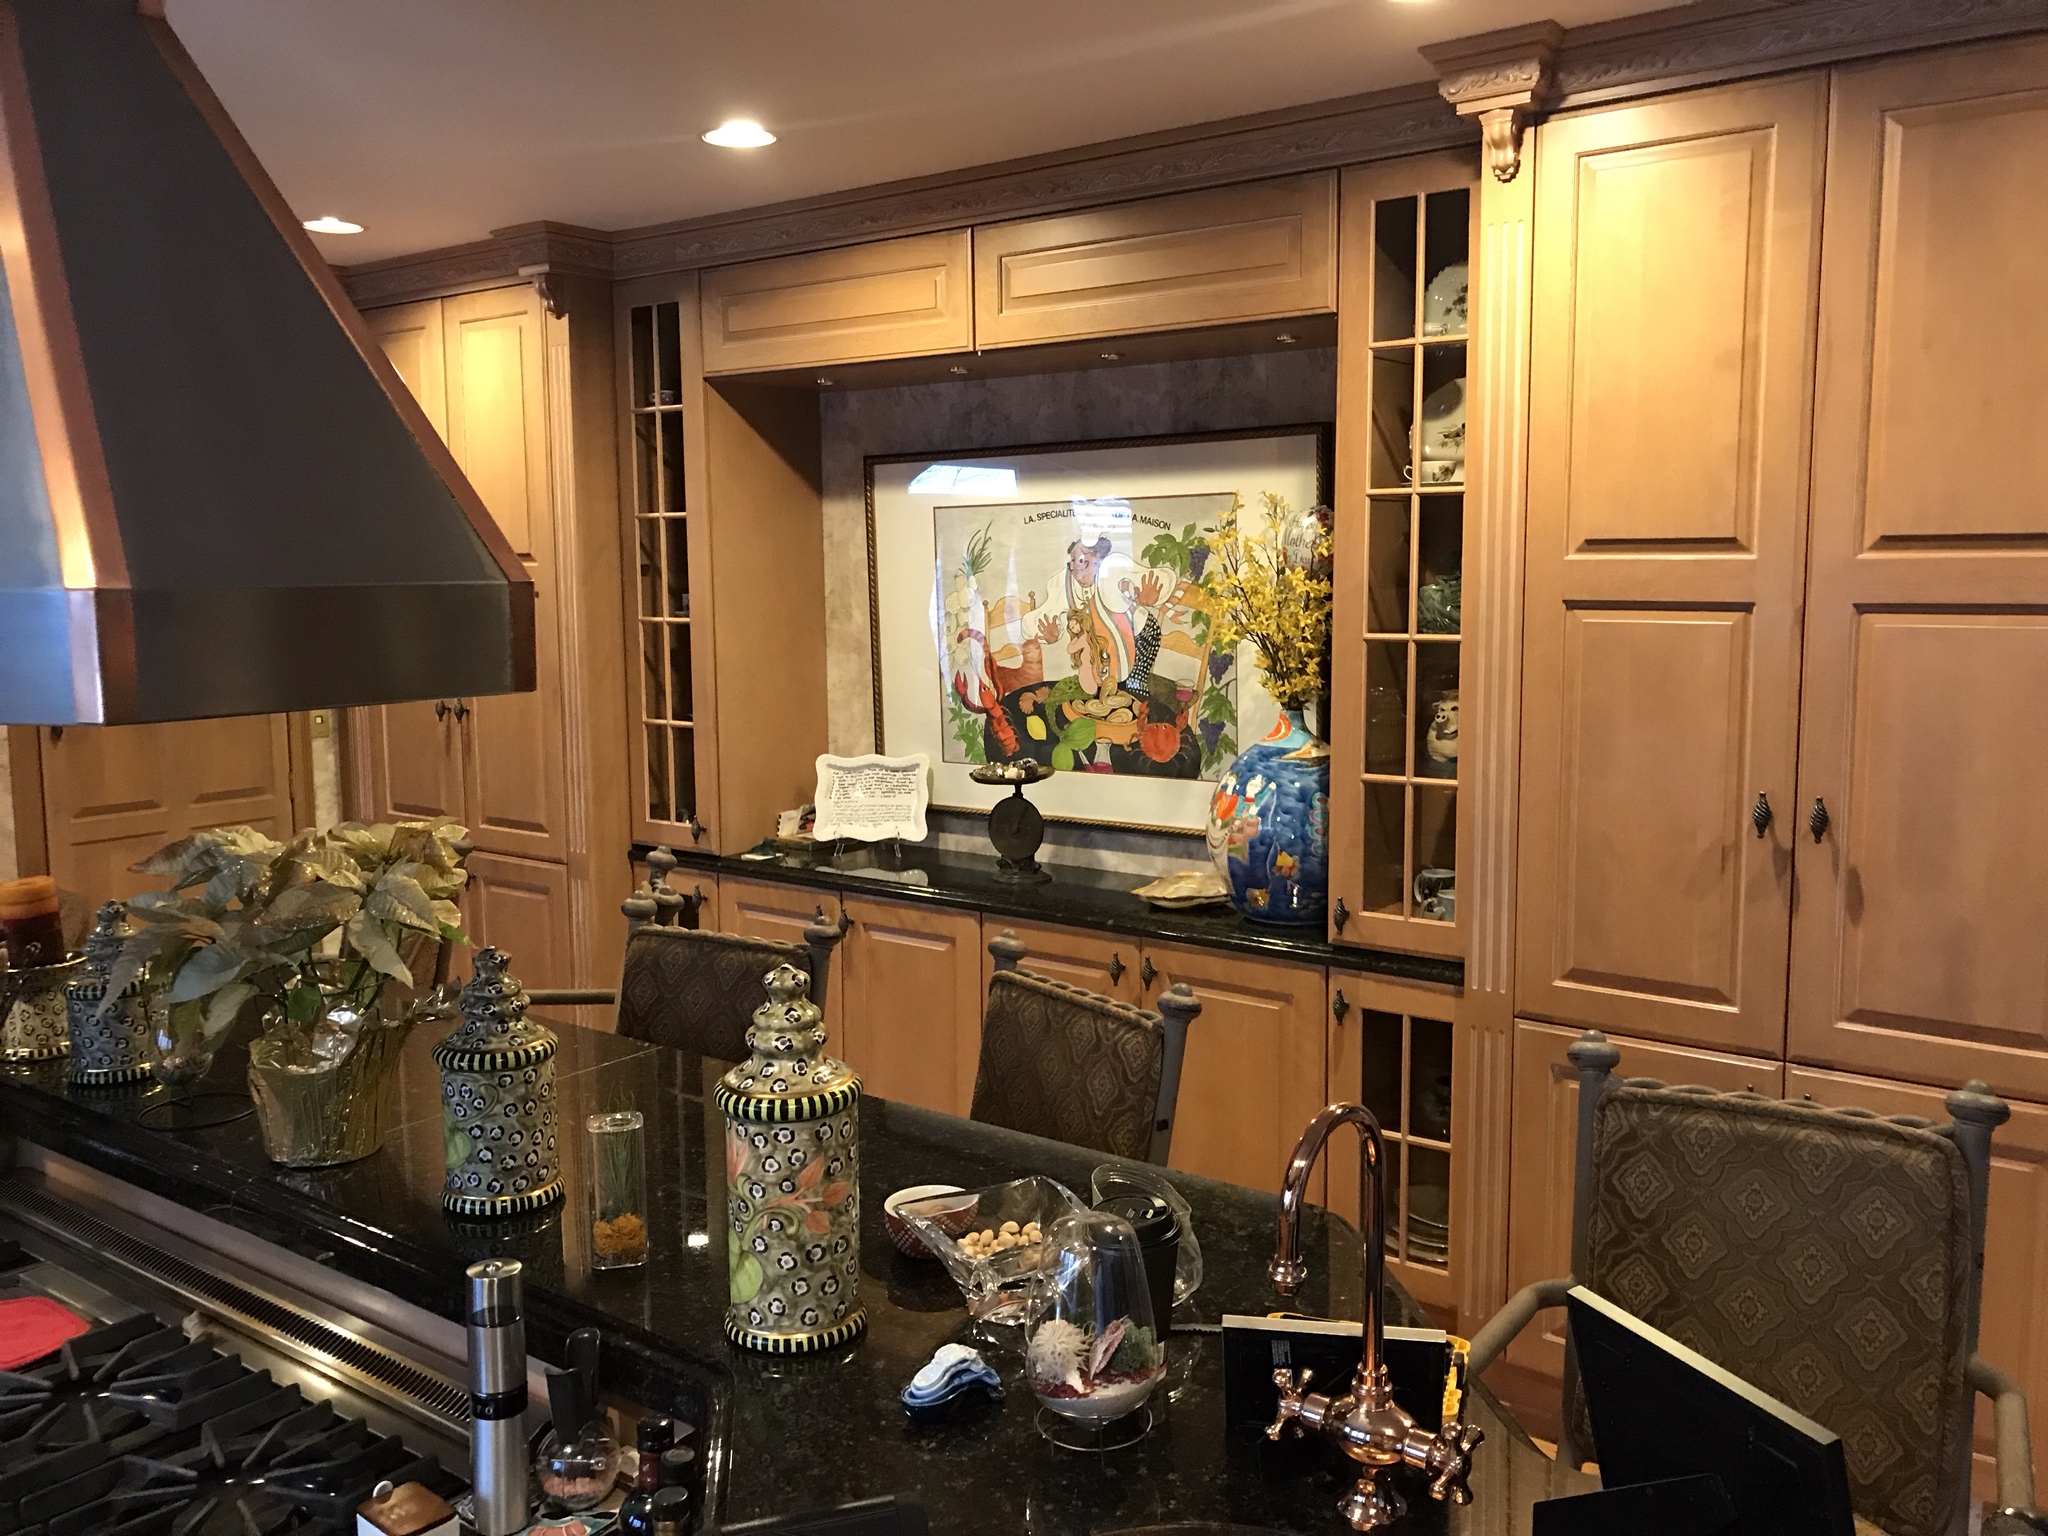
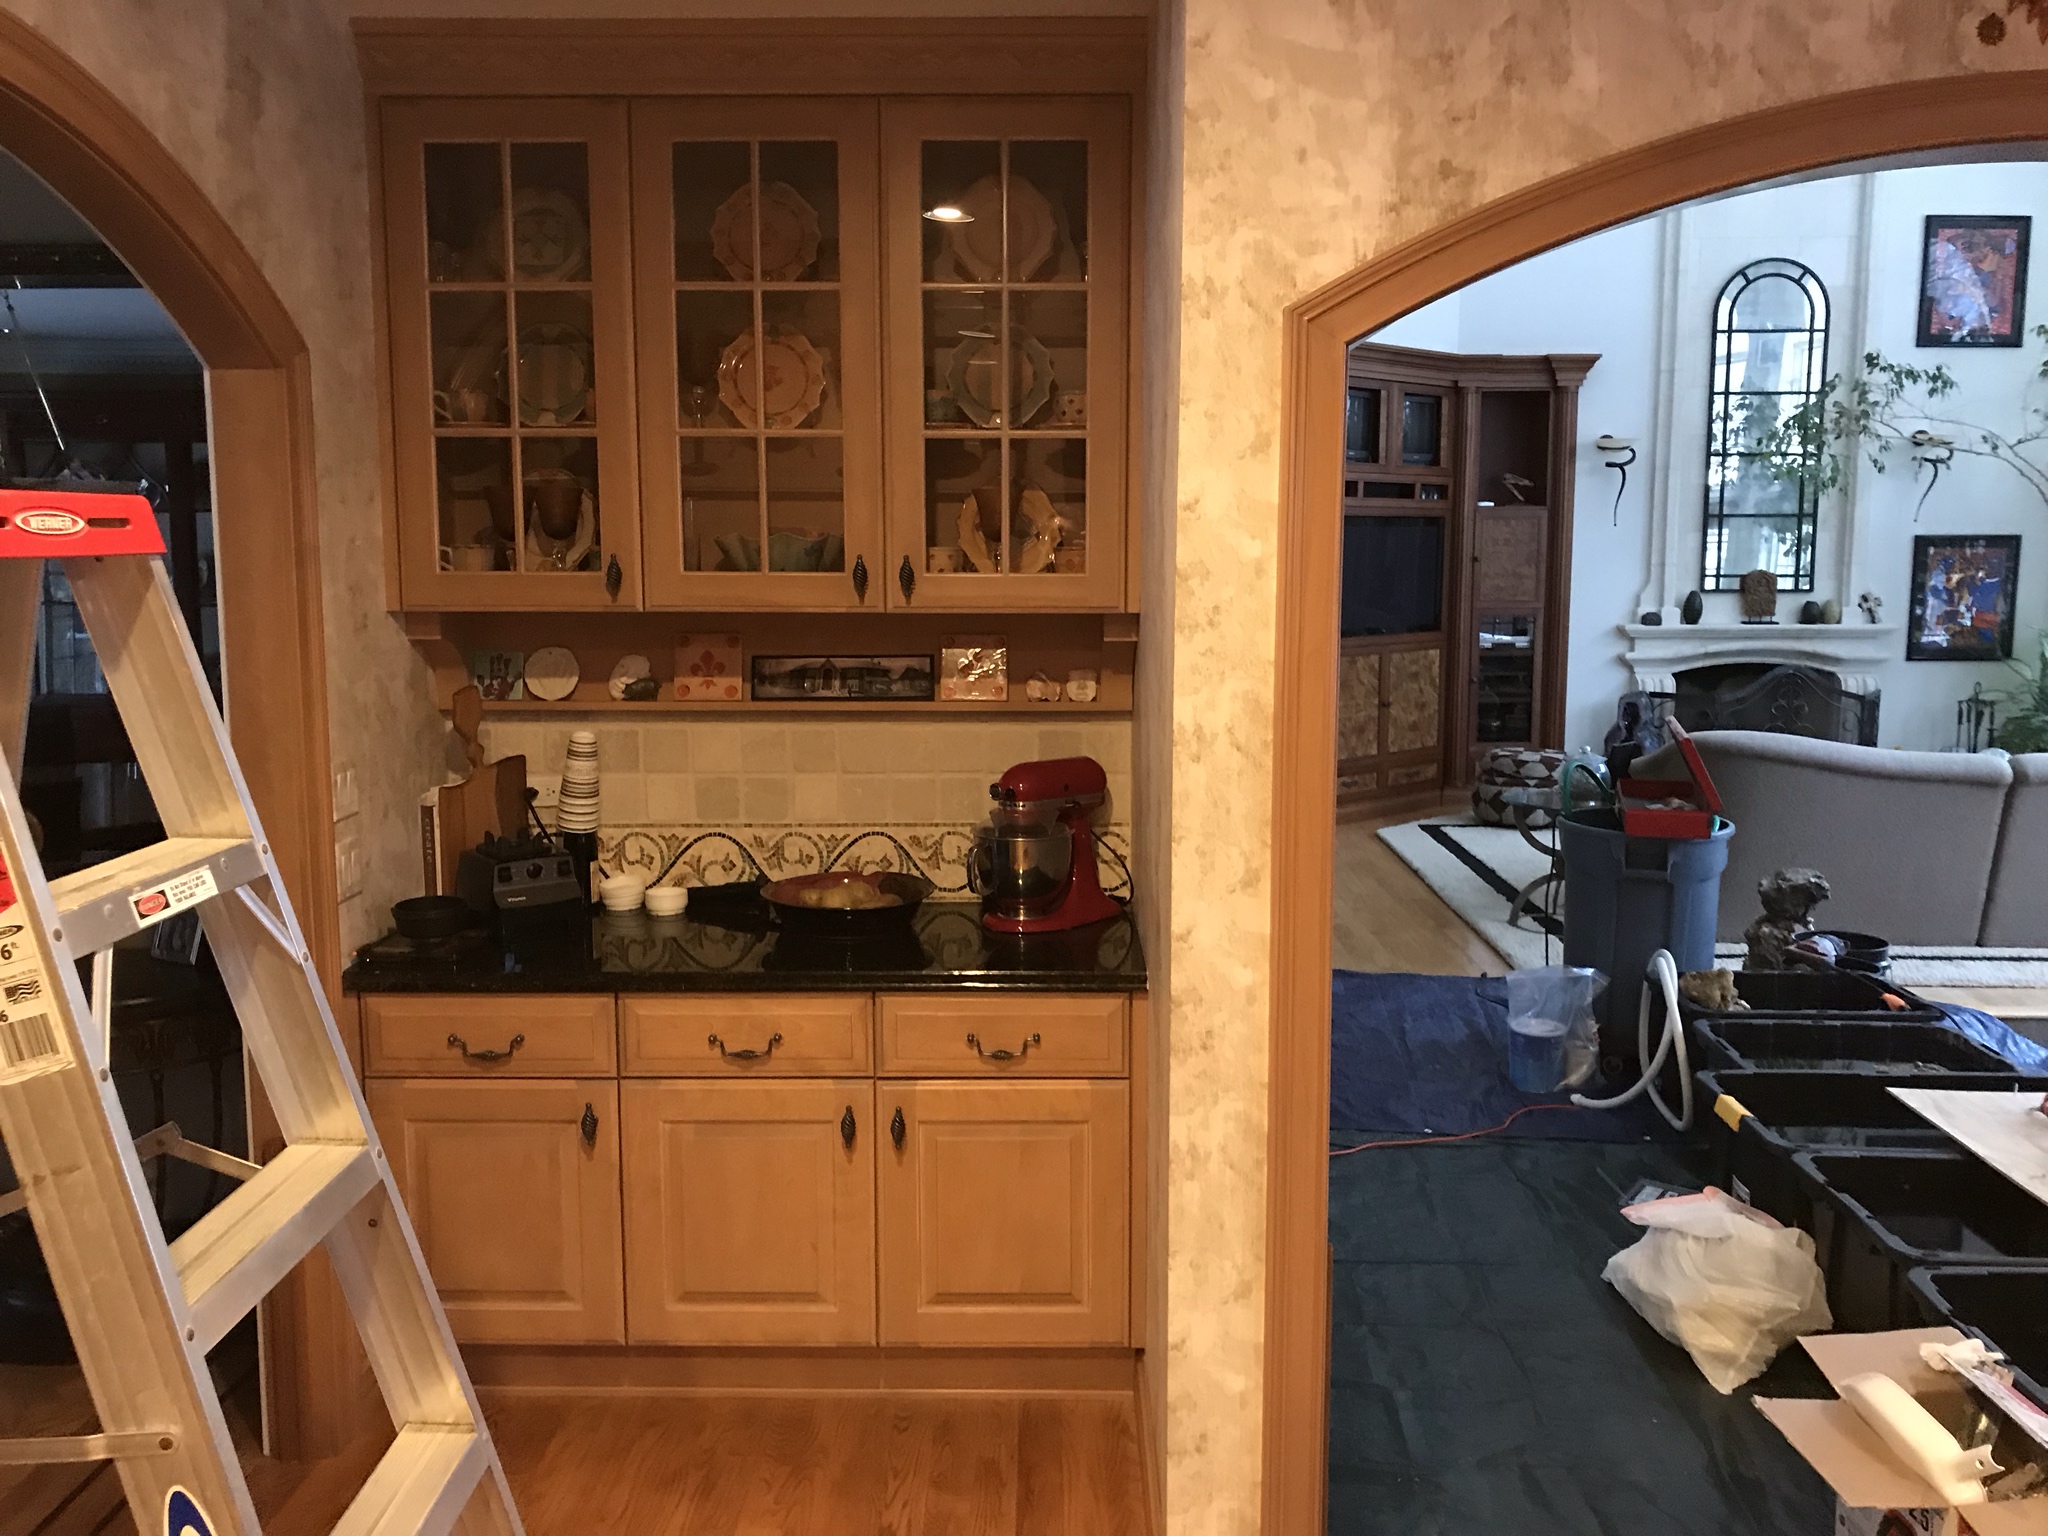
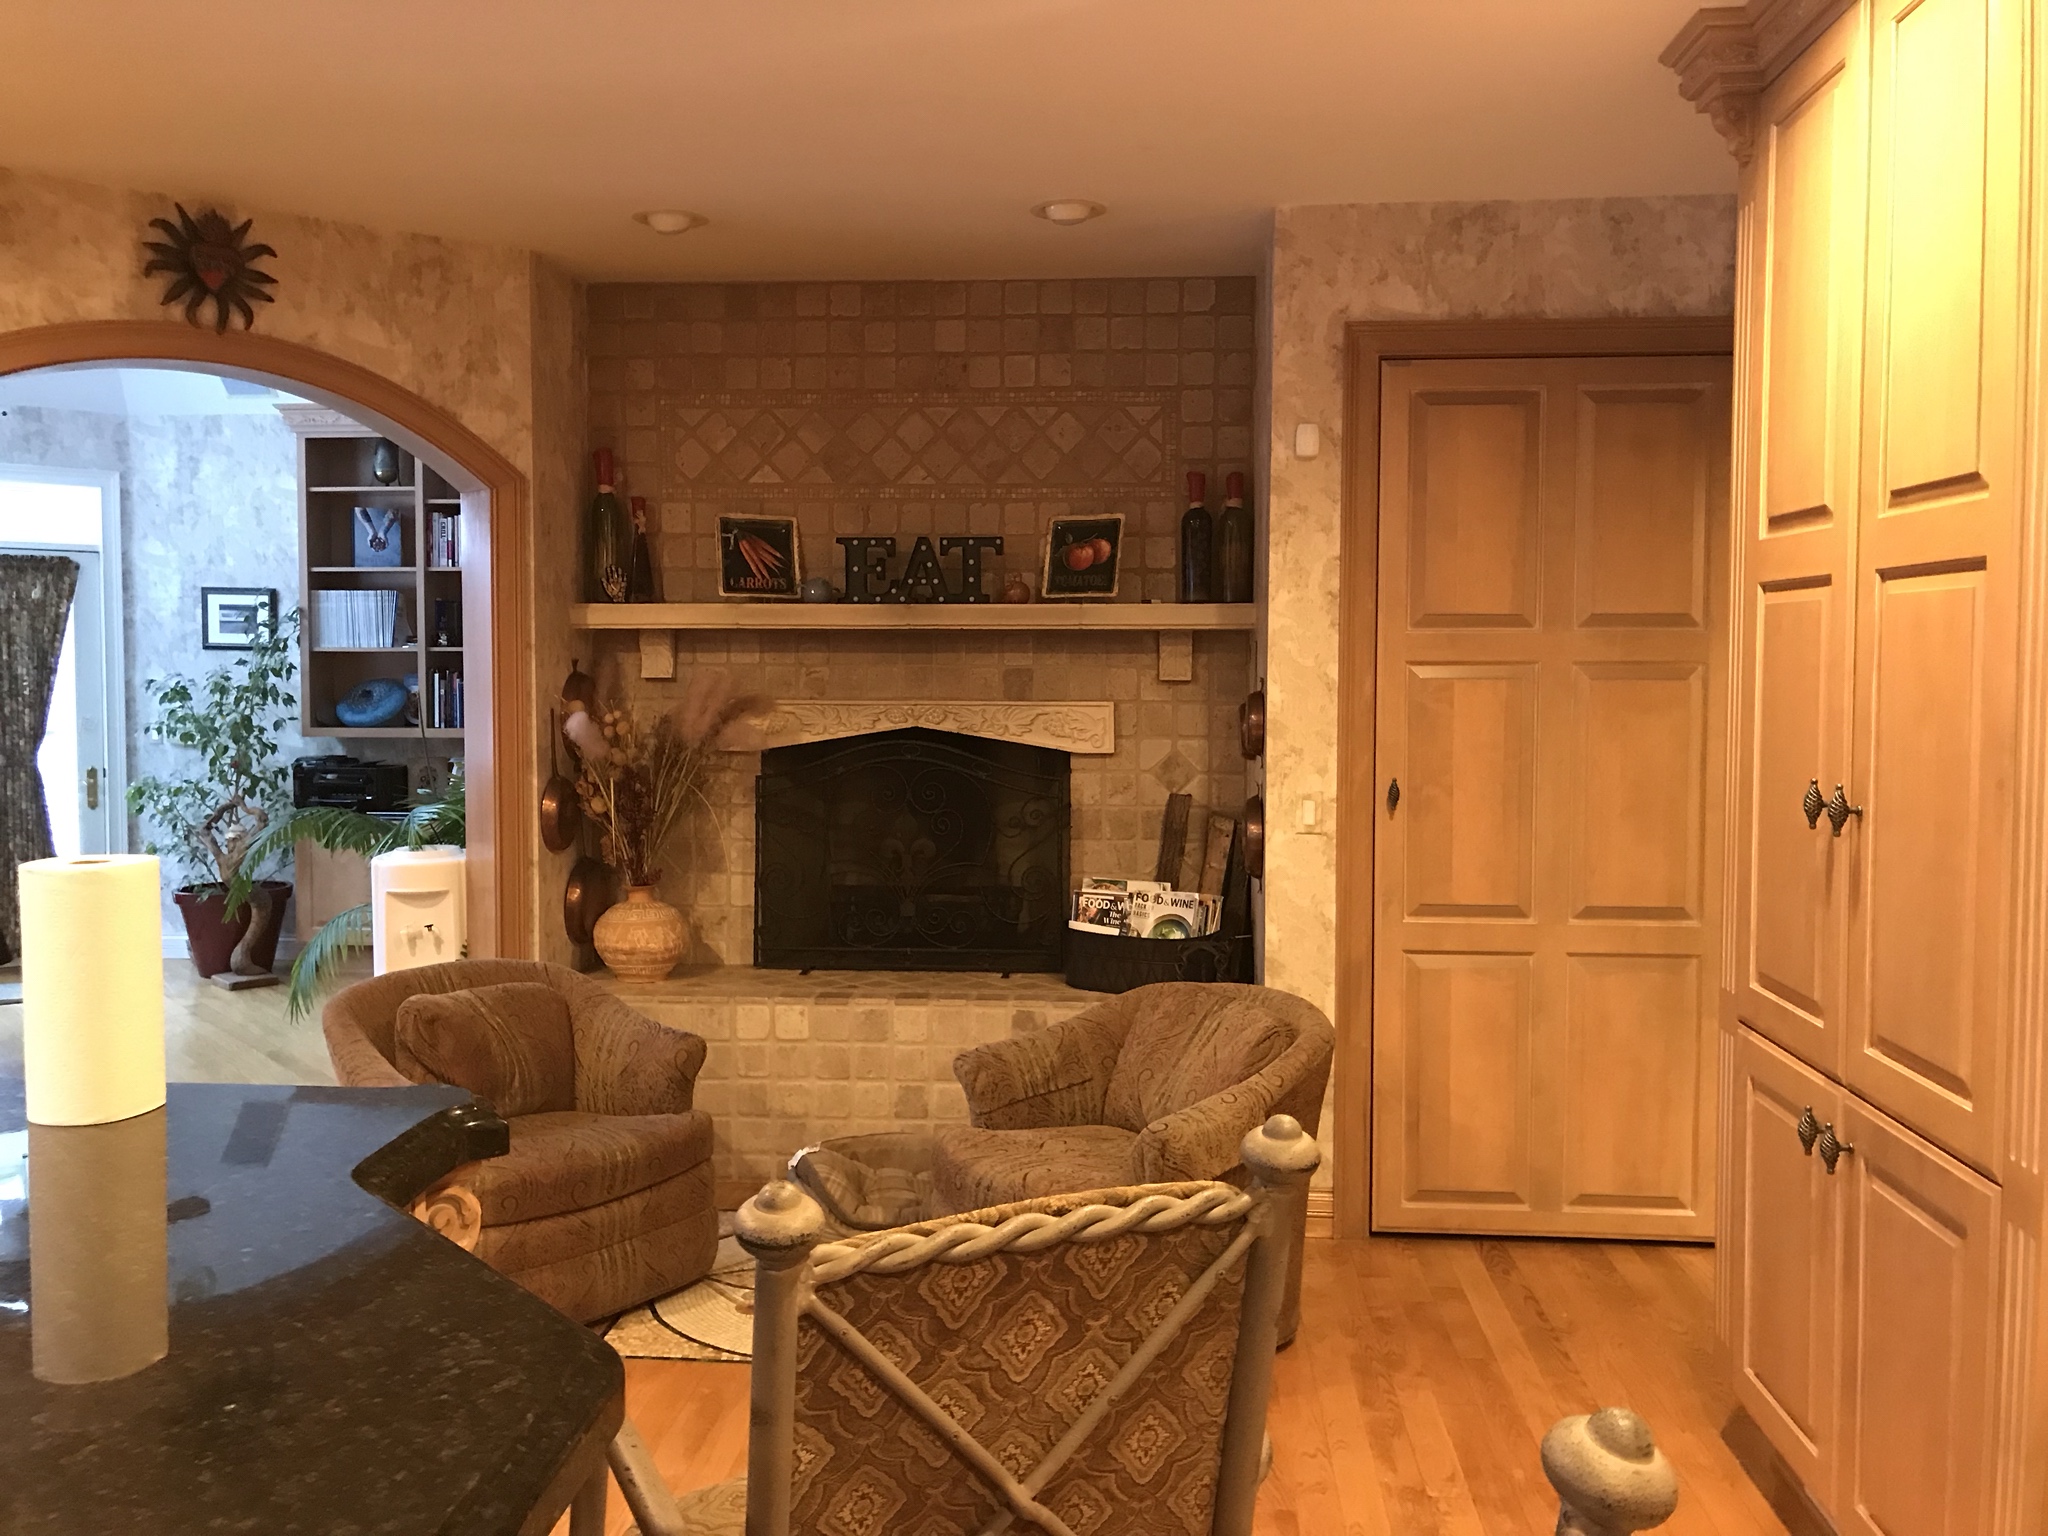
Here’s the laughable part: the house hadn’t even been designed, much less built, when the client wanted a reef tank designed. It could have gone anywhere, been built any possible way, and the design of the house could have been modified to accommodate it.

For instance, if they insisted on having a reef tank in the kitchen, well...
1sDfOzj.jpg


That looks like a pretty good spot to me.

Hey, look...here’s another spot:
Jto8Z1l.jpg


Oh, what do you know...I found another spot for a large reef in the kitchen:
tFg2HFk.jpg
 
OP
OP
Gregg @ ADP

Gregg @ ADP

Valuable Member
View Badges
Joined
Sep 20, 2018
Messages
1,208
Reaction score
2,995
Location
Chicago
Rating - 0%
0   0   0
Back to the fun....

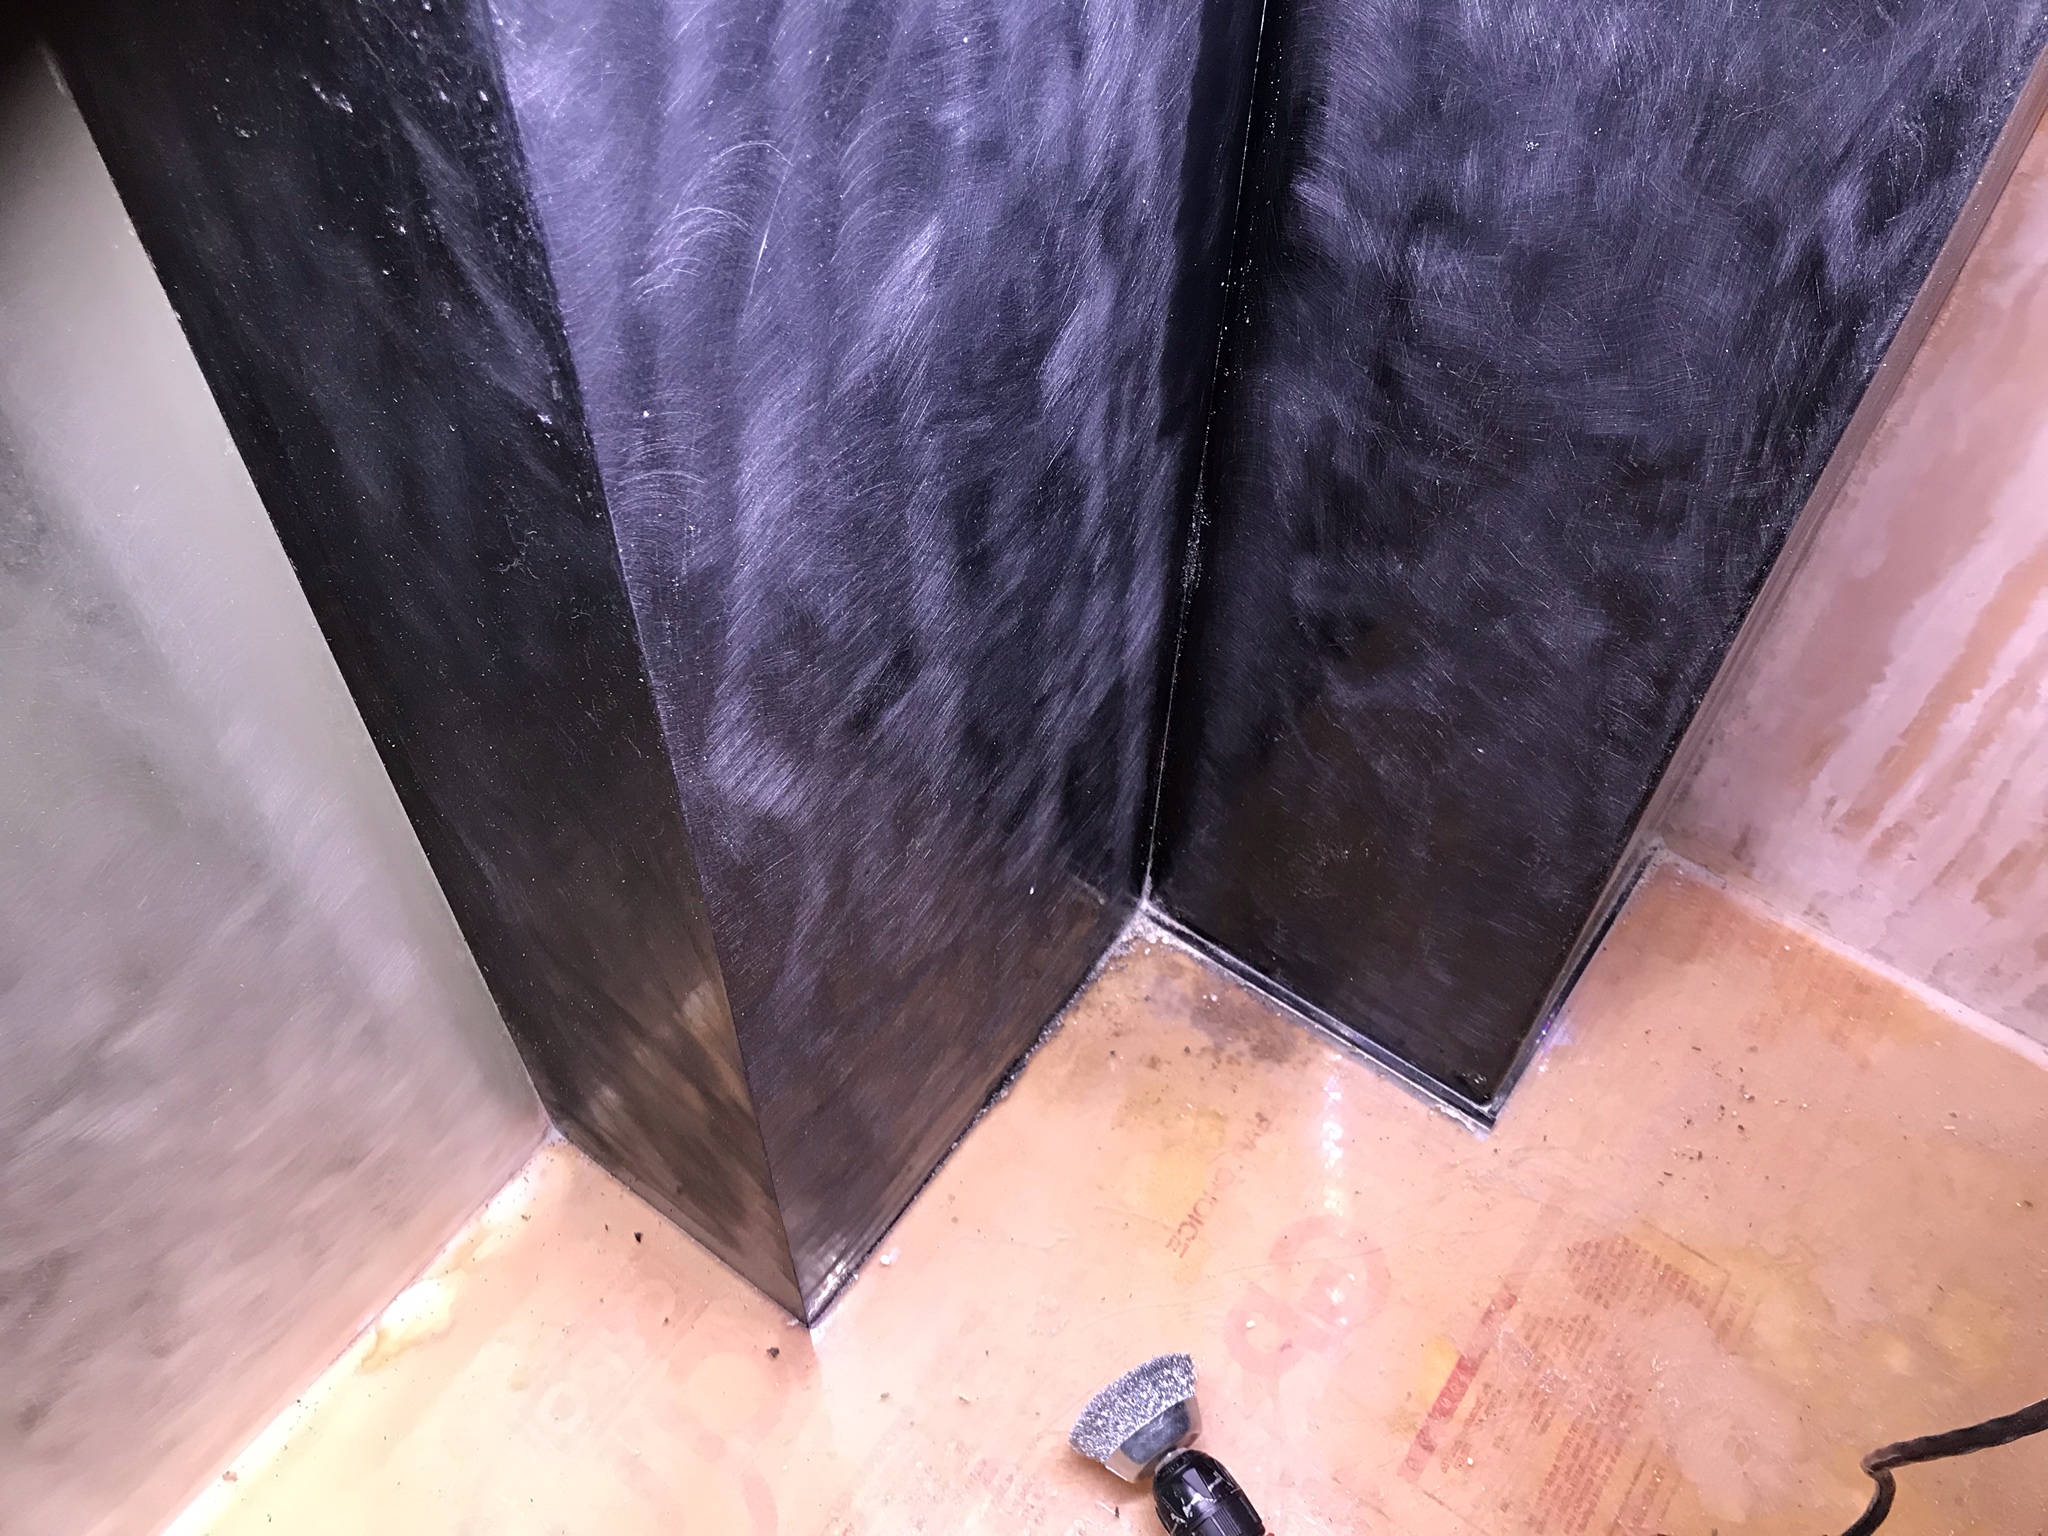
Got the interior boxes and 2 panels that I want to paint roughed up with the wire bell brush and ready to paint:
2f3jxWC.jpg


I’ve never tried to paint acrylic with epoxy paint, or any other paint, for that matter), so this is going to be another one of those times where I’m basically just...
BruisedHairyFreshwatereel-small.gif
 
OP
OP
Gregg @ ADP

Gregg @ ADP

Valuable Member
View Badges
Joined
Sep 20, 2018
Messages
1,208
Reaction score
2,995
Location
Chicago
Rating - 0%
0   0   0
I like Stylopora for their shape and different colours. They do fine in medium light intensity(just doesn't grow as fast in high intensity).

Many types of Montipora do okey in less light as well, but if they grow upwards you'll end up seeing the boring side of the colony.

All kind of Seriatopora do well in medium light as well.

If you do walls, plate shaped Acropora like A. hyacinthus and A. millepora are really nice. Just hard to resist putting them up in the strongest light to get some growth, instead of placing them a bit further down and give them time to grow. Probably slower but as long as they get a PAR value above 150 they should be okey.

Some ideas :)
Good stuff.

The vertical wall around the beam is going to be tricky because I don’t want to build the structure out that far in the bottom half, but (hopefully) I’m going to have to take shadowing into consideration from the growth on the top half.

The nice thing is that the tank is over 90cm wide, so I do have room to stagger the shelves a bit and allow some stuff to grow out.
 

Rock solid aquascape: Does the weight of the rocks in your aquascape matter?

  • The weight of the rocks is a key factor.

    Votes: 10 8.7%
  • The weight of the rocks is one of many factors.

    Votes: 42 36.5%
  • The weight of the rocks is a minor factor.

    Votes: 35 30.4%
  • The weight of the rocks is not a factor.

    Votes: 27 23.5%
  • Other.

    Votes: 1 0.9%
Back
Top