WOW
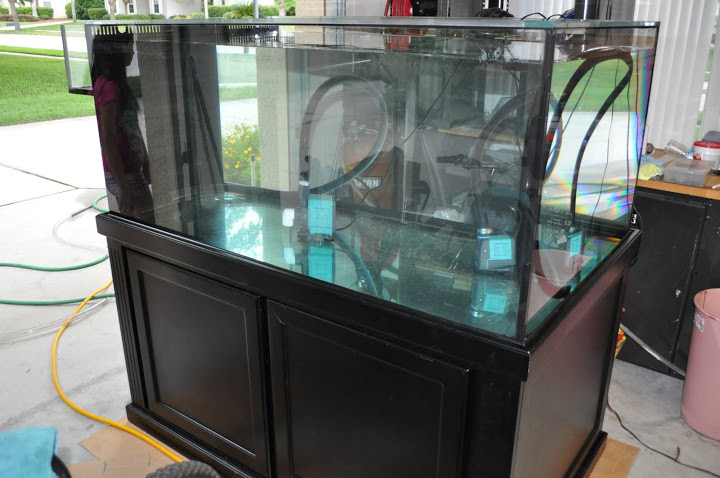
The things we'll do to keep salt in a glass box
Best of wishes. Cool project.
You ain't kidding.
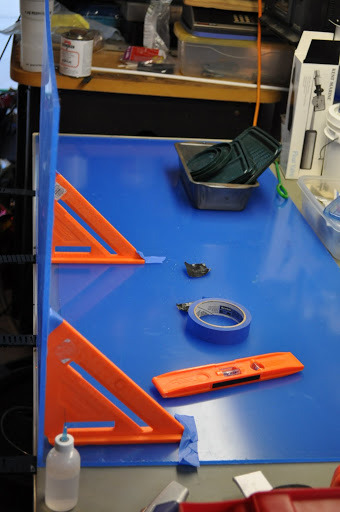
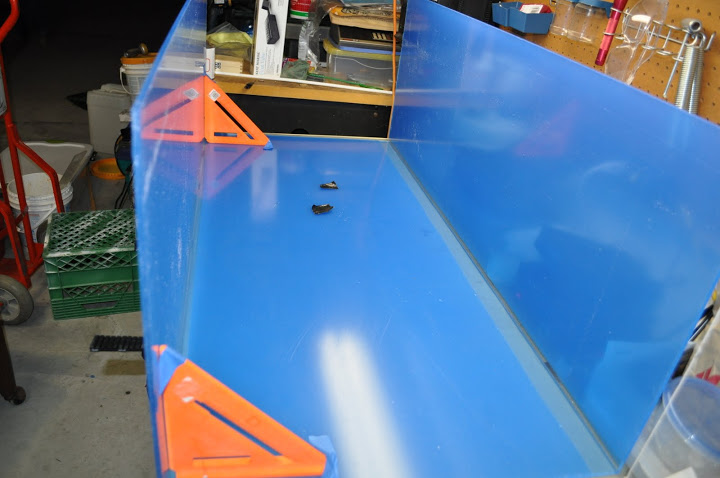
Awesome work man... It's great that you're not just slapping stuff together and planning a properly built system..

Follow along with the video below to see how to install our site as a web app on your home screen.
Note: This feature may not be available in some browsers.

WOW
The things we'll do to keep salt in a glass box
Best of wishes. Cool project.

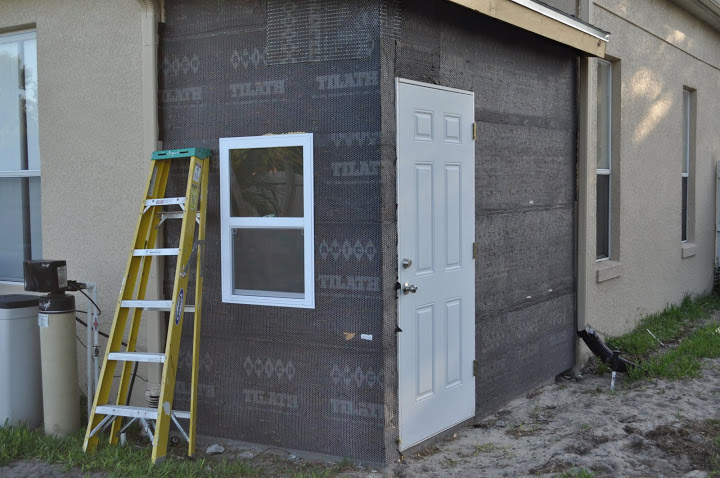
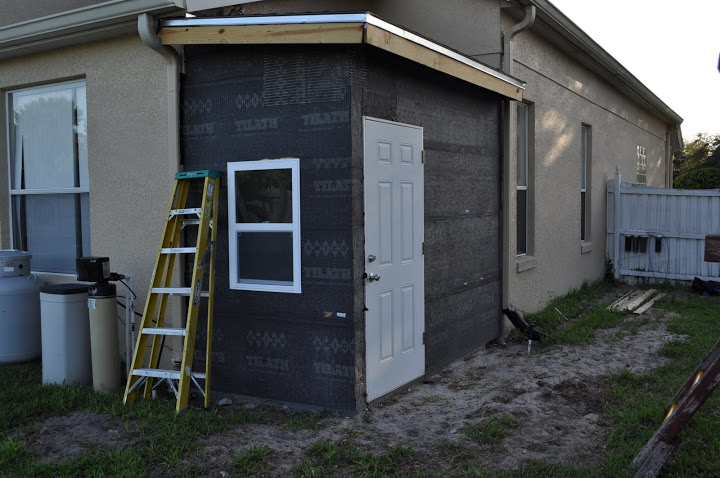
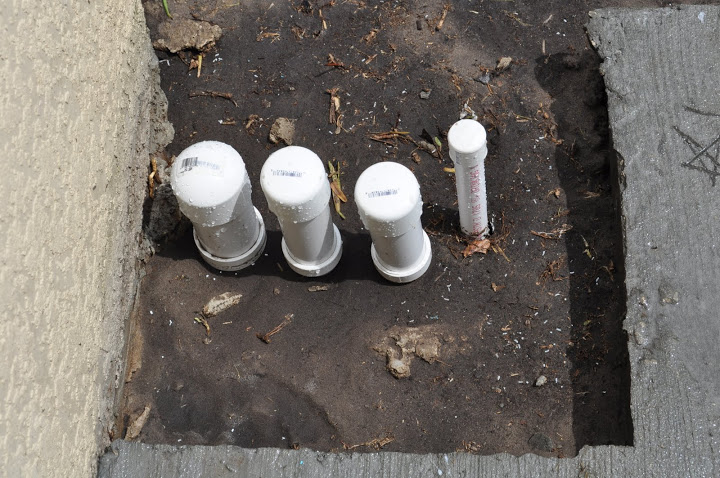
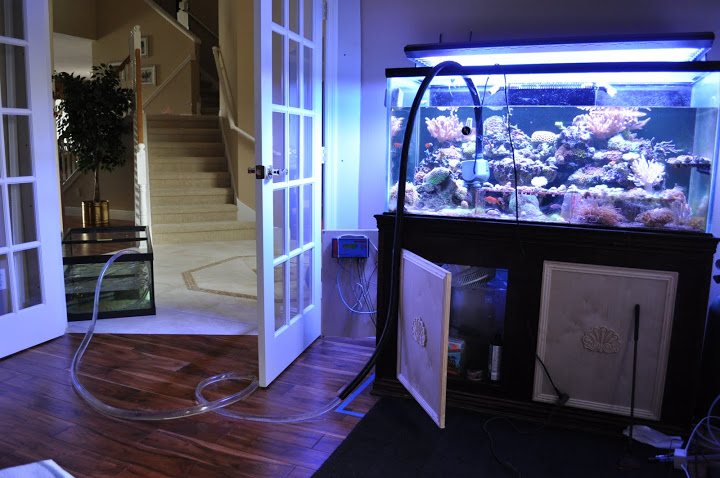
Sounds good, it will probably help on your electricity bill as well since your heater will not have to work as hard. Very excited to see how this turns out! I love the in progress pictures, keep them coming.I will be insulating the pipes just for a little extra piece of mind.
Thanks again,
Jack
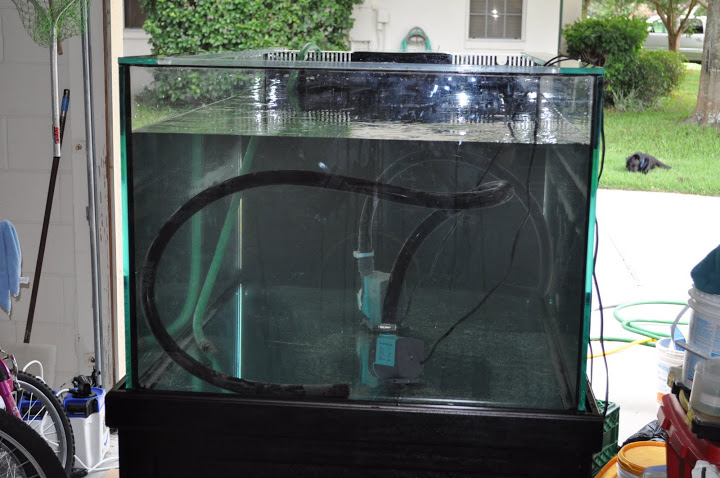
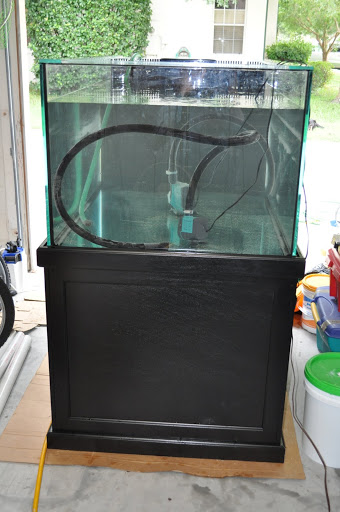

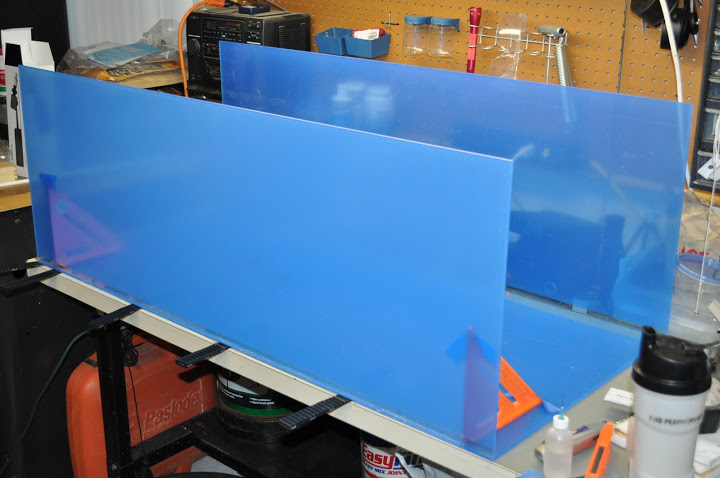
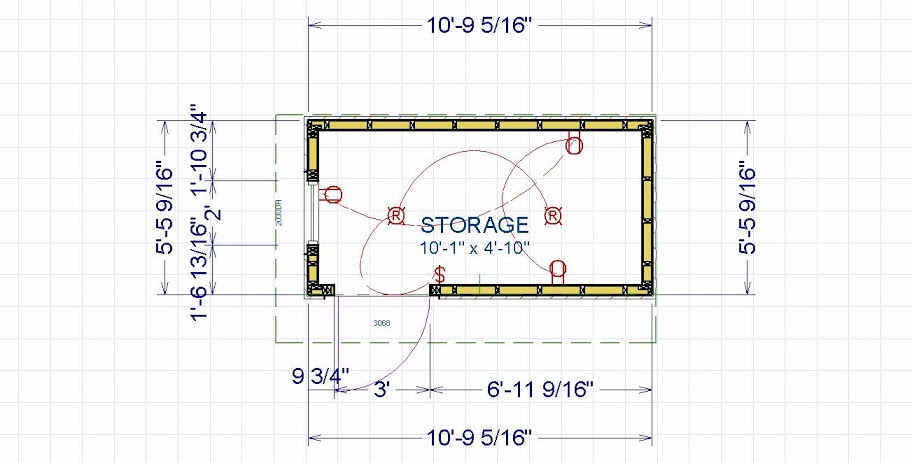
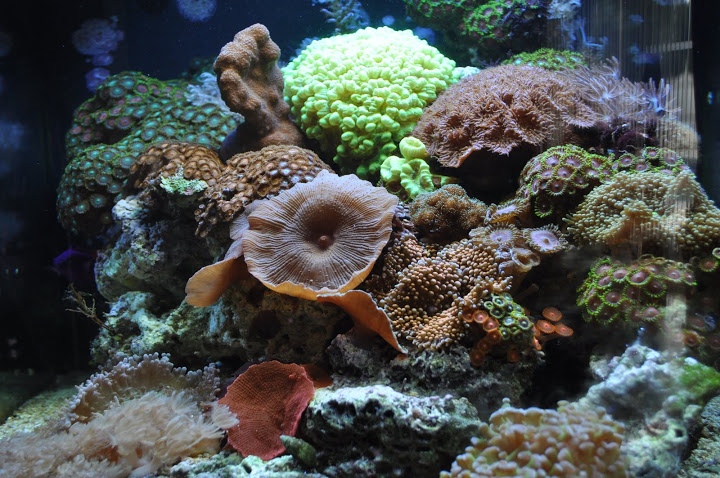
+1... good work and keep the pictures coming!looking good, these are the best threads, I love them.
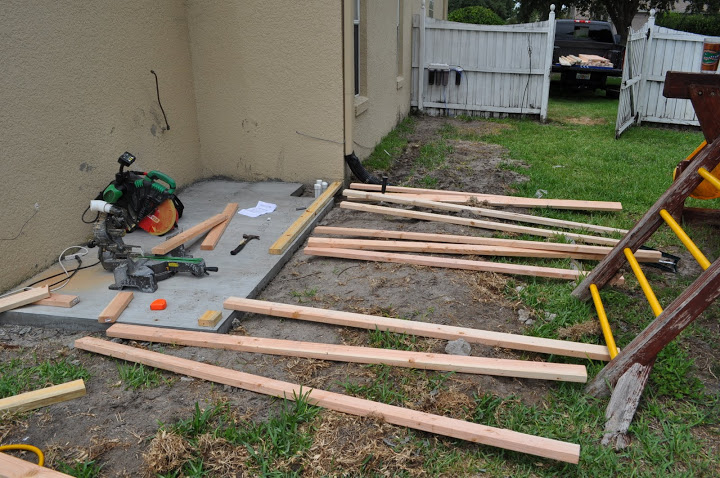

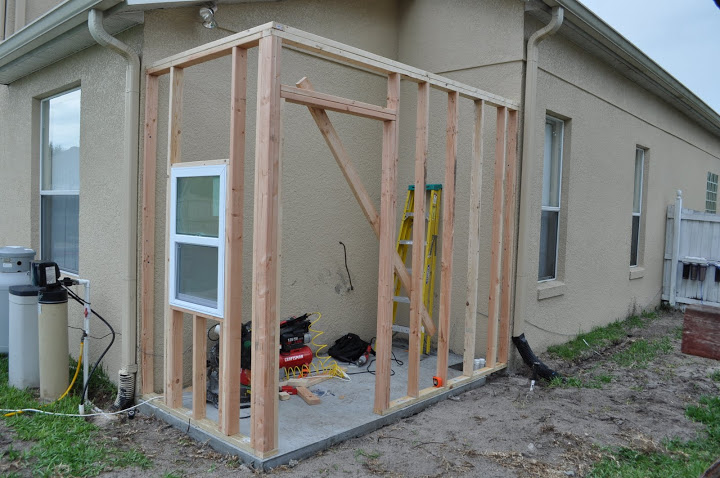

") stay tuned!
stay tuned!
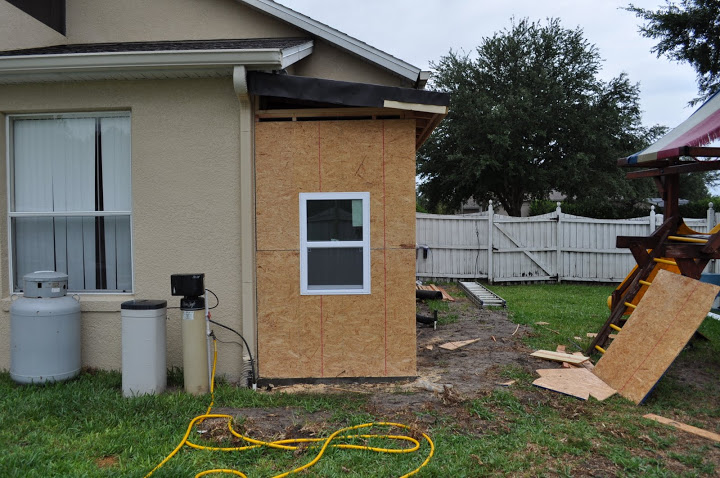
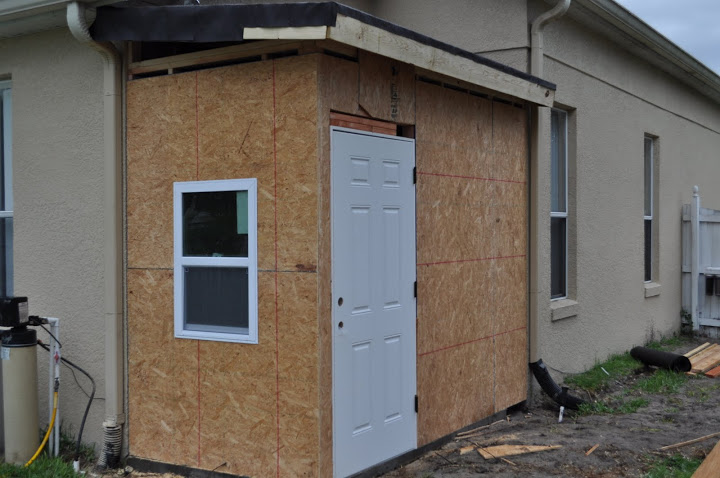

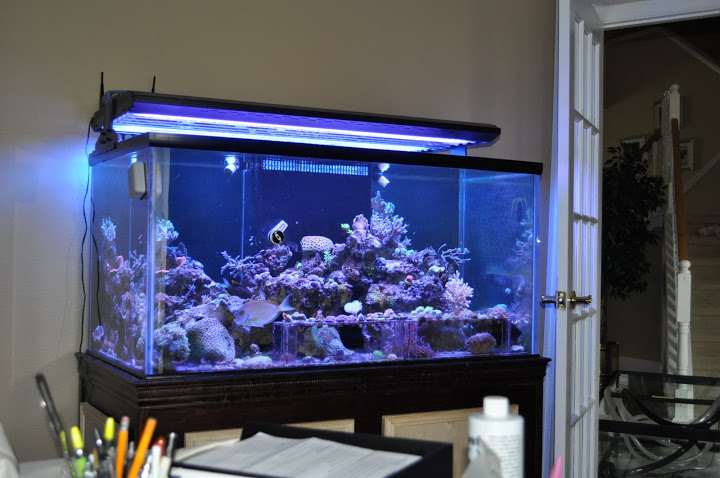


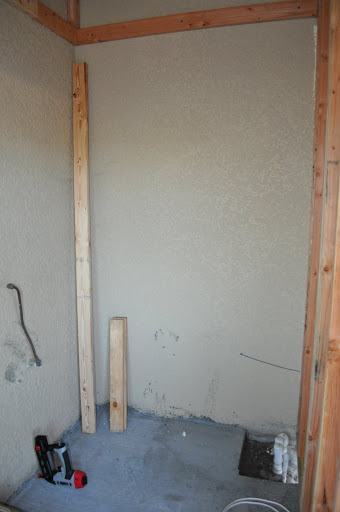
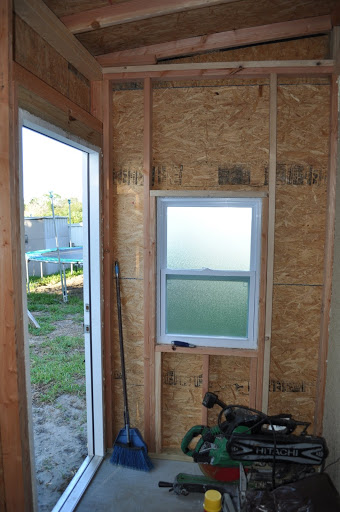
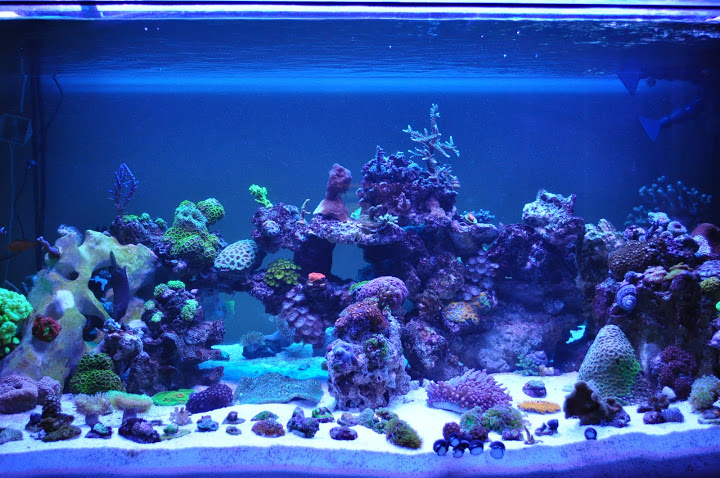
When you coming to see it?
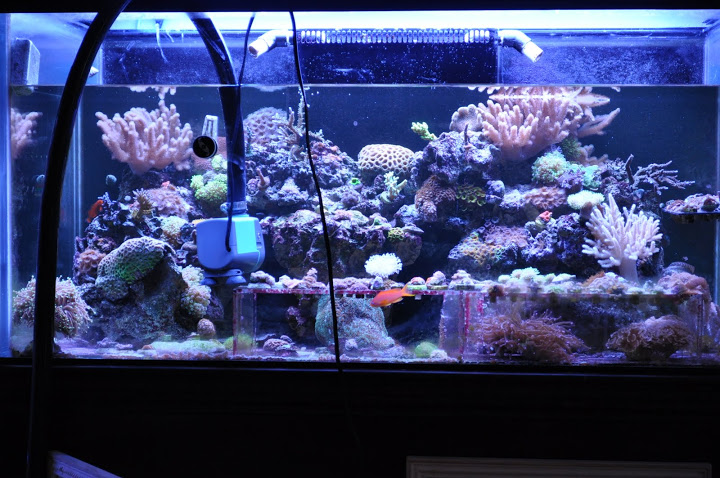
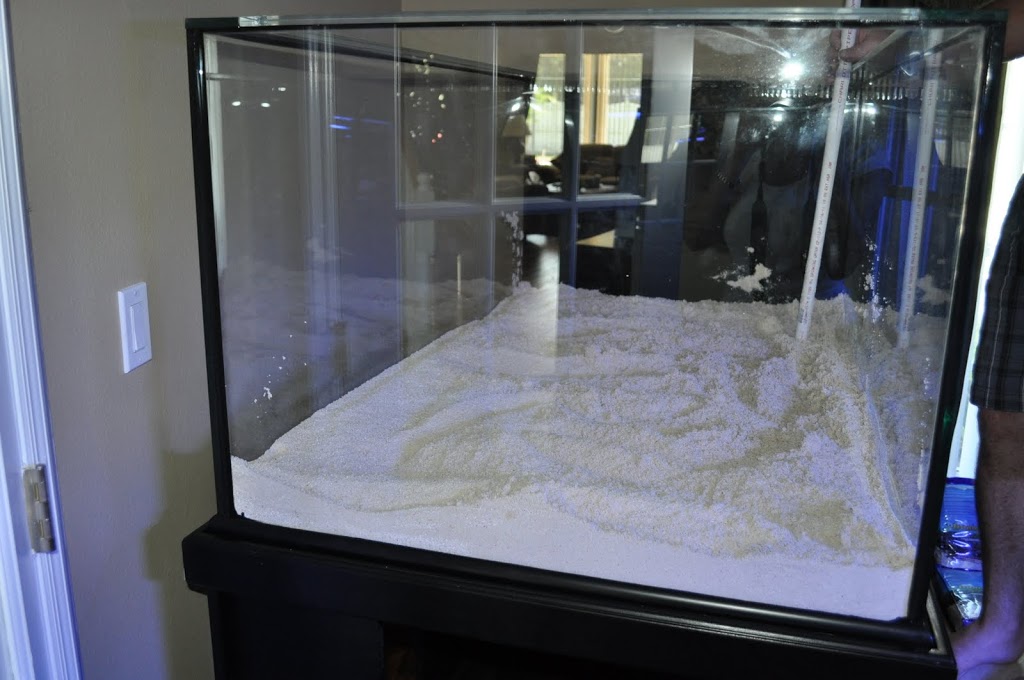
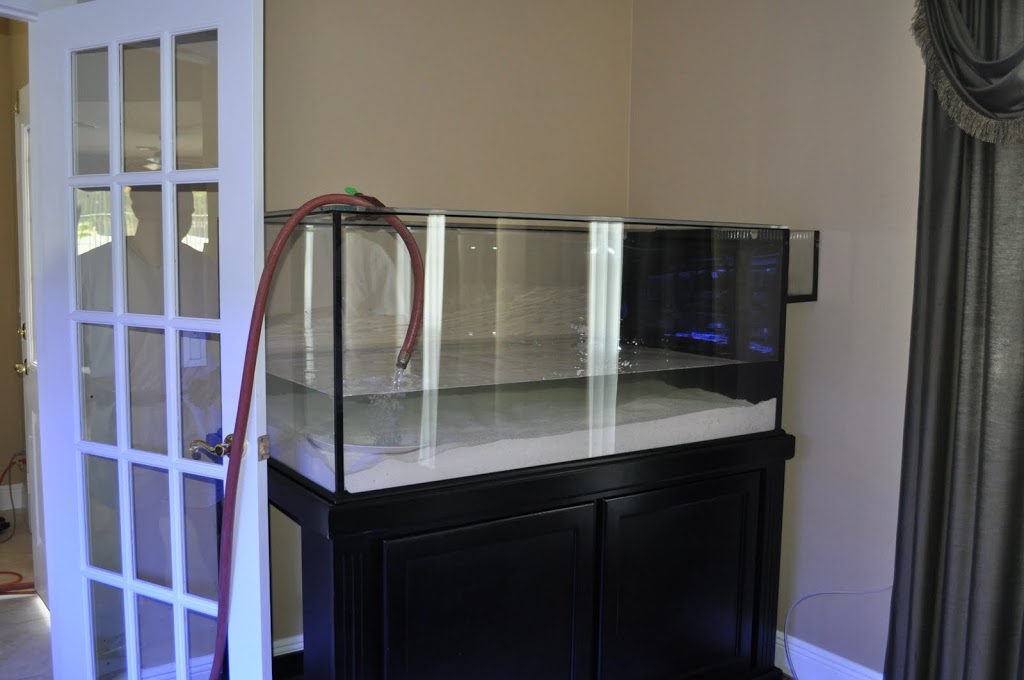
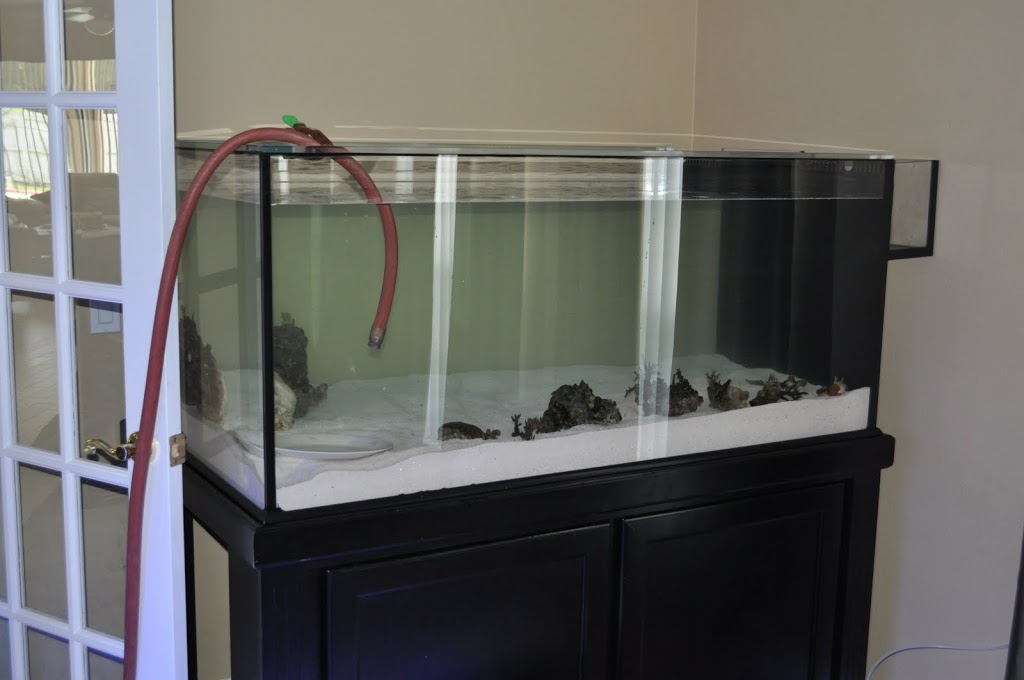
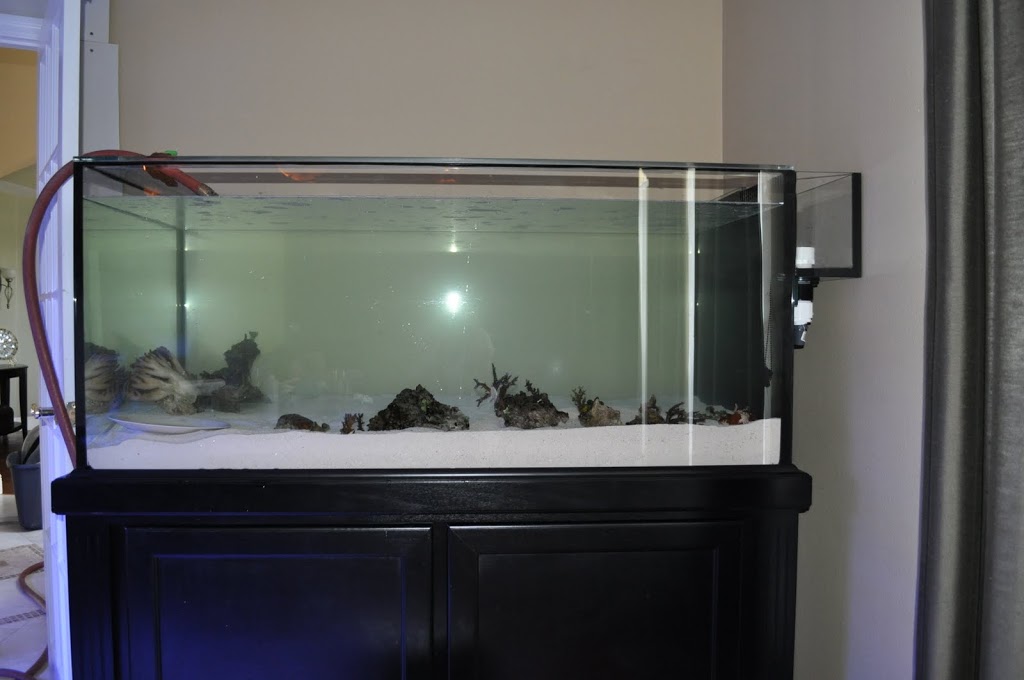
Im moving more stuff into the tank today, and will try to get a couple of current shots later today.