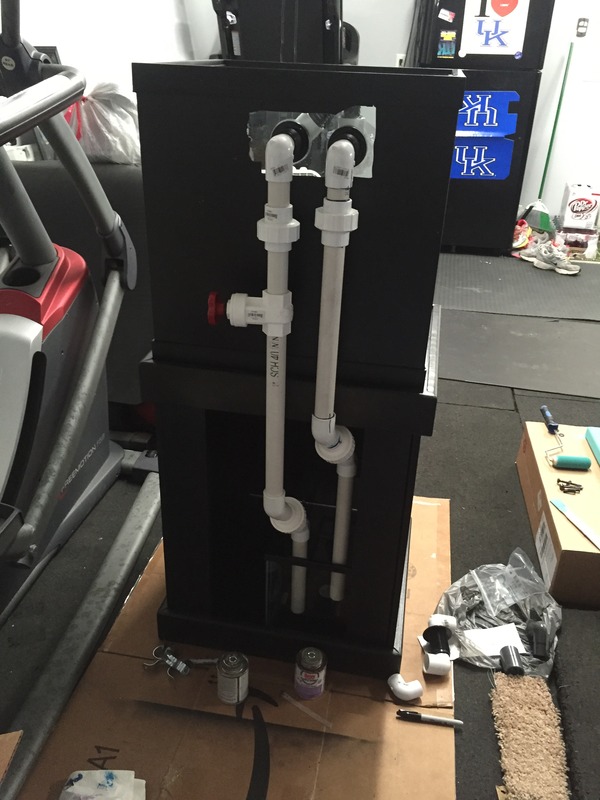
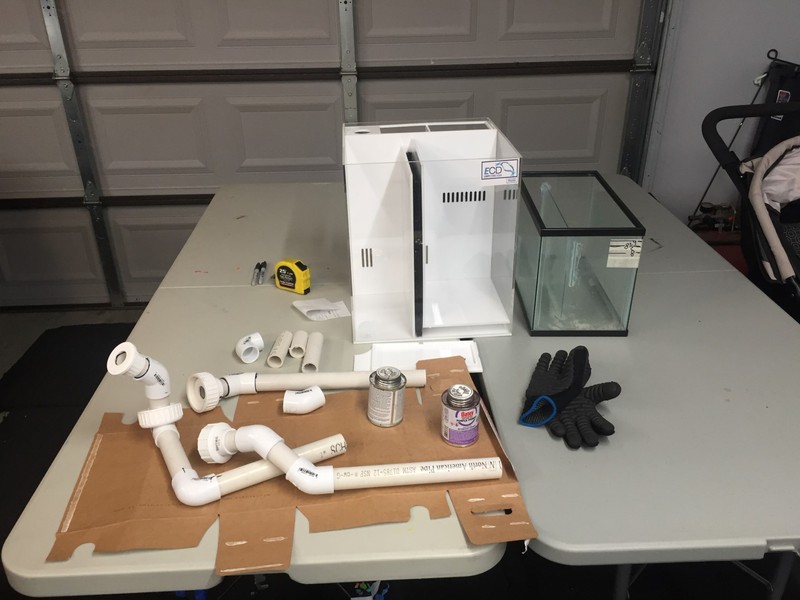
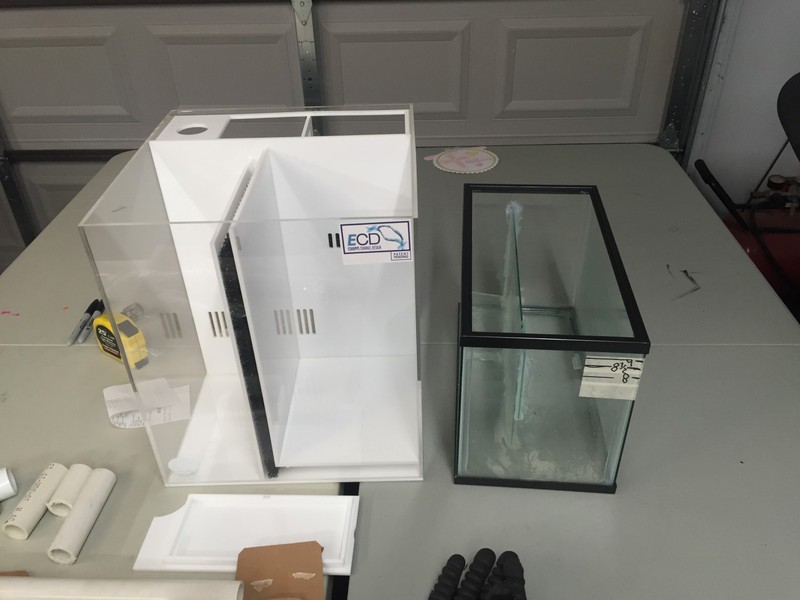
Got all of the fittings glued. I did add unions between the 45's so I can easily remove the sump if needed. I need to work on building my sump and installing my overflow box and this part will be complete.
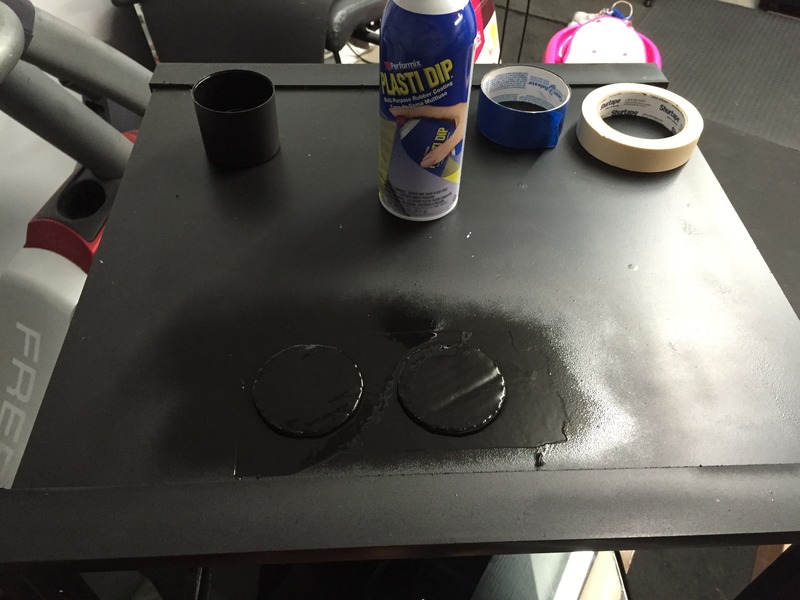
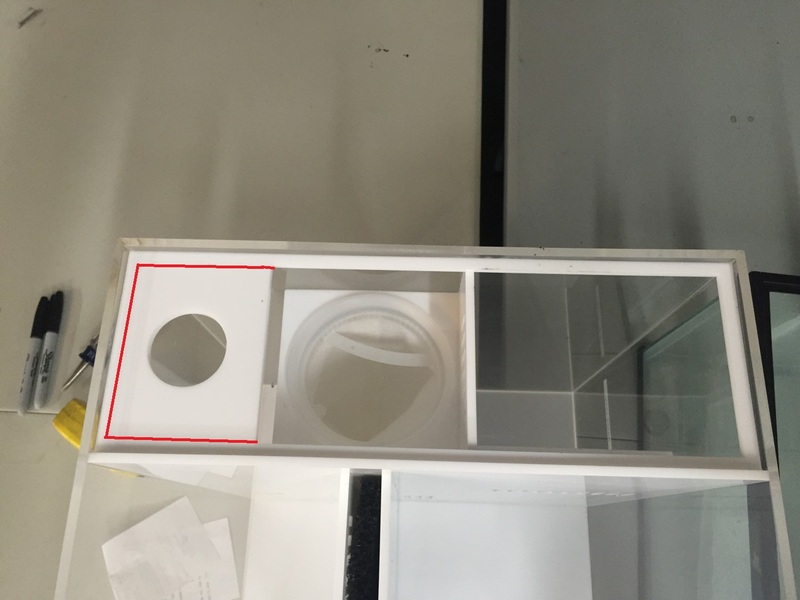
I cut some cardboard and sprayed the back of the tank where the overflow box will be installed.
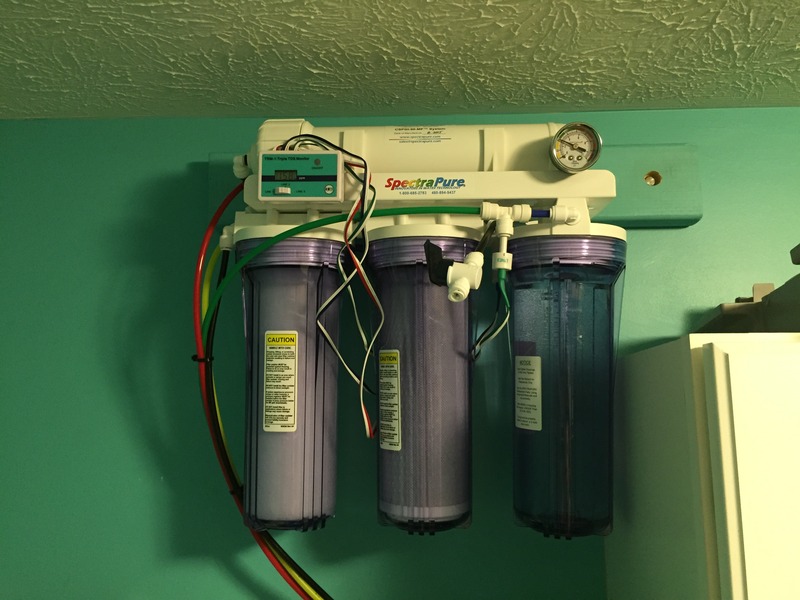
This week I'll be ordering 50' of mur-lok tubing and getting my RODI unit mounted. The RODI will be installed in my laundry room and I'll be running the line out into the garage to make water.
The only concern I have at this point is that my 5.5 gallon sump will handle any back flow from the tank. I'll be testing this thoroughly and if I see a concern I'll be adding a APC battery backup to the system. Is is rare that we have power failure, but they can and will happen at some point.
Need some input. I haven't made my 5.5 gallon sump yet, but I'm at that stage in the build. All I need to do now is figure my sump situation out and hang my RODI in the laundry room. After that I'll be able to finalize the build and start washing my sand and rocks, make some water add salt and add ammonia.
I'm a fan of the 5.5 gallon sump because it will leave me with half of the interior of the stand free. But I'm also torn on whether or not I want to pickup an acrylic sump from advanced acrylics. The biggest down side is the $150 price tag VS about $20 in material for the 5.5 gallon. My concern is back flow. I plan to run water through it this weekend and verify the 5.5 gallon can handle the water volume. If it can't then there is my answer. In order for me to get the advanced acrylic sump it has to be done before I fill the tank because I'll have install it from the top of the stand.
What are your plans for the sump? You will be hard pressed to find a skimmer to jam in there, maybe you could do a fuge and three baffles before the return? Can't go wrong with a bigger sump and more water volume.
Got the eshopps psk75 in sump skimmer. Fits perfect in the 5.5 gallon. I won't be able to do the traditional baffles as I'll be doing 1 baffle the length of the tank.
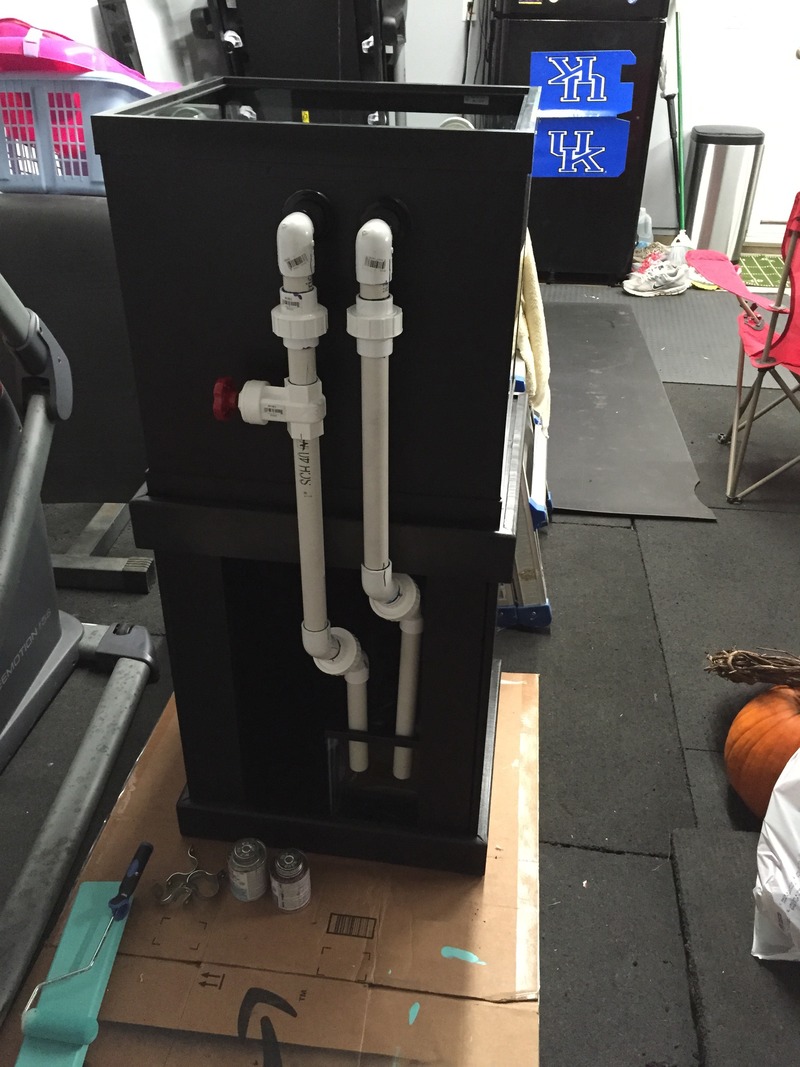
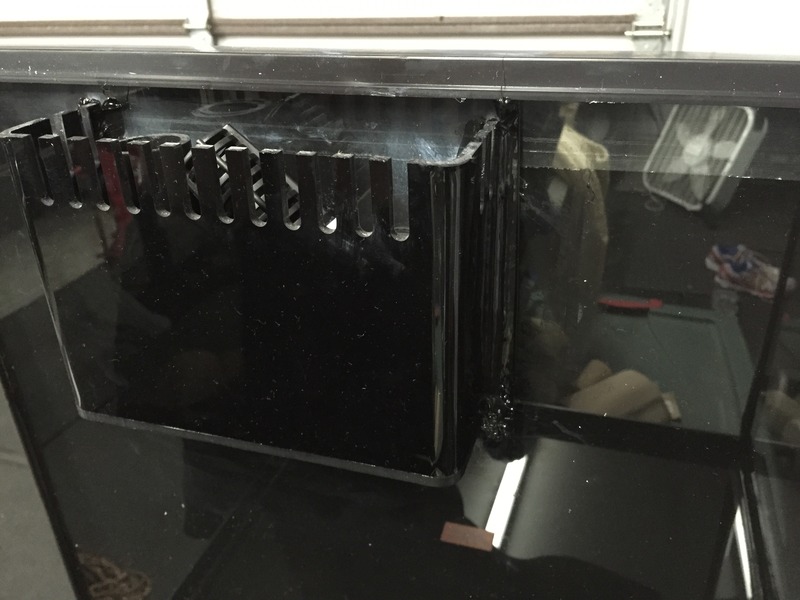
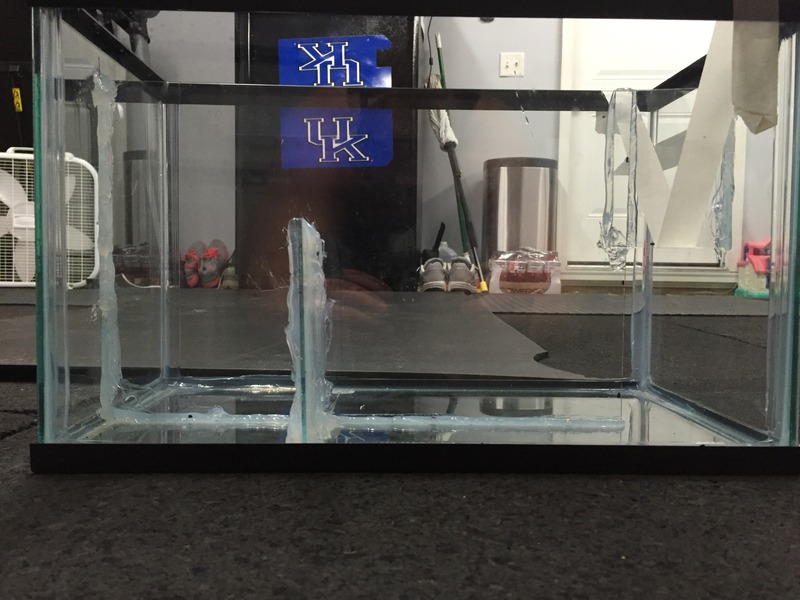
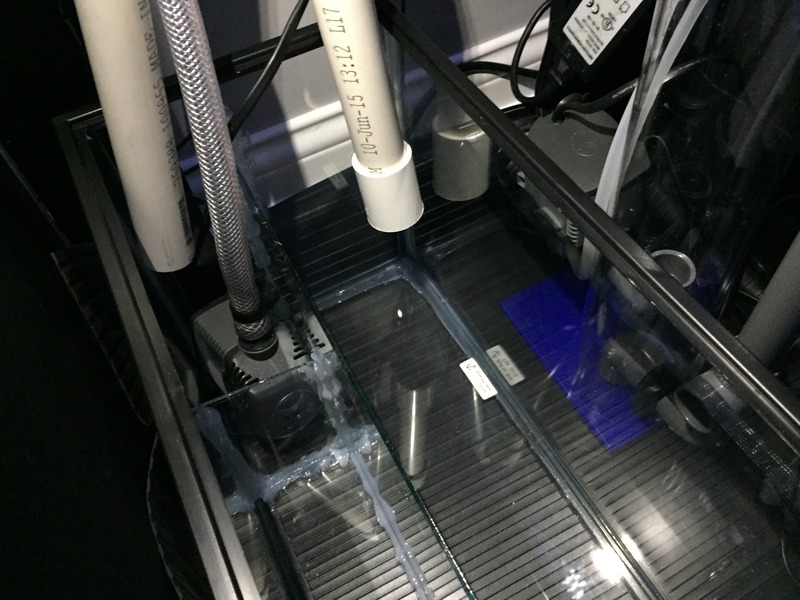
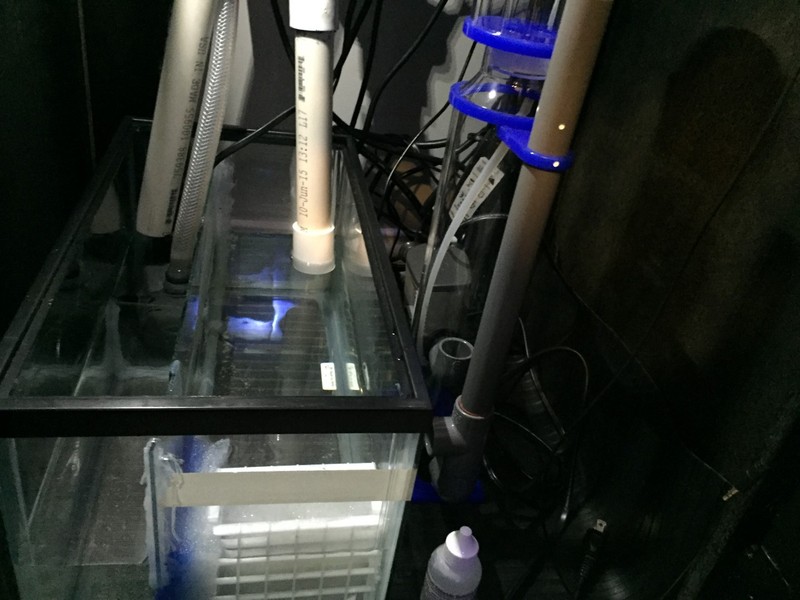
Got all of the plumbing glued and finished up along with the overflow box in. Today I started the freshwater test. Pump has been running for about 6 hours and no leaks. Emergency drain is working as it should. Need to get glass to build my sump and I'll be ready to make some RODI!
Super glue and black ASI silicone -
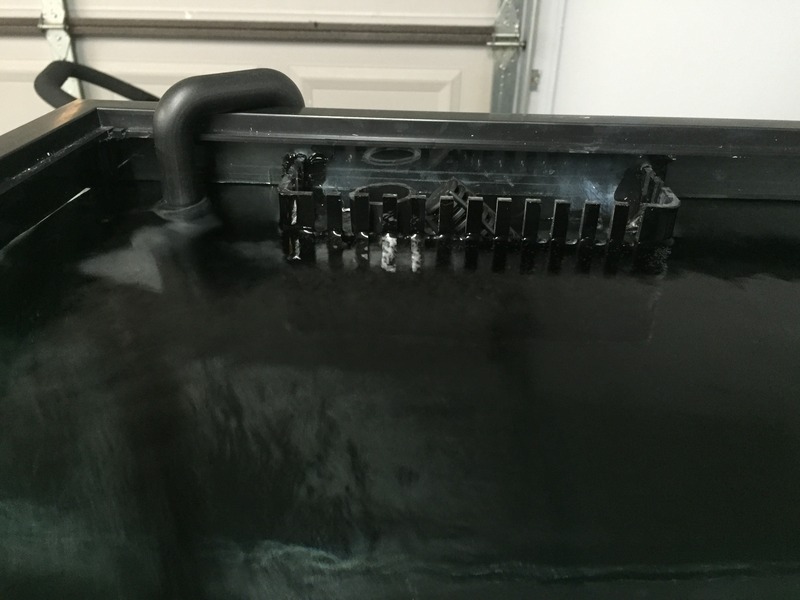
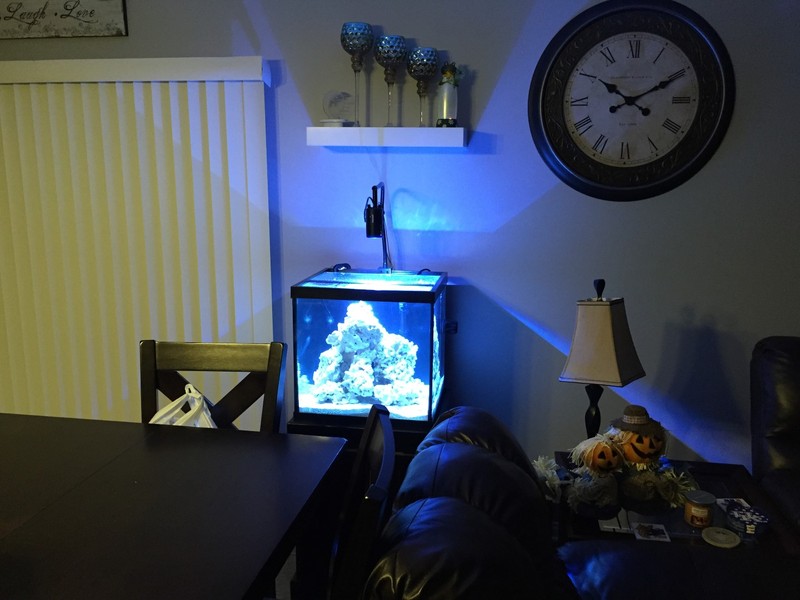
Water line is just above the black trim on the tank just like I want!
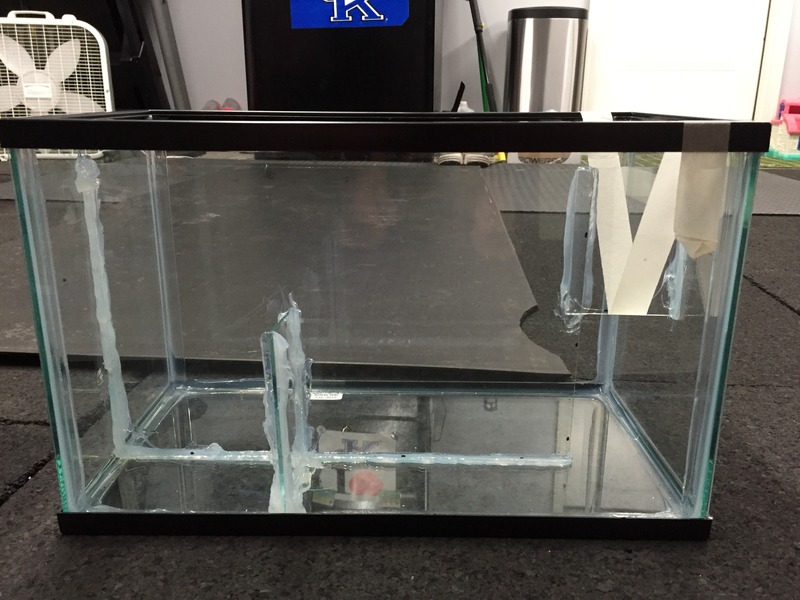
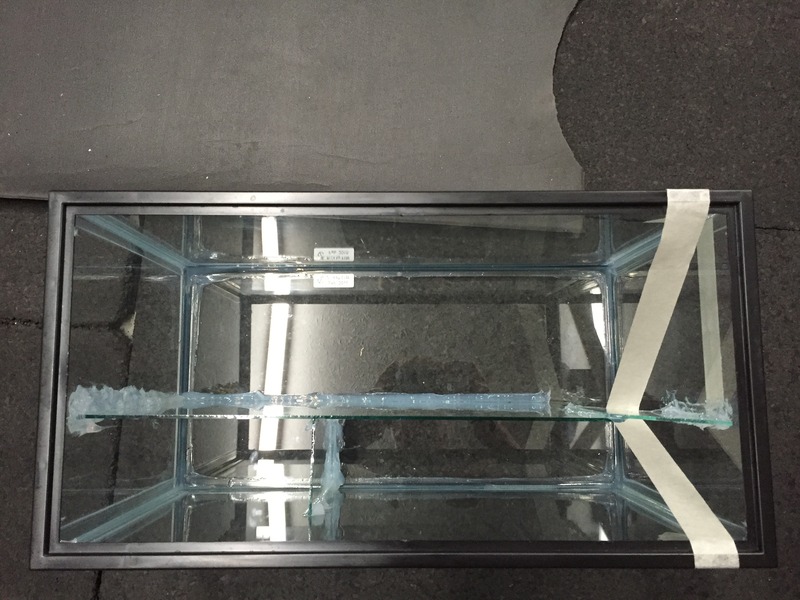
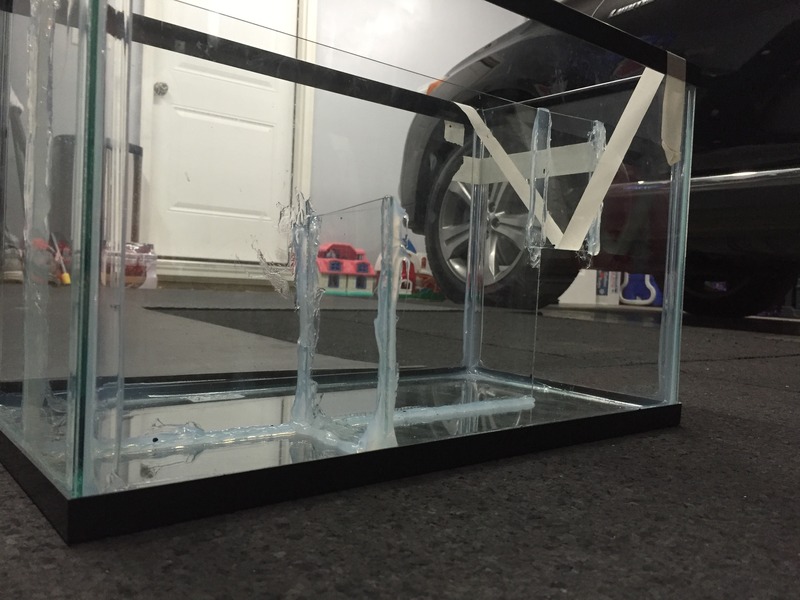
After water testing the 5.5 gallon tank it will suffice for my sump. It will house my skimmer, return pump and heater perfectly and more importantly handle the backflow from the display. Going this route over buying a sump saved my over $100. 5.5 gallon tank - $20, Glass - $9, ASI Silicone $9. Also going this route will allow me to keep half of the interior of the cabinet free for other items that will need to be housed later.
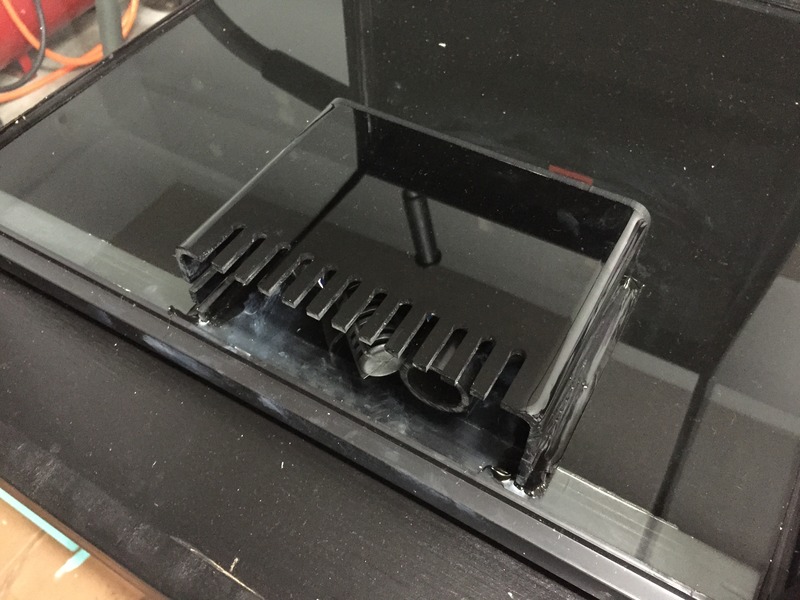
Ignore the awful silicone job! It is difficult to work inside of such a small tank, not to mention my glass cutting skills need work. The big chamber will hold my skimmer and most likely some type of floss. I built a small chamber for my return pump. My drain will run into the skimmer section and my emergency drain will run into my return section.
I can't take full credit on this build as I've followed multiple builds. There is a guy on Youtube ( Cj's Aquariums ) who once had a cube, so I am basically following his build. With this being my first build I wanted to ensure I did this all correctly to ensure success and allow me to build a bigger tank one day. Also with such a small foot print there has been and will continue to be times I doubt myself.
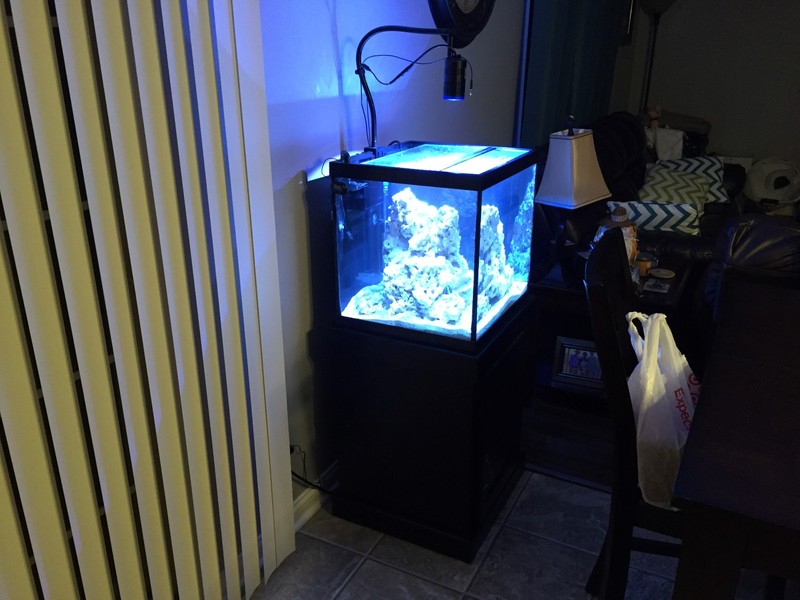
It's worth noting that in a previous post I mentioned I will be running the Kessil A160 and controller. I also picked up a A150 that I'll either use to supplement this tank or possibly for a nano tank in my office at work.
It's almost go time! I still need to make about 10 more gallons of water and get my salt mixed. Also still need to rinse my rock off and get it in the tank. After that I'll be ready to add ammonia and get this party started!
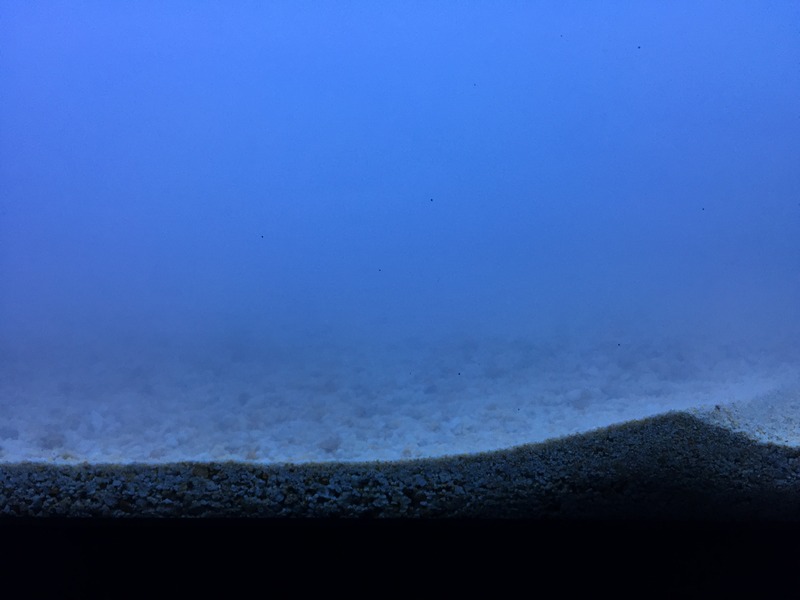
Evil Marco sand! I washed this stuff for easily an hour or more and thought I got it pretty clean.
Heater is temporary until I get a heater to put in my small sump-
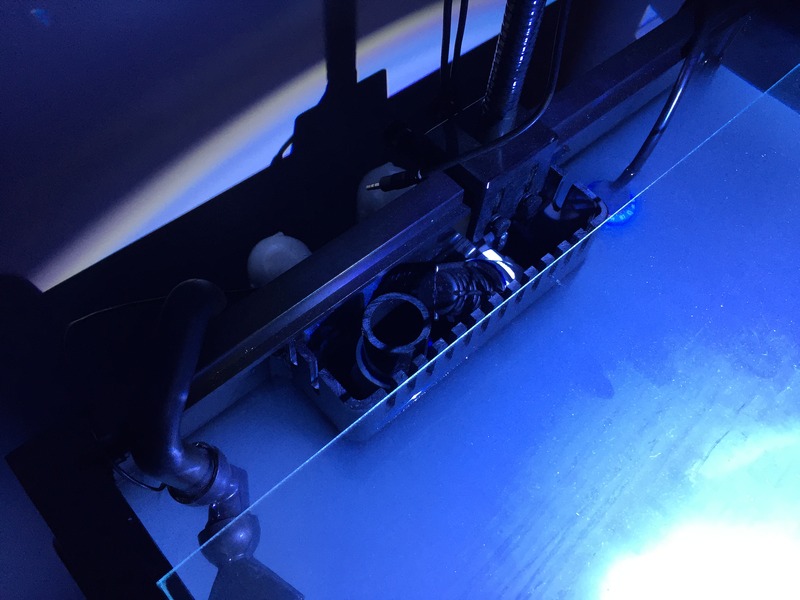
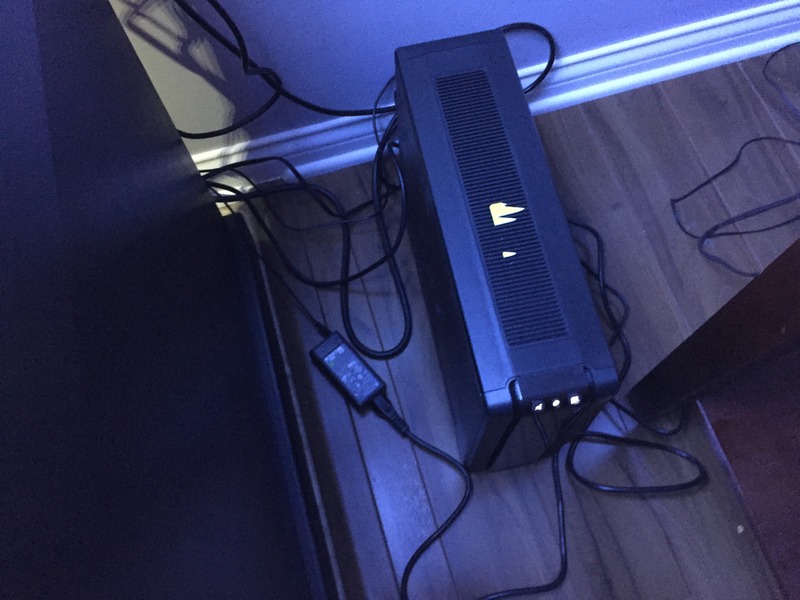
My battery backup. Need to still work on wire management and label everything!
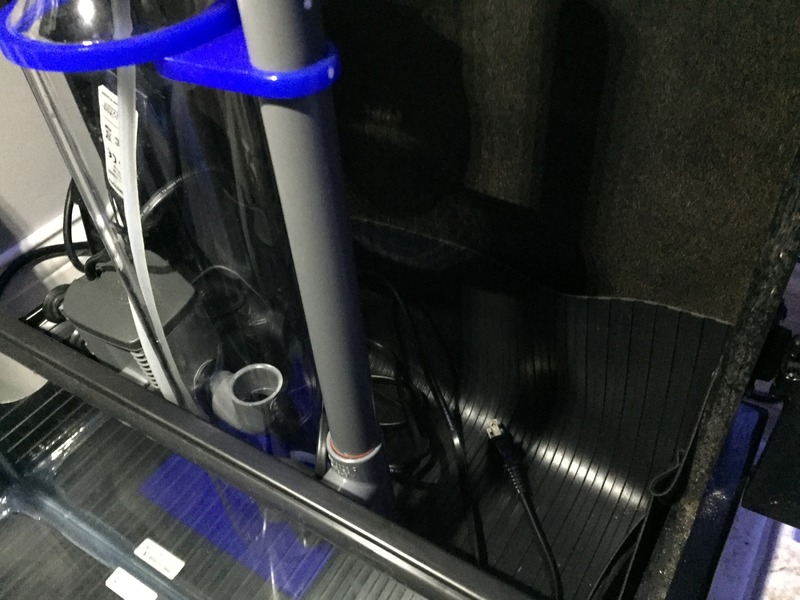
Bought some rubber matting from home depot and cut it to fit. All 4 corners have a lip that will hold a few inches of water, just in case!
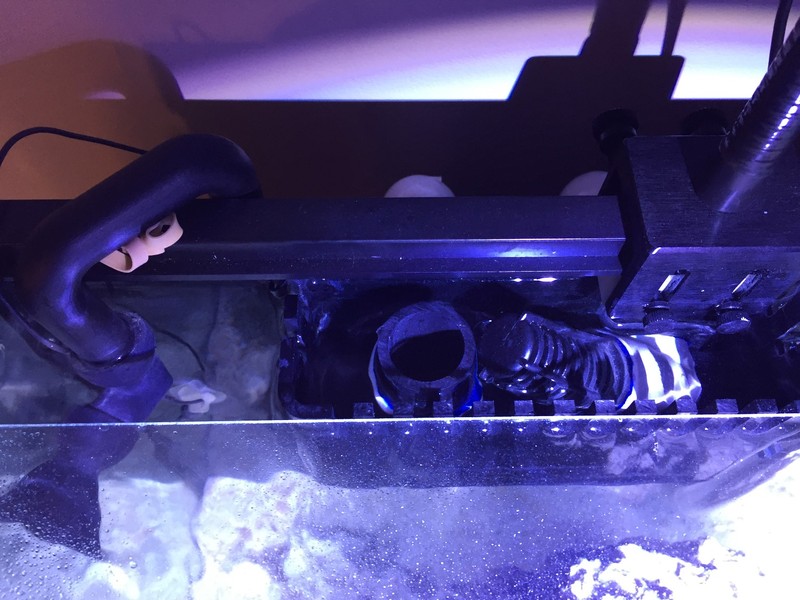
Skimmer will go in once I start and complete the cycle -
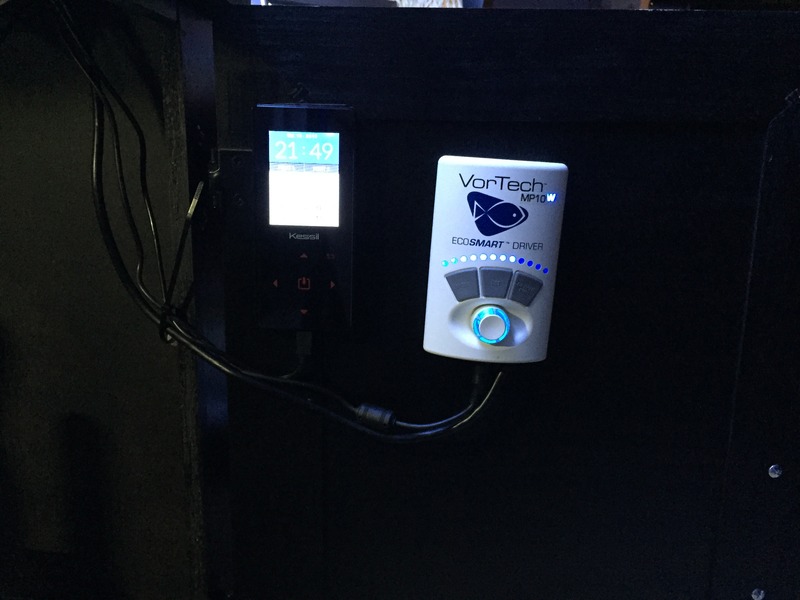
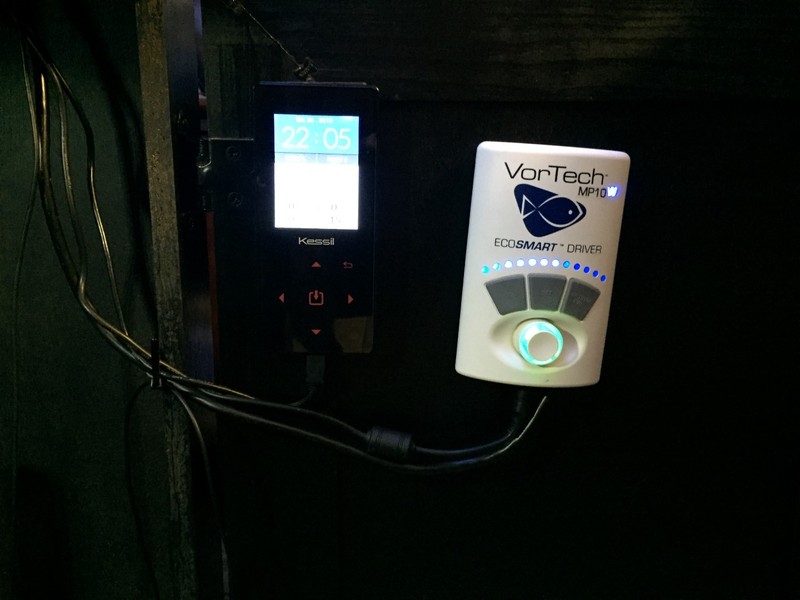
Kessil controller and MP10 controller mounted to the inside of the door for easy access-
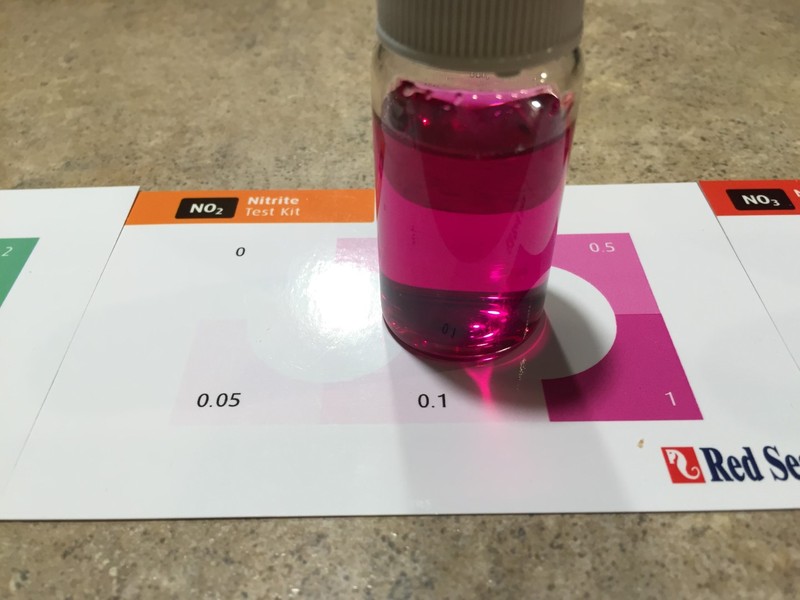
The cube has been setup for a few weeks now and running perfectly! The cycle is moving forward and my nitrites are starting to build! Before the progress went any further I wanted to replace my sump. I liked the 5.5 gallon sump as it left half of the cabinet free, but I knew I wanted more security. My skimmer requires 8'' of water so with the 5.5 gallon sump I was on a very fine line and knew I wouldn't be able to forget topping the tank off. For now I'll be topping it off manually, but soon that will change!
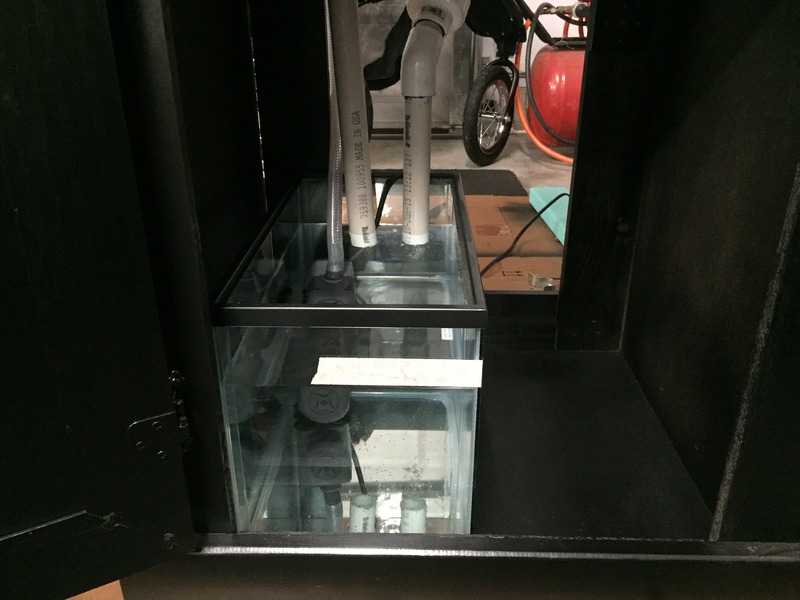
I searched the web and found a pretty good deal on the eshopps nano cube refugium so I picked it up! I really like this sump so far and it fits in my stand perfectly through the front door. As of right now the fug won't be used for anything except my heater.
Lucky me I used unions because my plumbing has to be changed for the new sump!
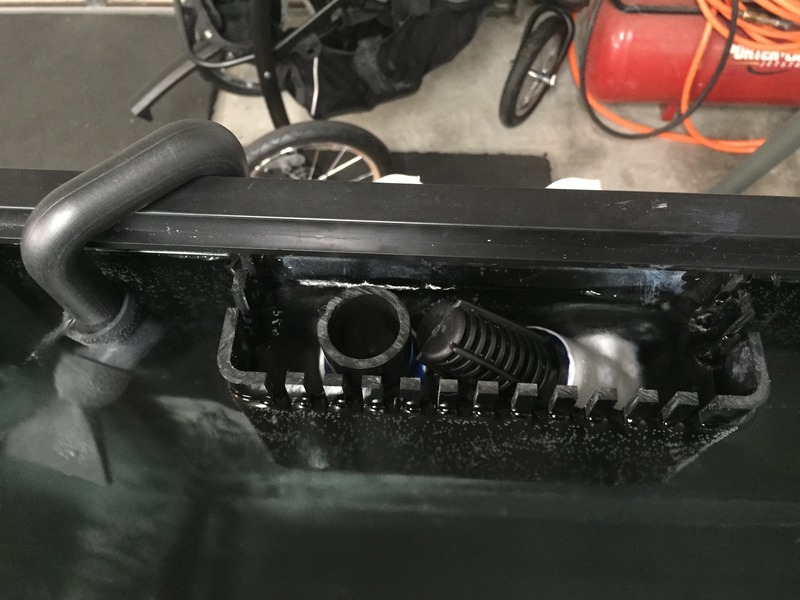
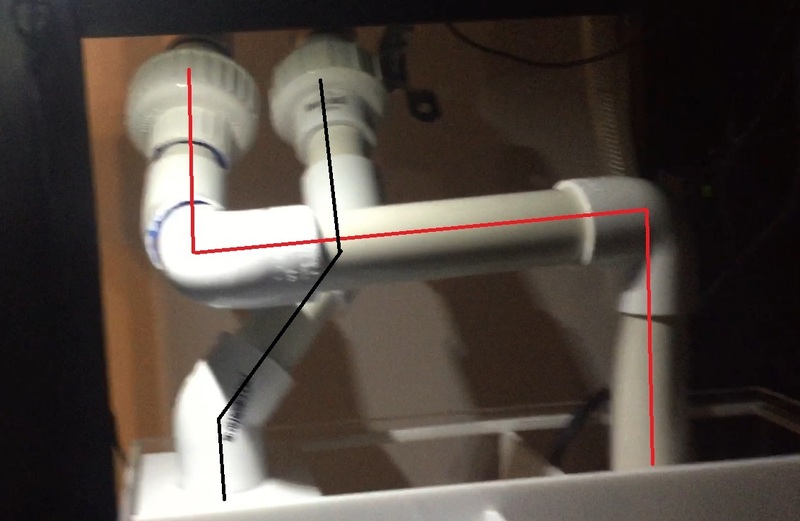
The sump comes with a bulk head installed, I took the bulk head out and have a few options. In order for my drain to work as I want/need it to I'll either need to use two 90 degree elbows or I can cut the platform that held the bulk head on. If I cut it I can run two 45's instead of the 90's. Let me know if you have any opinions or suggestions!
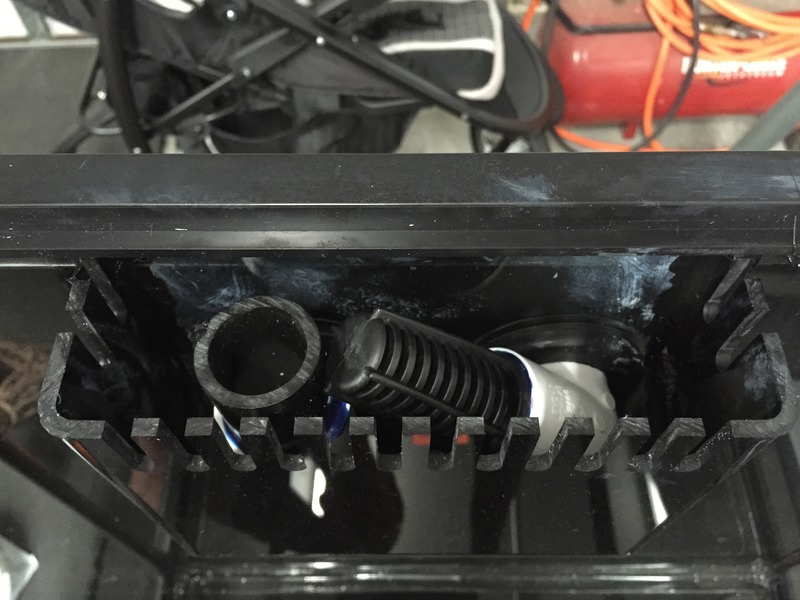
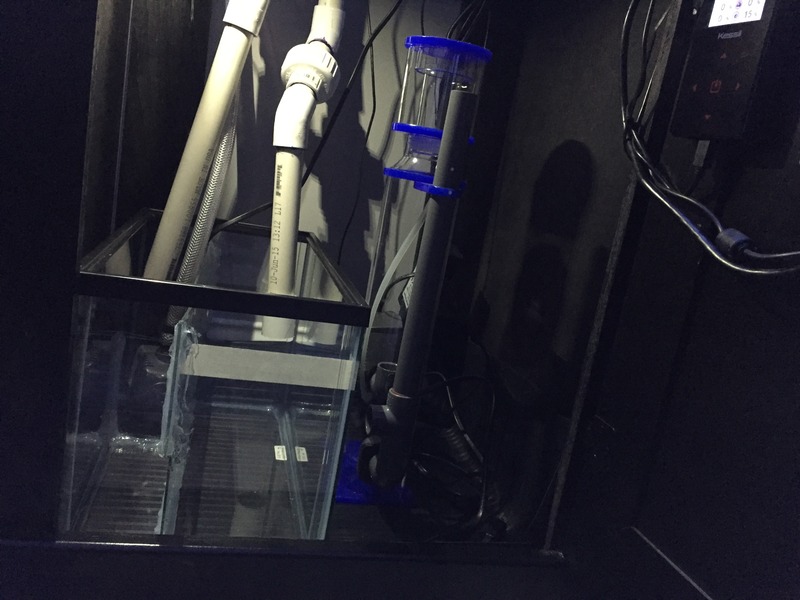
The black line is the main (siphon) drain, the red is my emergency drain. The emergency drain is routed into the return chamber to ensure the pump doesn't run dry. Although with the new sump and the higher water level this shouldn't be an issue. You can also see in the picture my main drain is in the hole I want/need to modify. As it is right now I am unable to remove this drain without titling the sump forward.
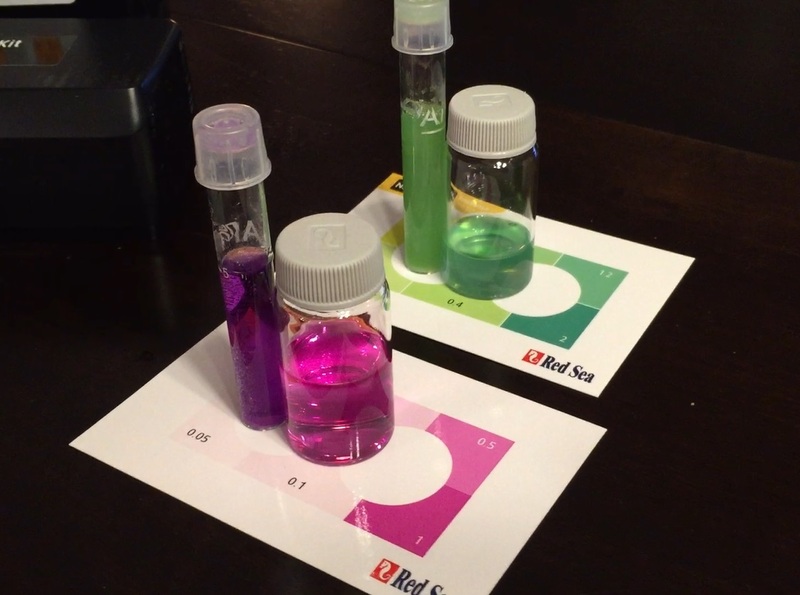
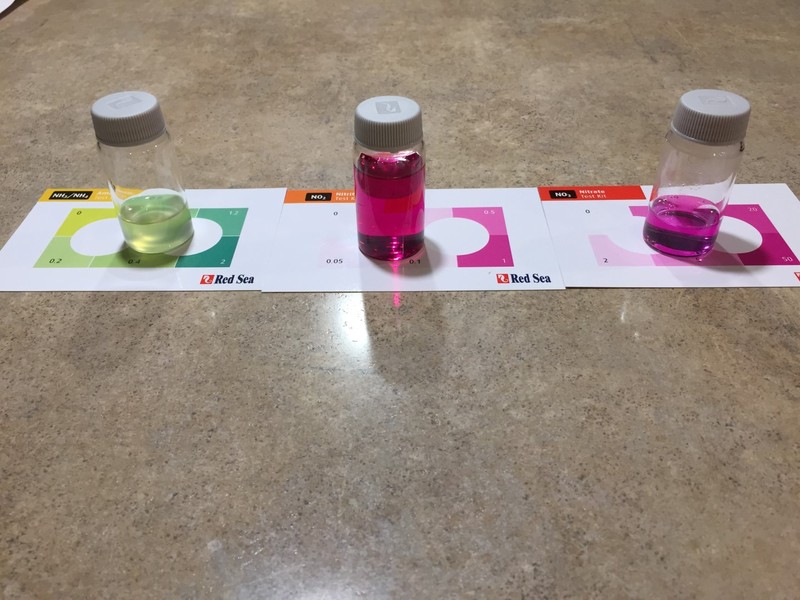
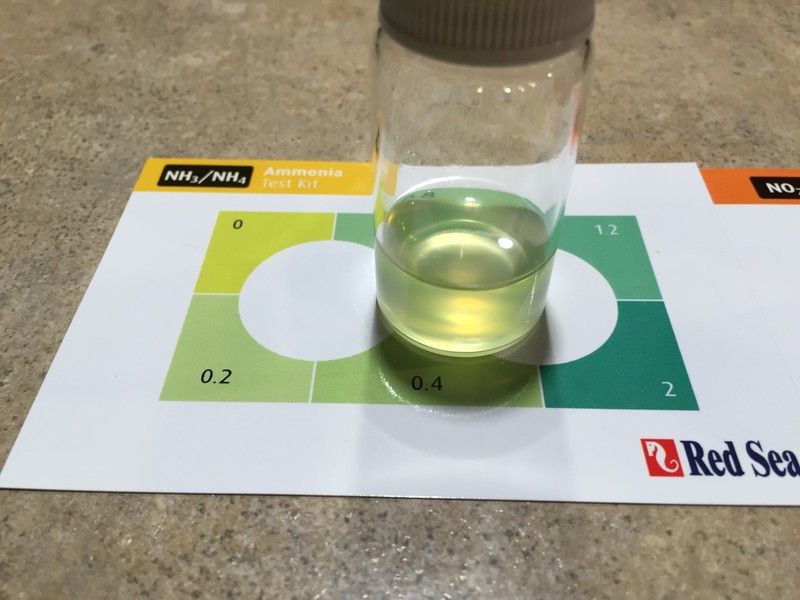
Initially I've used my API freshwater test kit to keep track of my cycle. Last week I picked up the RedSea test kit for comparison and to verify that my test have been accurate. All along both tests have been consistent and read the same results.
There is where I stand with my cycle. Should I continue to add ammonia to the tank or will that prolong the cycling process? I started the cycle on October 25th. Any input is appreciated!
This is my first experience cycling a reef and using this test kit. Overall I am very satisfied with the results and how easy the Red Sea test kits are to use. I highly recommend!
I do have a rather big complaint about the eshopps cube sump. It is a complaint I've seen a handful of times.... The white acrylic is a nice look, but not being able to see my return section is rather annoying. In order for me to view this chamber I have to get on the ground and use a flash light. This is the only chamber that really fluctuates as far as water level. I'll have to get a mirror and put it in my stand to monitor my water level. Which leads me to the next topic. When I finally pull the trigger on a ATO I'll have to somehow get the sensor in the return chamber which will also be painful.
I did remove all of the mechanical filtration from the sump. I was 50/50 on the filter sock to begin with, so I decided to pull it for now.