In a previous thread I discussed the problems I had with the Fiji Cube AIO insert. Here I will be showing how I fixed the problems and made it work.
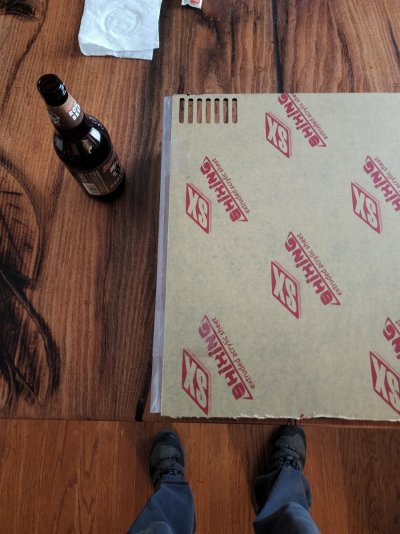
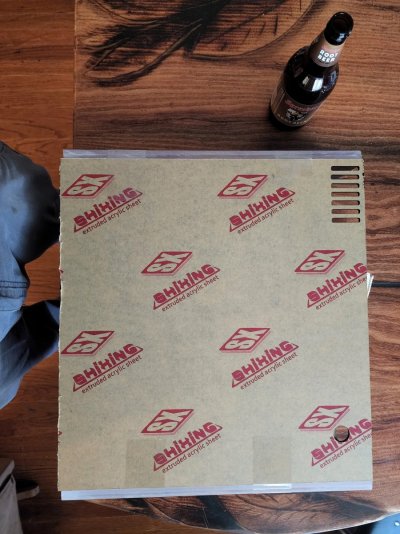
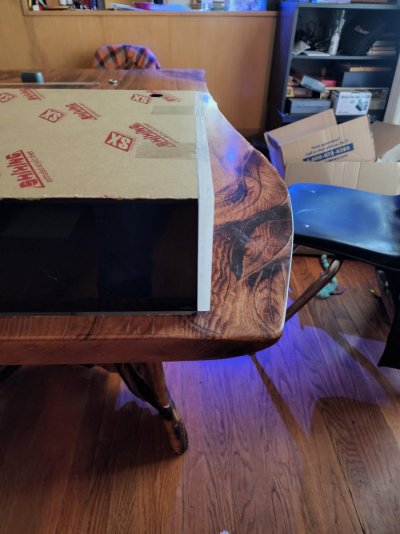
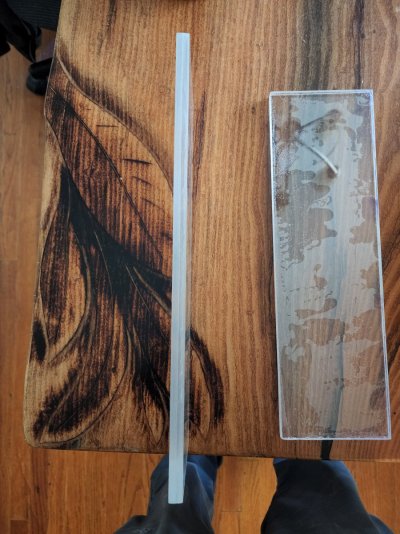
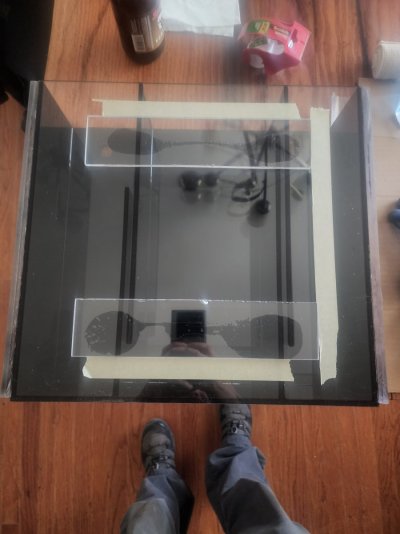
The AIO had a gap between the glass and the acrylic about a 1/2" on each side. In order to fix the problem I purchased a piece of 1/4" acrylic from Menards. The acrylic was then cut with a table saw, into 4 pieces just shorter than the height and depth of the AIO insert. I used weldon 3 to bond 2 pieces together to create a 1/2" piece of acrylic for each side of the insert.
Fiji Cube sold this as a do it yourself and I figured there may have to be some adjusting of the aquarium. The aquarium was 40 breeder purchased from petco during a dollar per gallon sale. According to Fiji Cube the dimensions of the AIO are such because of the inner lip of the black trim, which is used for glass lids to sit on.
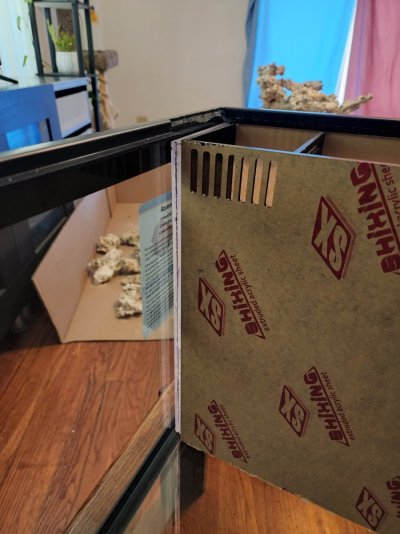
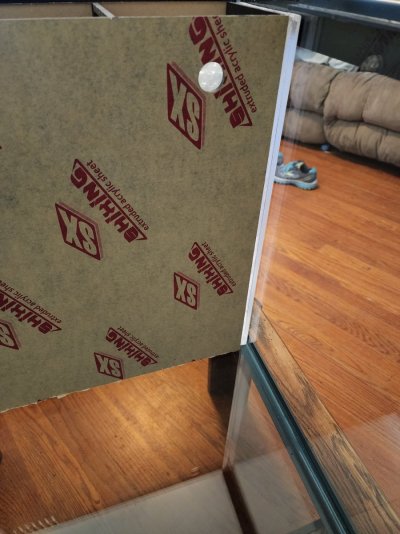
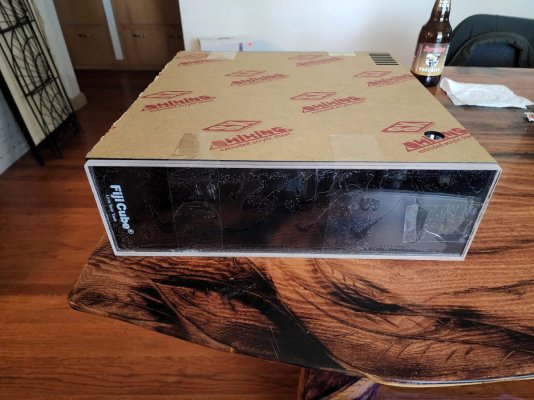
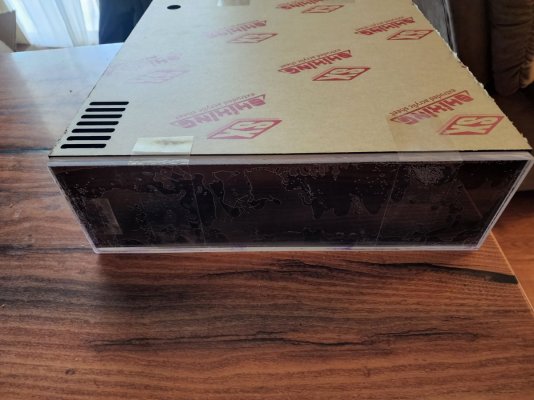
The instructions that came with the insert said to fill the gaps with silicone, but I didn't think that would be a good option since the gaps were half an inch. So I modified the insert with the 2 1/2" pieces of acrylic I constructed, and used the weldon 3 to attach them to either side of the insert. I also attached 2 smaller 1/4" pieces to the back of the insert.
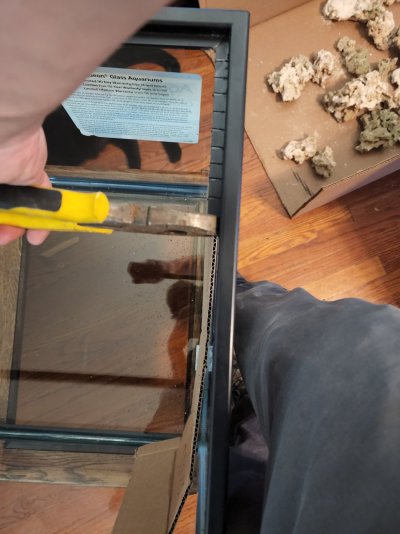
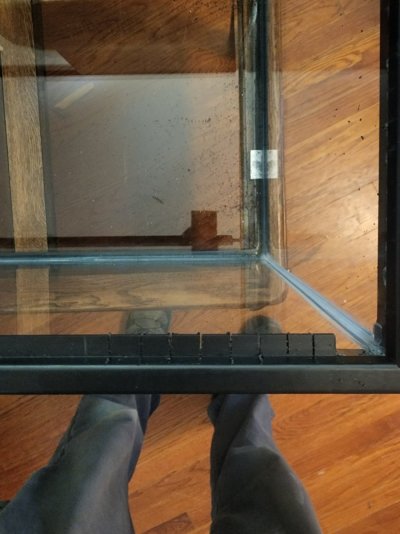
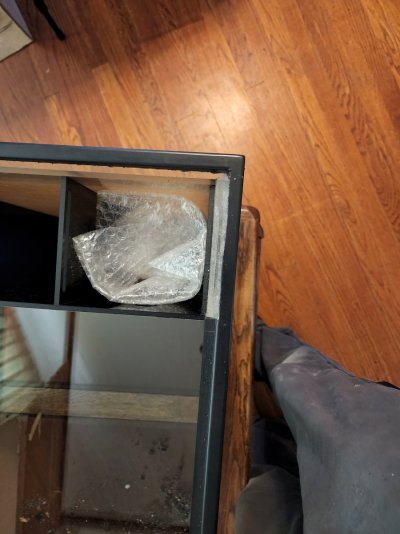
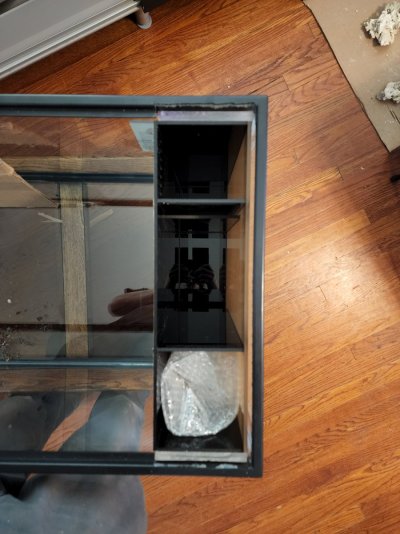
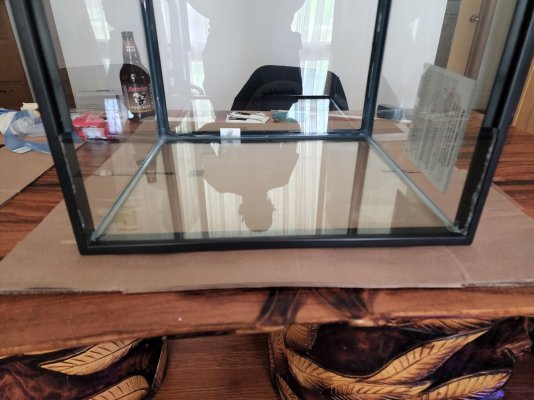
By doing the modification it took the gap from just over a 1/2" on each side to just over 1/16" on each side. A much more gooder fit. In order to get the AIO in the tank now I had to modify the black rim some which was no problem and quite frankly how I think should be done anyway. I used a hack saw to cut about 1" sections around the portion of rim I would be installing the AIO at. I then broke off each piece with a pair of lineman pliers. I had to cut the trim on the sides pretty much flush with the glass in order to get the AIO to fit in, it was a breeze just using the hacksaw for that as well.
I mentioned the 2 pieces of acrylic I put on the back of the AIO, the reason being was to get it to fit square. The silicone at the bottom of the tank prevented it from sitting nice and square. So I used the 2 pieces I installed for a spacer.
I was concerned about getting water behind the AIO and knew that where I had to silicone over the existing silicone would be the week spot. Silicone does not stick to silicone very well in some situations and silicone does not stick to acrylic very well either. I used ASI silicone to install the kit and was very happy with the product. It seems to have bonded to the existing silicone and the acrylic, I will use this silicone for now on.
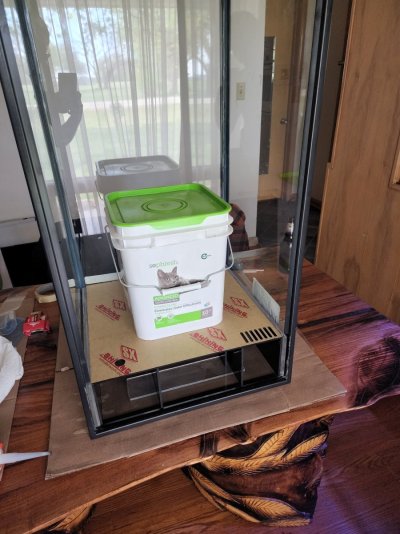
When I did silicone in place I did the back first and placed a weight on the unit to let it cure some. Afterwards I sealed all the way around the AIO.
I really like the results and only wish I
would have used black silicone instead of the clear. This turned out to be more of a project than I was thinking it would be, but overall I am happy with the results. I have the tank cycling now and really think the AIO will work well. I think Fiji Cube should make this product to the dimensions of the tank and just instruct thatodifications to the thank rim are needed. It would be a much better product if they did so.


