- Joined
- Aug 8, 2015
- Messages
- 1,454
- Reaction score
- 1,251
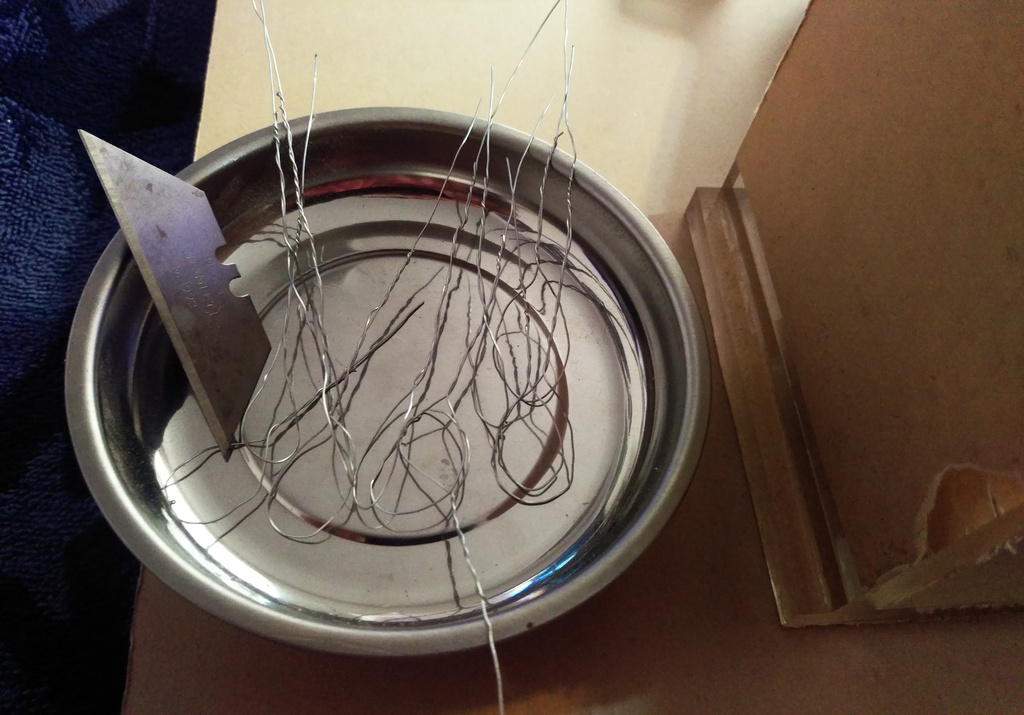
It do it just like I said earlier, with the part inbetween the bit and the fence. Like I showed in the photos, but bud had a good point. Routing something that is allot longer will probably introduce some flex in the part and could cause the chatter you are decribing.