"Embarking the Journey" Reef Build by Clayton

choss

Well-Known Member
View Badges
Joined
Jul 29, 2015
Messages
806
Reaction score
801
Location
Scarsdale New York
Rating - 0%
0   0   0
Clayton,

I hope "something is in the works" means you are actually adding water to this baby! Seriously, I just caught up on the build and I'm seriously impressed with how diligent and patient you have been. On the bare bottom v. sand, I think that both choices are great. For me, I am really happy with my choice on the Tropic Eden Meso Flakes. Somehow they seem to keep themselves clean and white with very little effort on my part. But I think you'll have it a lot easier in the long run with the bare bottom tank. You can always add sand later if you feel you want to change things up.

I love the choice of Pukani. As you know I went the same route and so far I have been extremely happy. The rock has so many pores and openings that it has made attaching frags really easy. I was very careful in bleaching and acid bathing my rock, and then I think adding 15 or so lbs of fresh live rock helped me avoid a bad algae cycle (at least so far - knock on wood).

Excited to see where you take this.

Cheers,


Chris
 
OP
OP
Clayton Jessup

Clayton Jessup

Valuable Member
View Badges
Joined
Apr 30, 2016
Messages
1,568
Reaction score
1,193
Location
El Paso Tx
Rating - 0%
0   0   0
Clayton,

I hope "something is in the works" means you are actually adding water to this baby! Seriously, I just caught up on the build and I'm seriously impressed with how diligent and patient you have been. On the bare bottom v. sand, I think that both choices are great. For me, I am really happy with my choice on the Tropic Eden Meso Flakes. Somehow they seem to keep themselves clean and white with very little effort on my part. But I think you'll have it a lot easier in the long run with the bare bottom tank. You can always add sand later if you feel you want to change things up.

I love the choice of Pukani. As you know I went the same route and so far I have been extremely happy. The rock has so many pores and openings that it has made attaching frags really easy. I was very careful in bleaching and acid bathing my rock, and then I think adding 15 or so lbs of fresh live rock helped me avoid a bad algae cycle (at least so far - knock on wood).

Excited to see where you take this.

Cheers,


Chris

Thank you so much @choss! Thank you for the kind words ! I have felt like I have ran out of patience sometimes and pushing the patience with my wife as well, at the same time! I truly mean something is in the works. ( something is happening though) This build now I am sadly :( 
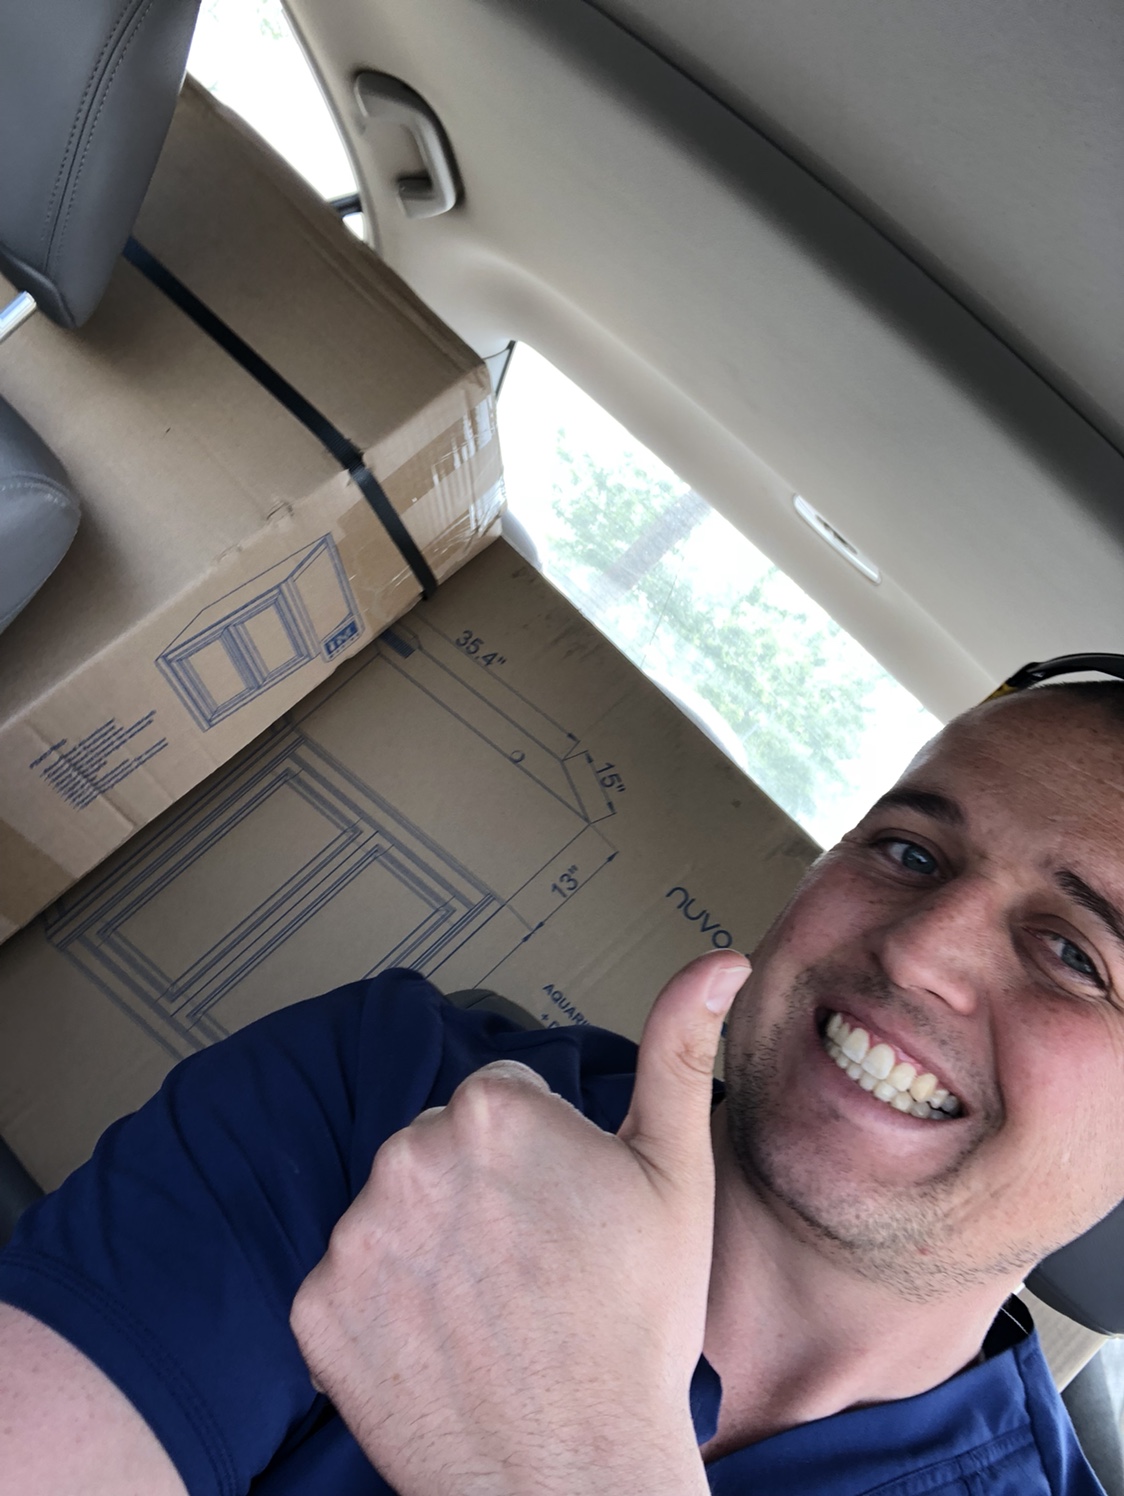
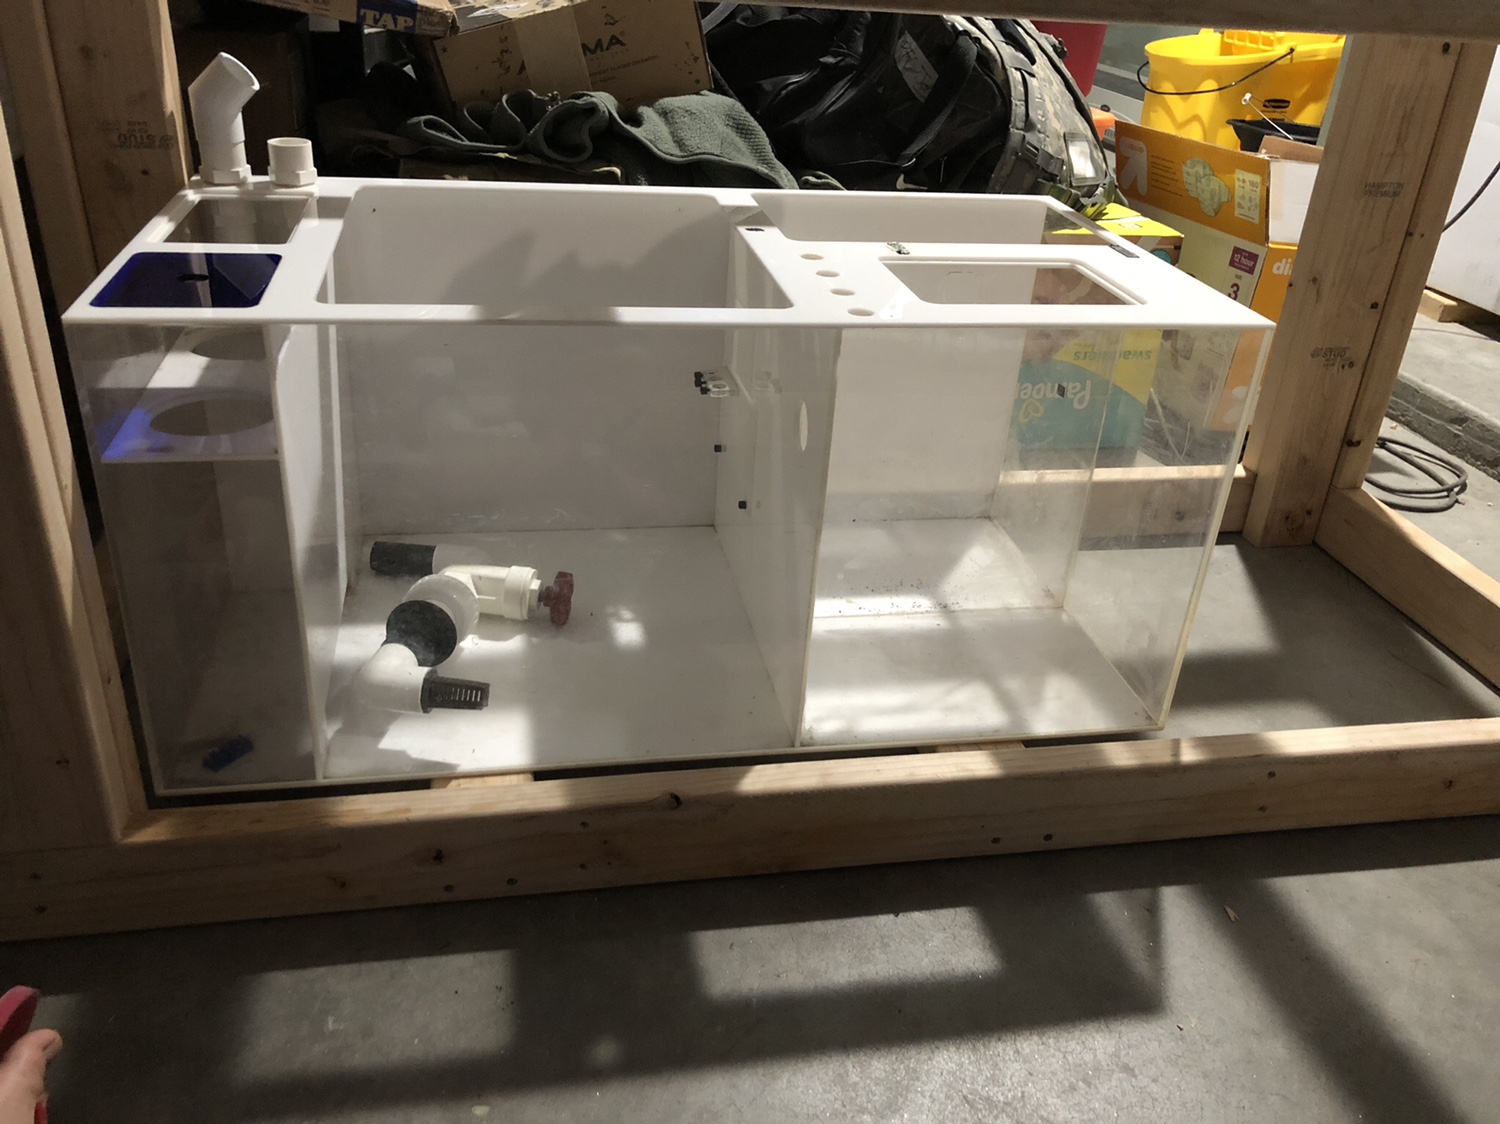
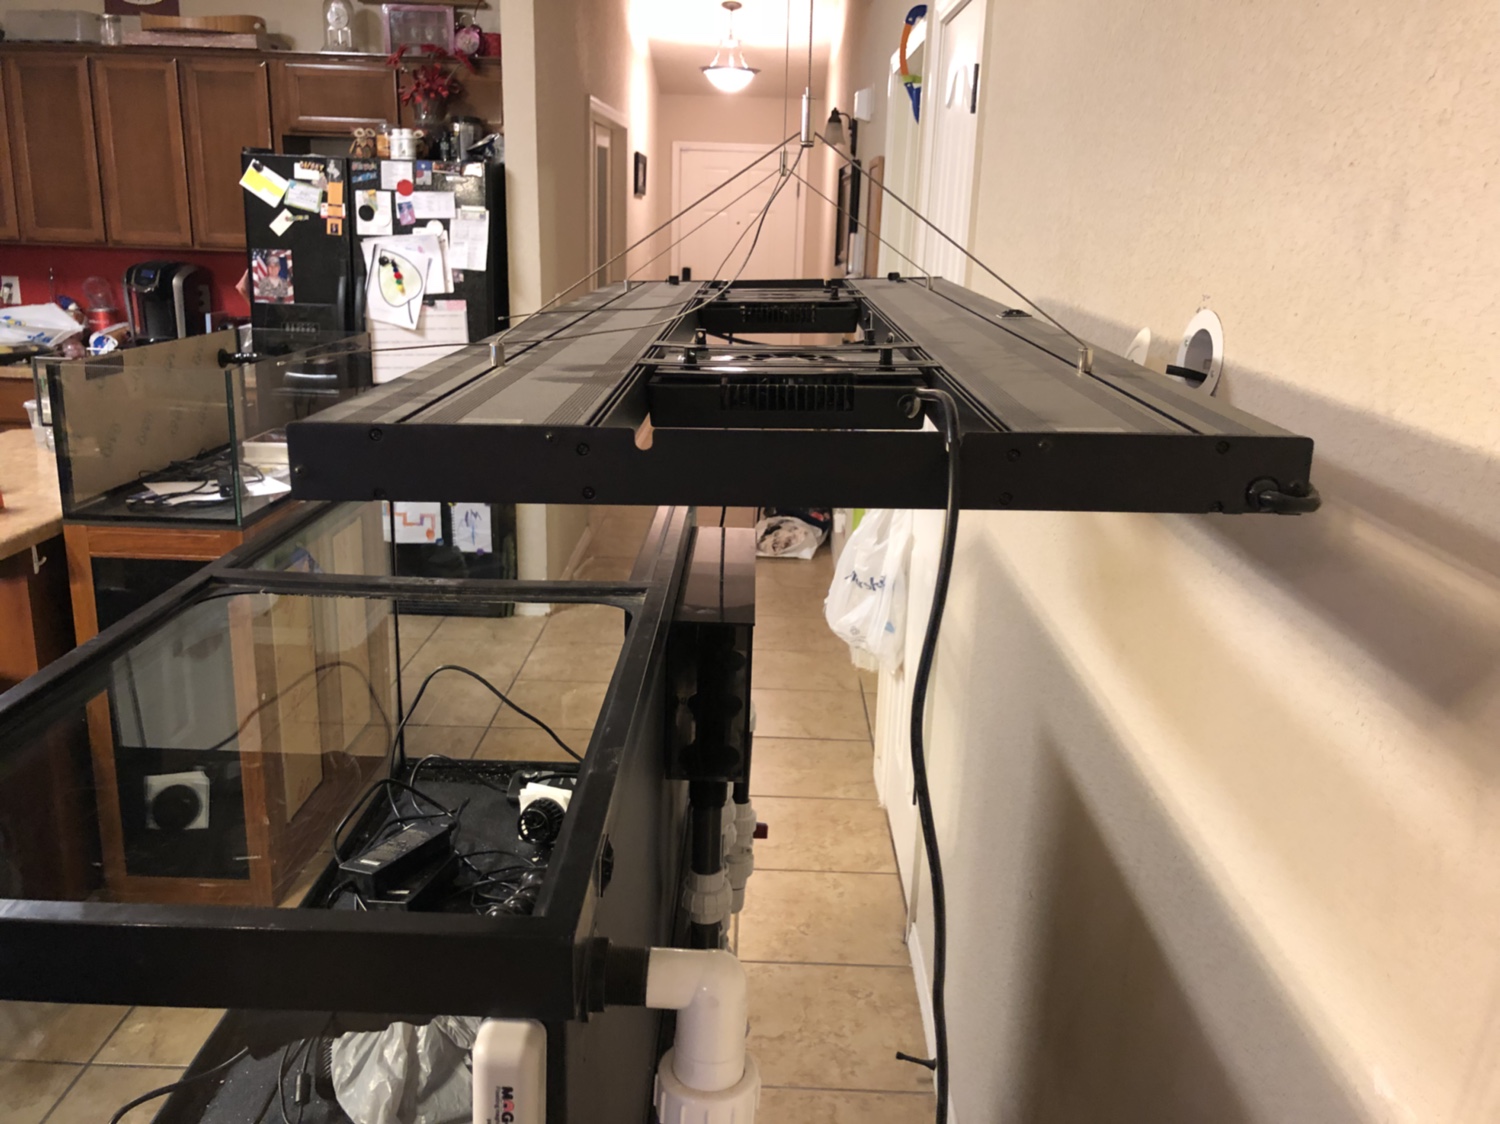
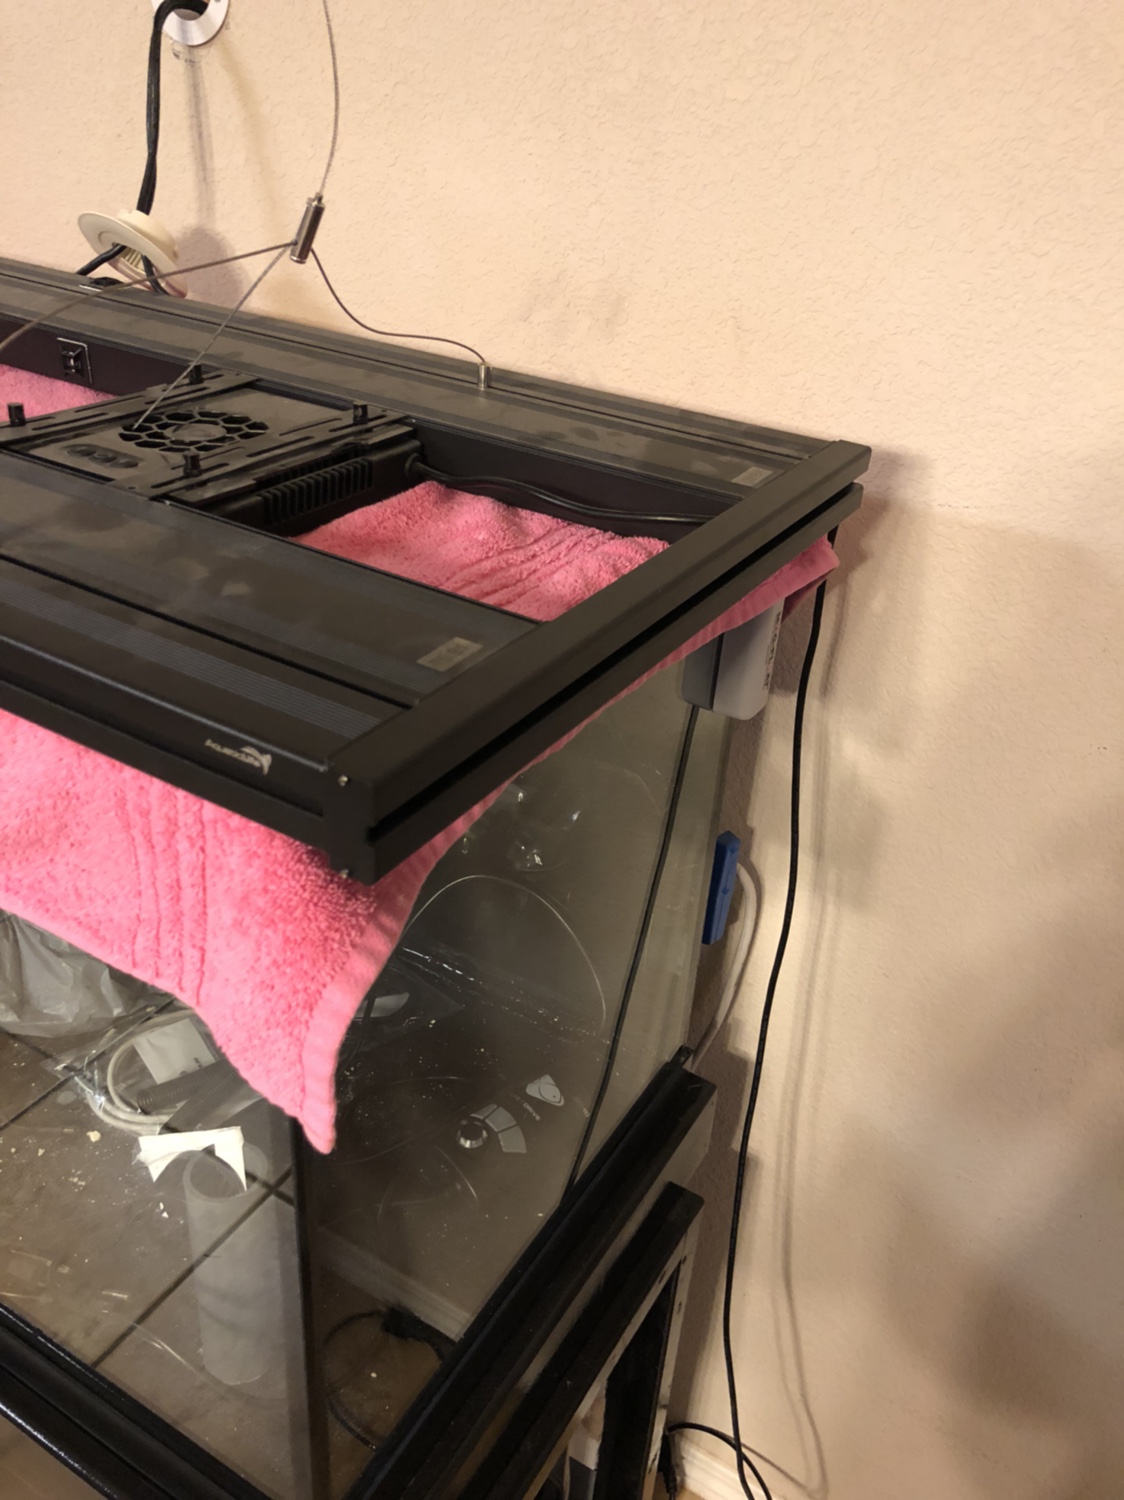
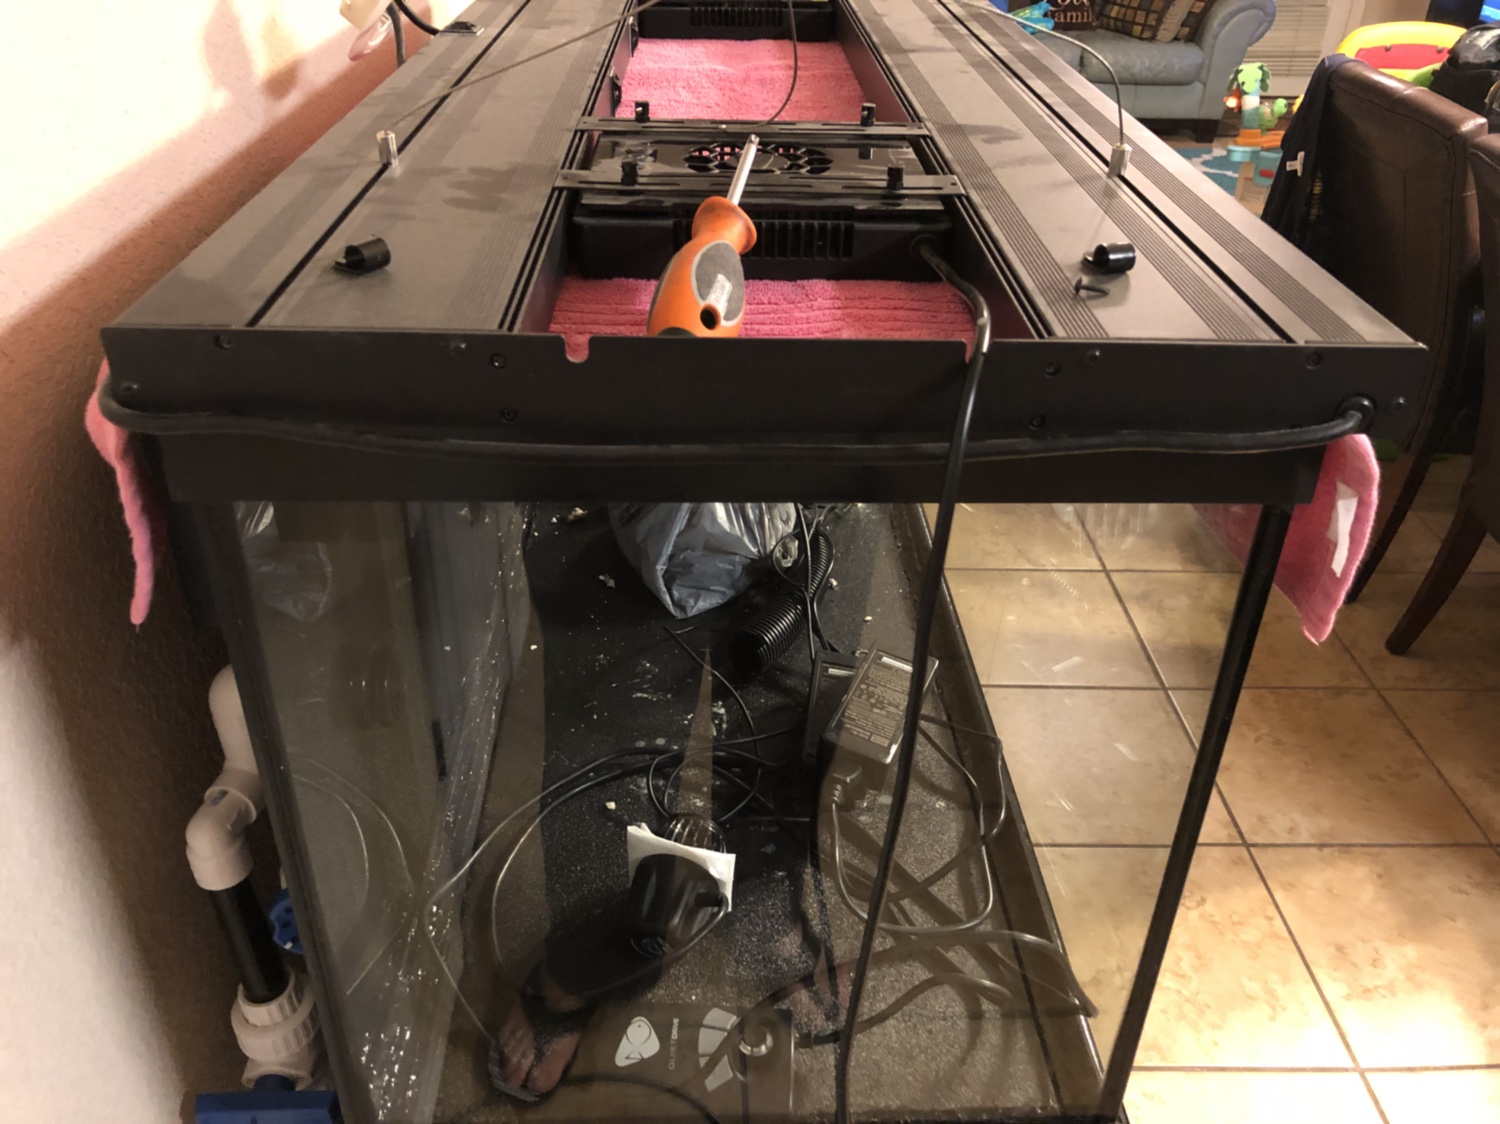
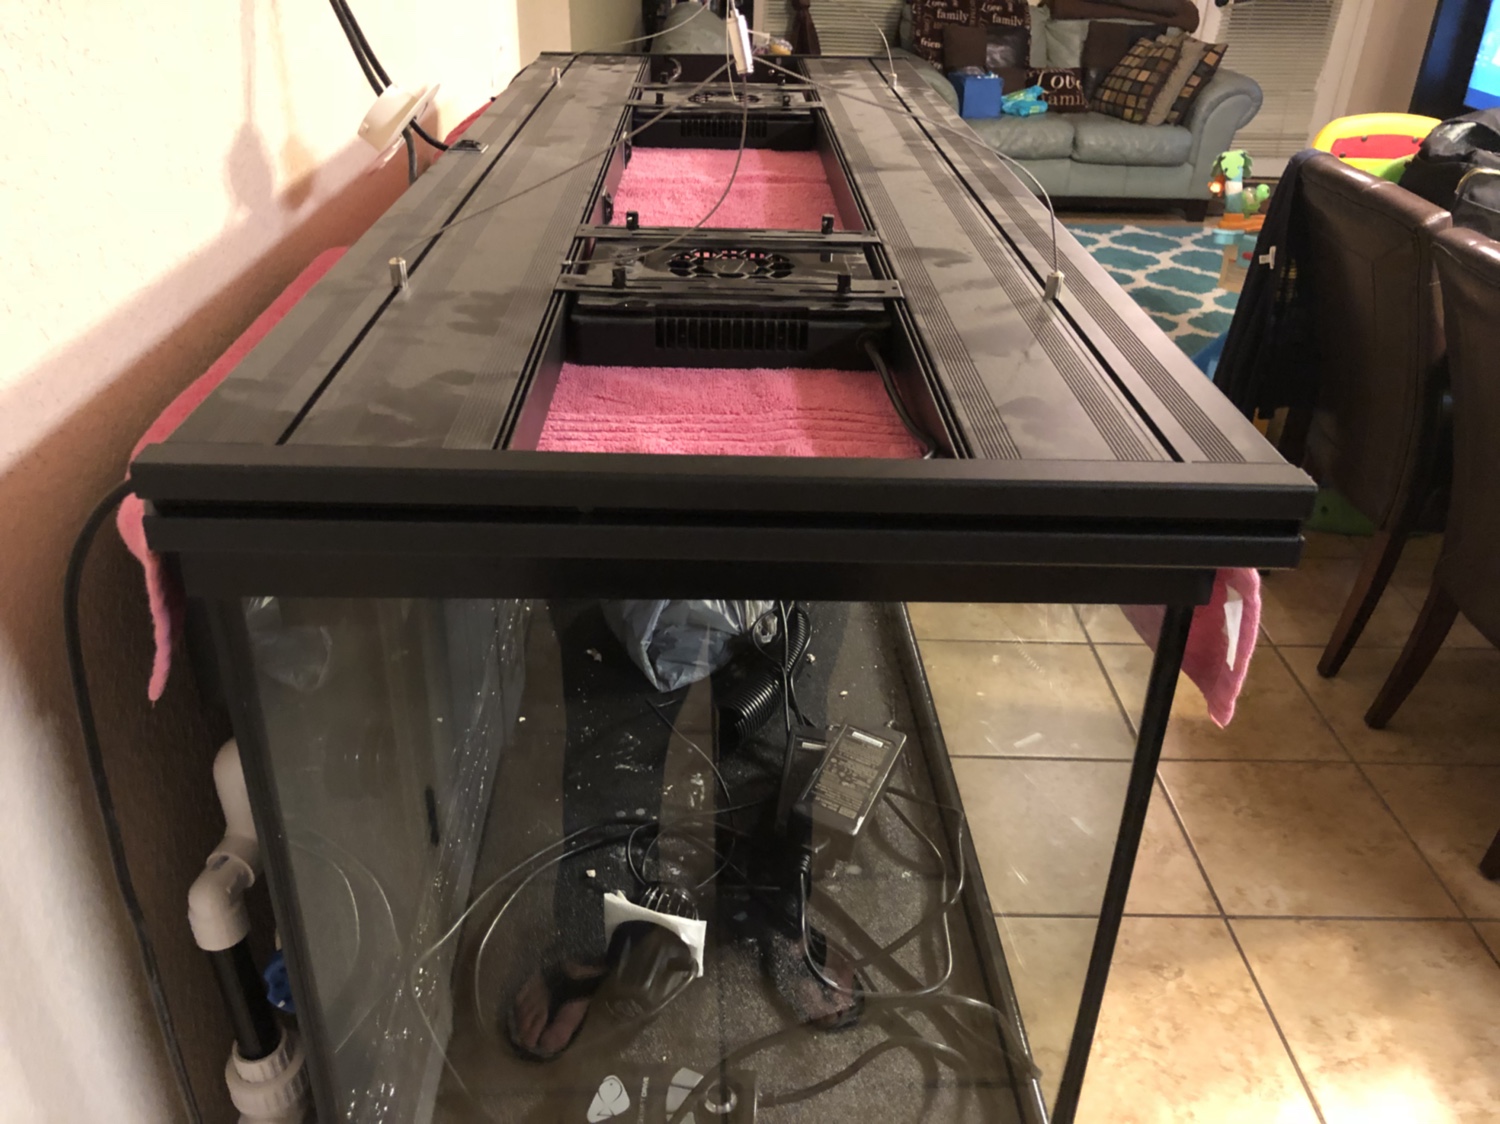
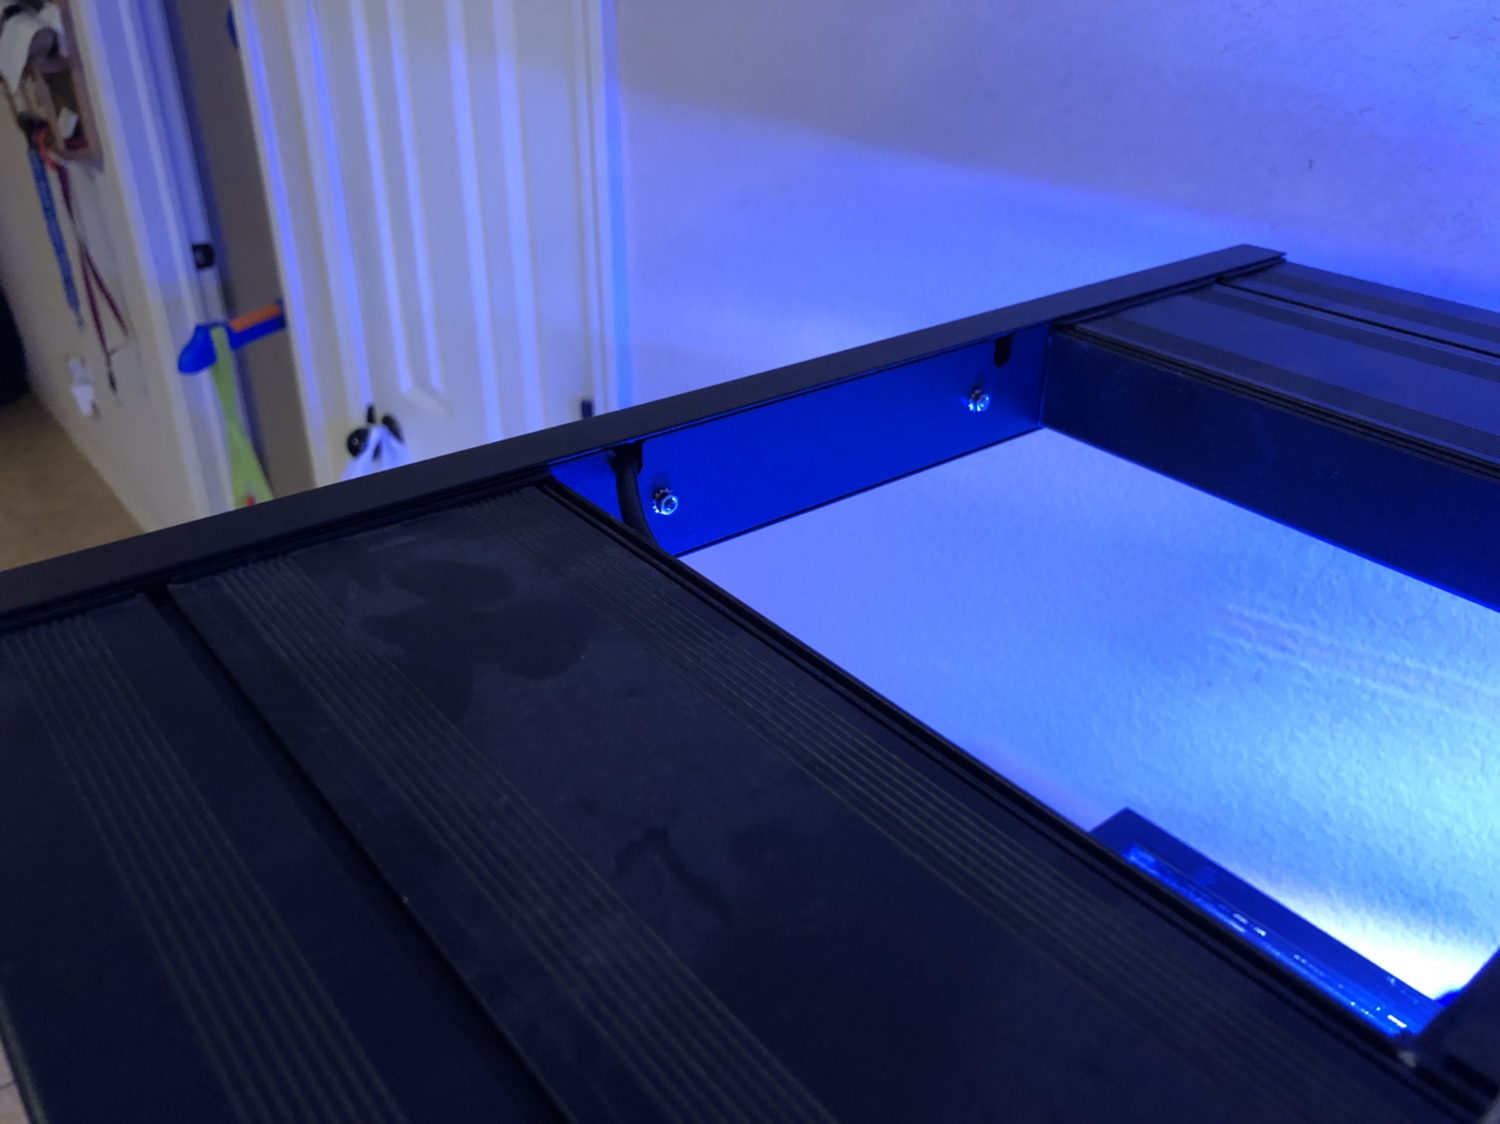
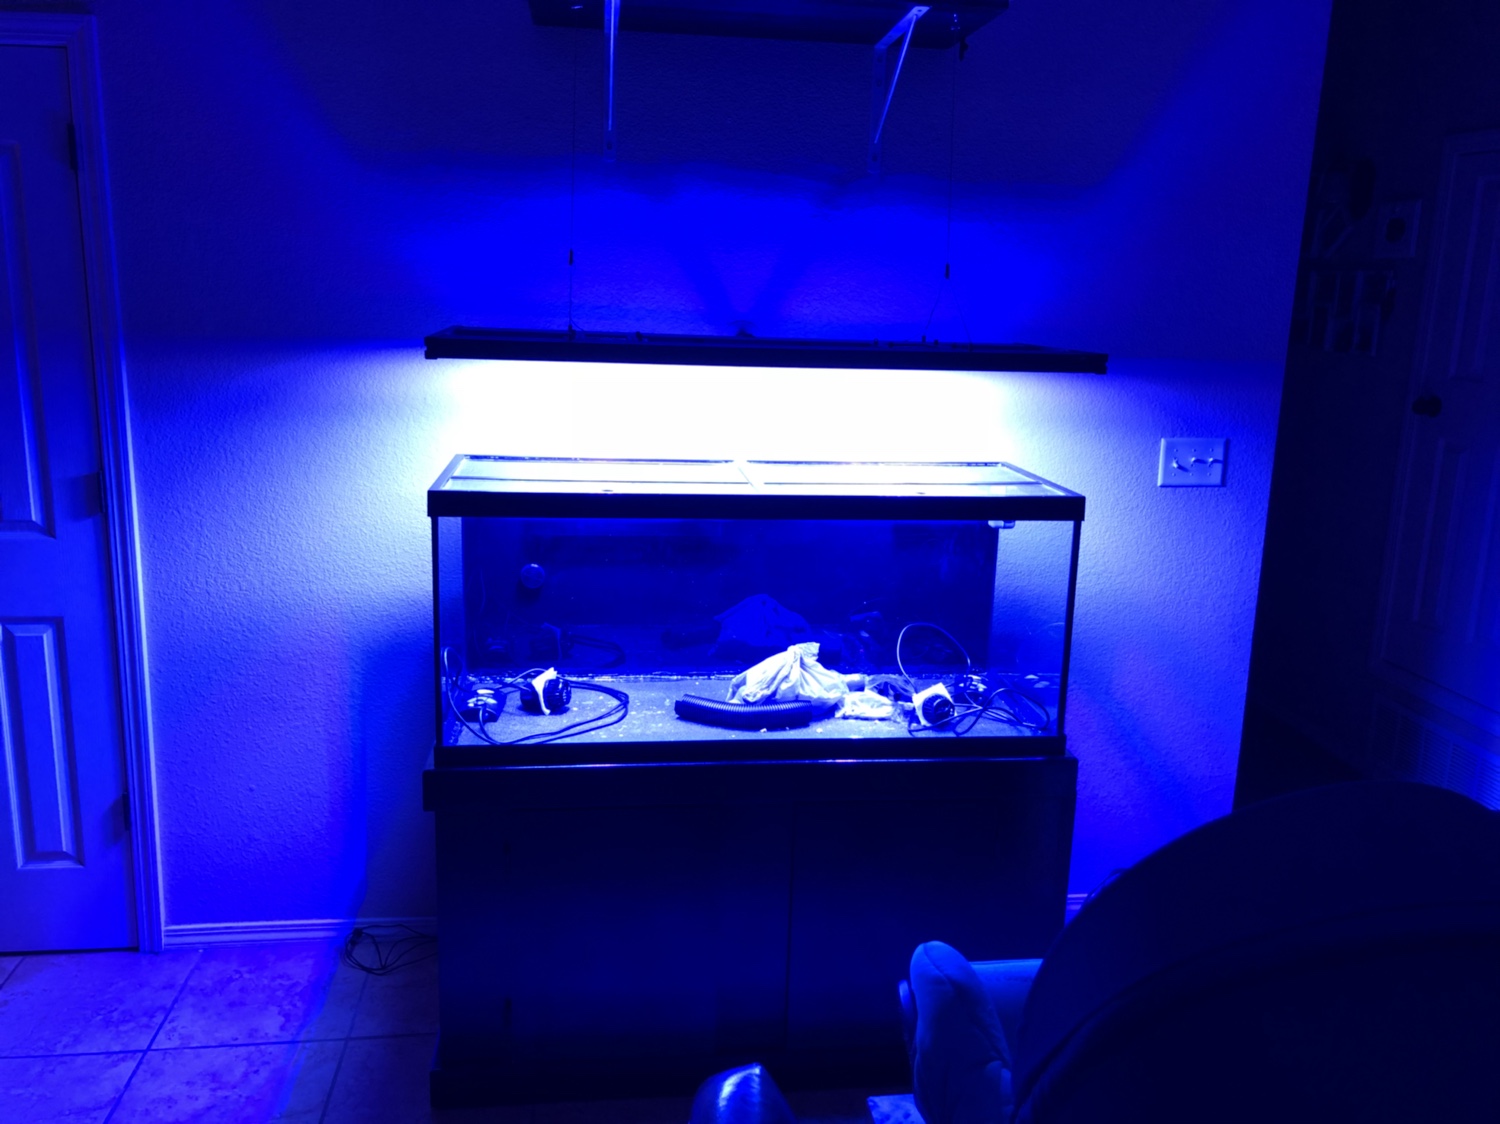
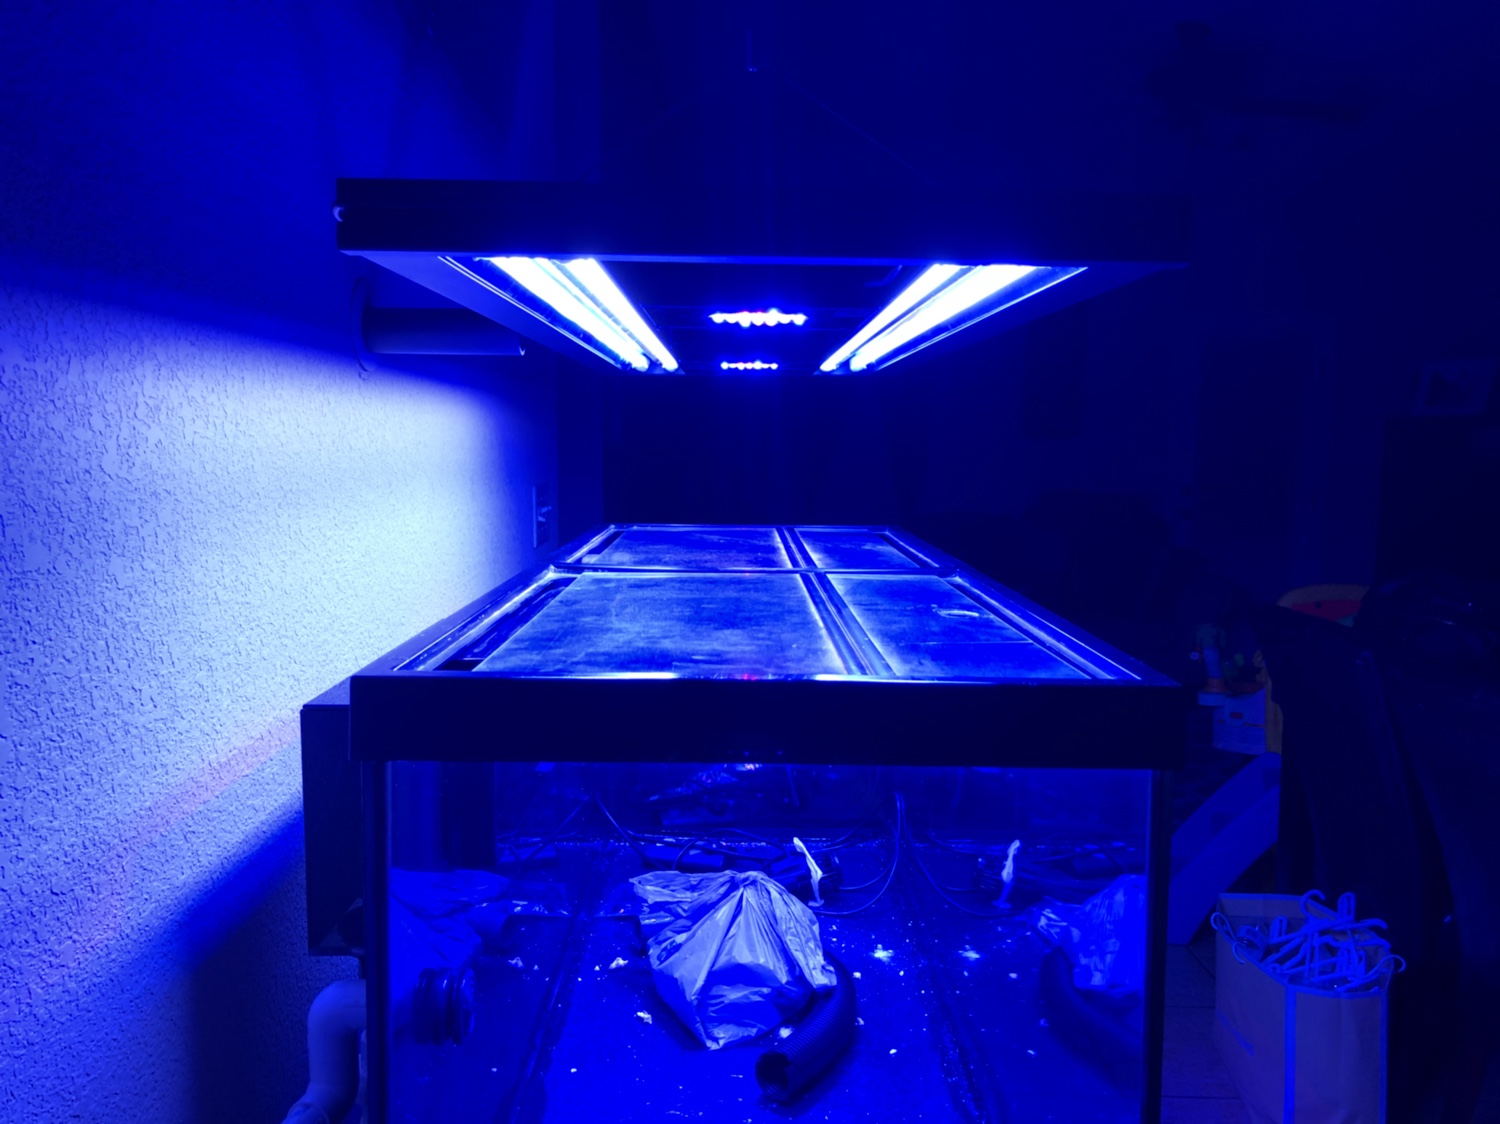
reporting does not have water in it !

There has been a A LOT of changes recently, from changing out my Frag Tank ;) , to getting a new sump, and the contemplation of thinking of getting a new tank ... a 120g mostly a 4ft x 2ft x 2ft , and building a new stand ! ( Still in the works )

All this while still trying to maintain the family life and still keeping the wife happy!

Here are some teaser pics :


New Frag tank Set up possibly!

b769eac409e1c594d91e8b622bc592ed.jpg


Bigger Sump !!
2101c027949462fab77c3dcce375014b.jpg


Bigger and Newer Stand 2x4 Frame
Measures 60in x 24in x 30in

3bfa9070dd7c4e0ce66edfcde8dcd7ac.jpg
 
OP
OP
Clayton Jessup

Clayton Jessup

Valuable Member
View Badges
Joined
Apr 30, 2016
Messages
1,568
Reaction score
1,193
Location
El Paso Tx
Rating - 0%
0   0   0
Crazy...most guys at least run their tank for a few weeks before upgrading:p:p:p. Good luck. The new stand already looks killer.

Thank you so much @choss! I was truly hoping to have permission of getting a 120g. But I tried very hard to get the approval and Thumbs up , but sadly I was not given the thumbs up. So it doesn’t look like I’ll get that size of a tank. But I am going to stick it out with the 75g like the original plan. So I still plan on posting more soon . Life has just been pretty busy and hectic. So I do apologize I am very sorry on the delayed response and updates .
 

choss

Well-Known Member
View Badges
Joined
Jul 29, 2015
Messages
806
Reaction score
801
Location
Scarsdale New York
Rating - 0%
0   0   0
I actually made a conscious decision to keep my tank a bit smaller as I was trying to balance all the things I really wanted v. the work involved. I probably could have easily gone 120 as well but am very happy with my current size under 100 g. There will certainly be other builds in the future and this one is allowing me to see how I like running a bigger tank. I have had a 75 in the past and I was very happy with that tank as well. Enjoy this build and learn from it and I'm sure you can later upgrade to a larger size with much of the same equipment.

Cheers,


Chris
 

samnaz

Earthling
View Badges
Joined
Dec 30, 2016
Messages
3,564
Reaction score
6,880
Location
Humble.fish
Rating - 0%
0   0   0
hope all is well, we all understand life gets in the way of reefing every once in a while. I will say though I look forward to your updates and seeing this tank wet someday... hopefully a 120 for your sake, don't give up! haha. I already regret going with a 30 gallon and it's not even running yet...the stand and most equipment could handle 90 gallons easy. alas, too late now. anyway goodluck with buzy life and whatev you got in the works.
 
OP
OP
Clayton Jessup

Clayton Jessup

Valuable Member
View Badges
Joined
Apr 30, 2016
Messages
1,568
Reaction score
1,193
Location
El Paso Tx
Rating - 0%
0   0   0
hope all is well, we all understand life gets in the way of reefing every once in a while. I will say though I look forward to your updates and seeing this tank wet someday... hopefully a 120 for your sake, don't give up! haha. I already regret going with a 30 gallon and it's not even running yet...the stand and most equipment could handle 90 gallons easy. alas, too late now. anyway goodluck with buzy life and whatev you got in the works.

Thank you very much @samnaz ! I was truly hoping to get a 120g but I think I am going to stick it out with my 75g . I already have so much time and effort into my tank as it it is up to this point. I trying to do as much as I can with the little time that I have and sometimes it’s nothing with my build/tank.. can’t stand it sometimes .
 
OP
OP
Clayton Jessup

Clayton Jessup

Valuable Member
View Badges
Joined
Apr 30, 2016
Messages
1,568
Reaction score
1,193
Location
El Paso Tx
Rating - 0%
0   0   0
ps - where'd you get that cabinet to house your controllers/equipment/etc? custom built by yourself?

@samnaz I got the Metal Locker from my mother , she works at a company called Anixter , she had this locker on hand due to the fact that one of her clients said it was not to their quality of standard that they prefer. So I took it and knew right away that I could use it in my build. The locker it self is made out of the same material metal that they use in the airline terminals. High quality steel.
 
OP
OP
Clayton Jessup

Clayton Jessup

Valuable Member
View Badges
Joined
Apr 30, 2016
Messages
1,568
Reaction score
1,193
Location
El Paso Tx
Rating - 0%
0   0   0
So this is a post that was a long time needing to come. So @AquaticLifeProducts messaged me some time ago saying that they were creating a Decorative End Plate for the Aquaticlife 4bulb hybrid fixture. They asked me if I wanted to test the product out on my light , in exchange for my honest and true opinion and I said YES of course I’ll test your product !!! I have always dreamed of being a beta tester for a product !

So they set me this package !!!!

a5ac9c3063c5d770c6e51118b7f3418e.jpg


Content inside !!!

938ce43aa767472f1c44d4e4ee791250.jpg
dd150b7e03780815a8a9819f5925e91a.jpg
d5ba279e80f7e1d8c83be38159e4622e.jpg
fa978196efe383783fd76b72d45b8c04.jpg
ff5cf92aa885480c46f785b1e5c678a3.jpg
1aa2f84d6b56b37b377def871d7558bf.jpg
ecdb5b52fc60f64c58ed1f3829a30b36.jpg


So with them sending me this for free , I couldn’t complain at all! So I went ahead and installed them onto the fixture , and re-ran my XR15Pro G-4 cables to go out the sides of the fixture vs going out on the center over the T5 back bank . I wanted to make sure that theses Covers would do their job of hiding cables and not let anyone see them ! LETS SAY THEY HIDE THEM PERFECTLY!!! Here are more pictures !


Before ...

e8181721e38308e17fbaa1f76a37671b.jpg
4d4cc255d1451084096916b81e370c19.jpg


Install .. super simple replace old end plates then install new end plates then the Decorative Covers using 4 screws that screw into the new end plates which they sent me.

38f2a0f628827f42236d5736ddcb7dec.jpg
c64cec29978e909daf34f11840624a9c.jpg
b741a17adac475725569c2d2292278d6.jpg
81c3ada7cd2fe1645738817914e315f3.jpg
cecee03075aa60851fe58e27be6eec0c.jpg
7e3bc7d38030a943c7a363e9fed98637.jpg
02ee79dc67737145beae1ceecdbfd45c.jpg
12559415e649b7f5e8a5114ab7946110.jpg
f79f5af248f05723123eb47aa29d65d5.jpg


Afterwards all nice and clean , extremely sexy... with hiding cables . I love the look of the light now so much better !!!

4b786542bfd8f084503ff90d18a87f22.jpg
ec9db3bb12eea56b7685b37b9d54bc9b.jpg
680a7aa20e665df99caed396915dee0f.jpg
4217358975831a835b3c29ba3cd2e4e9.jpg
c8611fc5786c0985b7b9ef128febab67.jpg
a699d331b3873db905deefc27438d031.jpg


I have to reach out a huge THANK YOU to @AquaticLifeProducts for letting me trail these Decorative End Plates that I absolutely love for my fixture, to take it a little better to making it a better quality fixture all around . To making it your own Hybrid lighting system , and yet providing a way to clean up all the cables at the same time! Amazing once again ! Love the end plates thank you @AquaticLifeProducts. Thank you again @dave Troop !

Thank you all for being so patient with me on this journey, still plenty more to come promise!
 

siggy

My Aquariums Going Again
View Badges
Joined
Feb 16, 2017
Messages
7,123
Reaction score
21,418
Location
MI
Rating - 0%
0   0   0
Thank you all for being so patient with me on this journey, still plenty more to come promise!
Wow that does look good, and you did a fine job running the cables. It really is amazing a end cap can make such a difference.... So What do we have to do to see a wet tank send a tanker? :p
upload_2018-6-4_11-2-21.jpeg
 
OP
OP
Clayton Jessup

Clayton Jessup

Valuable Member
View Badges
Joined
Apr 30, 2016
Messages
1,568
Reaction score
1,193
Location
El Paso Tx
Rating - 0%
0   0   0
Wow that does look good, and you did a fine job running the cables. It really is amazing a end cap can make such a difference.... So What do we have to do to see a wet tank send a tanker? :p
upload_2018-6-4_11-2-21.jpeg

That would help @siggy ! But in all reality I need to finish my new stand and reduce my sump before the tank gets wet. It seems easy but when you got a busy life it’s hard to find that little time that I need . I am hoping to maybe sand and paint the 2x4 frame this week then skin it after that hopefully shortly after. Sorry on the delay on this build a/ journey.
 

mattgsa

Valuable Member
View Badges
Joined
Nov 16, 2017
Messages
1,464
Reaction score
2,400
Location
San Antonio
Rating - 0%
0   0   0
Just read through all twelve pages, looking forward to seeing a tank with water in it. Great build so far.
 

pelphrey

2500 Club Member
View Badges
Joined
Apr 22, 2015
Messages
4,109
Reaction score
6,100
Location
Kentucky
Rating - 0%
0   0   0
So this is a post that was a long time needing to come. So @AquaticLifeProducts messaged me some time ago saying that they were creating a Decorative End Plate for the Aquaticlife 4bulb hybrid fixture. They asked me if I wanted to test the product out on my light , in exchange for my honest and true opinion and I said YES of course I’ll test your product !!! I have always dreamed of being a beta tester for a product !

So they set me this package !!!!

a5ac9c3063c5d770c6e51118b7f3418e.jpg


Content inside !!!

938ce43aa767472f1c44d4e4ee791250.jpg
dd150b7e03780815a8a9819f5925e91a.jpg
d5ba279e80f7e1d8c83be38159e4622e.jpg
fa978196efe383783fd76b72d45b8c04.jpg
ff5cf92aa885480c46f785b1e5c678a3.jpg
1aa2f84d6b56b37b377def871d7558bf.jpg
ecdb5b52fc60f64c58ed1f3829a30b36.jpg


So with them sending me this for free , I couldn’t complain at all! So I went ahead and installed them onto the fixture , and re-ran my XR15Pro G-4 cables to go out the sides of the fixture vs going out on the center over the T5 back bank . I wanted to make sure that theses Covers would do their job of hiding cables and not let anyone see them ! LETS SAY THEY HIDE THEM PERFECTLY!!! Here are more pictures !


Before ...

e8181721e38308e17fbaa1f76a37671b.jpg
4d4cc255d1451084096916b81e370c19.jpg


Install .. super simple replace old end plates then install new end plates then the Decorative Covers using 4 screws that screw into the new end plates which they sent me.

38f2a0f628827f42236d5736ddcb7dec.jpg
c64cec29978e909daf34f11840624a9c.jpg
b741a17adac475725569c2d2292278d6.jpg
81c3ada7cd2fe1645738817914e315f3.jpg
cecee03075aa60851fe58e27be6eec0c.jpg
7e3bc7d38030a943c7a363e9fed98637.jpg
02ee79dc67737145beae1ceecdbfd45c.jpg
12559415e649b7f5e8a5114ab7946110.jpg
f79f5af248f05723123eb47aa29d65d5.jpg


Afterwards all nice and clean , extremely sexy... with hiding cables . I love the look of the light now so much better !!!

4b786542bfd8f084503ff90d18a87f22.jpg
ec9db3bb12eea56b7685b37b9d54bc9b.jpg
680a7aa20e665df99caed396915dee0f.jpg
4217358975831a835b3c29ba3cd2e4e9.jpg
c8611fc5786c0985b7b9ef128febab67.jpg
a699d331b3873db905deefc27438d031.jpg


I have to reach out a huge THANK YOU to @AquaticLifeProducts for letting me trail these Decorative End Plates that I absolutely love for my fixture, to take it a little better to making it a better quality fixture all around . To making it your own Hybrid lighting system , and yet providing a way to clean up all the cables at the same time! Amazing once again ! Love the end plates thank you @AquaticLifeProducts. Thank you again @dave Troop !

Thank you all for being so patient with me on this journey, still plenty more to come promise!

Nice work on the end brackets! Thanks for testing and sharing with us, they look great on your fixture with the radions!
 

Txdragonslayer

Well-Known Member
View Badges
Joined
Jul 1, 2015
Messages
693
Reaction score
427
Rating - 0%
0   0   0
So this is a post that was a long time needing to come. So @AquaticLifeProducts messaged me some time ago saying that they were creating a Decorative End Plate for the Aquaticlife 4bulb hybrid fixture. They asked me if I wanted to test the product out on my light , in exchange for my honest and true opinion and I said YES of course I’ll test your product !!! I have always dreamed of being a beta tester for a product !

So they set me this package !!!!

a5ac9c3063c5d770c6e51118b7f3418e.jpg


Content inside !!!

938ce43aa767472f1c44d4e4ee791250.jpg
dd150b7e03780815a8a9819f5925e91a.jpg
d5ba279e80f7e1d8c83be38159e4622e.jpg
fa978196efe383783fd76b72d45b8c04.jpg
ff5cf92aa885480c46f785b1e5c678a3.jpg
1aa2f84d6b56b37b377def871d7558bf.jpg
ecdb5b52fc60f64c58ed1f3829a30b36.jpg


So with them sending me this for free , I couldn’t complain at all! So I went ahead and installed them onto the fixture , and re-ran my XR15Pro G-4 cables to go out the sides of the fixture vs going out on the center over the T5 back bank . I wanted to make sure that theses Covers would do their job of hiding cables and not let anyone see them ! LETS SAY THEY HIDE THEM PERFECTLY!!! Here are more pictures !


Before ...

e8181721e38308e17fbaa1f76a37671b.jpg
4d4cc255d1451084096916b81e370c19.jpg


Install .. super simple replace old end plates then install new end plates then the Decorative Covers using 4 screws that screw into the new end plates which they sent me.

38f2a0f628827f42236d5736ddcb7dec.jpg
c64cec29978e909daf34f11840624a9c.jpg
b741a17adac475725569c2d2292278d6.jpg
81c3ada7cd2fe1645738817914e315f3.jpg
cecee03075aa60851fe58e27be6eec0c.jpg
7e3bc7d38030a943c7a363e9fed98637.jpg
02ee79dc67737145beae1ceecdbfd45c.jpg
12559415e649b7f5e8a5114ab7946110.jpg
f79f5af248f05723123eb47aa29d65d5.jpg


Afterwards all nice and clean , extremely sexy... with hiding cables . I love the look of the light now so much better !!!

4b786542bfd8f084503ff90d18a87f22.jpg
ec9db3bb12eea56b7685b37b9d54bc9b.jpg
680a7aa20e665df99caed396915dee0f.jpg
4217358975831a835b3c29ba3cd2e4e9.jpg
c8611fc5786c0985b7b9ef128febab67.jpg
a699d331b3873db905deefc27438d031.jpg


I have to reach out a huge THANK YOU to @AquaticLifeProducts for letting me trail these Decorative End Plates that I absolutely love for my fixture, to take it a little better to making it a better quality fixture all around . To making it your own Hybrid lighting system , and yet providing a way to clean up all the cables at the same time! Amazing once again ! Love the end plates thank you @AquaticLifeProducts. Thank you again @dave Troop !

Thank you all for being so patient with me on this journey, still plenty more to come promise!


I think these came out super cool! great job documenting it all.
 
OP
OP
Clayton Jessup

Clayton Jessup

Valuable Member
View Badges
Joined
Apr 30, 2016
Messages
1,568
Reaction score
1,193
Location
El Paso Tx
Rating - 0%
0   0   0
Nice work on the end brackets! Thanks for testing and sharing with us, they look great on your fixture with the radions!

Thank you so much @pelphrey ! With this light fixture my original goal was to get a very clean Hybrid solution , with out forking our the money for a ATI PowerModule .. and I think with Decorative End Plates it adds to making it a cleaner fixture look! I was very grateful that @AquaticLifeProducts asked me to test their new product!
 

Form or function: Do you consider your rock work to be art or the platform for your coral?

  • Primarily art focused.

    Votes: 20 8.3%
  • Primarily a platform for coral.

    Votes: 42 17.5%
  • A bit of each - both art and a platform.

    Votes: 161 67.1%
  • Neither.

    Votes: 11 4.6%
  • Other.

    Votes: 6 2.5%
Back
Top