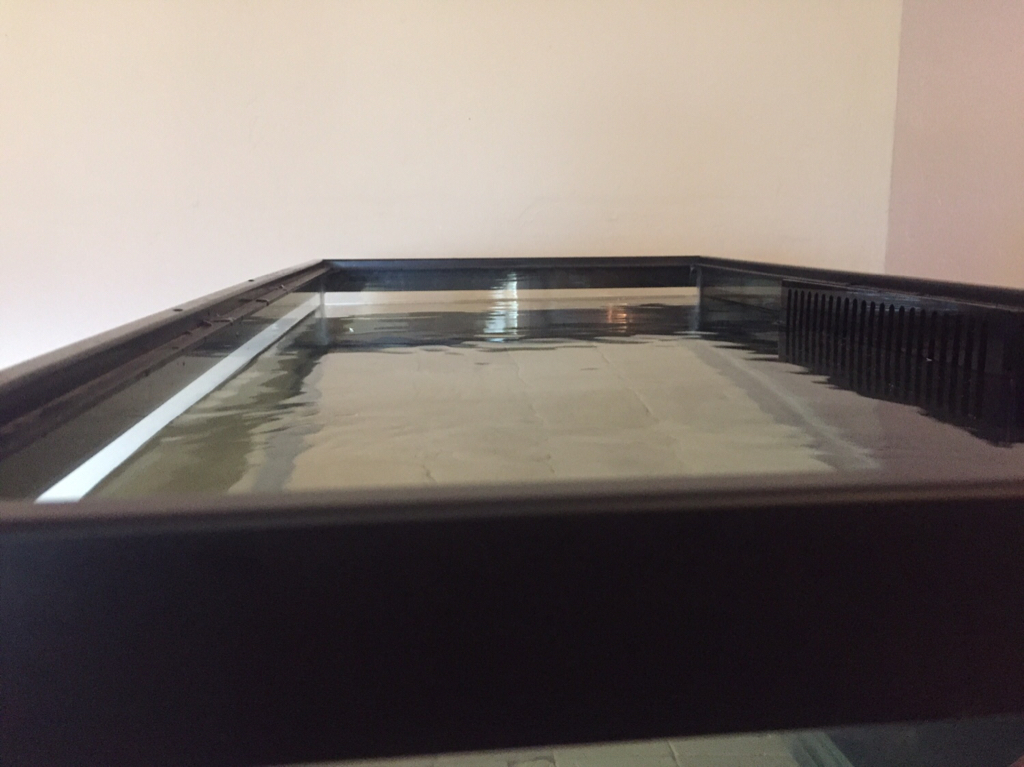
After I drilled my tank and installed the overflow box ( no leaks) I saw that the water level was below the plastic rim of the tank.
So as a quick fix, I got a strip of acrylic 1/8" x 1" x the length of the teeth and hot glued it to the front of the overflow box so it blocked the bottom 1/2" or so of the teeth on the overflow box. This made the water level rise enough to make it into the trim area. Being black, it was hardly noticeable.
I drained the tank recently and peeled the acrylic off. I am going to glue it permanently to the inside of the overflow box so it can't be seen.