Injoynit's 750XXL Tank Build

Injoynit

Active Member
View Badges
Joined
Jun 5, 2017
Messages
267
Reaction score
215
Location
Windsor
Rating - 0%
0   0   0
Thought I would start a separate tank build thread, since Red Sea's forum is not the place for it. :)

May 2017 - Purchase and Placement Spot

upload_2017-7-3_19-59-36.png


June 2017 - New Carpet and Waiting for tank

upload_2017-7-3_20-0-45.png


July 2017 - Still waiting for tank and Floor Reinforcement done (Can support 40,000+ lbs. Now I can back the truck right into the house to drop off the tank!o_O

upload_2017-7-3_20-2-54.png


This is going to be a slow build. ;Sorry

upload_2017-7-3_20-1-7.png
 

sbash

Valuable Member
View Badges
Joined
Mar 17, 2014
Messages
1,659
Reaction score
1,122
Location
Ottawa, Canada
Rating - 0%
0   0   0
Wise move with the reinforcement. I was so worried about installing my 220 gallon, I hired an engineer for the peace of mind. His recommendations were as thorough as they were laborious; but I have not lost a minute of sleep over it...

Looking forward to seeing the tank!
 
OP
OP
Injoynit

Injoynit

Active Member
View Badges
Joined
Jun 5, 2017
Messages
267
Reaction score
215
Location
Windsor
Rating - 0%
0   0   0
Question about power-heads: On an aquascape that is island based and runs entire length of 6' tank is it better to run the pumps on the sides of the tank or the back of the tank?
I was thinking to run them on the back of the tank at lower flow so they are out of view and still move water but they may work better on sides of tank but then they are seen by viewers since all 3 sides of my tank can be viewed.
Does it even matter? Can i run 3 MP40's on the back and not worry about the sides or is that too much flow even at low settings across 25 inchs?? Or just run 2 MP40's across the sides?
Just brainstorming and thought I'd ask for advice. :)
 

Pongo

Active Member
View Badges
Joined
Dec 27, 2016
Messages
492
Reaction score
695
Location
Vacaville, CA
Rating - 0%
0   0   0
On my wee little 5' tank I run 2 Neptune Wav pumps and 2 MP40s.
2 pumps on the back and 1 at each end.
My goal was to create non-laminar chaotic flow and with the split return outlet I think I have achieved that.

If I were to do it again, and already having the Apex on the tank, I would have gone with 4 Neptune Wav pumps. Less $ to achieve the same result.

My aquascape is also "island based" with a clean back wall.
 
OP
OP
Injoynit

Injoynit

Active Member
View Badges
Joined
Jun 5, 2017
Messages
267
Reaction score
215
Location
Windsor
Rating - 0%
0   0   0
On my wee little 5' tank I run 2 Neptune Wav pumps and 2 MP40s.
2 pumps on the back and 1 at each end.
My goal was to create non-laminar chaotic flow and with the split return outlet I think I have achieved that.

If I were to do it again, and already having the Apex on the tank, I would have gone with 4 Neptune Wav pumps. Less $ to achieve the same result.

My aquascape is also "island based" with a clean back wall.

Neptune says I only need 2 to create a good flow but they would have to be on opposite sides of tank and in the way of viewing those sides. I wonder if they have a simulator for wave patterns in a tank??

So you are happy with the apex WAV's? Was looking online and was going to go with the WAV's or MP40's but have heard of problems with both. But, I guess that is expected. Thanks for the advice and incite.
 
OP
OP
Injoynit

Injoynit

Active Member
View Badges
Joined
Jun 5, 2017
Messages
267
Reaction score
215
Location
Windsor
Rating - 0%
0   0   0
July 28th, 2017

So, I was to have my tank this week on Wednesday...didn't happen, UPS Freight held it up in Arizona. (I'm in California)
Then I was to have it Thursday...didn't happen, no phone call to arrange drop off, it just sat in my cities UPS Station
Friday I called them when they 1st opened, they told me someone should have called me for a drop off time...no ****..But, now that their trucks have already left the station I now have to wait until Monday to receive the Tank I've been waiting for for over 2 months. Thanks UPS Freight!

Wednesday I did order my APEX thinking the tank would be here, but the APEX beat the tank here.
apex.jpg.jpeg


Will do another update when the tank arrives.
 
OP
OP
Injoynit

Injoynit

Active Member
View Badges
Joined
Jun 5, 2017
Messages
267
Reaction score
215
Location
Windsor
Rating - 0%
0   0   0
Last day of July and the tank finally arrived in this>

Tank Truck.jpeg


So after helping the driver get the tank into the garage I noticed a large chip in the packing material where a forklift hit it. So we took the side off and checked the tank>

Tank Garage.jpeg


It was fine :)
I then unpacked all the stuff inside the tank (except the sump, couldn't lift it out on my own)

Tank contents.jpeg


Also took a look at the Hydra 26 HD LED with mounts>

Hydra 26 HD with mounting.jpeg


They are way small! About the width of my hand, length wise. I then noticed the top and bottom of the stand are under the tank (Thanks for that Red Sea ;Muted) I set up the following to slide the tank onto a couple 4x4's screwed together.

Tank move for rest of stand.jpeg


I then placed some wood between the ends of the 4x4's and the side of the garage wall (out of pic) so they would not move while I tried to slide the tank onto them ;Pompus.
Red Sea wrapped the bottom of the wood with the shrink wrap so it won't slide off with just me doing all the work ;Blackeye. Going to have to wait until tomorrow and get some help, then I can put the stand together.
It is way larger in person, pictures do not do the size of the tank or thickness of the glass justice ;Wideyed.

I also tested out the APEX seems to be good.
 
OP
OP
Injoynit

Injoynit

Active Member
View Badges
Joined
Jun 5, 2017
Messages
267
Reaction score
215
Location
Windsor
Rating - 0%
0   0   0
Another day another update (even though I never got a tag :mad:)

The following pictures are of the stand being assembled.

Steps 1-3

Tank Stand Steps 1-3.jpeg


Step 4-6

Tank Stand Steps 4-6.jpeg


Step 7-9

Tank Stand Steps 7-9.jpeg


Step 10-12

Tank Stand Steps 10-12.jpeg


Step 13-15

Tank Stand Steps 13-15.jpeg


Step 16-18

Tank Stand Steps 16-18.jpeg


Quick Tip! On those screws, the top of the thread should be level with the wood. If you go deeper you might not catch the metal clip that holds in the screw.

Bad screw depth (to deep)

Tank Stand Bad Screw Set Height.jpeg


Good depth (top of thread flush)

Tank Stand Good Screw Set Height.jpeg


Stand placed before I add tank, doors and the inside stand floors. (the wood inside the stand is a piece of hardwood I placed on the carpet to make the stand easier to level and help (a little) distribute the weight)

Tank Stand Placement.jpeg


Couch will be replaced to give a little more room to the tank.
 

A_game43

Well-Known Member
View Badges
Joined
Jan 6, 2017
Messages
523
Reaction score
928
Rating - 0%
0   0   0
Dido on the Shiba Inu dog, if I saw correctly in the first pic or so, we have two as well, great dogs!
 
OP
OP
Injoynit

Injoynit

Active Member
View Badges
Joined
Jun 5, 2017
Messages
267
Reaction score
215
Location
Windsor
Rating - 0%
0   0   0
Tank has been placed on the stand. THAT was a big pain ;Dead even with 5 guys helping me. The LFS wanted $300 and they couldn't do it for 3 weeks ;Sour. I should have had them do it! 530+lbs is REALLY heavy!

Tank on Stand.jpeg


But, we did it!! My hair did turn totally grey though ;Oldman . (Sorry about pic quality, my phone is 7 years old.)

Here is the 1st deluxe picture for you...

Tank Lights.jpeg


4 Hydra 26 HD LEDS. The mounting is good and they allow you to move the lights out of your way as shown in picture. Very handy.

I seem to be able to rock the tank back and forth and I think it is because it is on a piece of hardwood and the hardwood is on the carpet.
I'm going to screw the hardwood to the floor boards through the carpet to stabilize the stand and tank.
I did this so the tank would be easier to level and distribute some weight. Just didn't screw the hardwood to the floor because was not sure where exactly the tank would be placed.
I'll let you know if the tank stops rocking. :) It does always return to level though so that's a good sign.
 
OP
OP
Injoynit

Injoynit

Active Member
View Badges
Joined
Jun 5, 2017
Messages
267
Reaction score
215
Location
Windsor
Rating - 0%
0   0   0
Small update on equipment and where I'm at on the tank.

Here is what I have so far:
  • Red Sea Reefer 750 XXL Deluxe (4 AI Hydra 26 HD's)
  • Neptune Systems Apex Controller System
  • Neptune Systems Energy Bar 832 for Apex
  • VarioS-8 Controllable DC Pump
  • 3 LED lights in the cabinets
  • 5 Stage 75 gpd BRS RO/DI unit (Mounted on mobile cart)
  • 35 gallon tank to hold RO/DI water
  • BRS GFO & Carbon Reactor - Dual
What I'm still planning to get:
  • Regal 250 INT Protein Skimmer - Reef Octopus (Wanted to keep it in the 11" part of my sump which is why I did not go with super space saver)
  • IceCap Y module Cable (To be able to plug in my sump and skimmer into my Apex)
  • ATK Auto Top Off Kit - Neptune Systems
  • 3-Way Ball Valve with John Guest 1/4" Push Connect (When I install the RO/DI system under my sink this will be able to send water to the tank or a separate area.)
  • SV-1 Solenoid Valve - Neptune Systems (Safety for the RO/DI system into the 5 gallon red sea reservoir)
  • DOS & DDR Dosing System Package - Neptune Systems (1 now and 1 more later)
  • WAV Pump 2 Pack - Neptune Systems (1 to 2 more depending on flow)
  • Finnex TH Deluxe Titanium Heating Element with Plastic Guard ( 2 of these (Still looking at JBJ but leaning towards Finnex)
  • Vertex Titanium Grounding Pole
  • Flipper MAX Magnetic Cleaner (Works with 3/4" thick glass)
  • AFS Automatic Feeding System - Neptune Systems (But not right away - Hoping Apex fixes some problems they have)
  • H380 Halo II LED Algae Grow Light - Kessil (Refugium light)
    • MarcoRocks
    • Fiji Pink Arag-Alive! Live Reef Sand - CaribSea ( I like sand in my tank :D)
    • MarinePure Ceramic Biomedia Plate (For sump)
Livestock for the tank:
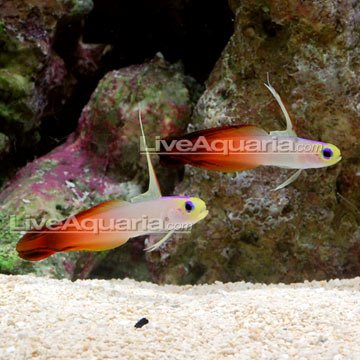
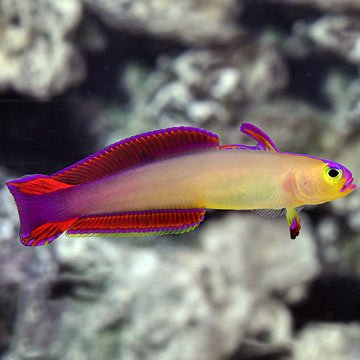
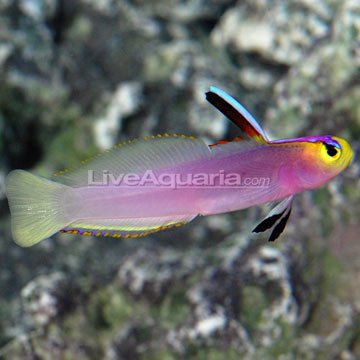
F
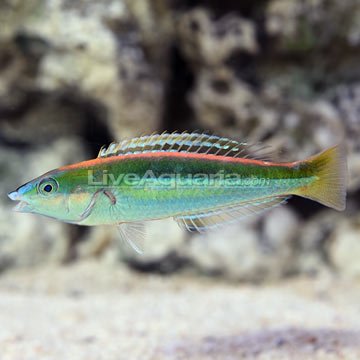
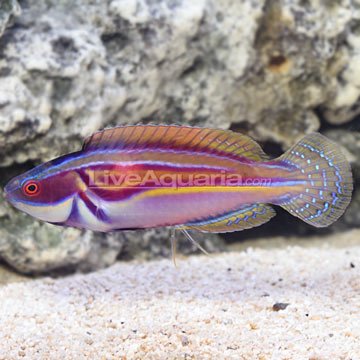
irefish p-71133-firefish.jpg p71146ExquisiteFirefish.jpg p-71250-helfrichi.jpg
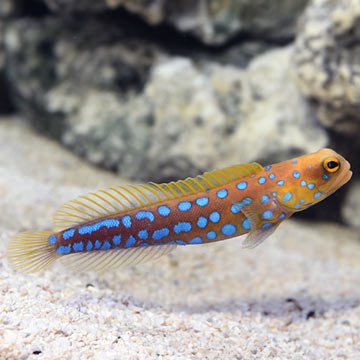
Jawfish th71432JawfishYellowhead.jpg p_86343_BlueSpottedJawfish.jpg
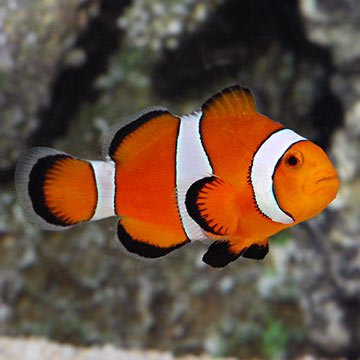
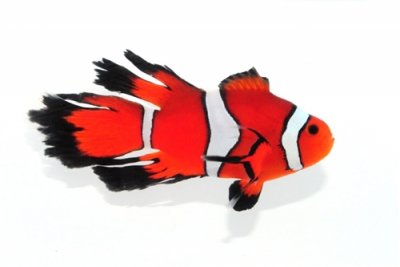
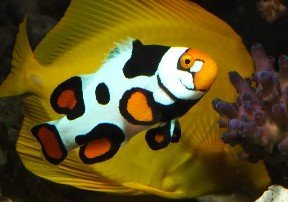
Clownfish p80188OcellarisClownfish.jpg Fancy-Longfin-Clownfish-Medium-2.jpg PremiumPicassoClownfish_Small.jpg
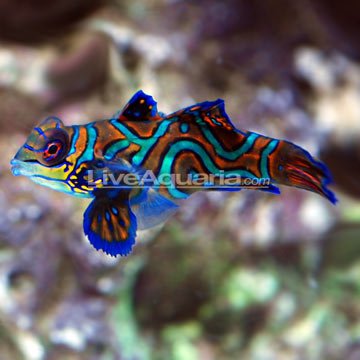
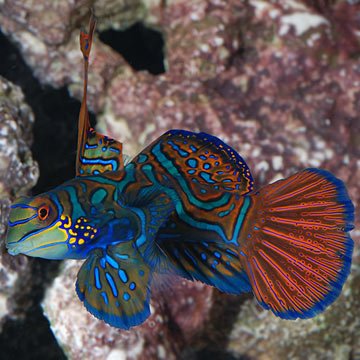
Mandren p-26145-green-mandarin.jpg p89421RedMandarin.jpg
10152_ruby-red-dragonet_1_thumb.jpg

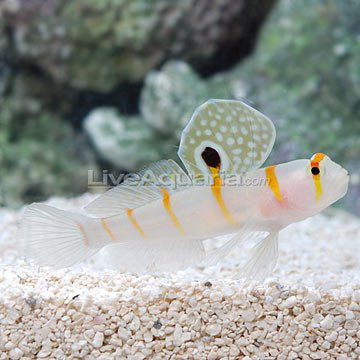
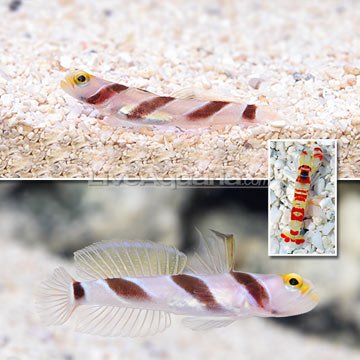
Goby p-71471-orangestripe-goby.jpg
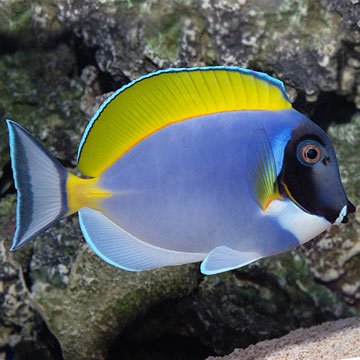
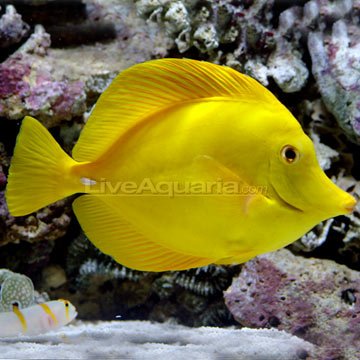
Tang p74214PowderBlueTang.jpg p-74760-yellow-hawaii-tang.jpg
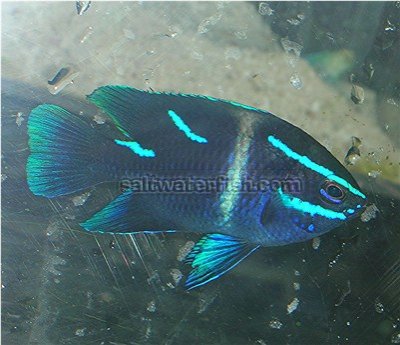
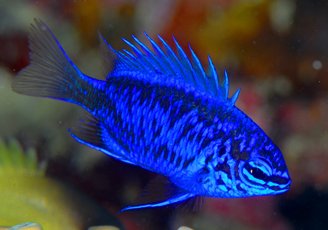
Others 1698_jap.jpg 18236_springer-damsel_1.jpg 0530171-147ps.jpg 0523171-316.jpg
0531171-250.jpg
p-75917-wrasse.jpg
th-24066-wrasse.jpg
p-80617-Girdled-fairy.jpg


Plus inverts and LPS dominated corals with a few SPS in select spots in the mix.
I want to keep the tank very colorful and active.
The above does not mean they are ALL going in the tank but I am sticking to mostly nano style fish in the large tank.

Any opinions welcome ;Nailbiting
 
OP
OP
Injoynit

Injoynit

Active Member
View Badges
Joined
Jun 5, 2017
Messages
267
Reaction score
215
Location
Windsor
Rating - 0%
0   0   0
Well I cracked my sump today.
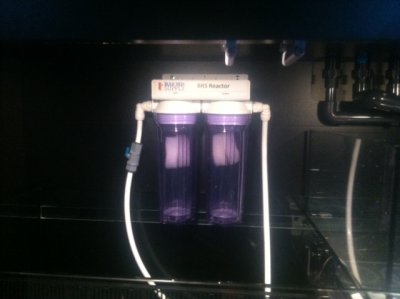
I installed a BRS 2 part reactor
Reactor.jpeg
And when I moved the 5 gallon top off, the top off slipped a little and hit the corner of the glass divider of the return chamber and the intake chamber. This was the thinnest piece of glass, and I ended up chipping it and leaving a 2 inch crack. (Center of image below)
Sump Chip.jpeg

Red Sea should use the same thickness glass around the outside of the sump on the inside too. This most likely would not have happened with the thicker glass. Or just use acrylic for the sump.
I was going to put silicone on it to seal it and hope to stop propagation of the crack. Luckily it is above the sump water line. Any other ideas would be helpful.
 

Being sticky and staying connected: Have you used any reef-safe glue?

  • I have used reef safe glue.

    Votes: 135 88.2%
  • I haven’t used reef safe glue, but plan to in the future.

    Votes: 9 5.9%
  • I have no interest in using reef safe glue.

    Votes: 6 3.9%
  • Other.

    Votes: 3 2.0%
Back
Top