Pat's 340 Reef Build

pmcmahon

Community Member
View Badges
Joined
Jan 17, 2021
Messages
38
Reaction score
11
Location
Streamwood
Rating - 0%
0   0   0
Hey Crew -

It might be a little premature to start the build log since I'm just getting the tank ordered but I could use a few people to double-check my layout before I submit it for the final build.

So let's start with a few basics:
Tank: 80 long x 38 deep x 26 high (about 340 gallons). It will be a euro-braced Waterbox
Sump(s): 2x 100gallon feed bins. One for equipment and a refugium. One dedicated to a deep sand bed experiment (These are in the basement. More on this later)
Skimmer: Reef Octopus regal 200EXT 8"
Lights: 6x XR30 G6 Pro
Flow: Main pump down stairs is an external Dolphin 6250. The flow will be split off with some dedicated to the deep sand bed. The tank will have a closed loop system that will have 2x Sicce SDC7

Tank Diagram.jpg


So let's get started on what I need help with please! The layout is shown above with a weir overflow in the back right corner. I'm hoping to run between 1500 - 2000 GPH between the sumps in the basement and the display tank. I'm a bit concerned that with that flow split between two outputs in the back corner I'll end up with a lot of flow in that corner. The problem is if I drill the back wall for additional pressure lines then the tank has to be set away from the wall quite a bit (depth of bulkhead fitting plus pipe 90-degree fitting. The other option would be to try and go over the top of the back wall but because the tank is euro braced the outlet nozzles would stick out a way into the tank. An outdated layout is shown below to give you an idea of what the euro-bracing will end up looking like. And one of the space it will go in the house with a wooden frame built out to see how big the layout was.

Old layout.jpg

PXL_20220917_174752843.jpg


So do you guys have suggestions on how to improve the flow situation? I'm going to have each of the 3/4" lines split into two nozzles to help break it up a bit but that is all I can think of.

Other suggestions or comments on the layout before they start building?

I'll put a bunch more updates on the rest of the tank but I wanted to get this out there so I can get the tank on order!

Thanks
Pat
 
OP
OP
P

pmcmahon

Community Member
View Badges
Joined
Jan 17, 2021
Messages
38
Reaction score
11
Location
Streamwood
Rating - 0%
0   0   0
Thanks! I have to follow up and take some pictures of the sump and everything to post as well.
 
OP
OP
P

pmcmahon

Community Member
View Badges
Joined
Jan 17, 2021
Messages
38
Reaction score
11
Location
Streamwood
Rating - 0%
0   0   0
That is going to be a massive heavy glass tank , curious to see how you move it
I have several friends I'm calling in favors to help it in the house. I had to have an structural engineer come to the house to make sure it would be supported. I installed a beam in the basement for the tank. I'll make sure to grab a few picture of that as well!
 
OP
OP
P

pmcmahon

Community Member
View Badges
Joined
Jan 17, 2021
Messages
38
Reaction score
11
Location
Streamwood
Rating - 0%
0   0   0
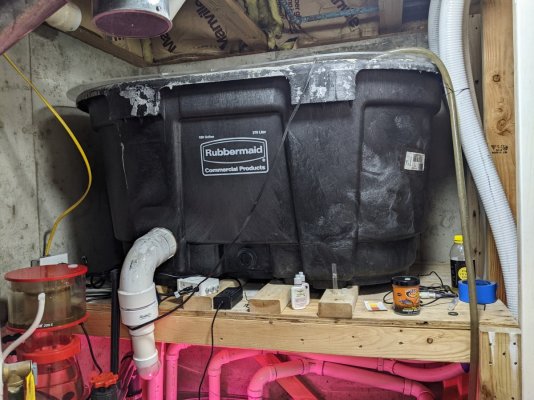
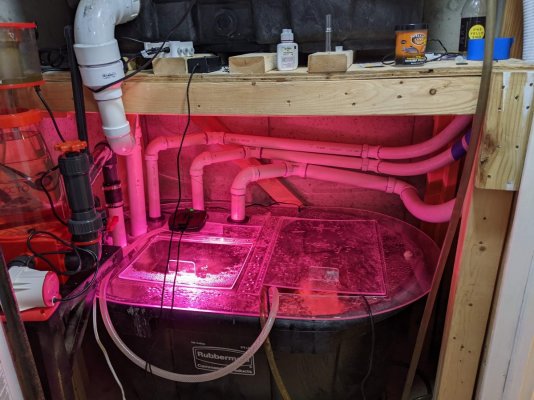
So I haven't been very good about updating this already but better late than never. There still isn't a ton going on with the tank yet. I have two 100G sumps down in the basement. The lower sump I made a custom refugium and some lids to manage the equipment. The protein skimmer is external so it all goes through bulkheads that are built into the same lid/fuge thing. The upper sump is purely dedicated to a deep sand bed. I know these have gone out of style a bit but I'm interested in seeing if I can get it up and running to help export nitrates as well as be a breeding ground for biodiversity in the tank. Here are a couple of pictures. I designed the refugium so that the return water from the display will help keep the macro revolving. It's just set up with a temporary pump right now until the display tank is set up.
 

Attachments

  • PXL_20230319_194457055.mp4
    12.4 MB
  • PXL_20230319_194422058.jpg
    PXL_20230319_194422058.jpg
    223.3 KB · Views: 68
  • PXL_20230319_194417542.jpg
    PXL_20230319_194417542.jpg
    201.9 KB · Views: 71
OP
OP
P

pmcmahon

Community Member
View Badges
Joined
Jan 17, 2021
Messages
38
Reaction score
11
Location
Streamwood
Rating - 0%
0   0   0
I forgot I also wanted to ask the groups opinion on sea lettuce vs cheato for the macro algae. I've heard people who are huge fans of lettuce because it grows quickly and tangs often like to eat it. I've heard the other side of the story where people say it finds its way up to the display tank and gets embedded in the rocks and their fish won't clean it off. Does anyone have recommendations or experience to share? I like the idea of growing fresh food for my future tang gang but I'm not sure it's worth the risk of it causing a problem. thoughts?
 

Gumbies R Us

Another Fish in the Sea
View Badges
Joined
Nov 10, 2022
Messages
9,865
Reaction score
18,968
Location
North Georgia
Rating - 0%
0   0   0
So I haven't been very good about updating this already but better late than never. There still isn't a ton going on with the tank yet. I have two 100G sumps down in the basement. The lower sump I made a custom refugium and some lids to manage the equipment. The protein skimmer is external so it all goes through bulkheads that are built into the same lid/fuge thing. The upper sump is purely dedicated to a deep sand bed. I know these have gone out of style a bit but I'm interested in seeing if I can get it up and running to help export nitrates as well as be a breeding ground for biodiversity in the tank. Here are a couple of pictures. I designed the refugium so that the return water from the display will help keep the macro revolving. It's just set up with a temporary pump right now until the display tank is set up.
Refugium looks nice though!!!
 
OP
OP
P

pmcmahon

Community Member
View Badges
Joined
Jan 17, 2021
Messages
38
Reaction score
11
Location
Streamwood
Rating - 0%
0   0   0
Thanks. I made a few little mistakes on the design but nothing that couldn't be fixed without too many headaches. I have to wait to see how much flow goes through there once the tank is set up. If it ends up being too much I'm going to have to plumb in a flow valve to allow some to bypass the fuge.
 

Bruttall

Well-Known Member
View Badges
Joined
Feb 19, 2023
Messages
539
Reaction score
773
Location
Council Bluffs
Rating - 0%
0   0   0
Have you considered wave makers to improve the flow inside the tank, or is keeping the glass free of anything a prioity? Vortech makes a really nice wave maker, no wires inside the tank, magnet attached impeller/propeller to a driver outside the tank. If moving the tank from the wall becomes the avenue of attack, I'd just build a shadow box around the back of the tank on the wall, add shelves etc for a place to keep fish food, test kits, knick knacks, kids cell phones when they won't listen etc, or put doors on it for a cupboard.
 
OP
OP
P

pmcmahon

Community Member
View Badges
Joined
Jan 17, 2021
Messages
38
Reaction score
11
Location
Streamwood
Rating - 0%
0   0   0
Have you considered wave makers to improve the flow inside the tank, or is keeping the glass free of anything a prioity? Vortech makes a really nice wave maker, no wires inside the tank, magnet attached impeller/propeller to a driver outside the tank. If moving the tank from the wall becomes the avenue of attack, I'd just build a shadow box around the back of the tank on the wall, add shelves etc for a place to keep fish food, test kits, knick knacks, kids cell phones when they won't listen etc, or put doors on it for a cupboard.

I'm going to attempt to keep the glass free of wave makers if I can but it may not be possible. I'll see how it goes once the tank is up and running. At the very least, hopefully the closed loop should help minimize the number I need to add. I do really like the vortechs so that would likely be what I would add.

I'm planning on adding some shelves inside the stand. The only thing under there will be the closed loop pumps since the refugium is in the basement so I'll have plenty of room.
 
Last edited:
OP
OP
P

pmcmahon

Community Member
View Badges
Joined
Jan 17, 2021
Messages
38
Reaction score
11
Location
Streamwood
Rating - 0%
0   0   0
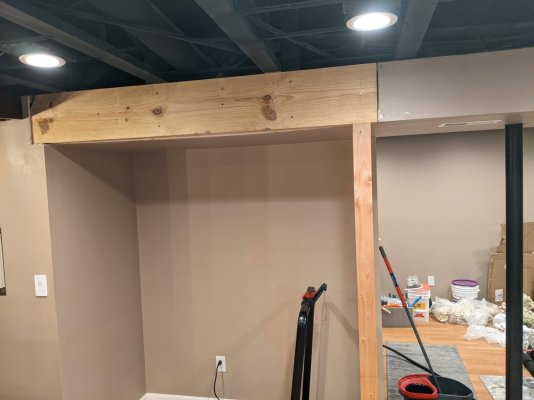
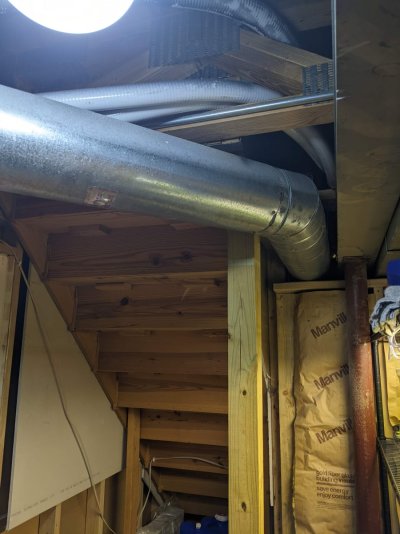
More pictures. Here is the support beam I had to install in the basement. The post goes down to the foundation and the wall to the left also helps bring the load from the front of the tank down to the foundation. Over the top of the wall there spanner supports between the top and bottom of the floor joist to make sure the load can transfer vertically through the joists into the wall. At the back of the tank is the main structural wall for the house. The structural wall is offset from the steel I-beam by about 10" so I installed one additional post (not shown) behind the wall to help support it as well. The structural engineer couldn't make officially stamped drawings but said those are the changes he would make if it was his house. Should be good to go but I suspect I'll still be listening to every noise and creak the house makes when I'm filling the tank and those first few days after.

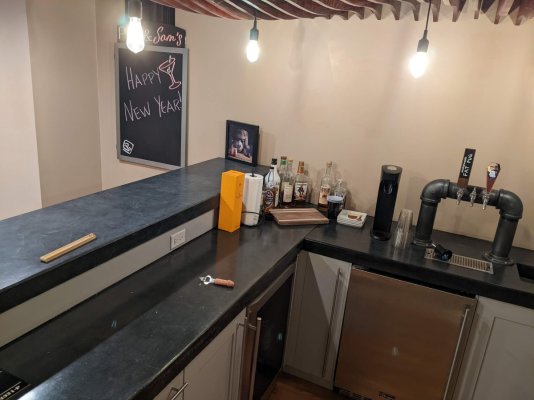
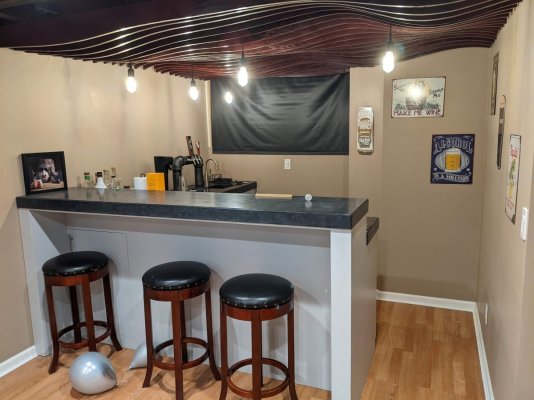
Also, not tank related but just for fun. Some of my other handy work was putting in a wet bar down in the basement. I designed and build the cabinets, poured concrete countertops, built an iron pipe tap tower, and made a decorative ceiling!
 

Attachments

  • PXL_20230319_200920077.jpg
    PXL_20230319_200920077.jpg
    128 KB · Views: 53
  • PXL_20230319_200905464.jpg
    PXL_20230319_200905464.jpg
    159.5 KB · Views: 49
  • PXL_20230319_200838184.jpg
    PXL_20230319_200838184.jpg
    109.3 KB · Views: 50
  • PXL_20230321_162959397.jpg
    PXL_20230321_162959397.jpg
    154.8 KB · Views: 55
OP
OP
P

pmcmahon

Community Member
View Badges
Joined
Jan 17, 2021
Messages
38
Reaction score
11
Location
Streamwood
Rating - 0%
0   0   0
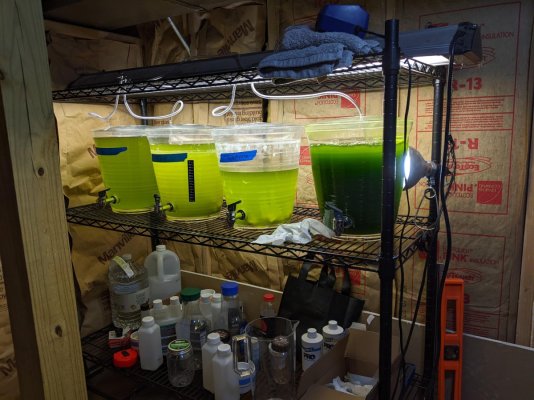
So while I've been working on getting the tank on order I've been keeping busy by trying to culture phytoplankton and copepods. Right now I'm still kind of in practice mode. I got some phyto from someone local but it wasn't a specific strain that he knew of. I figured that was a good place to start figuring things out. I've gotten decent at keeping that culture going so far. The copepods I've had mixed results with. I got a jar of tig, tisbee, and apocolypse pods from algae barn. The tig pods are doing great and those seem pretty easy to culture in general. The apocolypse pods seemed to do all right but I don't feel like the culture really took off like I was seeing with the tig pods. The tisbee didn't seem to do as well. The numbers I could observe seemed to be going down not up. I must not have been doing a good enough job of keeping things clean because the three seemed to get cross contaminated. The tig pods got in the other two species.

I'm debating if I want to try and take my phyto culturing to the next level and attempt to keep more than one strain and keep them pure strains. It would require a lot more careful cleaning and sanitation. From my research that would likely mean more success from my other types of pods who are fussier about what they eat possibly. I dumped my two contaminated cultures into the refugium tanks this weekend while I figure out what my next steps are. That should help seed them and I'll keep dosing phyto in there to keep them going until the display is up and running.

Here are a few pictures of how I set things up and a couple of videos once I got a microscope. If anyone has advice please feel free to step in!
 

Attachments

  • PXL_20230319_194345467.jpg
    PXL_20230319_194345467.jpg
    211.1 KB · Views: 55
  • PXL_20230317_235007555.mp4
    3.8 MB
  • PXL_20230318_001006166.mp4
    5.1 MB
OP
OP
P

pmcmahon

Community Member
View Badges
Joined
Jan 17, 2021
Messages
38
Reaction score
11
Location
Streamwood
Rating - 0%
0   0   0
Has anyone cultured Isochrysis that might be able to share their experience with it. Is it a difficult strain? How much effort does it take to keep it from getting contaminated?
 

Being sticky and staying connected: Have you used any reef-safe glue?

  • I have used reef safe glue.

    Votes: 149 88.7%
  • I haven’t used reef safe glue, but plan to in the future.

    Votes: 9 5.4%
  • I have no interest in using reef safe glue.

    Votes: 7 4.2%
  • Other.

    Votes: 3 1.8%
Back
Top