

Ron Reefman
Lets Go Snorkeling!
View Badges
Ultimate Member
Reef Squad
Excellence Award
Reef Tank 365
Article Contributor
Tampa Bay Reef Keepers
MAC of SW Florida
Let me start by giving out a little background. I’ve been in the hobby for nearly 15 years and have run at least 10 different aquariums and as many as 5 at one time. The biggest system was a 180g DT with a 75g anemone tank and a 180g sump/refugium. Here it is as I finished the rough build of the stand.
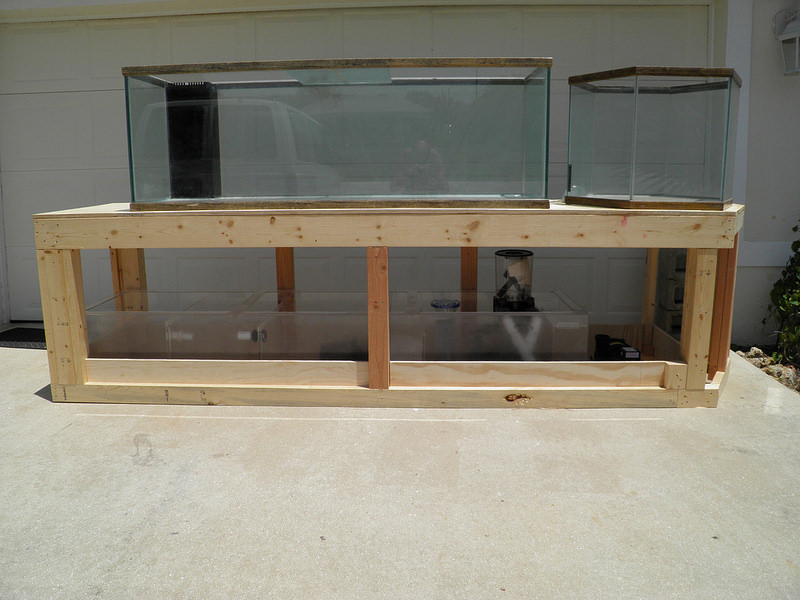 P5010003 by Ron Lindensmith, on Flickr
And here it is as it was after a couple of years.
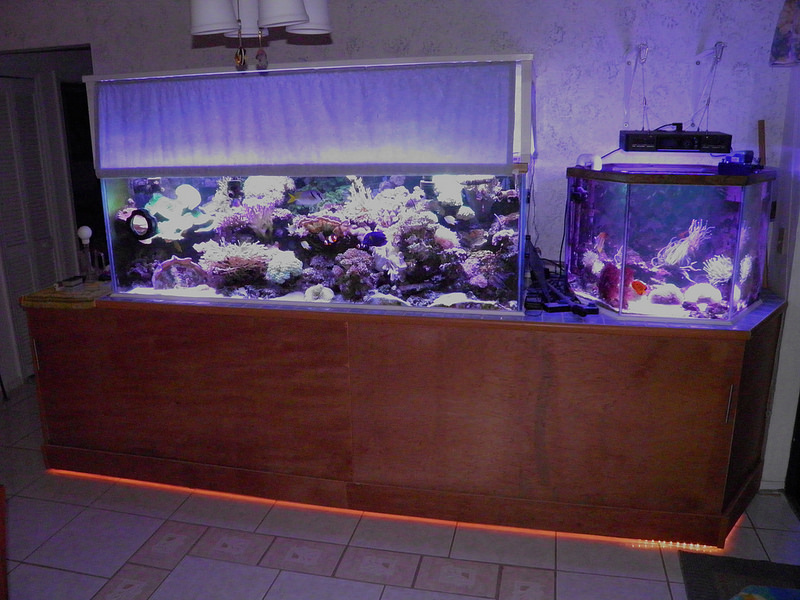 P1060001R1 by Ron Lindensmith, on Flickr
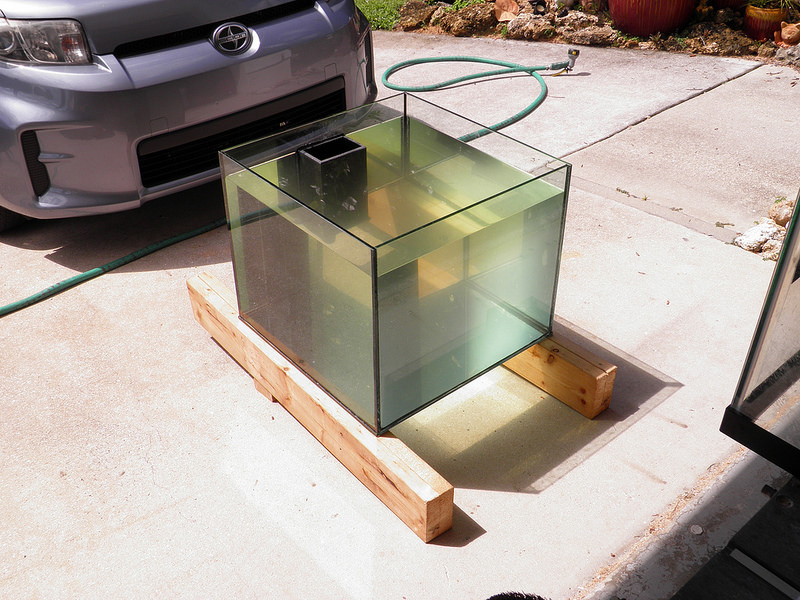
I’ve also made 6 tanks on my own, the biggest being the 65g shallow reef (4’x2’x14”).
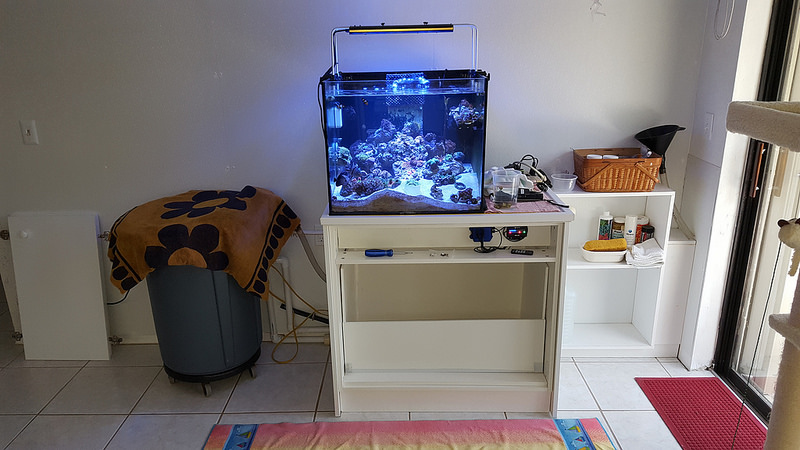
A couple of months ago I sold my 65g shallow reef and 25g frag tank system and very recently sold the 125g DT, sump and stand that my 50g cube was attached to. So now I am down to just the 50g cube that I made a couple of years ago.
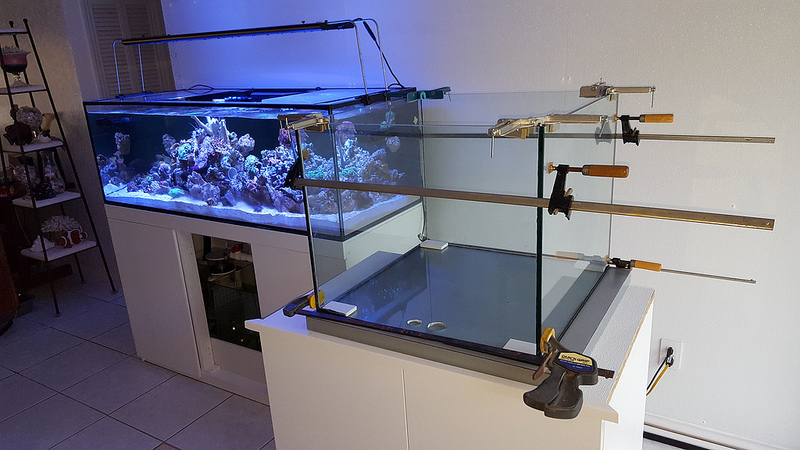
This is the what the system looked like before I sold the 125g tank and stand.
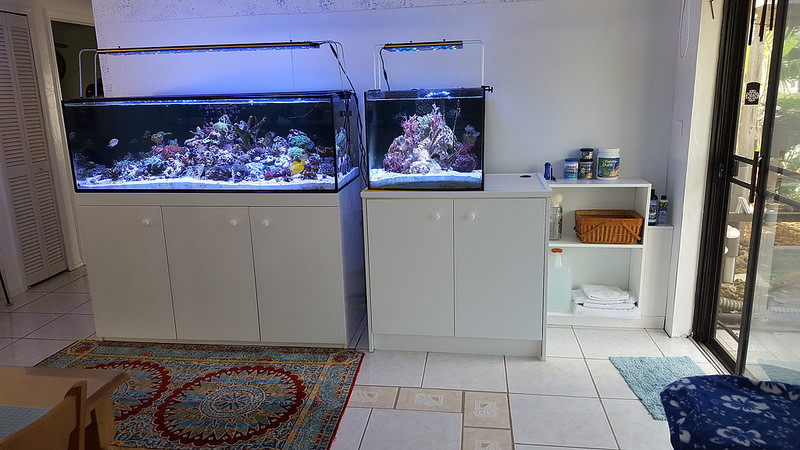 20170223_155902 by Ron Lindensmith, on Flickr
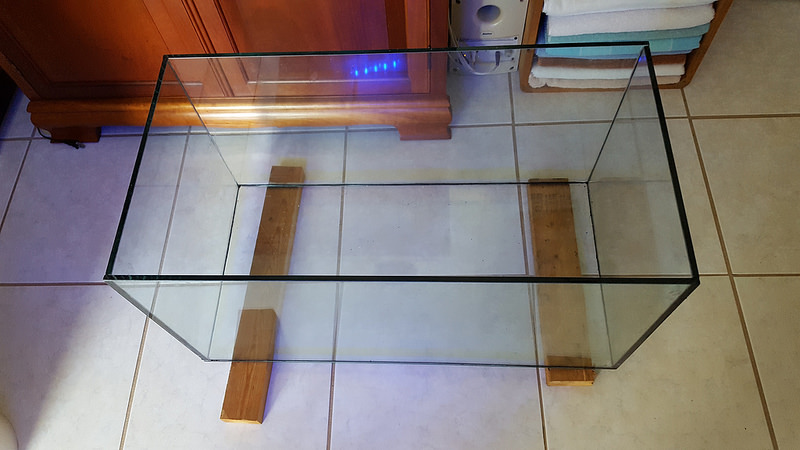
And these are pics of the making the 50g cube that is in the above photo.
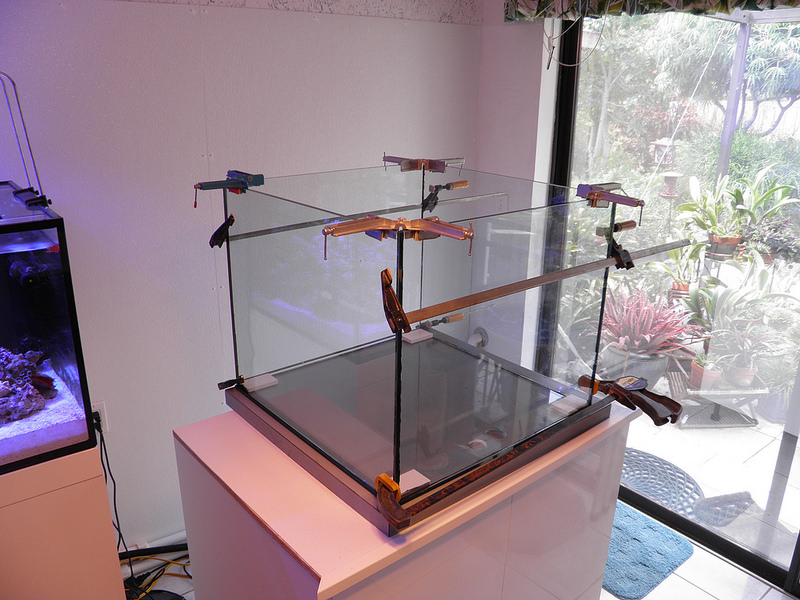 P9130001 by Ron Lindensmith, on Flickr
 P9180001 by Ron Lindensmith, on Flickr
 200 by Ron Lindensmith, on Flickr
Before I sold my 125g I sold off most of my livestock except for the ones I wanted to keep in the cube. That would be all my rock flower anemones (30+), some rose bubble tip anemones (about 7) and a lot of coral frags and very small colonies (about 40 in the rockscape and 40 more on the frag rack).
I am currently working on getting a new sump put together for this system as the sump it used for the last 2 years went away with the 125g DT and stand. I used the stand that the cube sits on (a reinforced kitchen cabinet) for all the old electrical controls and an auto top off tank.
 P9230010 by Ron Lindensmith, on Flickr
Now the stand will have what I call a ‘drip tray’ which is a liner for the stand made out of 3/8” PVC sheet material and 3M Co 5200 Marine Adhesive. This tray will collect any drips, splashes, leaks or overflows from the 40g DIY sump/refugium. The drip tray will have a drain that goes out the back of the stand and is plumbed under the shelves on the right hand side, through the concrete block wall and out of the house.
 20180622_143948 by Ron Lindensmith, on Flickr
This is the new DIY sump/refugium that will sit inside the drip tray inside the stand.
 20180622_144013 by Ron Lindensmith, on Flickr
 20180607_103900 by Ron Lindensmith, on Flickr
The two PVC lines go to a 1hp chiller behind the house in a plastic storage unit. It will probably be sold. The lower black hose is the drip tray drain going out of the house.
 P9100006 by Ron Lindensmith, on Flickr
Currently, as you can see, I have the plumbing that was to and from the old sump, running to and from a Brute garbage can with a double filter sock on the drain and a too small pump for return. Once my new skimmer arrives from Reef Breeders (the old one went with the 125g DT) I’ll fit a divider into the sump and plumb a Jebao DC6000 return pump and the skimmer into the system.
 20180622_143629 by Ron Lindensmith, on Flickr
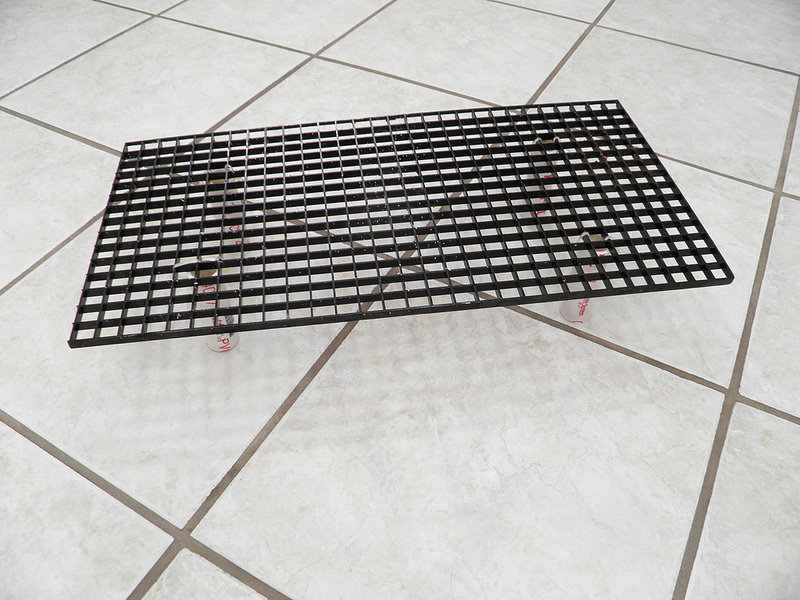
I have two Current Orbit wavemaker powerheads in the tank and it is lit by a 16” Reef Breeders Photon V2 led fixture. I have a Next Reef Reactor that I will plumb into the system, but I rarely run Carbon or GFO except in case of an emergency.
I have two long term goals at the moment. One is to have a good looking 50g reef and second is to propagate and grow out the colorful rock flower anemones. I’ve had at least two spawning events as I have parents that are 3-4” in diameter, a first spawn population that is now about ½” to 1” in diameter and a more recent population that is 1/8th to 3/8ths of an inch in diameter.
 20180622_143642_resized by Ron Lindensmith, on Flickr
P5010003 by Ron Lindensmith, on FlickrAnd here it is as it was after a couple of years.
P1060001R1 by Ron Lindensmith, on FlickrI’ve also made 6 tanks on my own, the biggest being the 65g shallow reef (4’x2’x14”).
A couple of months ago I sold my 65g shallow reef and 25g frag tank system and very recently sold the 125g DT, sump and stand that my 50g cube was attached to. So now I am down to just the 50g cube that I made a couple of years ago.
This is the what the system looked like before I sold the 125g tank and stand.
20170223_155902 by Ron Lindensmith, on FlickrAnd these are pics of the making the 50g cube that is in the above photo.
P9130001 by Ron Lindensmith, on FlickrP9180001 by Ron Lindensmith, on Flickr200 by Ron Lindensmith, on FlickrBefore I sold my 125g I sold off most of my livestock except for the ones I wanted to keep in the cube. That would be all my rock flower anemones (30+), some rose bubble tip anemones (about 7) and a lot of coral frags and very small colonies (about 40 in the rockscape and 40 more on the frag rack).
I am currently working on getting a new sump put together for this system as the sump it used for the last 2 years went away with the 125g DT and stand. I used the stand that the cube sits on (a reinforced kitchen cabinet) for all the old electrical controls and an auto top off tank.
P9230010 by Ron Lindensmith, on FlickrNow the stand will have what I call a ‘drip tray’ which is a liner for the stand made out of 3/8” PVC sheet material and 3M Co 5200 Marine Adhesive. This tray will collect any drips, splashes, leaks or overflows from the 40g DIY sump/refugium. The drip tray will have a drain that goes out the back of the stand and is plumbed under the shelves on the right hand side, through the concrete block wall and out of the house.
20180622_143948 by Ron Lindensmith, on FlickrThis is the new DIY sump/refugium that will sit inside the drip tray inside the stand.
20180622_144013 by Ron Lindensmith, on Flickr20180607_103900 by Ron Lindensmith, on FlickrThe two PVC lines go to a 1hp chiller behind the house in a plastic storage unit. It will probably be sold. The lower black hose is the drip tray drain going out of the house.
P9100006 by Ron Lindensmith, on FlickrCurrently, as you can see, I have the plumbing that was to and from the old sump, running to and from a Brute garbage can with a double filter sock on the drain and a too small pump for return. Once my new skimmer arrives from Reef Breeders (the old one went with the 125g DT) I’ll fit a divider into the sump and plumb a Jebao DC6000 return pump and the skimmer into the system.
20180622_143629 by Ron Lindensmith, on FlickrI have two Current Orbit wavemaker powerheads in the tank and it is lit by a 16” Reef Breeders Photon V2 led fixture. I have a Next Reef Reactor that I will plumb into the system, but I rarely run Carbon or GFO except in case of an emergency.
I have two long term goals at the moment. One is to have a good looking 50g reef and second is to propagate and grow out the colorful rock flower anemones. I’ve had at least two spawning events as I have parents that are 3-4” in diameter, a first spawn population that is now about ½” to 1” in diameter and a more recent population that is 1/8th to 3/8ths of an inch in diameter.
20180622_143642_resized by Ron Lindensmith, on Flickr


 Shell Ambassador Ron
 Yellow snapping shrimp
 20180114_181205_resized
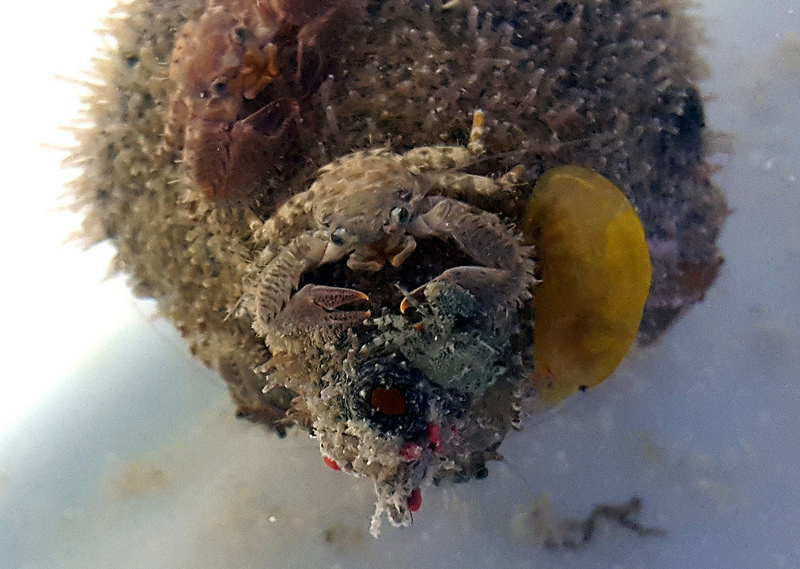 sea squirt and friends
 20180626_102607
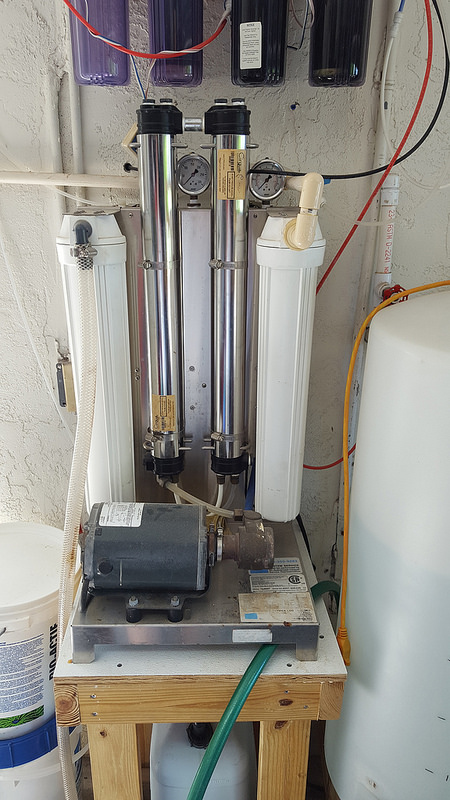 20180626_102626
 20180626_102641
 P8310001
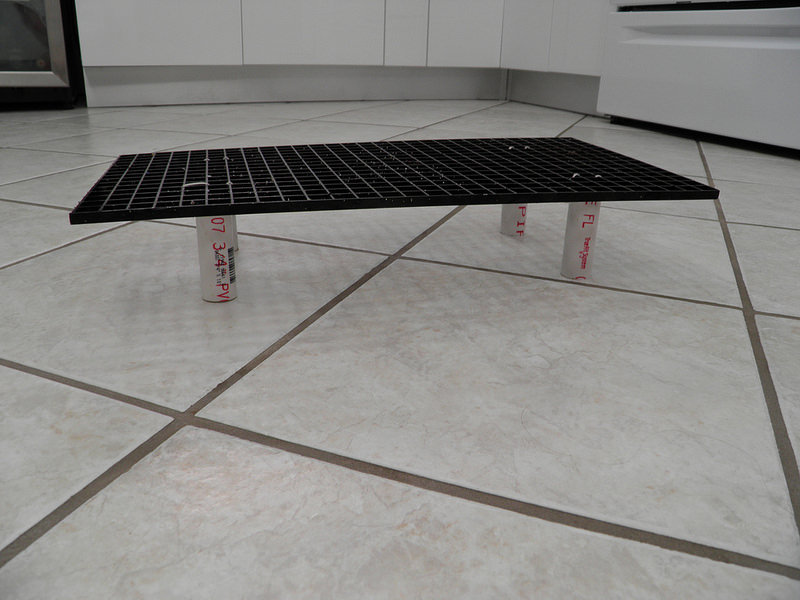 P8310002
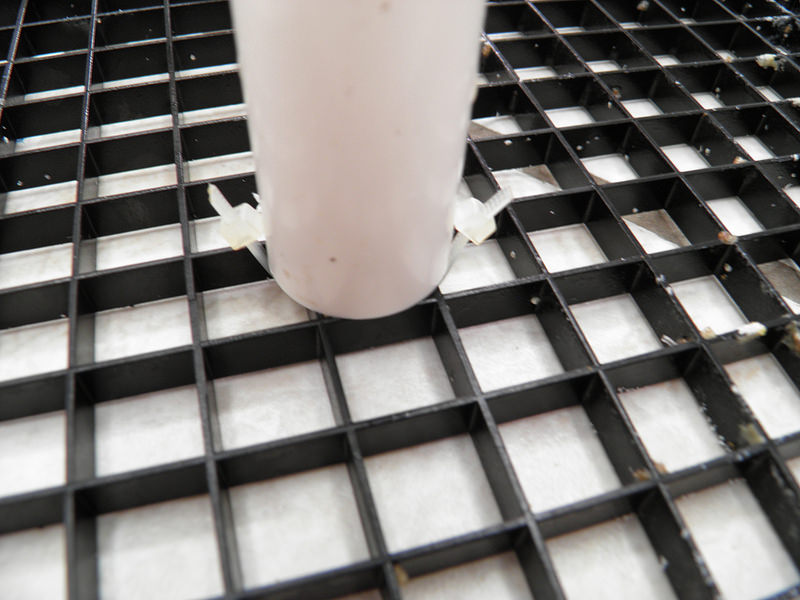 P8310003
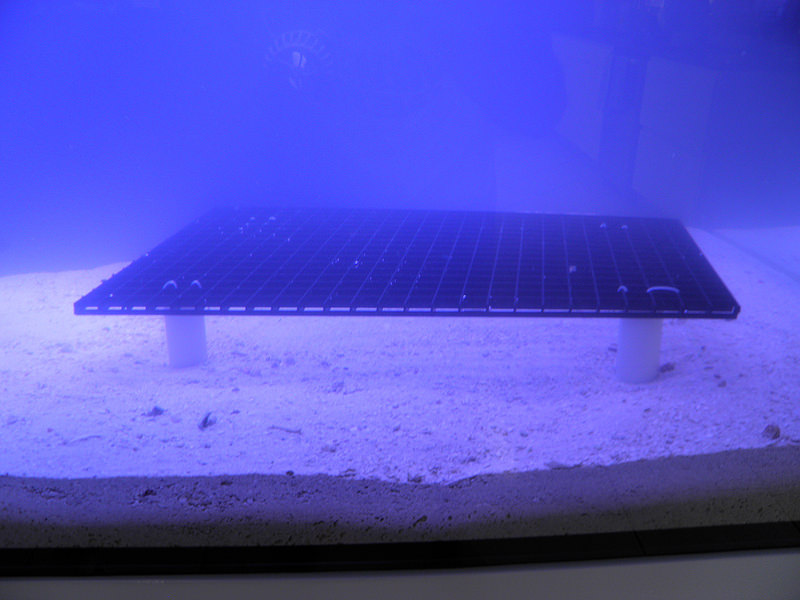 P8310004
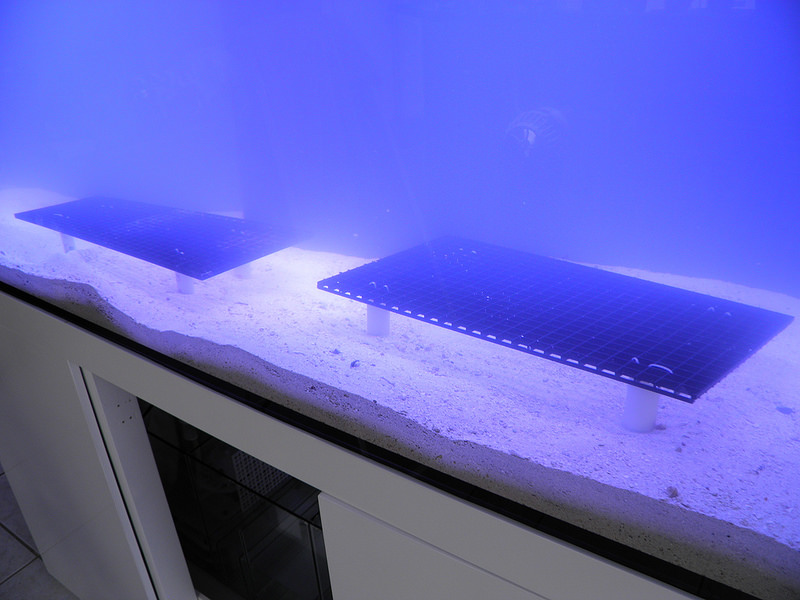 P8310005
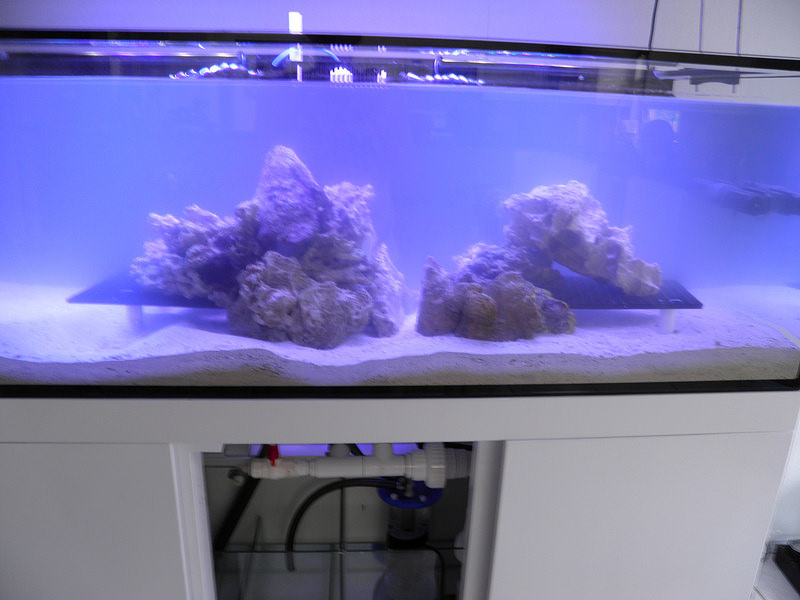 P8310007
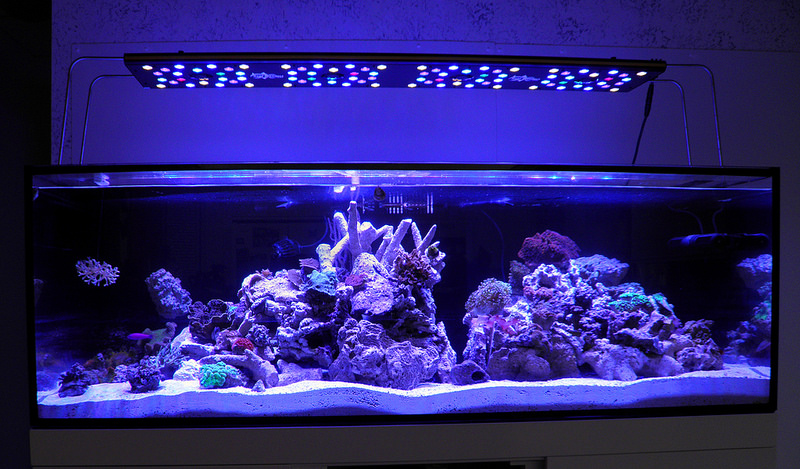 P9020001 R1


