Here is a feature that I had built in to may last three builds, but I didn't do in this one. It involves lifting some or most of the live rock off the sand! I didn't do it in this build (yet) because I was in a hurry moving corals that I was going to keep from my 120g tank to the 50g. And I had a lot of work to do to get the other corals sold and start selling off the system and a lot of the spares and backup hardware that was specific to the big tank.
OK, so you have 'x' amount of sand in your tank. I usually have about 2-3". So I figure out how I want the rock to be laid out first. Then cut some standard egg crate in roughly the same footprint as the rocks in the sand, only a little smaller.
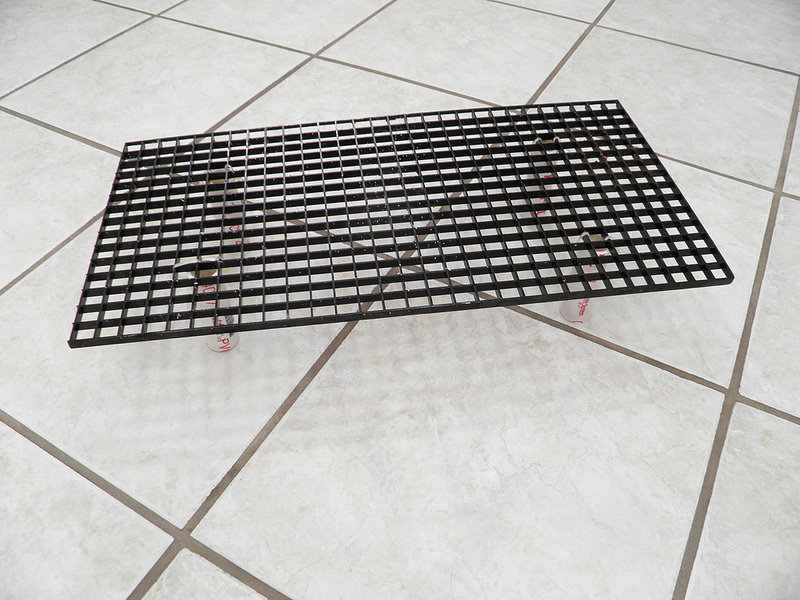 P8310001
 by
Ron Lindensmith, on Flickr
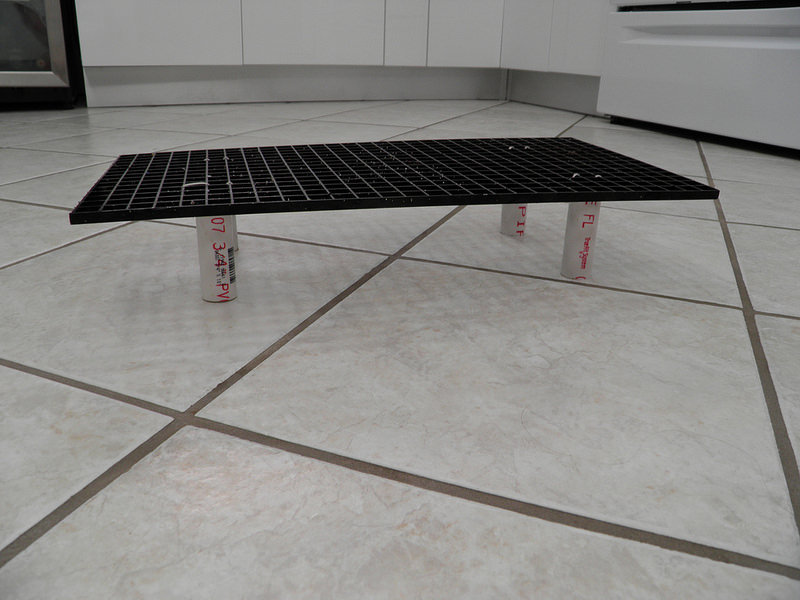 P8310002
 by
Ron Lindensmith, on Flickr
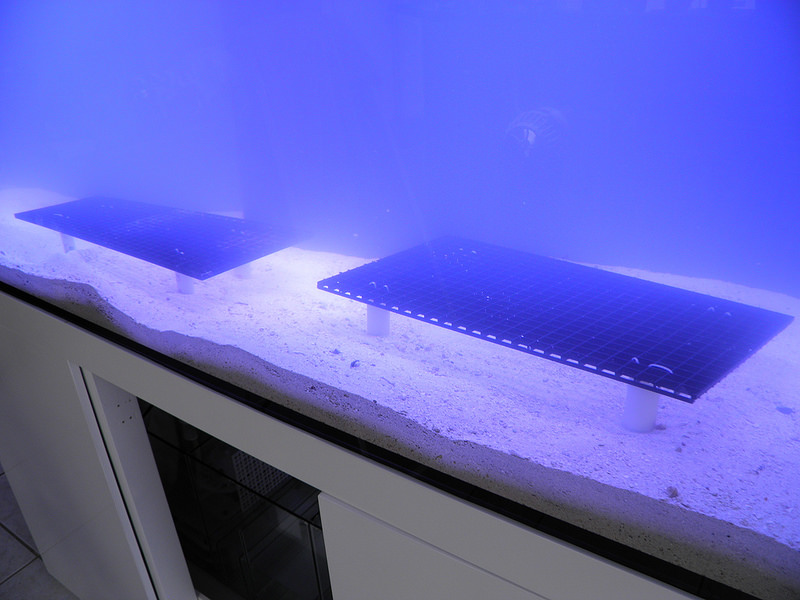
Now my sand was 2" deep, so I cut 3 1/2" legs out of 1" PVC pipe to go in the sand under the egg crate. I also drilled small holes at the end of the leg and attached the legs to the egg crate with very small cable ties to keep everything for moving so the platform would be stable.
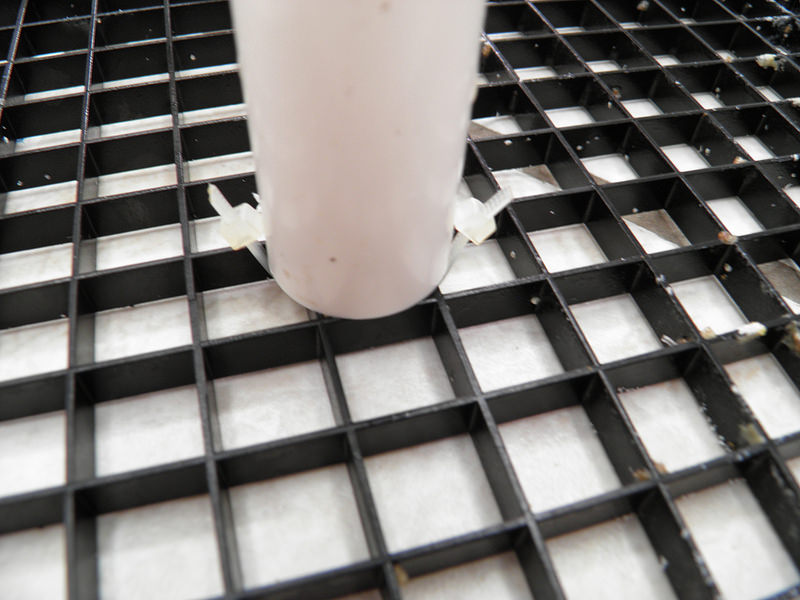 P8310003
 by
Ron Lindensmith, on Flickr
I put the platform in the tank, press it down into the sand until it hits the bottom glass.
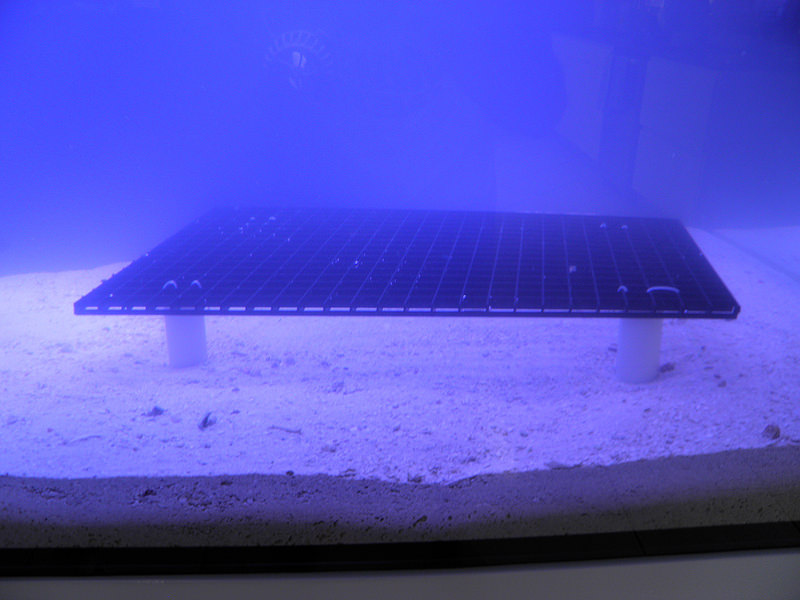 P8310004
 by
Ron Lindensmith, on Flickr
 P8310005
 by
Ron Lindensmith, on Flickr
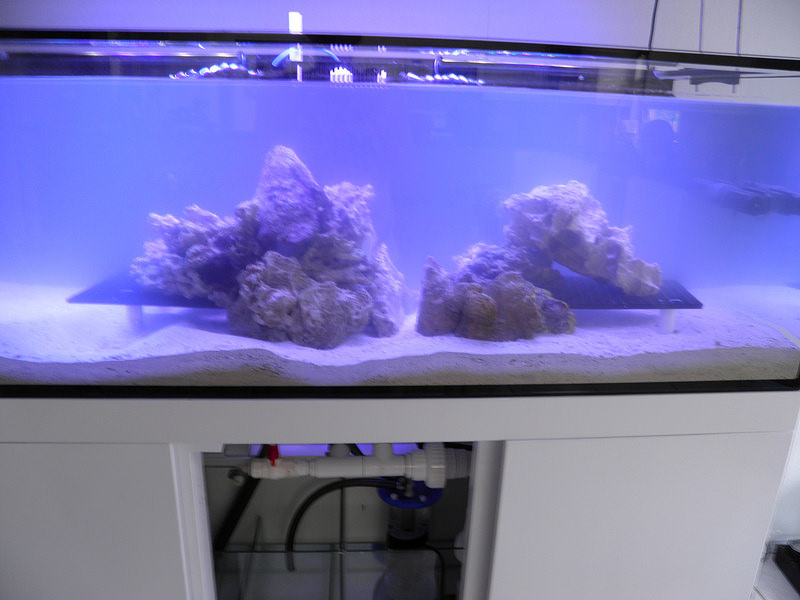
Then put the rocks back into the tank as I had designed earlier.
 P8310007
 by
Ron Lindensmith, on Flickr
Now you have rocks that are above the sand, but it looks like crap! So I take much smaller rocks and some flater rocks and use them along the edge of the platform. They go in the sand and are big enough to cover the gap between the sand and the egg crate and main rocks. Now it looks good normal.
 P9020001 R1
 by
Ron Lindensmith, on Flickr
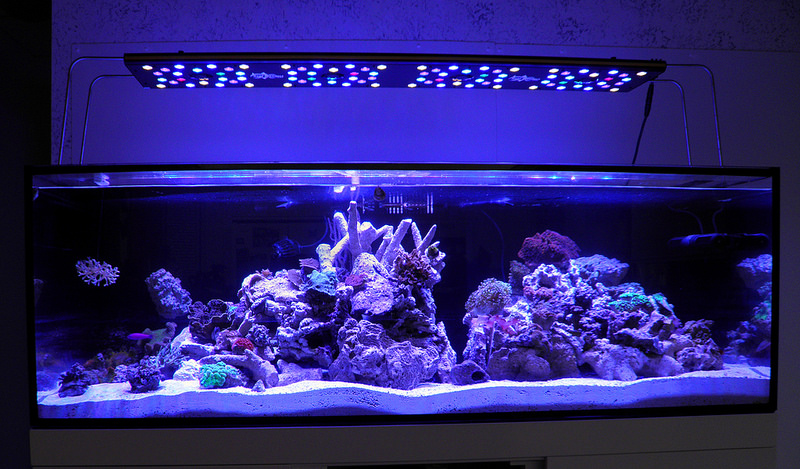
However, you now have more open sand for the critters like serpent stars, sea cucumbers and wrasses who need open sandy spaces. And it's under the rocks so it's very protected. You have also exposed the entire rock, including the bottom that would have been buried in the sand, so it can all develop useful bacteria for processing ammonia and nitrite. You now get some water flow under the rocks and because it's mostly dark, you get more sponges, small feather dusters and some other critters that help with cleaning. And it creates lots of room for shrimp, crabs, mollusks and other animals that like to hide out during the day a place to do it. I even found that because I had better flow around and under the rocks (now that they are off the sand) that I had less issues with cyano developing on the sand.
To be perfectly honest, the only drawback to using this technique that I found, was that I spent a little extra time designing my rockscape and then an extra couple of hours building the egg crate platforms. Other than that, everything was good and most people who looked at the tank never had any idea that the rocks were off the sand.


 20180626_110023
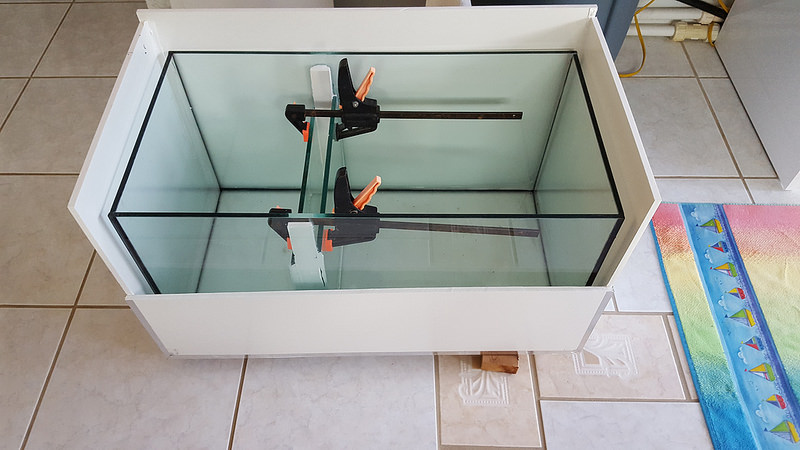 20180628_073815
 20180717_105935
 20180717_105947
 20180717_124325
 20180717_110021
 20180717_110058
 20180717_110047
 20180723_084247
 20180723_084336
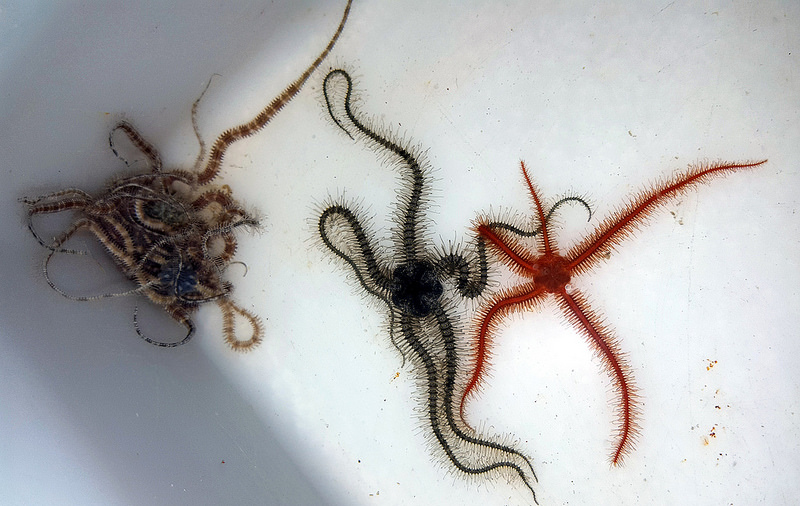 stars bundle
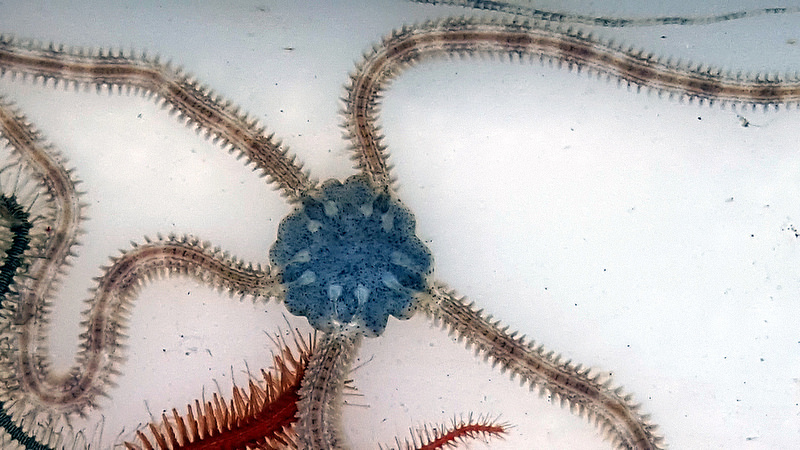 star blue disk serpent
 star red serpent


