

This will be a down grade from my current 180 gallon system.

My 180 has had its ups and downs, I built it tall for viewing but it ended up making cleaning and maintenance harder. My most successful tank was 100g, and a shallow footprint so I decided to go back in that direction.
This time around I want to keep things a little more simple, smaller (fitting my home better) and easier to maintenance.
Tank:
UNS 120s rimless (48x24x15T)/ low iron/ 45 degree mitered edges & MarineDepot's large external overflow


The clear silicon and mitered edges sold me on this tank. The mitered edges leave very little silicon inside the tank and should be easier to keep clean and not knick up during the process!
Sump:
Bashea Smart Series SMS 3015
These are very well built sumps for the price, extremely pleased with this sump. 3 x 1" drains will allow me to use a Herbie style overflow

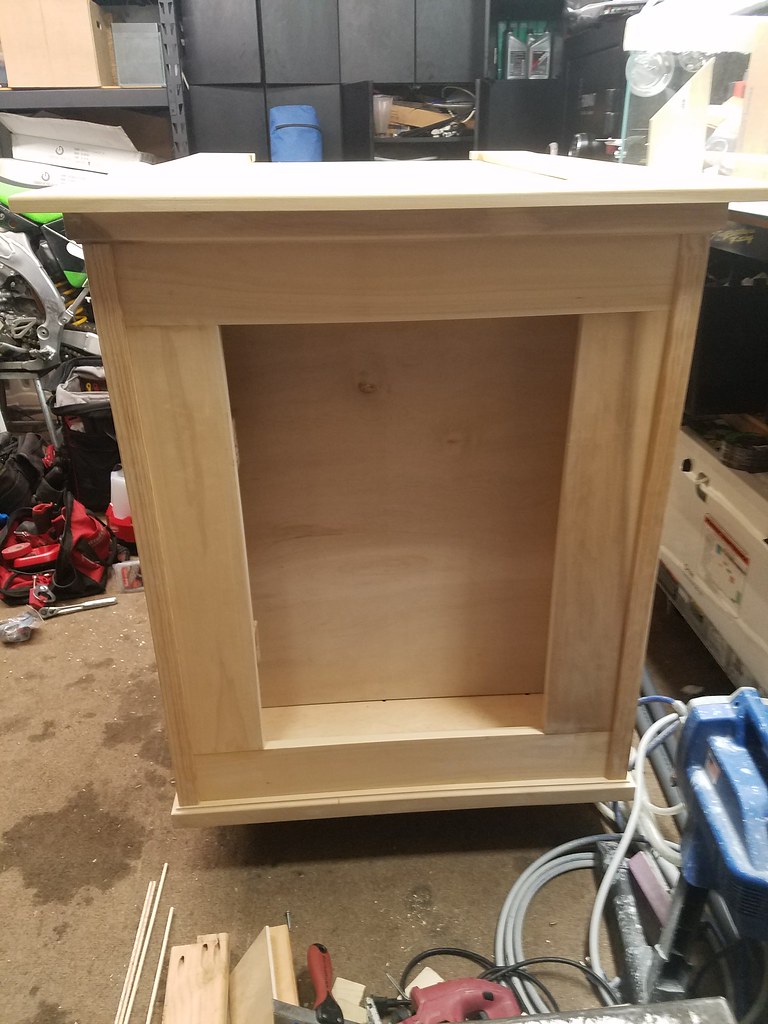
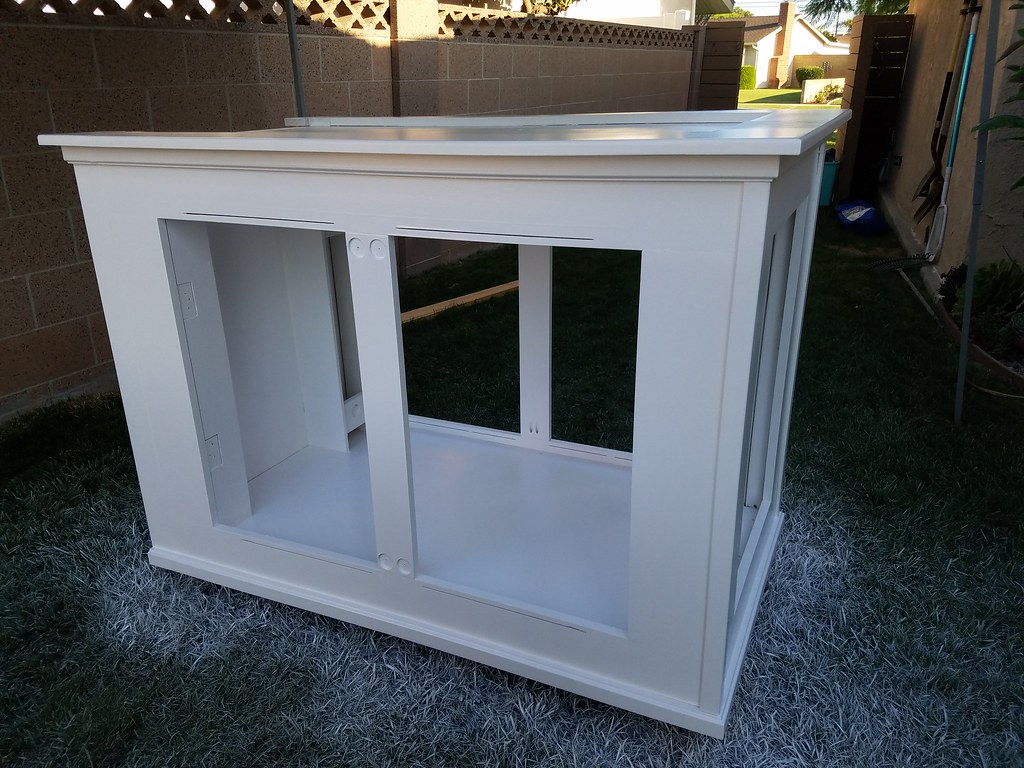
Custom diy stand:
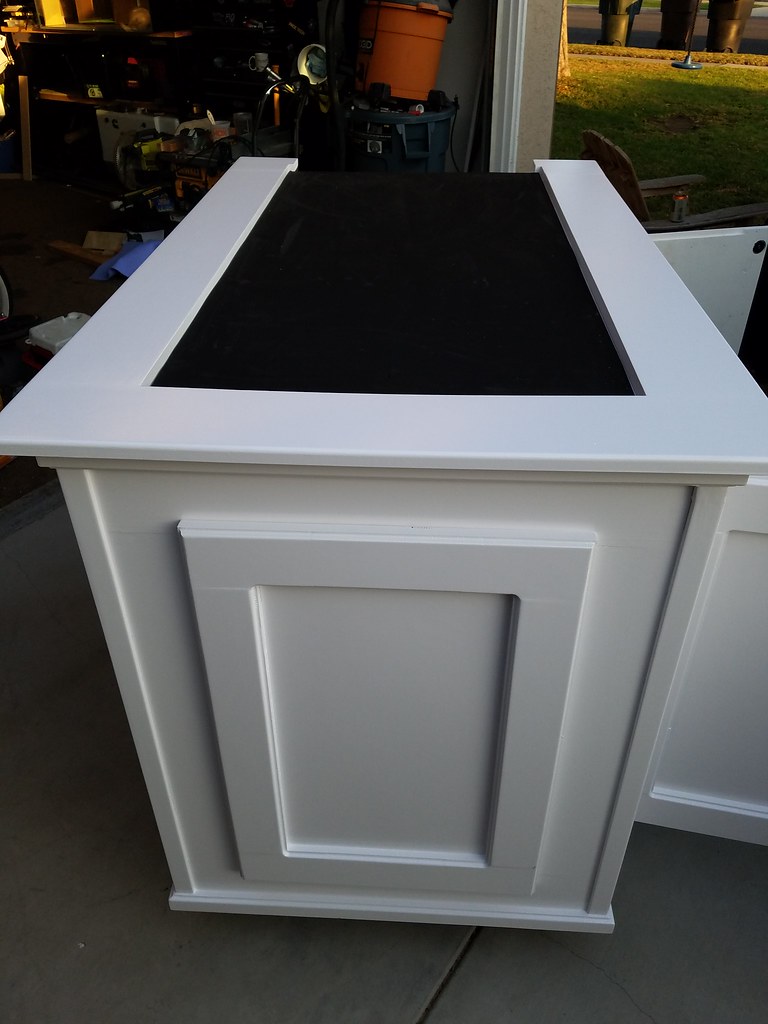
I'm an impatient person so I'm trying REAL hard to take my time and do this stand right. I've used my router to make all my own trim on the stand and doors. I used and 2x4 frame layout from rocketengineer skinned in poplar. This is my first attempt and building a stand like this but so far I'm good with how it's coming along.


My current stand has humidity issues that led to surface rust. I didnt want to build a nice stand and slap some vent covers on it, so I'm trying to incorporate some hidden ventilation. For now itll be passive unless I feel it needs more flow down the road. I've cut 1/4" slots above and below my side doors then I took my router and rabbit bit to cut grooves to meet the slots cut in the skin. These will also function as finger grooves to open the doors. If I seal the majority of the stand I hope to get a convection effect where hot air rises, moves out the top slots drawing cold air in from below. I have a game plan to add some CPU fans cleanly if it doesnt cut it.


Lighting will be 3 x G5 xr30 blues
Flow:
Either m2 vectors or various 6 return
2 x mp40wqd
Filtration
3 x 4 " filter socks
Deltec skimmer (blanking on model #)
Turbo Aquatics L2 ATS
If needed Chaeto Reactor
Carbon reactor
Dosing:
GEO 6x18 with secondary PM chamber
SS regulator built by Alan Le
TLF rebourne media
5lb c02
Kamoer peristaltic pump
Moonshiner's trace element program/ATI ICP and vitamin X
Benepets coral food
Oyster feast
Bright wells aminos 3 x a week
Water:
Brightwell NeoMarine salt
Modified BRS 75gpd RODI
5 micron filter>chloramine monster>carbon block x2 > membrane> DI > spectapure silica buster
50g salt/50g rodi mixing station
Heating and cooling:
I'm going all LED so hopefully CPU fans will handle all cooling
Eheim heater x2
Live stock plans:
SPS dominant with some lps and an anemone and maximal clam
I plan to transfer and modify the right hand side structure in my current system. I want to keep the rock work low to leave room for growth.
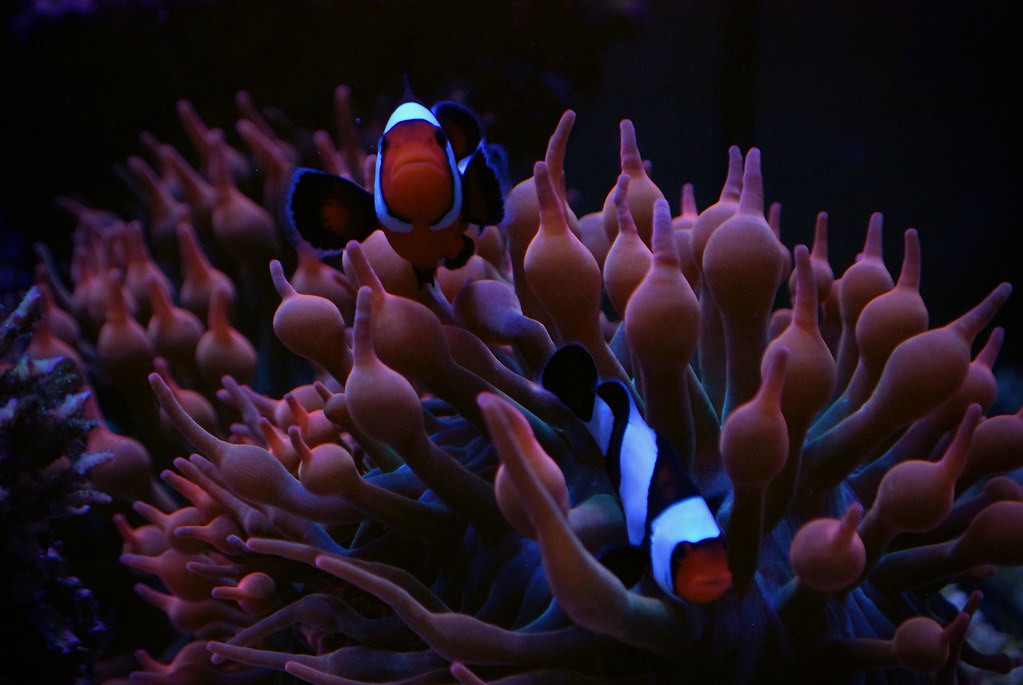
Fish I'm still undecided on. I'm not sure I want to take my current fish and downsized thier swimming space. If I start over I'll be going simple and slow trying to keep disease out while watching my nutrients.
More than likely this will be bare bottom so I can crank up the flow and also maintain healthy undersides to colonies. I painted the bottom gloss white to get as much reflection back up as possible.
I need to figure out my electrcial/equipment management and plumbing then I'll be ready to paint!
My 180 has had its ups and downs, I built it tall for viewing but it ended up making cleaning and maintenance harder. My most successful tank was 100g, and a shallow footprint so I decided to go back in that direction.
This time around I want to keep things a little more simple, smaller (fitting my home better) and easier to maintenance.
Tank:
UNS 120s rimless (48x24x15T)/ low iron/ 45 degree mitered edges & MarineDepot's large external overflow
The clear silicon and mitered edges sold me on this tank. The mitered edges leave very little silicon inside the tank and should be easier to keep clean and not knick up during the process!
Sump:
Bashea Smart Series SMS 3015
These are very well built sumps for the price, extremely pleased with this sump. 3 x 1" drains will allow me to use a Herbie style overflow
Custom diy stand:
I'm an impatient person so I'm trying REAL hard to take my time and do this stand right. I've used my router to make all my own trim on the stand and doors. I used and 2x4 frame layout from rocketengineer skinned in poplar. This is my first attempt and building a stand like this but so far I'm good with how it's coming along.
My current stand has humidity issues that led to surface rust. I didnt want to build a nice stand and slap some vent covers on it, so I'm trying to incorporate some hidden ventilation. For now itll be passive unless I feel it needs more flow down the road. I've cut 1/4" slots above and below my side doors then I took my router and rabbit bit to cut grooves to meet the slots cut in the skin. These will also function as finger grooves to open the doors. If I seal the majority of the stand I hope to get a convection effect where hot air rises, moves out the top slots drawing cold air in from below. I have a game plan to add some CPU fans cleanly if it doesnt cut it.
Lighting will be 3 x G5 xr30 blues
Flow:
Either m2 vectors or various 6 return
2 x mp40wqd
Filtration
3 x 4 " filter socks
Deltec skimmer (blanking on model #)
Turbo Aquatics L2 ATS
If needed Chaeto Reactor
Carbon reactor
Dosing:
GEO 6x18 with secondary PM chamber
SS regulator built by Alan Le
TLF rebourne media
5lb c02
Kamoer peristaltic pump
Moonshiner's trace element program/ATI ICP and vitamin X
Benepets coral food
Oyster feast
Bright wells aminos 3 x a week
Water:
Brightwell NeoMarine salt
Modified BRS 75gpd RODI
5 micron filter>chloramine monster>carbon block x2 > membrane> DI > spectapure silica buster
50g salt/50g rodi mixing station
Heating and cooling:
I'm going all LED so hopefully CPU fans will handle all cooling
Eheim heater x2
Live stock plans:
SPS dominant with some lps and an anemone and maximal clam
I plan to transfer and modify the right hand side structure in my current system. I want to keep the rock work low to leave room for growth.
Fish I'm still undecided on. I'm not sure I want to take my current fish and downsized thier swimming space. If I start over I'll be going simple and slow trying to keep disease out while watching my nutrients.
More than likely this will be bare bottom so I can crank up the flow and also maintain healthy undersides to colonies. I painted the bottom gloss white to get as much reflection back up as possible.
I need to figure out my electrcial/equipment management and plumbing then I'll be ready to paint!
Last edited:

 20200925_191202
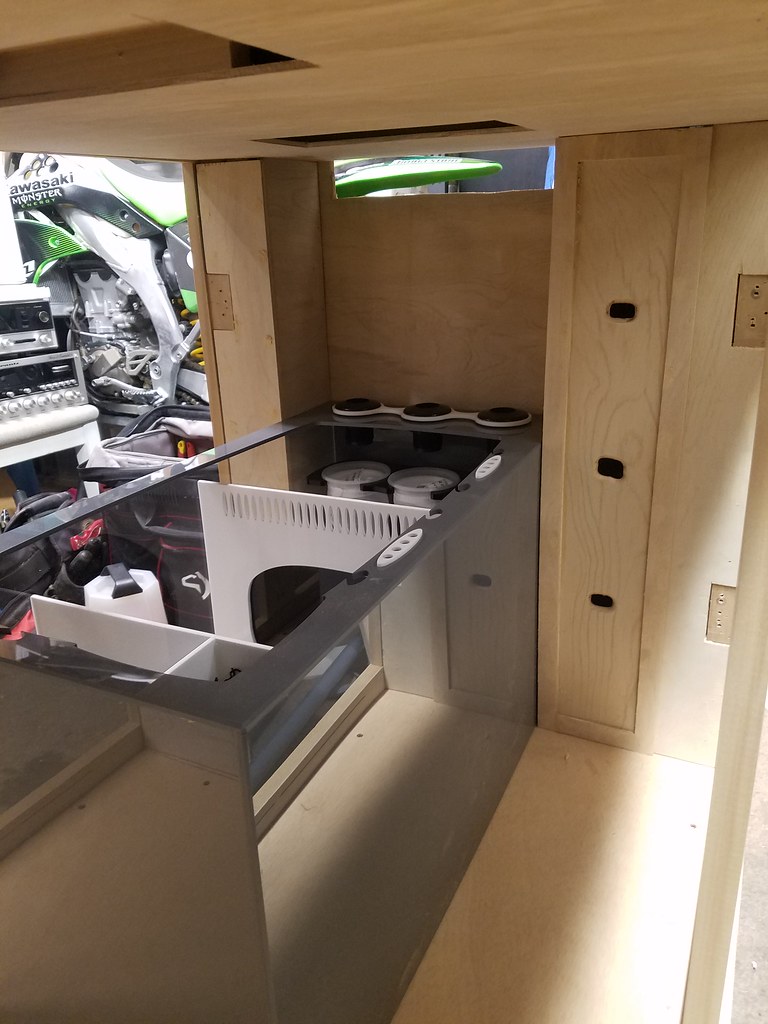 20200925_190909
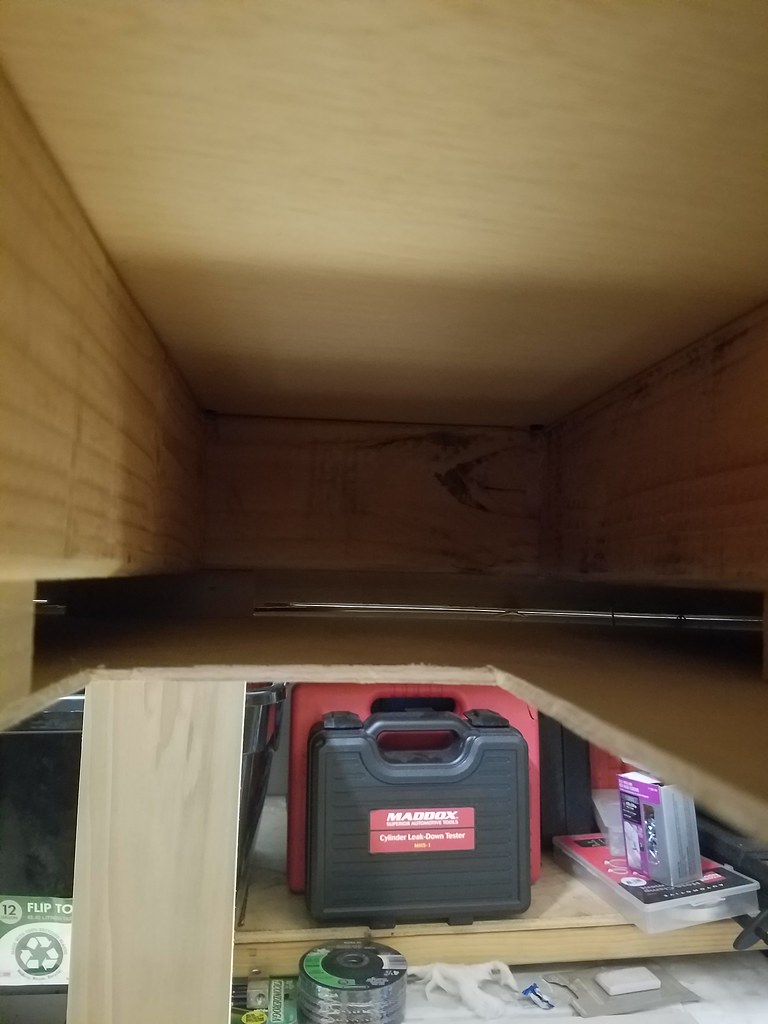 20200925_190949
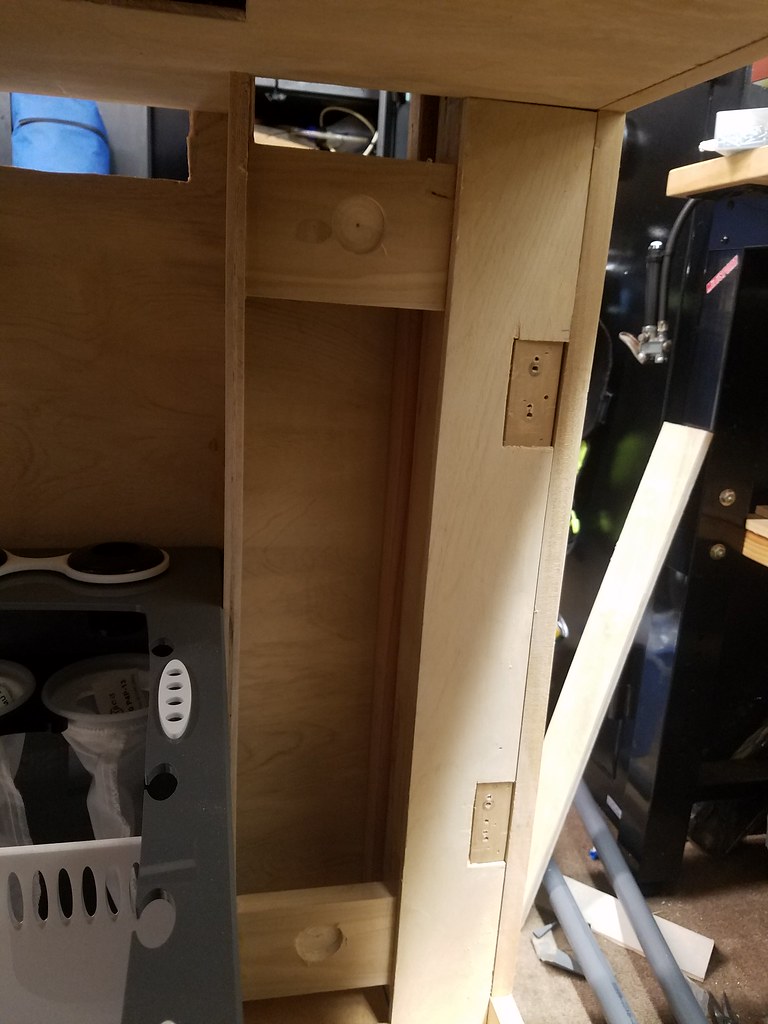 20200925_191014
 20200926_165851
 20200926_165904
 20200926_165910
 20200926_165921
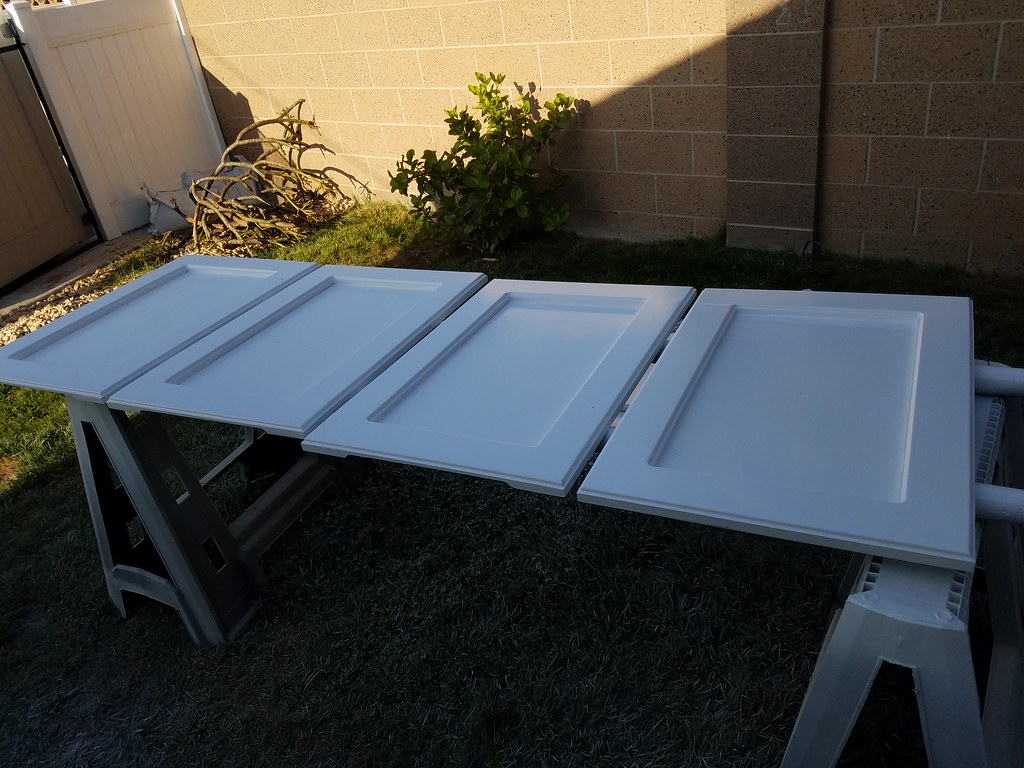 20200926_165858


 20200930_175829
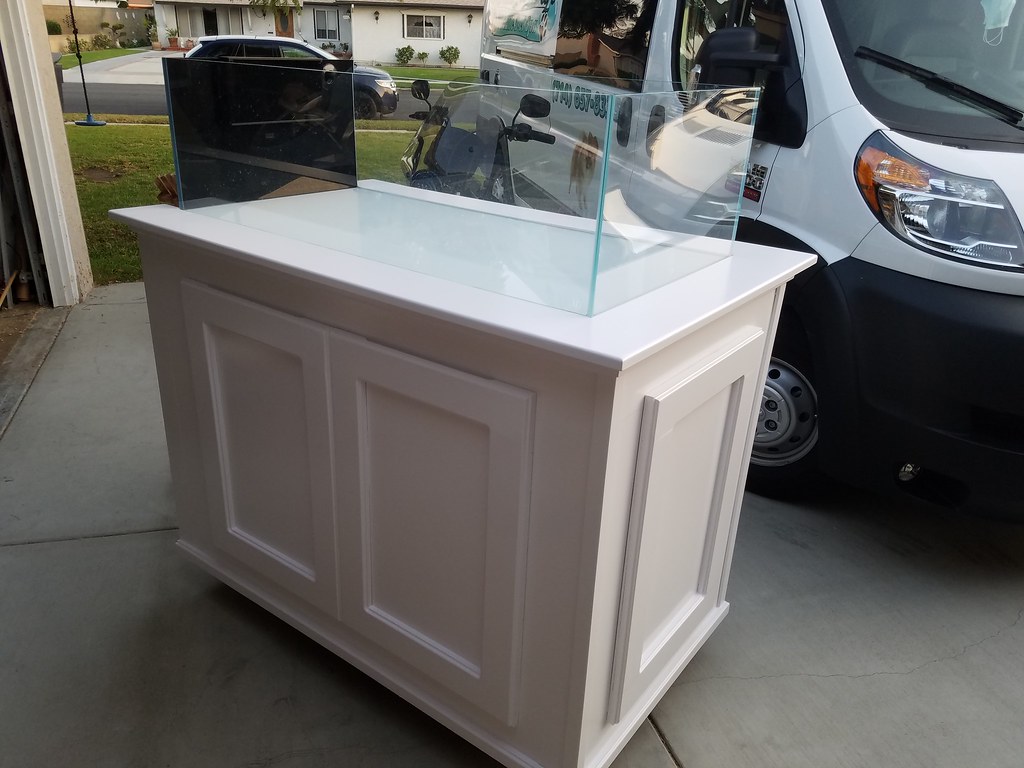 20200930_181941
 20201004_151649
 20201004_151652
 20201004_151343
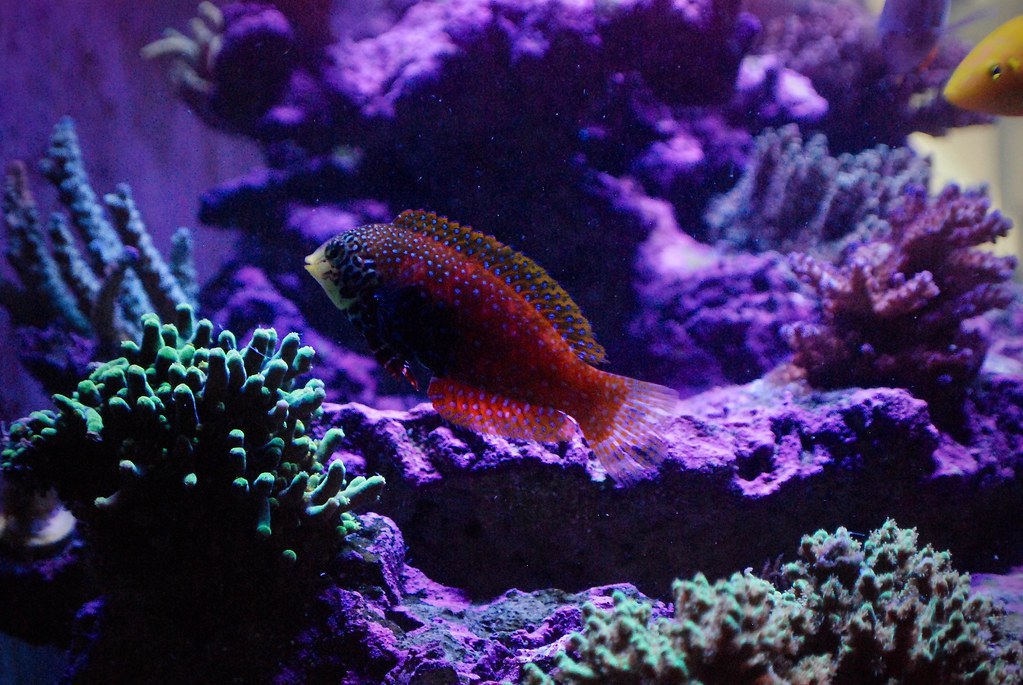 DSC_0643
 DSC_0526


